Outdoorsy Ottoman
Psssst… this post *might* contain affiliate links: see my disclosure here.
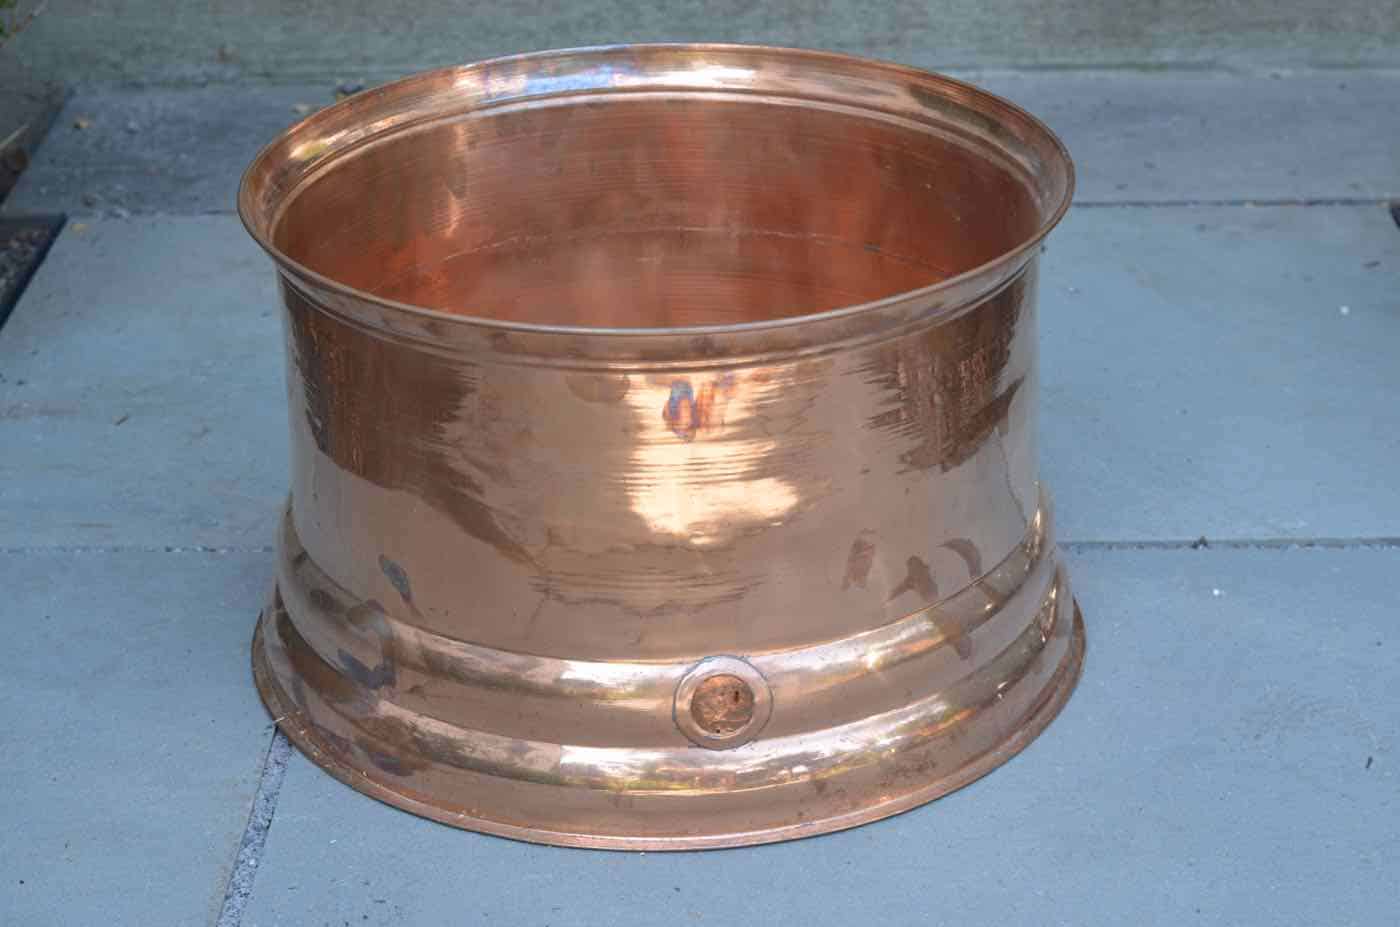
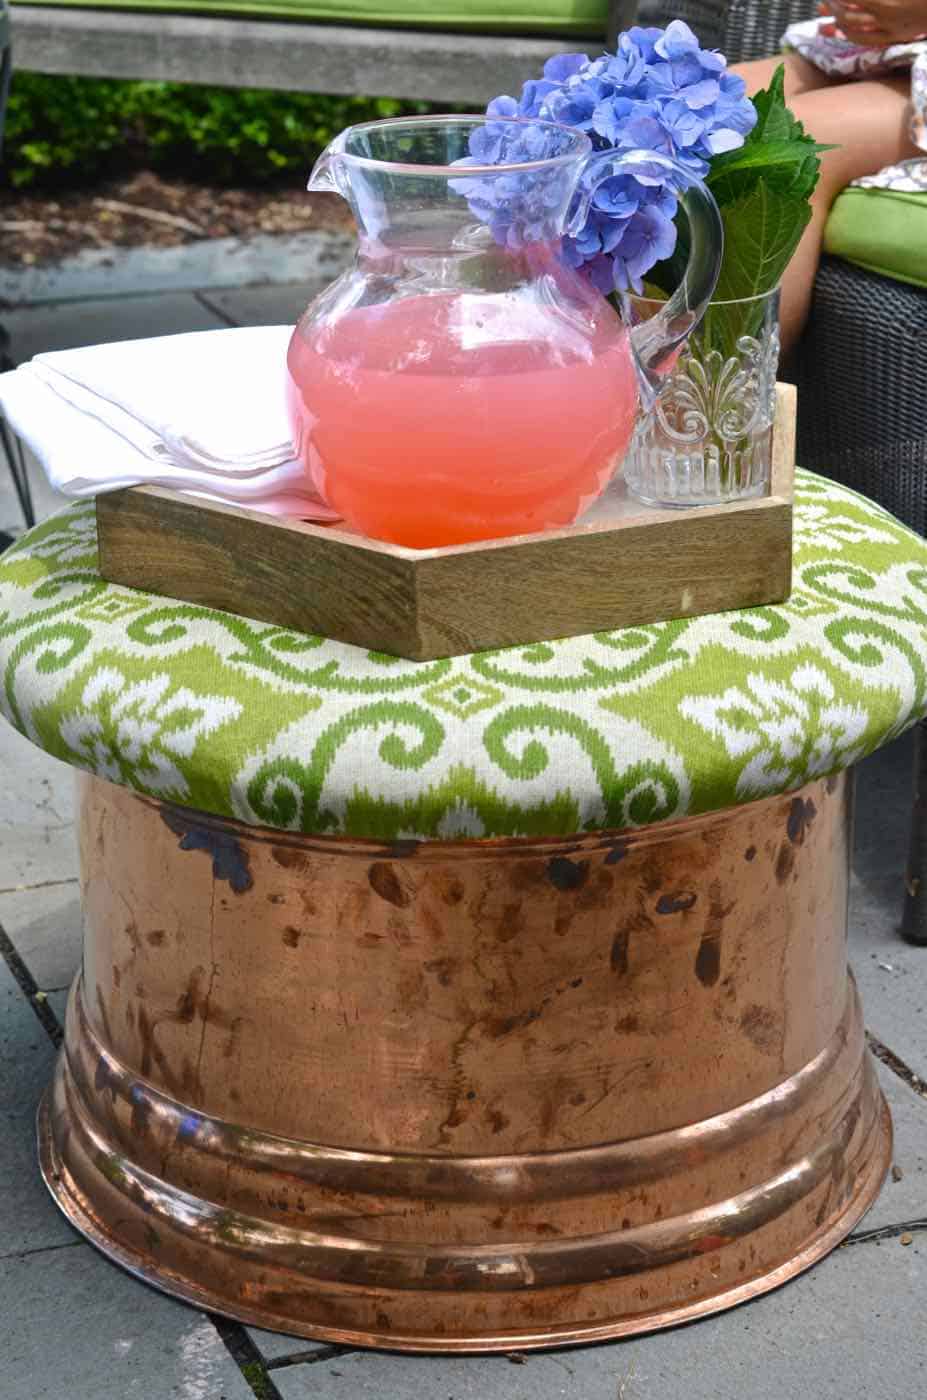
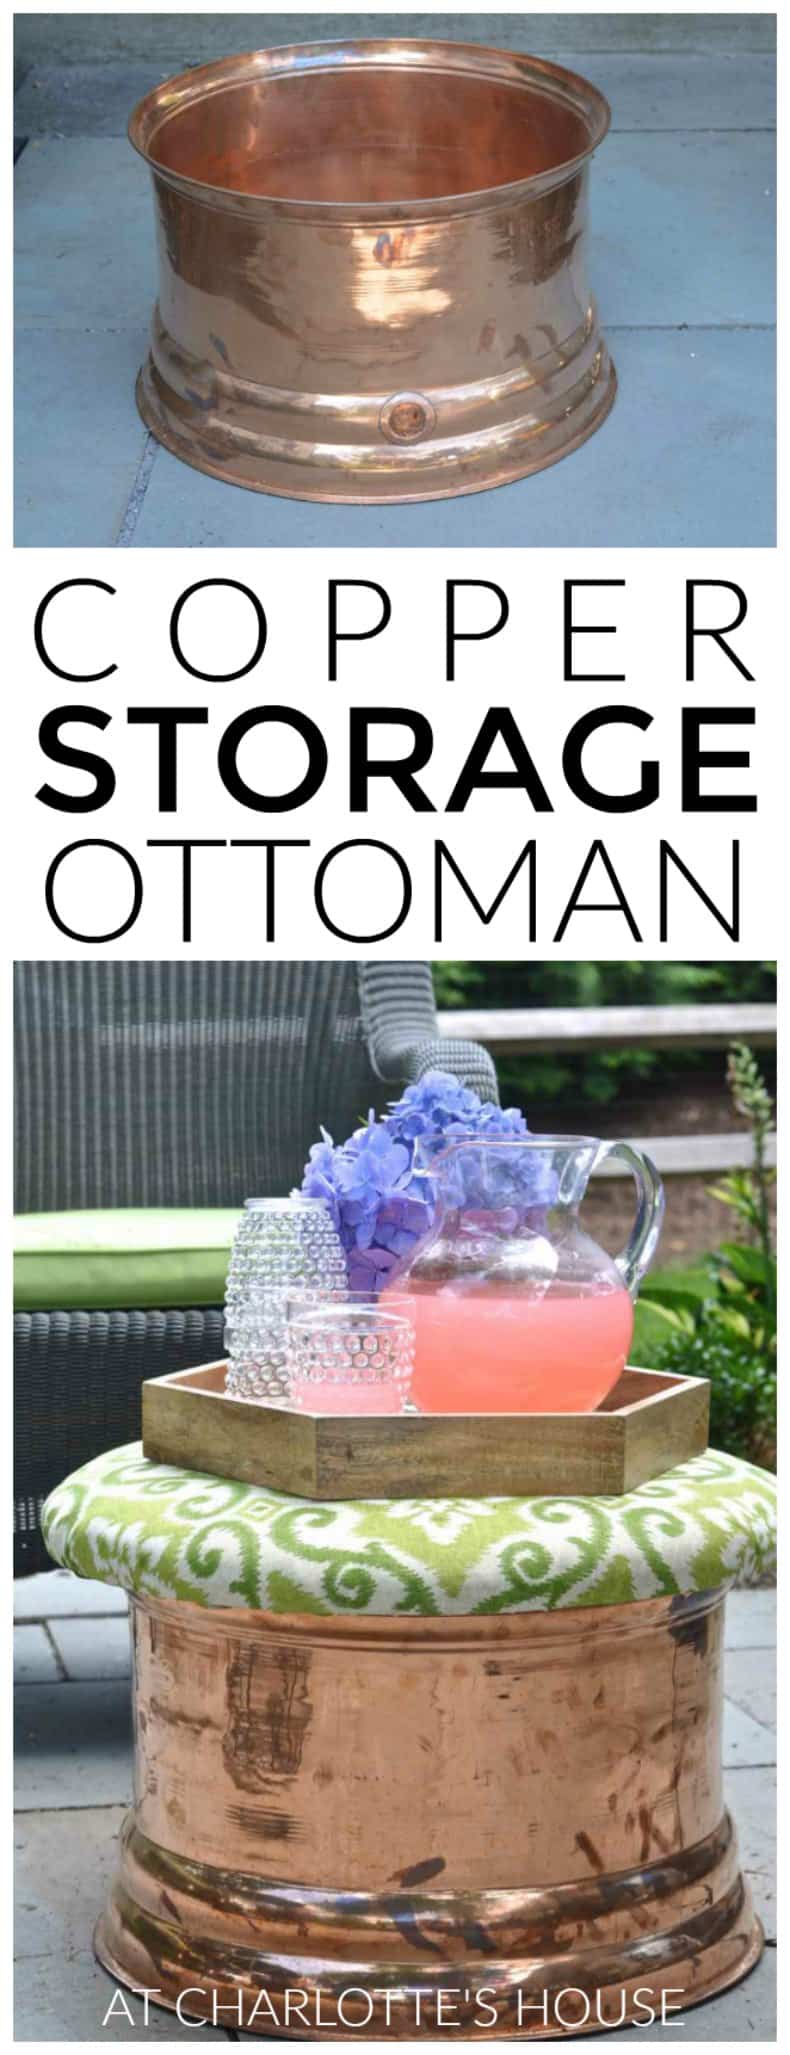
There’s something about an ottoman that I just can’t get away from… I’ve made a bunch. Some more successful than others. Well this mamma jamma started as they often do: at the flea market.
How to Make a Patio Storage Ottoman
Tell me you’re not into copper as much as I am these days. Technically… this is for storing your garden hose. But that’s boring. Aside from a ‘user error’ early in this project, it was super simple. I was able to make this for close to nothing because I had the scrap wood and fabric. (Materials list at the end of the post.)
Shop my favorites!
Step 1-2: Trace and Cut
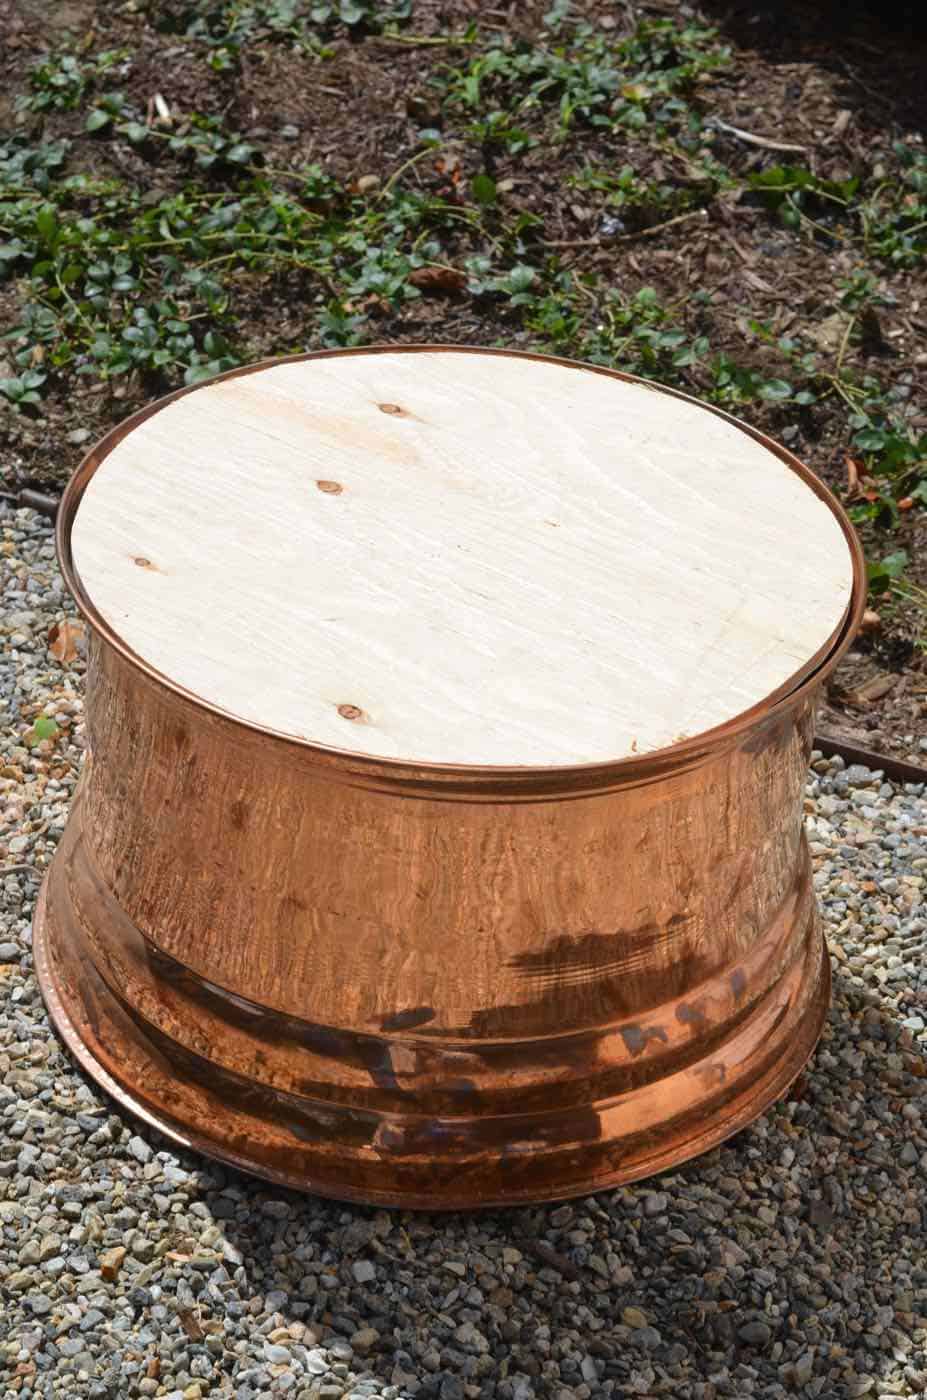
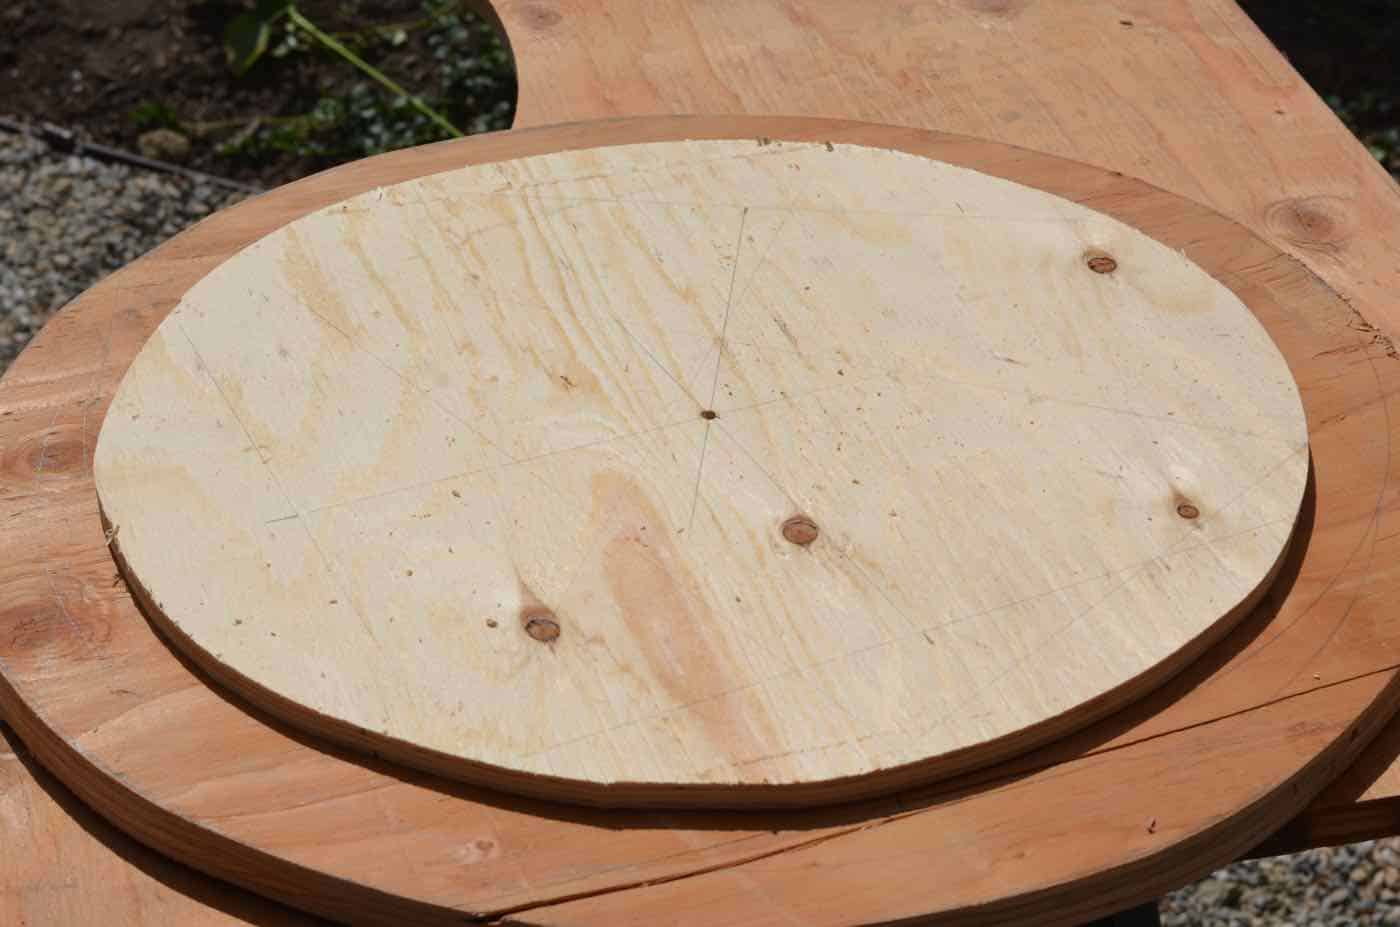
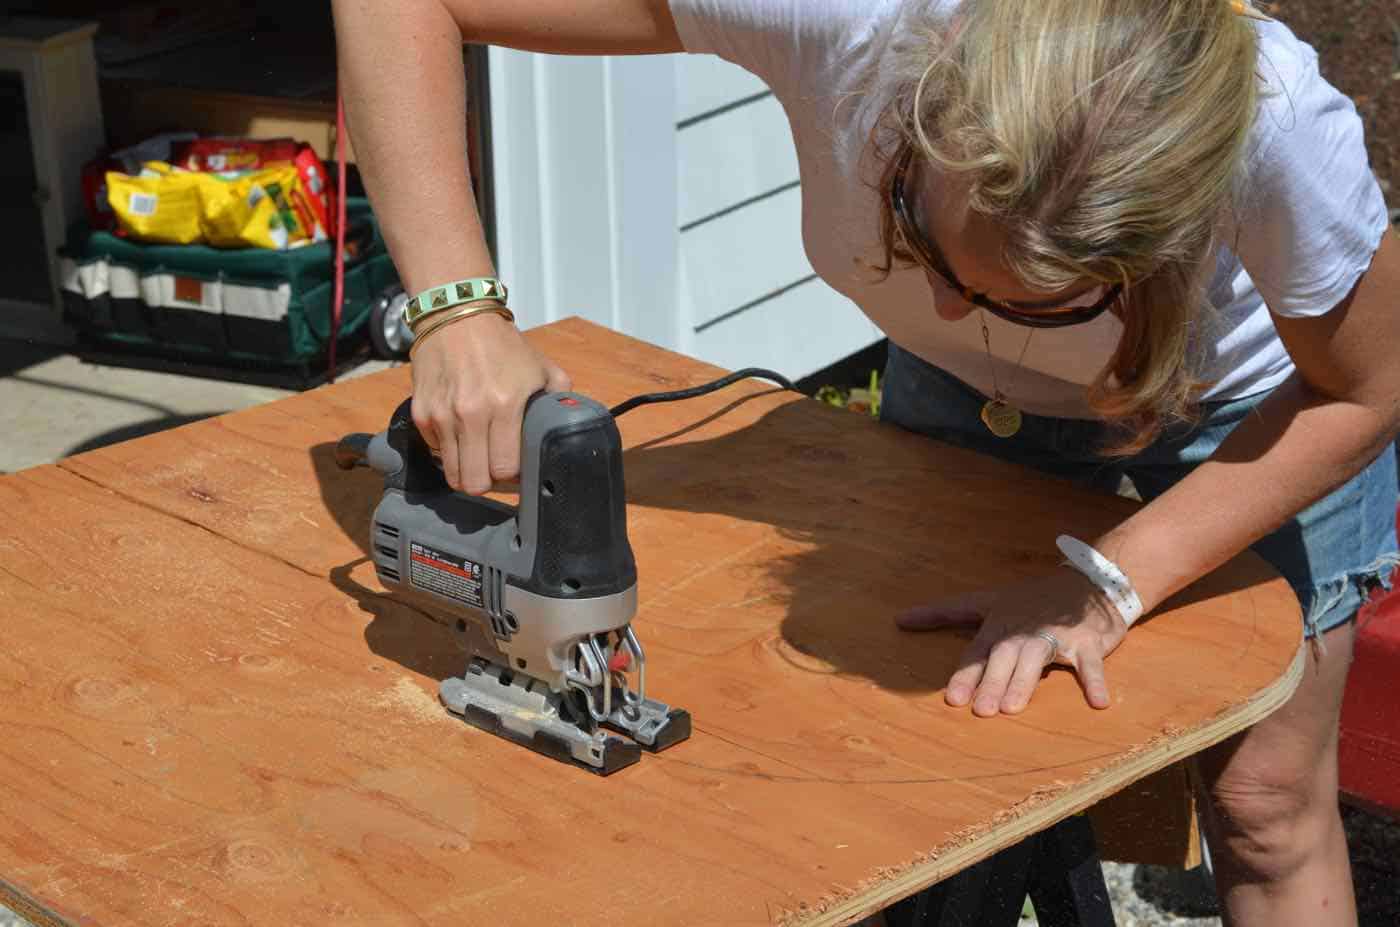
The first 2 steps were a cinch. (That’s not to say I didn’t mess them up, but logistically speaking… it should be easy.) I traced the copper pot and cut one circle about a centimeter smaller than the circumference. Then, I traced another circle bigger than the circumference.
Dorky math sidenote: Do you remember how to find the center of a circle? It’s mad easy… draw 3 or 4 lines across the arc of the circle somewhere. Find the midpoint of these lines and draw a perpendicular line from there. (Basically make a bunch of “T”s around your circle.) These should all intersect at the same point and boom… center, baby.
The only reason to find your center for this one is to align the smaller circle on top of the larger circle. (If you’ve used a compass of sorts to draw your circle then you already know where your center is.)
Step 3: Screw together circles
I used a little wood glue and then a few screws to secure my small circle onto my large circle. I went over it pretty well with a sander to smooth down all the cut edges. At this point I should mentioned that I wield a jigsaw like Lindsay Lohan drives a porsche. I have the best of intentions but I can never trace the perfect line. Any tips are welcome.
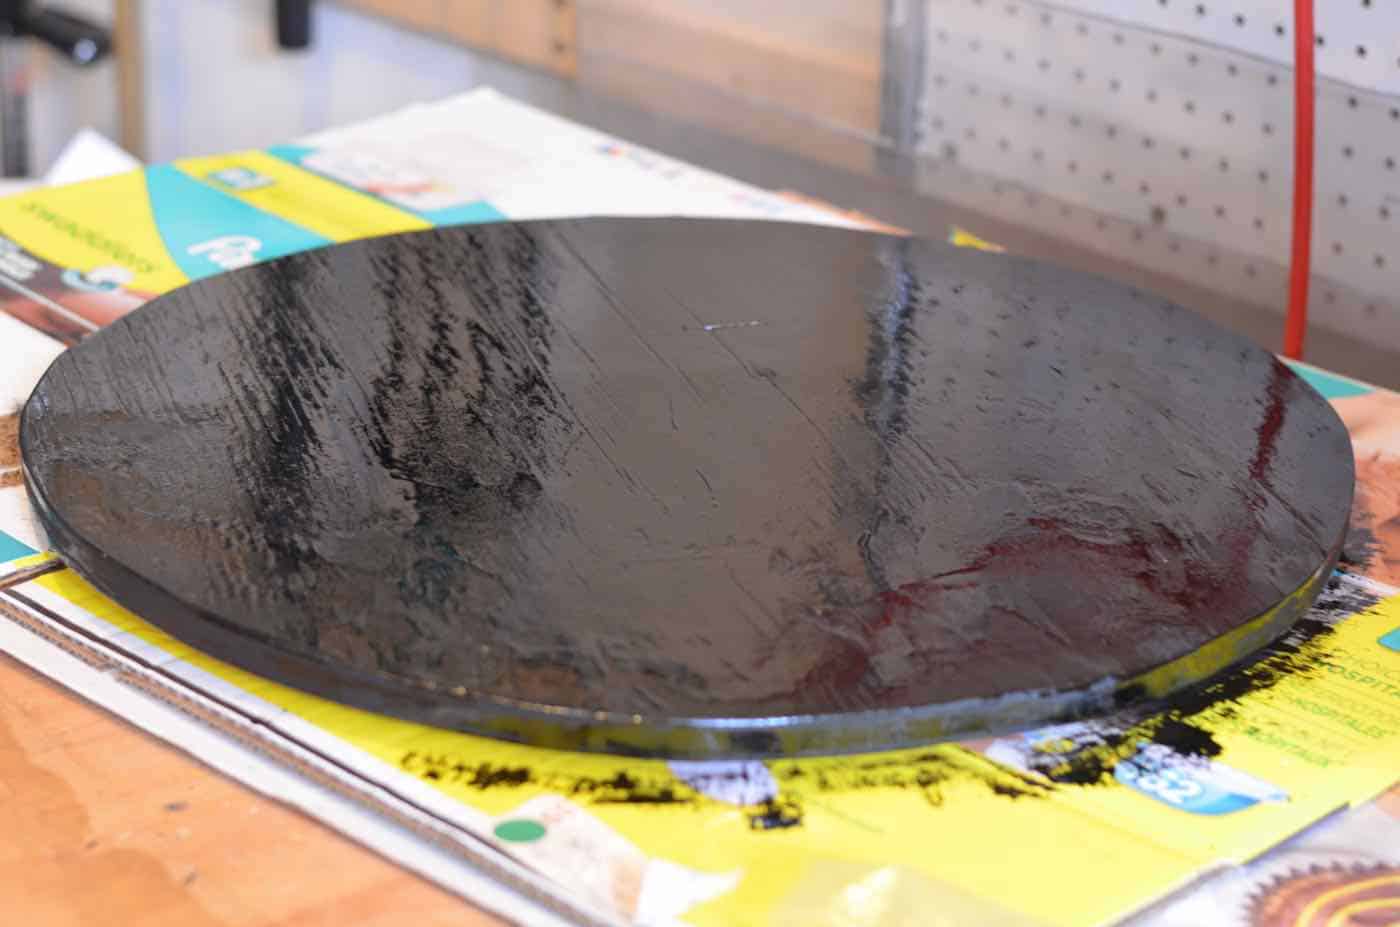
Step 4: Seal the wood
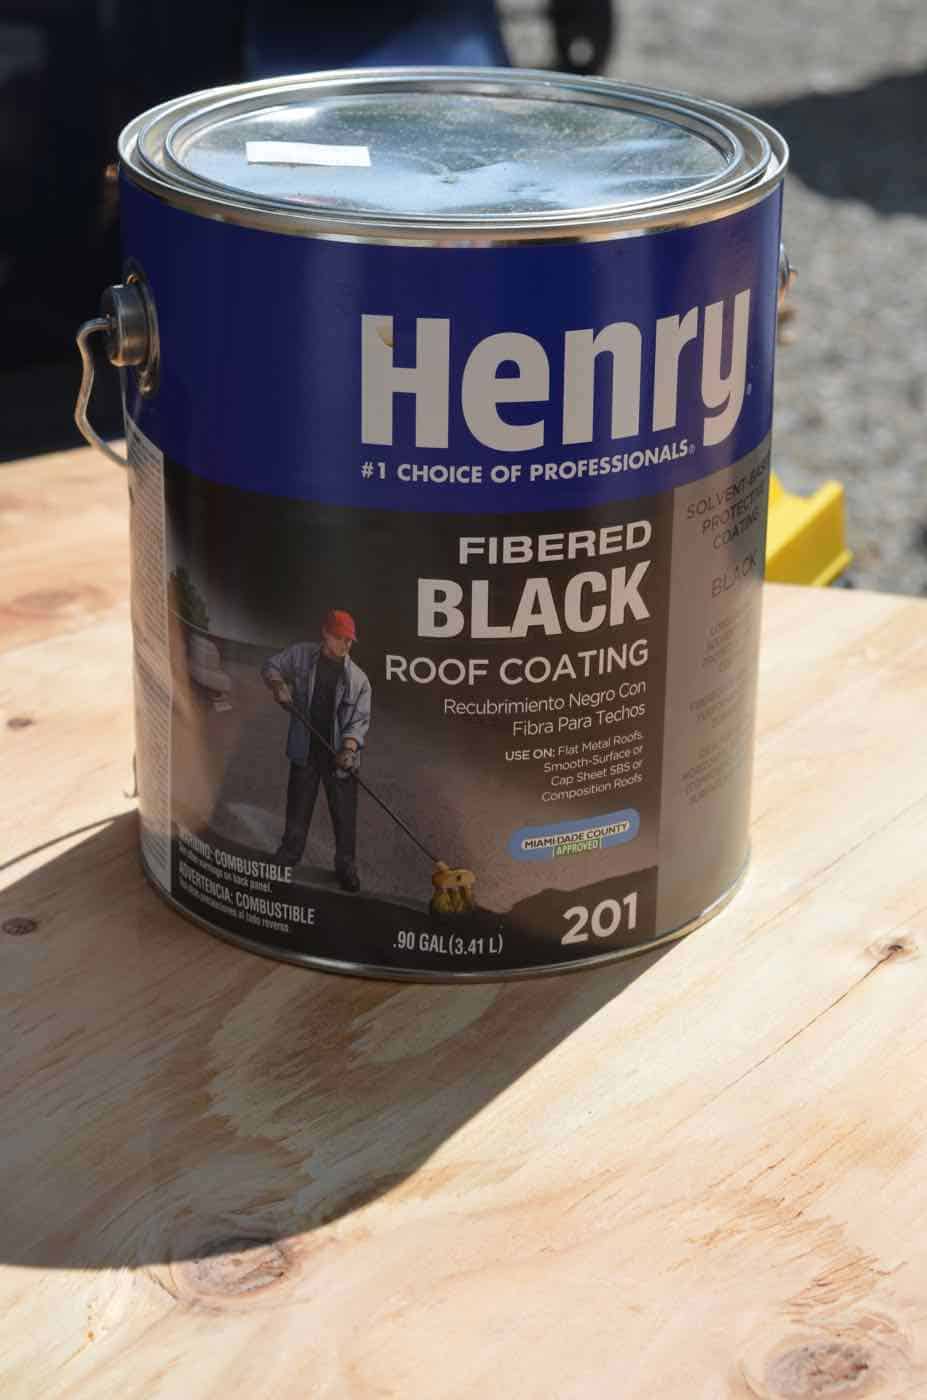
Here’s where I went a little Dora the Explorer. You may recall I mentioned this was an outdoor ottoman. And you may also have noticed that I’m working with wood. I know myself well enough to know that I will NEVER remember to bring this thing out of the rain so it will, therefore, be getting wet a lot. I ALSO know that regardless of how ‘outdoorsy’ this foam is, the wood seat of this ottoman will be touching wet foam a lot. And that’s bad. I played around with other materials, but ultimately wood was the cheapest and easiest which is where the roofing tar comes in.
Granted this might be a bit of overkill, but I was intrigued. I’m sure a few layers of good ol’ oil paint might have done the sealing trick, but this seemed like it was meant for heavy duty weather and might be a little sturdier than paint. Which it definitely is, but man it’s messy. So be prepared. The other little factoid about tar is that it never truly dries. Or at least it WILL dry in 10-15 years and that’s when you know it’s time to fix your roof. BUT… it definitely gets to a point within 48 hours where you won’t get any tar on you if you touch it. It will always be slightly tacky and if left in super heat, it will soften up again… but it’s meant to stay ‘flexible’. Yeah… in hindsight I might not use it again, but… it worked for this project. And now you know more than you ever cared to about roofing tar.
Step 5: Upholster
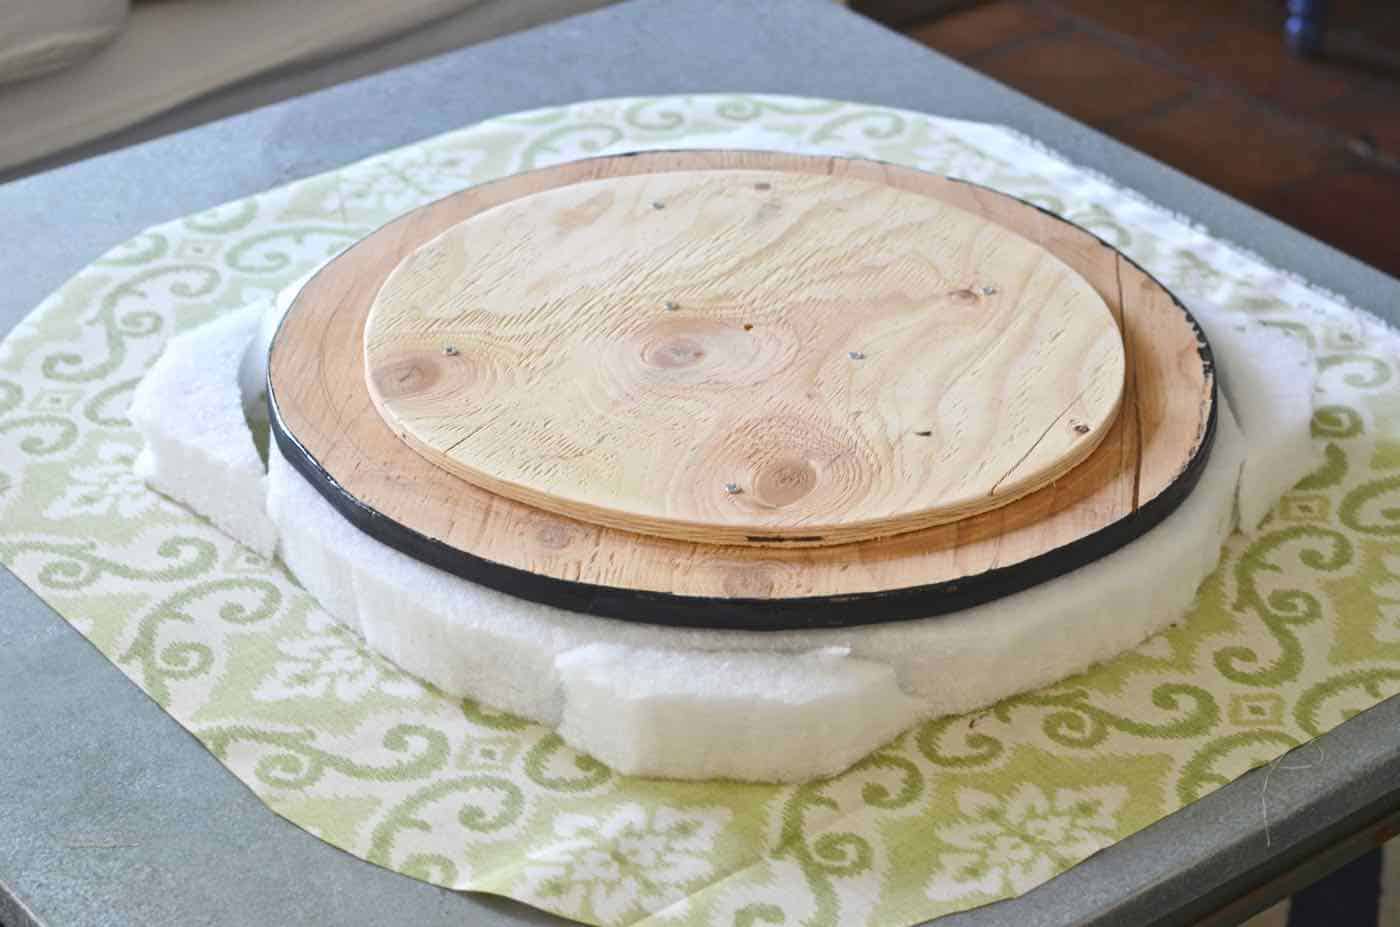
I cut my outdoor foam to align with the circular board and gave myself an extra centimeter. Then I simply wrapped and stapled to upholster. I stapled the fabric right up against the edge of the smaller circle. My mistake for this project was making the circle topper too big the first time so the finished piece looked like a mushroom. Fail. I trimmed it down and reupholstered… SO much better!
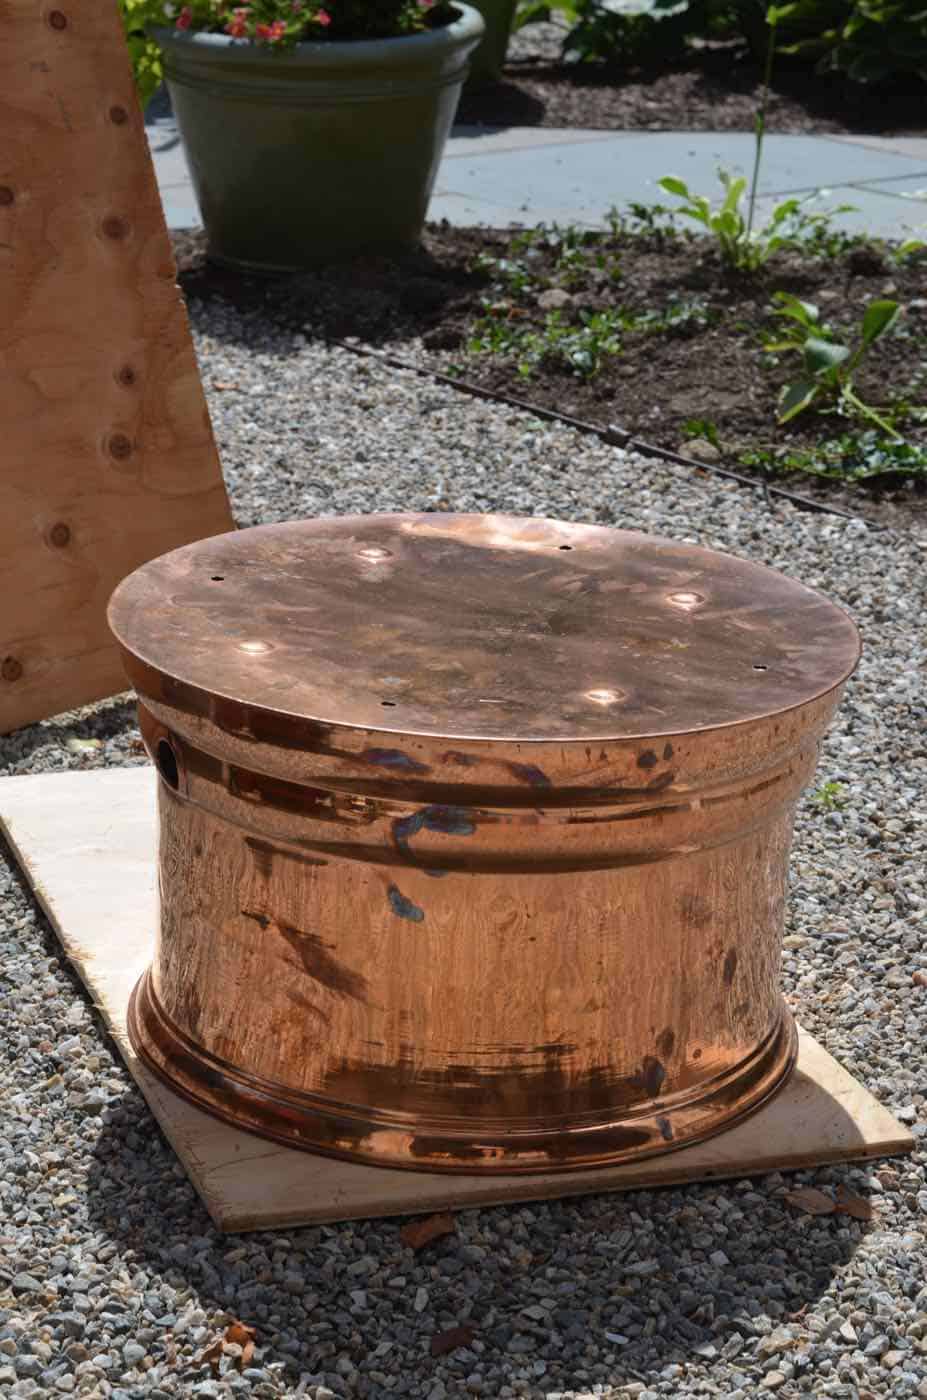
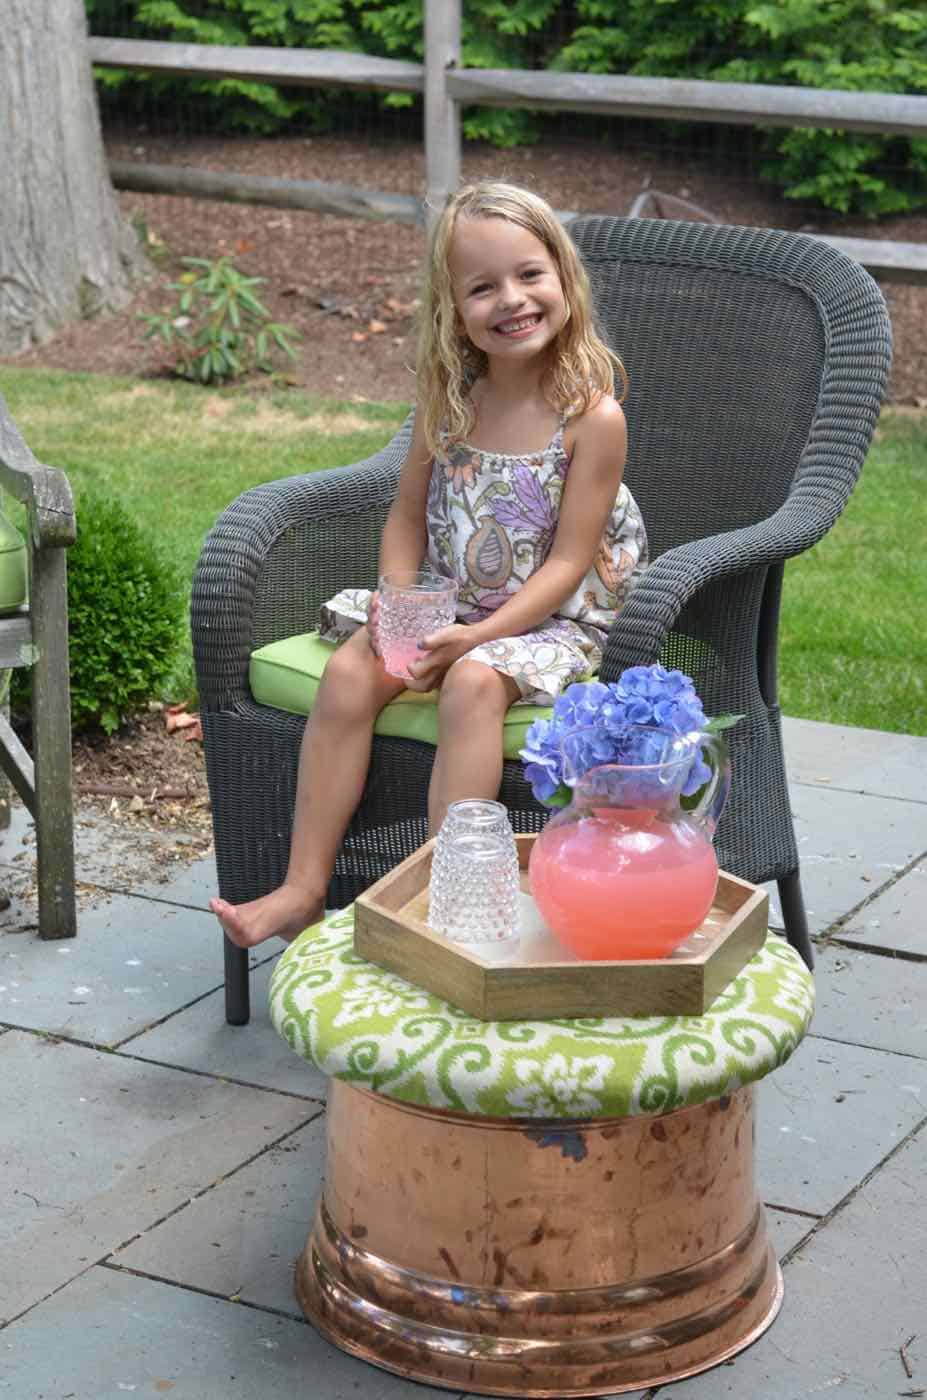
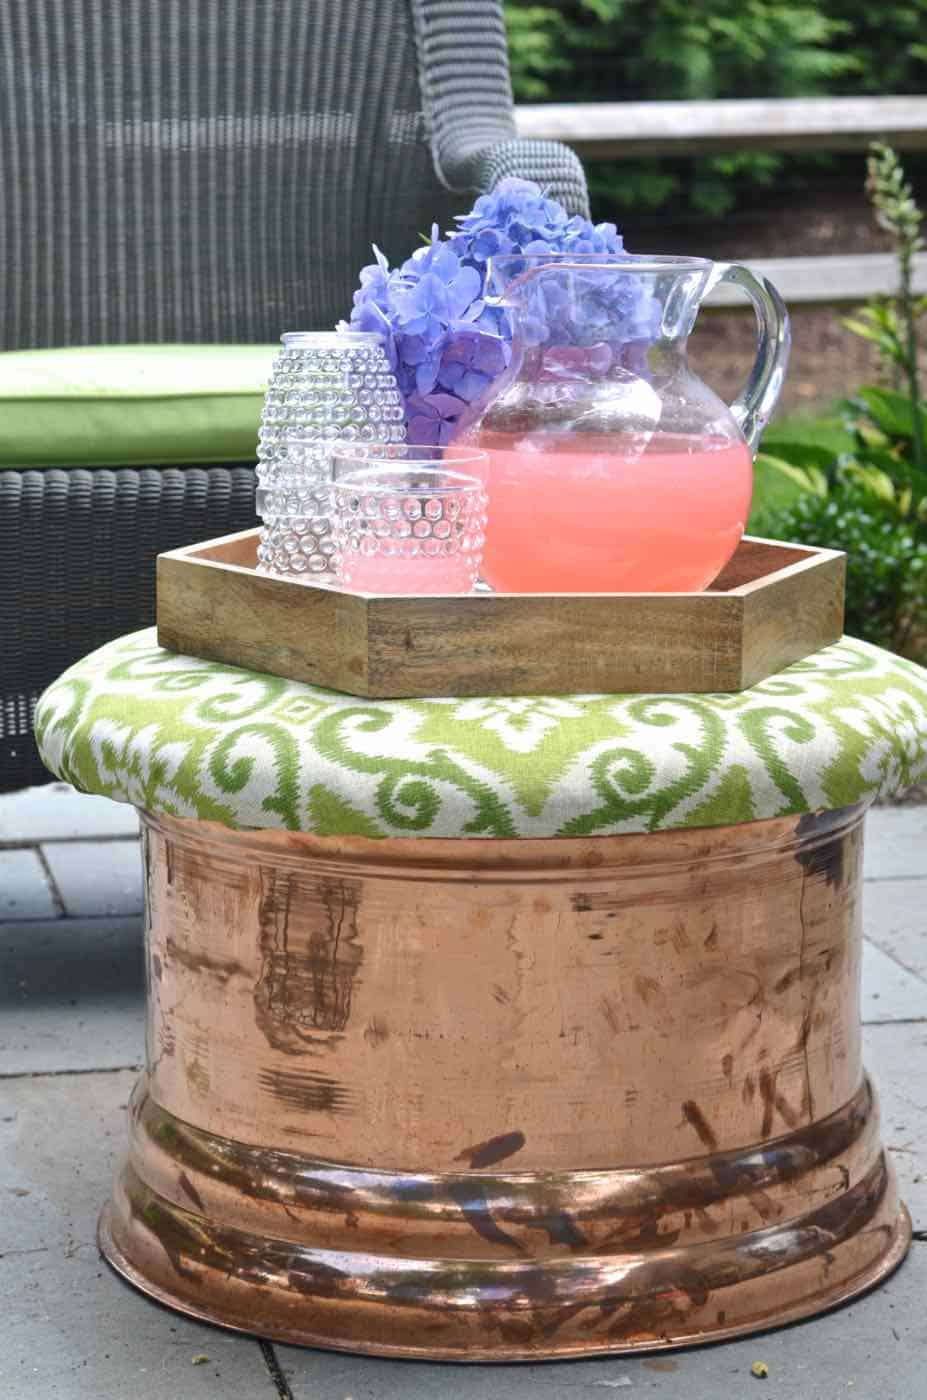
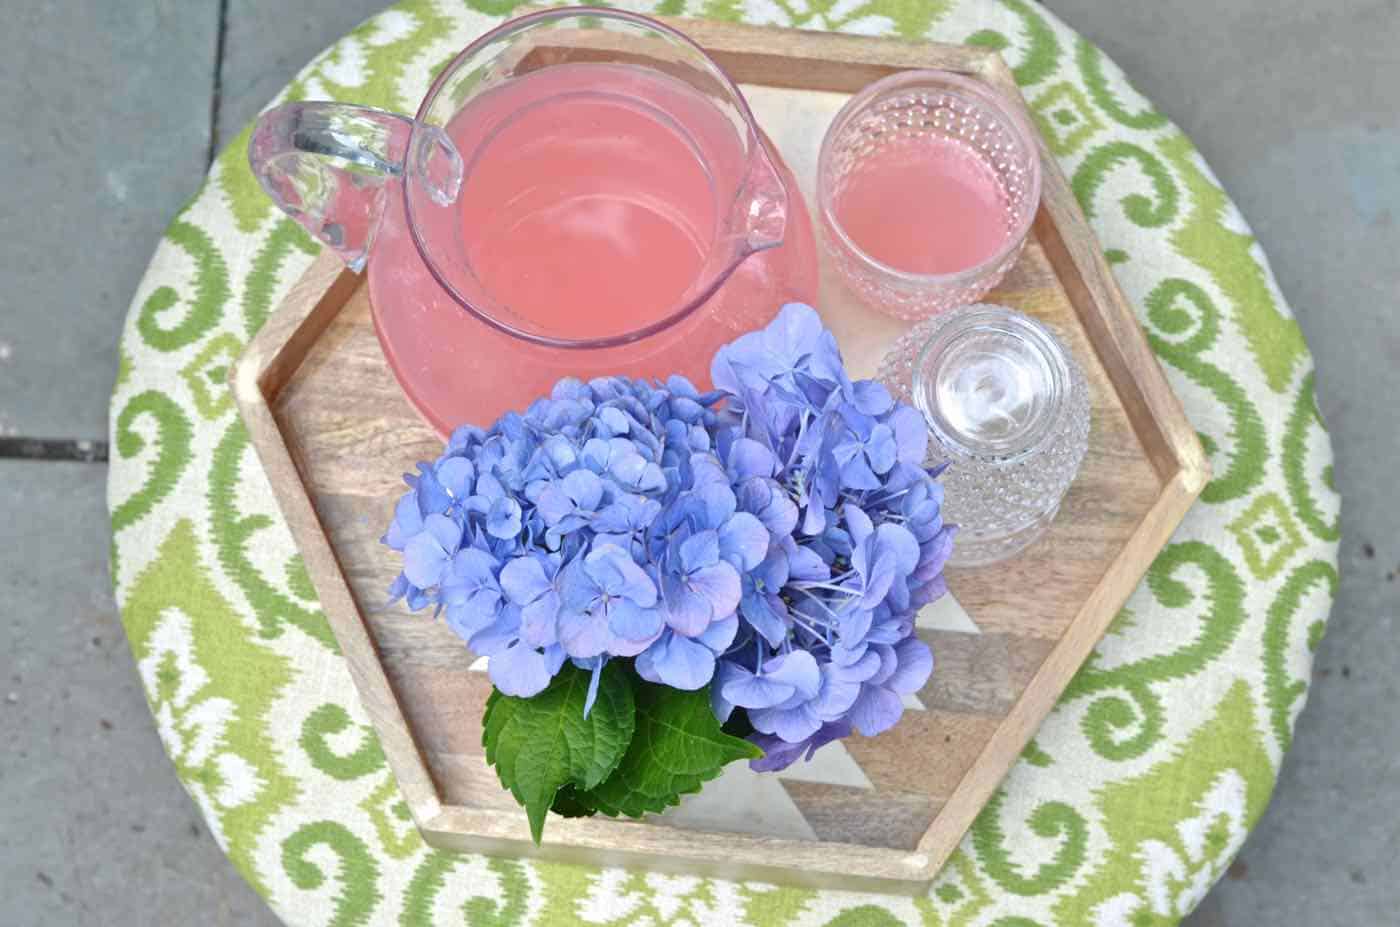
This will live out on our eclectic patio and will provide perfect extra seating and/ or an additional little side table. The top just rests on the copper pot so it can come off to store ice and drinks or other miscellany. Or, I suppose, a garden hose.
Materials
- 1/2″ or 3/4″ plywood
- screws
- foam (outdoor if you can find it… just means it dries faster)
- outdoor fabric
- roofing tar (update: not really necessary… it can be expensive since lots of places only carry the gallon)
- jigsaw
- sander
Update: This ottoman has held up GREAT, but the fabric started to look a little tired after 2 years… I recently shared our patio in the new house and made a video to show you how easy it is to PAINT upholstery. Yep… Paint. See the new patio HERE and see the video for the painted upholstery HERE. The copper beauty got a navy makeover!




“I wield a jigsaw like Lndsay Lohan drives a Porsche…” Hilarious! At least you won’t have to do community service! Fun post.
HAHA! Not this time. 🙂 I might wear an orange jumpsuit though….
I mean, I’m in love with that. Partly because I love you, mostly because I love copper. Seriously. This is the shiz.
Right?! I mean I kinda HAD to buy the pot…
Hey Charlotte! You are hilarious. I enjoyed reading your post so much. Great idea to turn the base into a side table. I love the copper too.
Thanks, Brandi! Anything metallic and sparkly is pretty much my bag these days. 🙂
Absolutely love this.
Hands down, my favorite posts are the ones where an object is looked at in a completely new way.
You have certainly done that here. Just gorgeous.
Thanks, Pat! It was too pretty to stick a hose in! 🙂
This is really cute, so creative and the kids are adorable!
Thanks, girl!