
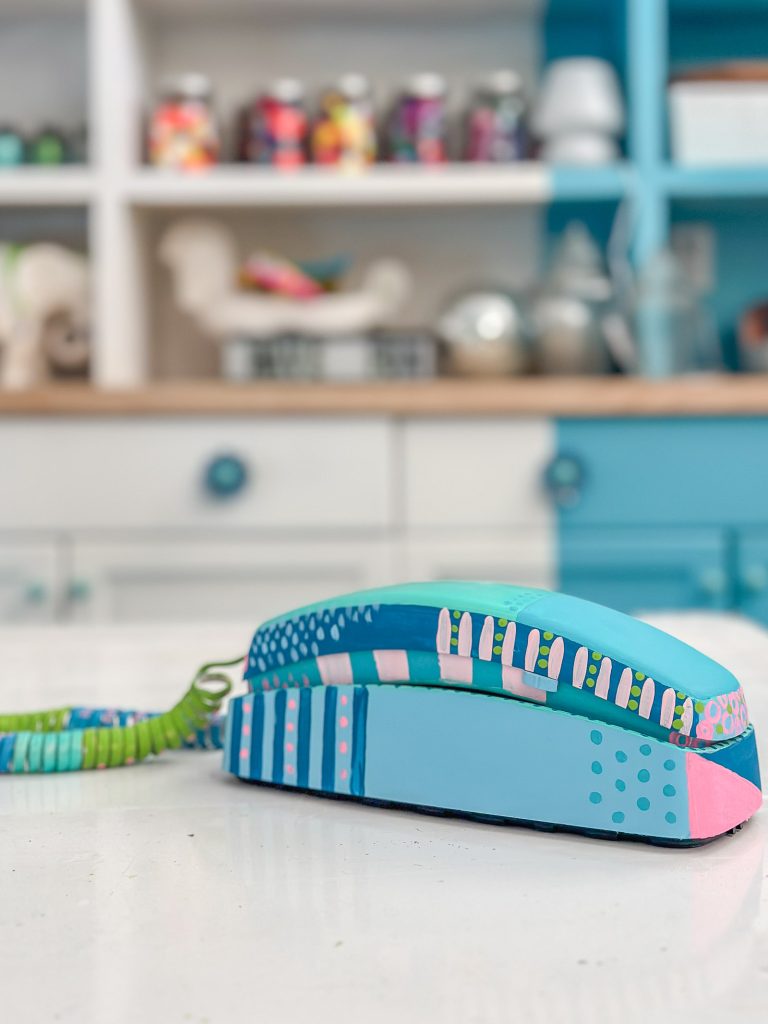
Painted Retro Telephone
Psssst… this post *might* contain affiliate links: see my disclosure here.
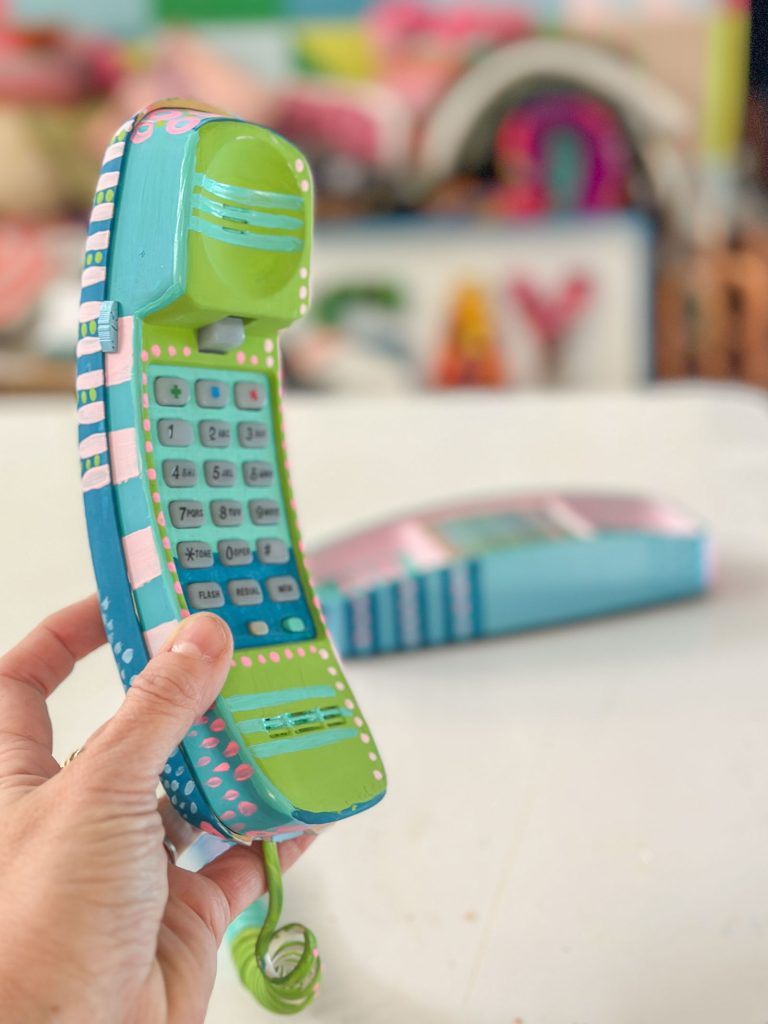
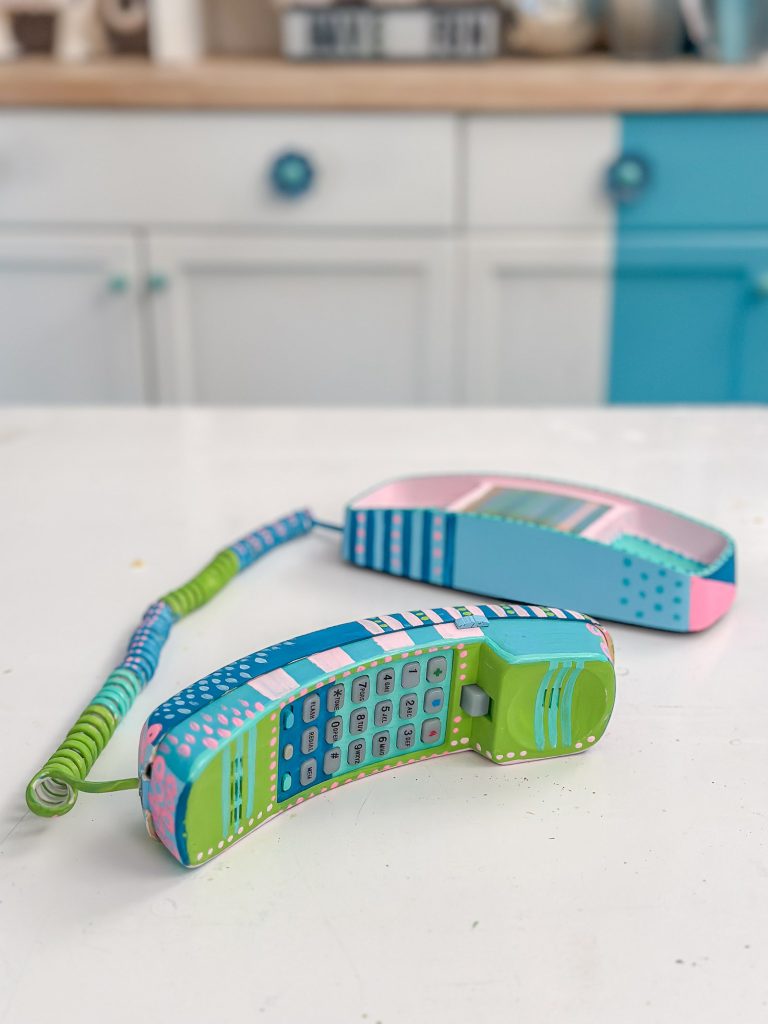
I found this old phone for free at the dump and immediately had to give it a colorful makeover.
There’s probably not much need for actual *instructions* to this DIY but I’ll give you an overview of what I did if you promise to send me pictures of anything similar if you do one yourself!
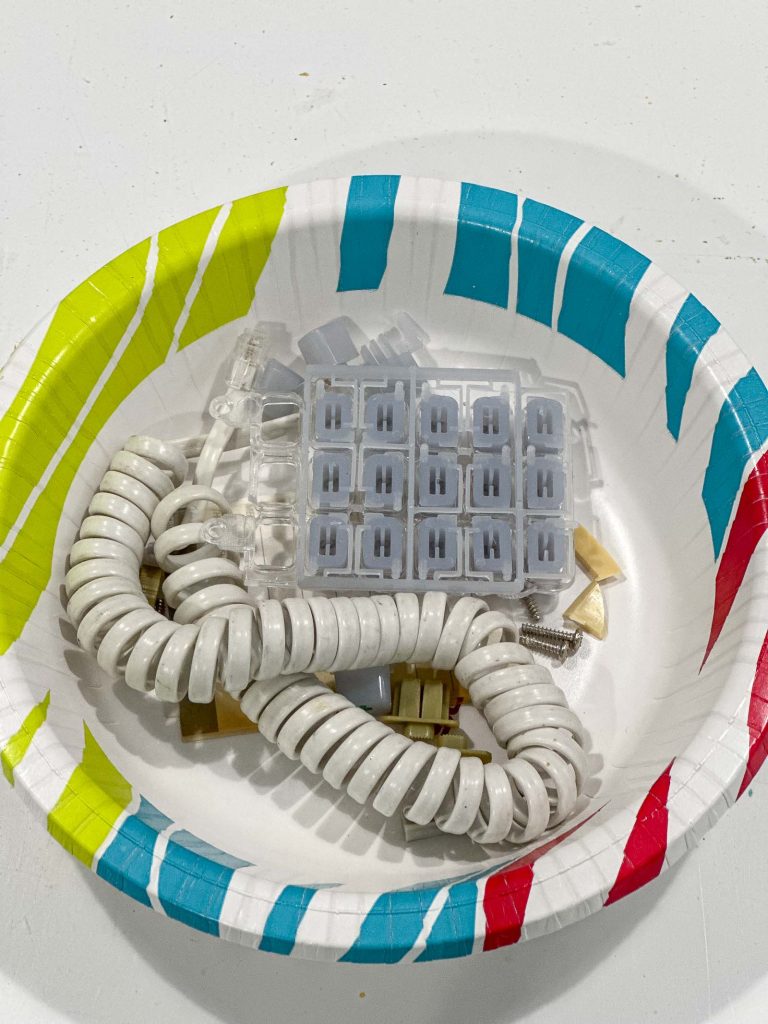
Step 1: Take apart the phone
I had to look this one up on YouTube to figure out how to separate the top of the phone from the back of the phone. There were a few small screws involved but also some release tabs (that I ended up breaking anyways…)

This probably seems obvious, but take lots of pictures to help you remember where everything goes and save all the small parts.
Shop my favorites!
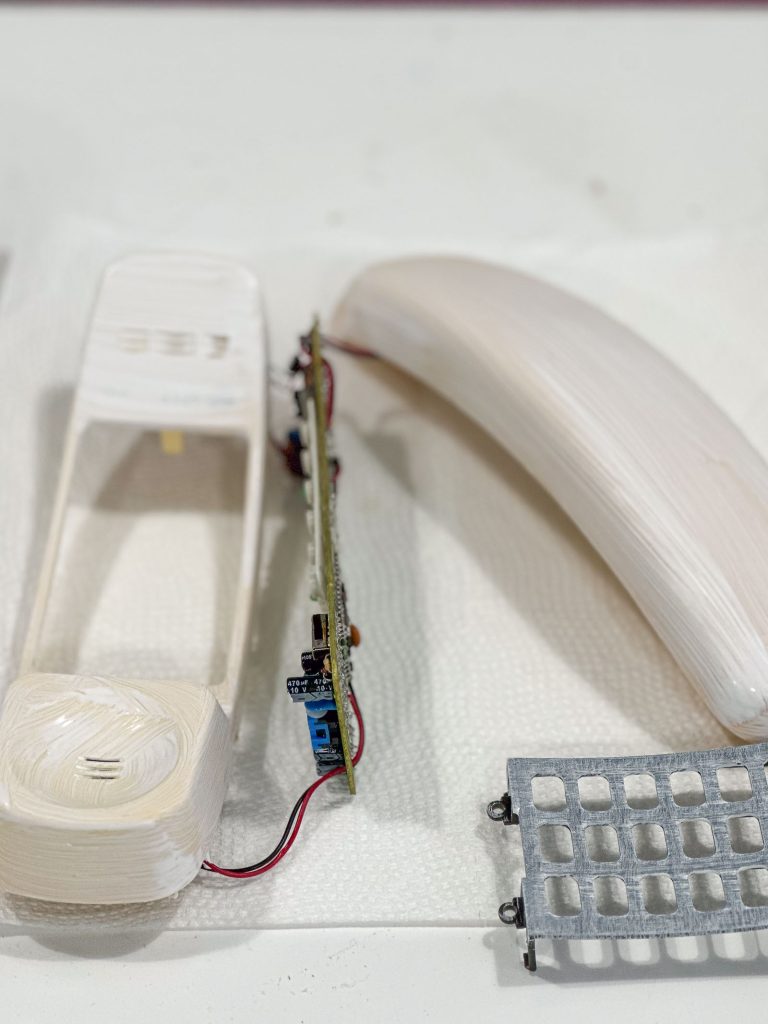
Prep the Phone
I made sure to wipe the phone clean first and then gave it a base coat of this KILZ primer.
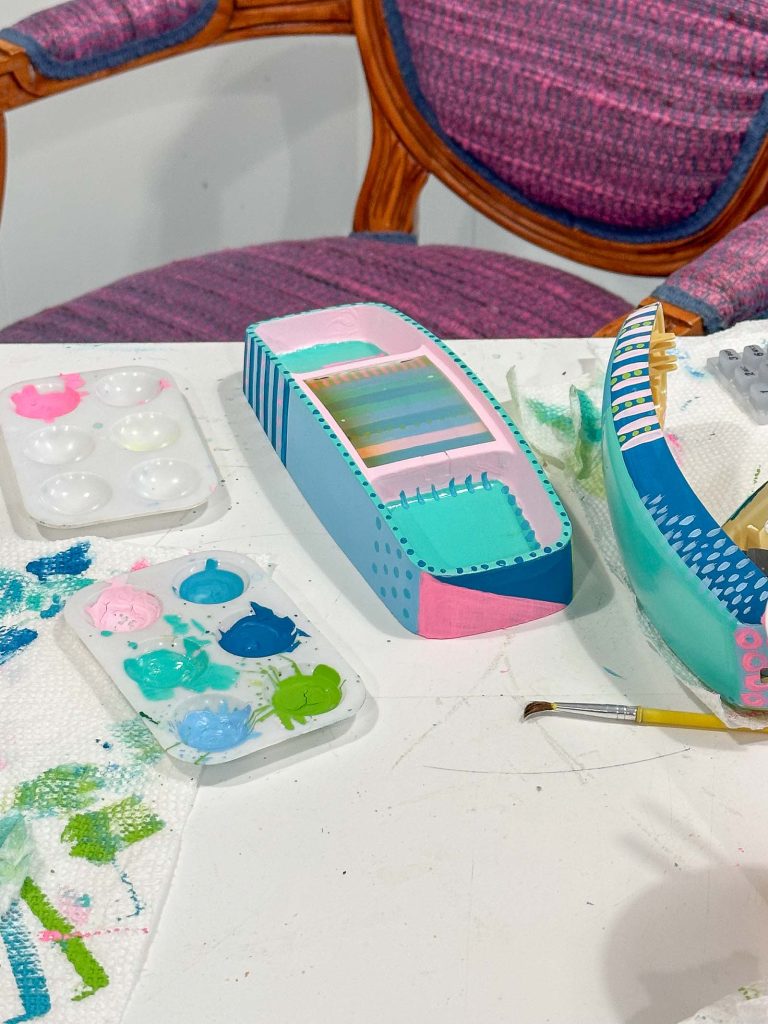
Add Color and Paint the Phone
Paint pens would probably work, but I had an assortment of thin craft brushes so just used those and basic craft paint. In general, I didn’t have any plans for this other than using my favorite colors and trying to stagger the patterns etc. I started with a color block and then added the details.
I’m calling this phone “retro” even though, to me, this is just… a phone. But given that most houses don’t have a corded phone, I figured it’s probably safer just to consider it old rather than pretend I’m not that old.


Don’t Miss Out
Become An Insider!
Signup for exclusive tips, and tricks from Charlotte’s House!
Let’s chat!
I love comments from you, so feel free to leave your thoughts and ideas below! And don’t forget to follow me on Instagram for even more!