Peace, Love and DIY- Holiday Peace Sign Makeover
Psssst… this post *might* contain affiliate links: see my disclosure here.
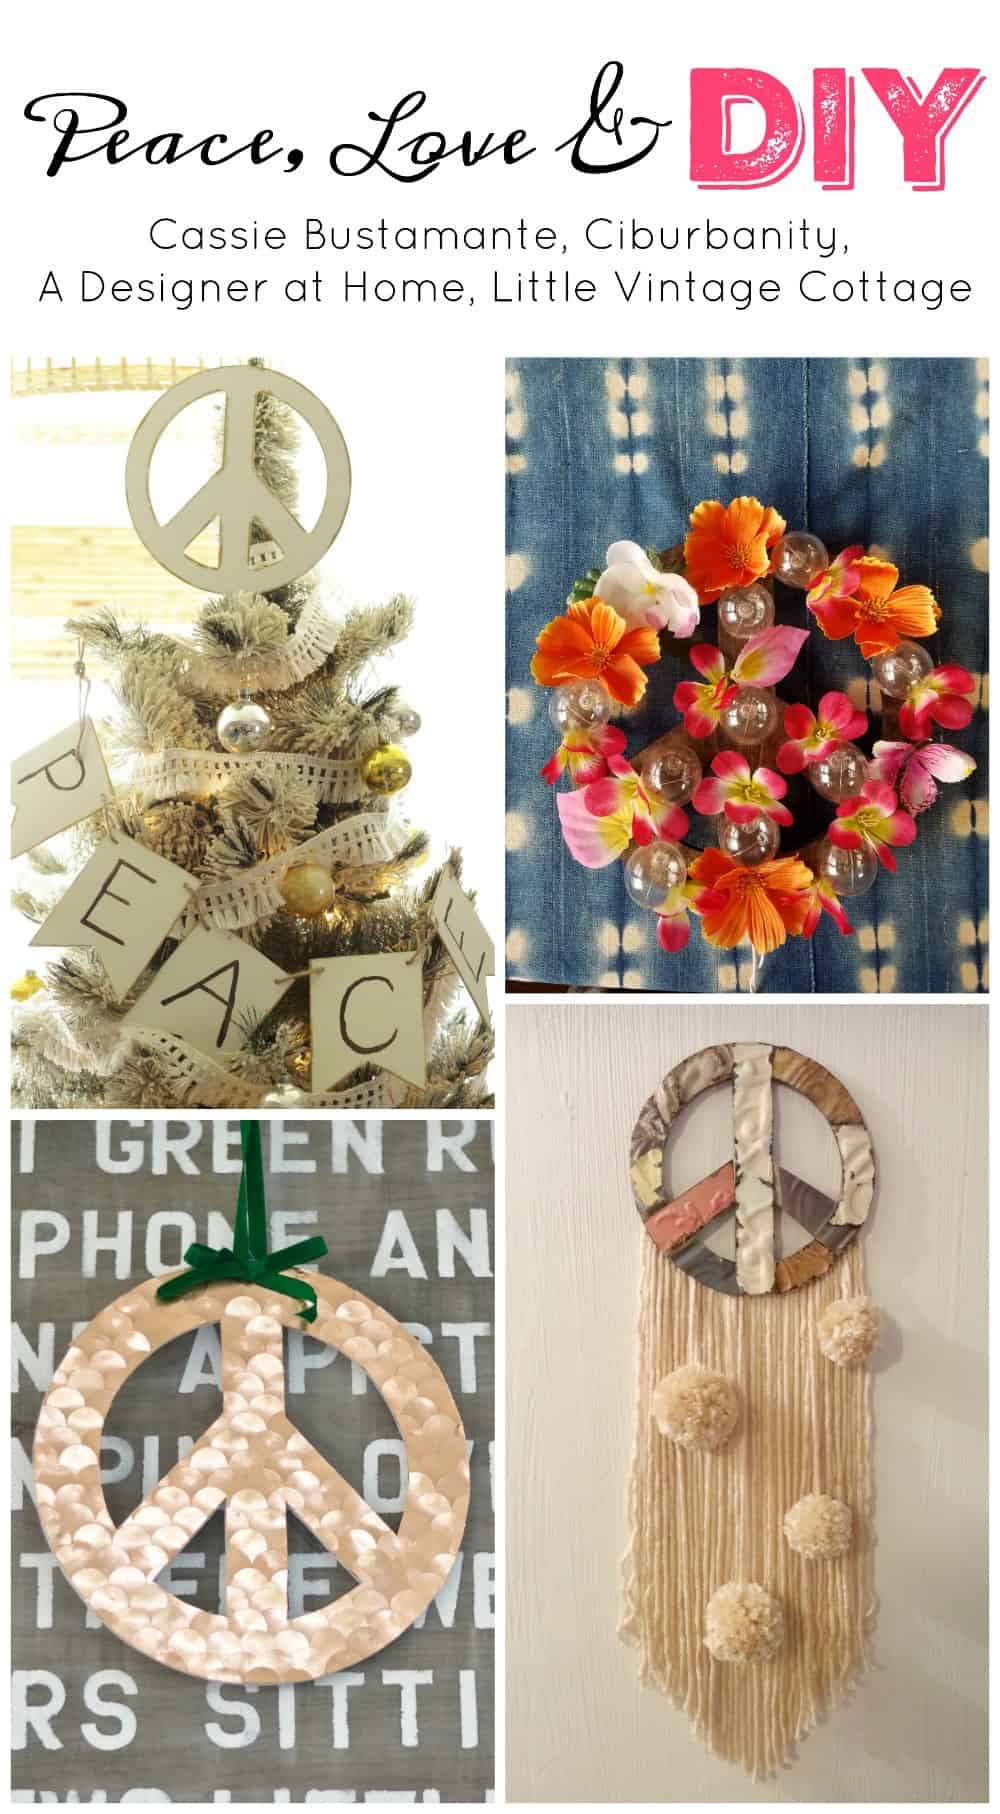
My favorite part of blogging is getting to collaborate from afar with all of my creative friends! Today, I’m joining forces with some of my faves (Cassie, Corinna and Tania) to share these fun dolled up peace signs… we’re calling it Peace, Love and DIY and mine has been an exercise in patience! This beauty is NOT my original vision… my original vision took a turn for the worse…
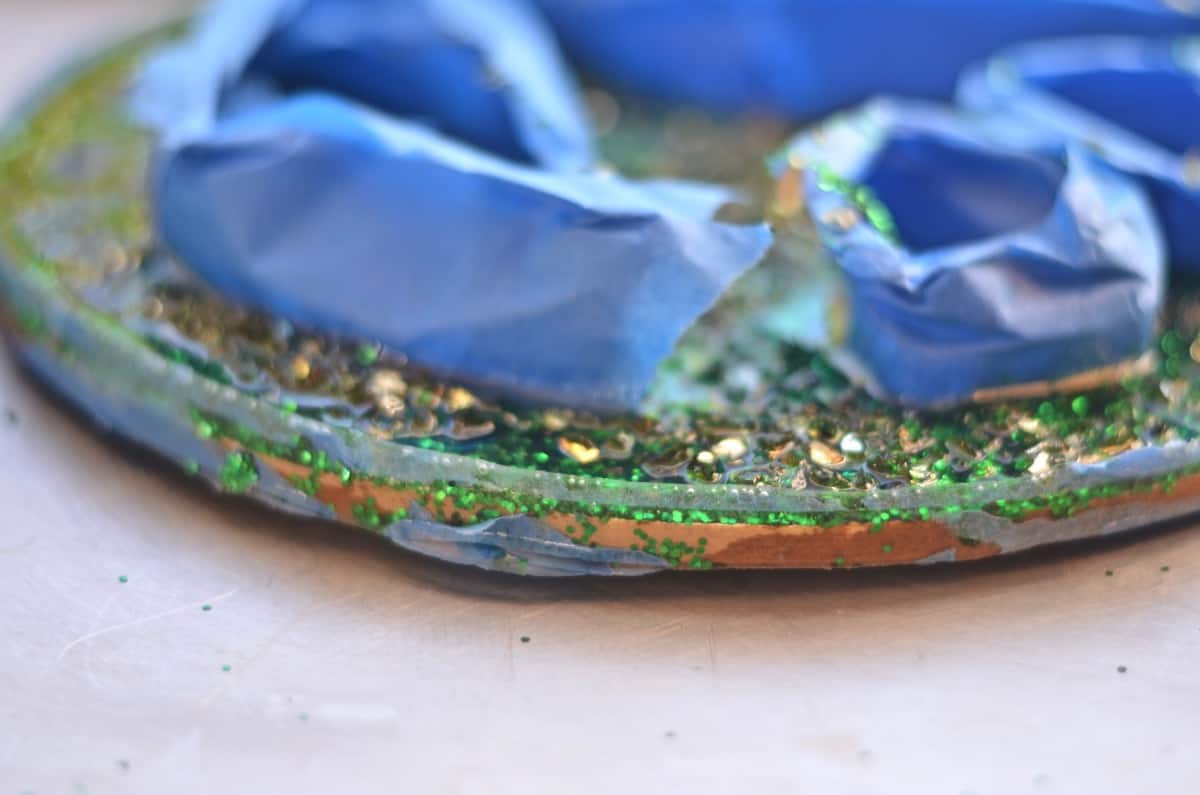
Here’s what my original vision was: chic and glittery … lucite-esque. It was going to take Pinterest by storm and blow people’s minds with it’s affordable simplicity. Nope.
Shop my favorites!
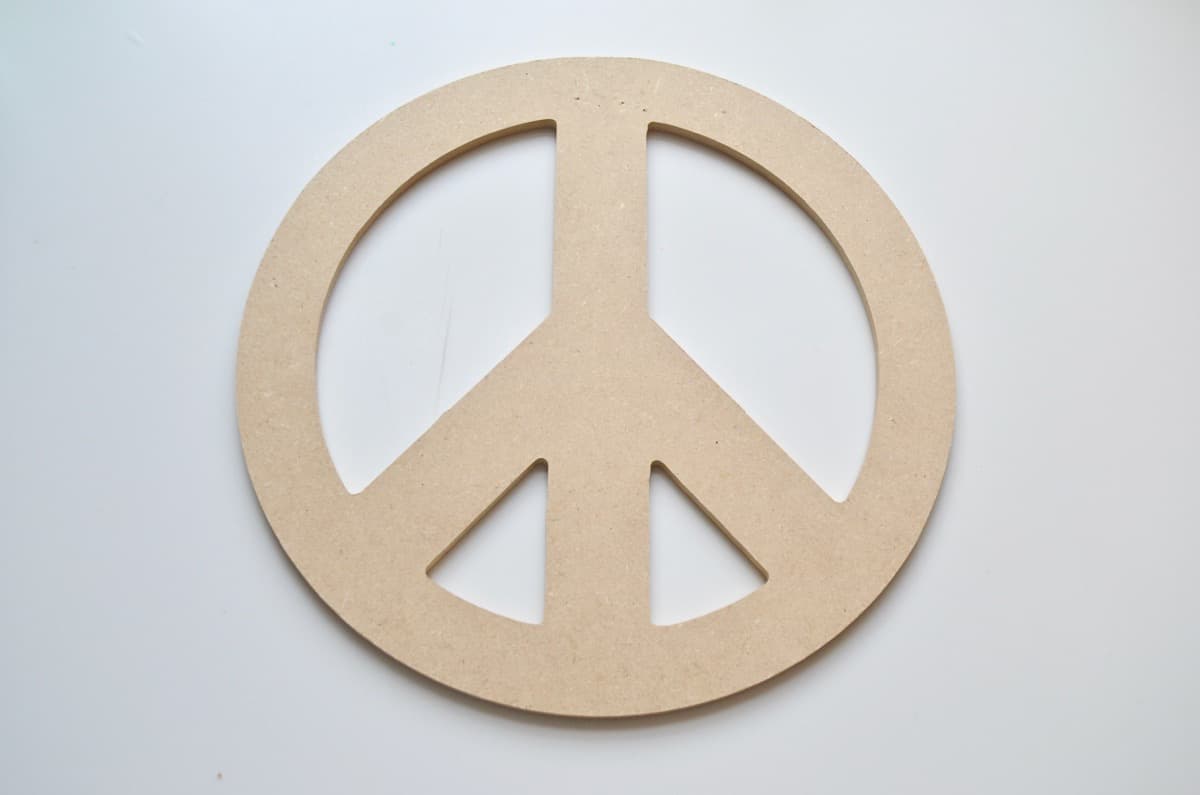
We all started with the same peace signs (affiliate link)…
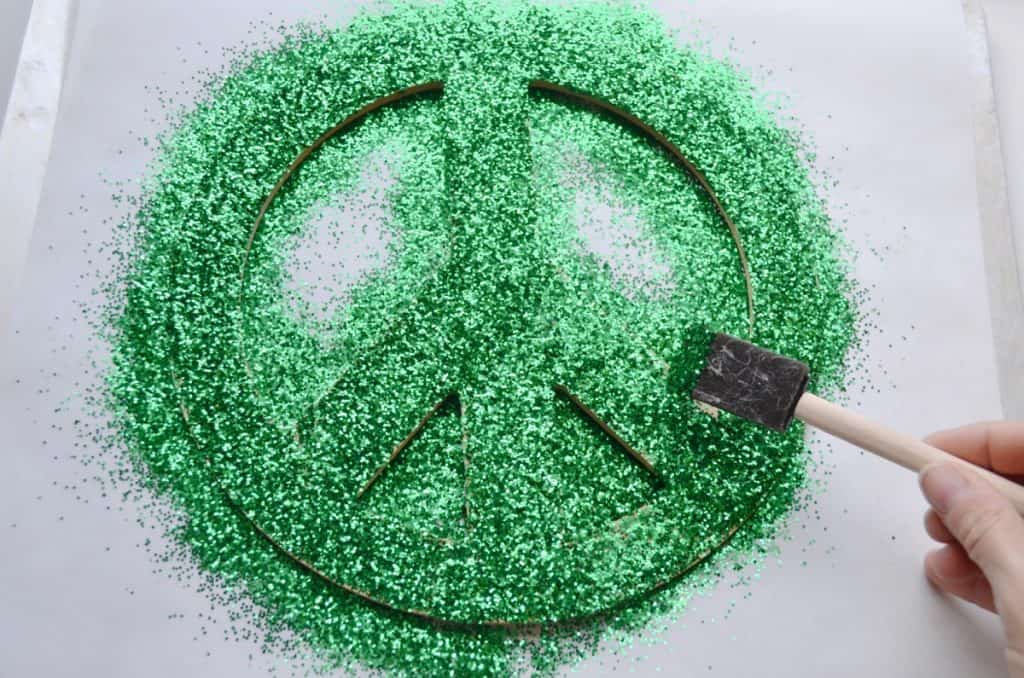
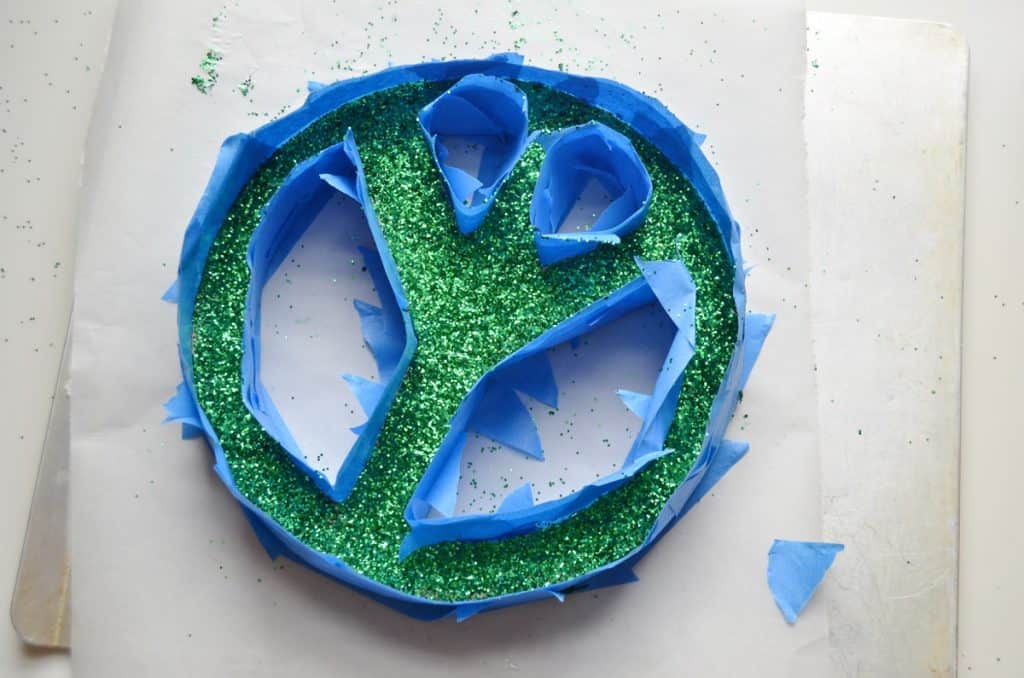
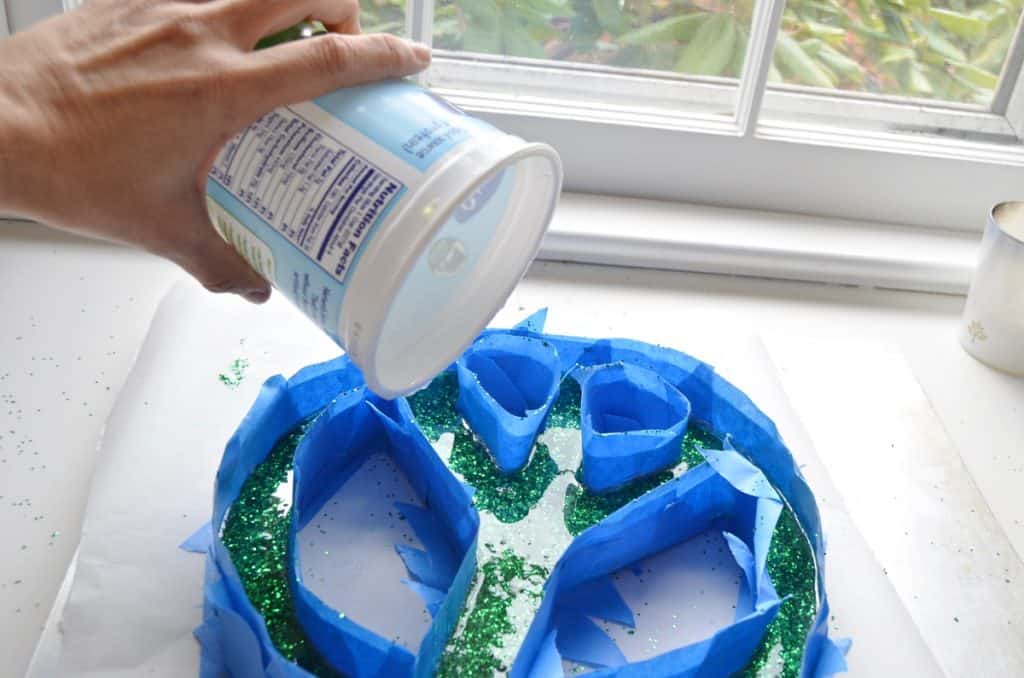
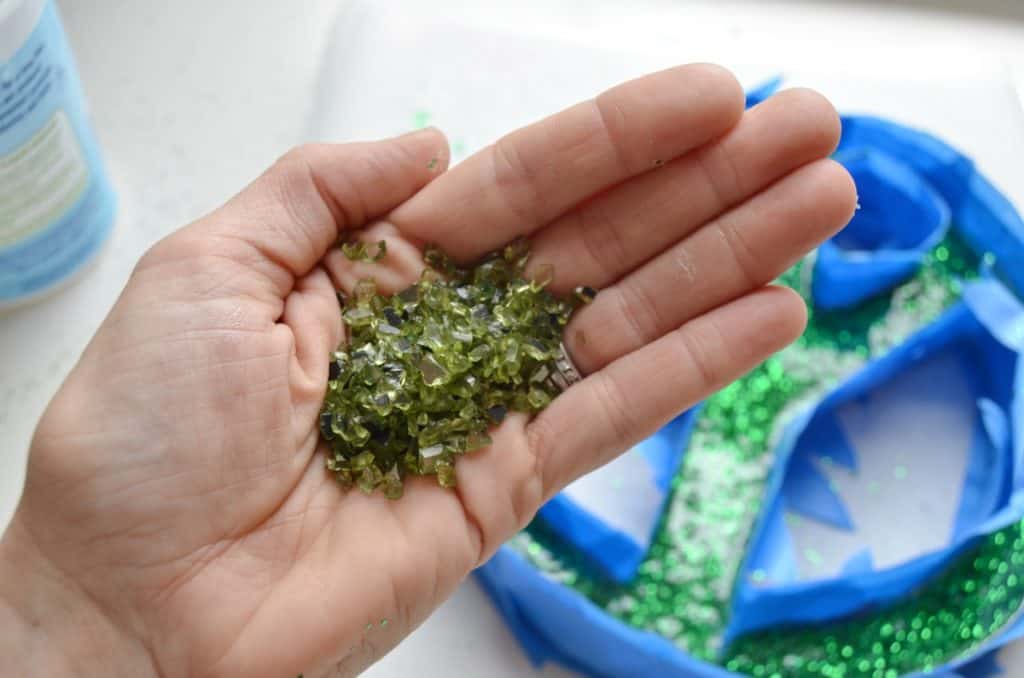
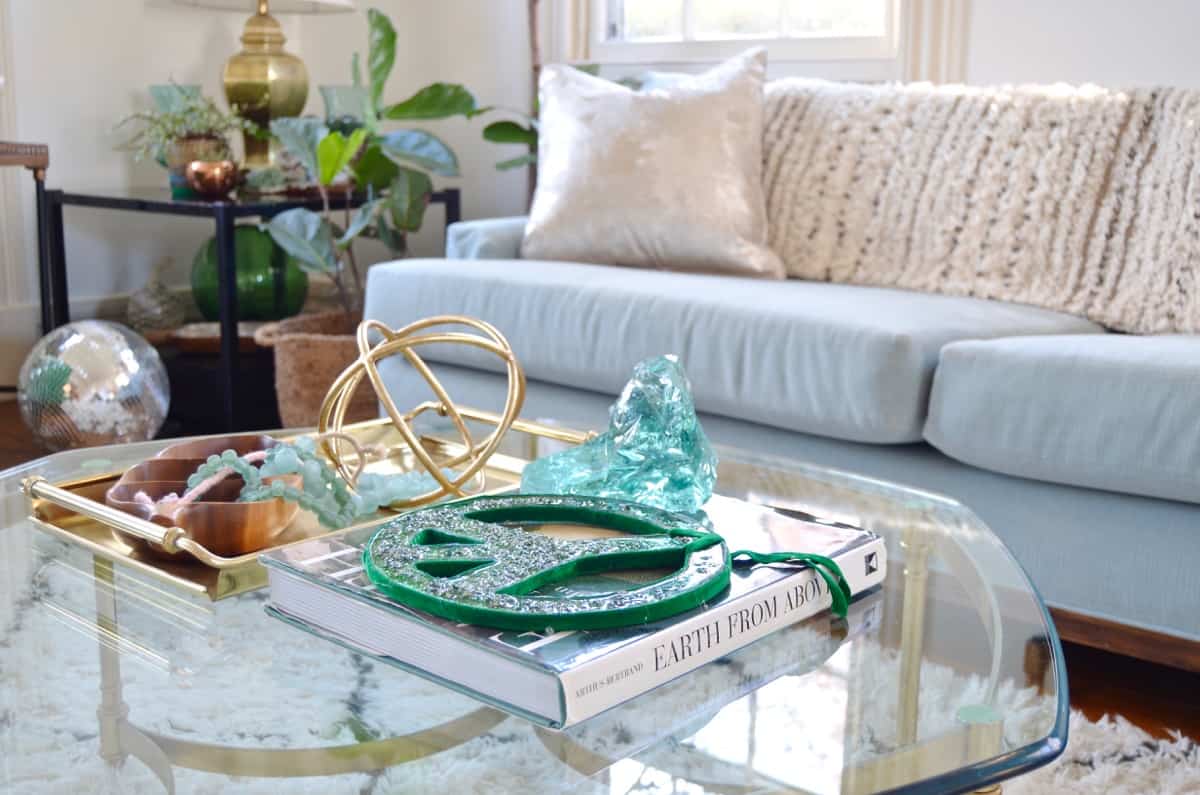
I covered mine with glitter, created a ‘tray’ with painter’s tape and then poured in some of this magic (affiliate). To add some flare, I even scattered in some of this green sparkly pot filler I had on hand. And then I waited. A couple of days later, I pulled down my peace sign ready to revel in the clear acrylic magic I’d created. Wanna know what sticks to resin? Painters tape. Needless to say, It didn’t peel away as I’d envisioned, and I was left with a tape covered mess. I tried to save it by going to town with my Dremel. This helped clean up the edges a bit. Emphasis on “bit“.
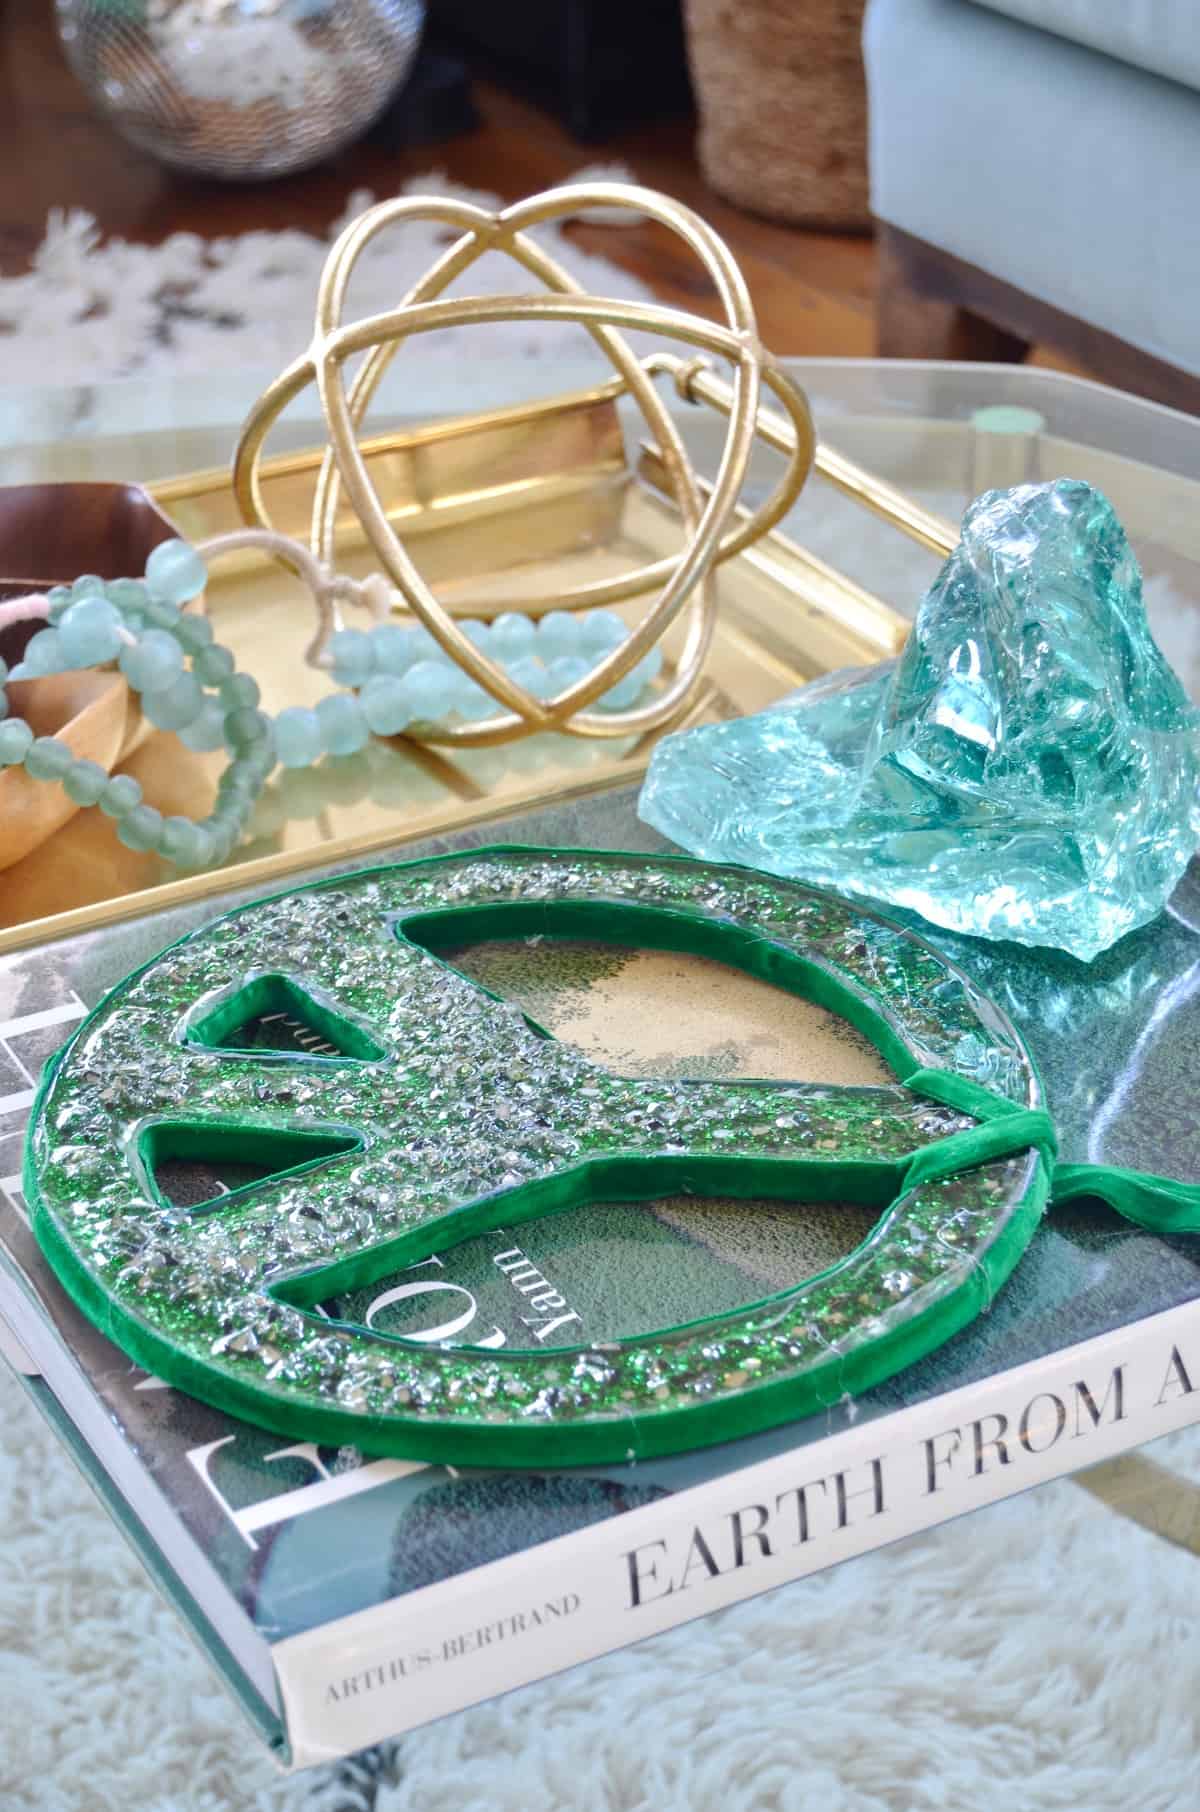
After gluing some velvet ribbon along the edges, this first attempt wasn’t ‘awful’… but it certainly wasn’t something I was going to endorse for you fine folks.
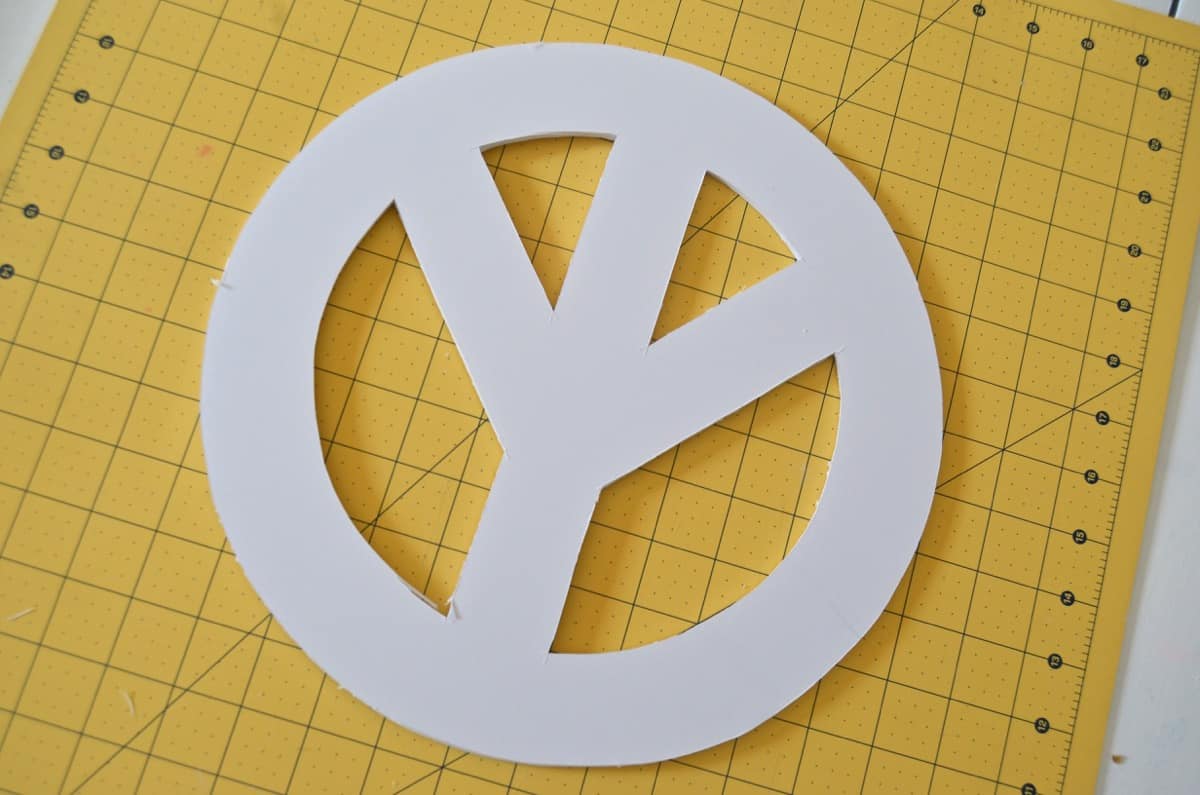
Enter peace sign #2. Our local Michaels didn’t carry the peace sign I used above and I’d missed my Amazon shipping window. So I DIYd one with foam core. I hope you understand. This version actually WAS super affordable and easy so- face palm- should have started with this all along.
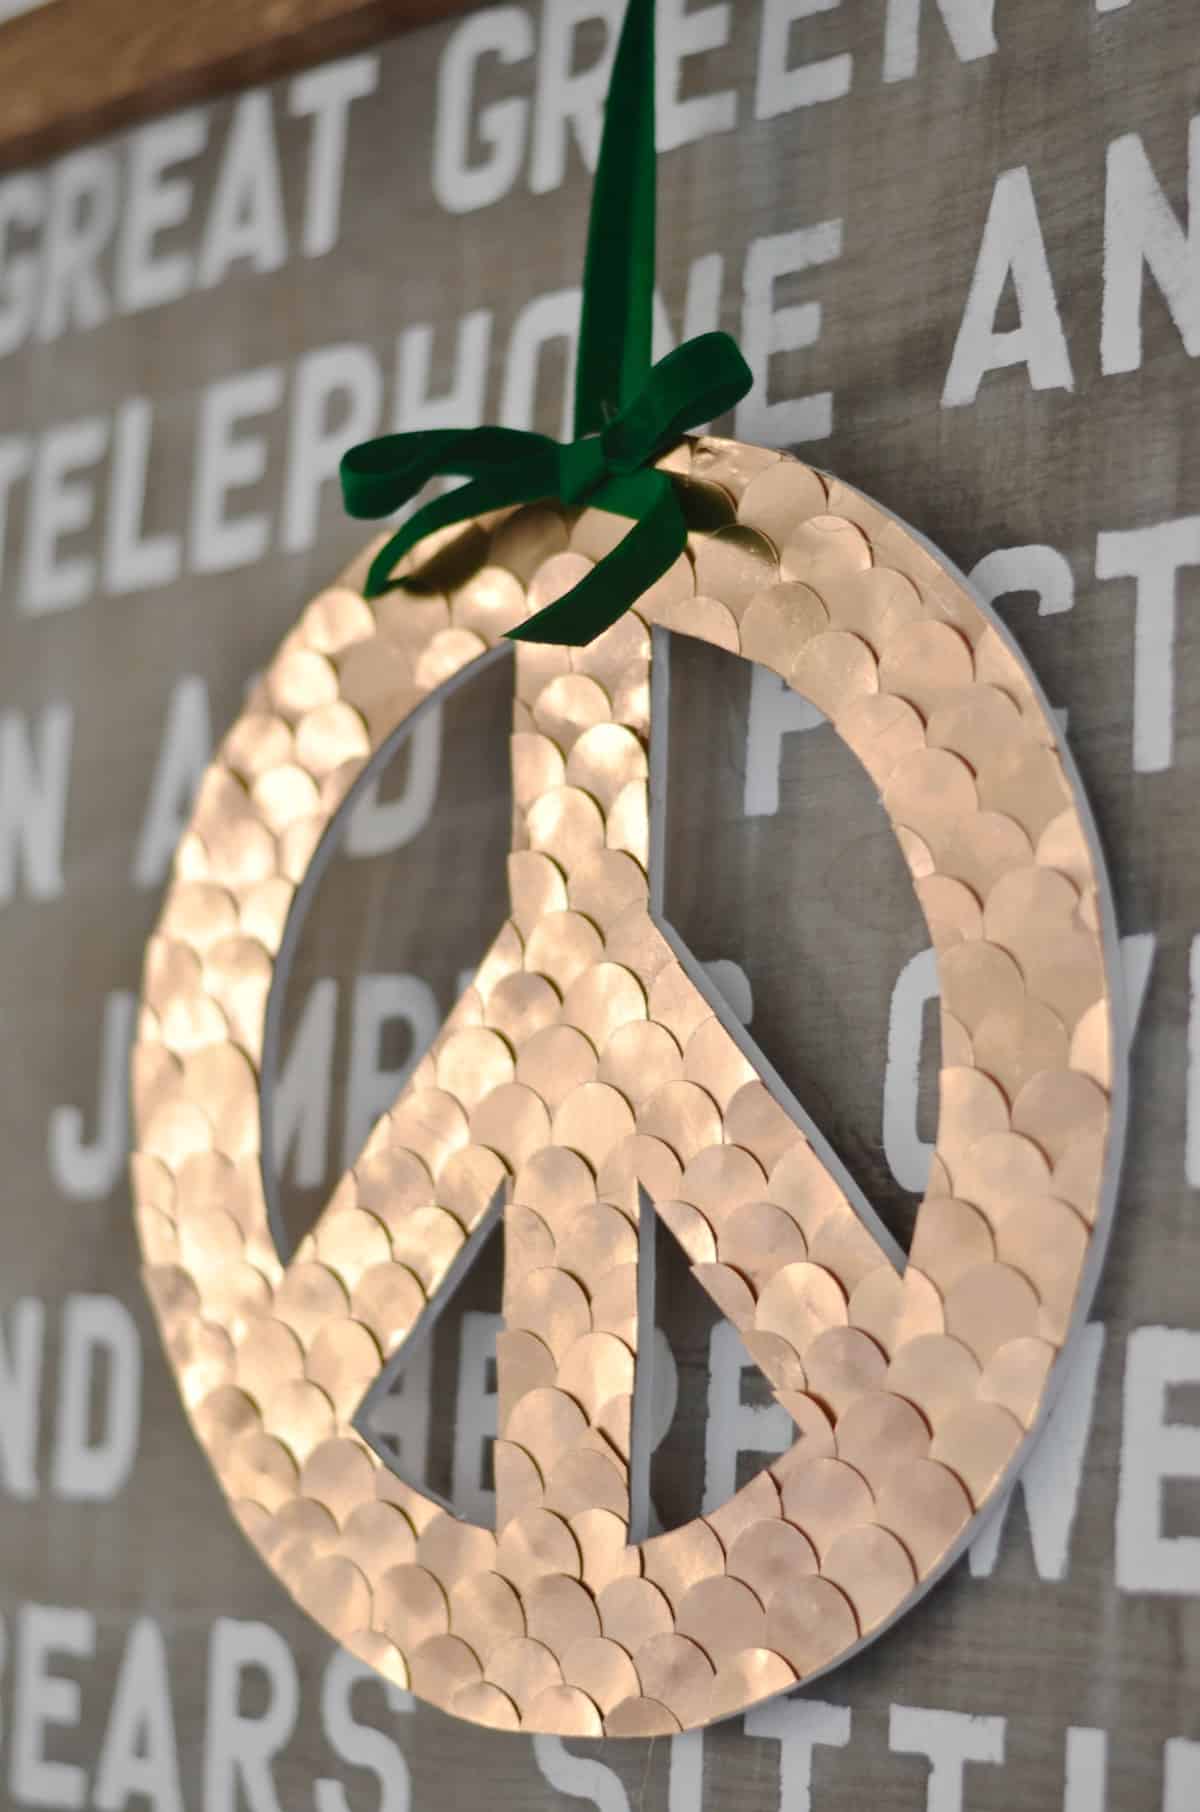
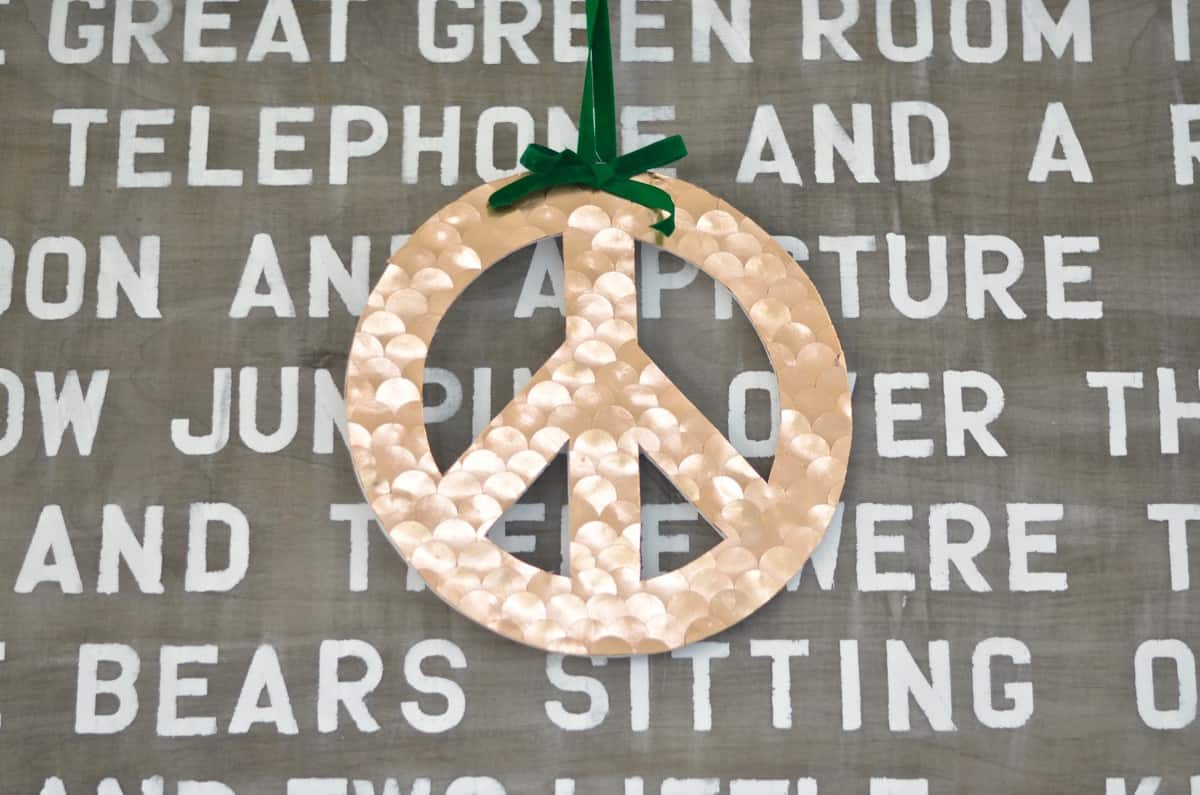
Chic and affordable metallic peace sign
Materials
• copper cardstock
• 1-inch circle punch
• glue gun
• blank peace sign
• X-acto knife
• ribbon
• ruler
Step 1
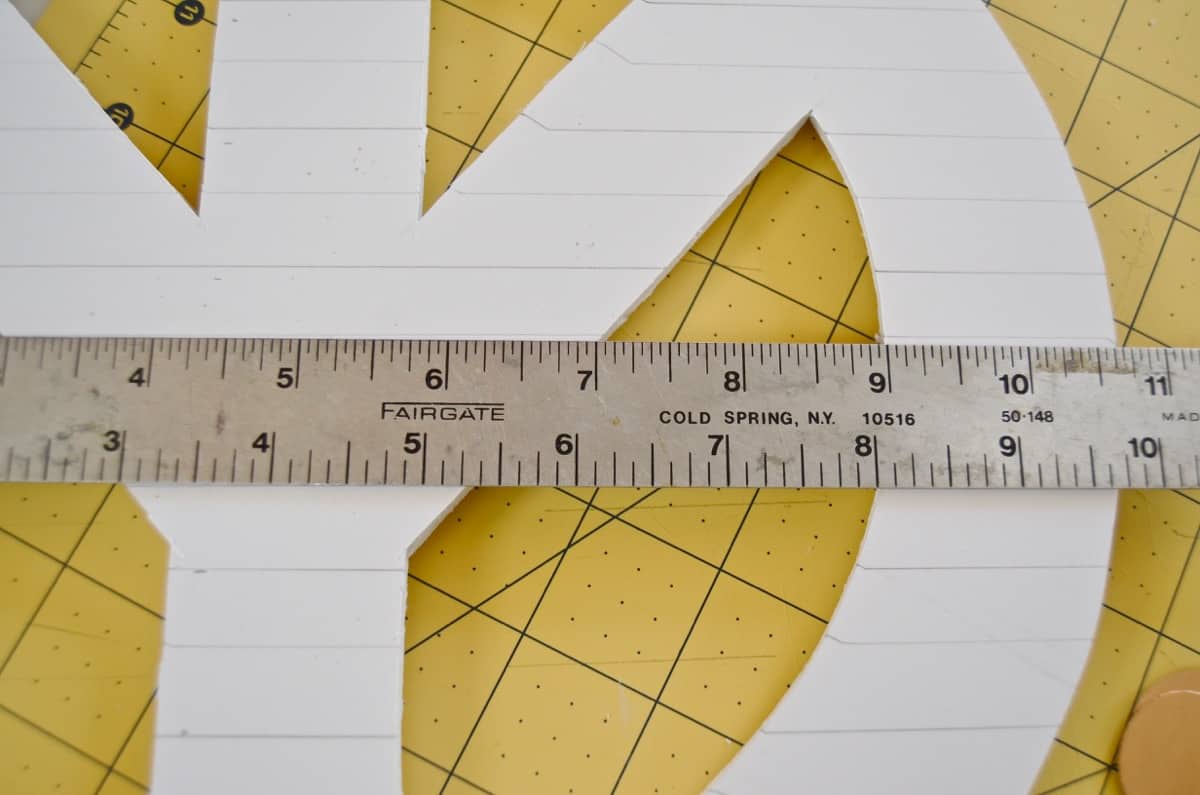
Mark off your peace sign at 1/2-inch intervals and draw straight lines.
Step 2
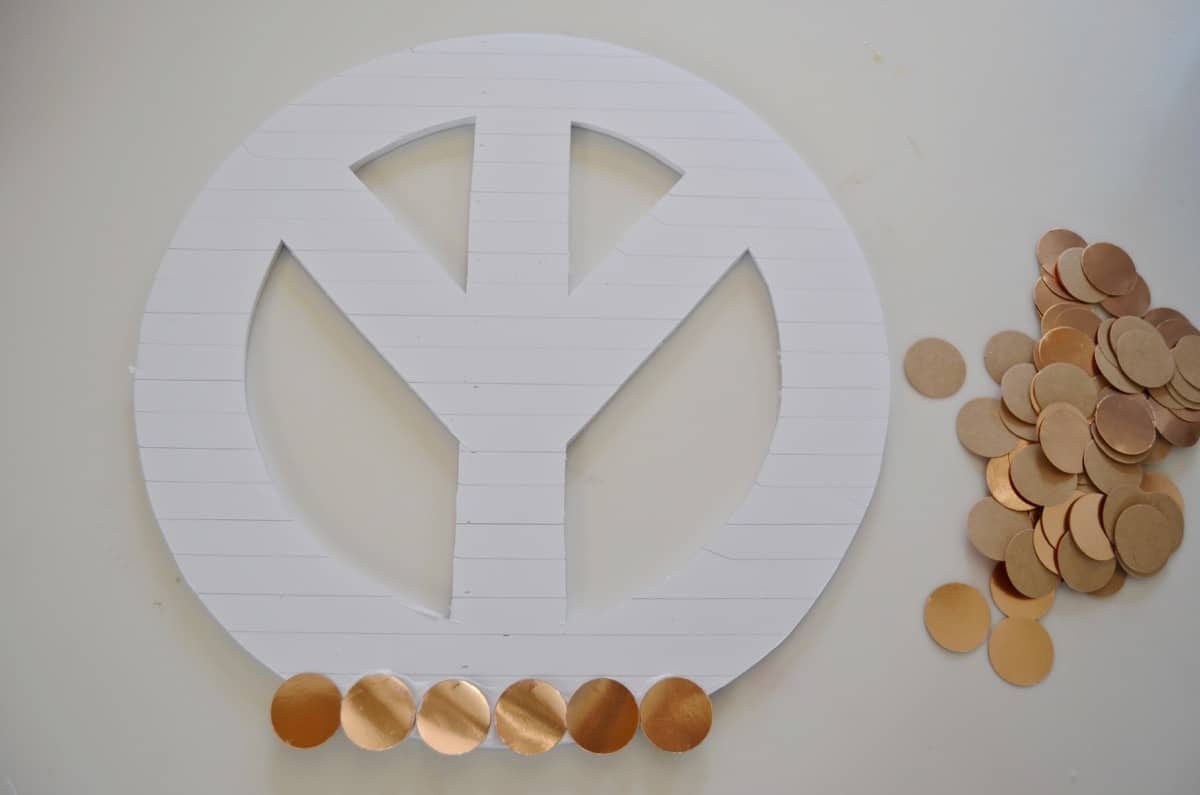
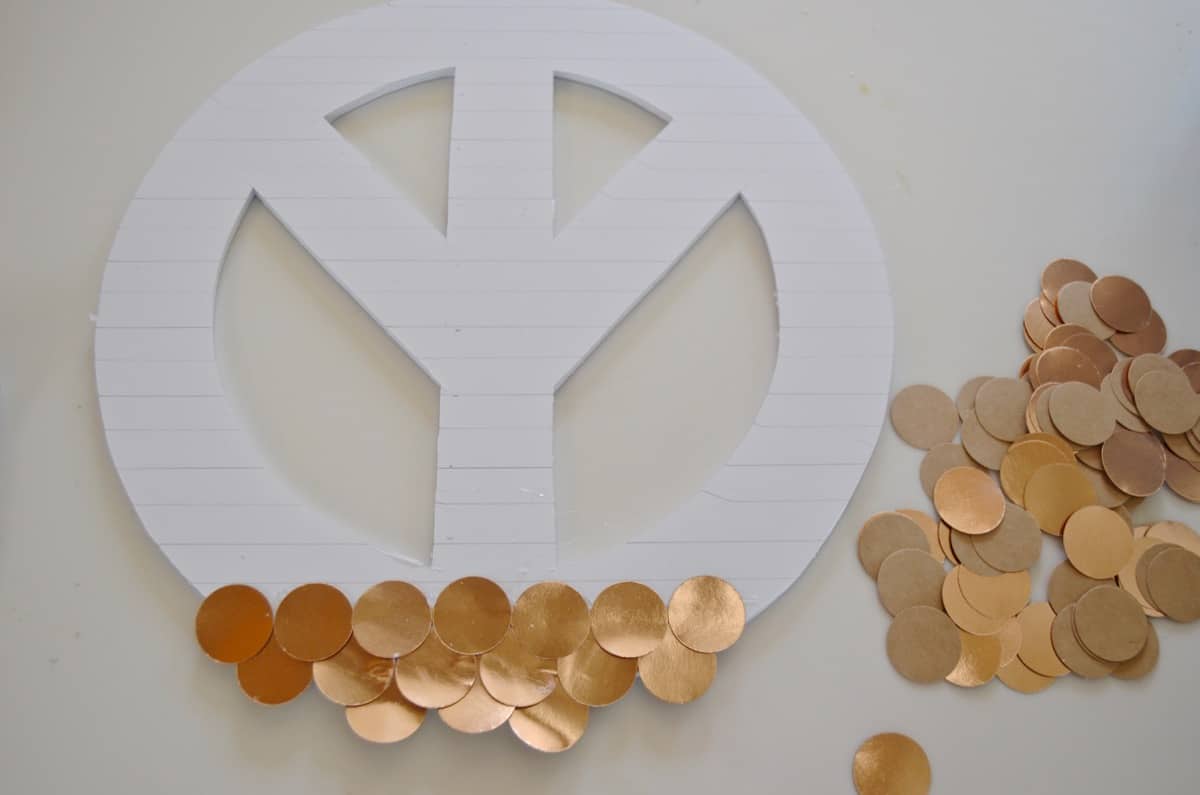
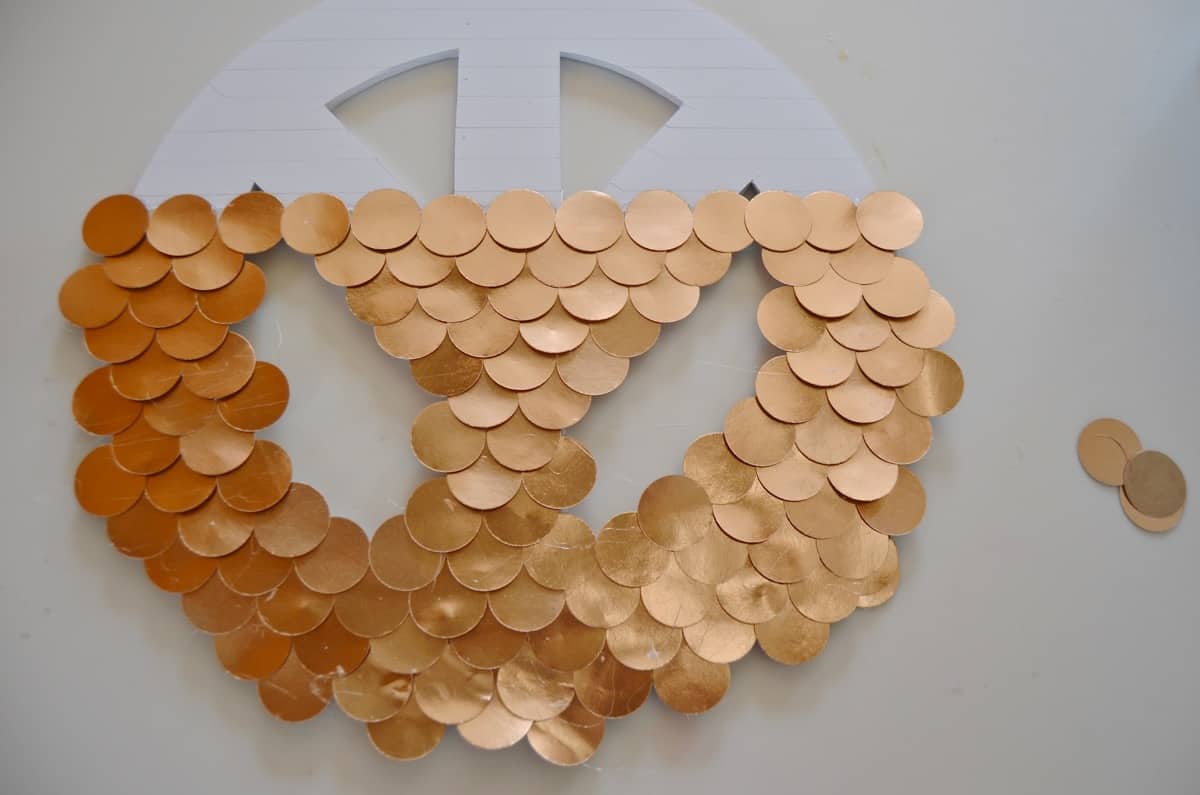
Working one row at a time, use a hot glue gun to glue the copper circles along your first pencil line. For the next row, stagger the circles so each is centered over the edge where the previous circles meet. Continue along the entire peace sign making sure your circles overlap the edges and completely cover the sign.
Step 3
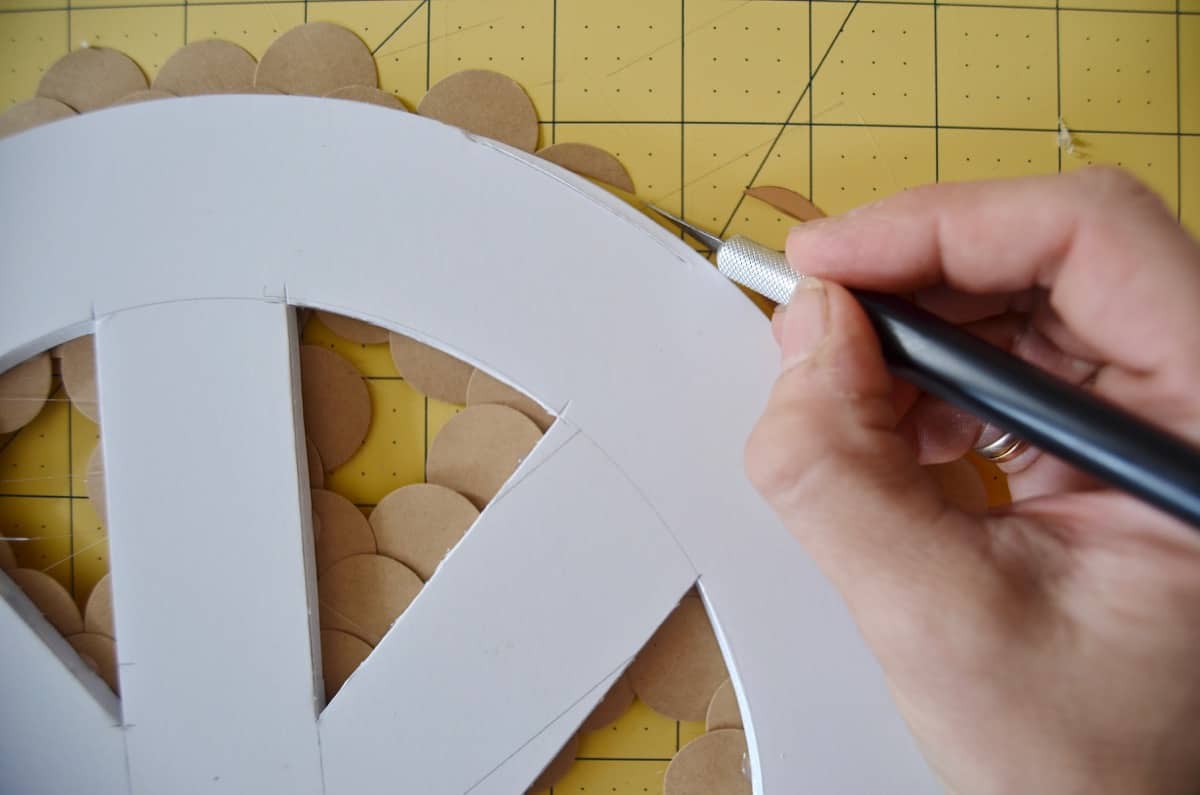
Flip over the peace sign and carefully cut the excess metallic paper with a sharp x-acto knife.
Step 4
To make it easier to hang, I use the hot glue gun to attach a velvet loop as well as a velvet bow.
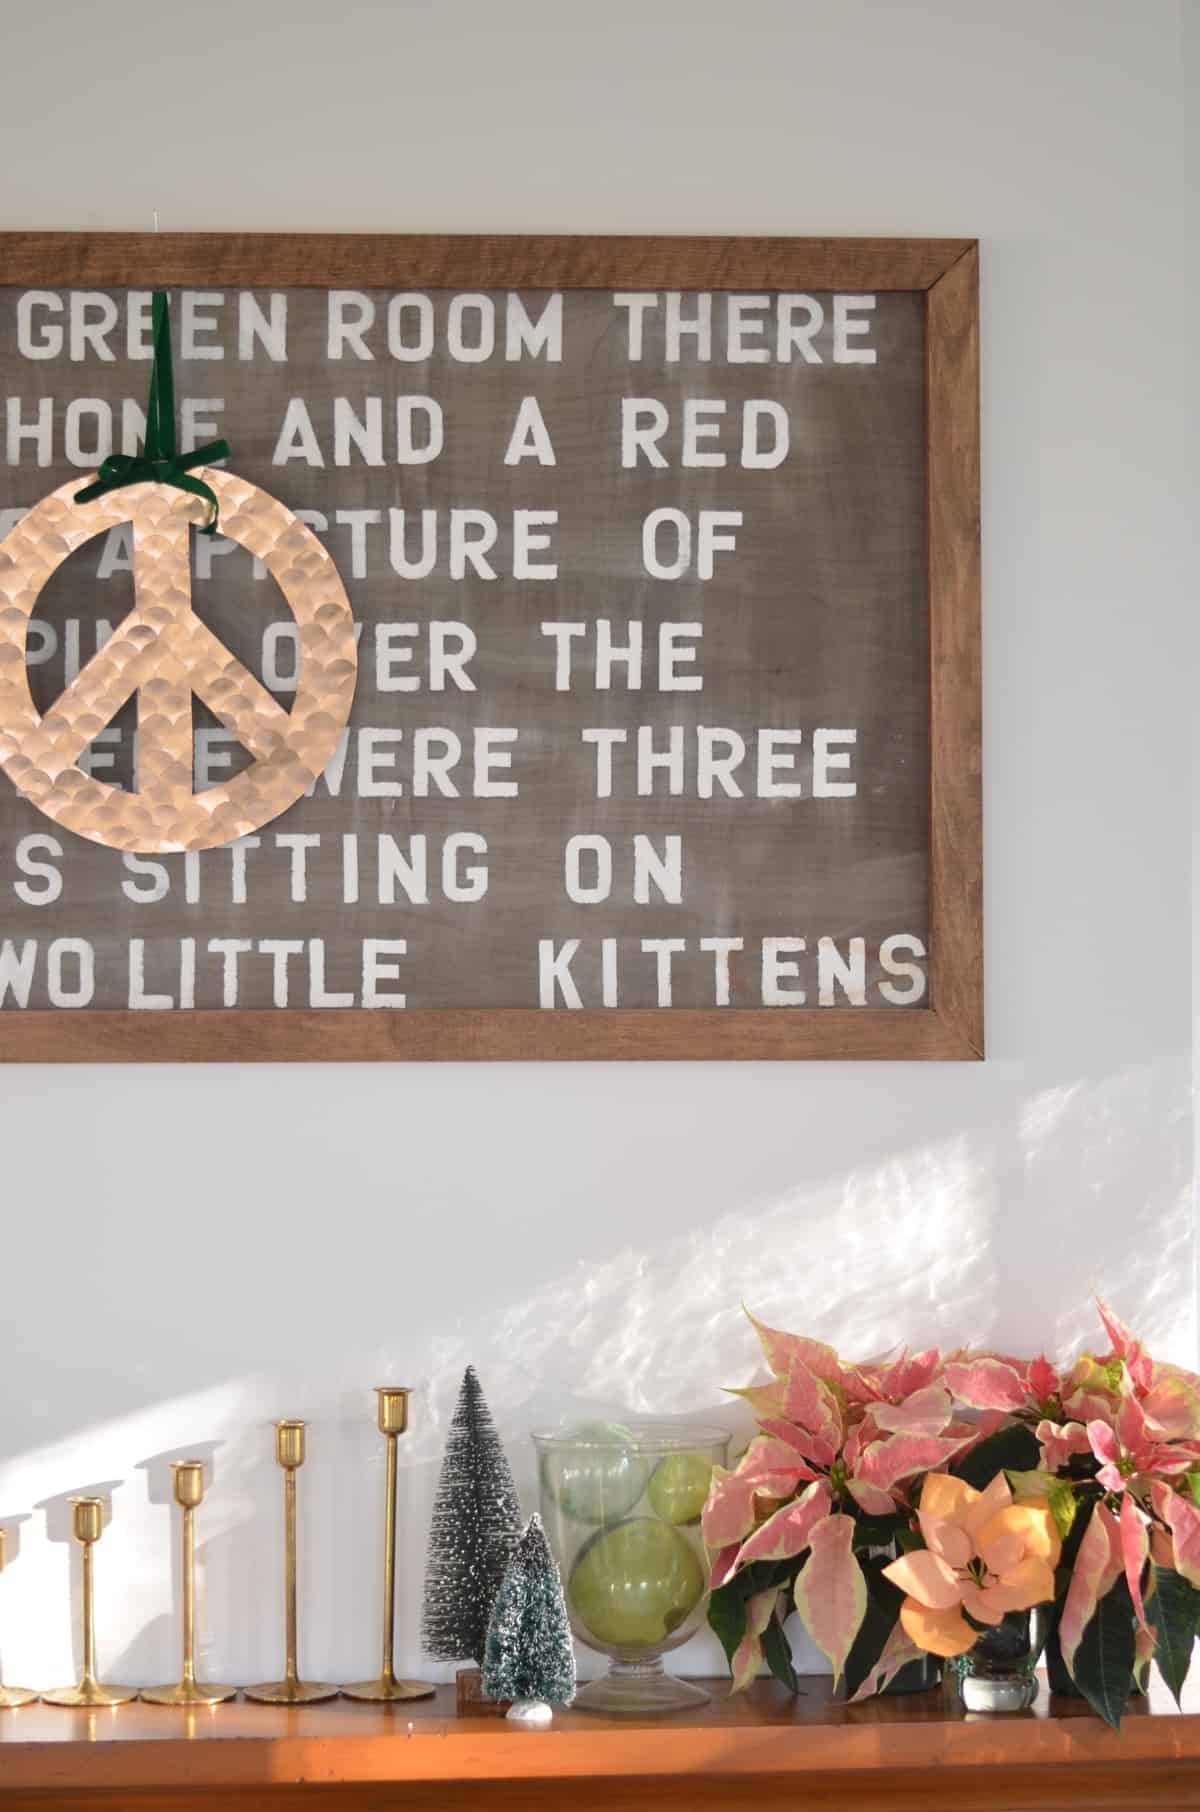
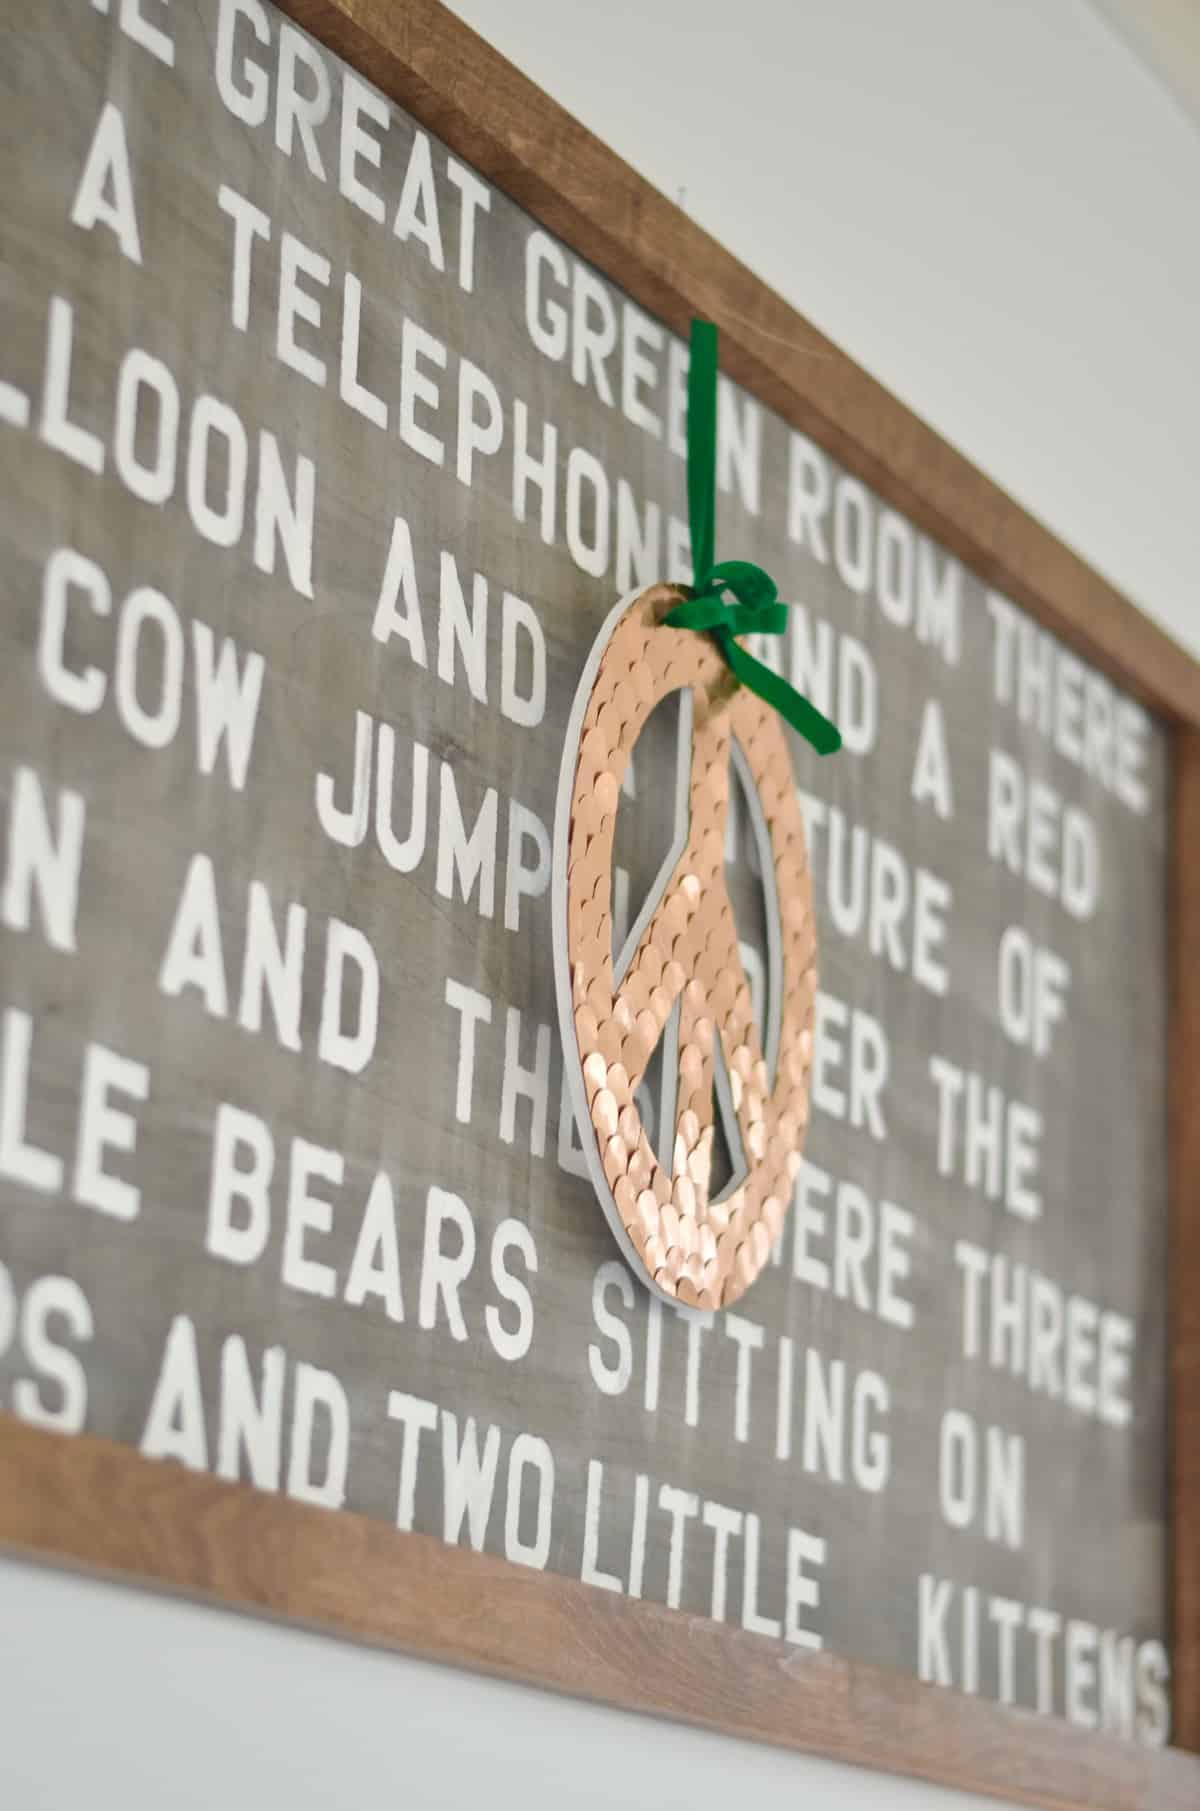
This version? MUCH better and it legit took 30 minutes to make. While the kids were eating lunch. Standing on one foot. Blindfolded. Ok… not the last few. The moral of this story is that sometimes the vision may go awry, but the caption for Pinterest might just stay the same: “Make this chic and modern peace sign in under 30 minutes for less than $5!!”
Which do you like more? The first version:
Or this version?!
Now… hop over to see what my creative cronies have come up with for THEIR peace signs!
Cassie Bustamante
A Designer At Home
Little Vintage Cottage
Don’t forget to PIN IT for later! –>


It turned out just beautiful…reminds me of a mermaid! Sorry you had such trouble with this project but it was fun!
Tania
Keeps me on my toes! 🙂 Thanks, Tania!
I very much like the copper scales! Such a unique finish and so pretty with the velvet ribbon.
I love them too! WOuld love to try it on a larger peace sign!
Oh I love it Charlotte! I just might need to go for all that coppery goodness! Peace out!
Ha. Back atcha. I could always use a little peace in my life!
i LOVE how this turned out and i love that you shared both here. 🙂 your peace sign turned out amazing in the end!
Thanks for organizing! This was a fun project even with the little speed bump. 🙂