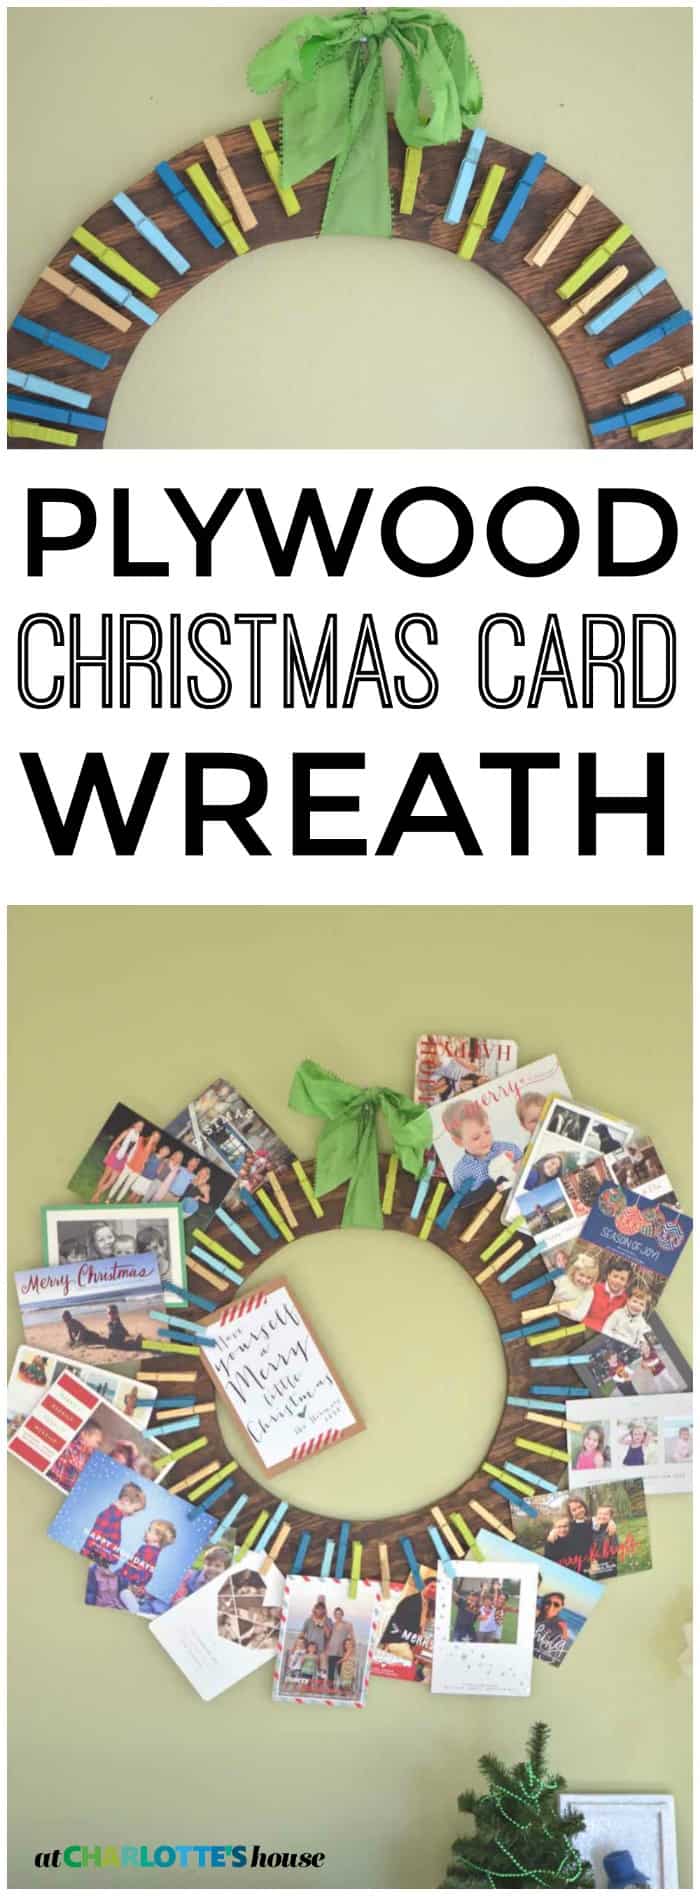
Plywood Card Wreath
Psssst… this post *might* contain affiliate links: see my disclosure here.
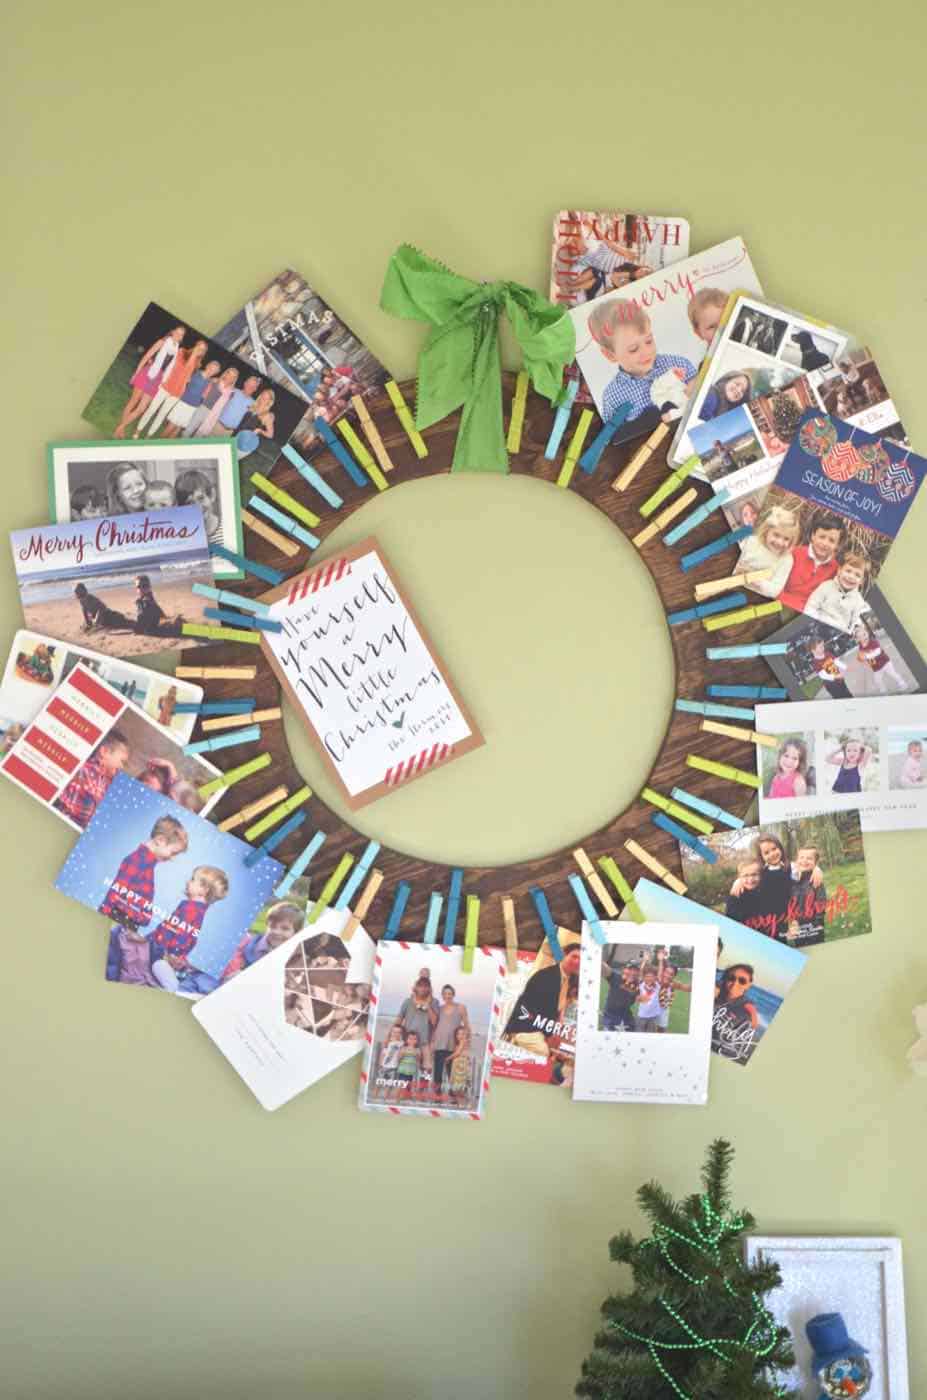
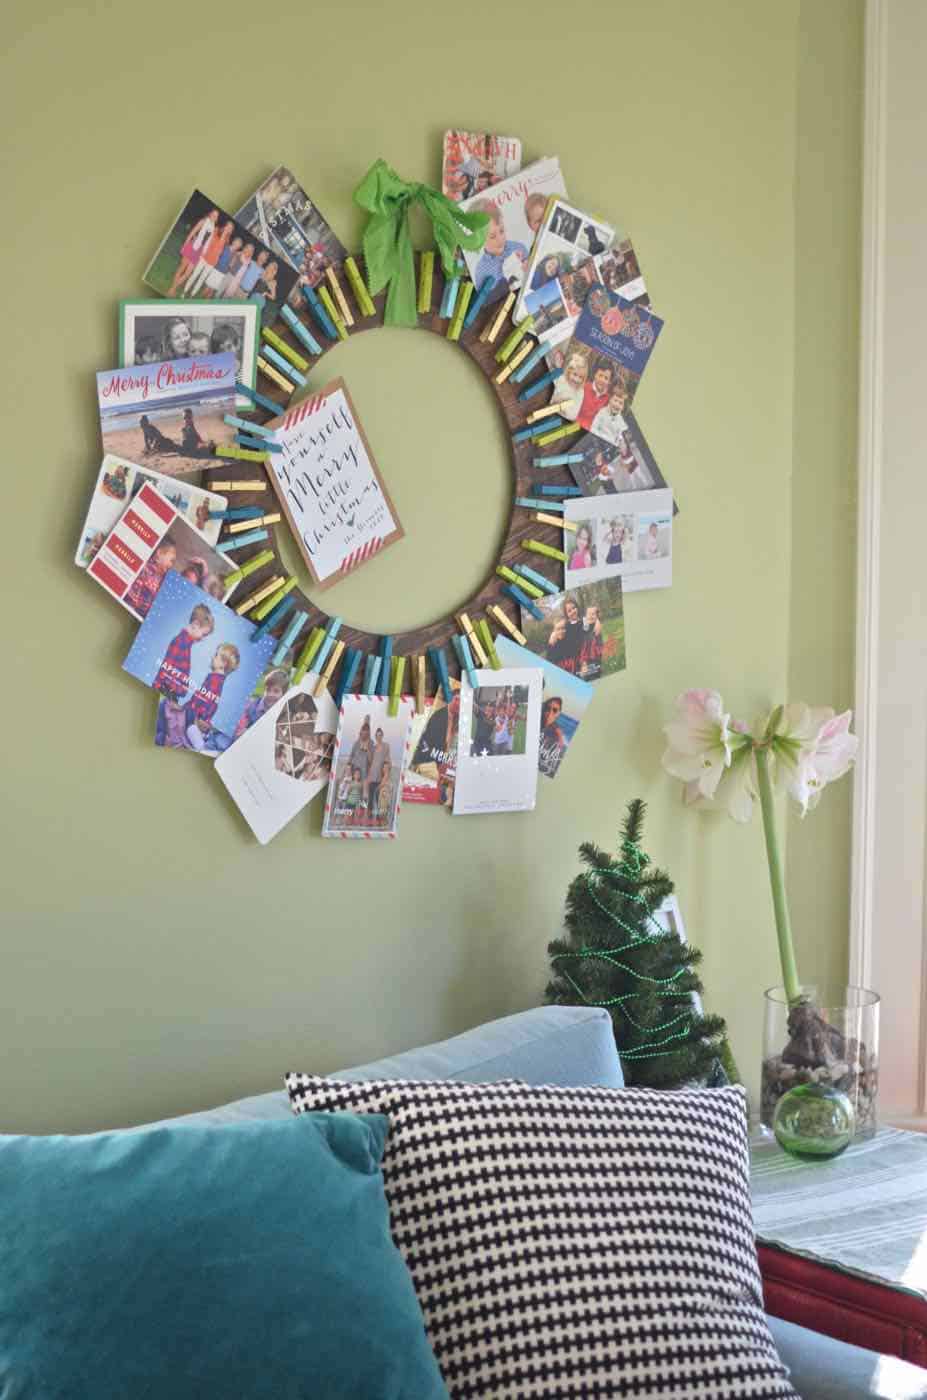
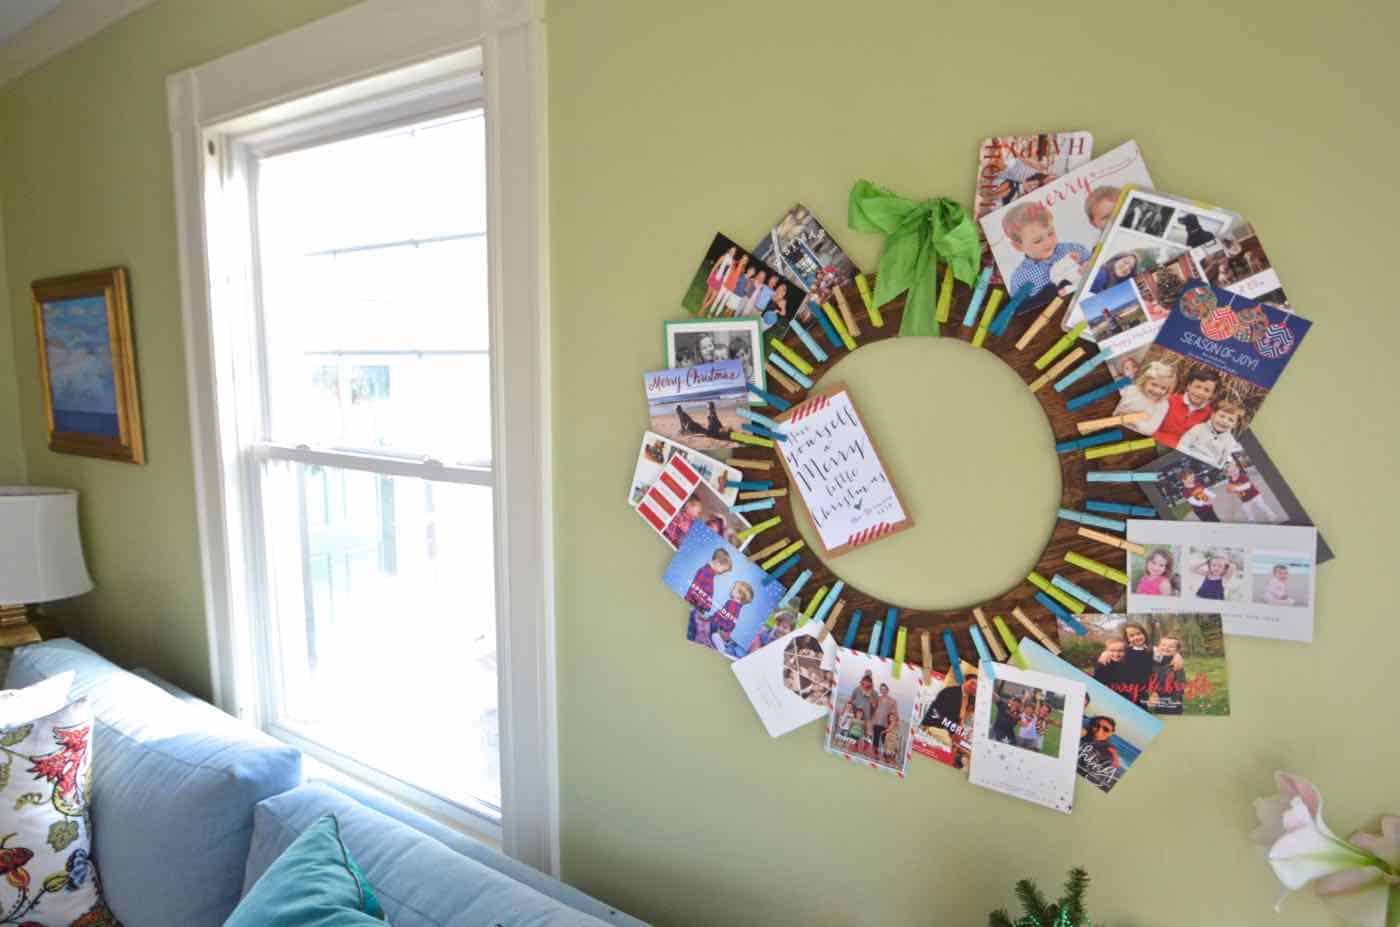
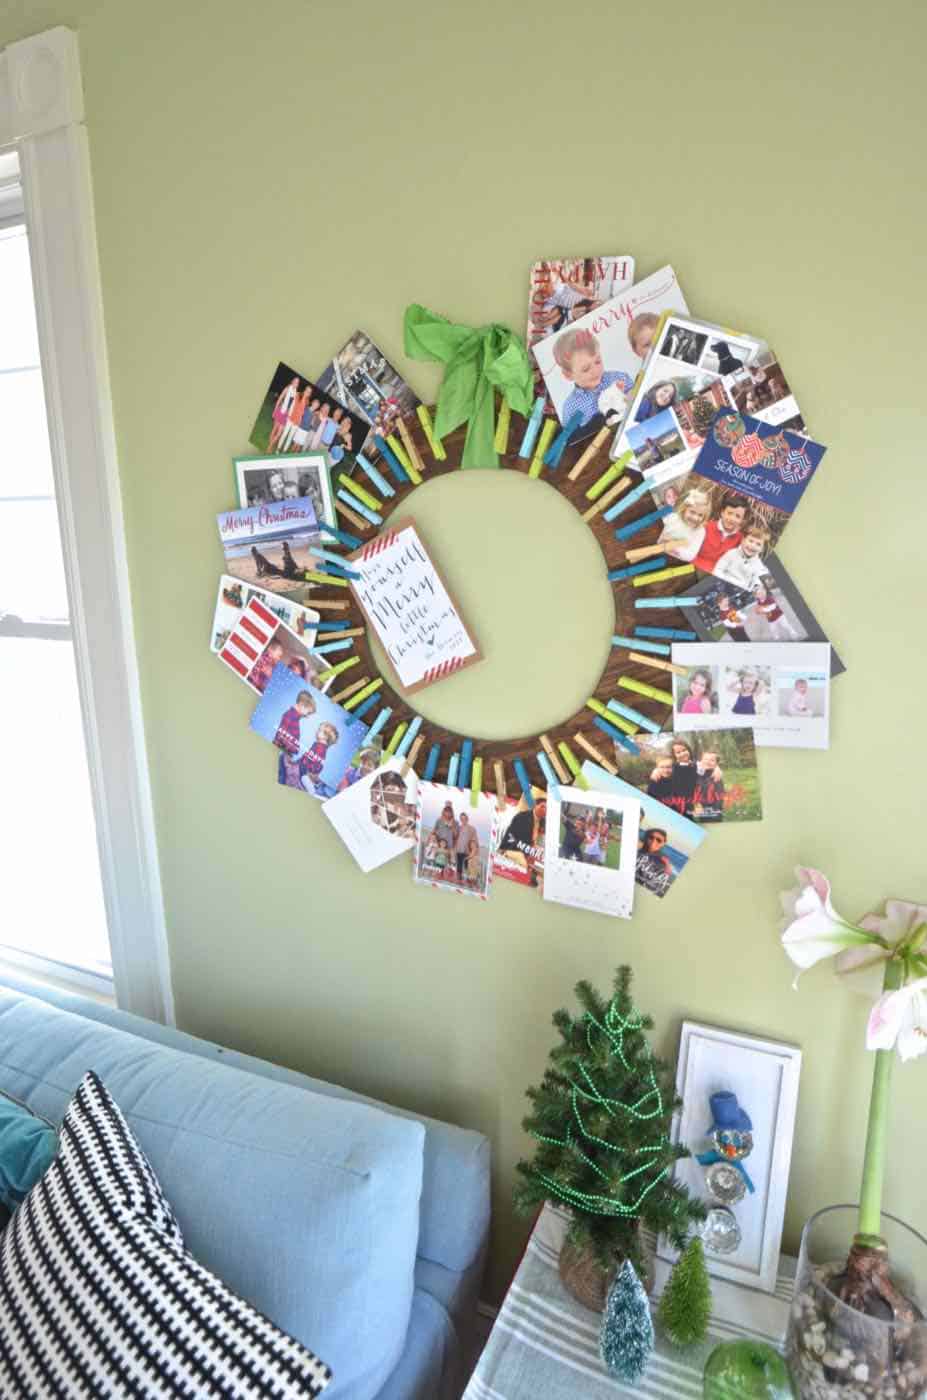
I can’t even remember what I was looking for on Pinterest, but I stumbled across this Pin. I loved the look but was pretty sure cardboard wouldn’t hold up after a while. Good thing I have an inordinate amount of plywood in my scrap pile.
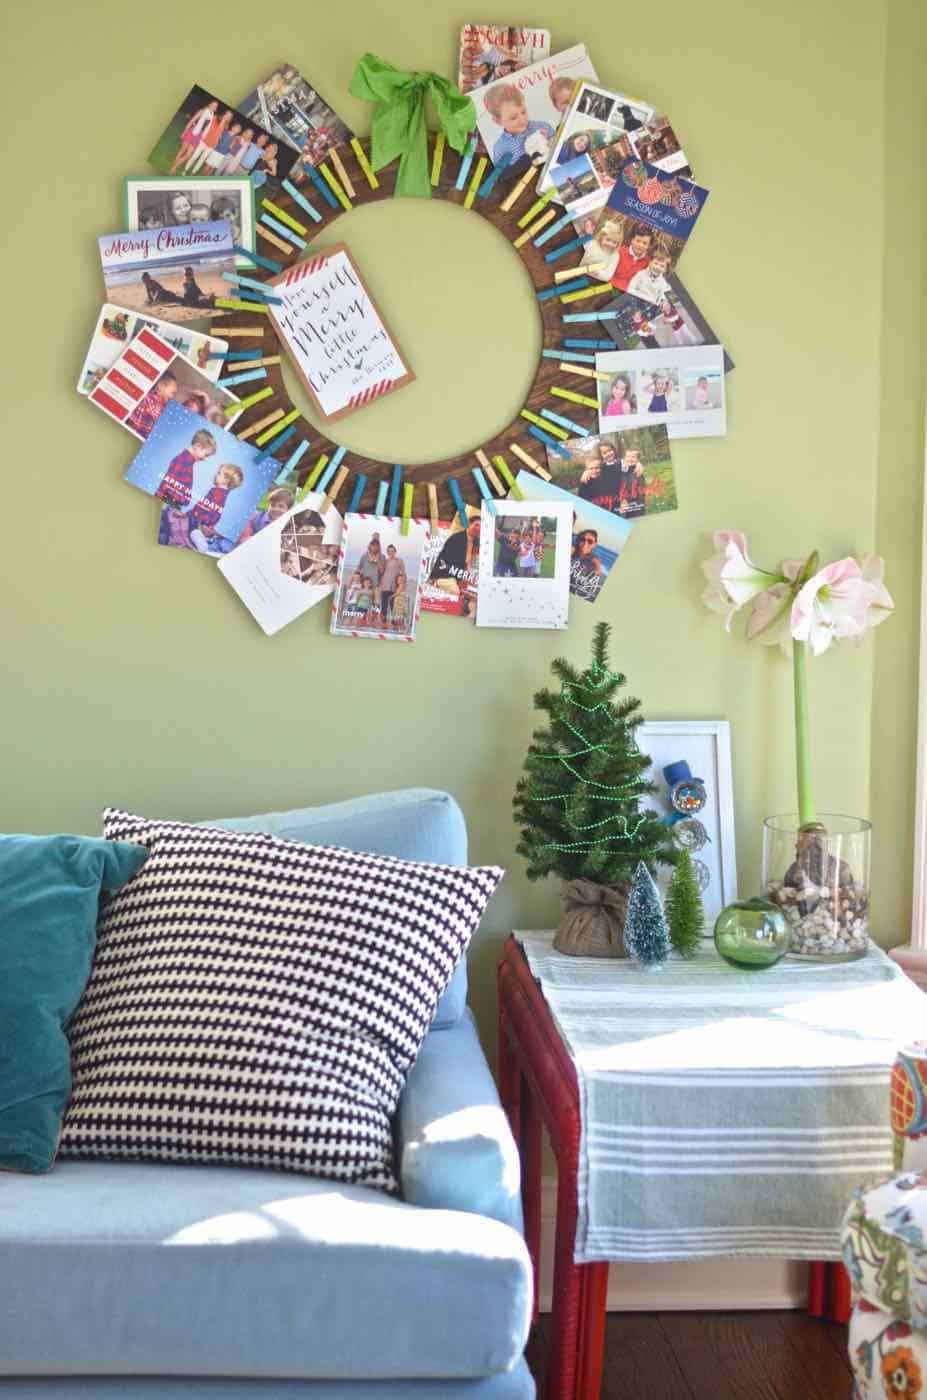
DIY Christmas Card Storage
One of the best parts of the holidays is opening all the cards with smiling faces, but it always seems such a shame just to stick them in a box… I try to display them, but have never come up with the best strategy. I used to tape them to leftover ribbons and hang the ribbon along doorframes, but I always got behind.
Shop my favorites!
The step-by-step is super simple for this one, and it was super cloudy so… I decided to skip all the process shots. I have full confidence in your visualization abilities.
Step 1. Cut Plywood
Trace 2 concentric circles out of plywood and use a jigsaw to *attempt* and cut smooth lines.
Step 2. Stain Plywood
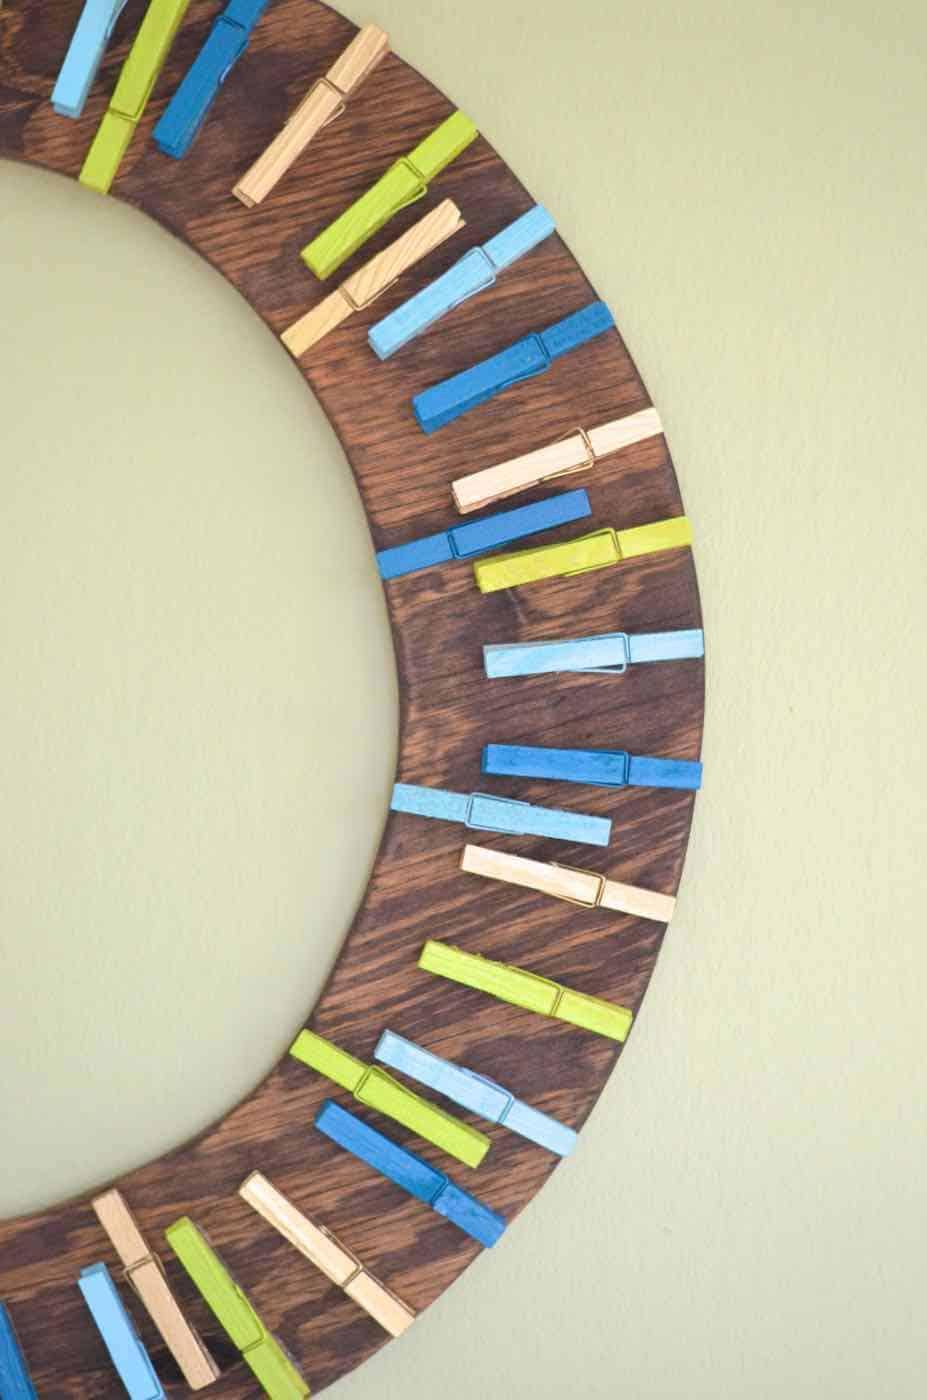
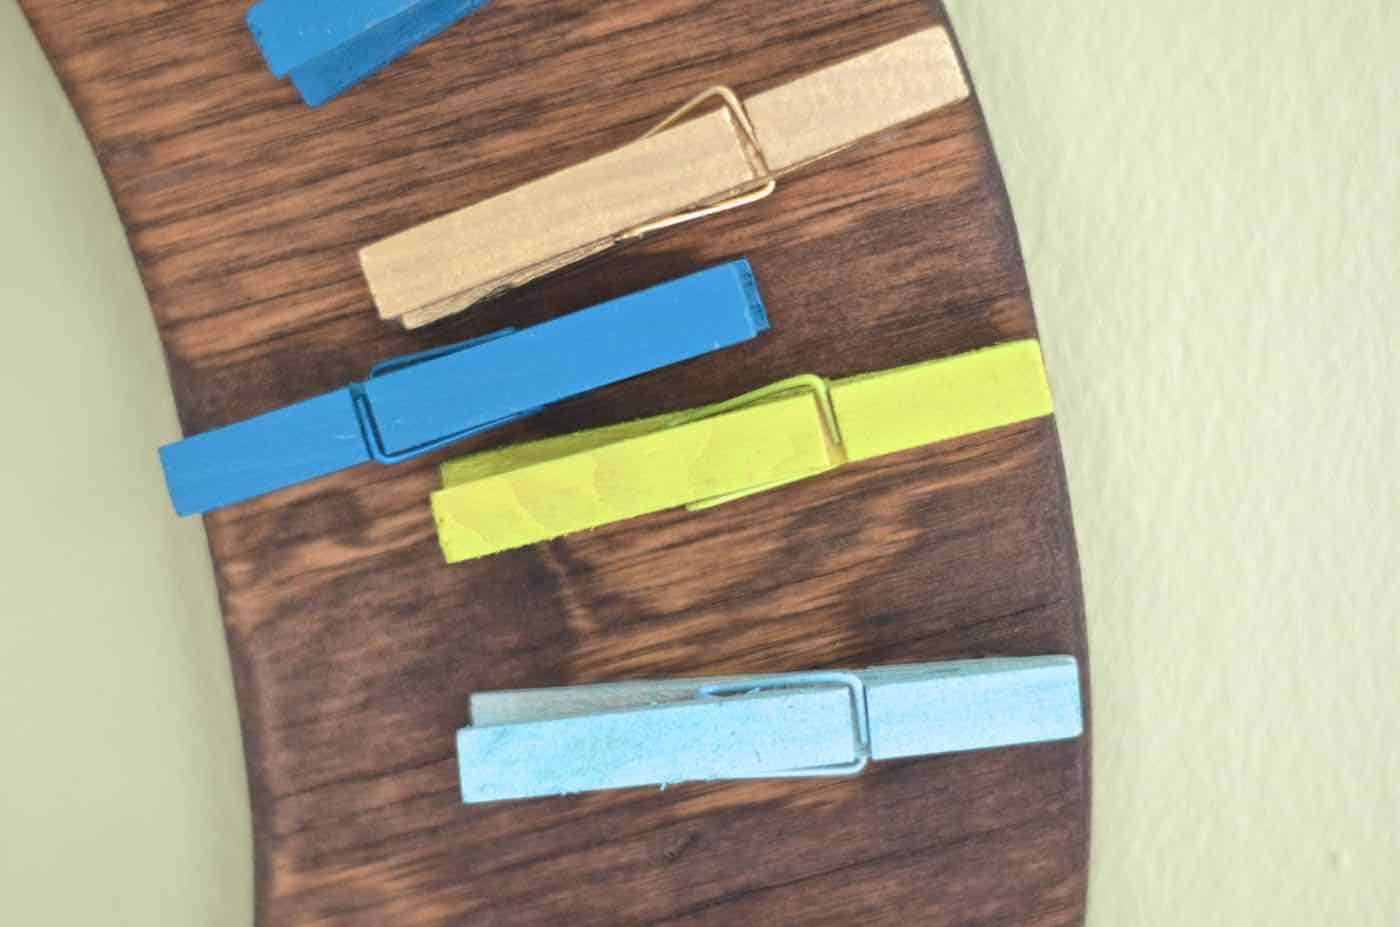
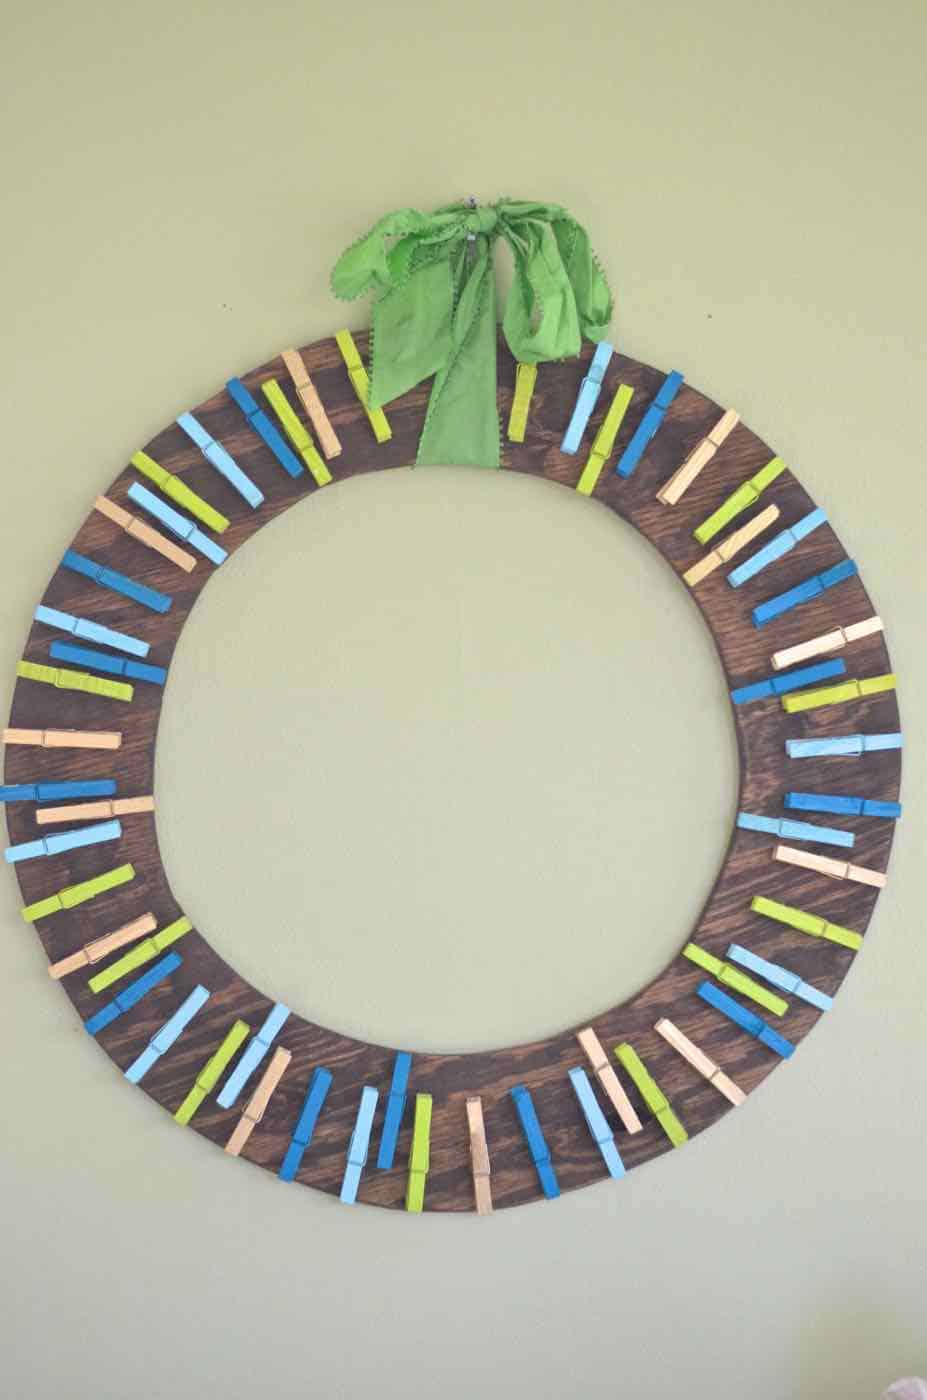
Stain your wooden wreath and spray paint wooden clothes pins.
Step 3.Glue Clothespins
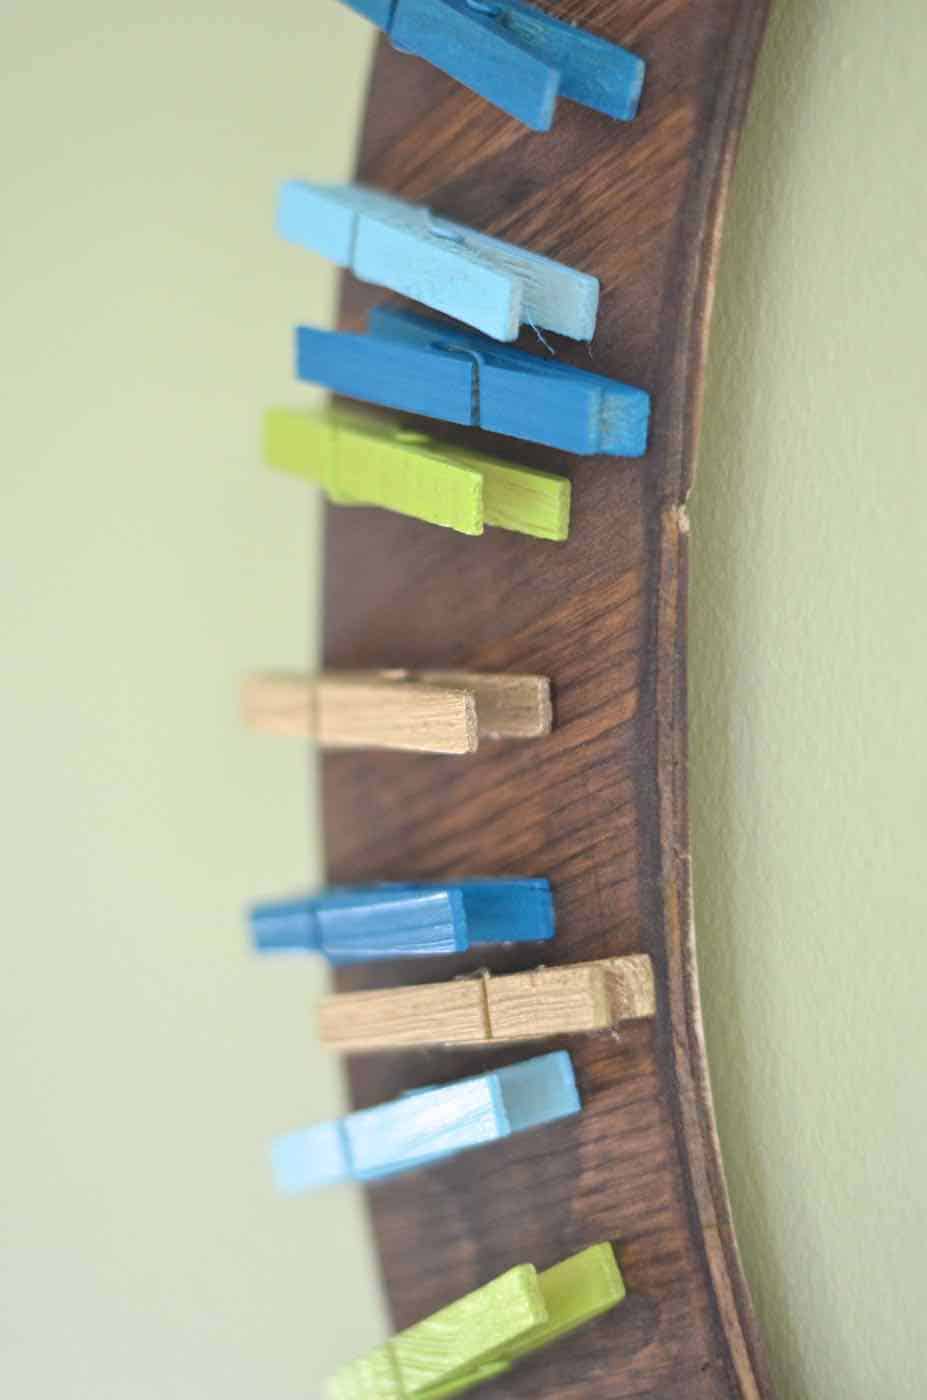
Using wood glue, glue the clothes pins around the wreath. I glued most of the clothes pins facing towards the outside of the wreath, but I turned a few alternate ones to be towards the middle.
This wreath is SO much easier than the ribbons believe it or not. I also LOVE how colorful and fun it is. To hang it, I just looped a ribbon, but you could certainly screw on hanging hardware to the back for something more permanent.
I mean… that’s about a simple a project as you’re going to find! Now to go and address OUR Christmas cards…
And because I love you so much, I’m going to share the wonder that is my jig saw ability. Every time I use the jigsaw, I mention how awful I am with it… but this might take the cake. Thankfully, once the wreath is full, you don’t notice, but daaaayyuuum. Enjoy.



This is so good! I made a similar one with an embroidery hoop, but this one is so so much better!
Thanks!!! The cardboard inspiration was lovely, but I knew it wouldn’t last all season in our house! 🙂