At Charlotte's House

  • About
    • PRESS
    • TELEVISION
    • BLOGGERS HEART HABITAT
    • DISCLOSURE & PRIVACY POLICY
  • HOLIDAY
  • HOME TOUR
    • RENTAL HOME TOUR
    • HISTORIC HOUSE
    • FIRST HOUSE
    • ROOM REVEALS
    • SEASONAL HOME TOURS
  • GALLERY
    • FLEA MARKET & THRIFT SCORES
    • CRAFTS
    • FURNITURE FIXER UPPERS
    • WALL DECOR
    • OTHER STUFF…
  • PODCAST
    • PODCAST EPISODES
  • SHOP
    • SHOP INSTAGRAM
  • CONTACT
    • SPONSOR/ ADVERTISE
    • SUBSCRIBE

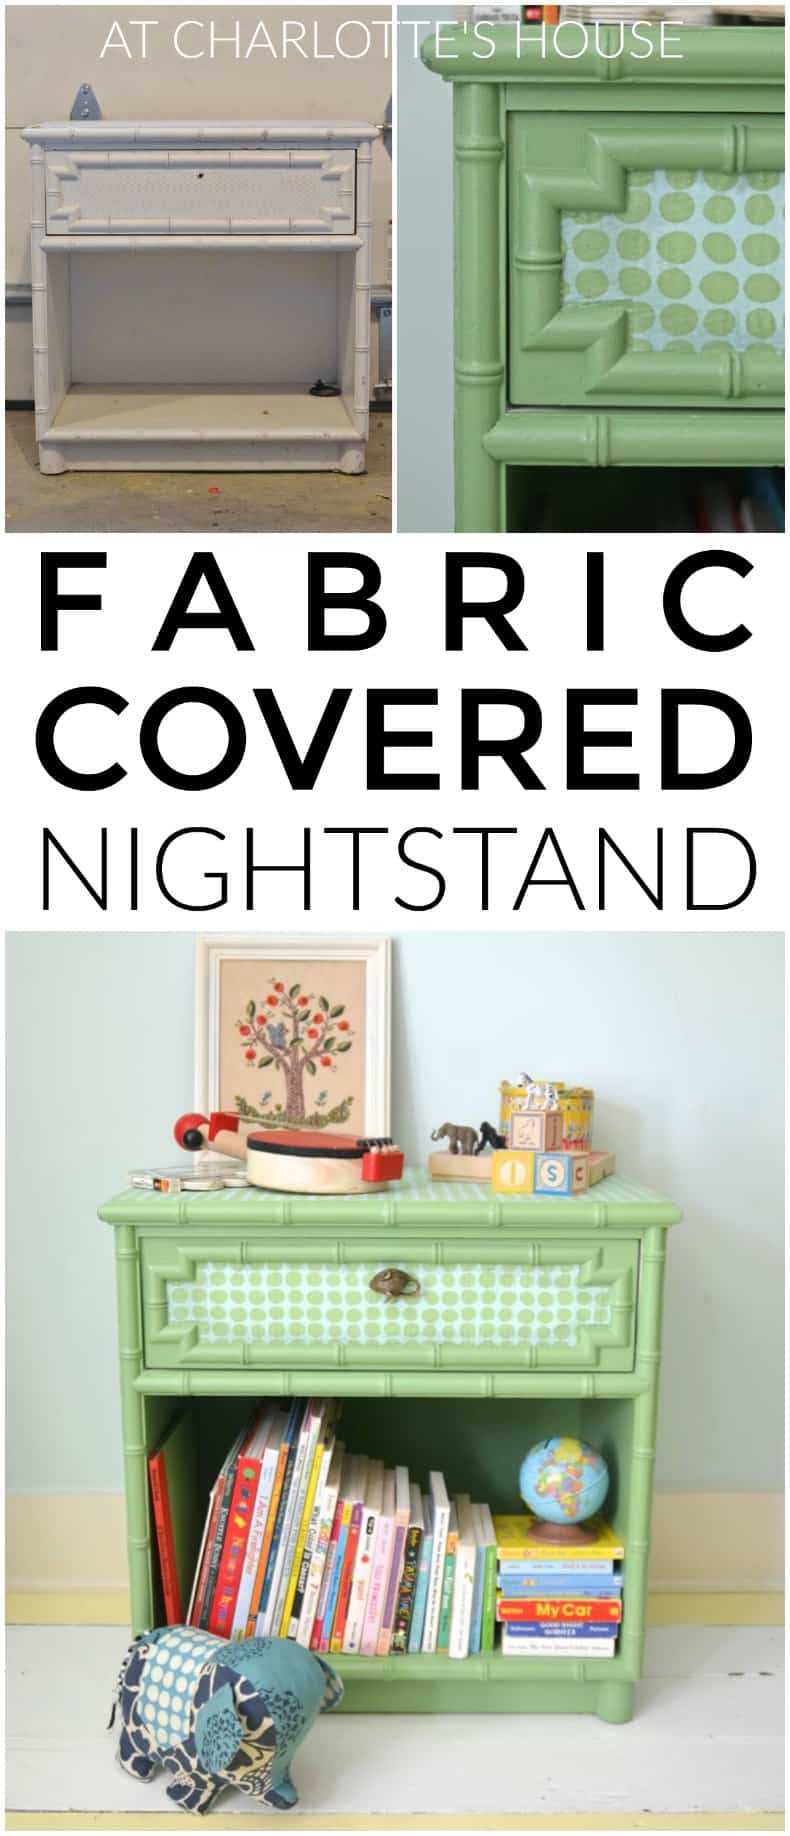
Polka Dot Fabric Table

Psssst... this post *might* contain affiliate links: see my disclosure here.

October 28, 2014

*Pssst… Online Fabric Store provided me with the meat and potatoes for this post (read: the fabric), but I pretty much begged for it and all opinions obsessive or otherwise, are entirely my own!

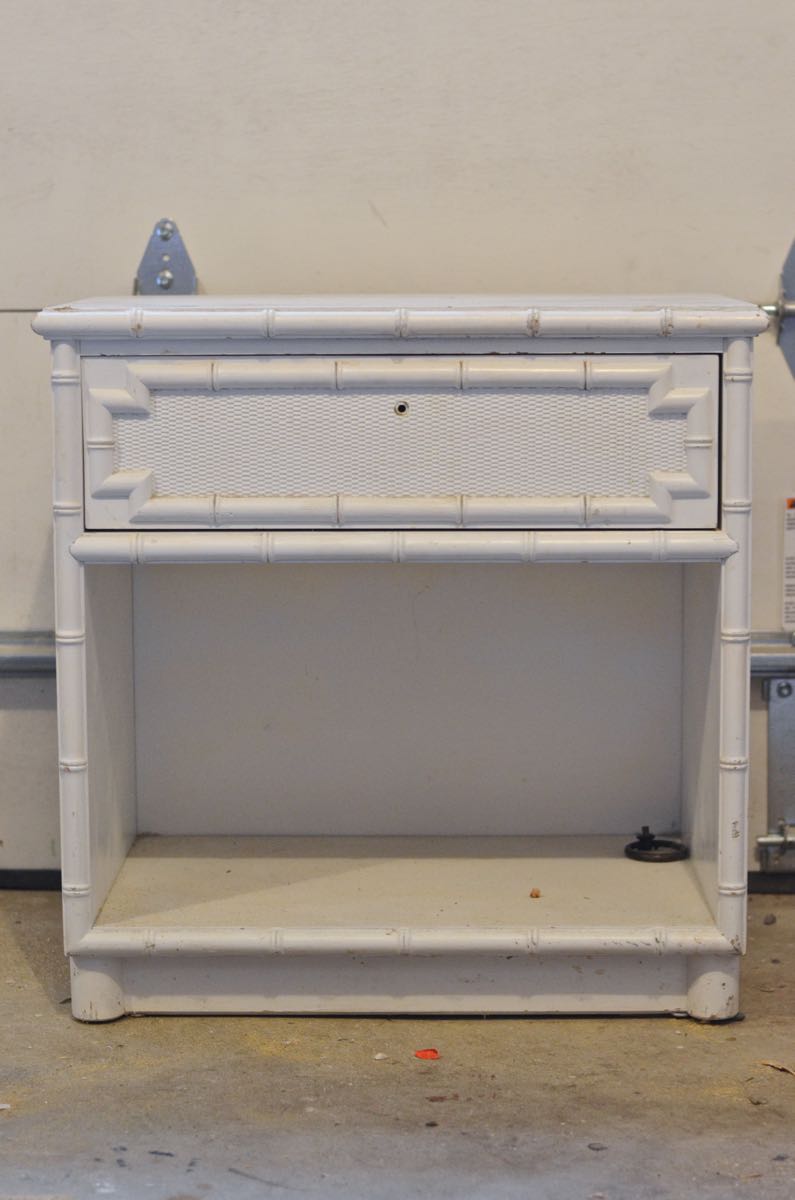
A while back I tried something for our new guest room.  And I looooooved it.  Fabric. Furniture. 2Gether. 4EVR. I’ve had this side table in our garage for… a bit.  I loved the bamboo detailing and I wanted to cover the rest of it with a fun fabric to go up in Martha’s room.

Easy way to upcycle and refinish furniture with fabric.

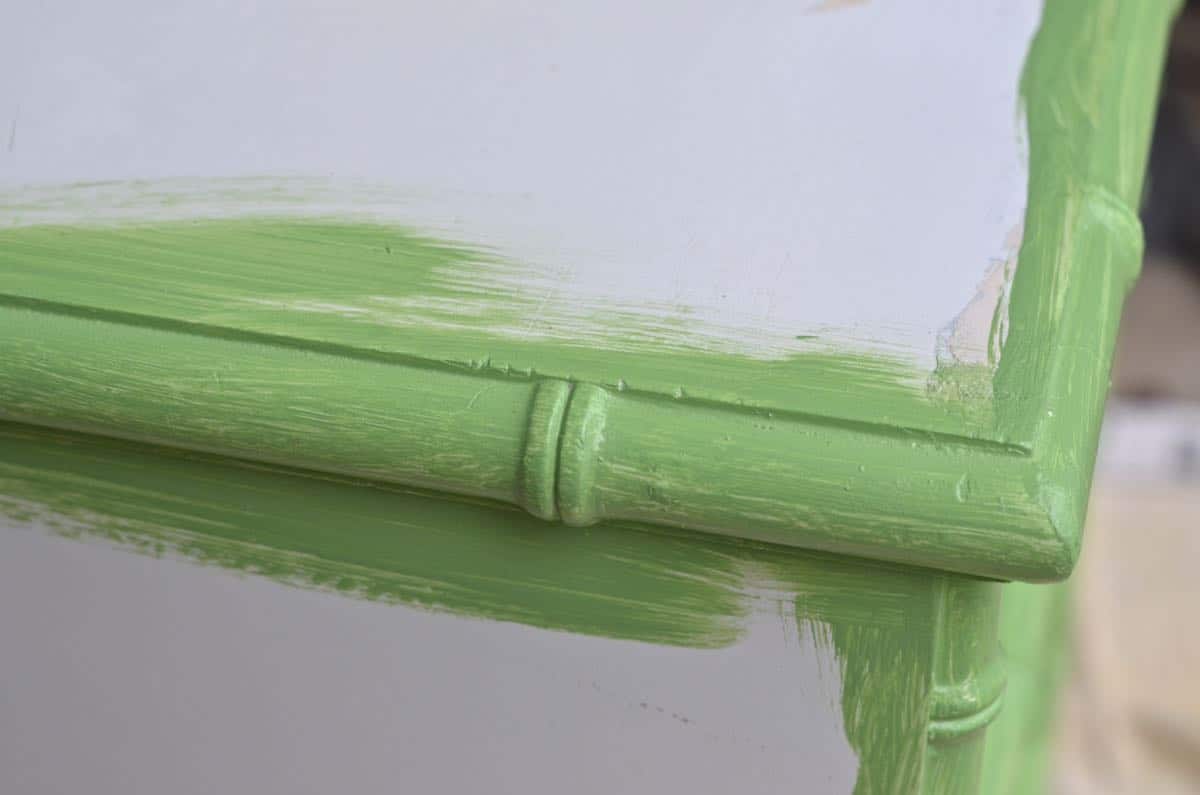
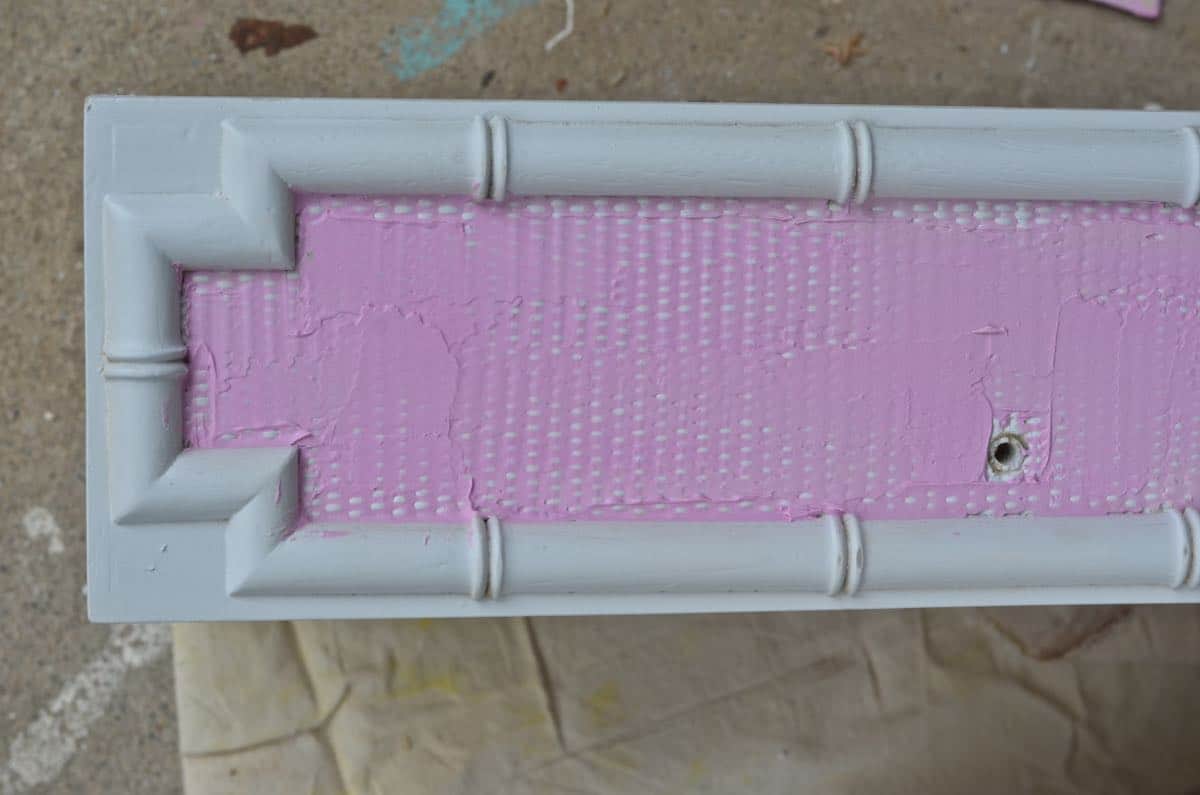
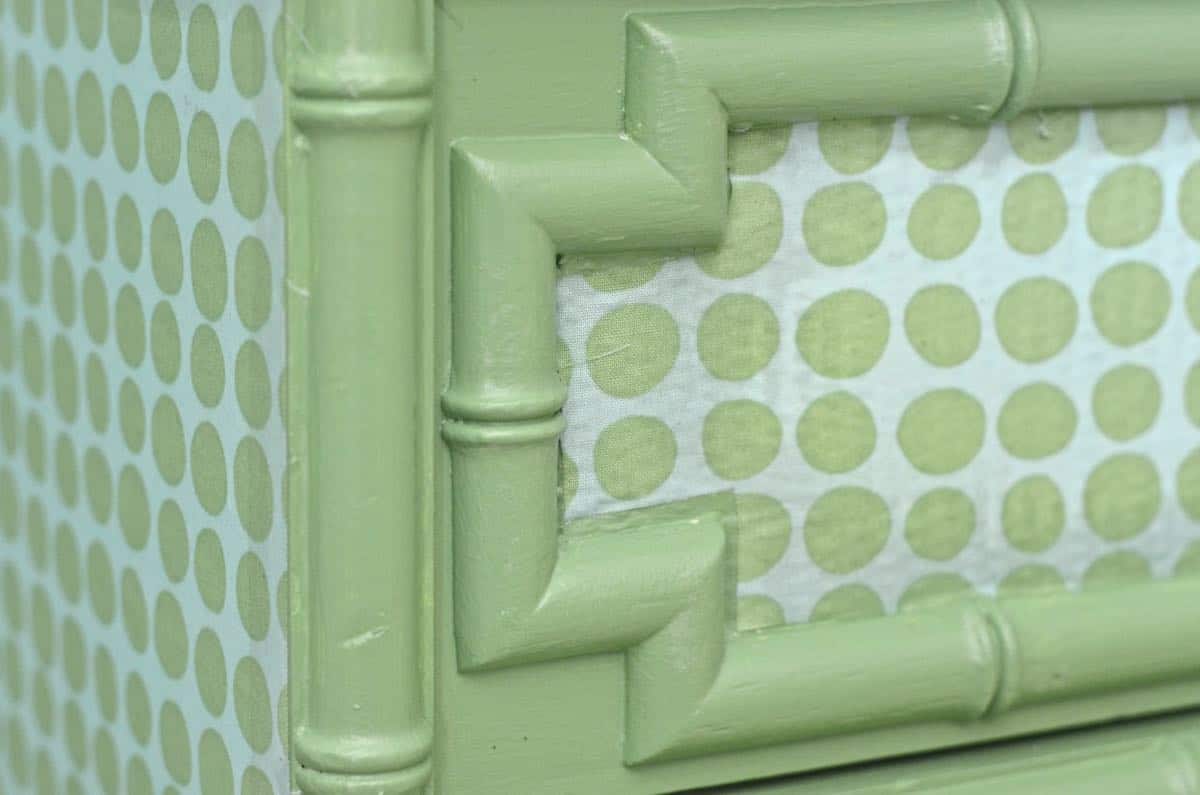
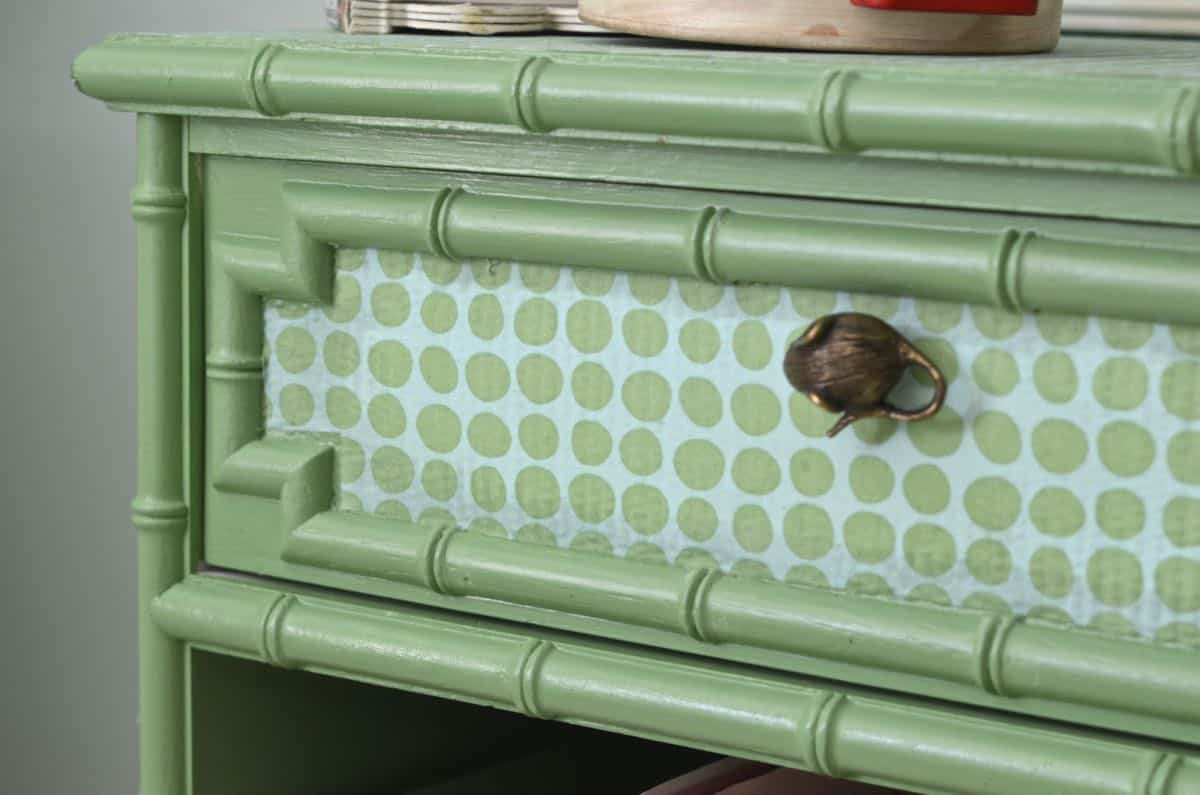
To prep the side table, I cleaned and sanded and painted it with leftover green paint I had from this dresser.  The drawer front had a basket weave texture to it, so I used some spackle to fill this in just a bit.  (I was low on the green paint so I only did the spots that weren’t going to be covered with fabric, but ideally I would have done the whole thing… the paint shows ever so faintly through the thin fabric.)

Easy way to upcycle and refinish furniture with fabric.

Easy way to upcycle and refinish furniture with fabric.

Onto the fabric.  I chose this polka dot pattern and it’s a quilting fabric so pretty lightweight.  I measured the dresser and cut my fabric.  Polycrylic is the magic ingredient for this… just paint on a layer of polycrylic, lay down your fabric, and paint another layer right on top of your fabric.  Note: my fabric stretched out a bit when I saturated it with the polycrylic so I had to trim it a bit… I mentioned because you don’t need to cut your fabric EXACTLY to size.

Easy way to upcycle and refinish furniture with fabric.

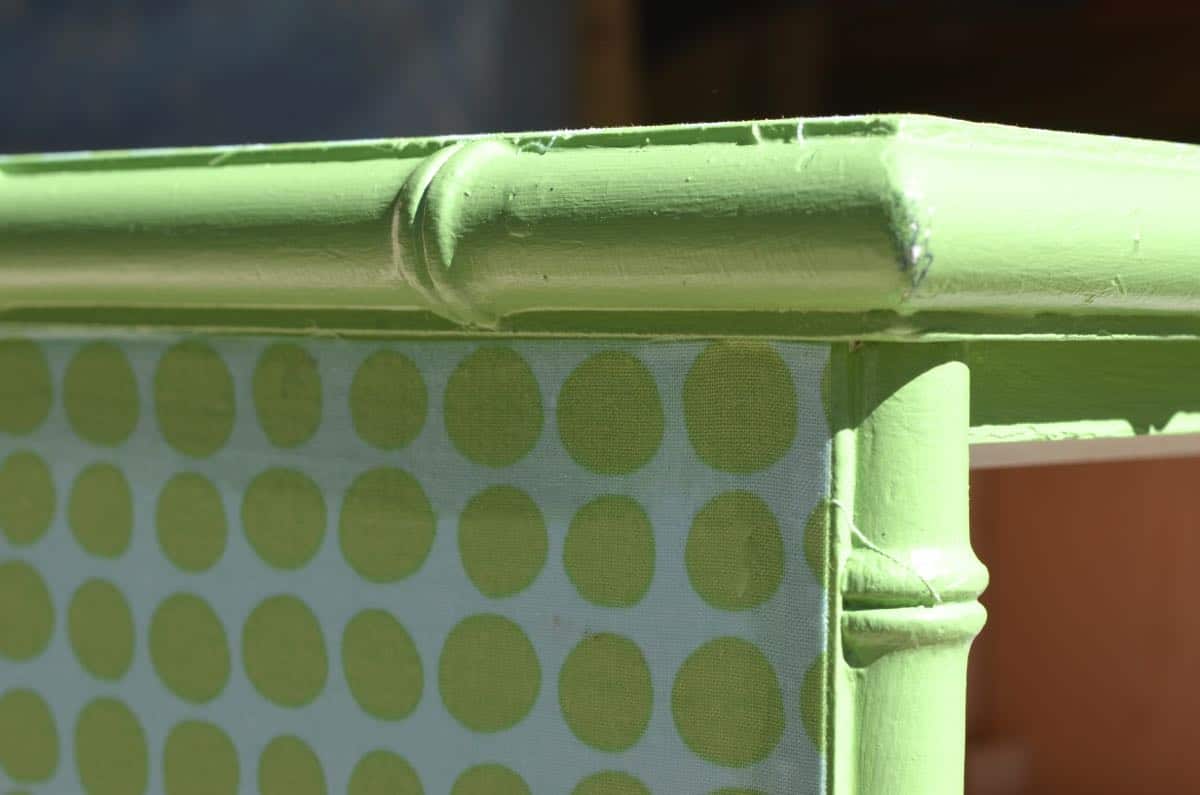
To protect the surface of your fabric treatment, go back over with a few coats of polycrylic.

Easy way to upcycle and refinish furniture with fabric.

I love the whimsy and the pattern this fabric brings to the room and I love how it brightened up this $15 side table!

Easy way to upcycle and refinish furniture with fabric.

Easy way to upcycle and refinish furniture with fabric.

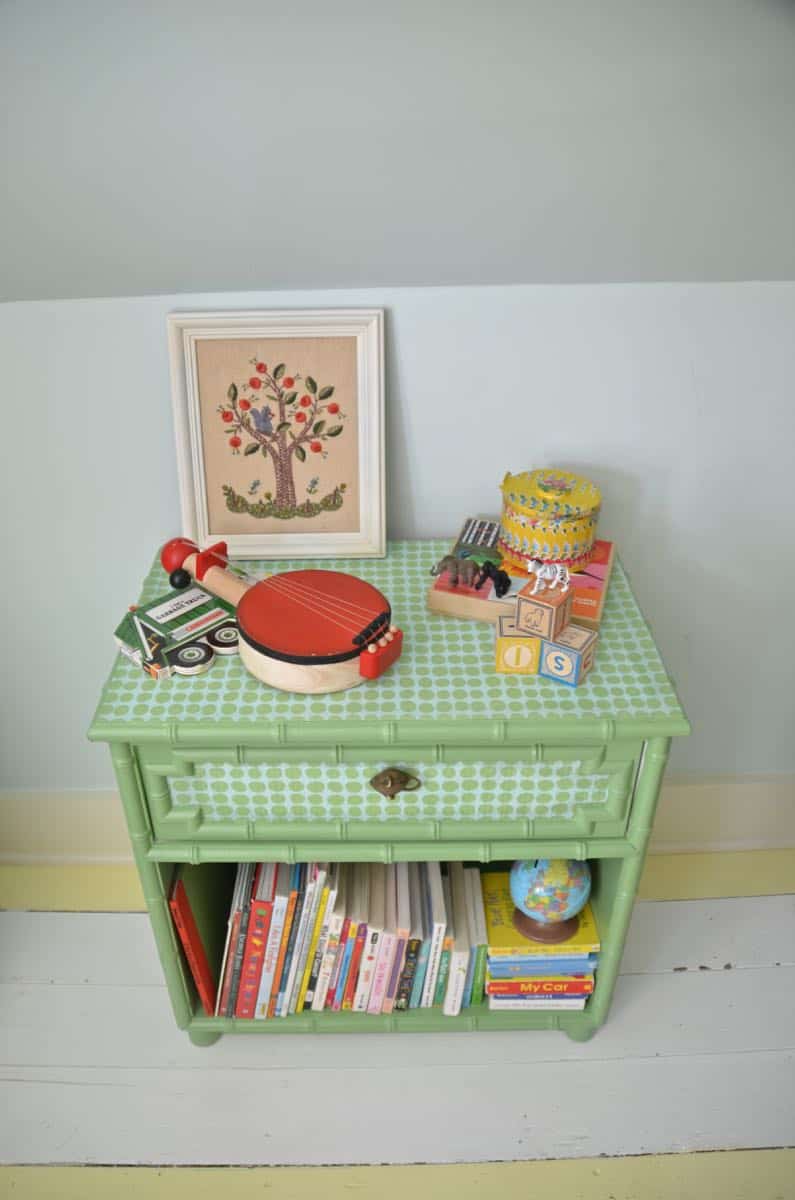
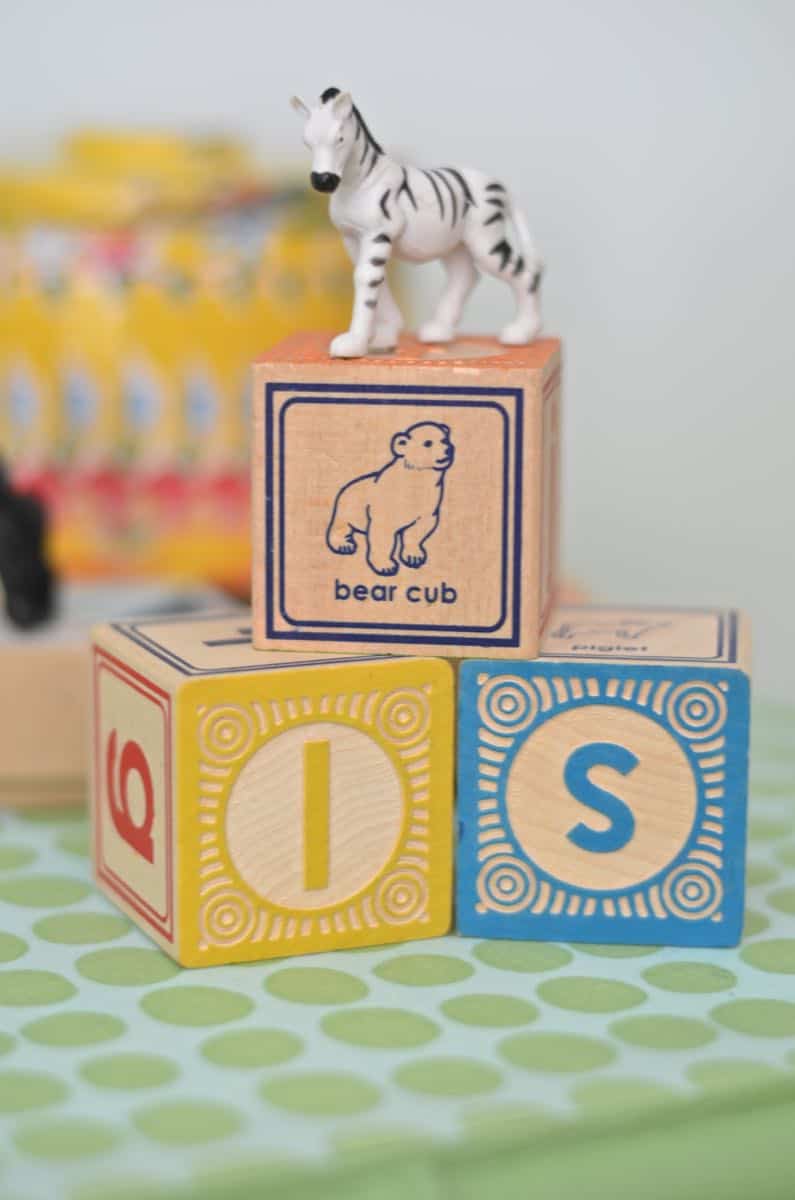
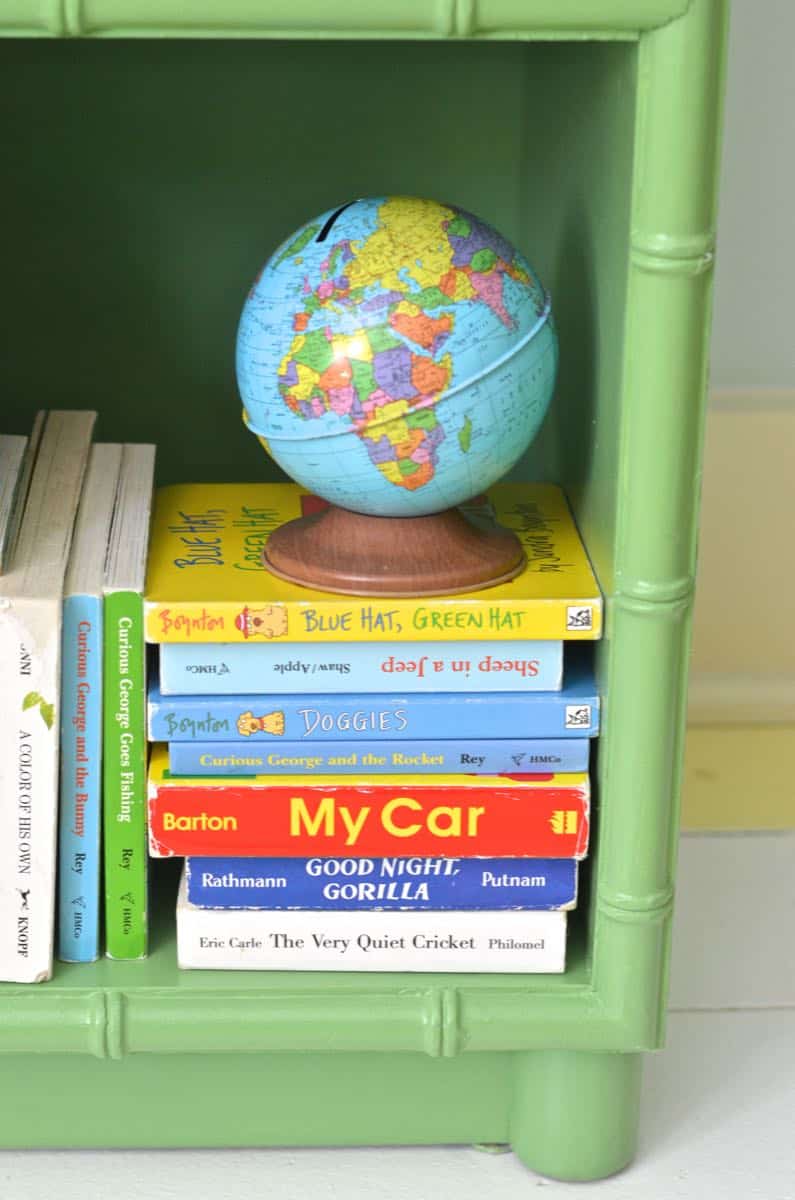
It’s also nice to have a place for her favorite books other than scattered across her bed!

Easy way to upcycle and refinish furniture with fabric.

Easy way to upcycle and refinish furniture with fabric.

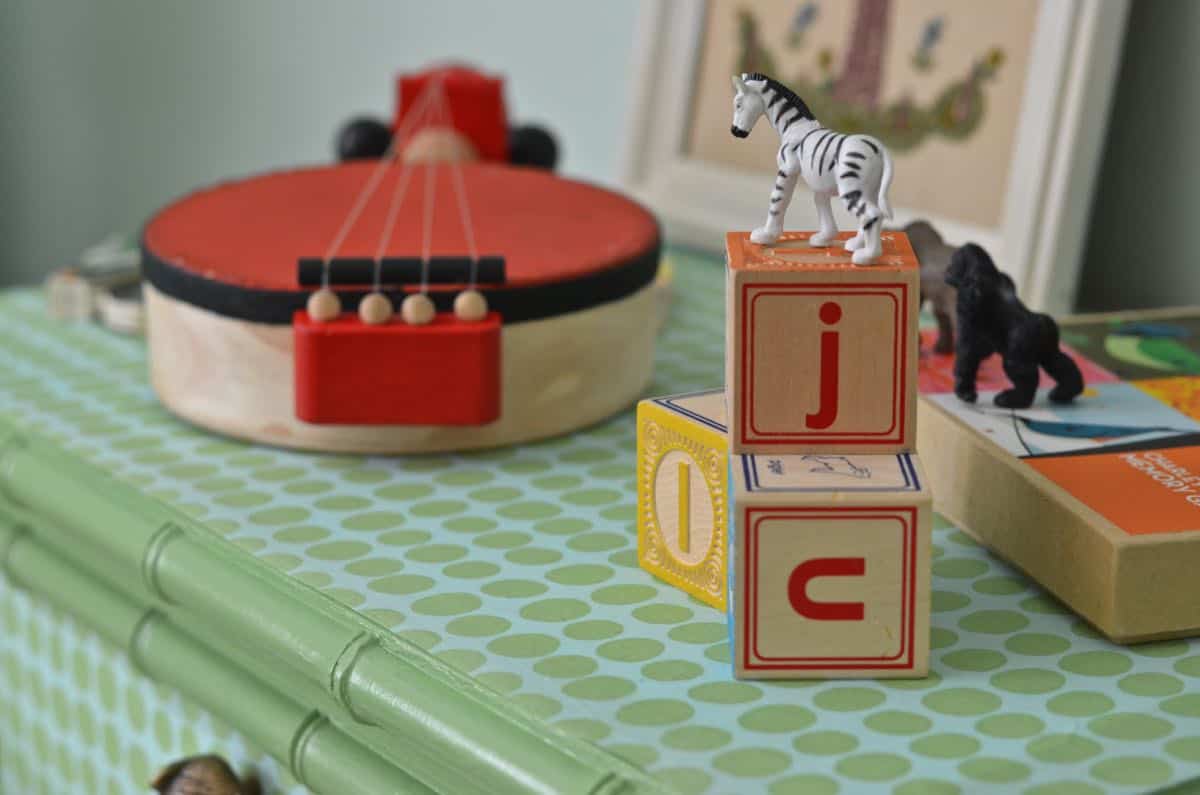
Oh! And Martha personally selected a mouse drawer pull similar to this (affiliate) to use as the drawer pull. Super cute.

Easy way to upcycle and refinish furniture with fabric.

This technique is one of my favorites and is the perfect way to bring in some fun pattern to a furniture piece… whether the top of the sides or even the back of a bookshelf… something to remember!

pin-me-button

Easy way to upcycle and refinish furniture with fabric.

XO Charlotte

8 Comments · Flea Market and Thrift Scores, Furniture Fixer Uppers, Sponsored

Comments

  1. Michelle O'Hara Levin says

    October 28, 2014 at 7:28 am

    So cute. Especially that drawer pull. Where did you get that?

    Reply
    • Charlotte says

      October 28, 2014 at 9:27 am

      We got it at Anthro but I don’t think they carry it anymore… I did see some on ebay (I think I included a link on the post…)

      Reply
  2. Jill says

    October 28, 2014 at 9:40 am

    Why did you use polycrylic versus mod podge? Trying to learn…turned out very cute!

    Reply
    • Charlotte says

      October 28, 2014 at 10:20 am

      Hi Jill,
      I had Polycrylic on hand so there’s that, but I also feel like it holds up better to moisture. I feel like ModPodge might get a little cloudy if something damp is left on it too long. So for the drawer fronts, no problem, but I figured I’d err on the side of caution for the table top! I also find Polycrylic easier to work with for something this large because it’s not quite as thick as ModPodge. Hope this helps!

      Reply
  3. Mallory @ Classy Clutter says

    October 28, 2014 at 9:17 pm

    SOOOO cute!!! I love that little table for any room!

    Reply
    • Charlotte says

      October 29, 2014 at 7:26 am

      Thanks, babe!

      Reply
  4. Meghan says

    February 5, 2015 at 9:05 pm

    Love this and I know you told me to do this for the side table I asked about but my concern is being able to cut it nicely – it is a round top and I am NOT good at cutting neatly – any suggestions???

    Reply
    • Charlotte Smith says

      February 7, 2015 at 12:45 pm

      I would trace the table top onto the back of your fabric and just bring it into a tailor. They have sharp scissors and a steady hand! 🙂

      Reply

Leave a Reply Cancel reply

Your email address will not be published. Required fields are marked *

*It's not you, it's me... don't mind the CAPS LOCK!
  • Email
  • Facebook
  • Instagram
  • Pinterest
  • Twitter
  • YouTube

SEARCH

Lover of color, wrangler of chaos, thrifter of all the things.

Hi, I'm Charlotte! I'm fixing up our 100 year old house and artfully hoarding armchairs in the garage. I love color. I love flea markets. I love a little mess. My days are spent writing, painting, sanding, laughing and negotiating with our 5 kids. You can read more about us here
amazon-shop

SUBSCRIBE

Sign up for my newsletter and get access to my super duper secret and exclusive FB Group... I'll answer questions, share tips, post funny memes. It'll be awesome. (If you're not on FB- hi Dad- I'll still answer any design or thrifting questions... email me!)

Recent Posts

Christmas Present Upholstered Ottoman

Christmas Present Upholstered Ottoman

Children’s Christmas Playhouse Makeover

Children’s Christmas Playhouse Makeover

Day 12: Marbled Colorful Epoxy Ornaments

Day 12: Marbled Colorful Epoxy Ornaments

Spray Painted Christmas Planters

Spray Painted Christmas Planters

ach-popular-posts
ach-house-tour

WHAT TO WATCH

AS SEEN ON

rr-logo-1 sidebar-as-seen-on-2 sidebar-as-seen-on-1-1 bh-sidebar-1 design-sponge-1 houzz-sidebar-1 mass-appeal fmf-sidebar-1

COPYRIGHT & USE POLICY

All images and text shared on this site are the property of At Charlotte's House unless stated otherwise... and I'm SO thrilled that you're here visiting. I'm delighted for you to Pin or Stumble or Share or Tweet to your hearts delight providing all links are directly to "At Charlotte's House" (not "source" or "photo credit", etc.). If you are a blog or an individual and would like to mention a post of mine please only use a SINGLE image and link back to my original post. I invite brands to contact me directly for image-use terms. Do not alter, crop, edit or add/ remove watermarks from my images. I do not accept guest posts of any kind at this time. If you have any questions, please contact me. For more information, see my full disclosure and privacy policy.

@atcharlotteshouse

No images found!
Try some other hashtag or username

Copyright © 2019 · Simply Pro Theme by Bloom Blog Shop.