
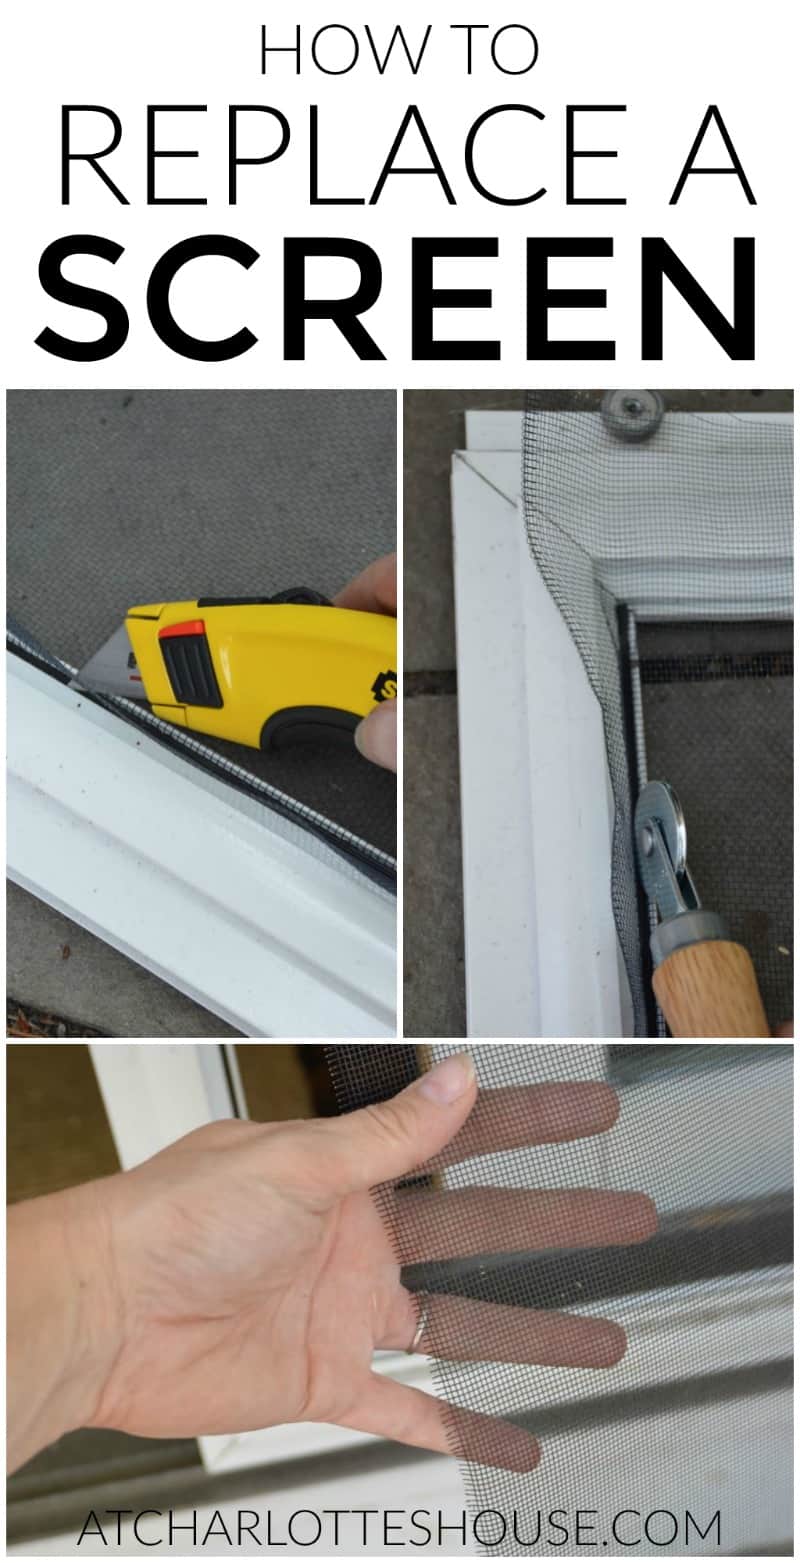
Screen Queen: How To Replace a Screen
Psssst… this post *might* contain affiliate links: see my disclosure here.
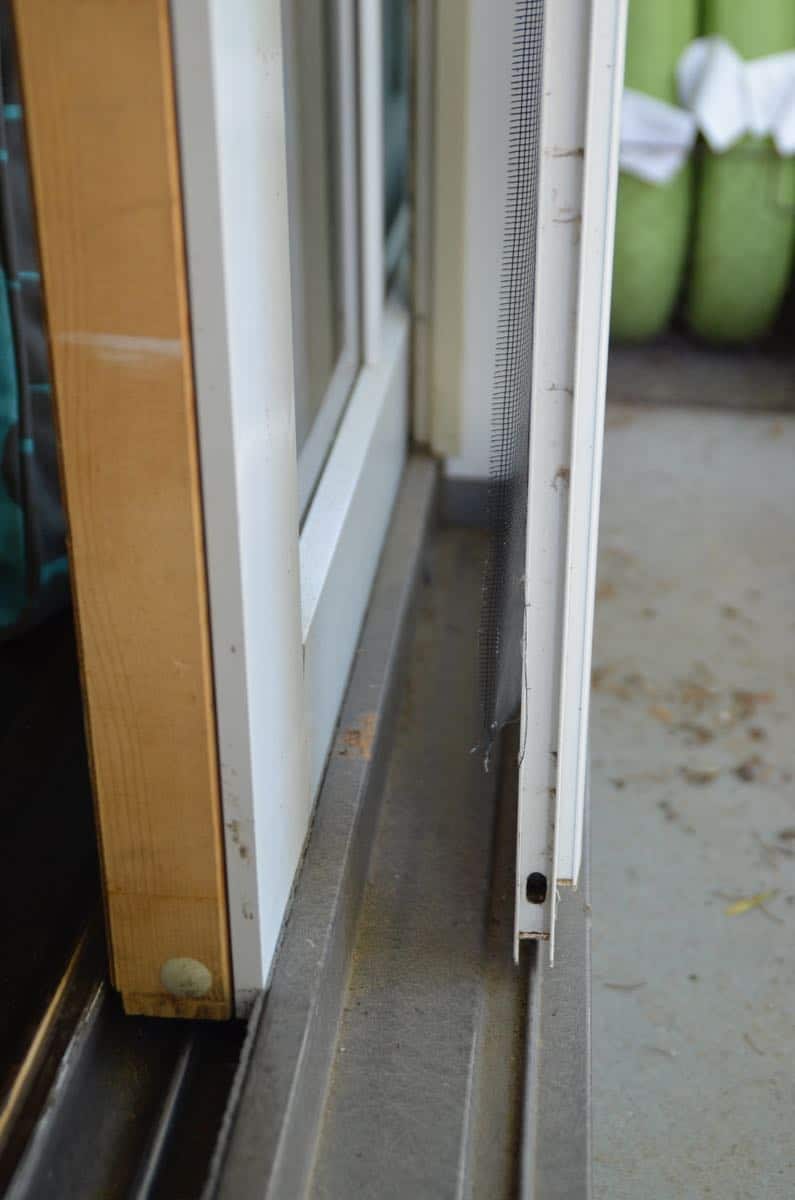
A few months into the summer, and our sliding screen door looked like this:
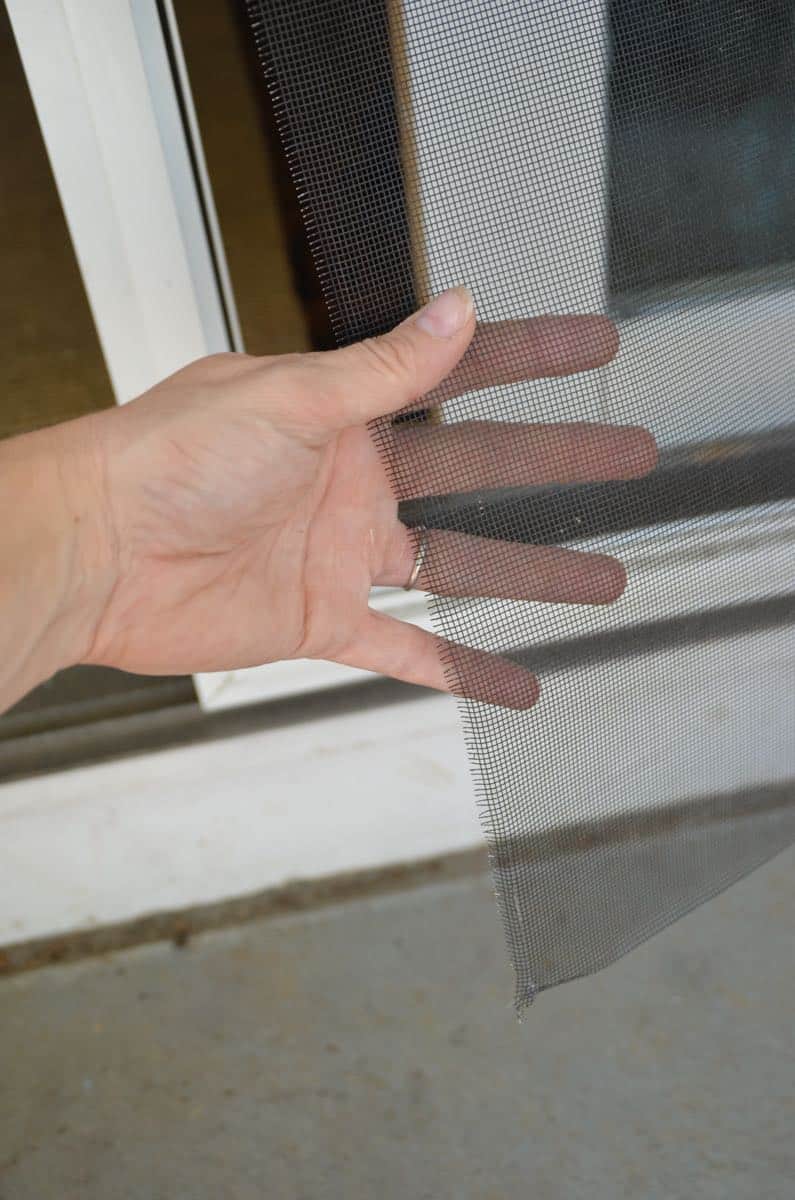
We’ve been living with this for longer than I care to admit because I sort of figured I would need to phone a friend, but… turns out all my dreams were answered after a quick spin through YouTube. Duh. Wanna know how? I warn you, this is stupid easy. And… my favorite part of the whole project is that I learned a new ‘technical term’. Spline. Stay tuned for what a spline actually is.
Shop my favorites!
How to Replace a Screen Door
Step 1
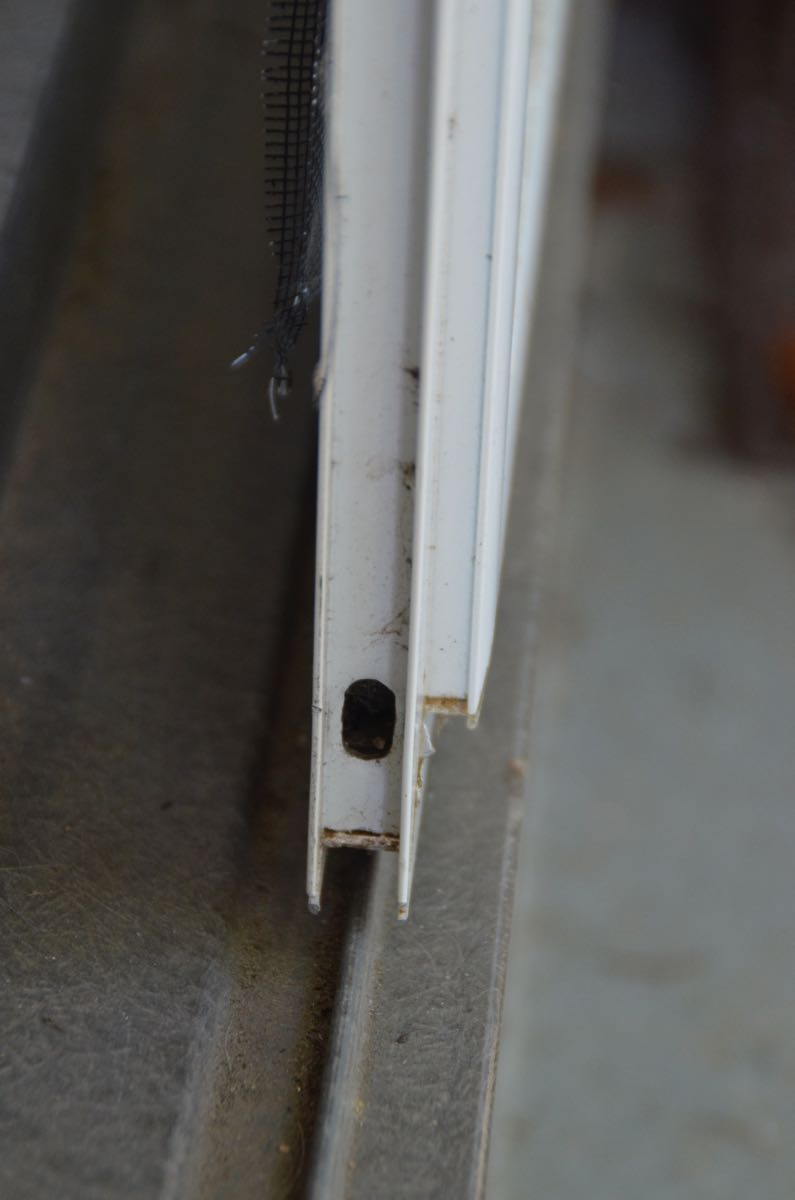
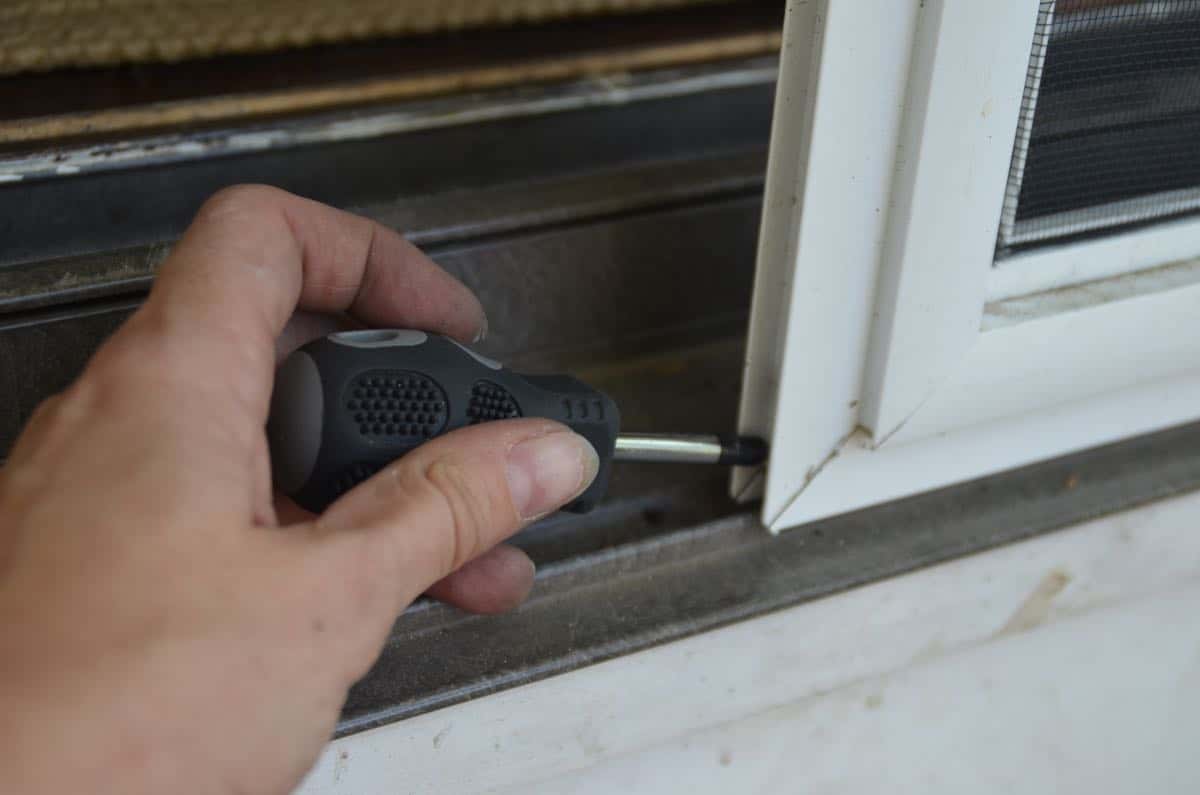
For me, the hardest part was removing the actual &^(%^$(@%$ door! Most doors have rollers on the bottom that sit on tracks along the bottom door frame. Ours was screwed in above the door so things got tricky, but many doors should come off by releasing the tension on the bottom rollers so that the door can lift up and off the tracks. On either end of the bottom edge of your screen, there are 2 tension screws. Unscrew these a bit and you should be able to lift the door just enough to pop the wheels off the tracks and remove it from the door frame. (You might need to use a flat head screw driver to help you push the wheels up enough to get them off the tracks.)
Step 2
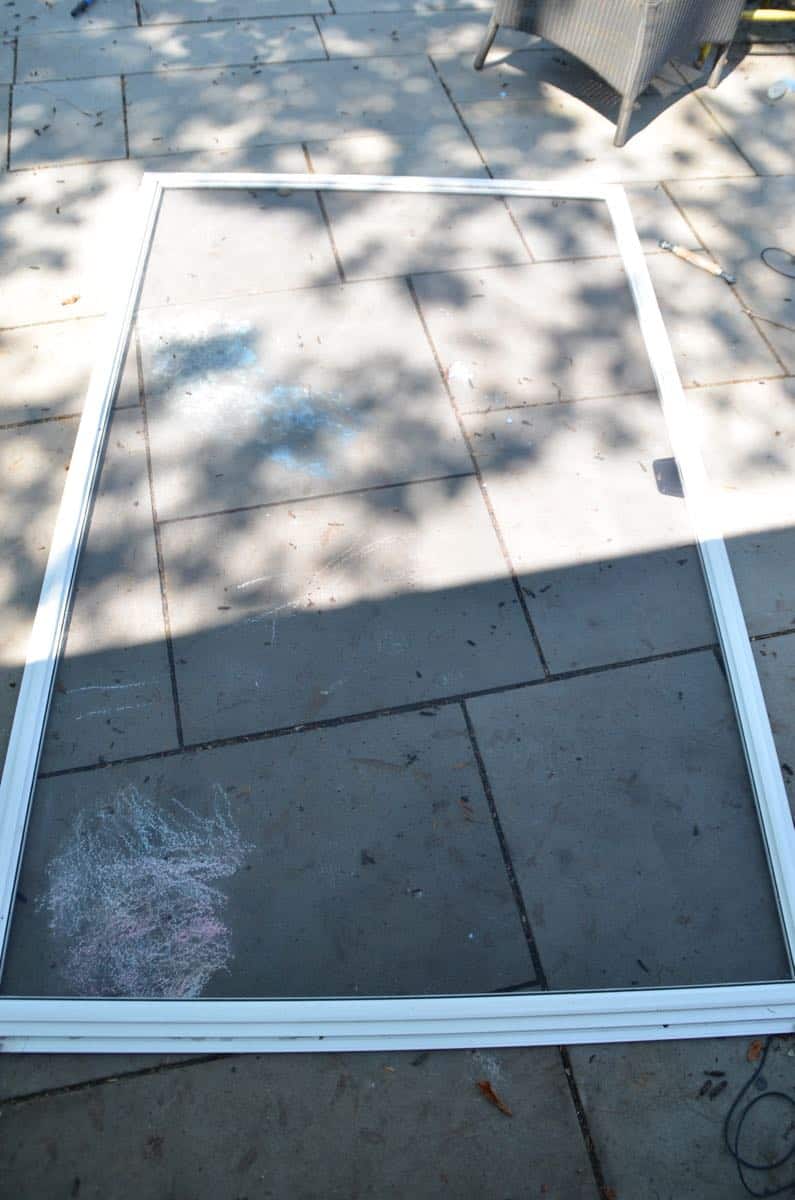
Once your door is free and clear, lay it down flat.
Step 3
This right here… that’s a spline. Now you too are part of my advanced DIY world of vocabulary. Find the spot where the two ends of the spline meet and pry one end out… from there, you just pull the whole dang thing out and throw it away. Your screen will come right off now so throw that away too. Or go on Pinterest and find some fun ways to repurpose it… I haven’t had much luck yet.
Step 4
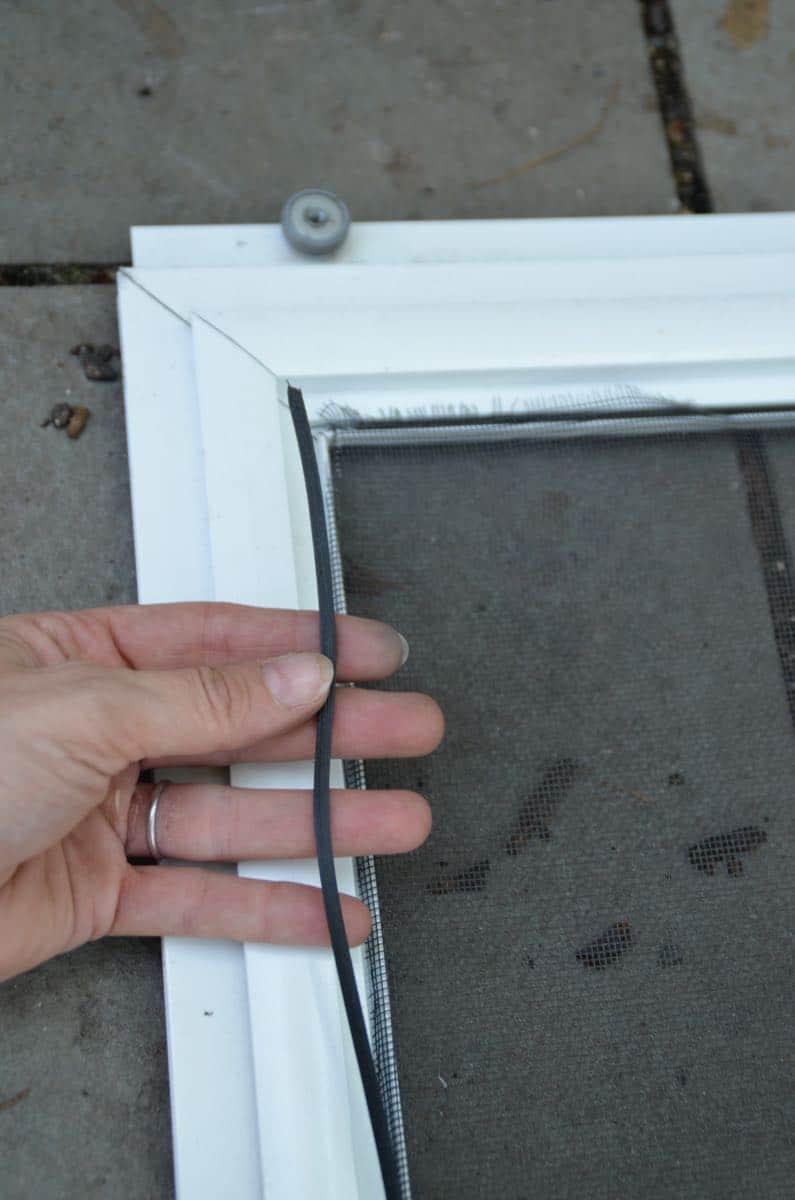
Here are the tools that you will need: new spline, and new screen. Total cost a little under $20. (Full material list at the end of the post.) Lay your new screen down on top of your door frame. There are lots of screen options out there, but I just went with a basic one figuring I’d be replacing it again pretty soon down the line given the way my kids like to lean against it all summer.
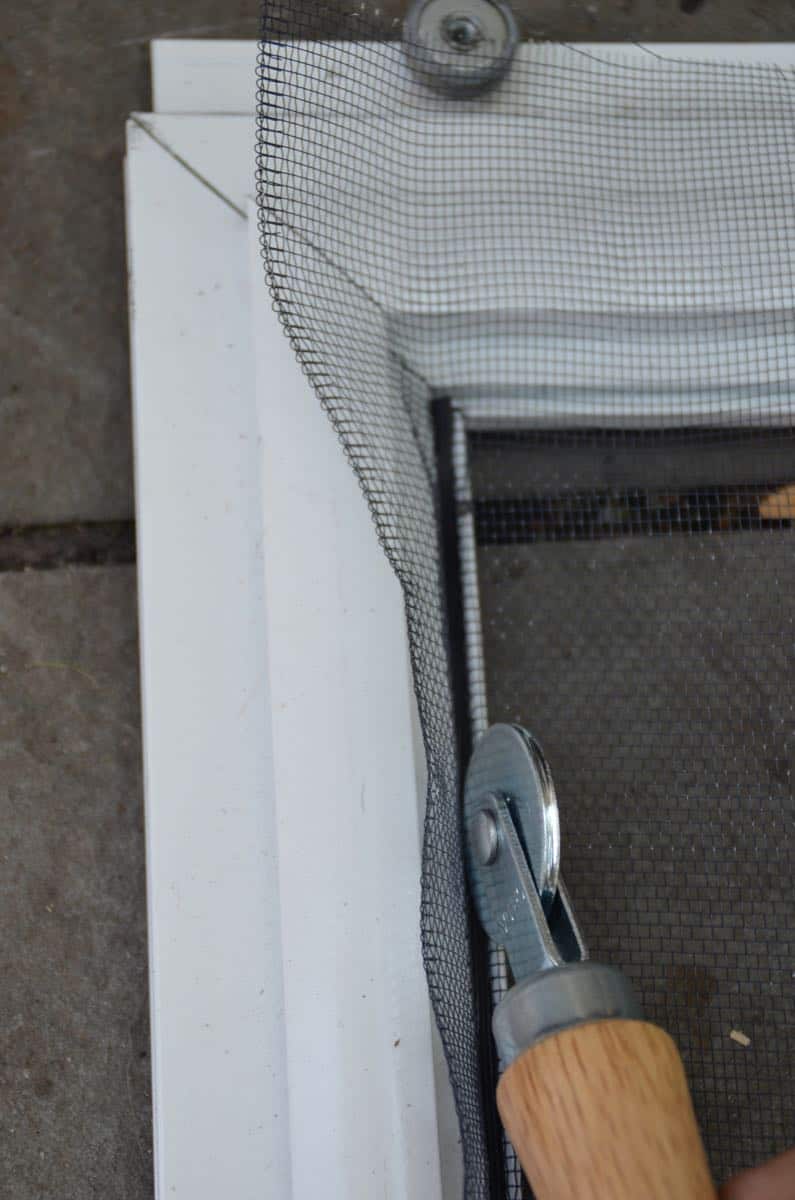
Step 5
Take your spline (again.. there are different sizes so be sure to buy the right size spline for your screen door) and start at one corner. Carefully press the spline down into the grooves on the edge of the door thereby pinching the screen into the door frame. Be careful of two things: 1) make sure your screen is square… you don’t want the weaving of the screen to be wobbling all over your door frame. 2) go slowly… the spline tool can slip and it might cut your screen instead of pressing the spline into the door. i.e. a buzz kill. Work your way around the door frame being careful to keep the screen straight and taught… at the corners you might need a flat edge screw driver to press the spline in since your spline tool may not reach these tight spaces. When you’ve gone all the way around, cut your spline.
<
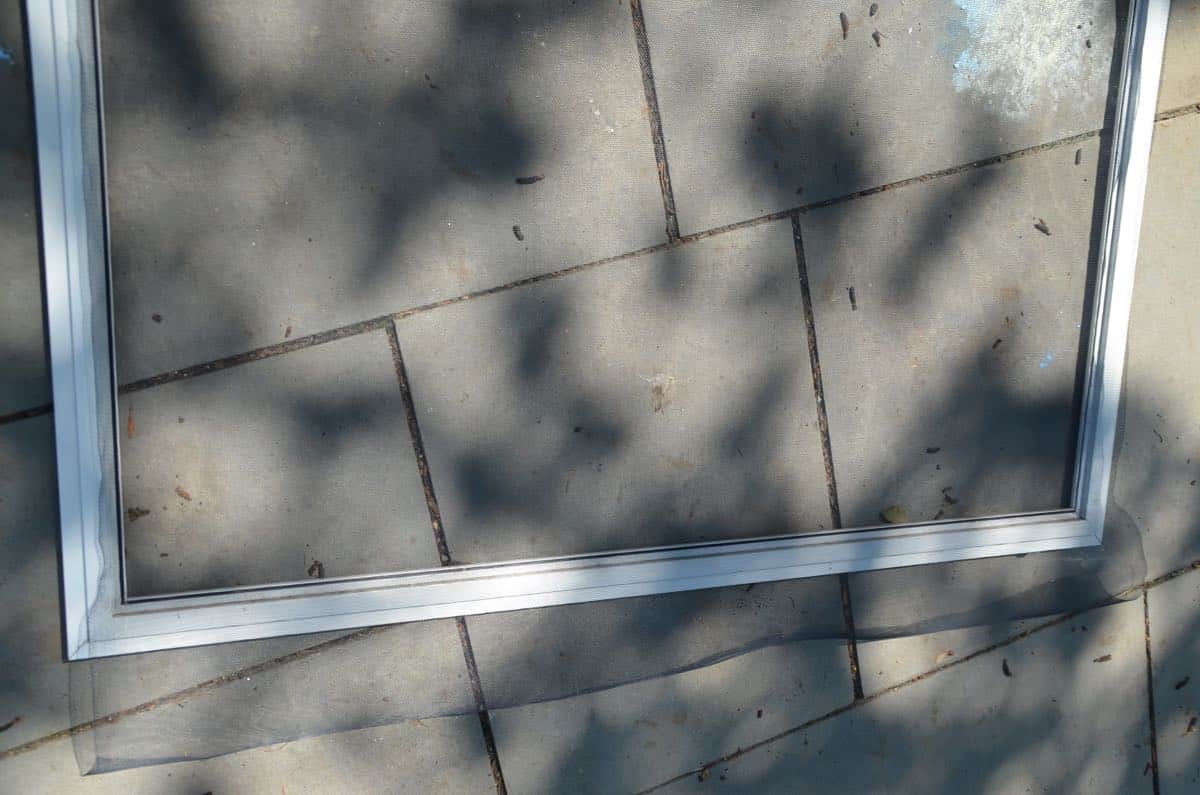
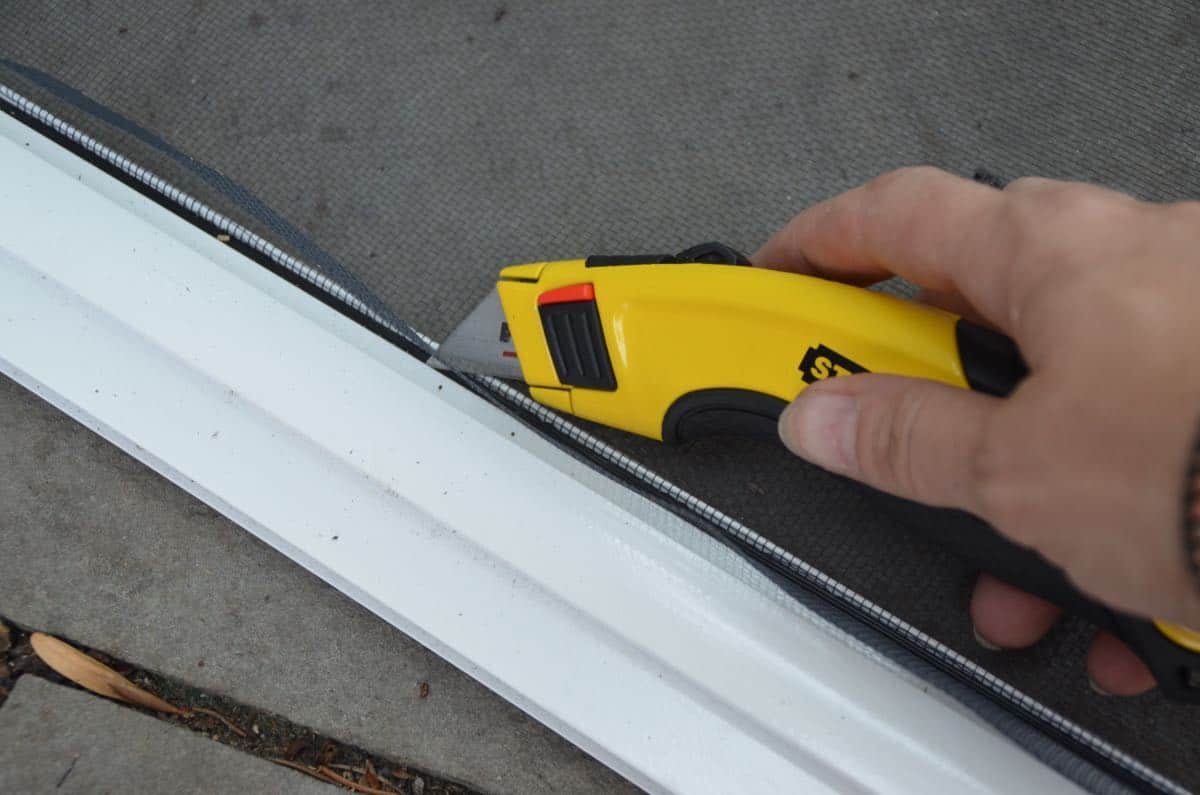
Step 6
Using a sharp edge, carefully cut the excess screen from the frame. When you’re finished, ta da… a new fresh and clean screen!
Step 7
Place the sliding door back onto the tracks the same way you removed if and laugh at all the bugs that can no longer get free entrée into your home. Incidentally, I had to put about $12 into our cursing jar after reinstalling the screen door.
Materials Needed to Replace a Screen
(Affiliate links included for your convenience.)
• Spline
• Screen


So simple!
And yet, so many of us leave it because we figure it will be a big job.
Thanks for the tutorial!
That’s what I always thought! And now that the dog has already put 2 holes in the new screen, glad I know how simple it is… Wanna dog?
Oh no thanks – my wee grey-dog is already a bit of a handful.
Good luck with the next screen!
What is the name to the screen door. I have the same kind but it needs to.be replaced.
Oh goodness… I have no idea. Sorry!
A few moRe tricks on replacing the screen door. When you Laid The door down on a table put One brick at the top of the door and one at the bottom and then get yourself a two clamp. aPlPly a small amount of pressure to the middle of the door so it bows just a littlE. A then Go ahead and install your screen. After your done ATTACHING the new screen take the clamps off and you’ll have a nice tight ScreeN.
Love this idea! Thanks for the pointer!!
Anyt, gald to save so some time.
Amazing; you do make it look simple. Hmm, Mark is going to have to start keeping a “Honey Do” list on his phone for you.
Paul, it’s so simple it’s silly. Promise!
Hi, I own a Flyscreens business in Perth (Louies Flyscreens) we do repairs, rewires and new security doors, reading through your pin I couldn’t help to notice the 1 big mistake! Never touch the screws at the bottom of the door to remove it (only the top ones) as the bottom ones are set for the squareness and correct posisioning for locks / latches!
? Otherwise good job
GREAT tip! Thanks!
Don’t buy the more expensive metal roller spline tool – – buy the cheaper plastic one. Reason – – the metal spline rollers can easily tear the new screen fabric – – the cheaper plastic rollers are softer and less likely to tear the screen. Also be sure to carefully check the squareness of the frame. Do this by measuring the diagonals of the frame (corner to corner) – – compare the measurements – – if they are the same, the frame is “in square”. Finally after checking the square use duct tape to hold the frame down and help keep it in square while the new screen is being stretched and installed over the frame.
The slot for the spline is called a “kerf” – – most all the spline sizes available will work in a standard size kerf – – if your new screen material is heavier or stiffer (such as solar screen, pet screen or aluminum screen) you can buy the smaller (narrower) spline to make the installation easier. Lastly – – do not try to re-use the old spline. Frequently old splines will be brittle. slightly distorted or stretched – – old spline may not hold your new screen in place as well as a new spline.
Thanks for this! All great tips!