Simple DIY Rainbow Art
Psssst… this post *might* contain affiliate links: see my disclosure here.
Colorful Rainbow Quote Gallery Wall
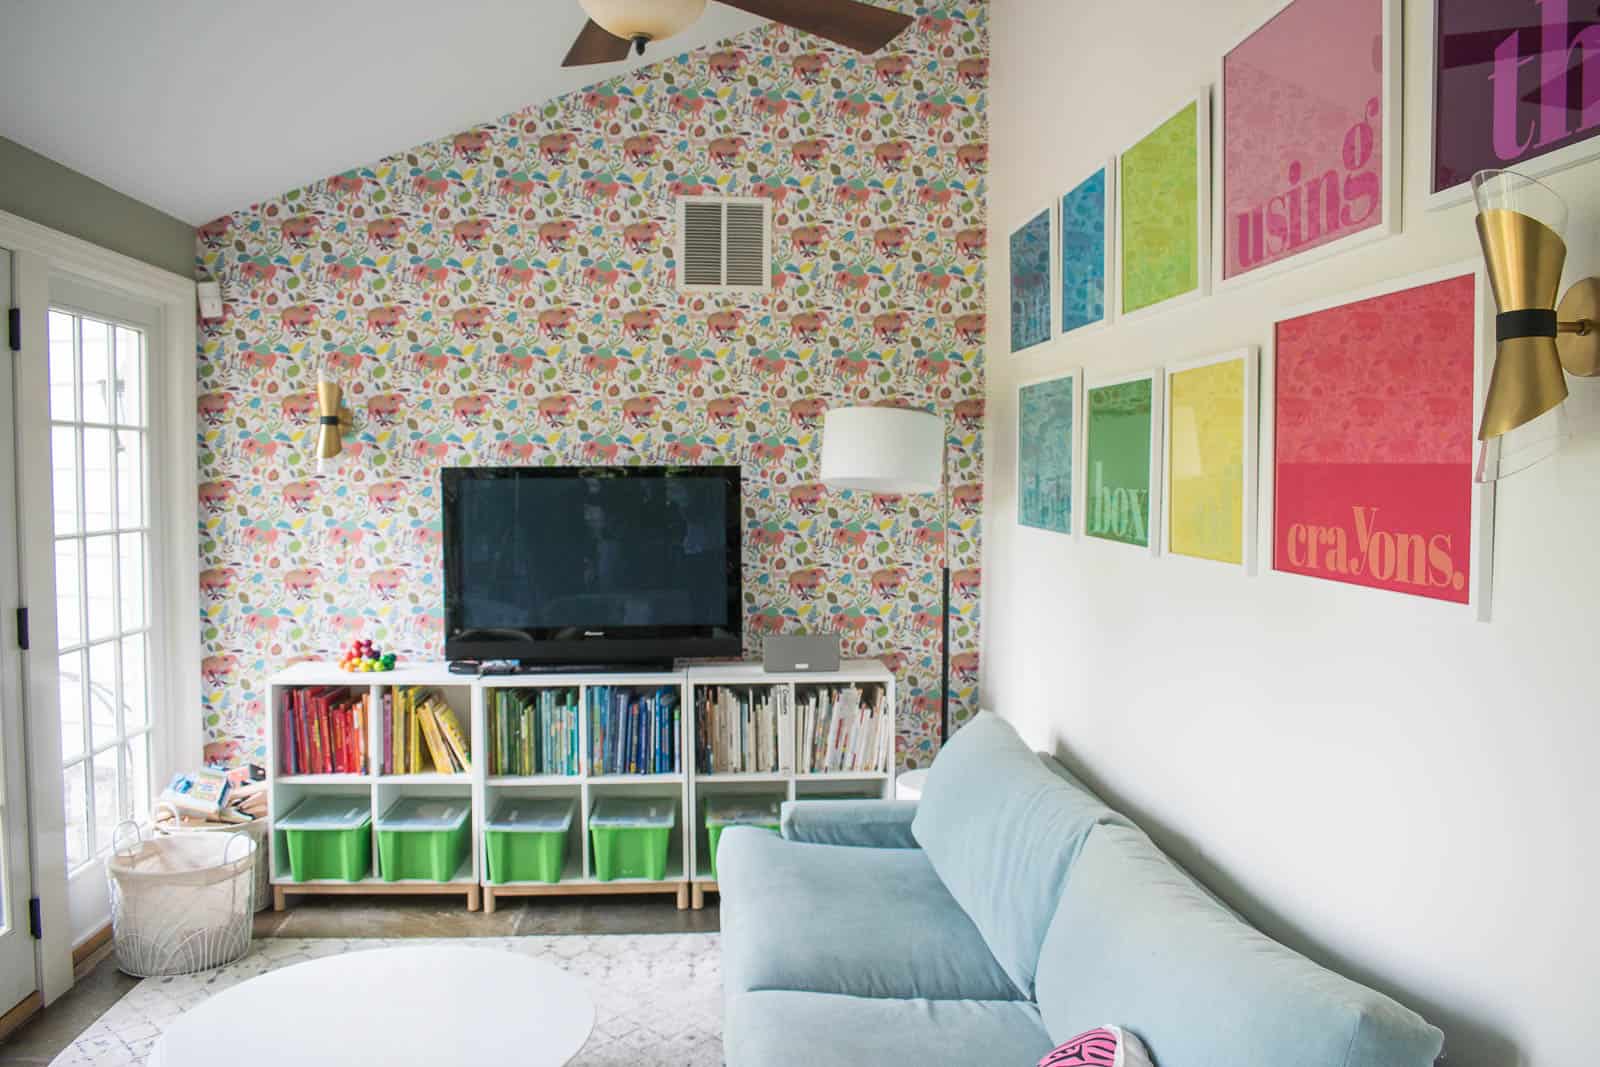
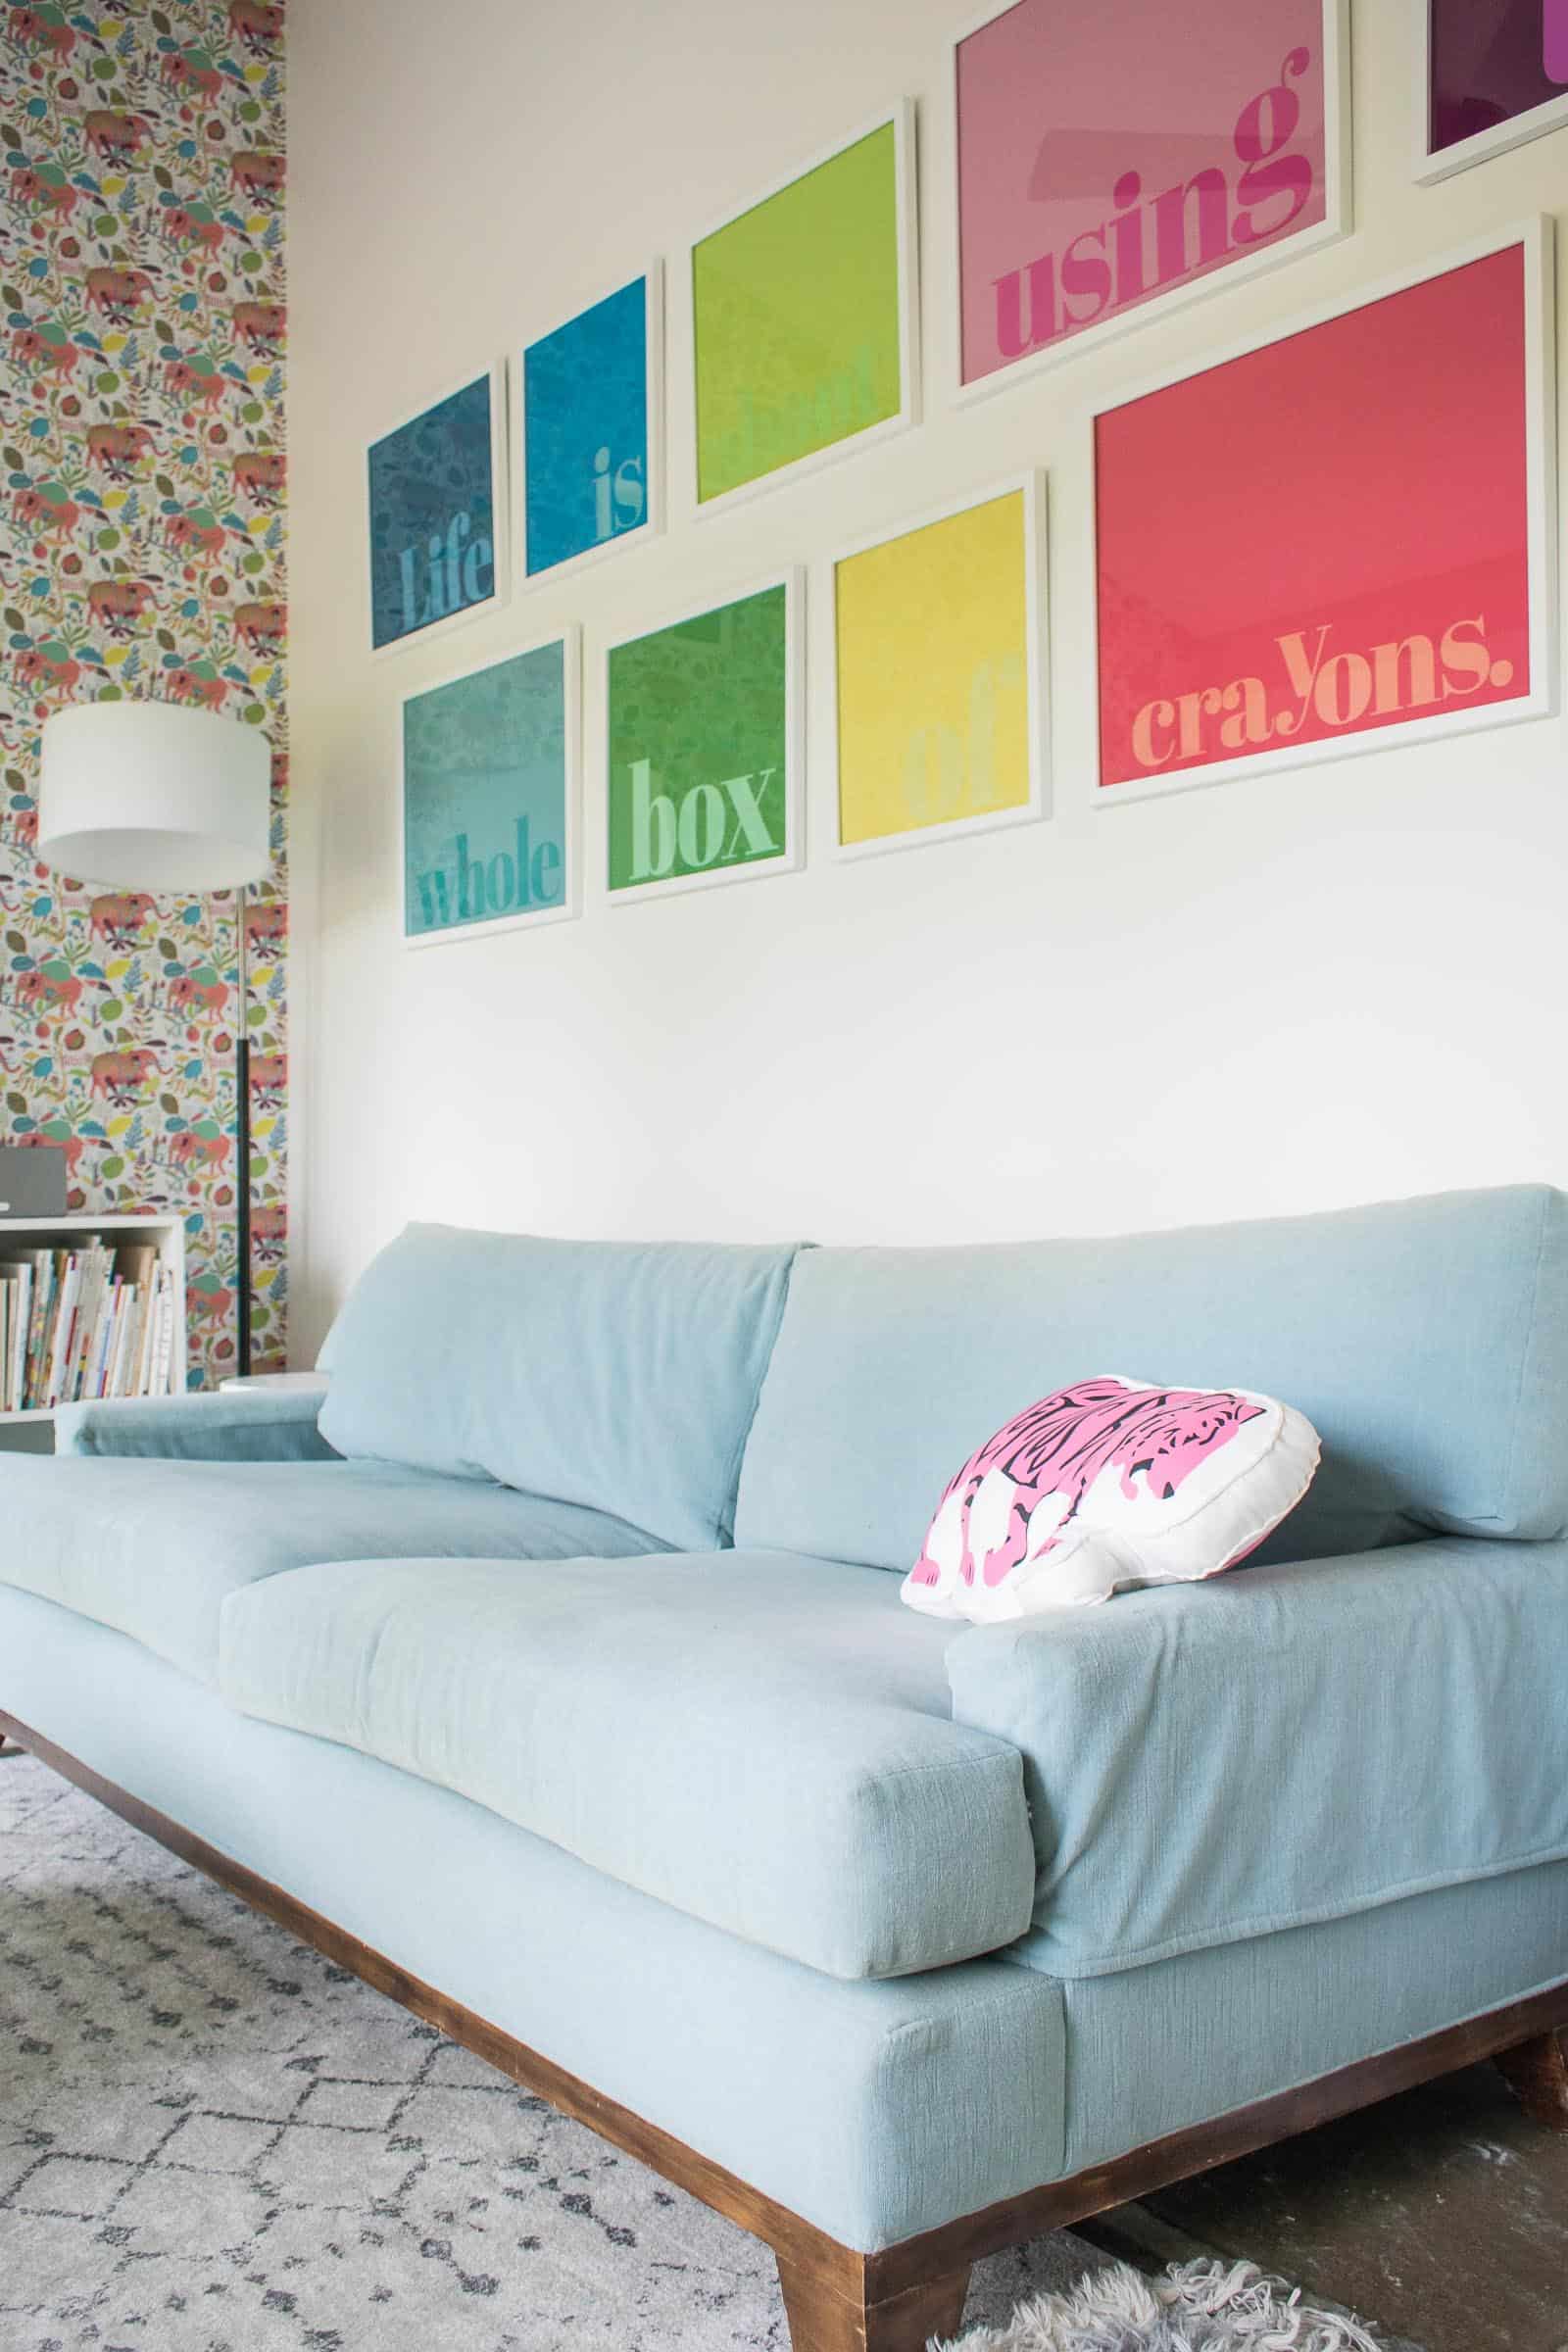
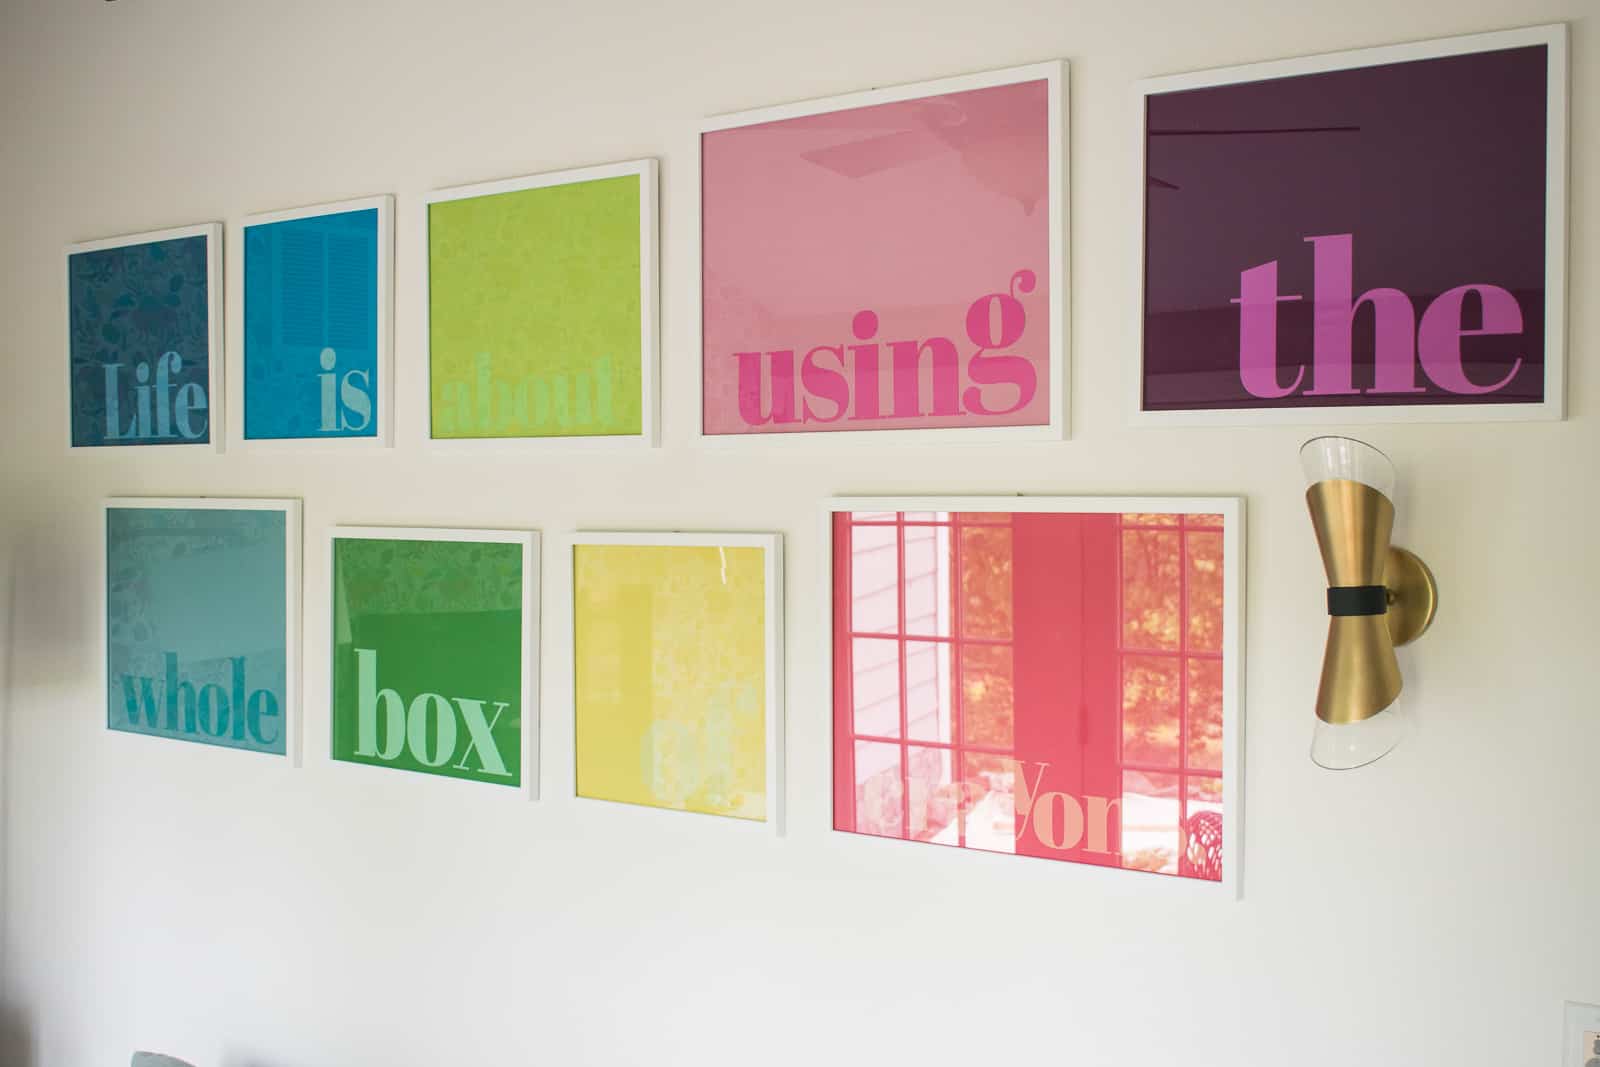
This simple gallery wall of DIY rainbow art was SO easy and packs such a wonderful graphic punch… I love it.
Disclosure: This post was written in collaboration with JOANN. All the love and affection is entirely mine.
Shop my favorites!
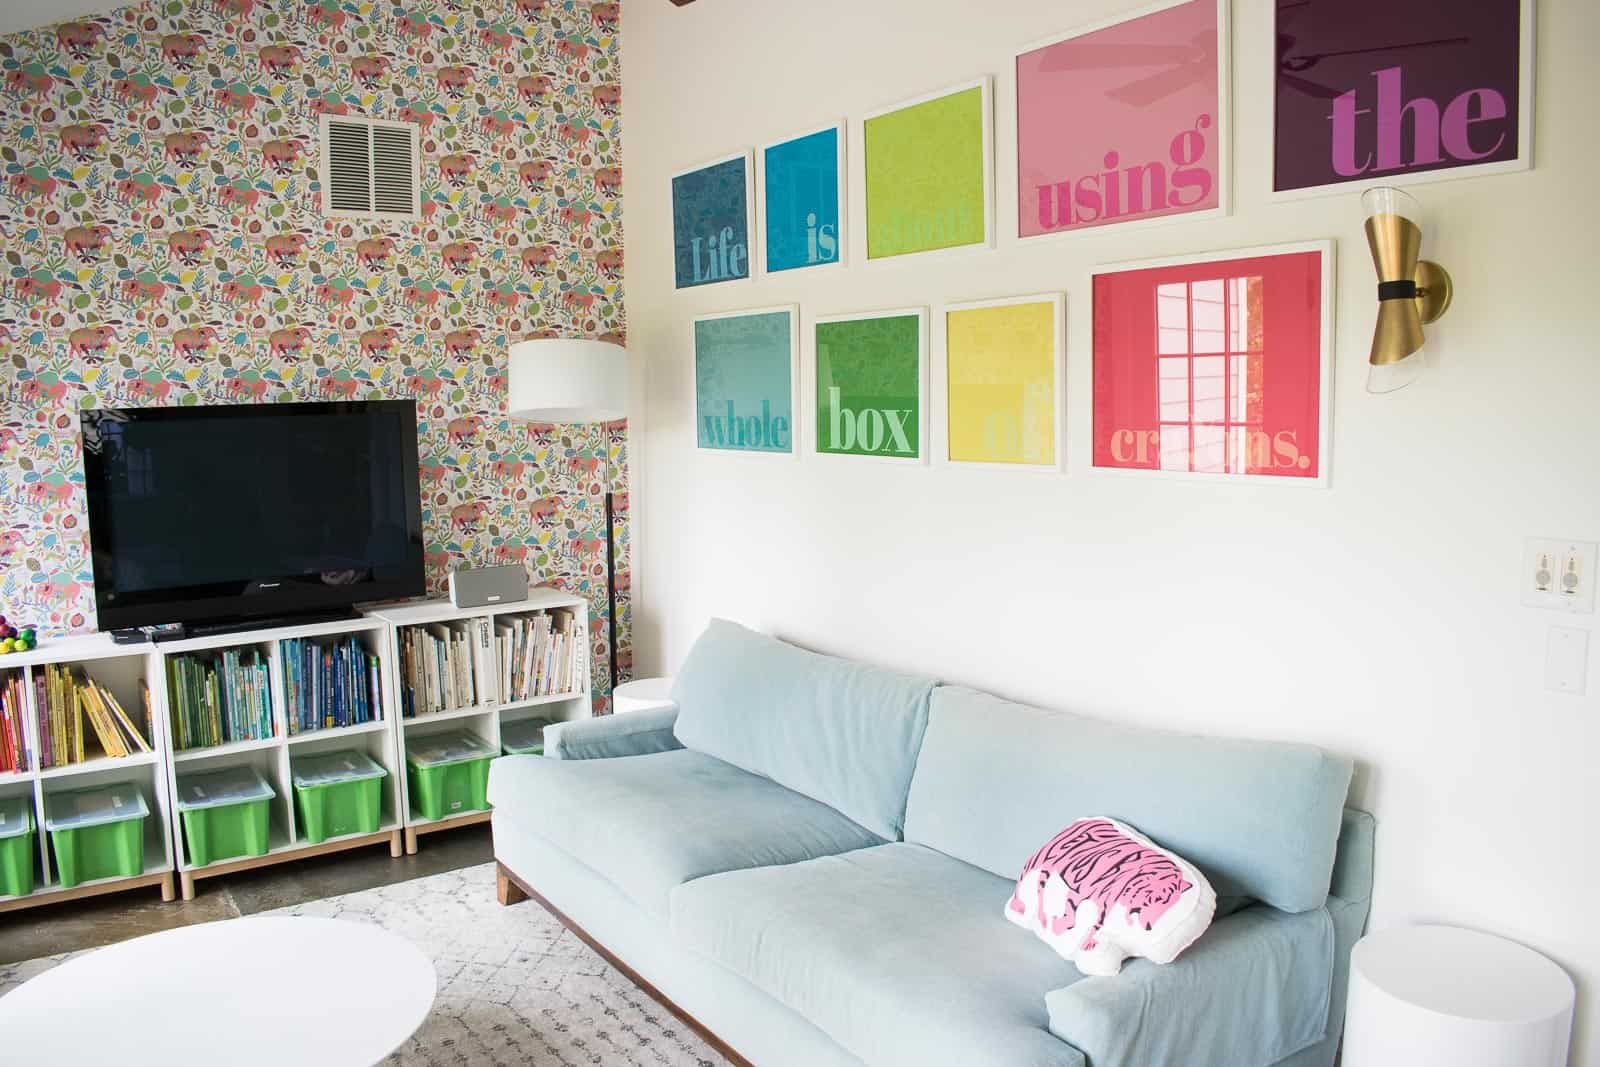
When we moved in to the rental, we decided the sunroom would be the best spot for the kids playroom. It’s sunny, off on it’s own, and… what else were we going to do with it? I’m slowly getting around to making this room feel a bit more like… me and this DIY rainbow art makes me so super happy. Like many of the projects I share on here, I love that this one simple idea can be tweeked so easily to fit ANY style. Different frames… different colors… different quote… different font… it can suit any style!
Materials:
- Assorted frames. I used these white ones in 16×24, 16×16 and 18×24.
- Colorful cotton fabric
- card stock
- Cricut (this is technically optional, but many did it make my job easier)
- spray adhesive
- mod podge
Step 1. Find a quote
When I’m looking for quotes, I always start with google. For this wall, I knew I wanted the quote to be about “color” so I started there. I also knew that each word needed to be its own frame, so I looked for quotes that were fairly short and concise. This one my RuPaul tickled my fancy and seemed PERFECT for a colorful gallery wall: “Life is about using the whole box of crayons.”
Step 2. Choose your colors
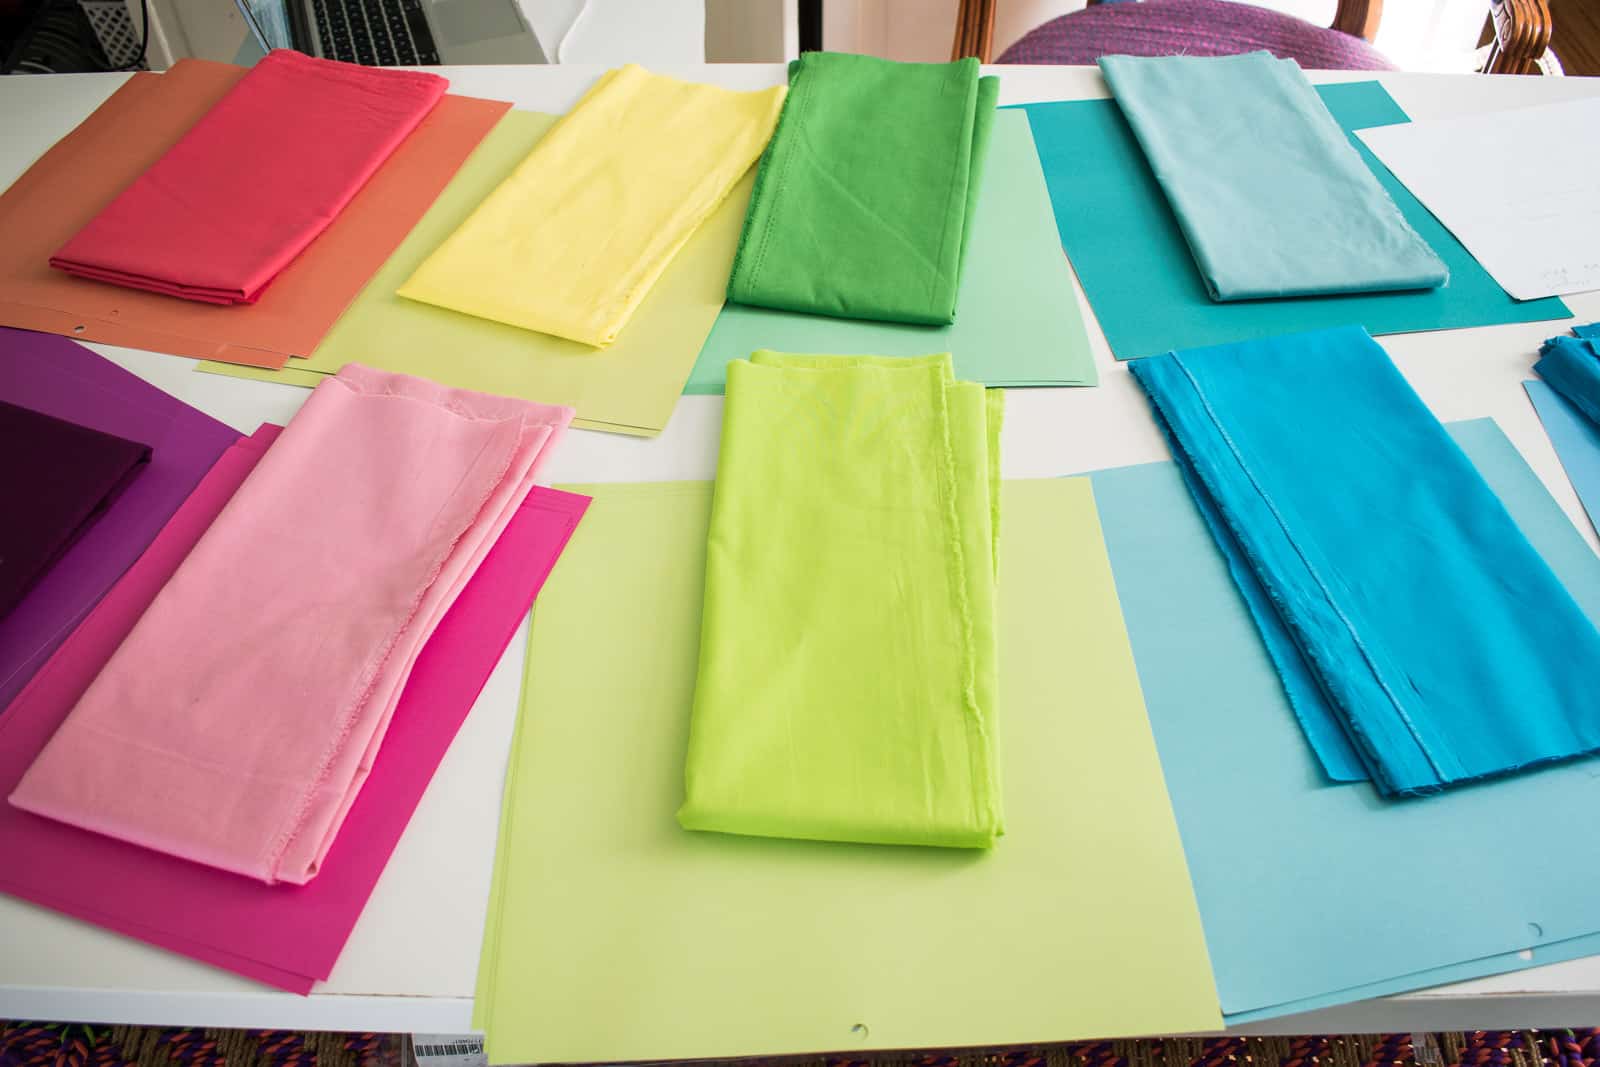
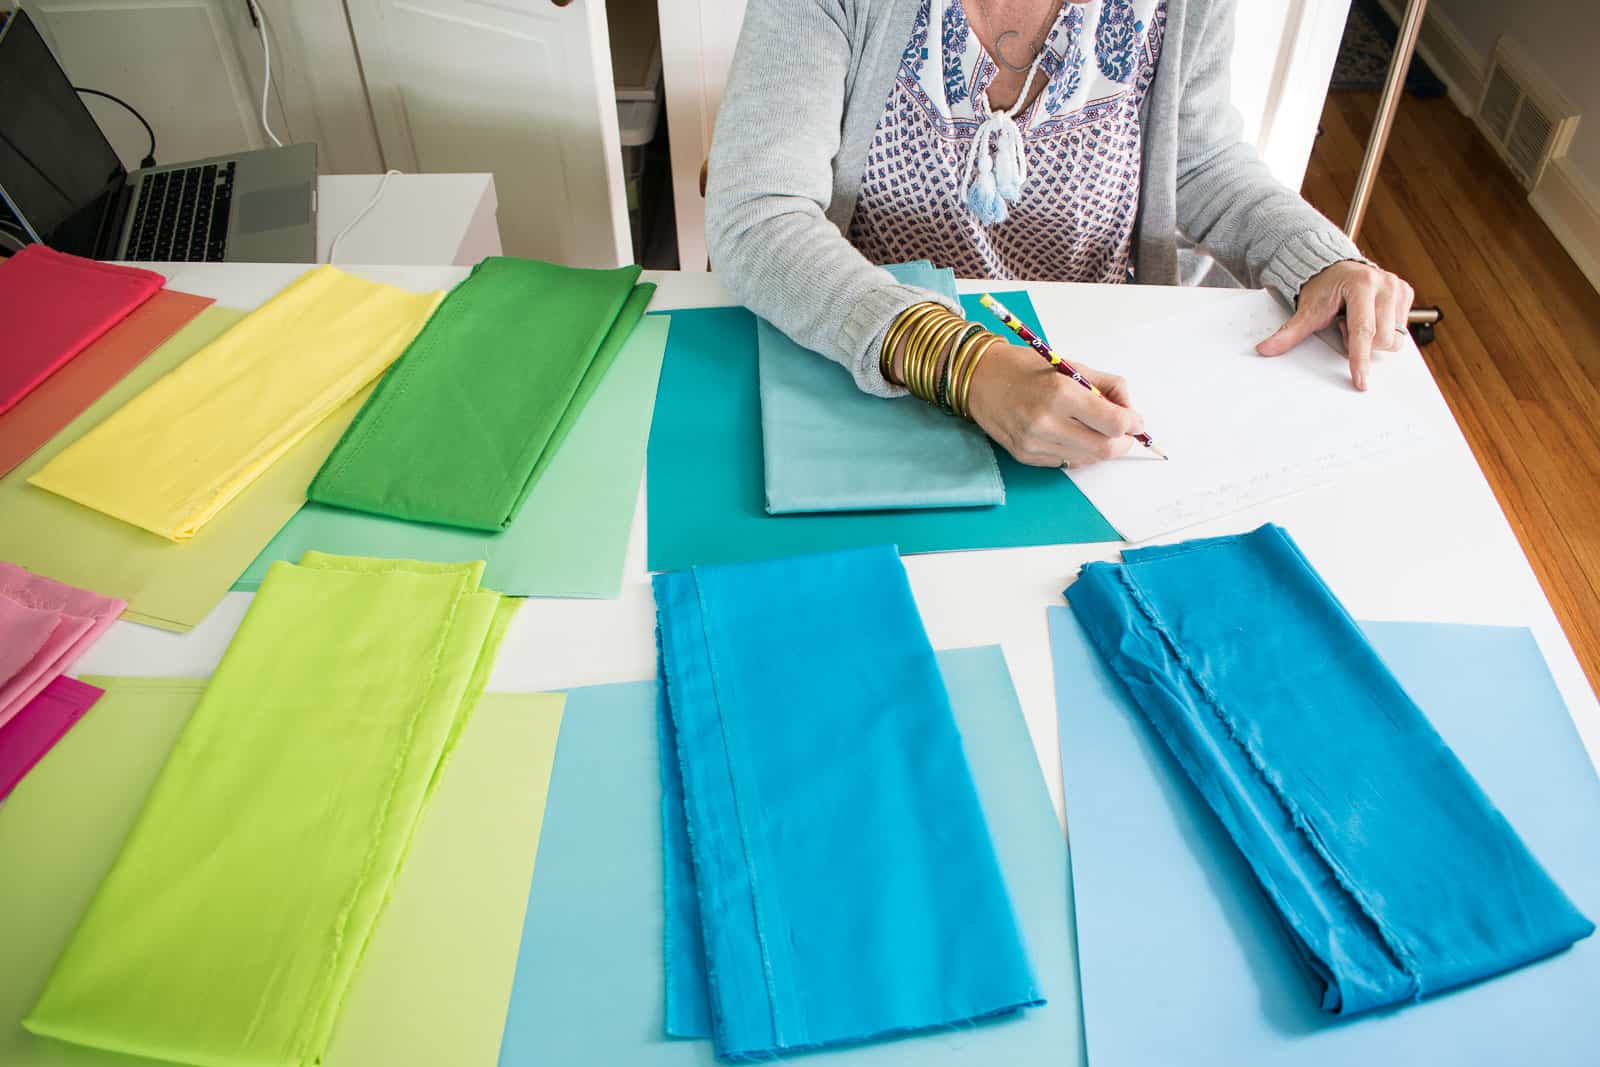
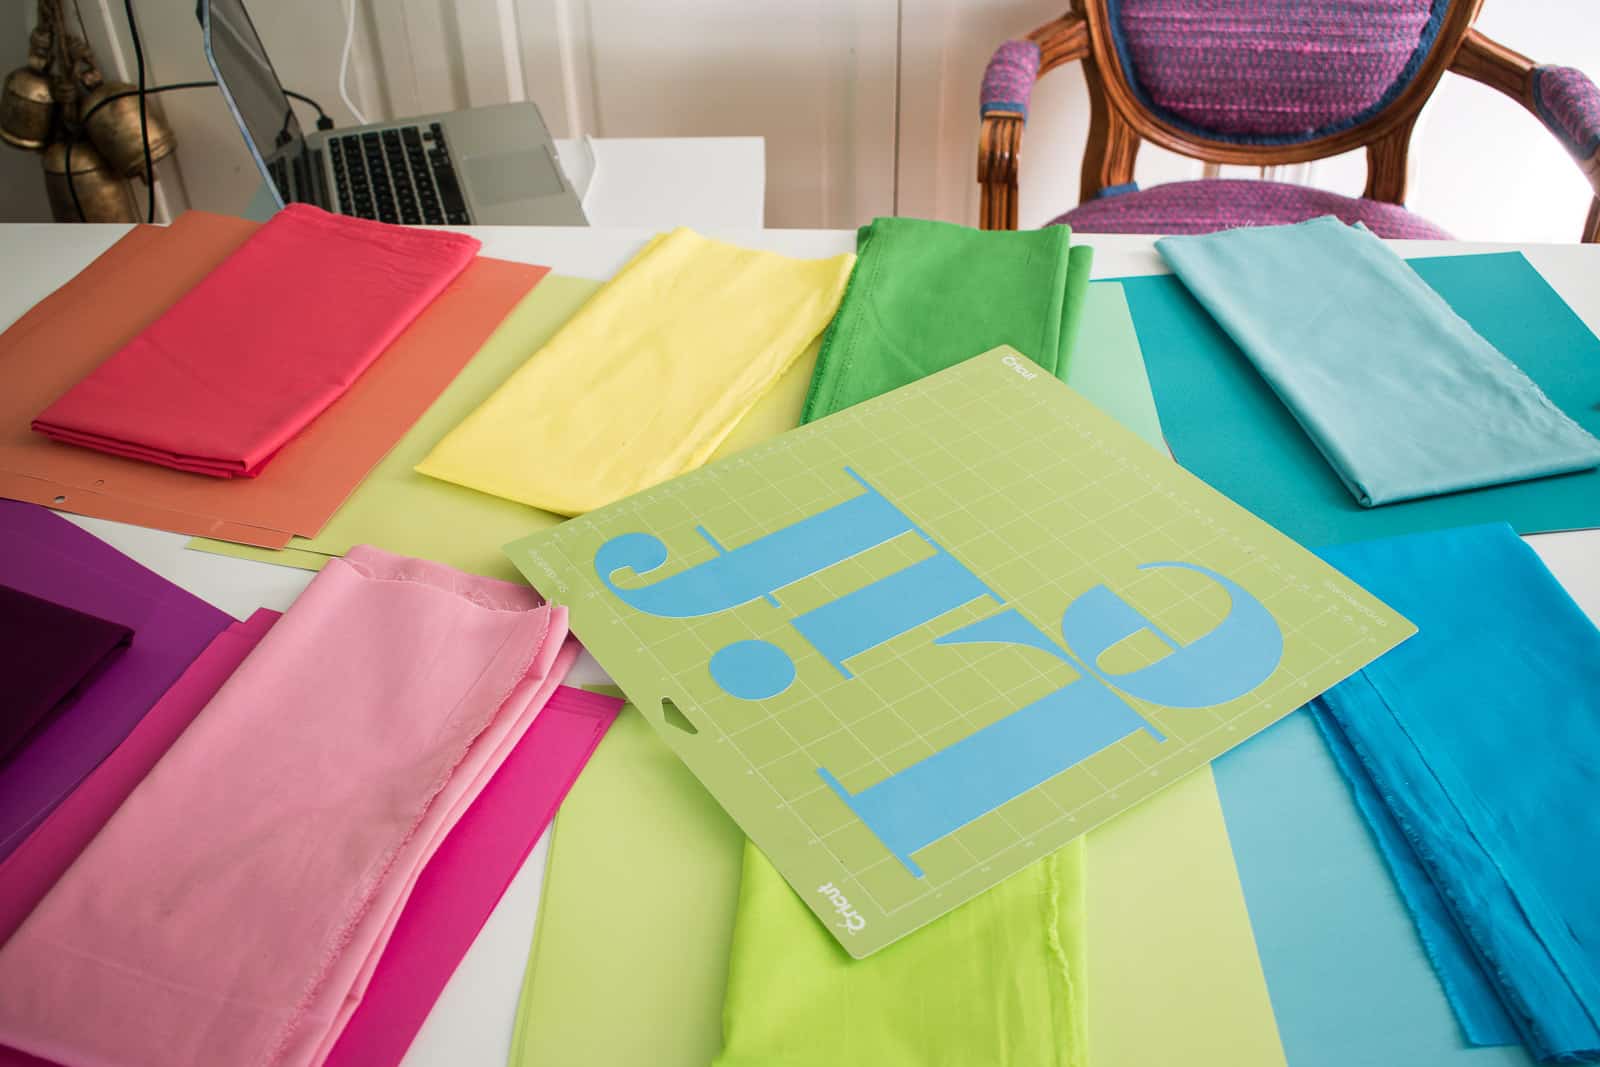
I headed off to Joann knowing I needed 9 colors (one for each word in the quote). Using the wallpaper in the playroom as a guide, I chose 9 different cotton fabrics. I opted for fabric because it was inexpensive, varied in its color, and really easy to work with. Joann will cut fabric to just about any length so I asked for 3/4 yard of each color knowing that would be enough width for all the frames.
With fabric selected, I matched each color with my card stock. I wanted something that would be tone on tone, but this is where you could go much bolder and use all white or a contrasting color.
Step 3. Cut the text
A Cricut makes this a million percent easier, but you could certainly follow the following steps using a printer and cut the paper with an exacto knife. I matched each word with the frame. Obviously the wider frames fit the longer words. Next I decided what font I wanted and sized each word to be about 2-inches shorter than its corresponding frame. I had to adjust each word to each frame before printing on my Cricut.
Step 4. Frame the fabric
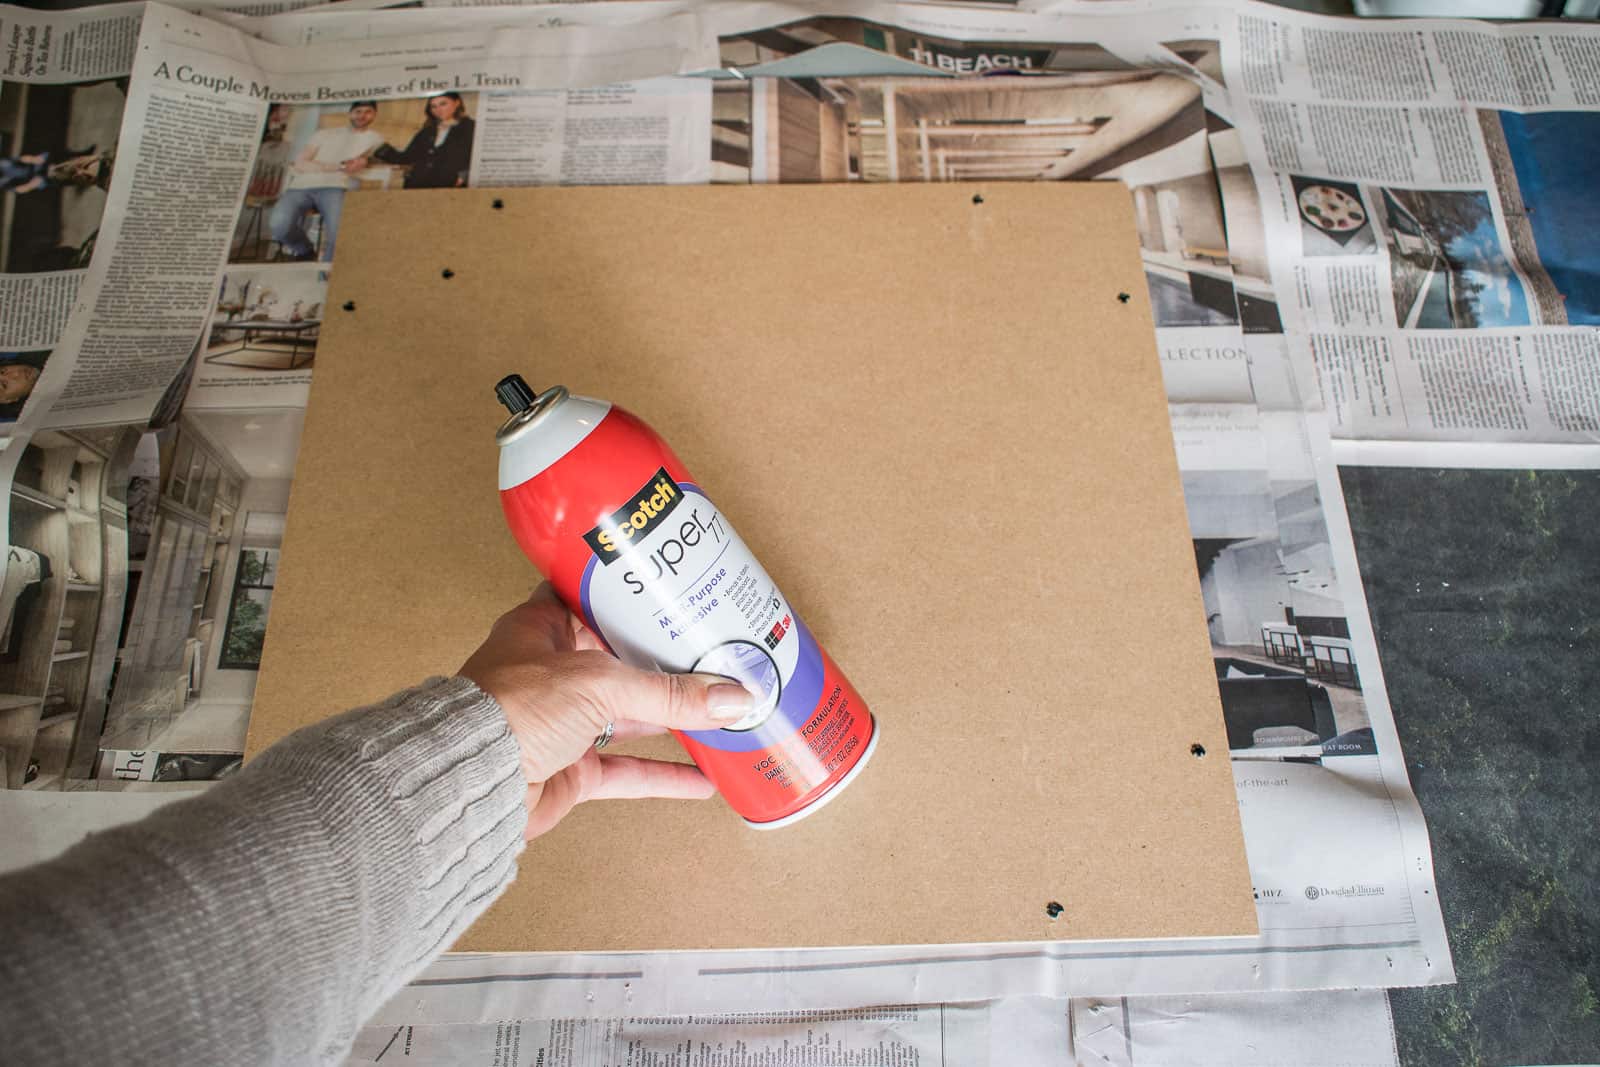
I set up a work station outside with a table covered in newspaper. For my frames, I adhered the fabric directly to the back of the frame. If you want to preserve the frame, you can cut heavy watercolor paper or poster board to side and adhere the fabric to this. I placed the back of the frame face up on the newspaper covered table and sprayed with spray adhesive.
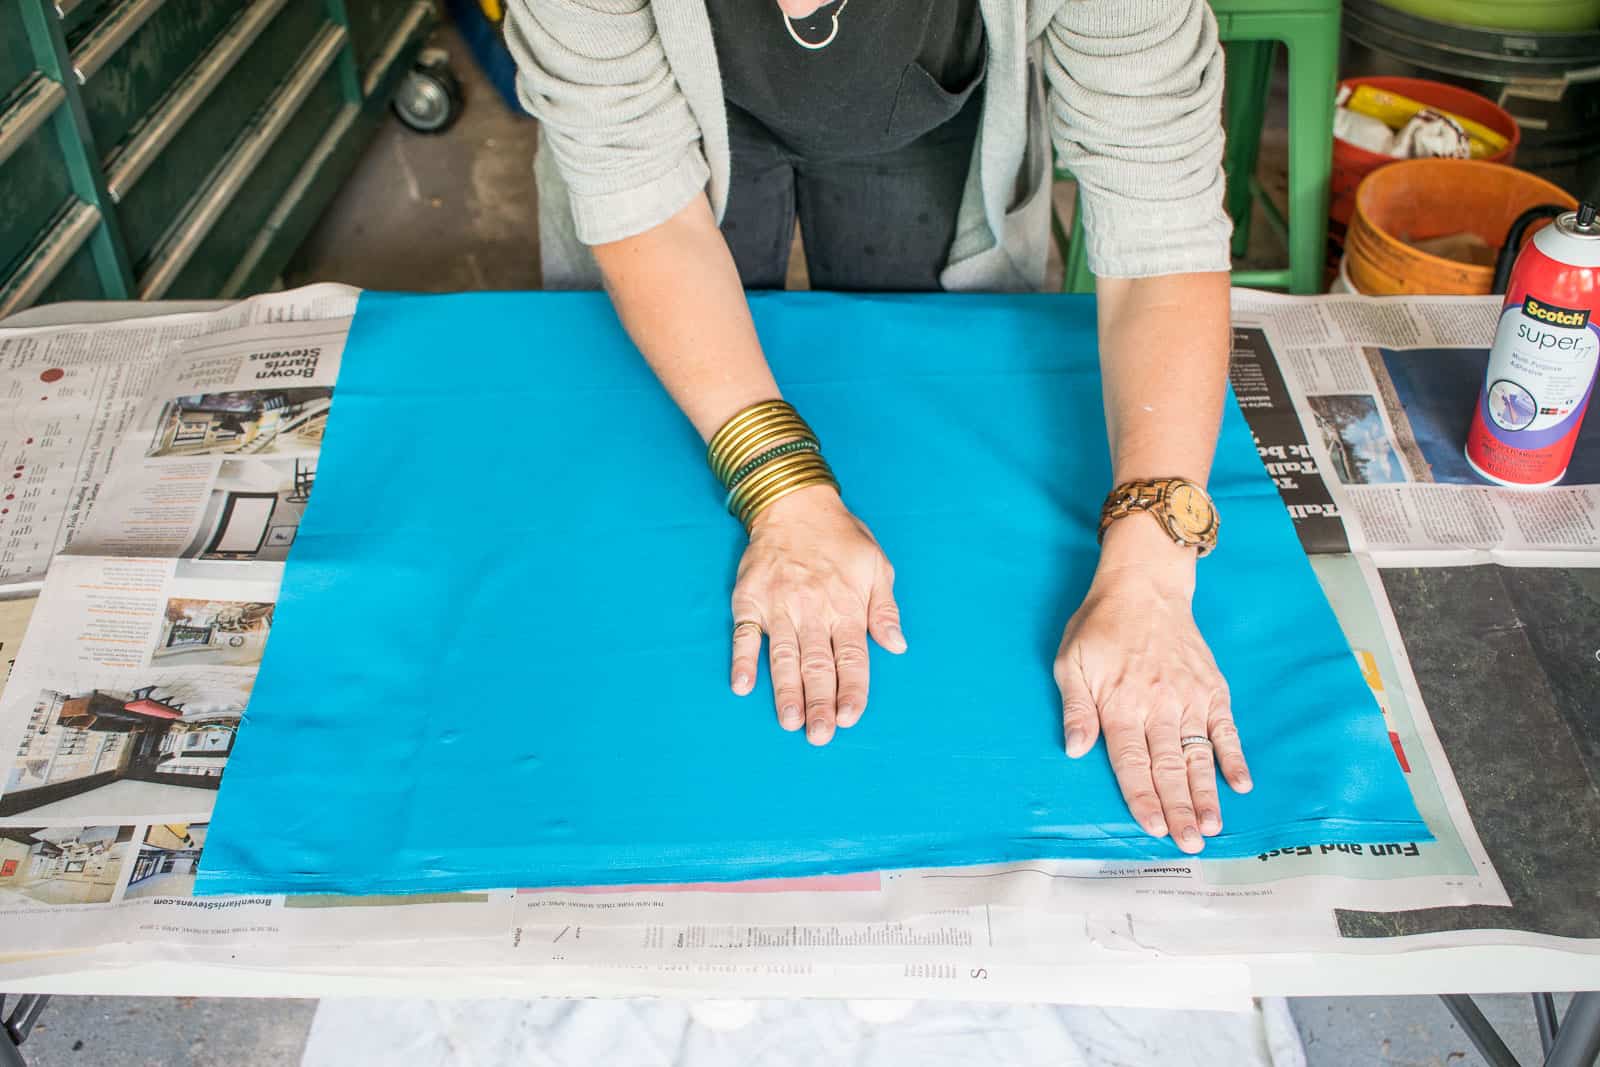
Then I lifted the back up and slipped in some clean newspaper so the overspray wouldn’t get on the fabric or the frame. While the spray adhesive is still tacky, smooth the fabric in place on top. (I found it made my life a bit easier to quickly iron each piece of fabric first.)
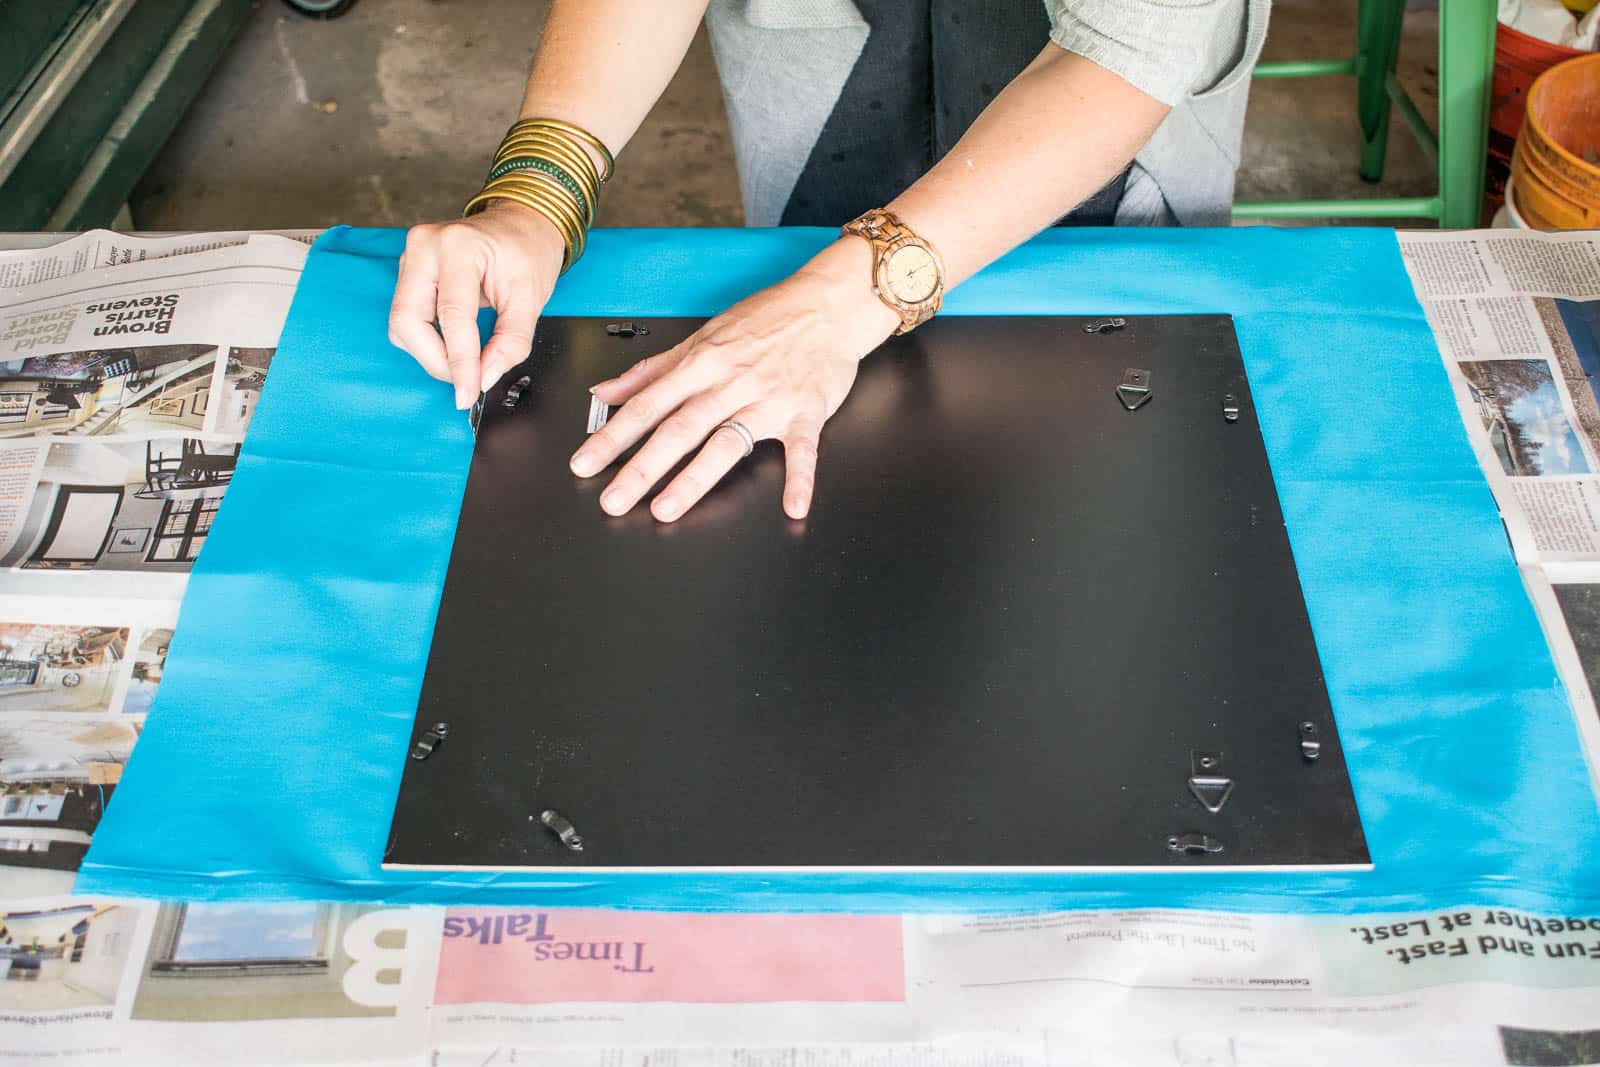
Flip the board over and use a sharp blade to trim off the excess fabric.
Step 5. Glue words in place
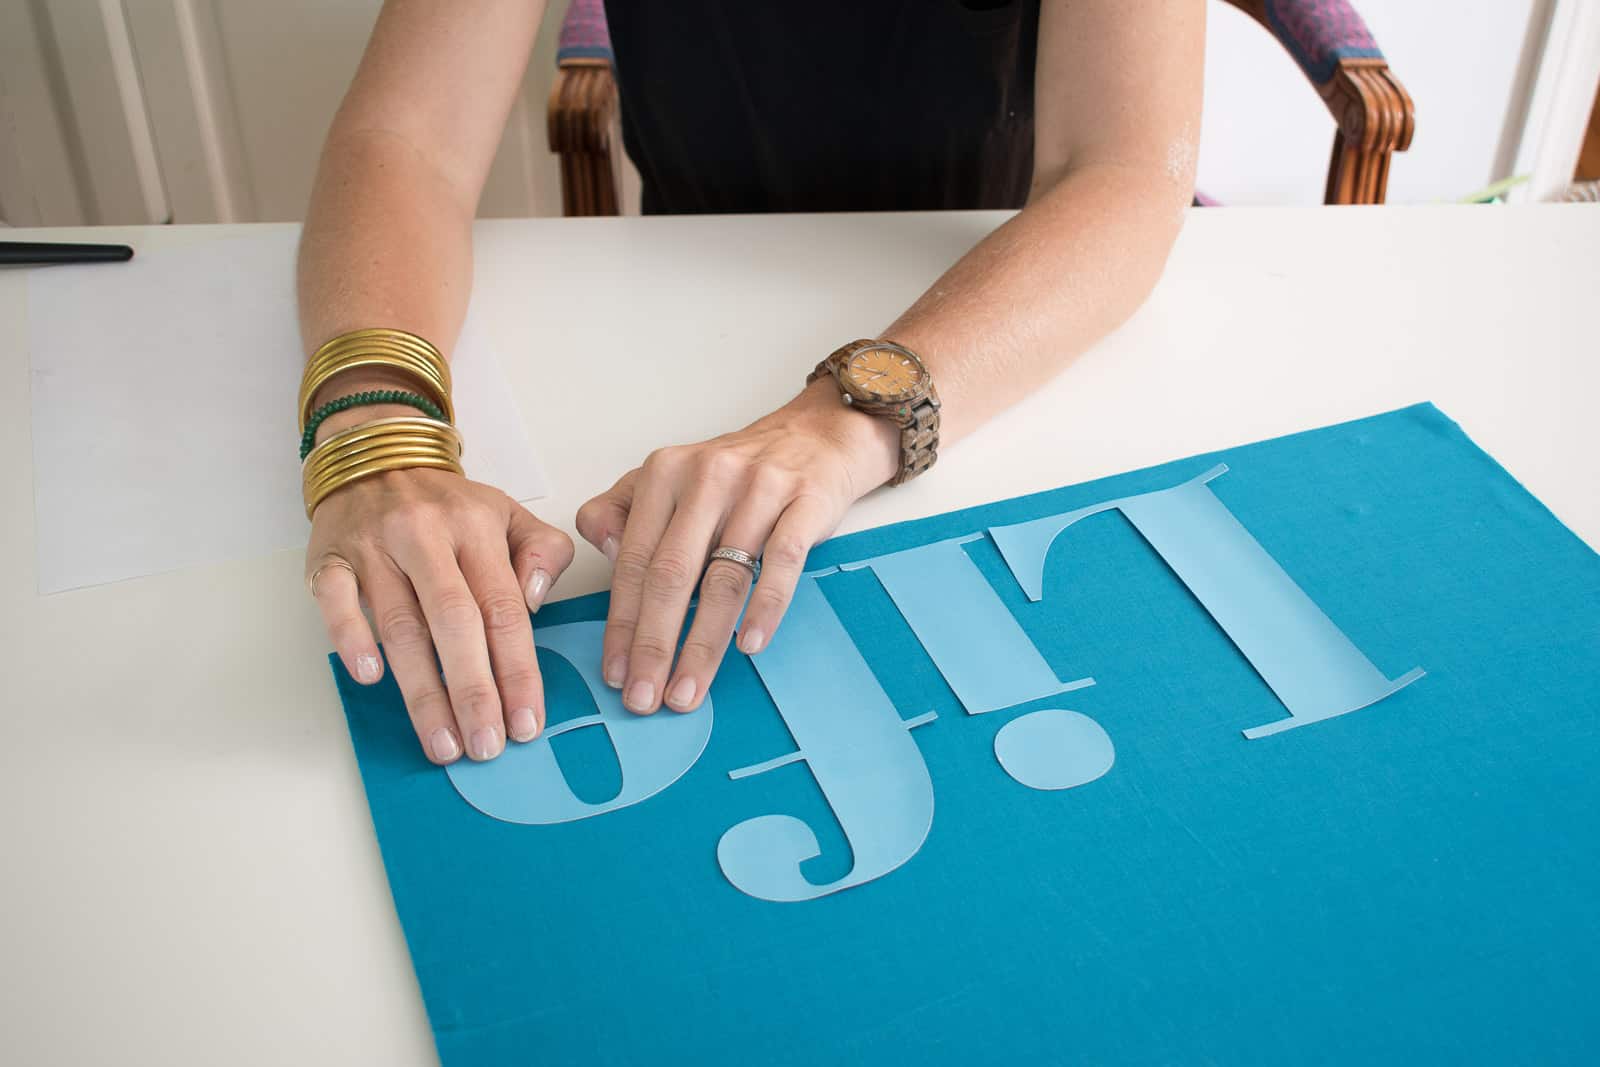
I gave each letter a light coat of mod podge and glued directly onto the fabric. I eyeballed the spacing and the layout, but you can certainly measure to make sure you’re more exact.
Step 6. Hang
This was the most technical part of the project and a laser level really helped. I aligned the lower edge of each frame and spaced them about 3″ apart just to fill the large wall space as best I could. They would have looked great spaced a little closer together, but I don’t mind how they look as-is so I’m calling this project done!
Let’s go back to this idea of customizing because I know this is a LOT of color. But imagine this concept with each frame as a different shade of pale blue and white words on top as a nursery wall. Grab gold frames, use jewel tone fabric and keep the text black… how chic would that be? Reclaimed wood frames, linen fabric and pastel words? A perfect farmhouse solution. Joann as a ton of frames and obviously fabric for days so this can truly suit any style and any home!
Note: I *always* get asked… the colorful wallpaper is removable and from Milton King.



Don’t Miss Out
Become An Insider!
Signup for exclusive tips, and tricks from Charlotte’s House!
Let’s chat!
I love comments from you, so feel free to leave your thoughts and ideas below! And don’t forget to follow me on Instagram for even more!