Sports Decor for a Boys Room
Psssst… this post *might* contain affiliate links: see my disclosure here.
Simple Solutions for Displaying Sports Stuff in a Kids Room
Boys room decor with organized sporting memorabilia displayed.
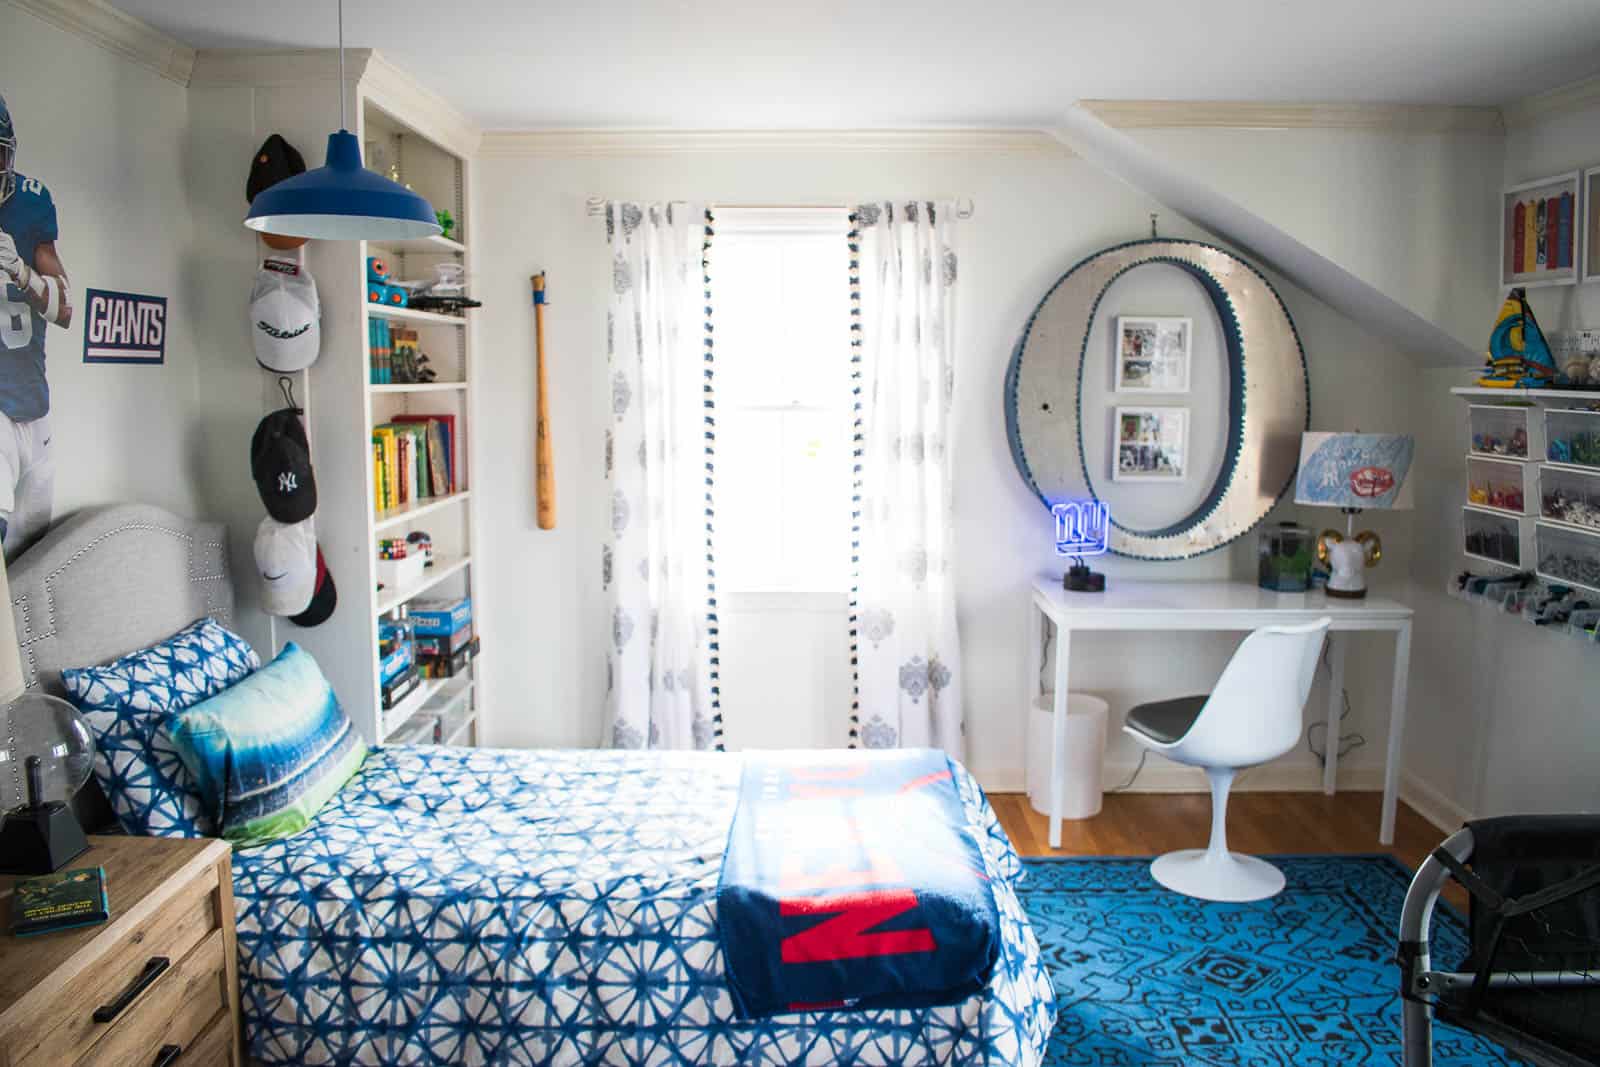
Let’s rewind to how this room looked before… alllllllll of Oliver’s ribbons and baseball cards and jerseys and favorite sports ‘stuff’ was on display. Taped to the walls, taped to the windows, DRAWN on his lamp… it was beginning to feel a little disheveled. There was a LOT of discussion on this topic in my Instagram DMs with lots of you appreciating Oliver’s creativity with the space, but most of you also recognizing my right as a parent to reel it in a bit. My goal with Oliver’s room was to include him in streamlining his sports memorabilia just a bit.
Shop my favorites!
Organizing all the Sports Stuff
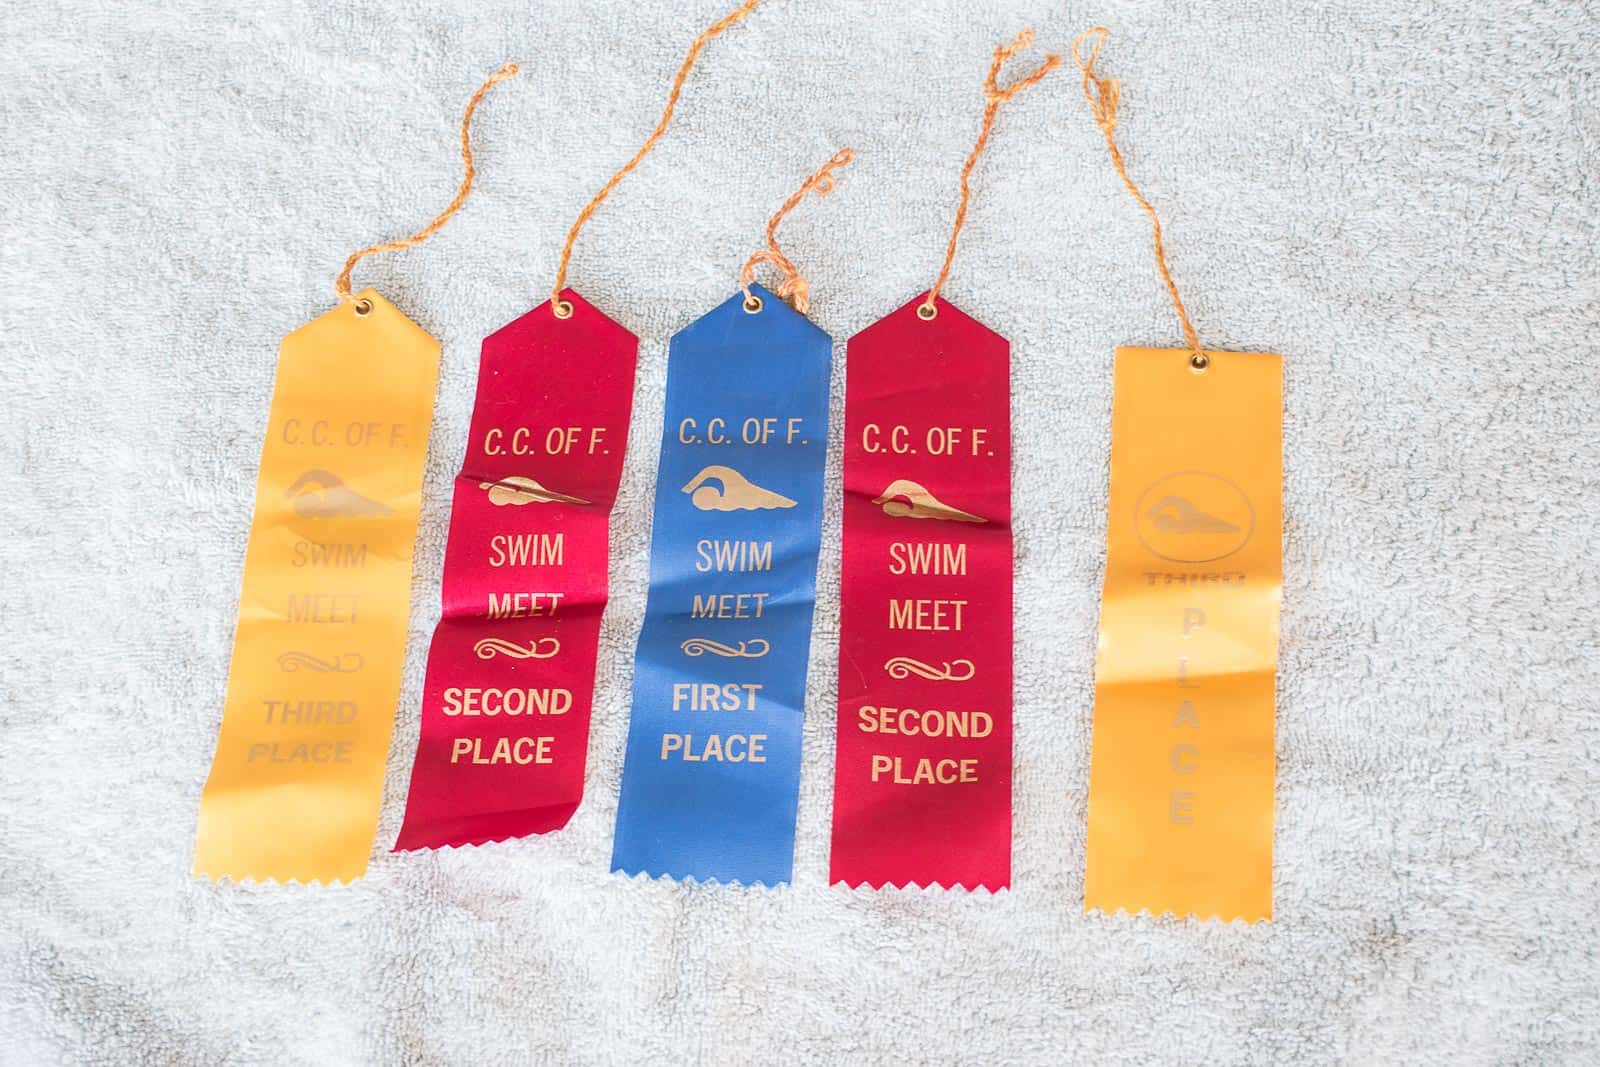
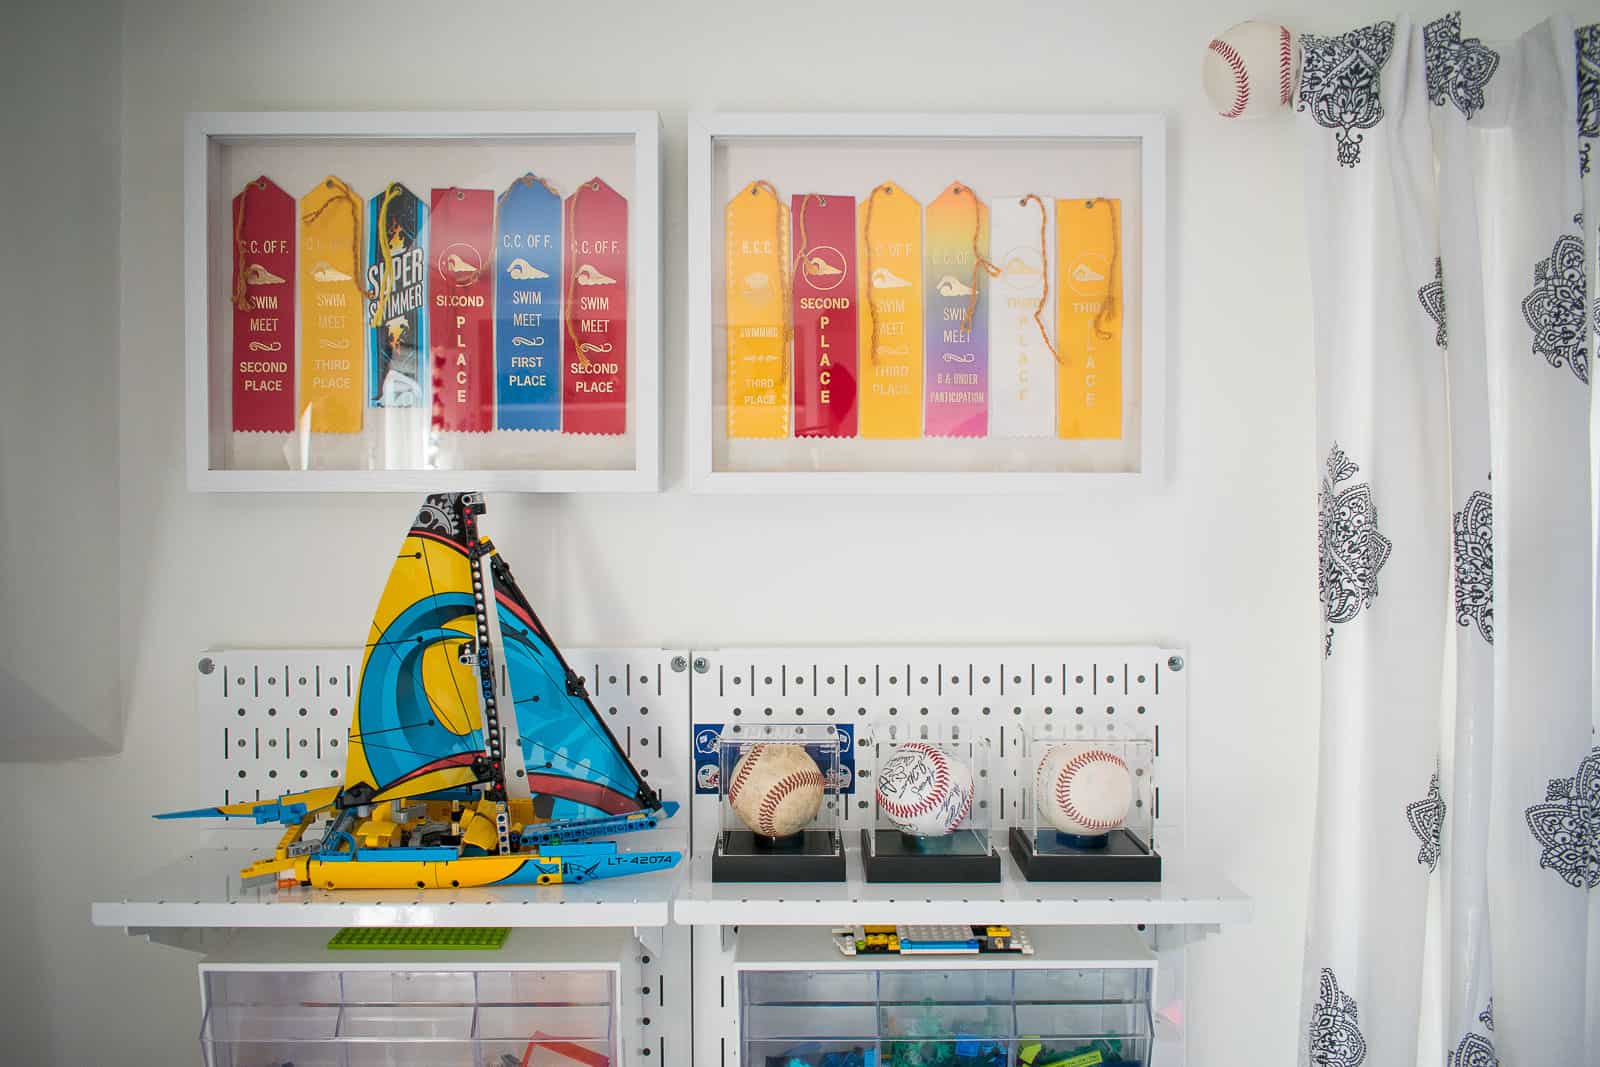
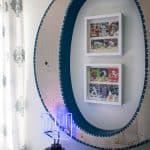
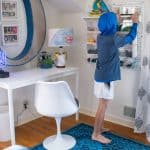
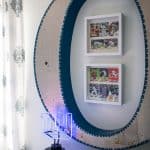
We started by taking everything down. Oliver had lots of baseball/ football cards, swimming ribbons, jerseys, and other misc. sporting gear. I definitely wanted to display as much of his treasures as possible, but we also talked about which ones were *most* important. I.e. maybe not the ‘participant’ ribbons from swim team. I had some shadow boxes on hand but check out your local craft store for some (here are ones that JOANN carries). Oliver loved the idea of framing some of his memorabilia so he helped pick out which ribbons and cards meant the most. (I corralled the leftovers in a giant jar for him… you can see it on his bookshelf!) Note: I had to iron some of the ribbons to make them presentable.
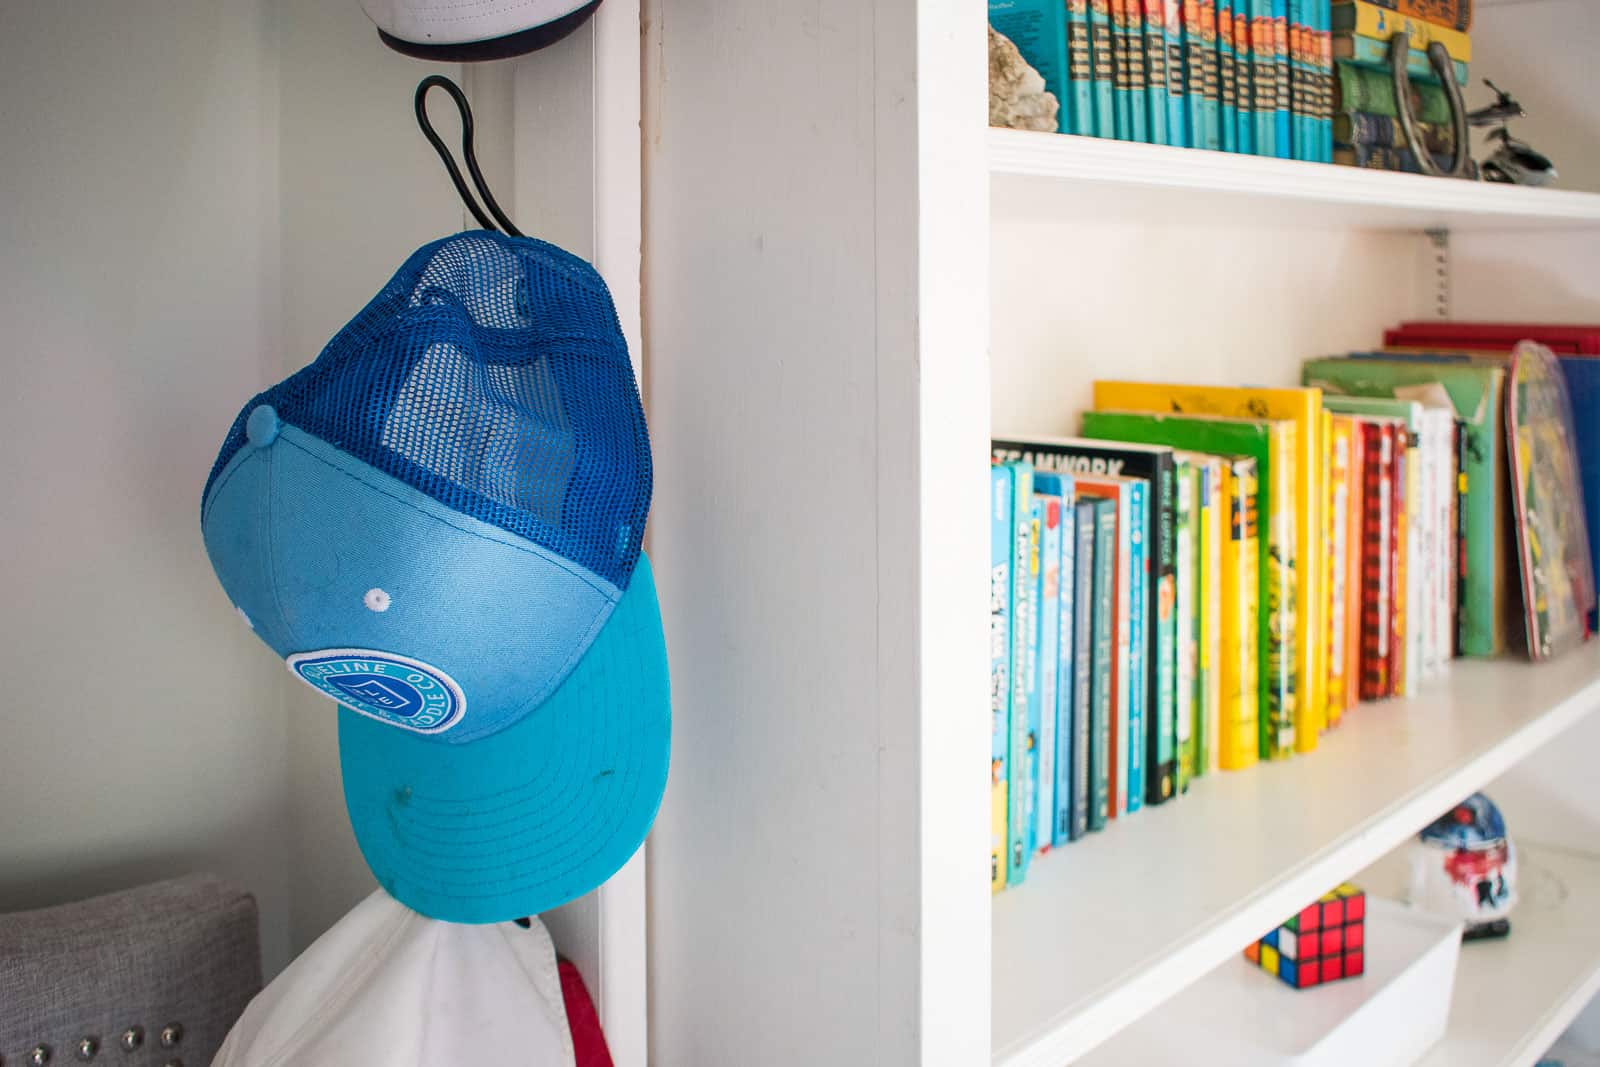
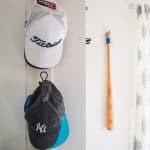
Baseball cap storage
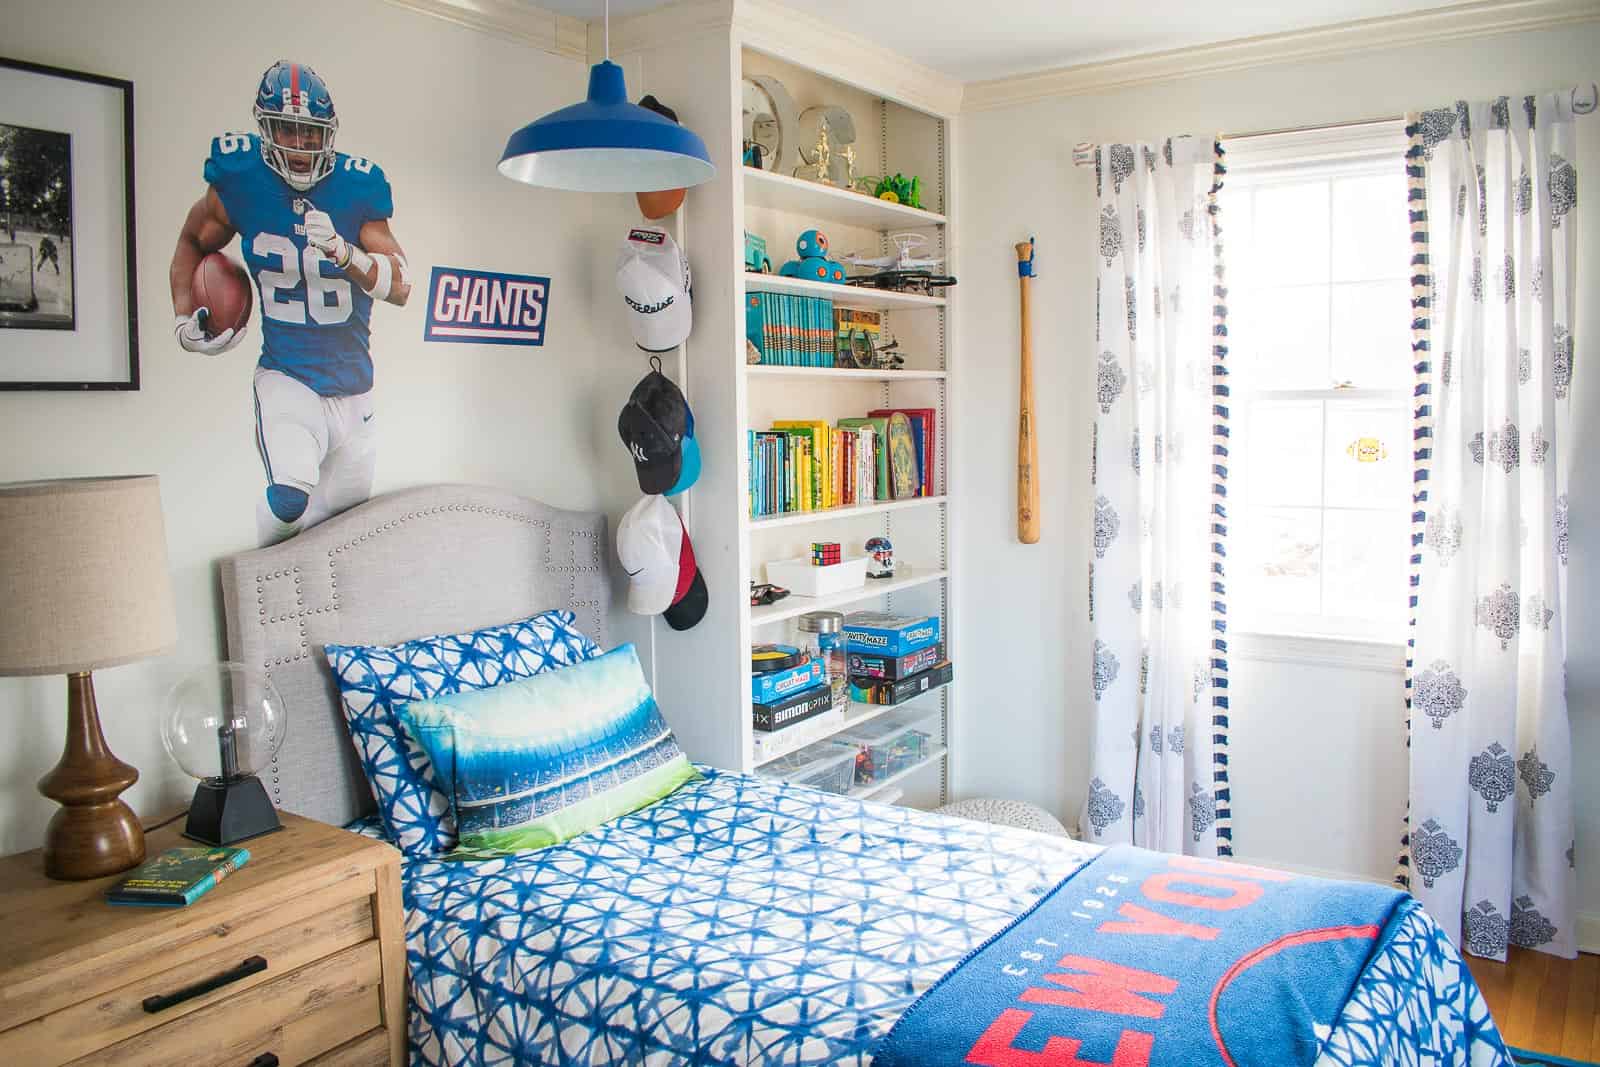
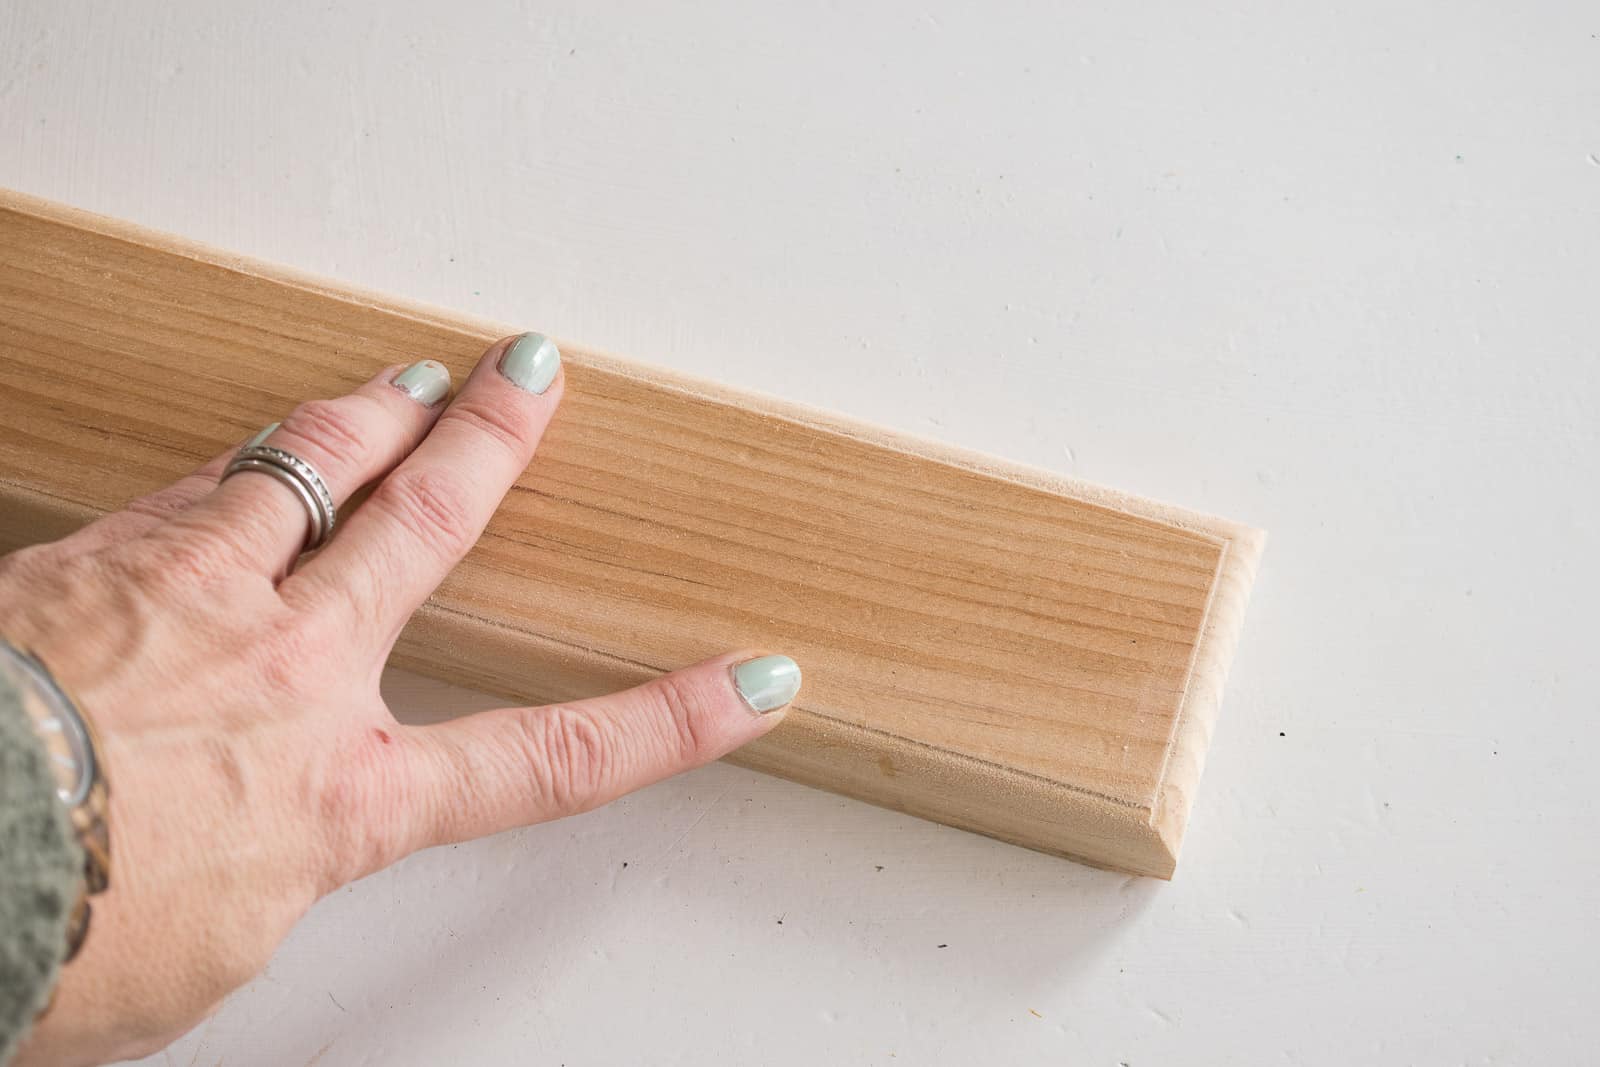
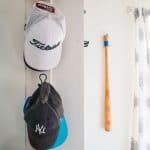
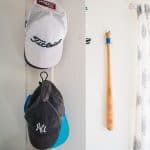
Oliver requested a way to hang and display his baseball hats. Rental reminder… I cant just hang up a bunch of hooks, but… we were able to make a hook rack in under an hour and it works PERFECTLY. I started with a scrap piece of 1×4. To give it a little flare, I routed the edges, but you could totally just sand the corners to round them off a bit.
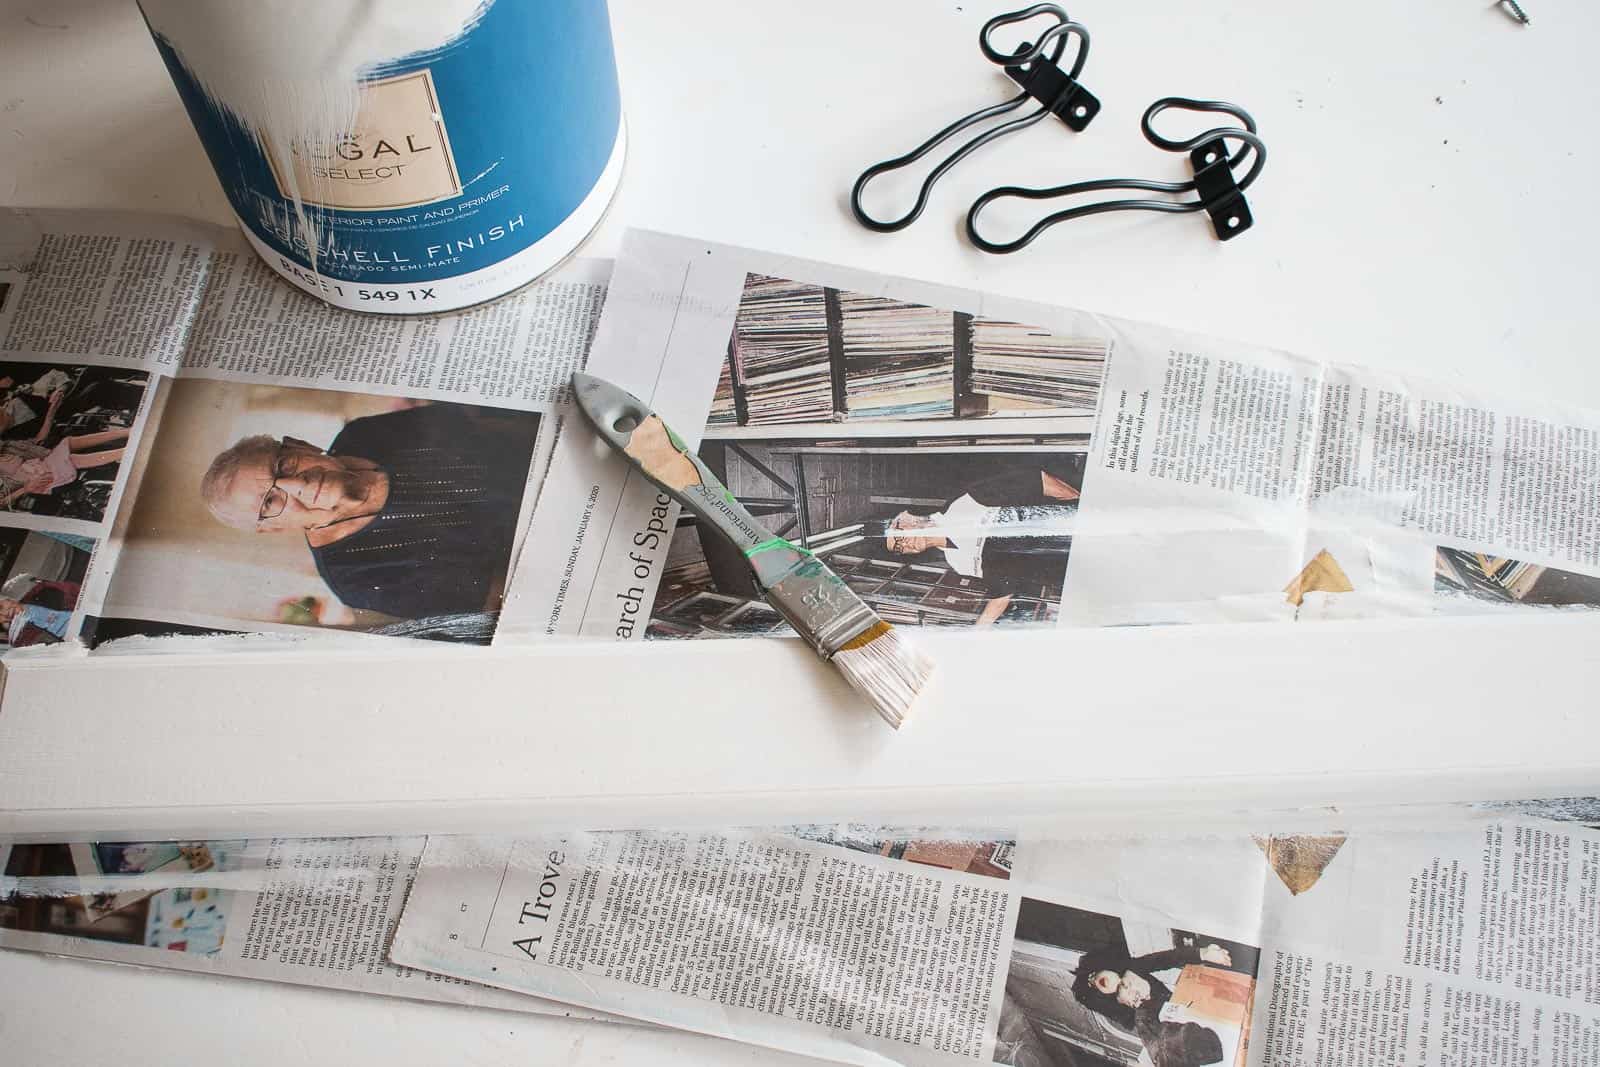
I painted it the same color as the wall, and then simply added hooks! (These one are ones I had leftover from The Home Depot.)
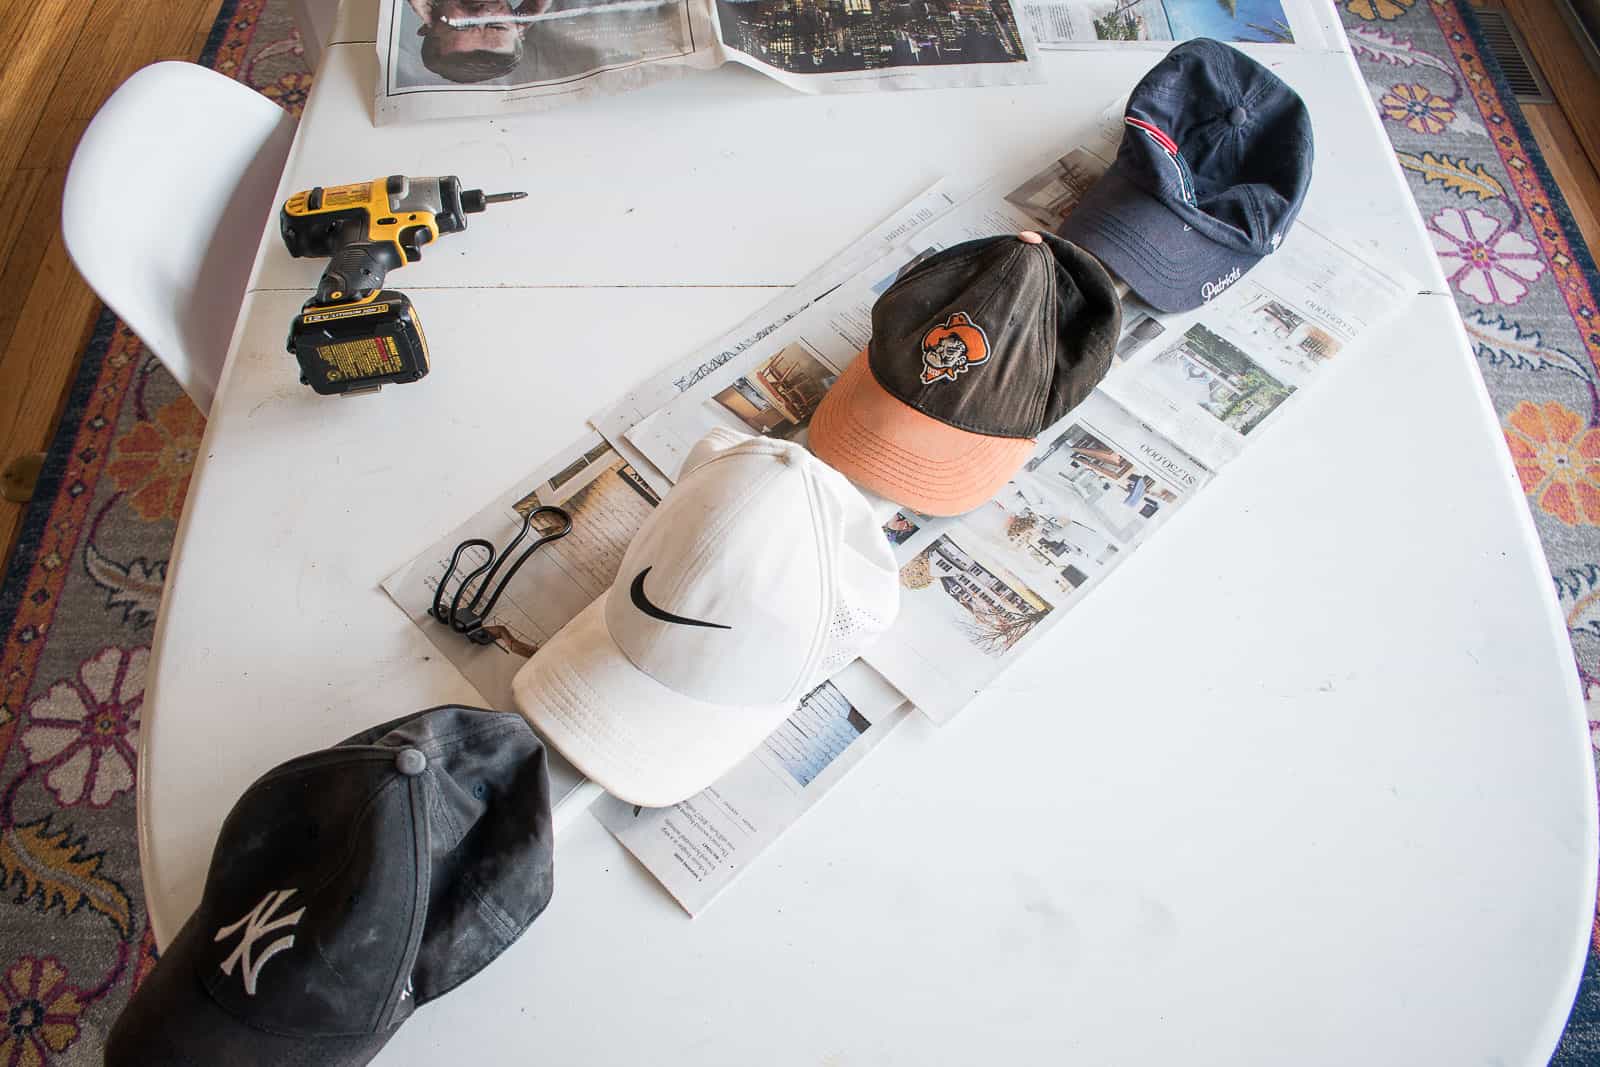
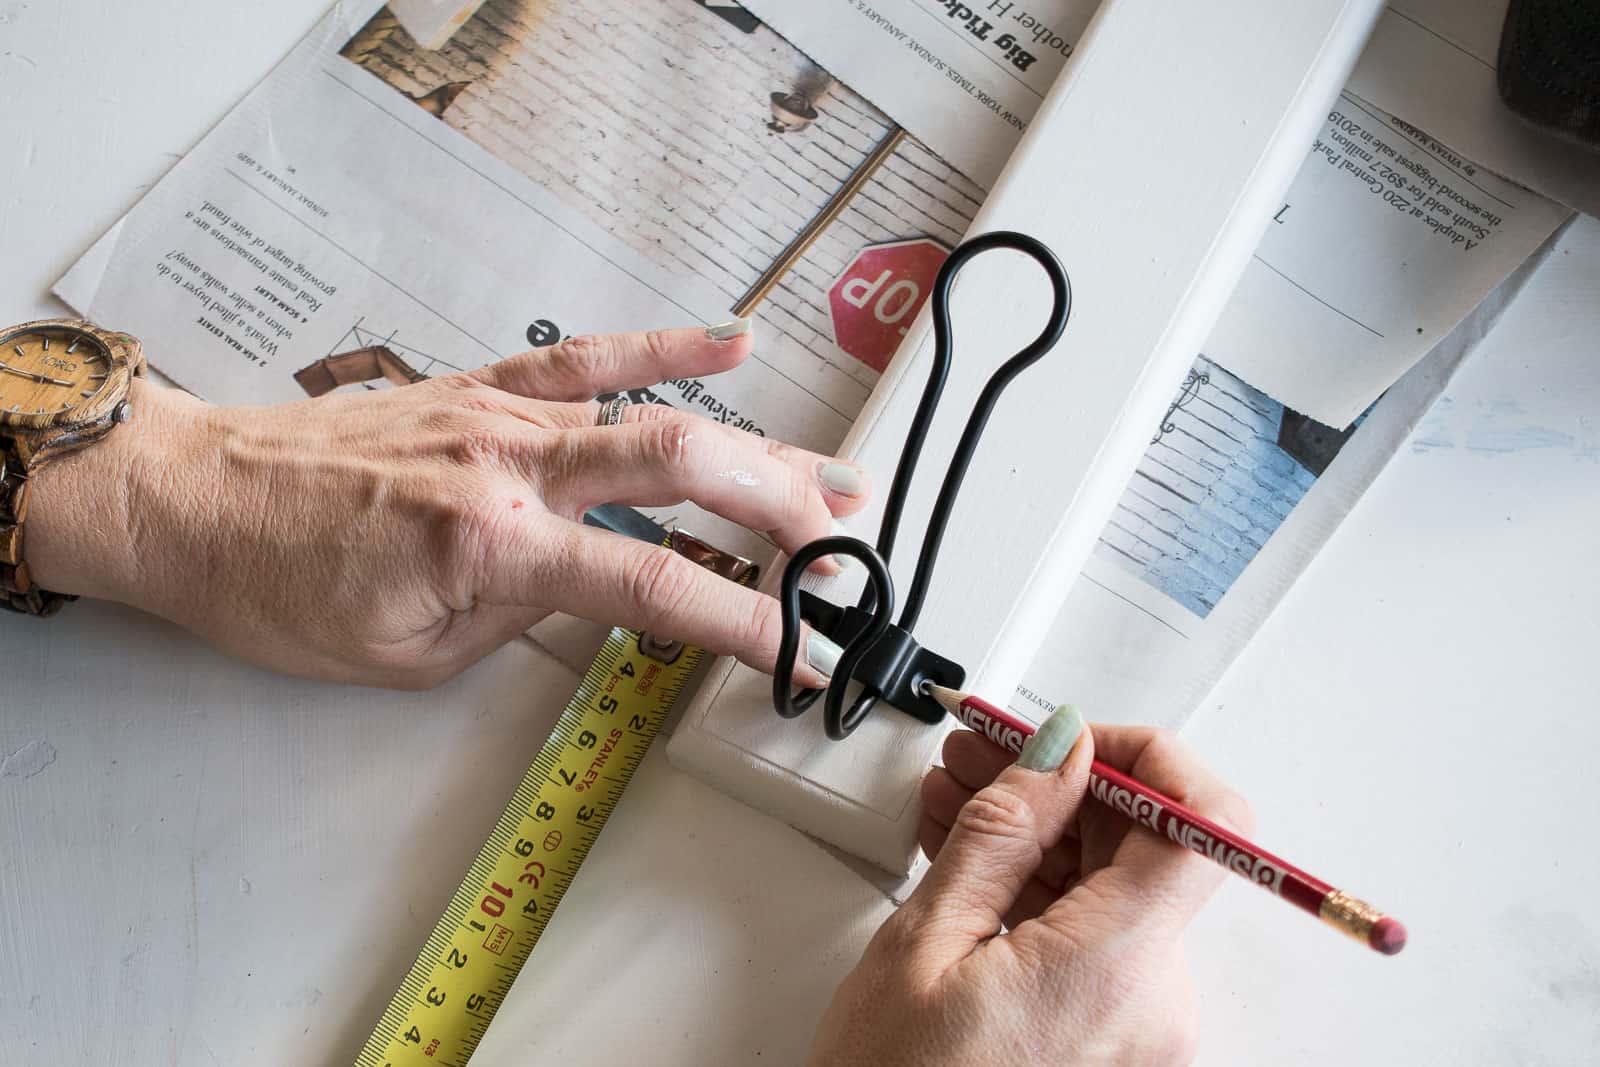
I laid out his hats first just to make sure the spacing would work, then marked, predrilled and attached the hooks.
To hang it on the wall, I screwed an eye hook into the top of the board and simply hung that on a small brad nail. To stabilize the board so it doesn’t swing back and forth, I added some command strip picture hanging velcro strips to the back. Oliver wanted to hang it right next to his bed, and he loves it!
Adding flare to the curtains
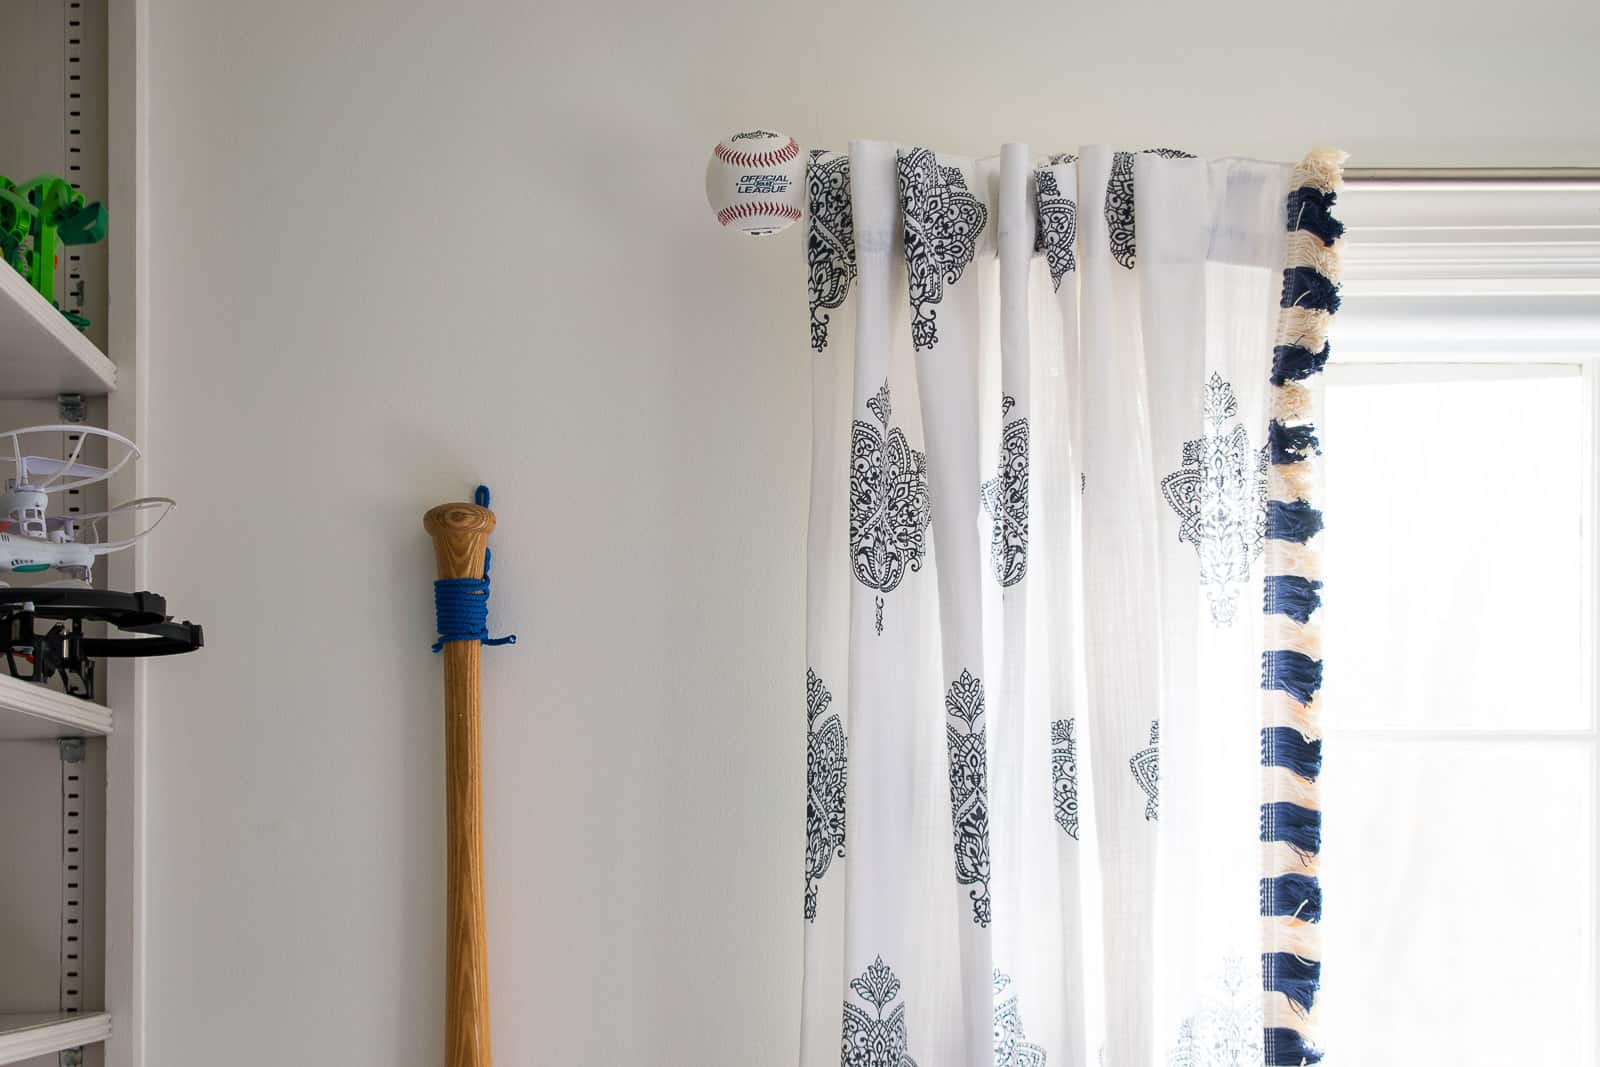
This room already had curtains rods. Granted they were hung incorrectly (too low and too close to the window), but they were there nonetheless. I had these fun white curtain panels leftover from Arthur’s nursery in the old house but they needed a little injection of fun. First step was to replace the finials on either end of the curtain rods, with custom baseball versions.
DIY Baseball Finials
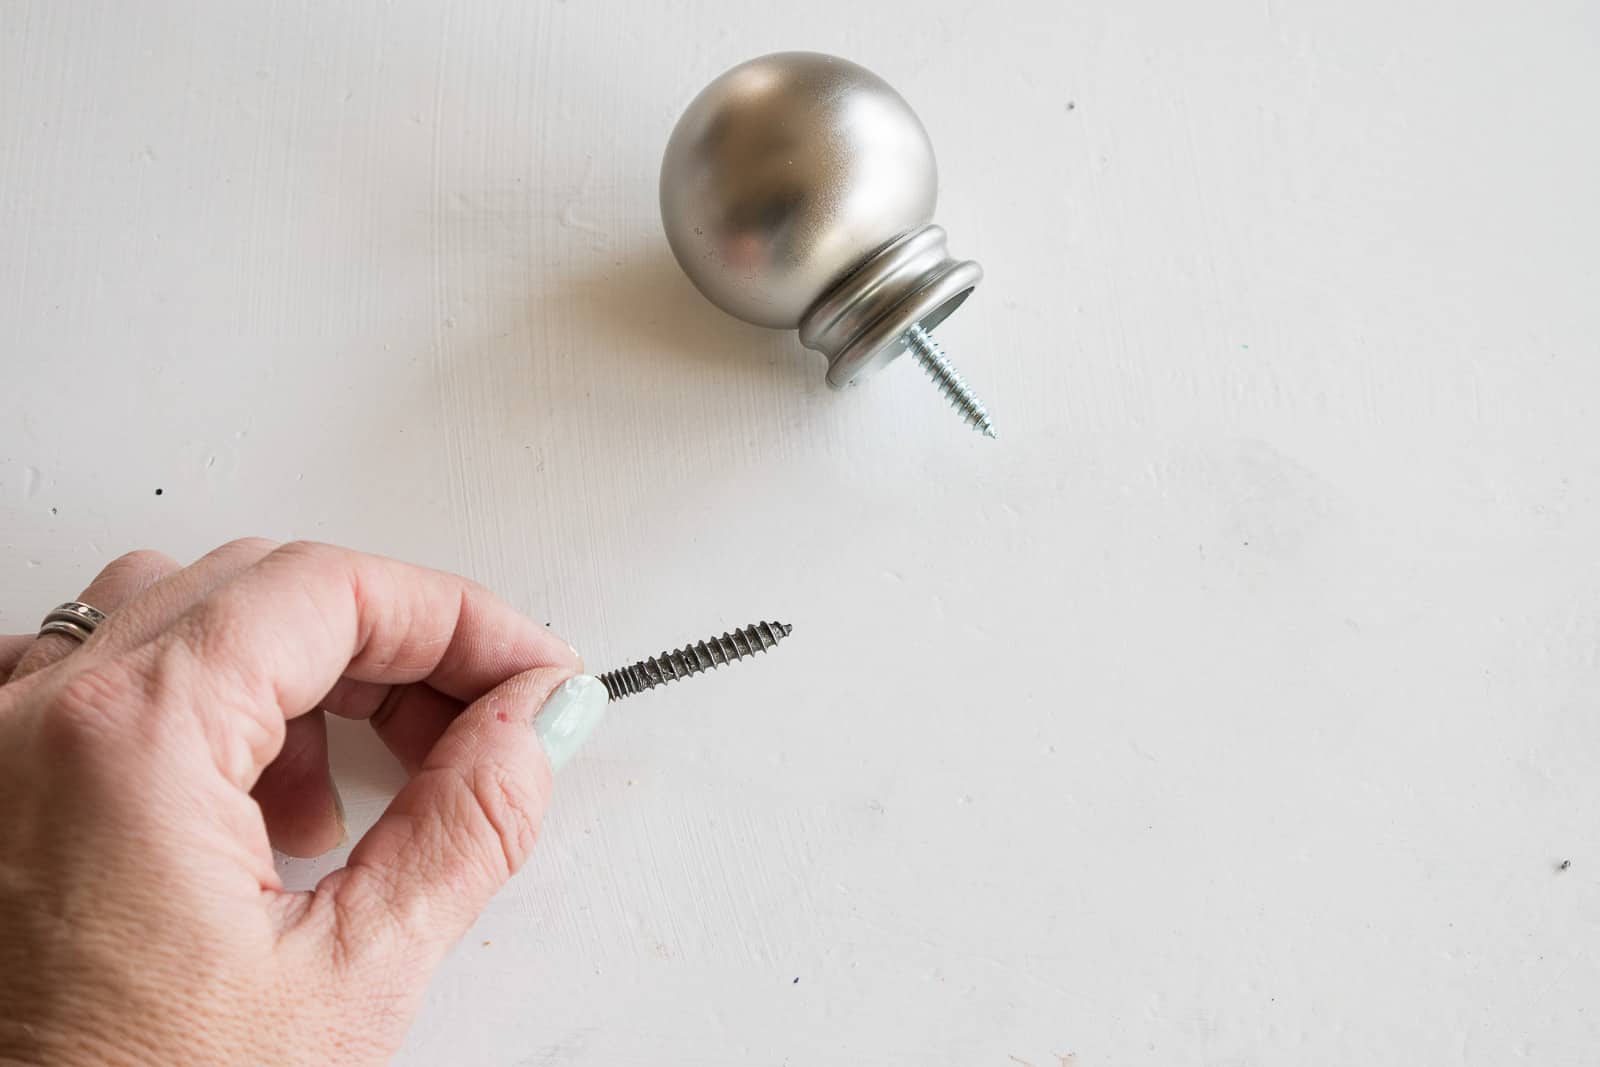
This is a SUPER easy project. Remove the finials on your curtain rods, and take them into the hardware store to find HANGER BOLTS that are the same size.
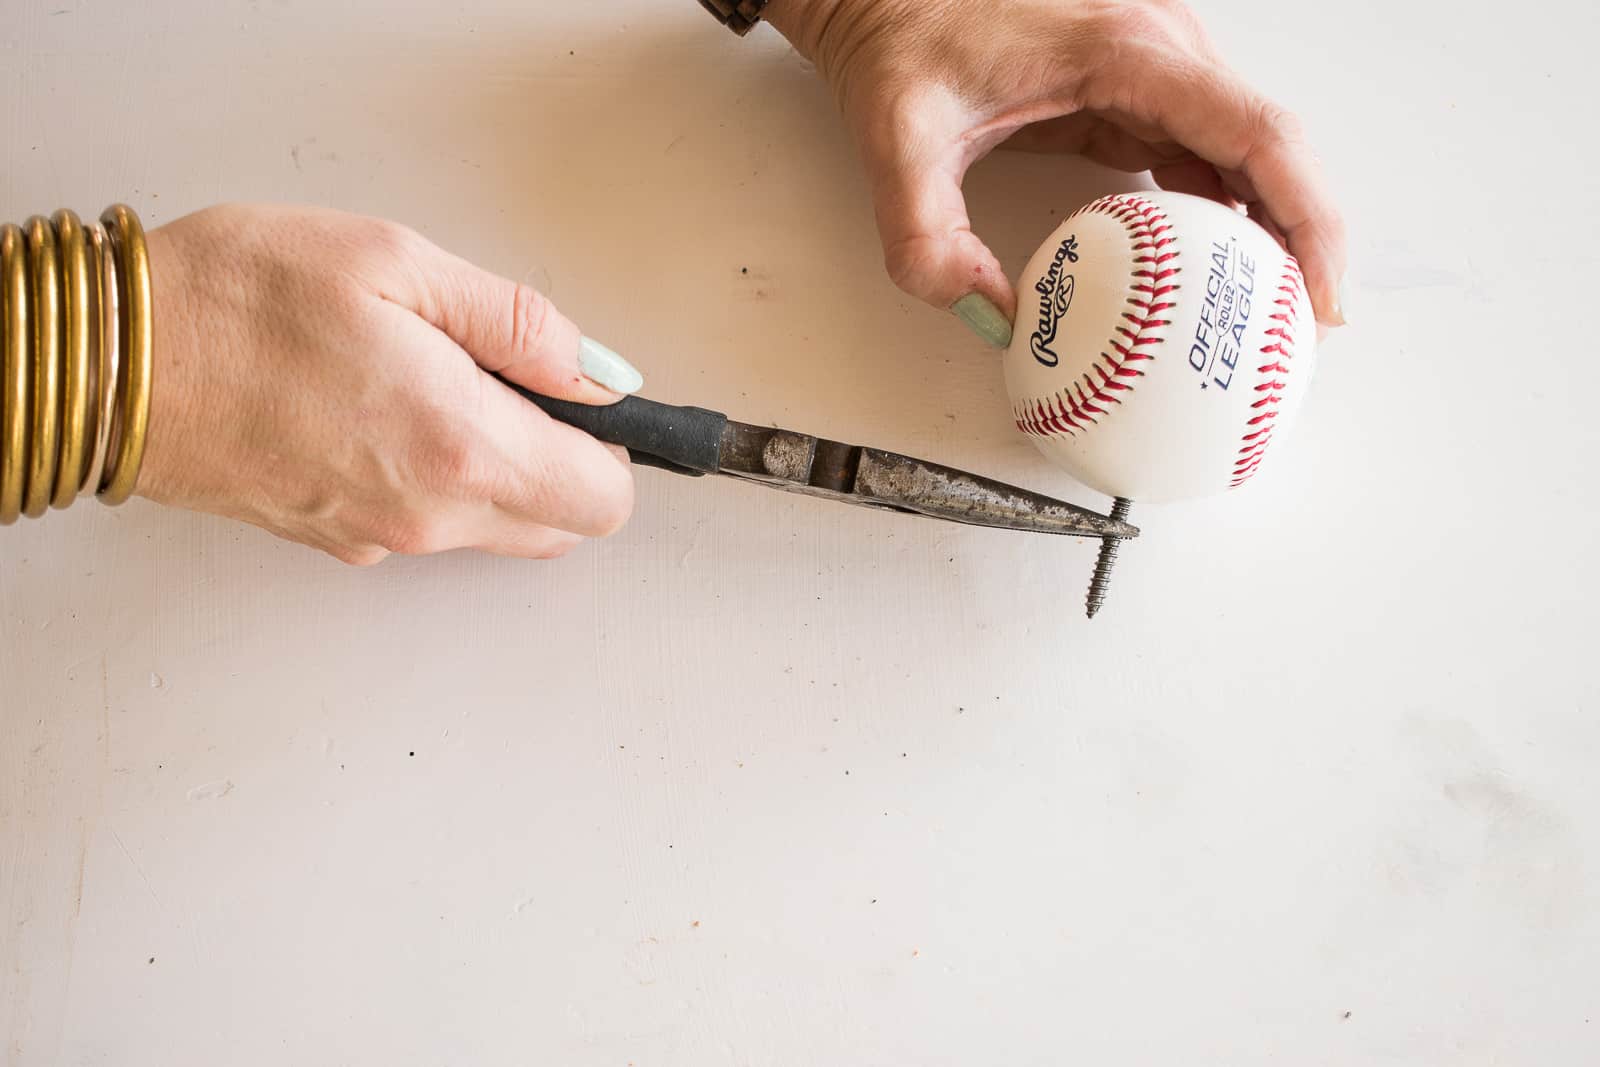
These magical screws are threaded on both ends so you can screw one end into something (like a baseball) and then use the other end to screw into the curtain rod. Predrill into the baseball with a drill bit the same size as the hanger bolt; you may need needle nose pliers to help here.
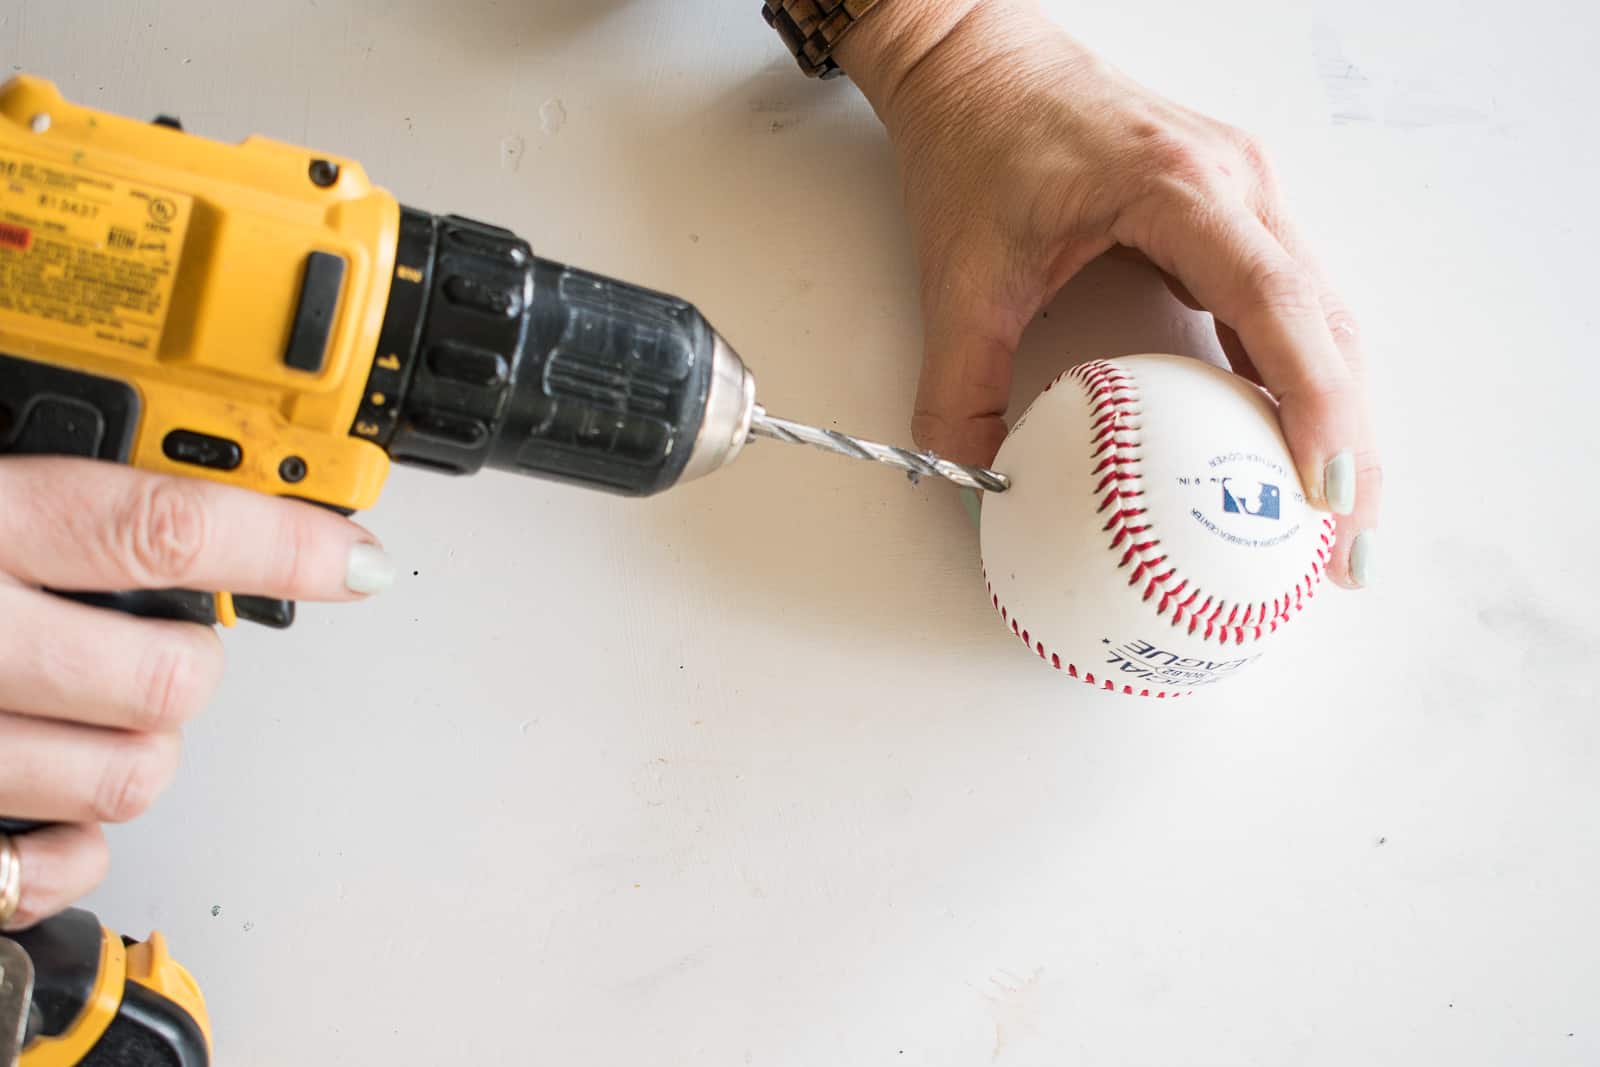
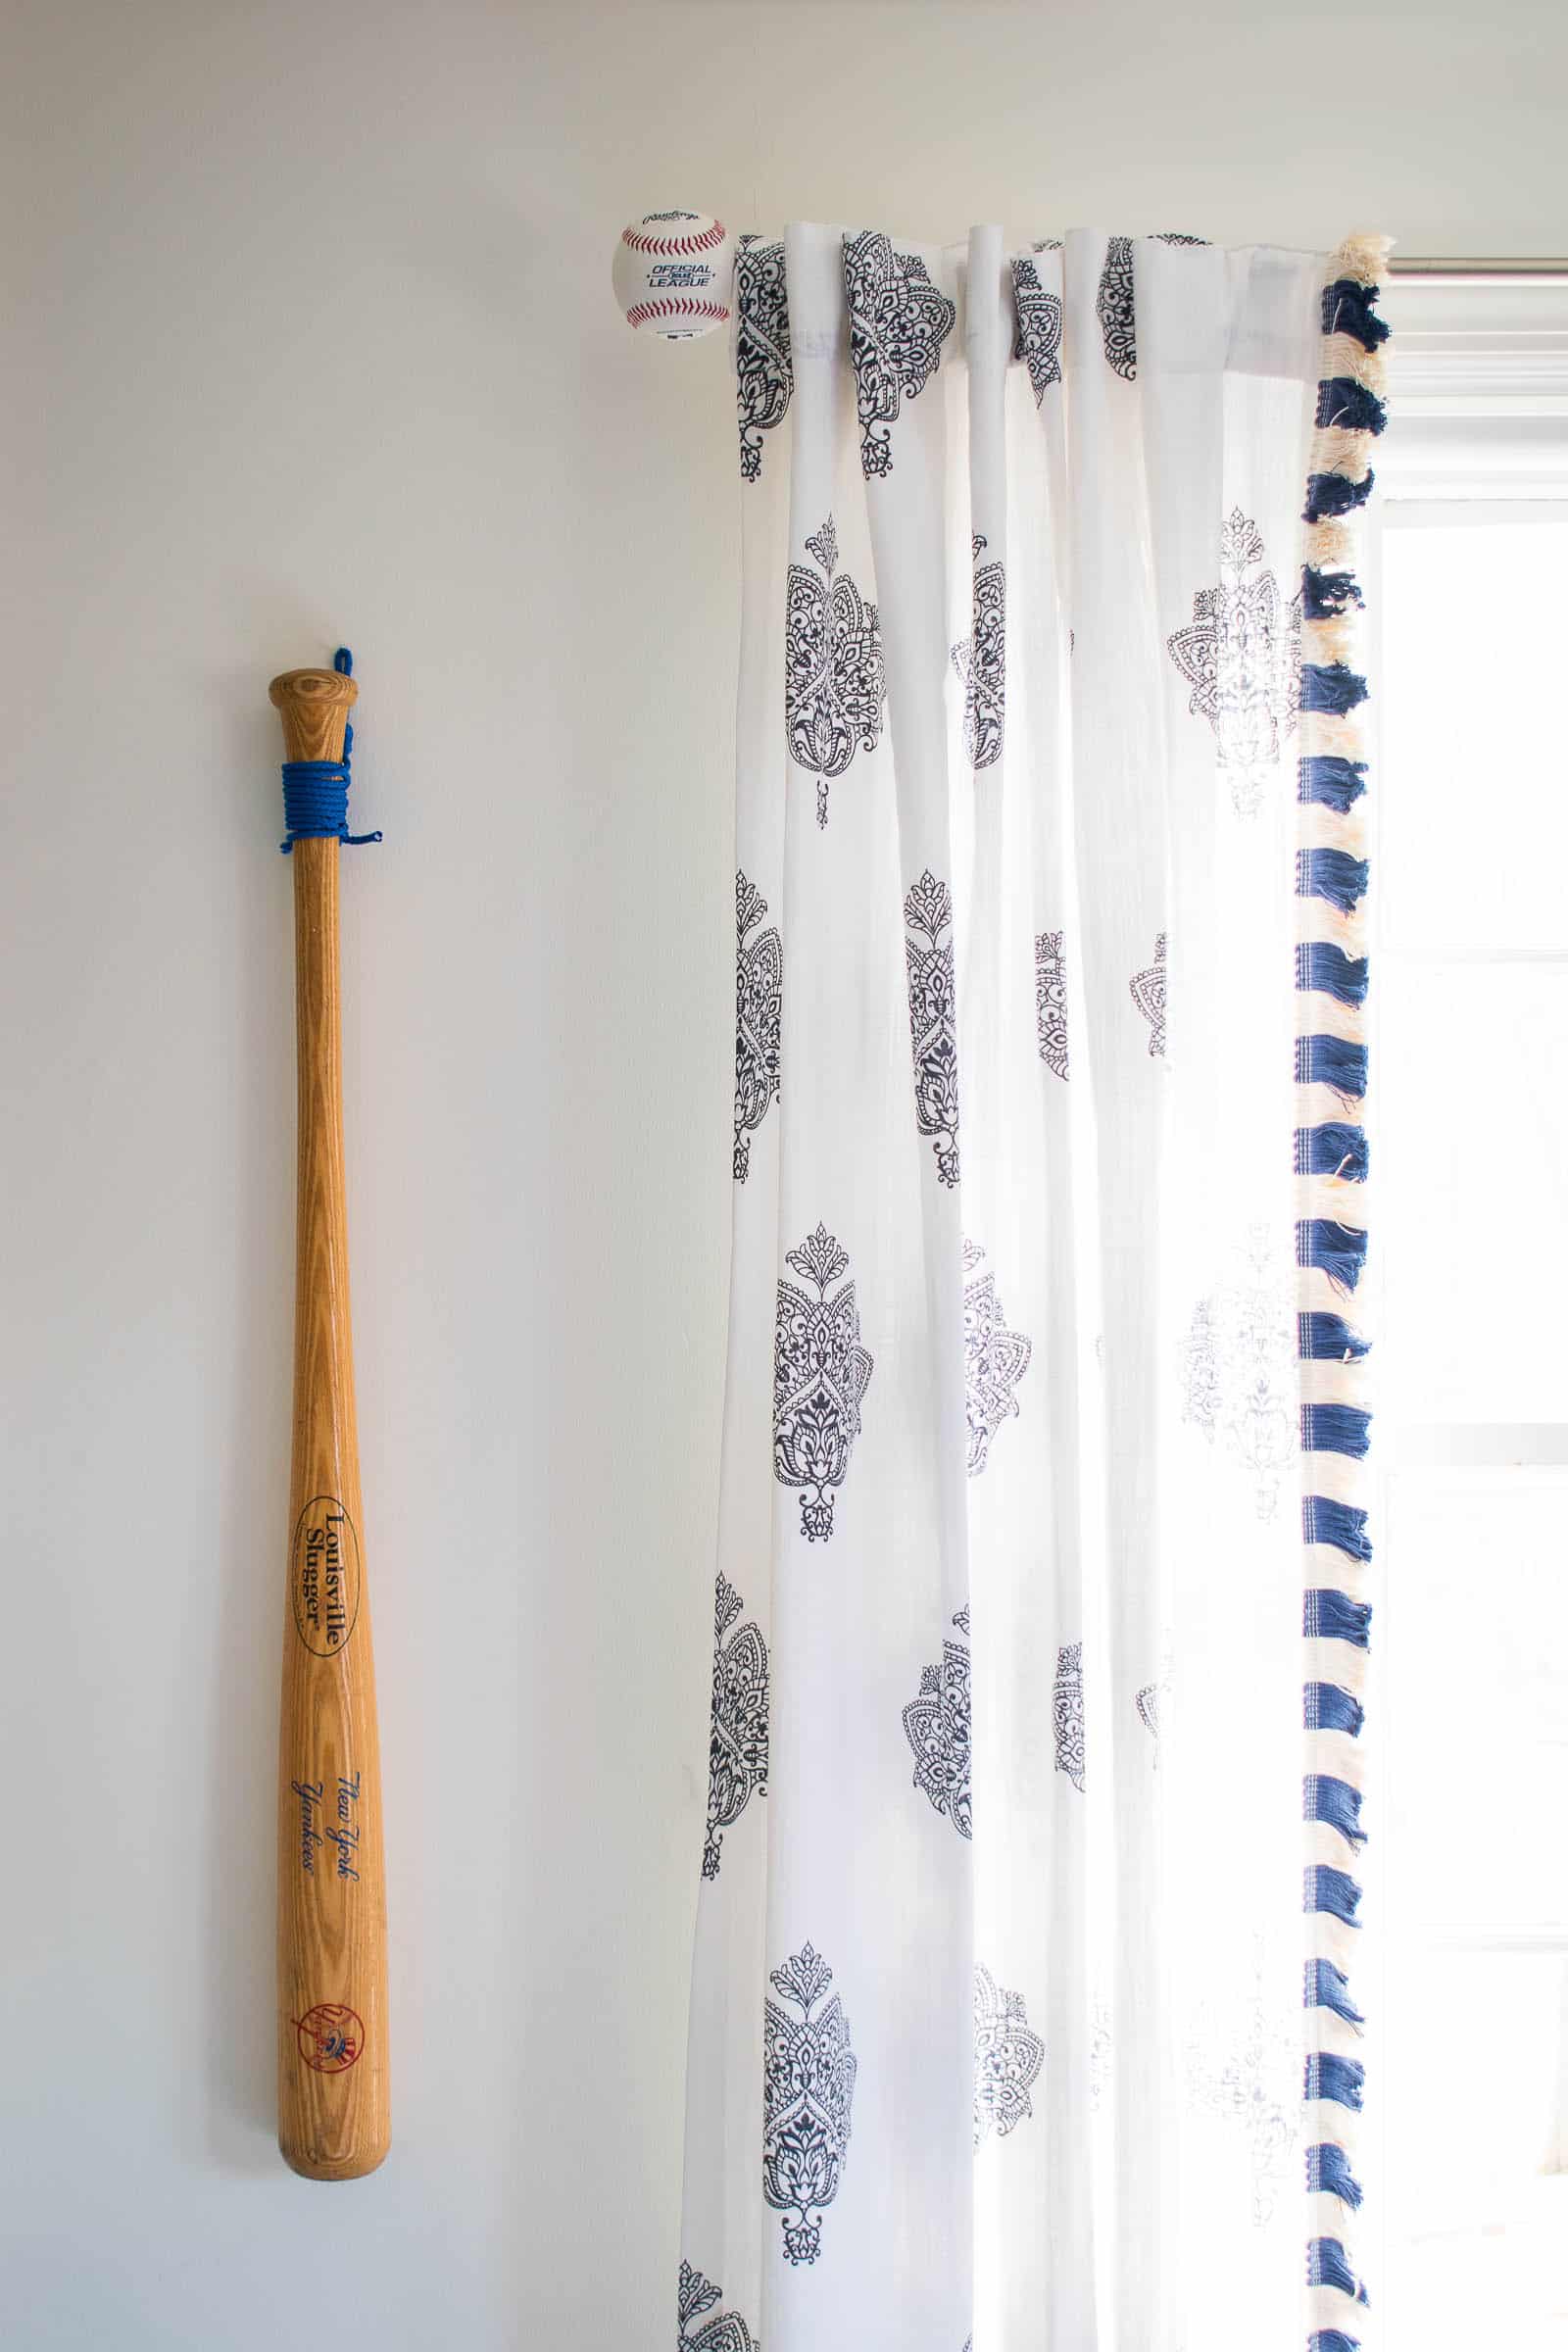
When you’re done, the baseball should screw into the end of the curtain rod just like the old finial did… So easy. So cute.
Fringe on the curtains
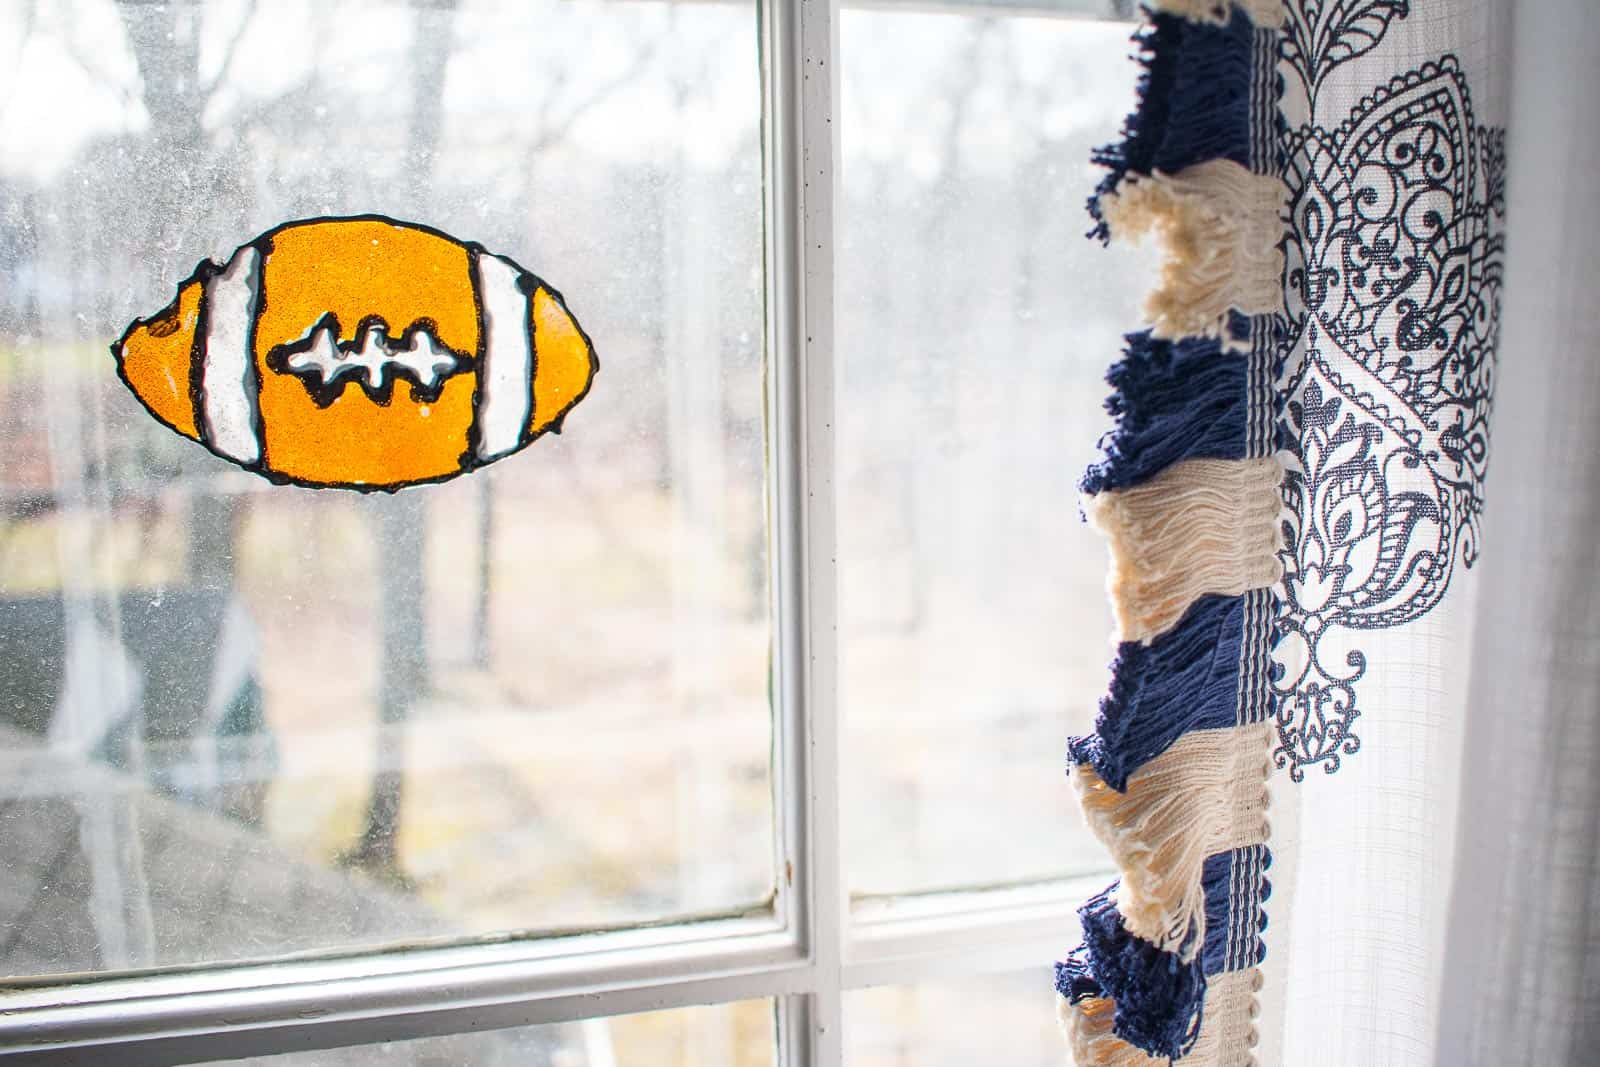
An additional layer of flare that I brought in was MORE FRINGE. I loooooove adding fringe because of the fun and texture it adds to a basic curtain panel. I used this super fun blue and white fringe from Fringe Market. I mentioned in my IG stories, but to prepare these curtain panels, I used iron on hem tape to shorten the curtains, and then I used fabric glue to attach the fringe. Technically the seam on the fringe should be hidden, but lots of times I’ll attach the fringe to the front of my fabric to provide maximum visual impact; I’d lose a centimeter or more of those fun fringe if I glued it on the back of the panels, so onto the front it goes!
Displaying his Sports Memorabilia
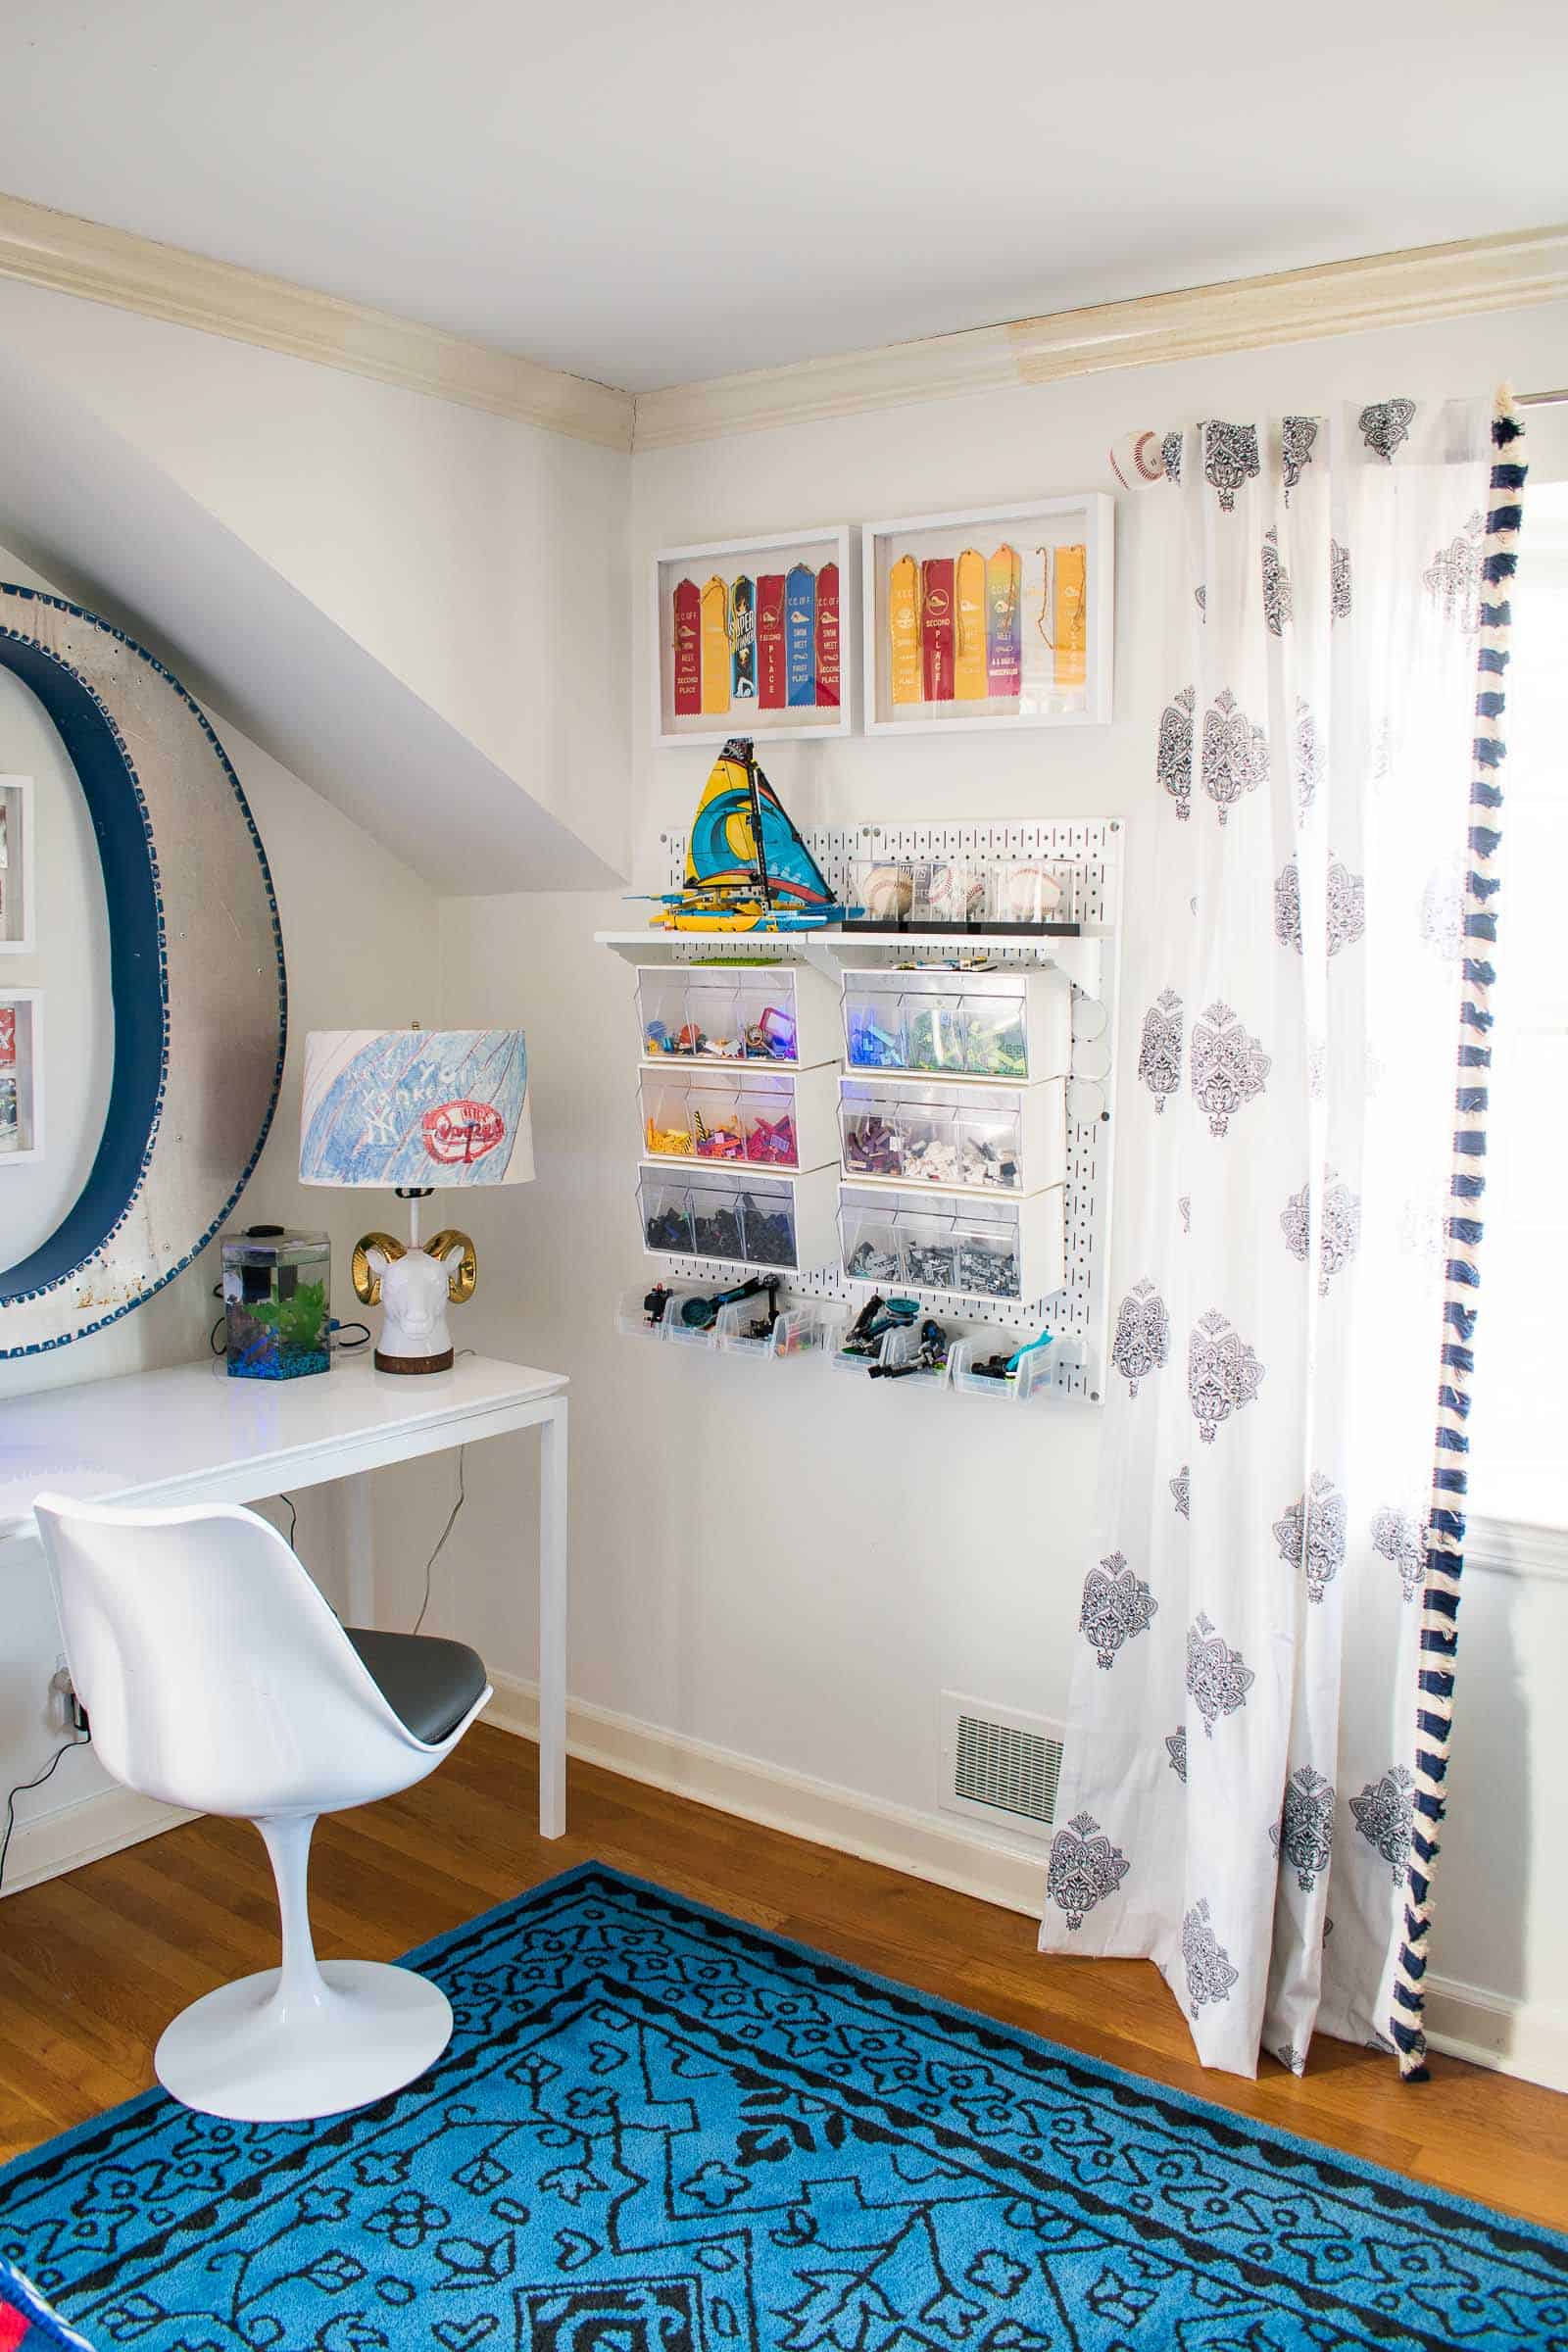
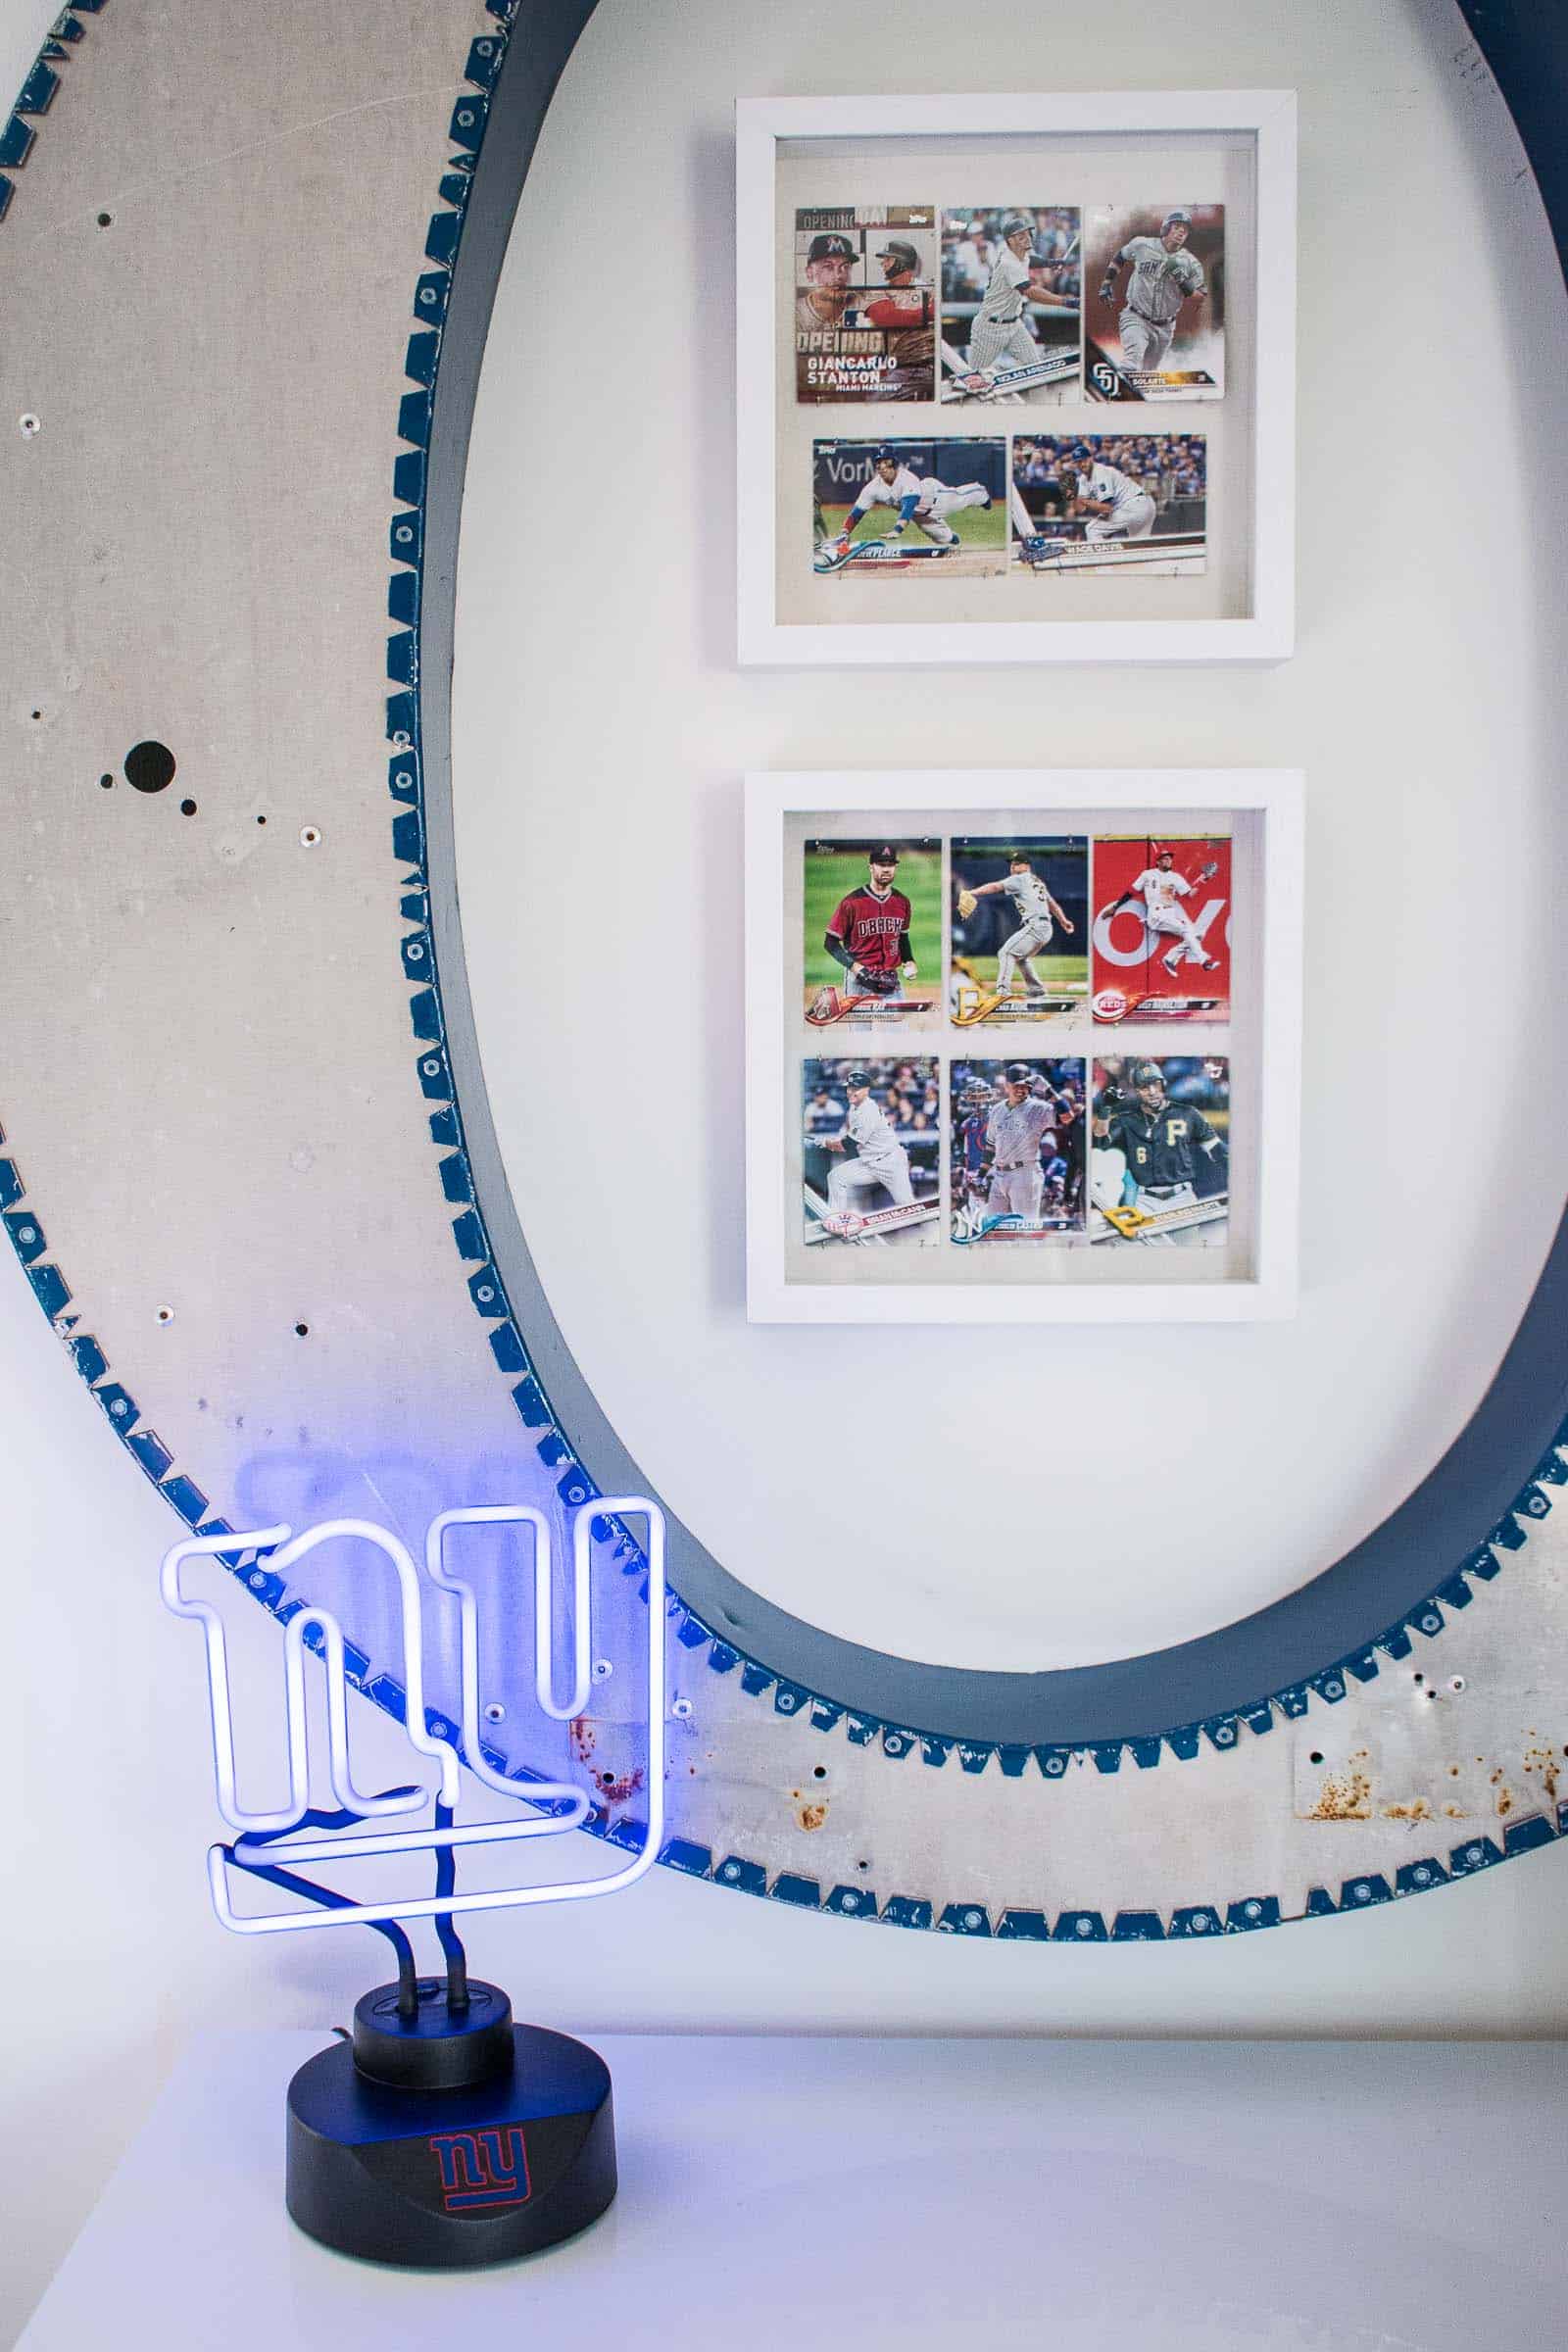
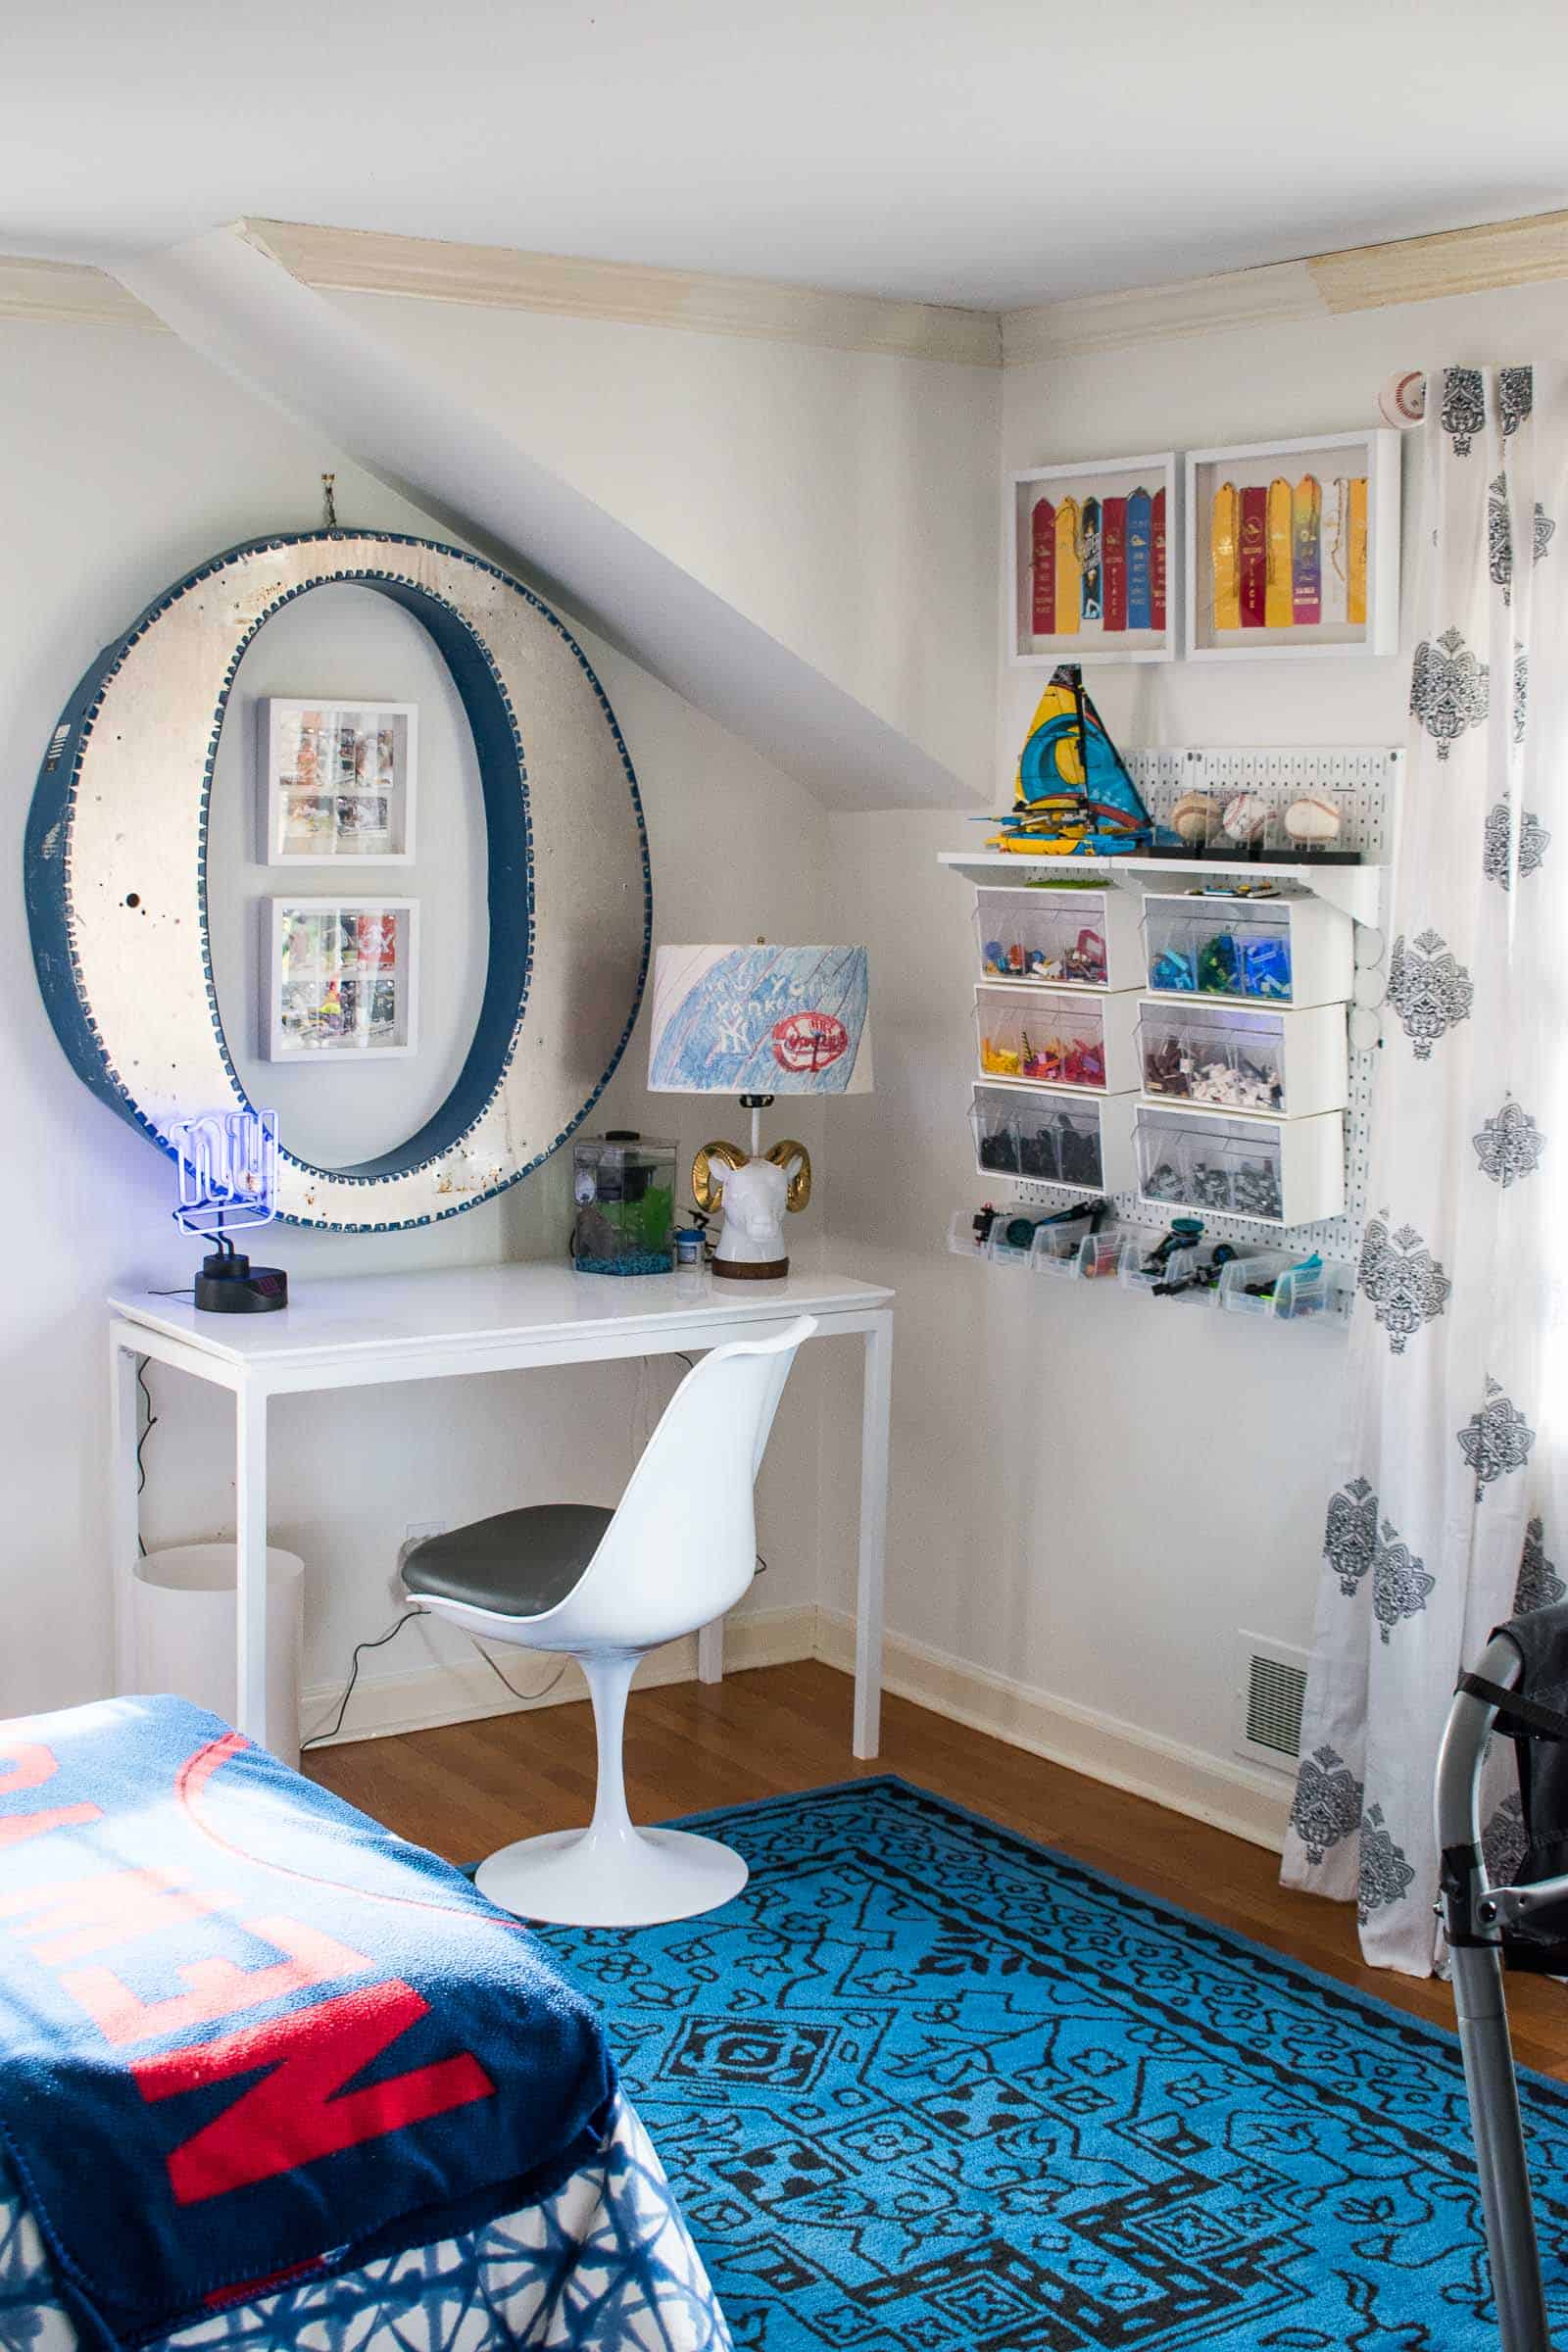
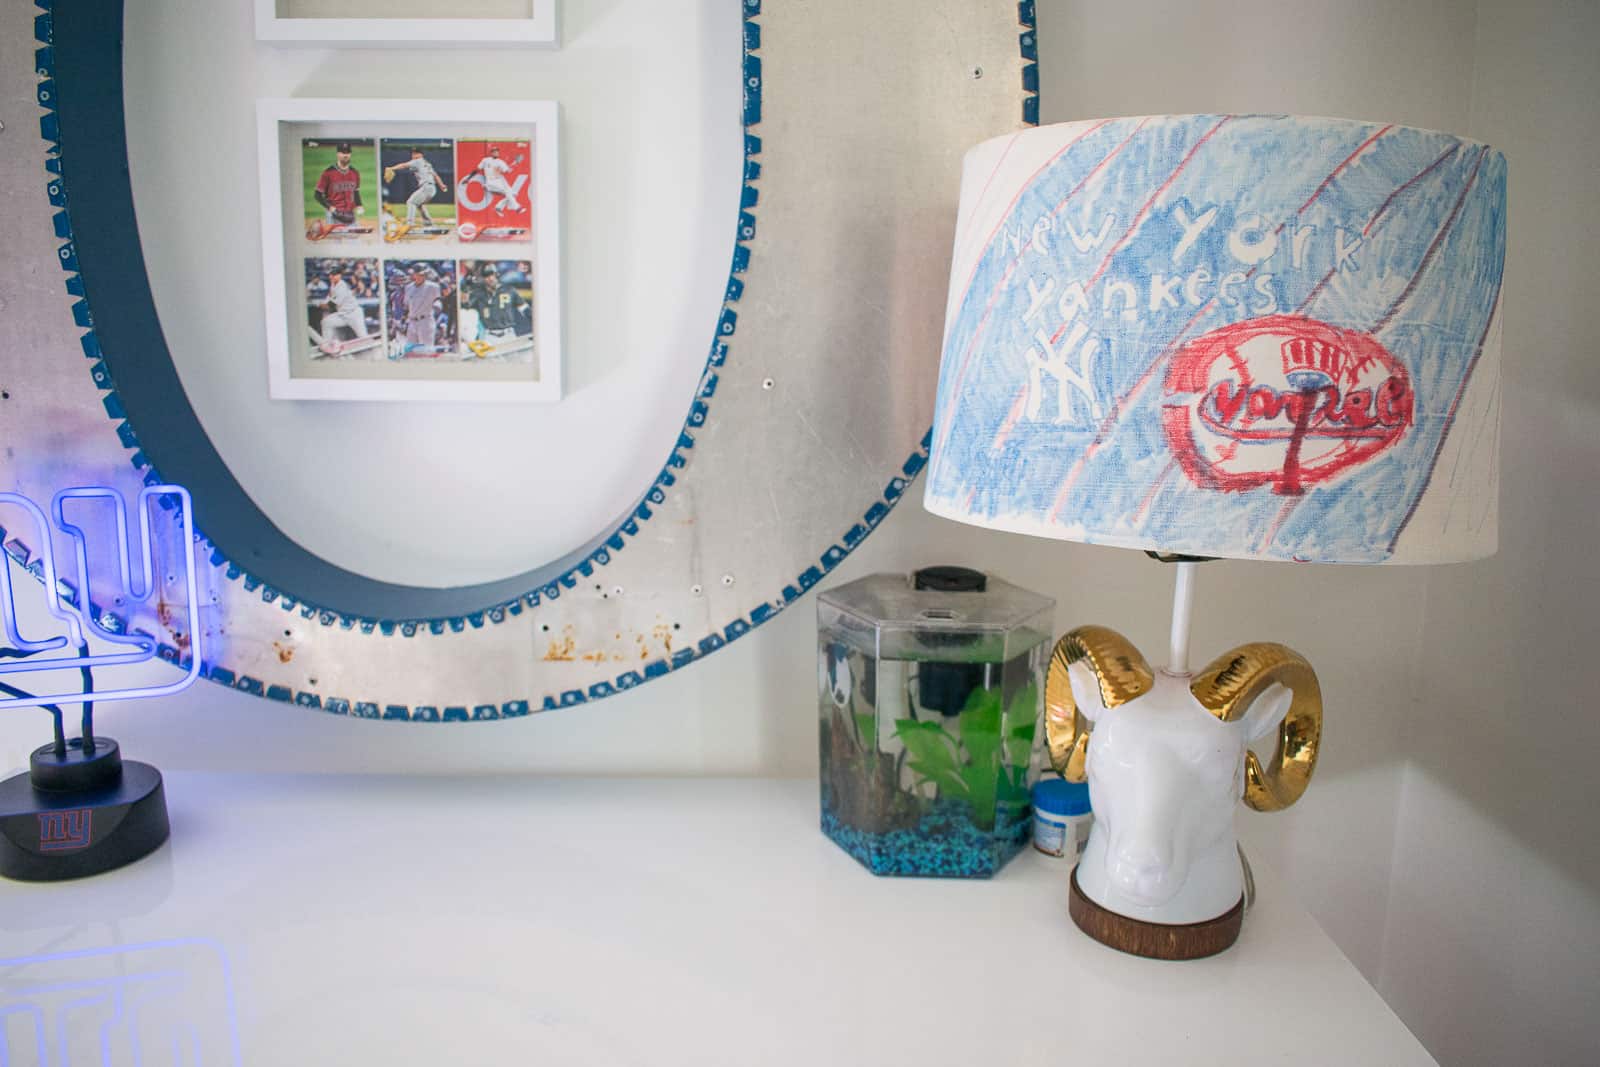
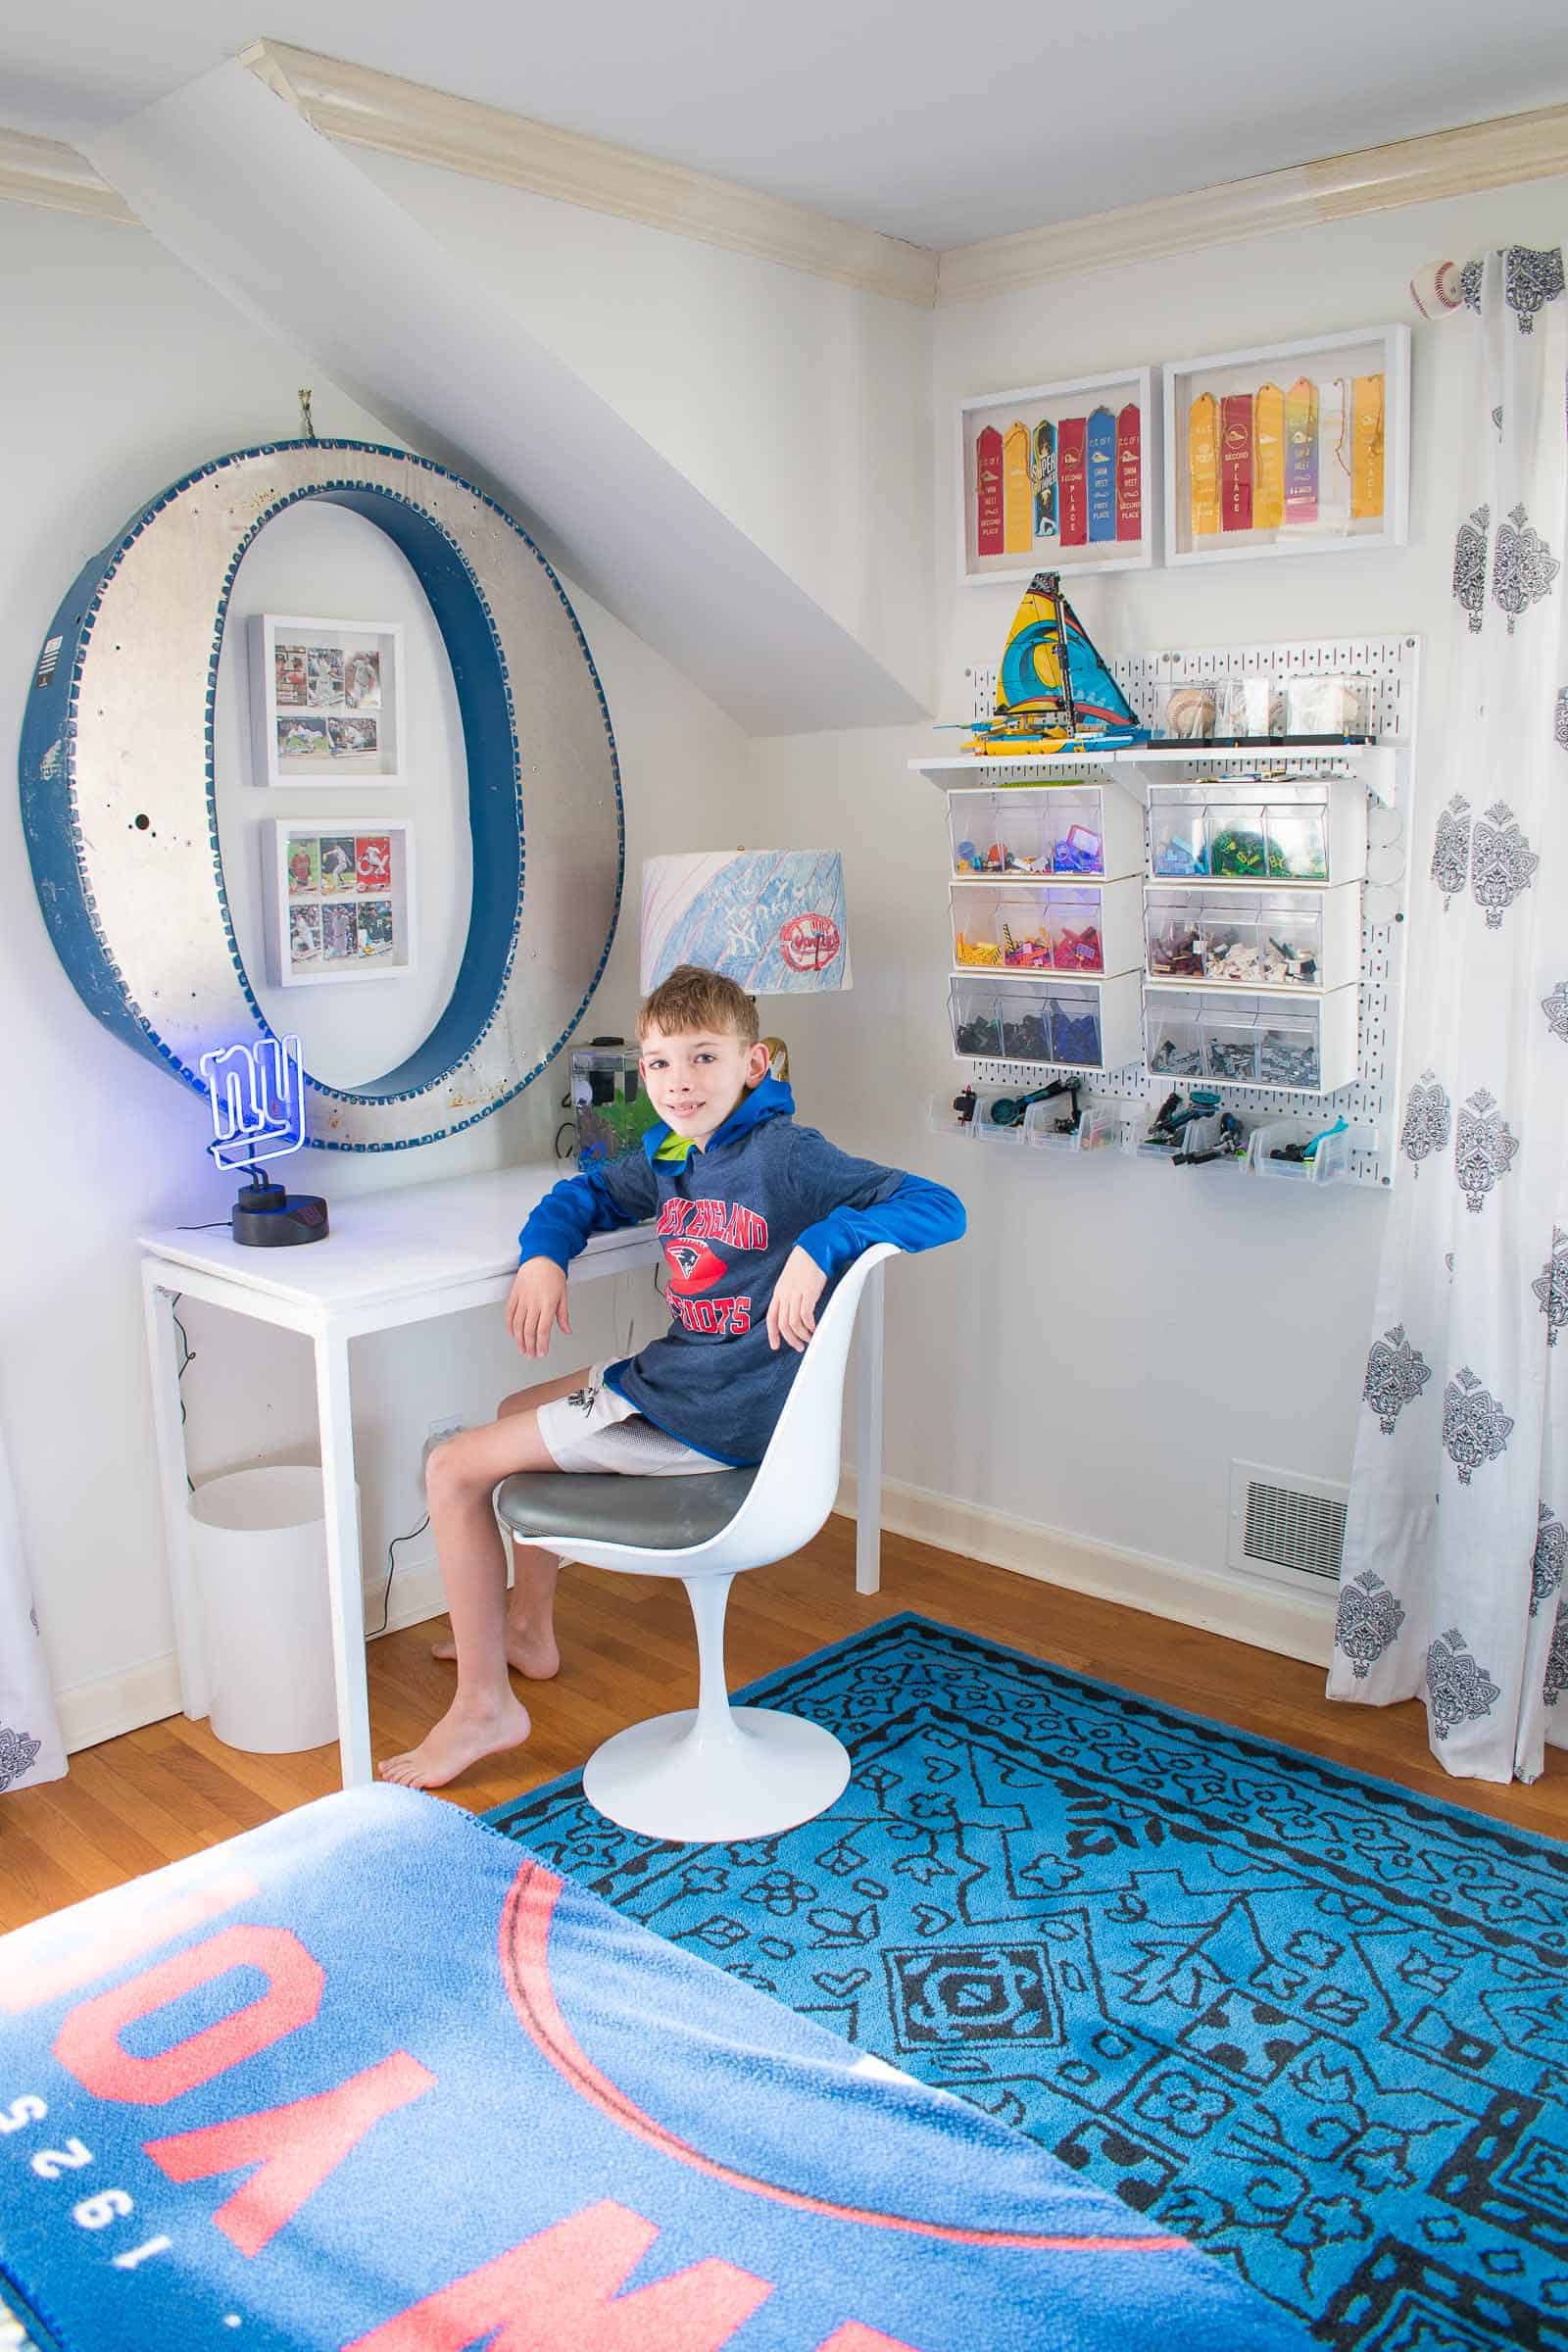
Here are a few close up looks at the shadow boxes I used to display some his baseball cards and swimming ribbons. They’re taped on the back but I also used some simple sewing pins to hold them in place as well. (These ones from Joann are similar… put decorative paper or canvas on the back.)
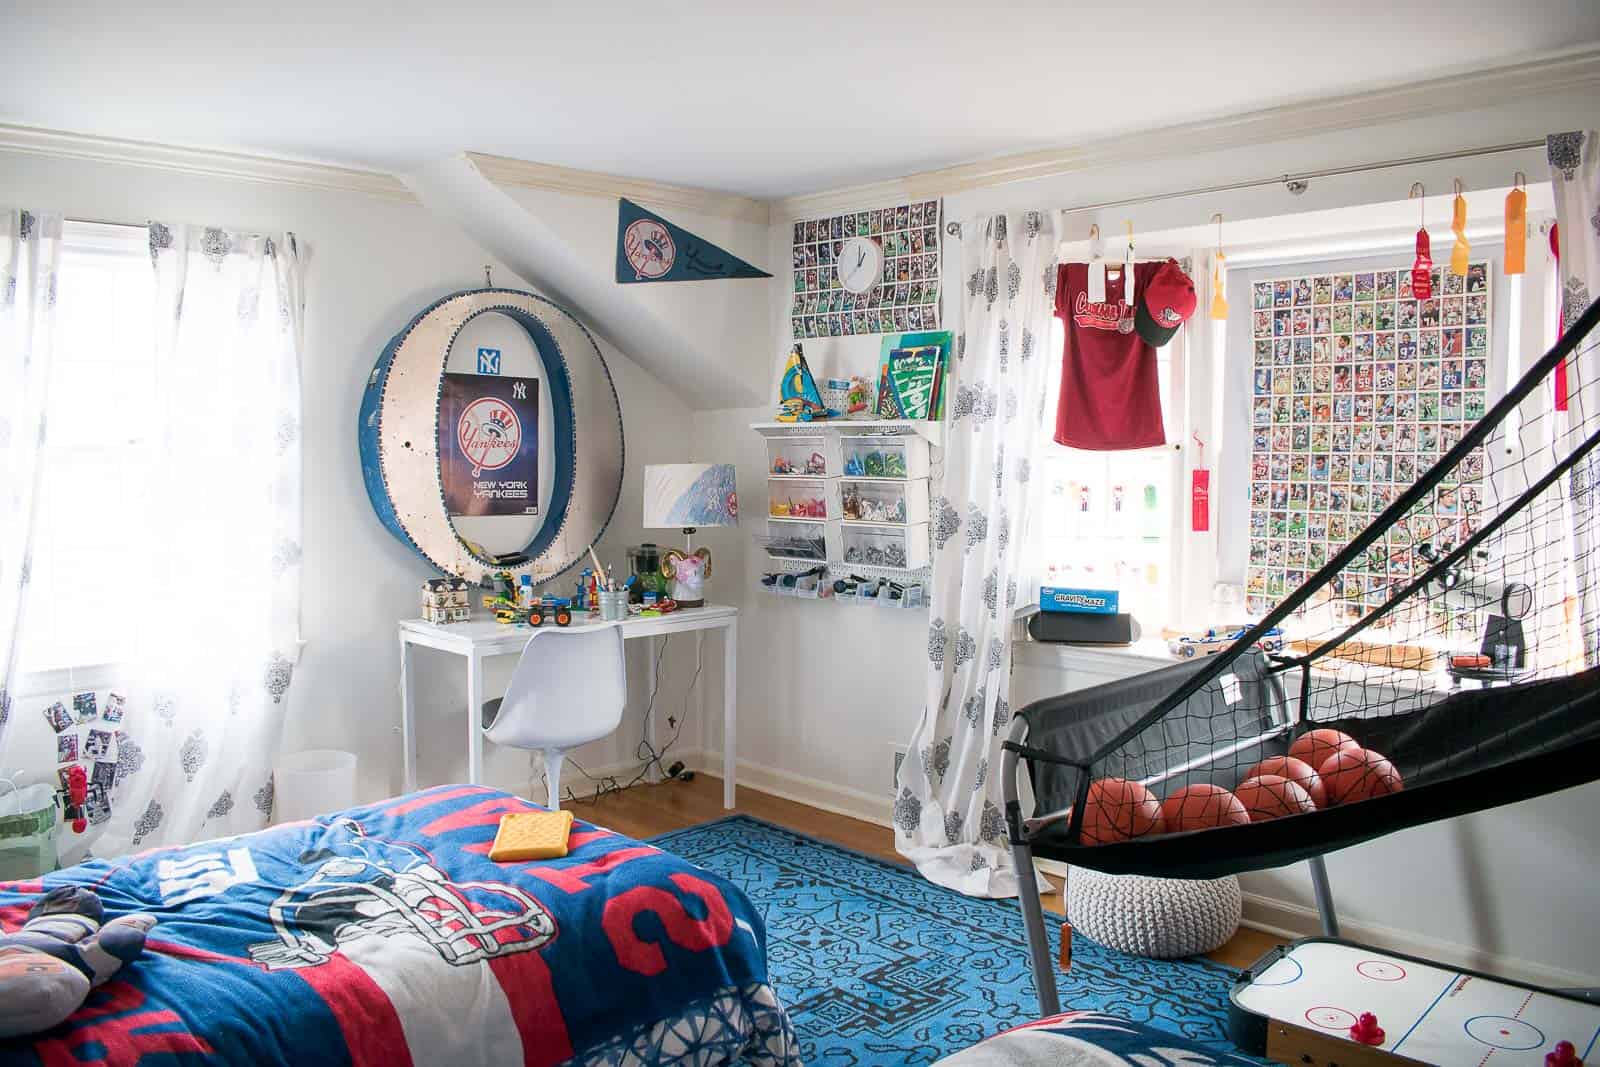
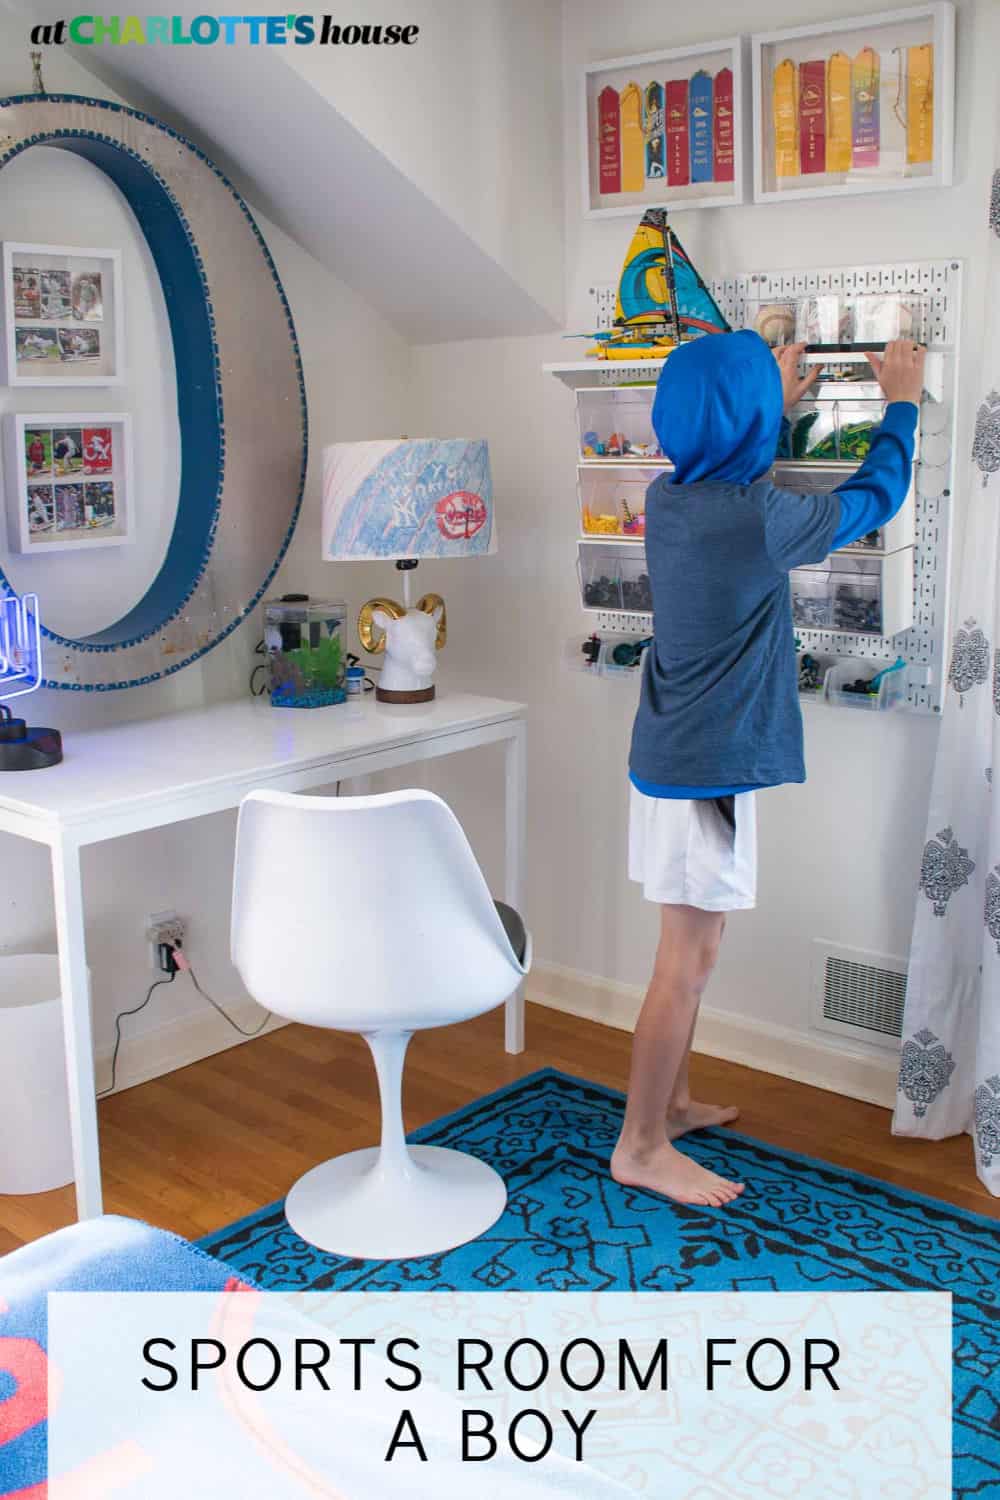
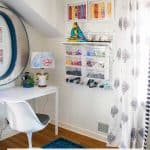
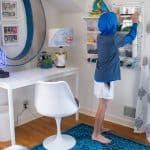
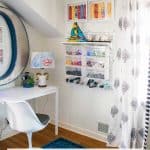
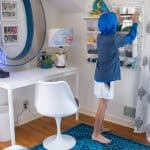
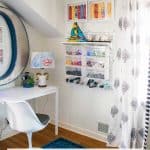
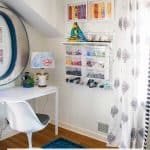
We also picked up some baseball display boxes. (Shocker: he loves them.) The storage rig holding all his legos was a GAME CHANGER (no pun intended). This metal pegboard system is by Wall Control. They have tons of great options for storage like this. I’ve used two of the metal backing plates, then added 2 shelves, 6 of those tip out little storage boxes, and then 2 sets of their open bins (check out the accessories section).
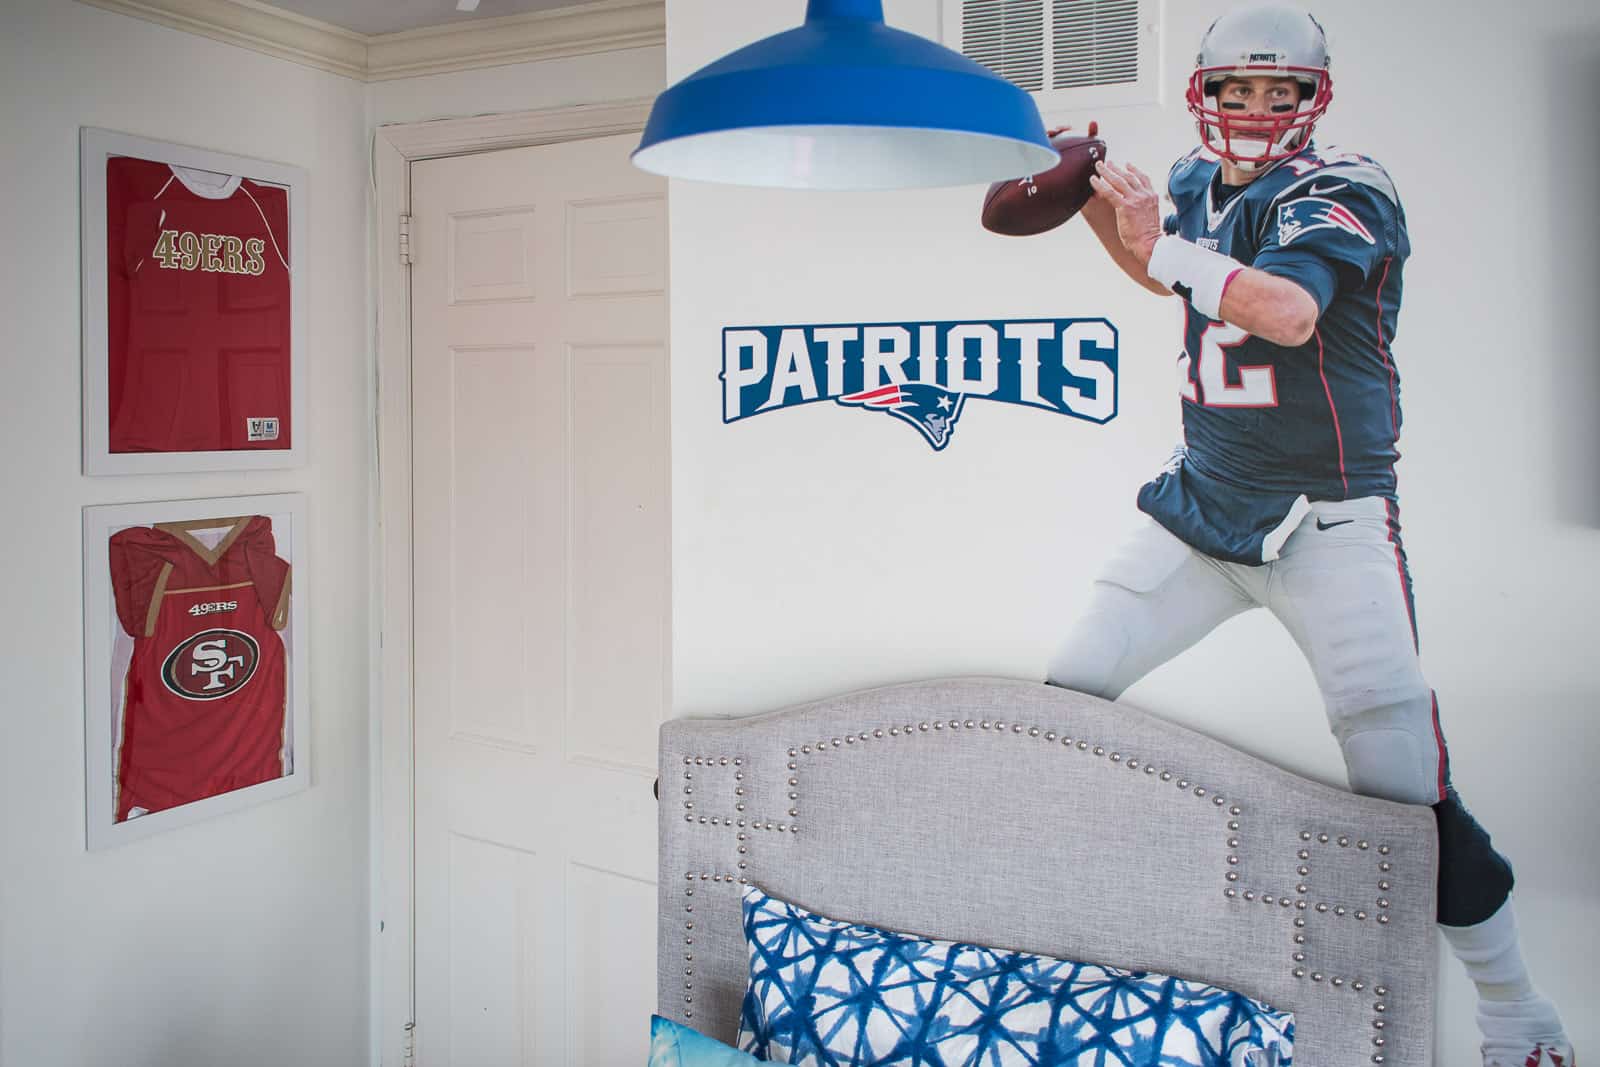
Oliver wanted these below the window but alas… no room. I was able to fold and fit two of his jerseys into basic frames and hung them behind the door. His answer changes every day, but most recently, the jerseys were his favorite part of the room makeover.
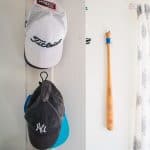
When I asked if there was anything else he wanted displayed, he said maybe his baseball bat. I simply wrapped some paracord around the neck of the bat and looped it over a brad nail in the wall.
Other updates to Oliver’s new and improved boys room:
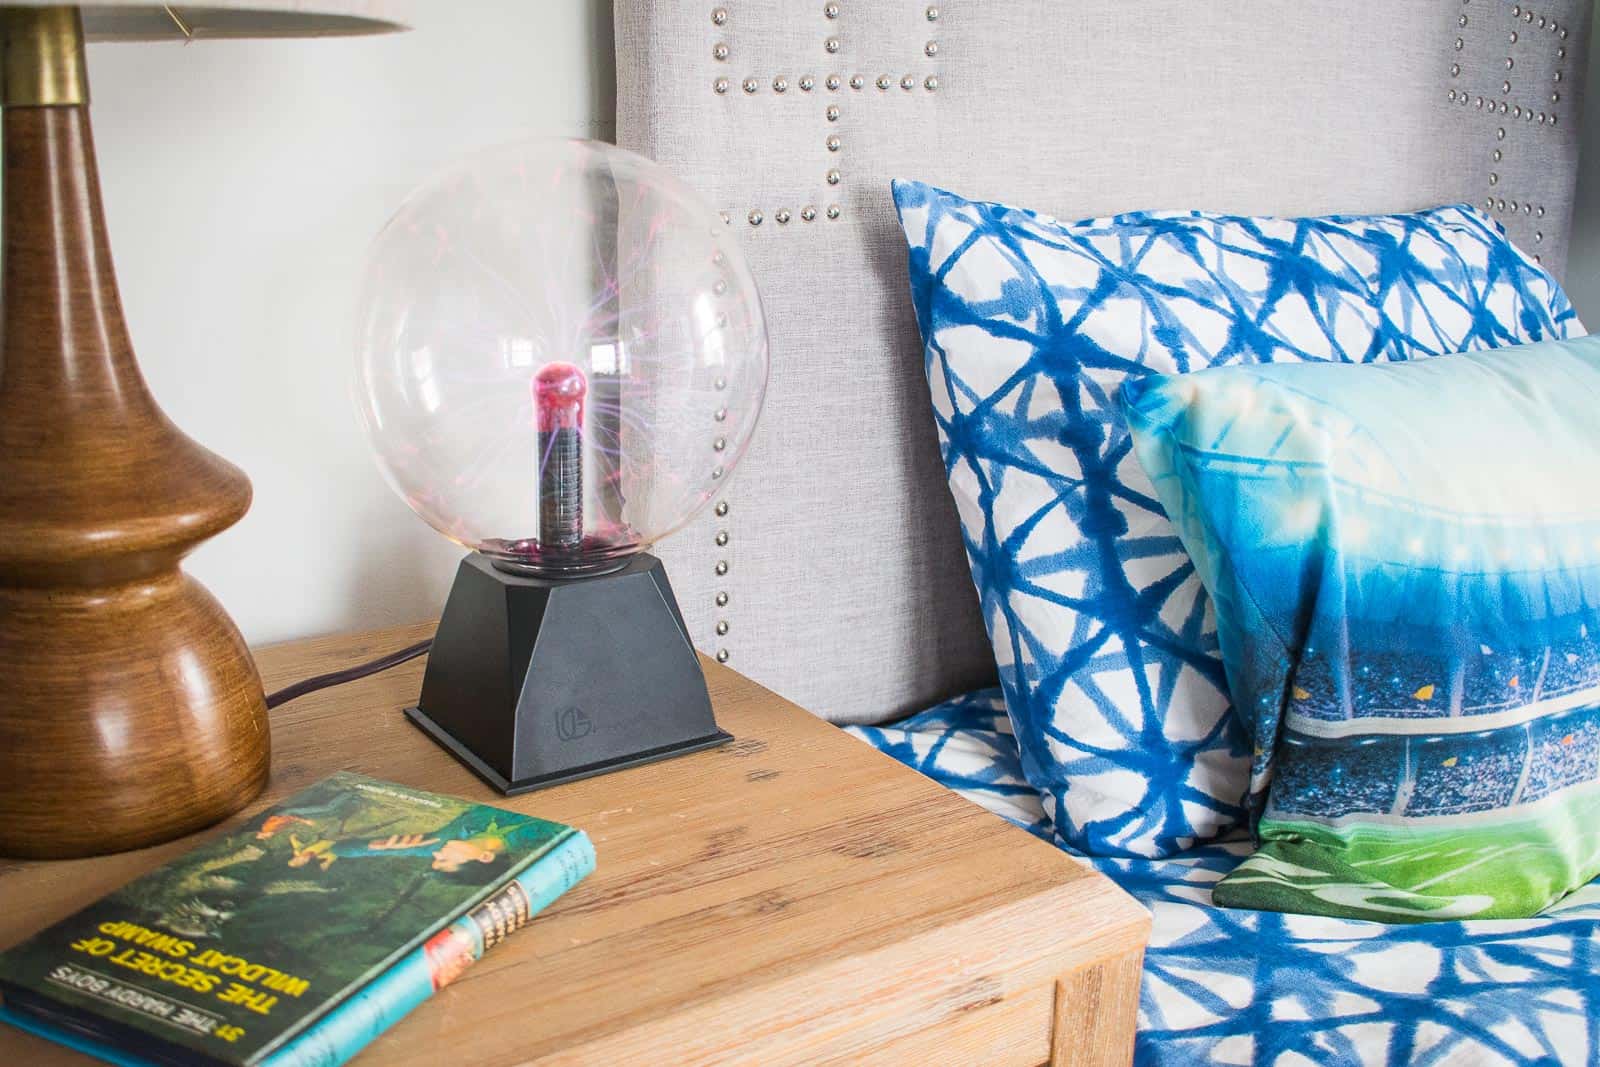
He had a tiny little bedside table, so we brought in one of the side tables that used to be in our old family room. The extra storage and extra surface area is perfect for between his beds.
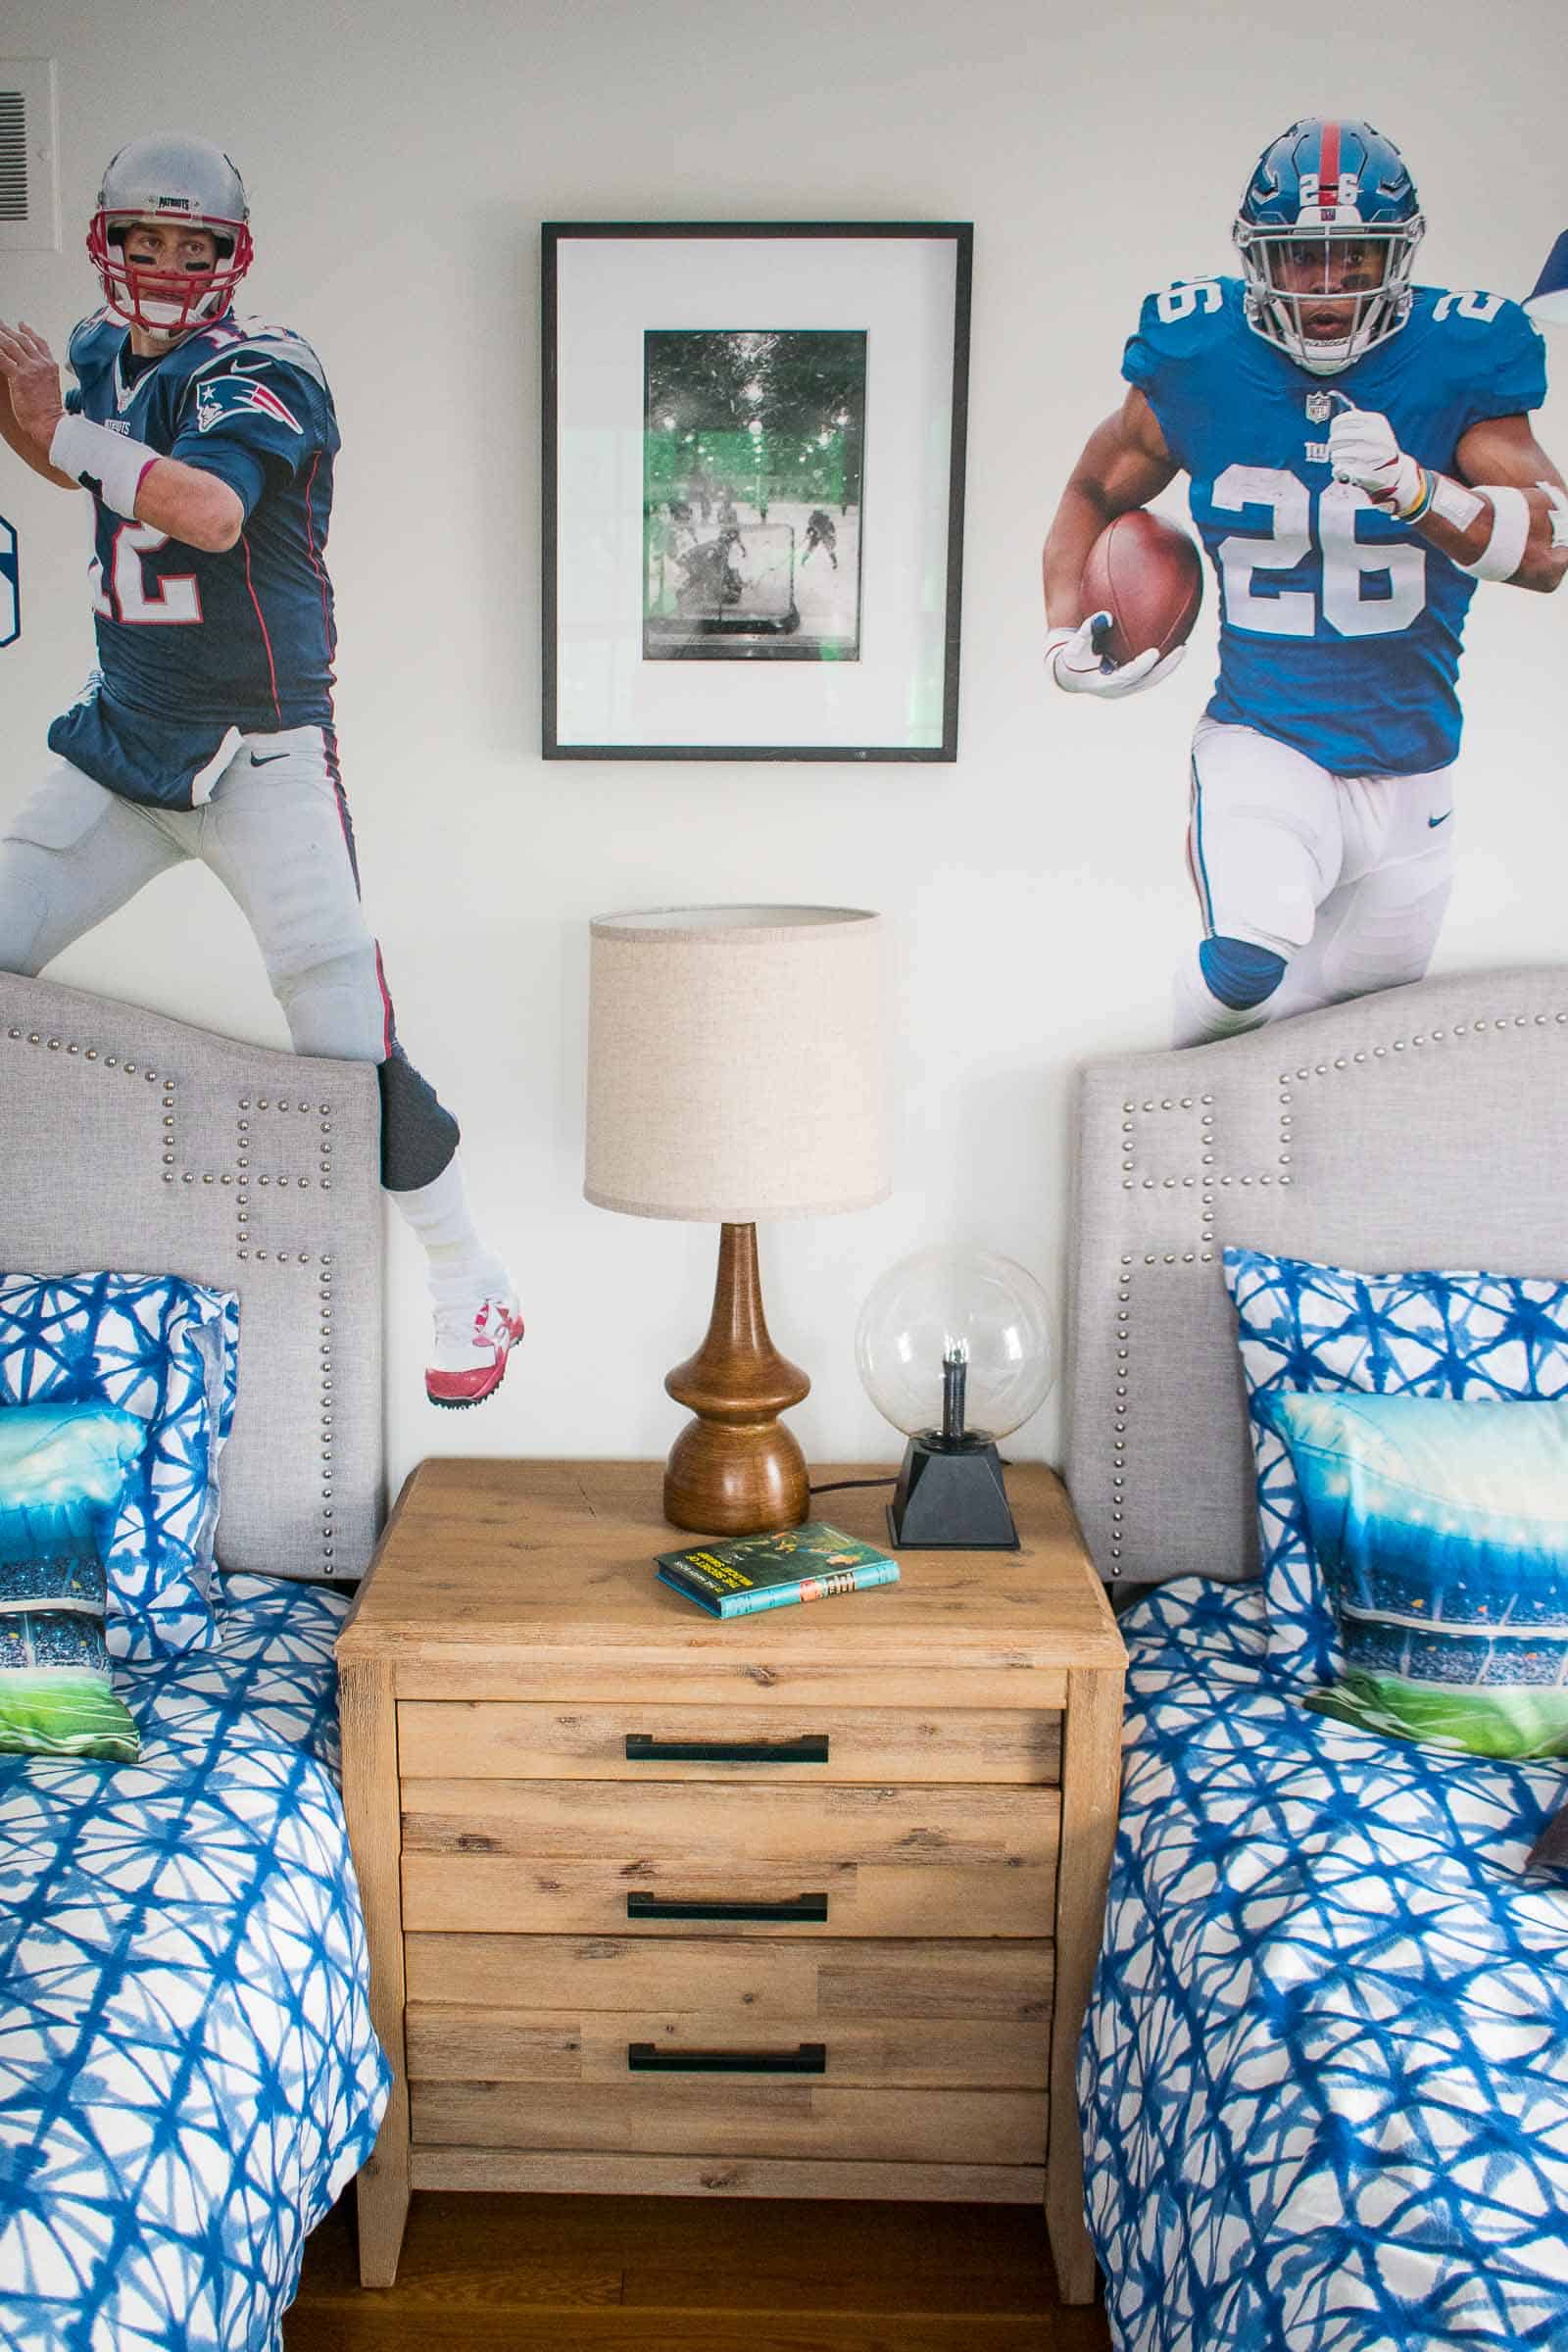
Yes… he has lifesize football players on his wall. Yes… he has a pop-a-shot machine in the corner of his room. Yes… he COLORED on his lampshade. I didn’t change any of that and Oliver couldn’t be happier about his room. It still reflects everything he loves and feels proud about, but it’s all a bit more… in order.
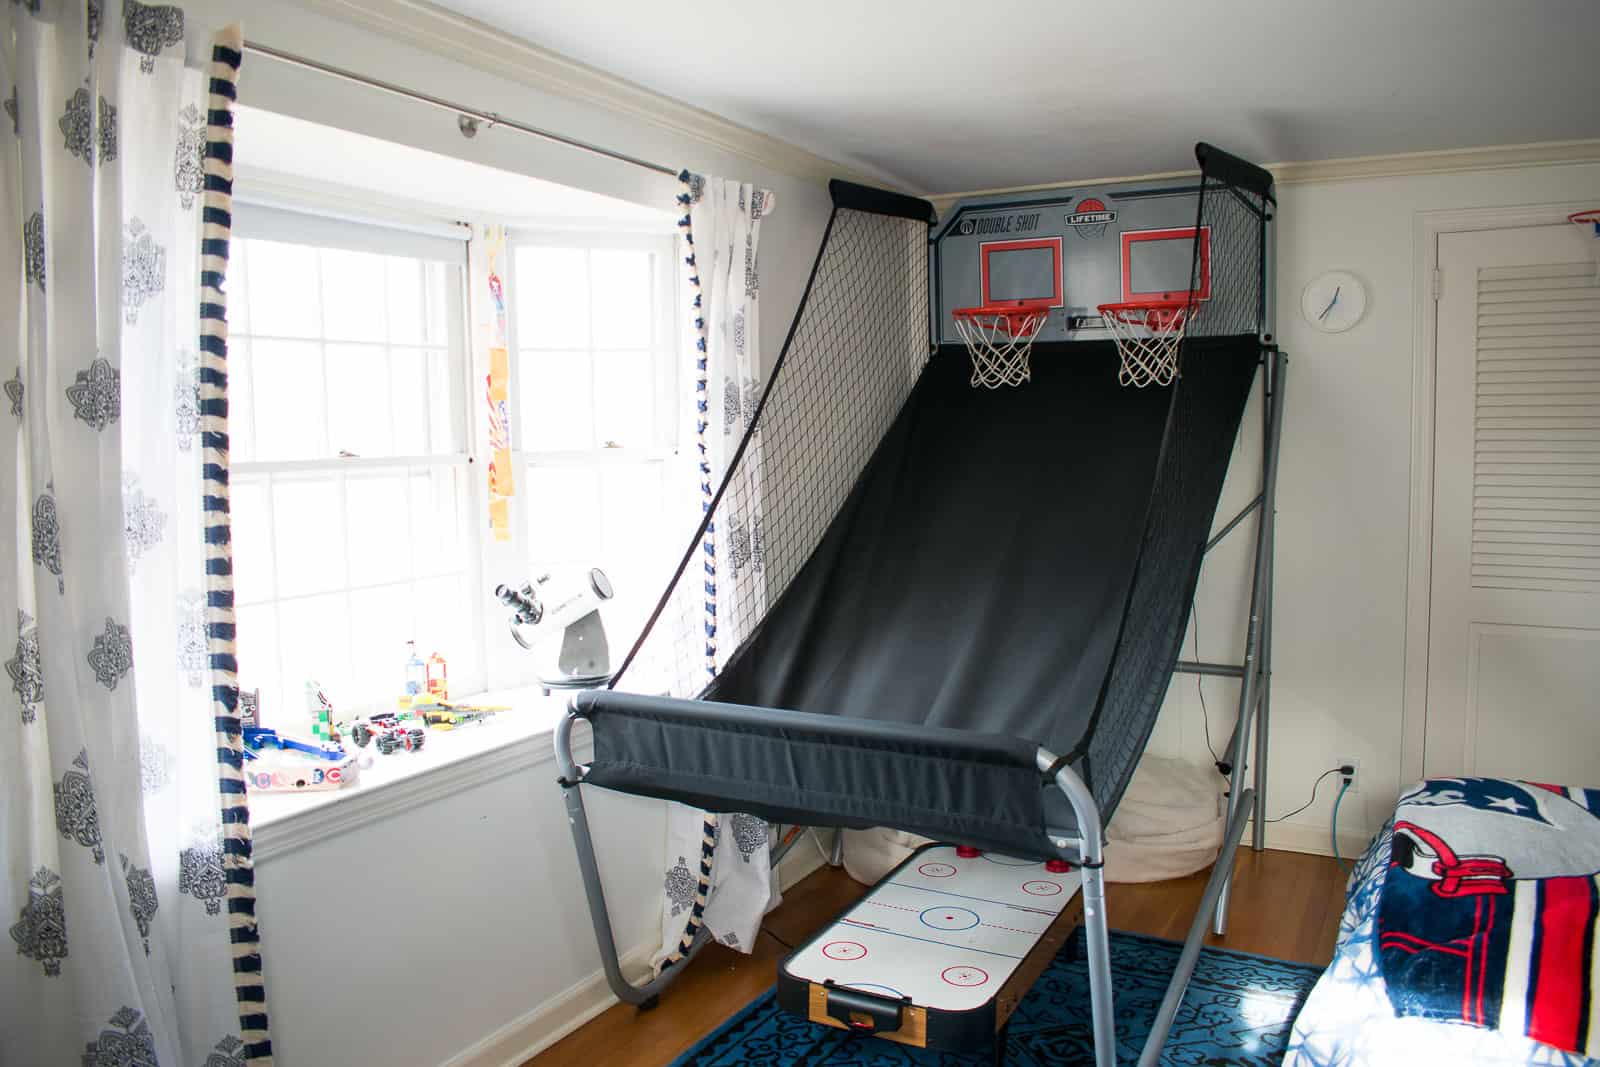
The best part about this project is that both of us are so pleased with it! I love that the room feels a little less crazy and nothing’s taped to my walls. Oliver loves that his precious sports totems have a place of honor on the walls and on his shelves!



This room is so cute! I have 3 sons in their 20’s and if Show Them this they may move to CT so a cool mom can decorate their Rooms.
The Baseball finials and curtain fringe may be My favorites!
Good job Charlotte and oliver!
That’s so cute! Thanks, Maureen! I’m happy to help… chances are they might like the same stuff! 🙂
Hi! Love this room! What are the storage Containers you used for his legos? The clear ones hanginG on the wall? Need that!!!
I’m so glad you said something! I went back and added that detail. These are by a company called Wall Control. I could not love them more… they have tons of options and are essentially metal peg boards. Really easy to hang and then you can choose a jillion options for what goes ON the pegboard to help you organized. Check them out: https://www.wallcontrol.com/
Well done!!! And his PERSONALITY is SHOWING through! ?
Thanks, Meryl! Maybe Liam will get some ideas! 😉
Wonderful! Great Update.
Thanks Bridget! I love how it turned out!
My FAVORITES are the life size players and the baseball finials!
Aren’t those players fun?! Christmas present!
THis is PERFECTION! He will remember this room forever- good job Mom!
Thank you! Let’s hope!!
Such great ideas! My goal this winter is to work on my 10 yr old son’s room. This is so helpful!
Oh yay! Let me know how it turns out!
I love all the custom solutions! I bet he loves it!
yes! He’s thrilled! Thanks! xx
My- my, you nailed this PROJECT. I know you must have a happy little boy. The room looks fab.
YES! He’s thrilled! I love sneaking a look at him happily enjoying his room!
There is no way he can be a Giants and a Patriots fan – haha!!
Hahaha! I’ve stopped trying to figure out his allegiance. 🙂
Where did you get peg board Idea? Love it.
Oh gosh… I can’t remember but it worked great for us!
Such great insp after googling something about decorating a boys room with sports! Curious where the life-size players are from. Thanks!
Thanks! I believe those are from Fathead!