
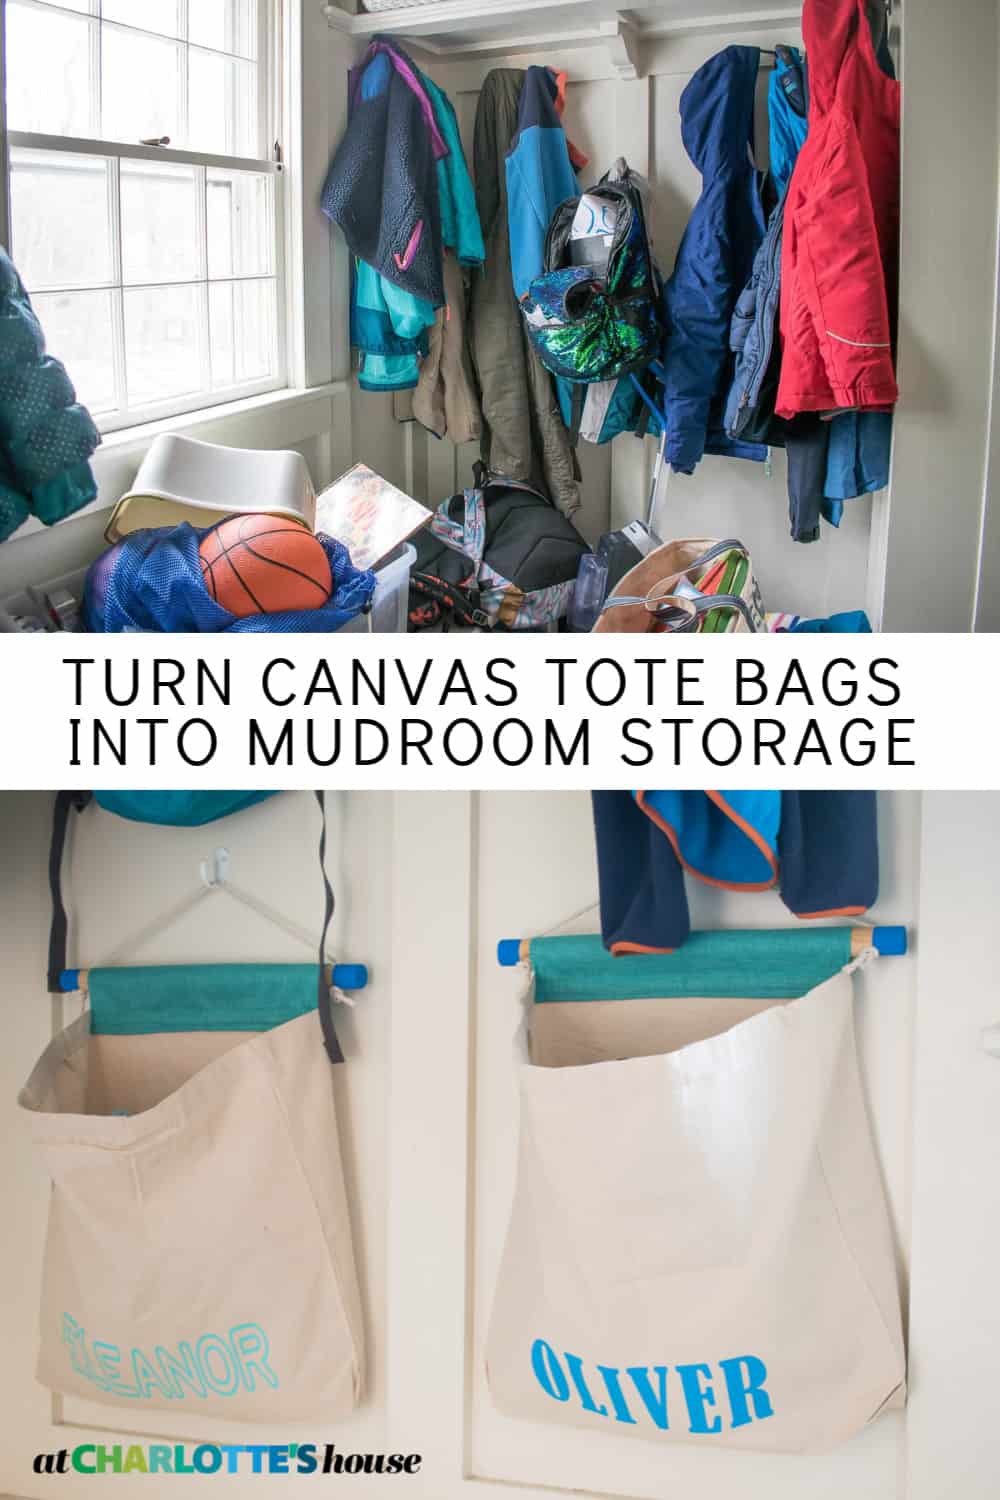
DIY Canvas Mudroom Storage Bags
Psssst… this post *might* contain affiliate links: see my disclosure here.
Easy Hanging Canvas Storage Bag
Our mudroom was cluttered with the kids hats and gloves and scarves so I made some simple hanging canvas storage bags.
Disclosure: This post was made possible by JOANN but all sewing related cursing is entirely my own.
Shop my favorites!
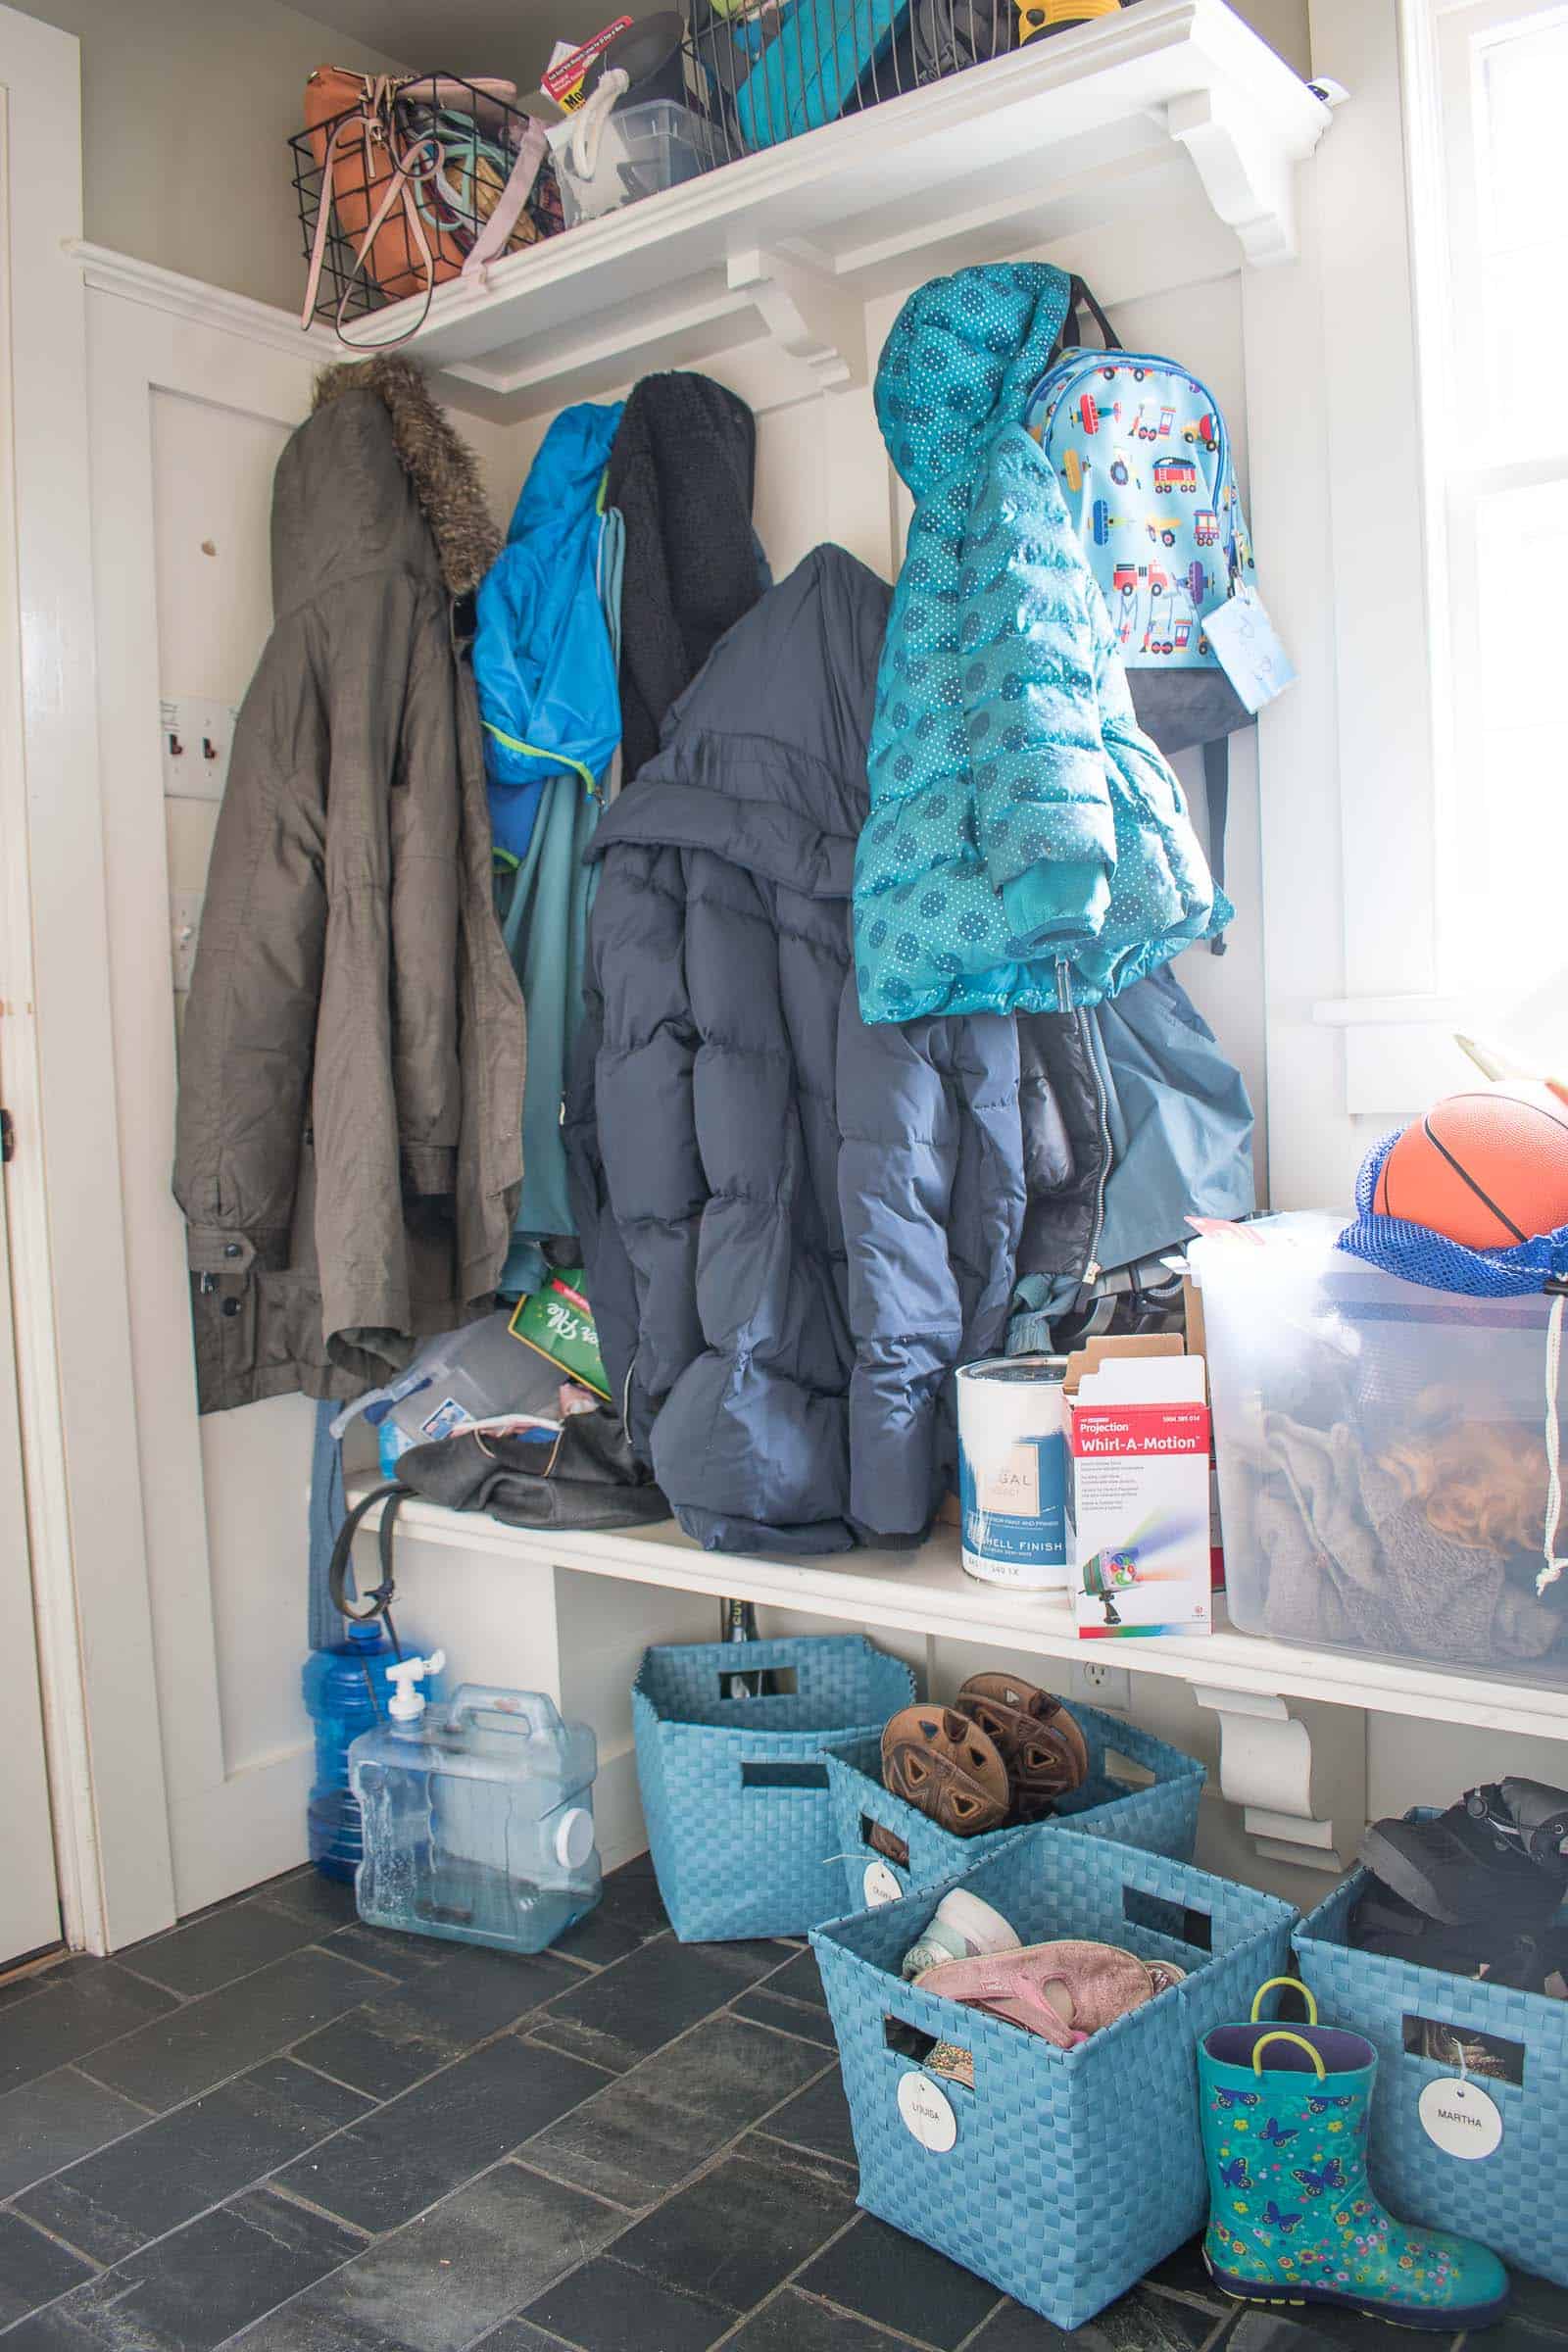
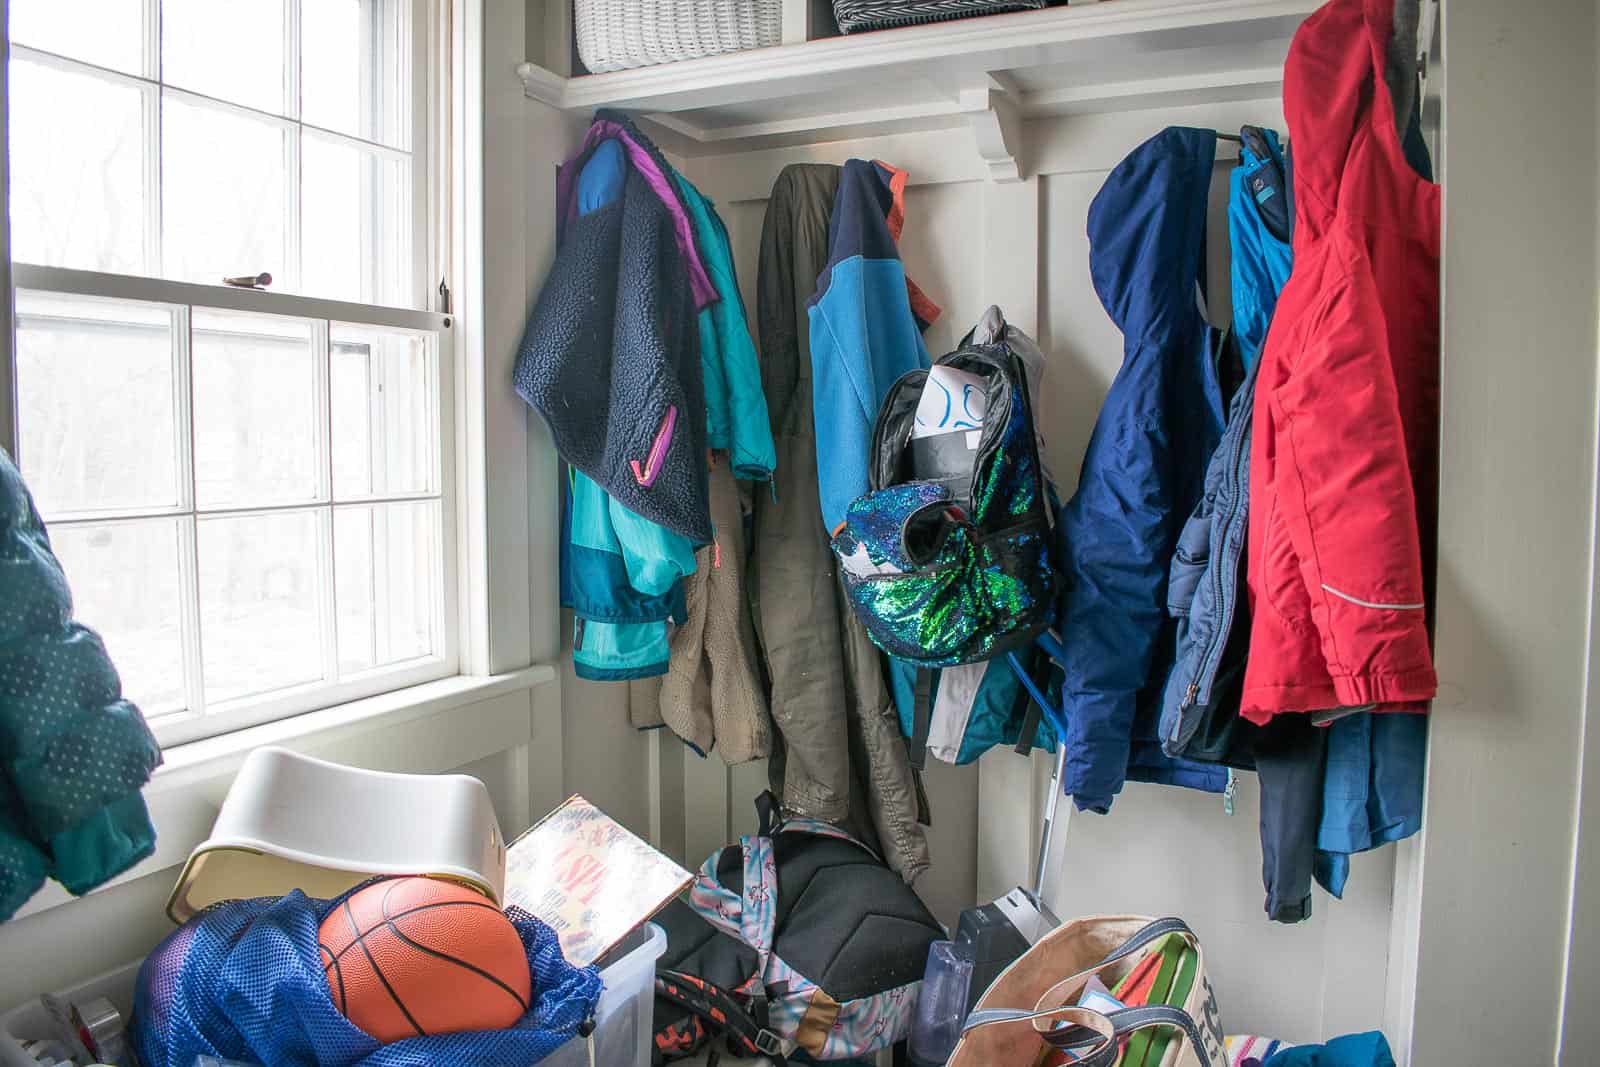
Our rental has a mudroom. And to be fair, it had a good amount of space. Buuut, there were a few things that didn’t work as well for our gang. 1. The hooks were too high for all the kids. 2. The hooks were installed sideways which affected their functionality. 3. We used the space under the bench for shoes, which meant there really wasn’t anywhere else to store the “extras”. Reminder that because this is a rental, there are certain things that don’t make sense for me: buying new expensive storage for this specific space and adding permanent storage items like shelves or cabinets. But as the “Before” pictures will show… at the end of every day, the space was a disaster and an overflowing bin of hats and gloves didn’t help! Which is why these budget friendly DIY Canvas storage bags are so useful!
(Full materials list at the end of the post!)
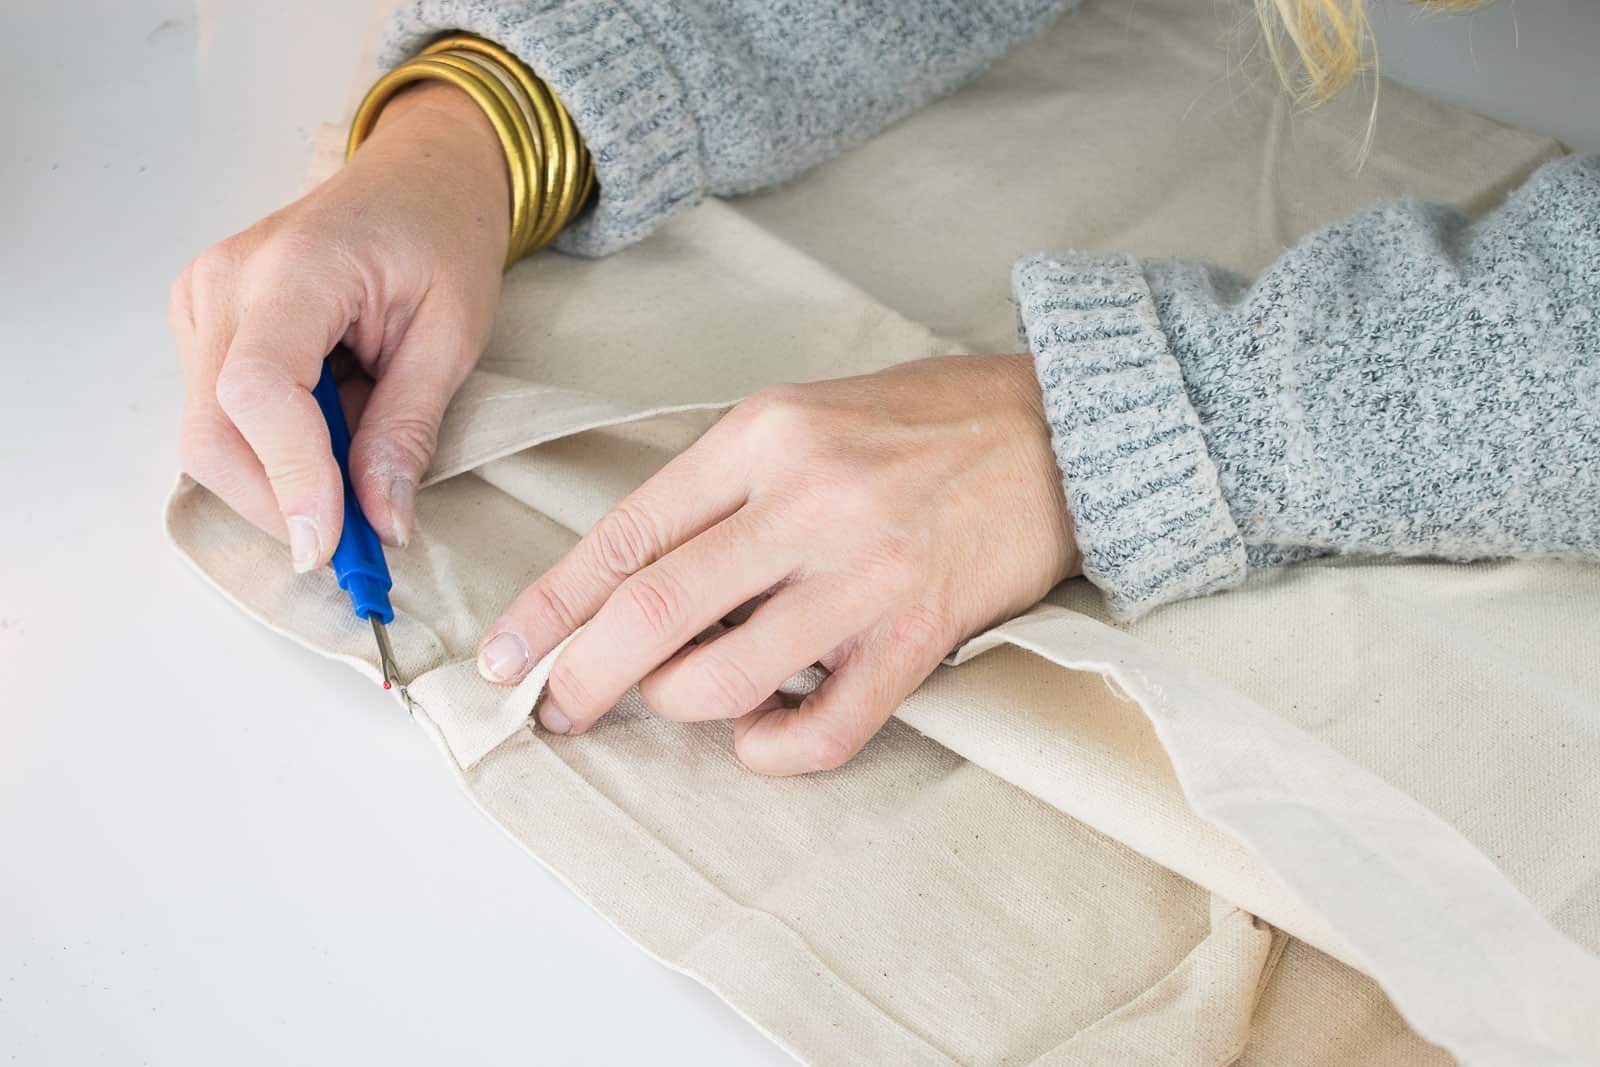
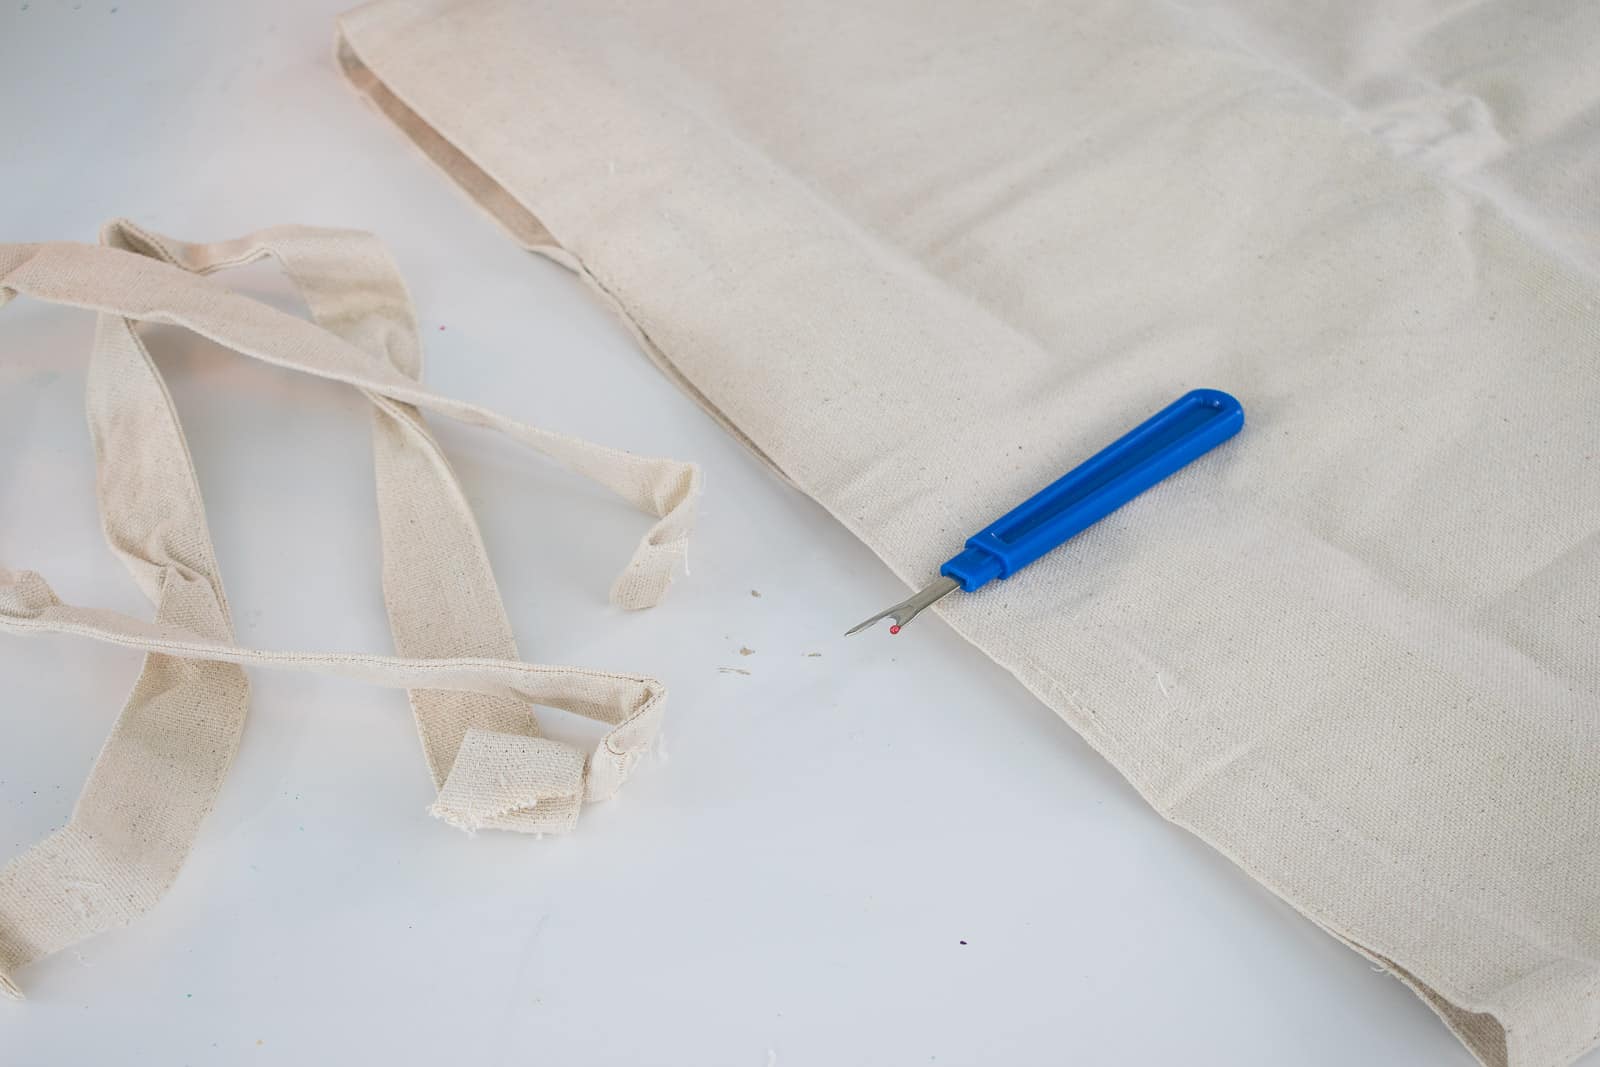
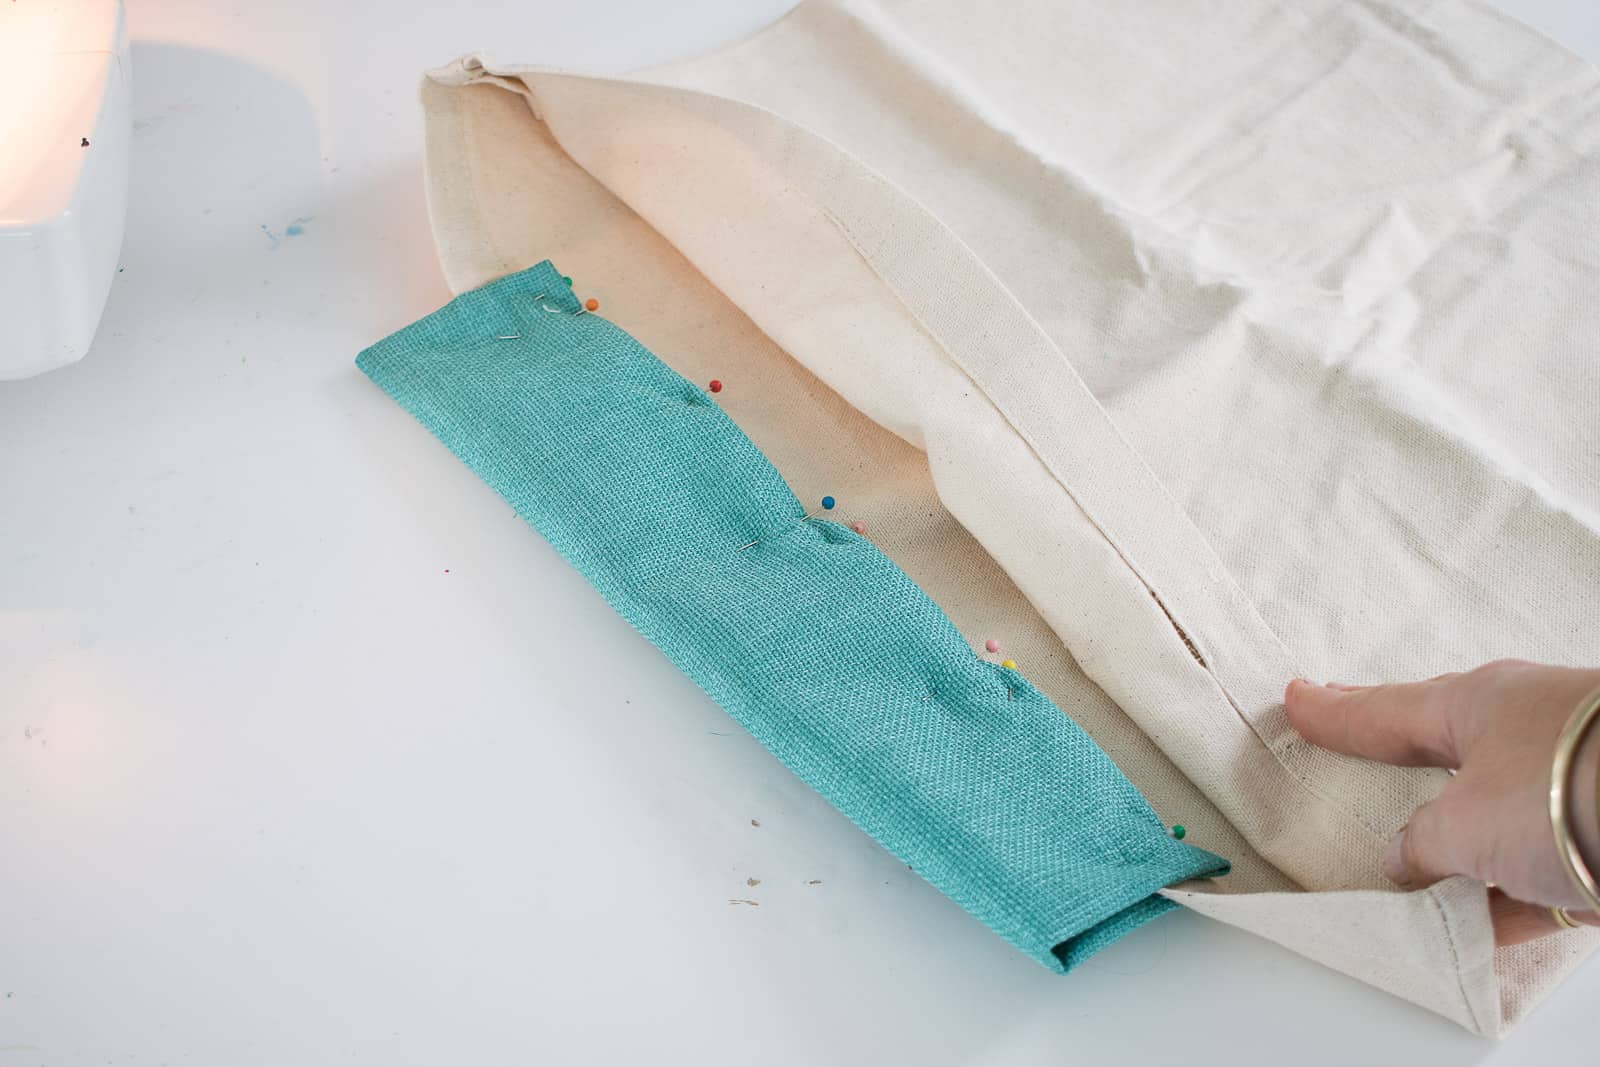
Step 1. Remove Straps from Canvas bags
I’m using these large premade canvas bags so all I had to do was use my seam ripper and remove the handles.
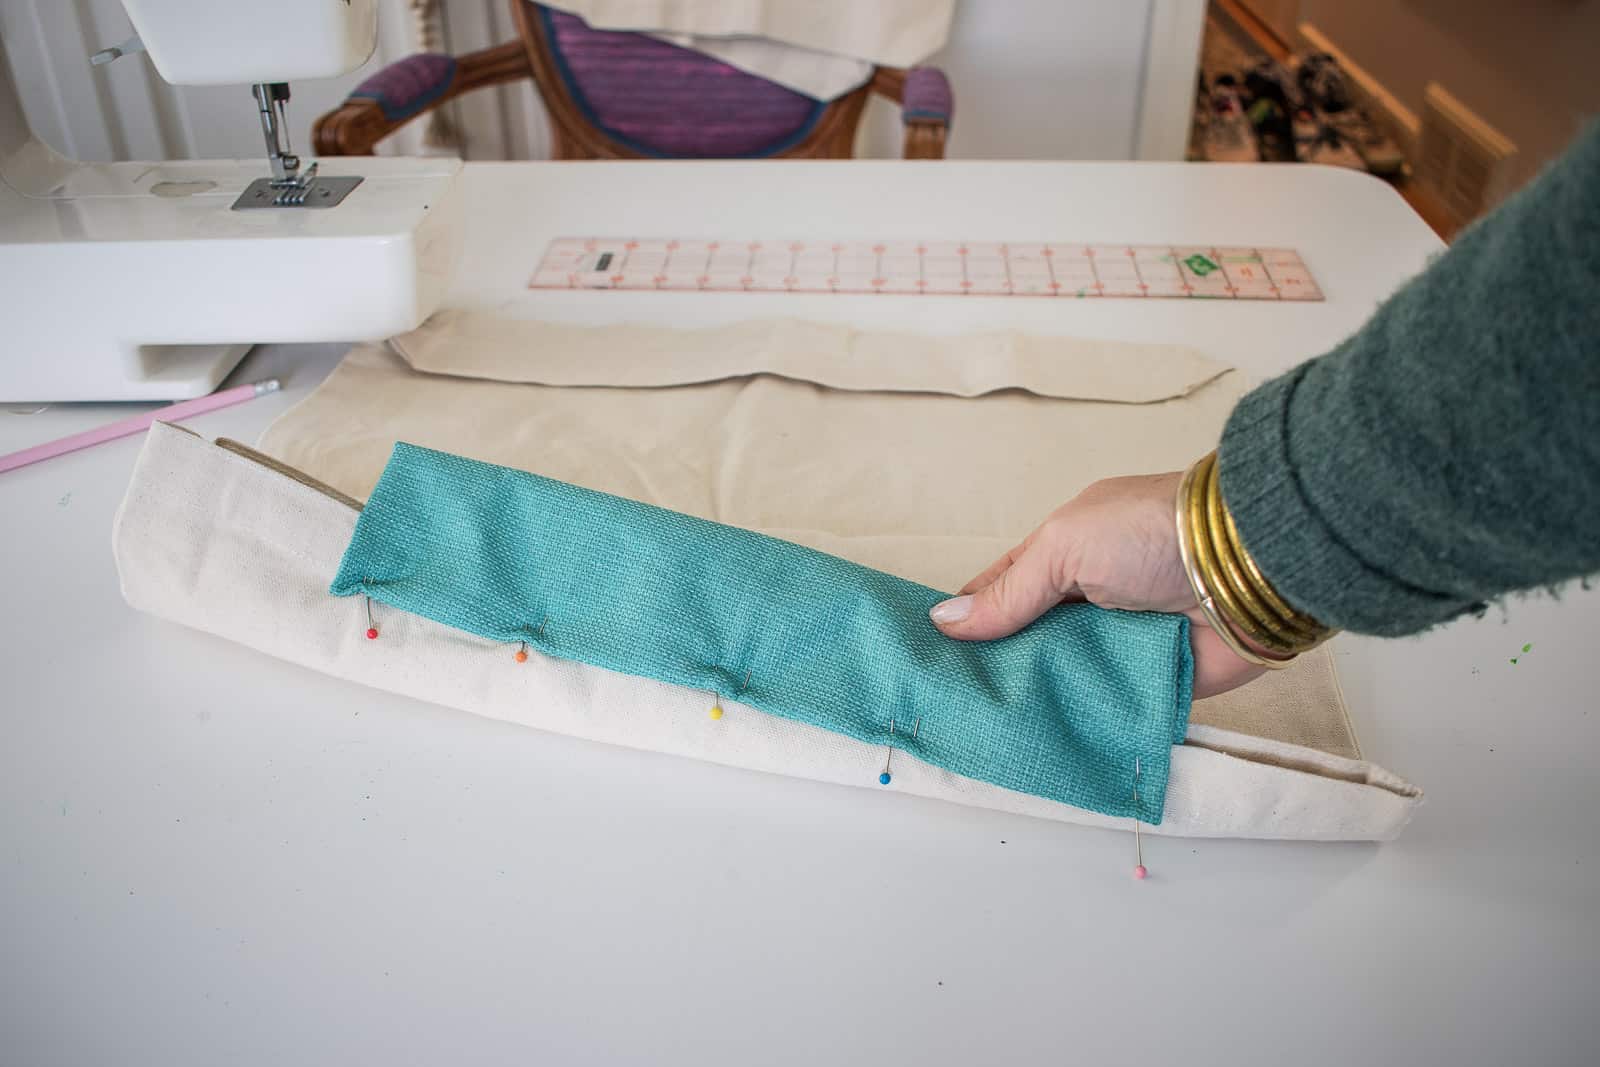
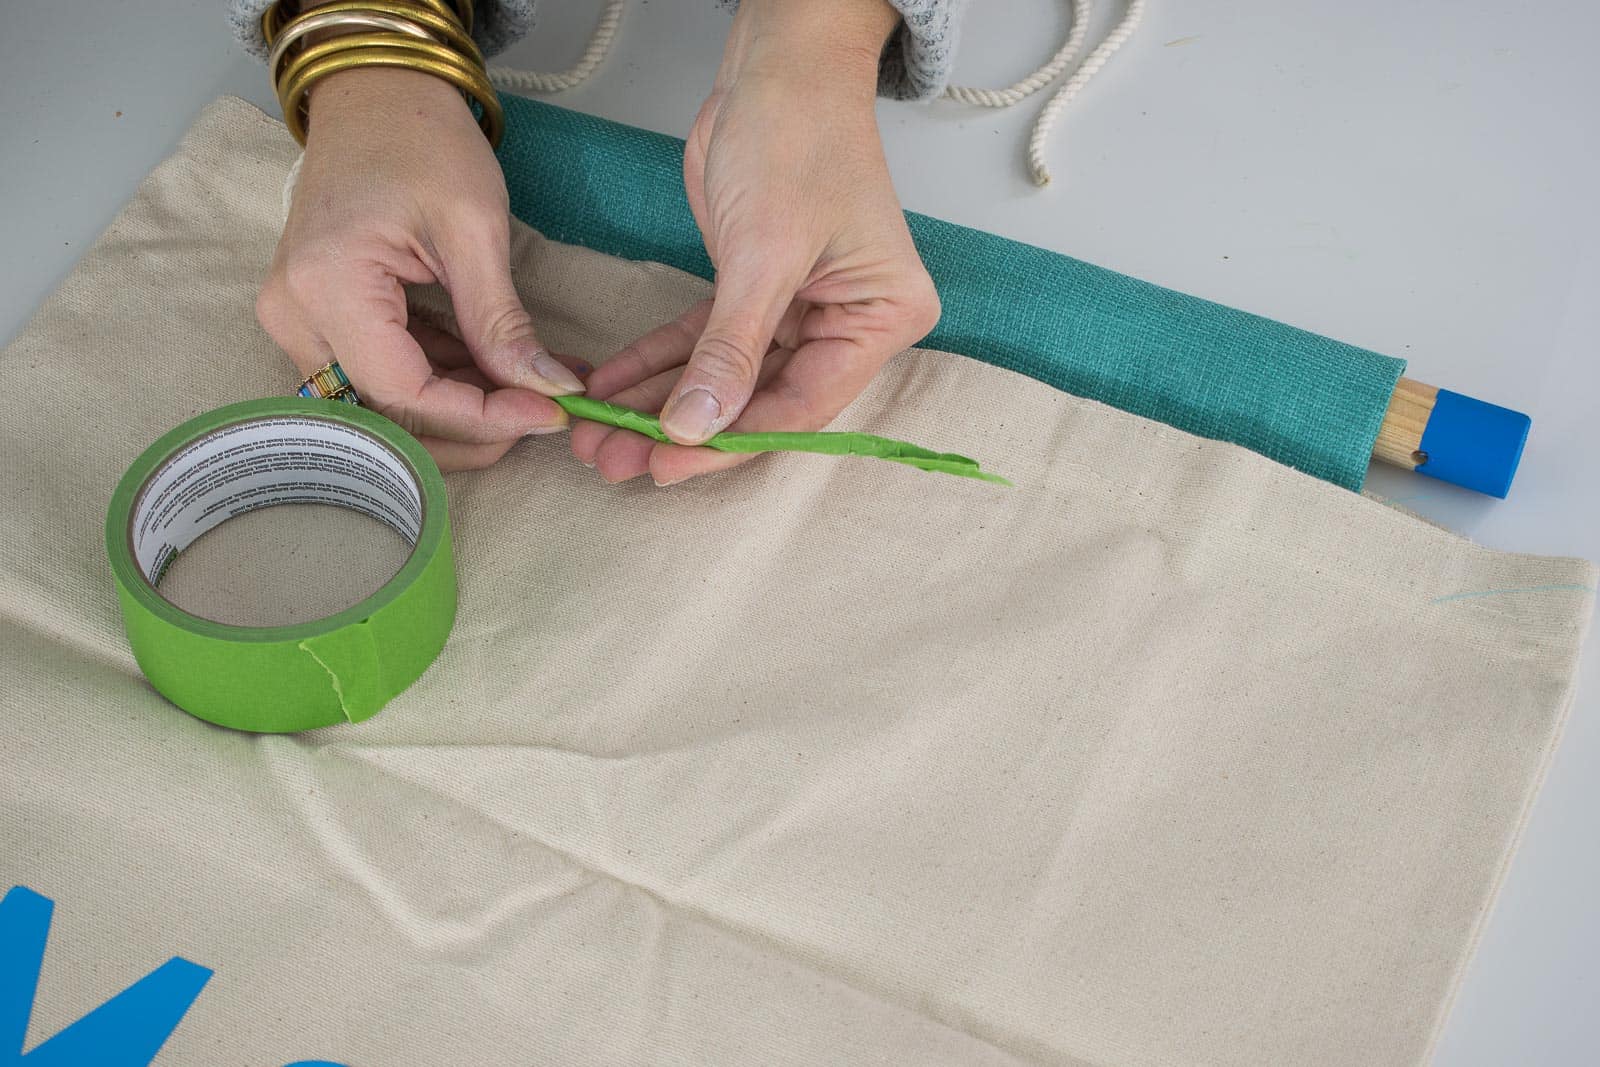
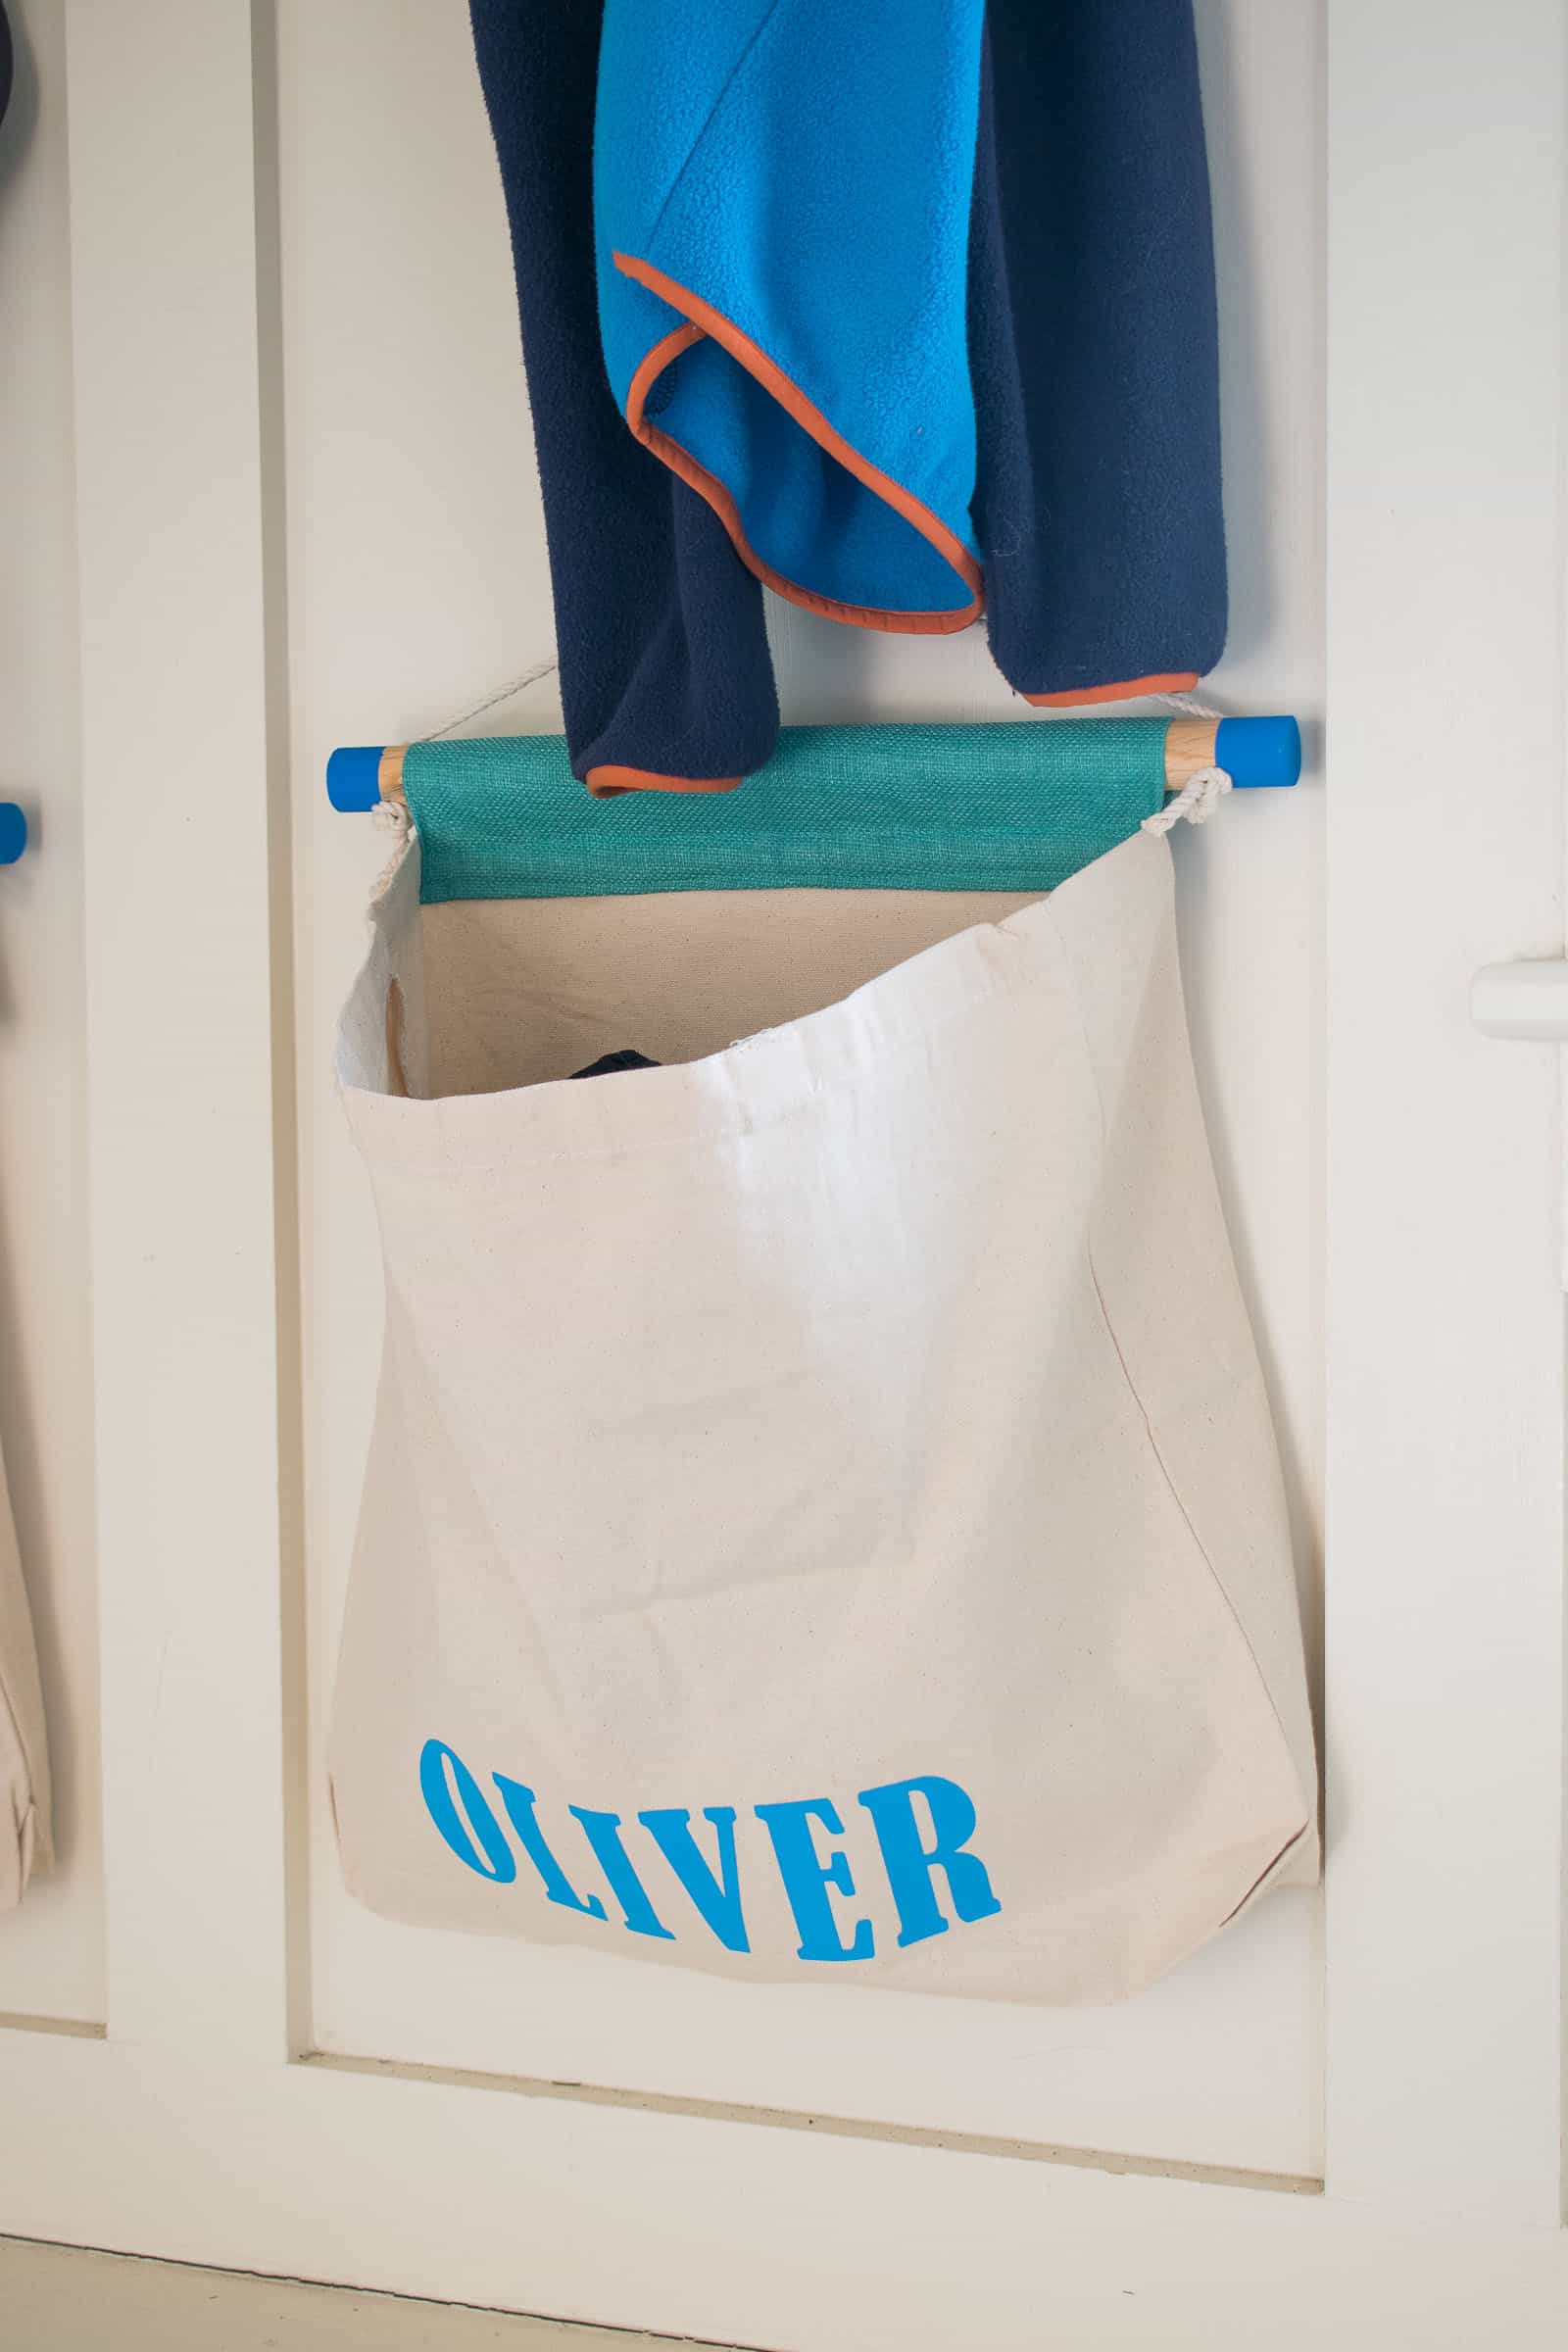
Step 2. Make dowel pockets
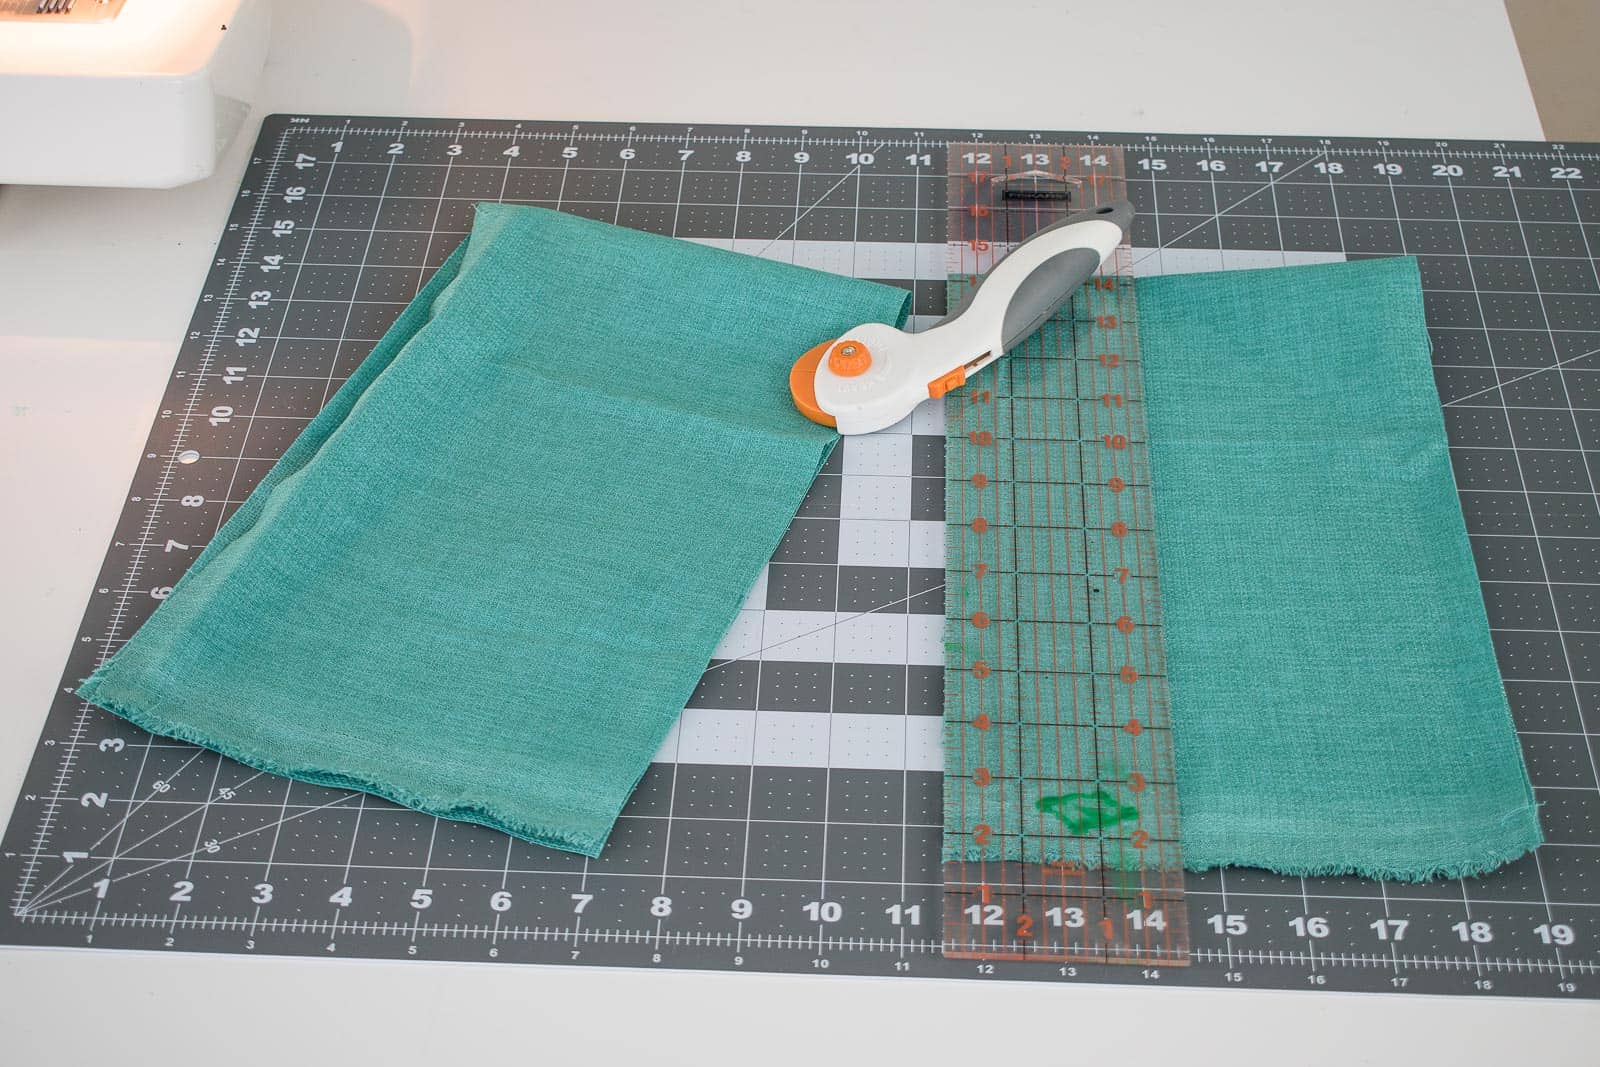
I cut a strip of fabric 25 inches long and, with right sides facing each other, folded it in half and sewed the end seams with a 1/2 seam allowance.
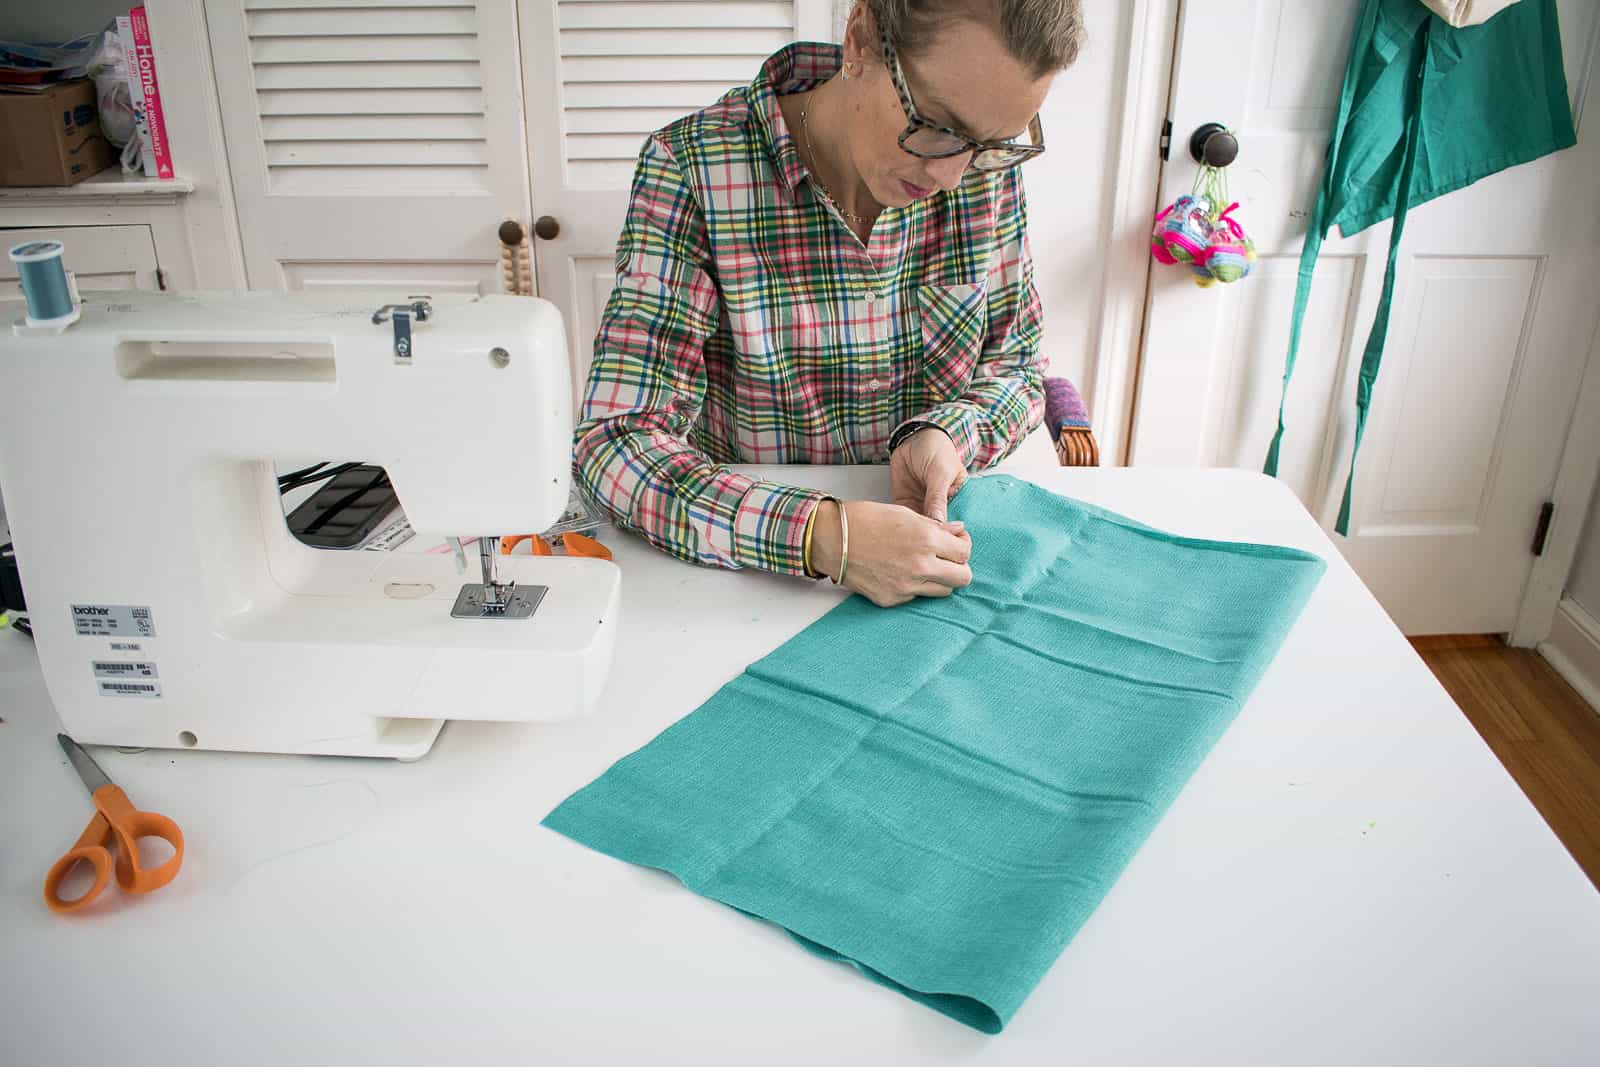
My dowels are 1″ so I cut my fabric into 6″ strips to allow for folded ends and enough room for the dowel to slide in.
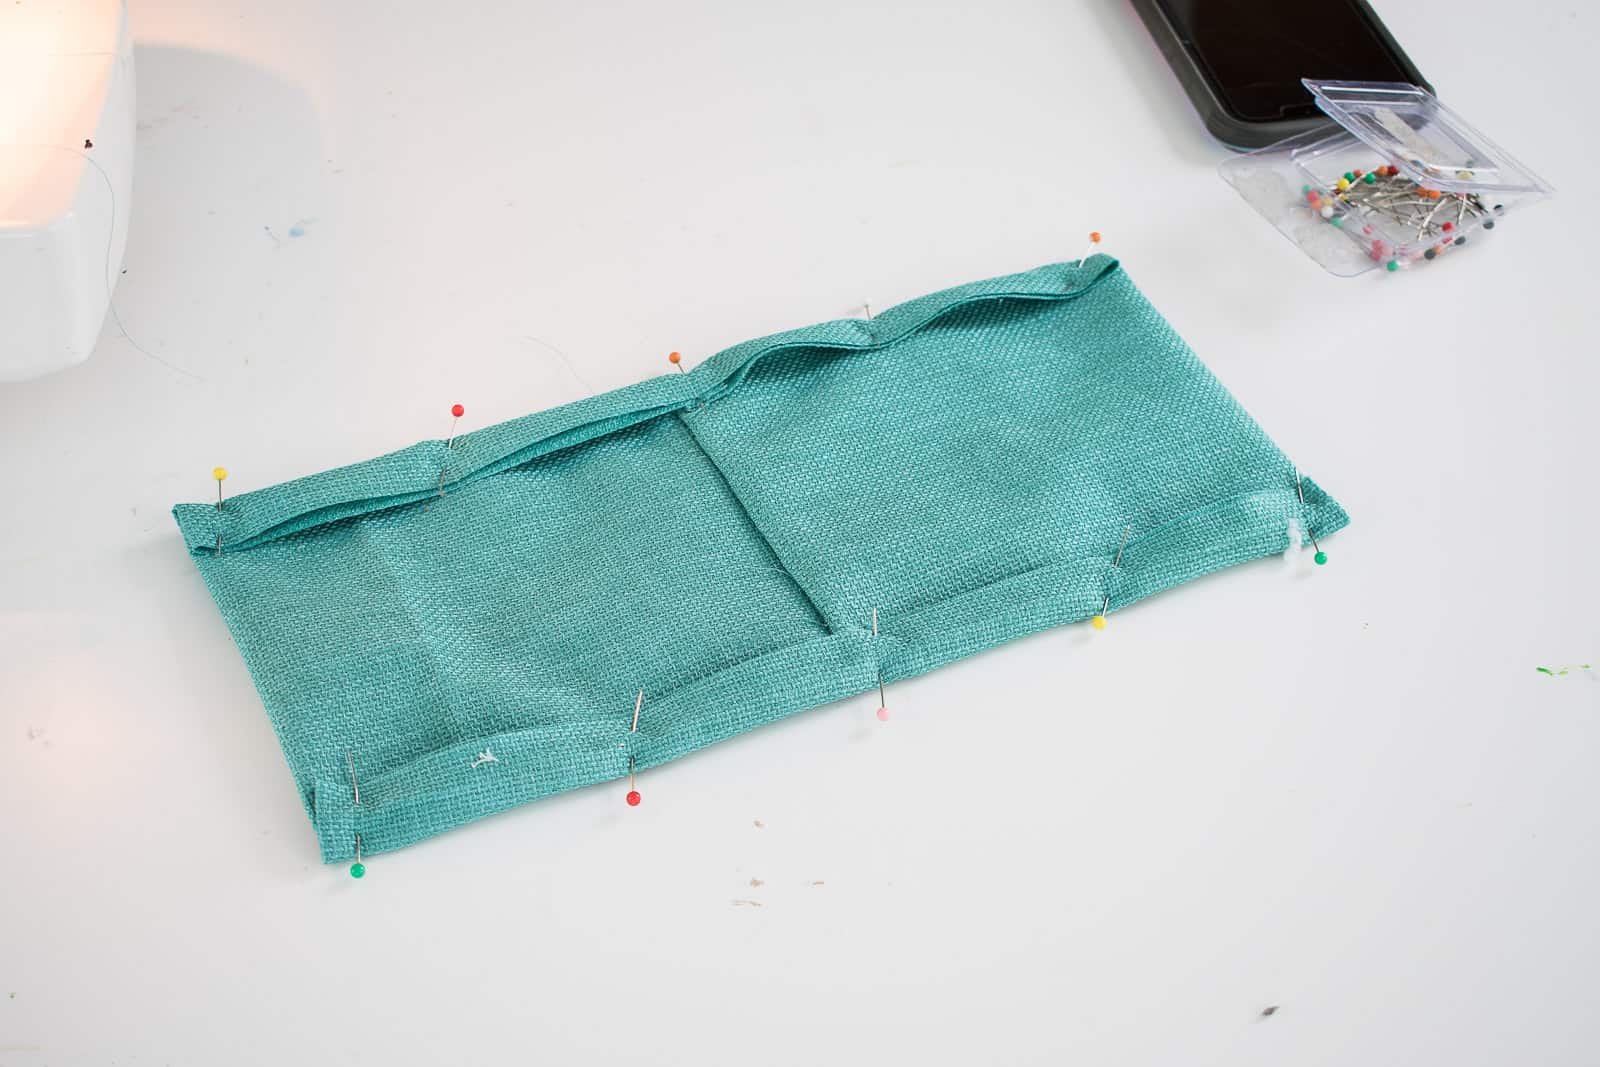
Turn the fabric inside out so the rough edge in on the inside. Fold over each end about 1/2 an inch and secure with pins.
Making sure it’s centered and with ends folded over, I sewed the fabric onto either side of the canvas bag. To ensure a strong seam, I sewed to lines along the folded edge.
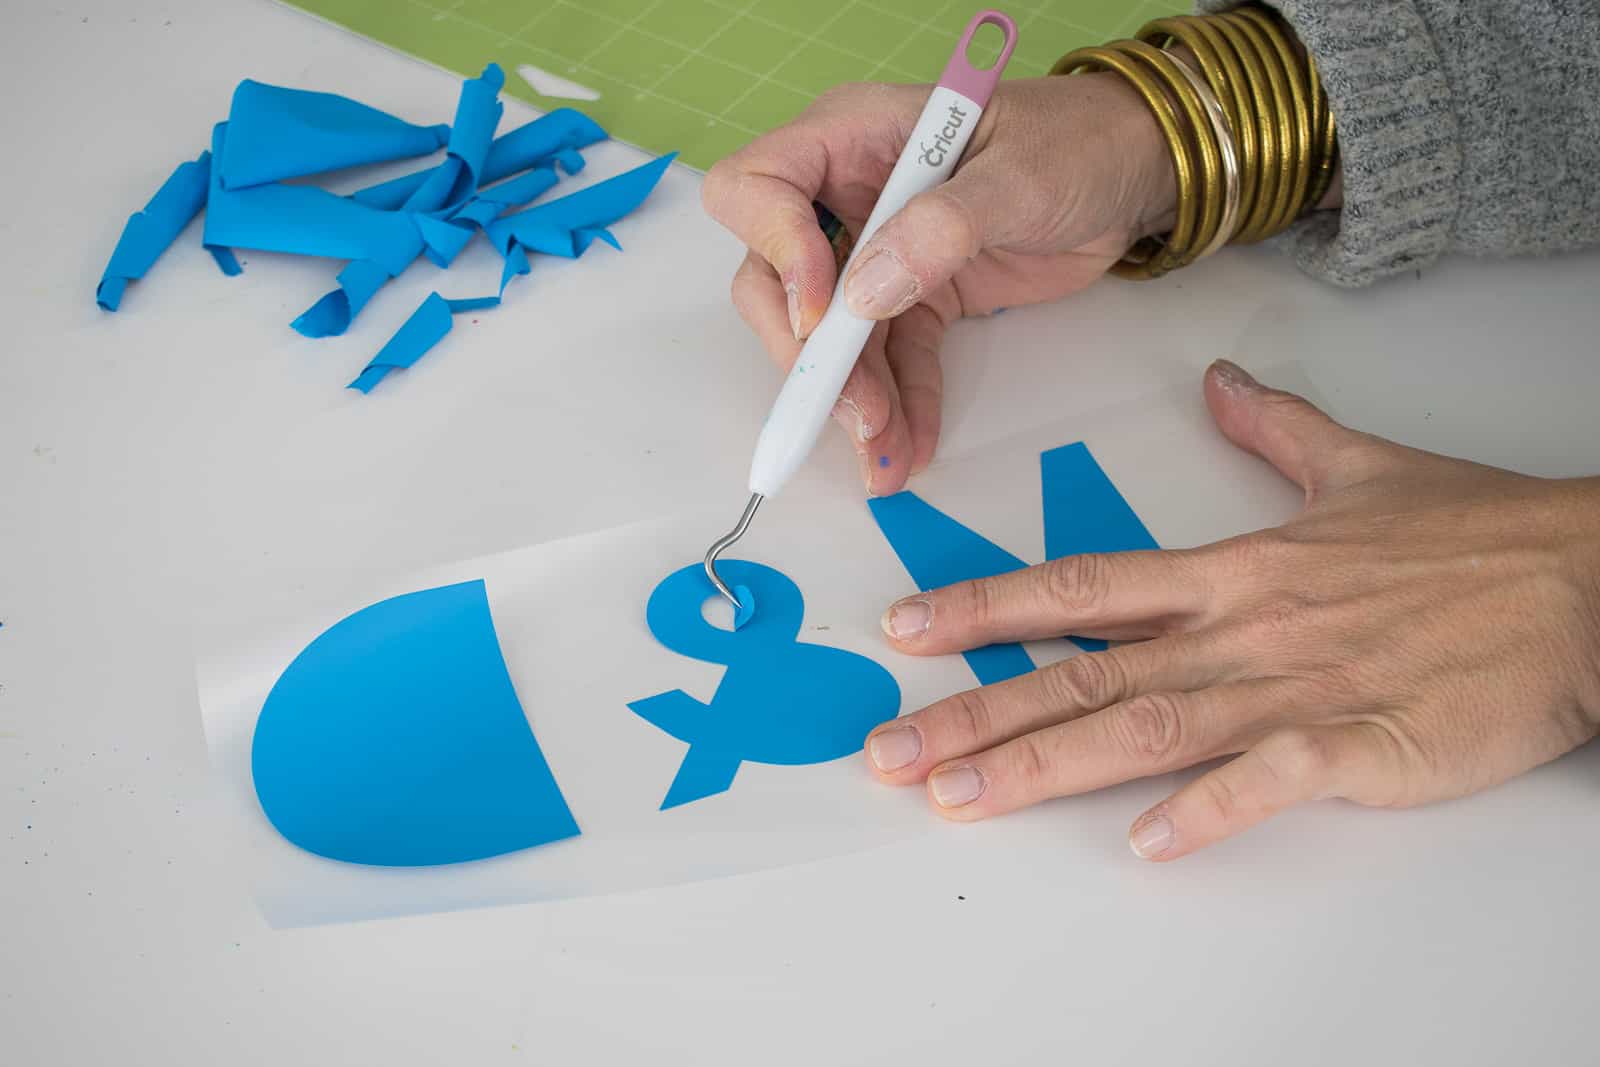
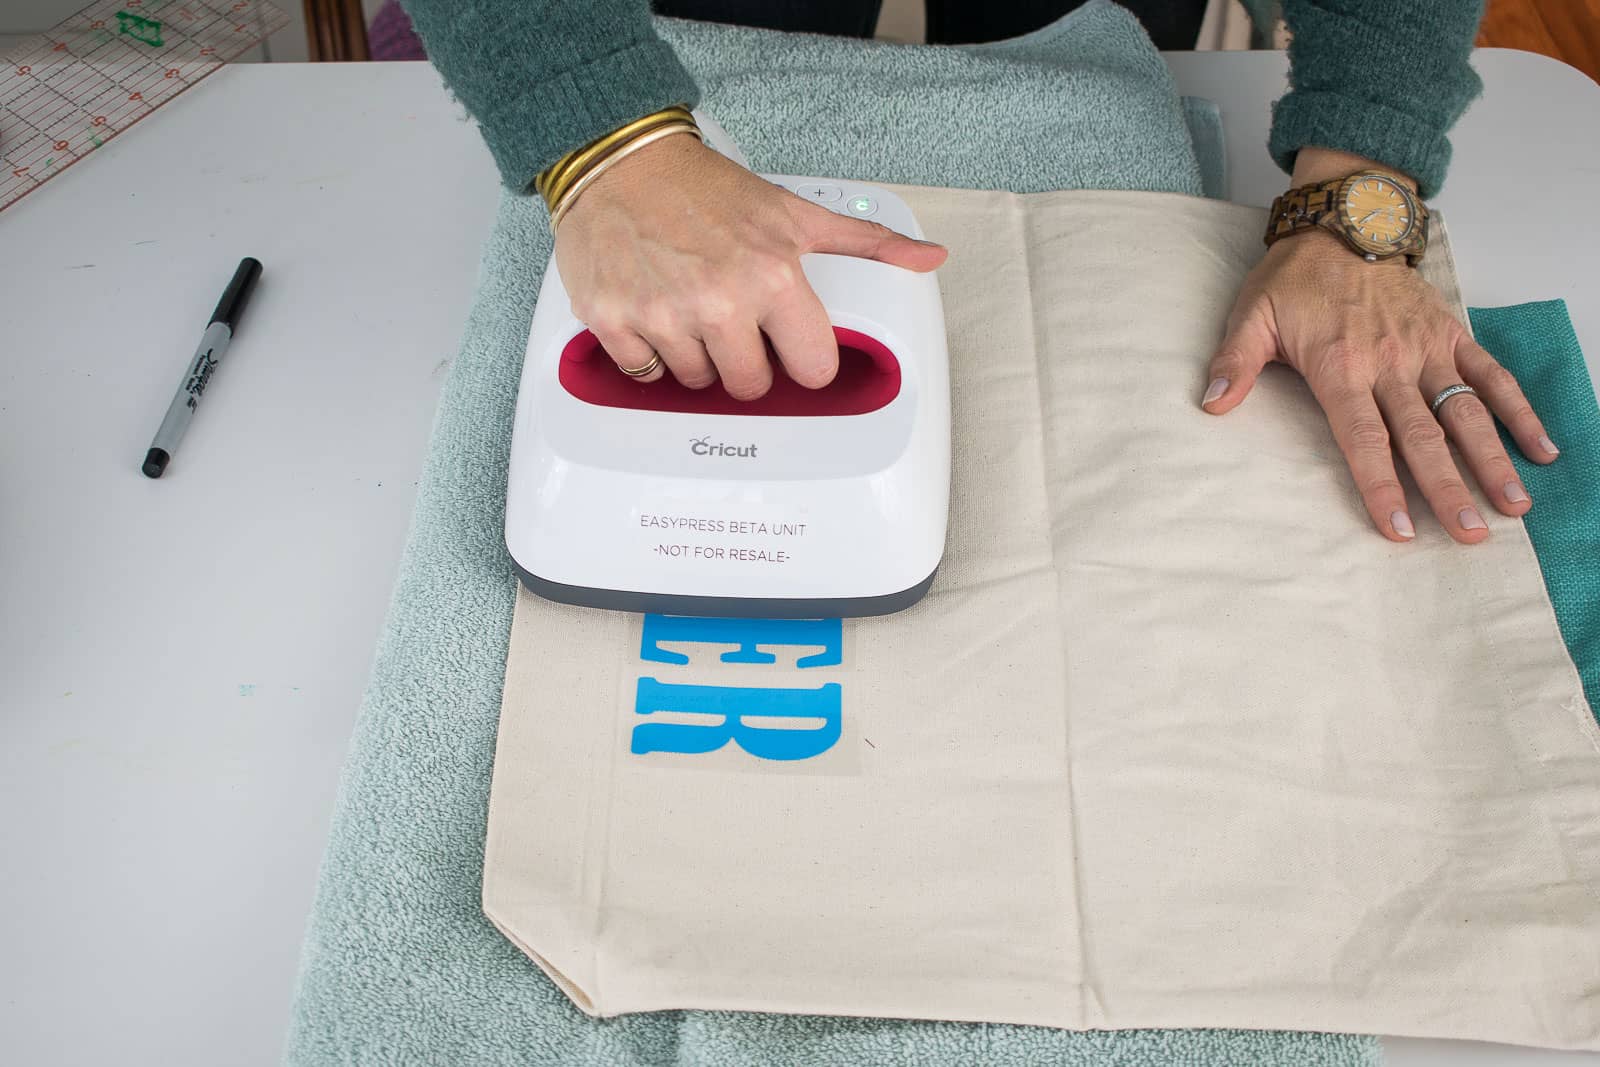
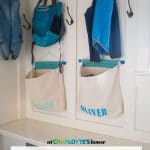
Step 3. Add names
I had two shades of blue iron on vinyl (I realized after the fact that the lighter blue doesn’t show up super well in photos, but in person it’s fine for the girls) that I used to personalize each bag. I let all the kids choose their own font in the Cricut Design space which they loved. Follow directions for your specific iron on fabric to adhere to the canvas bag (don’t forget to mirror your letters before cutting!).
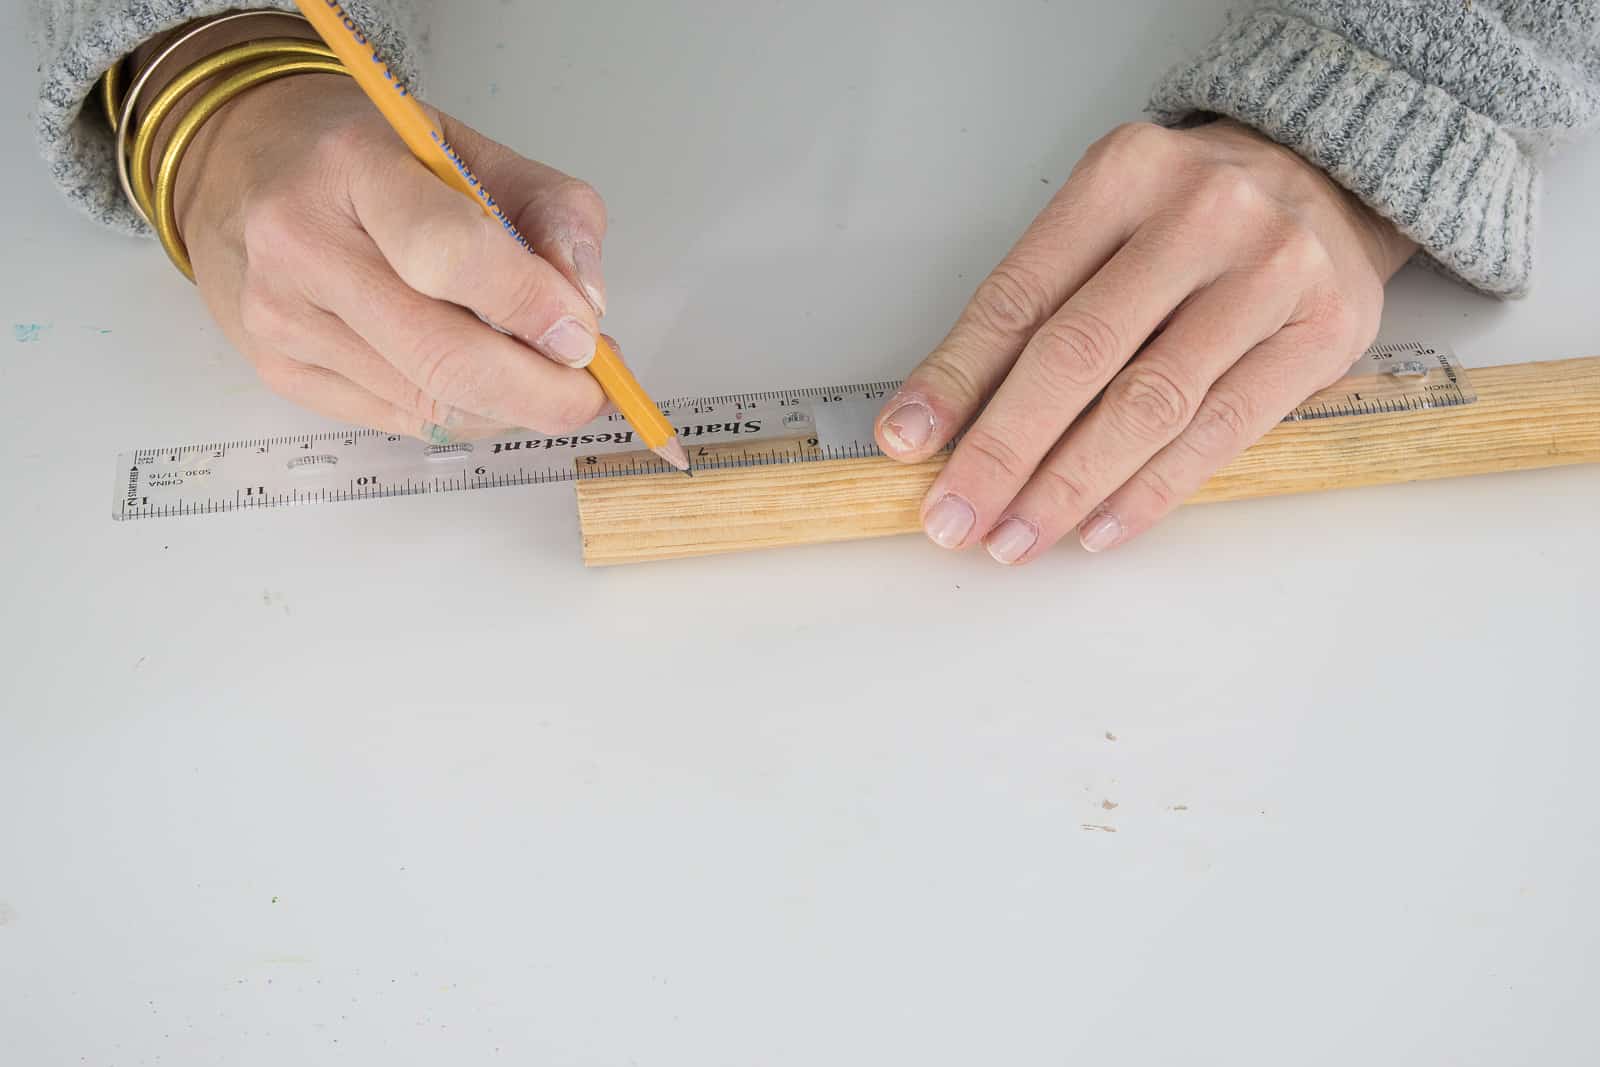
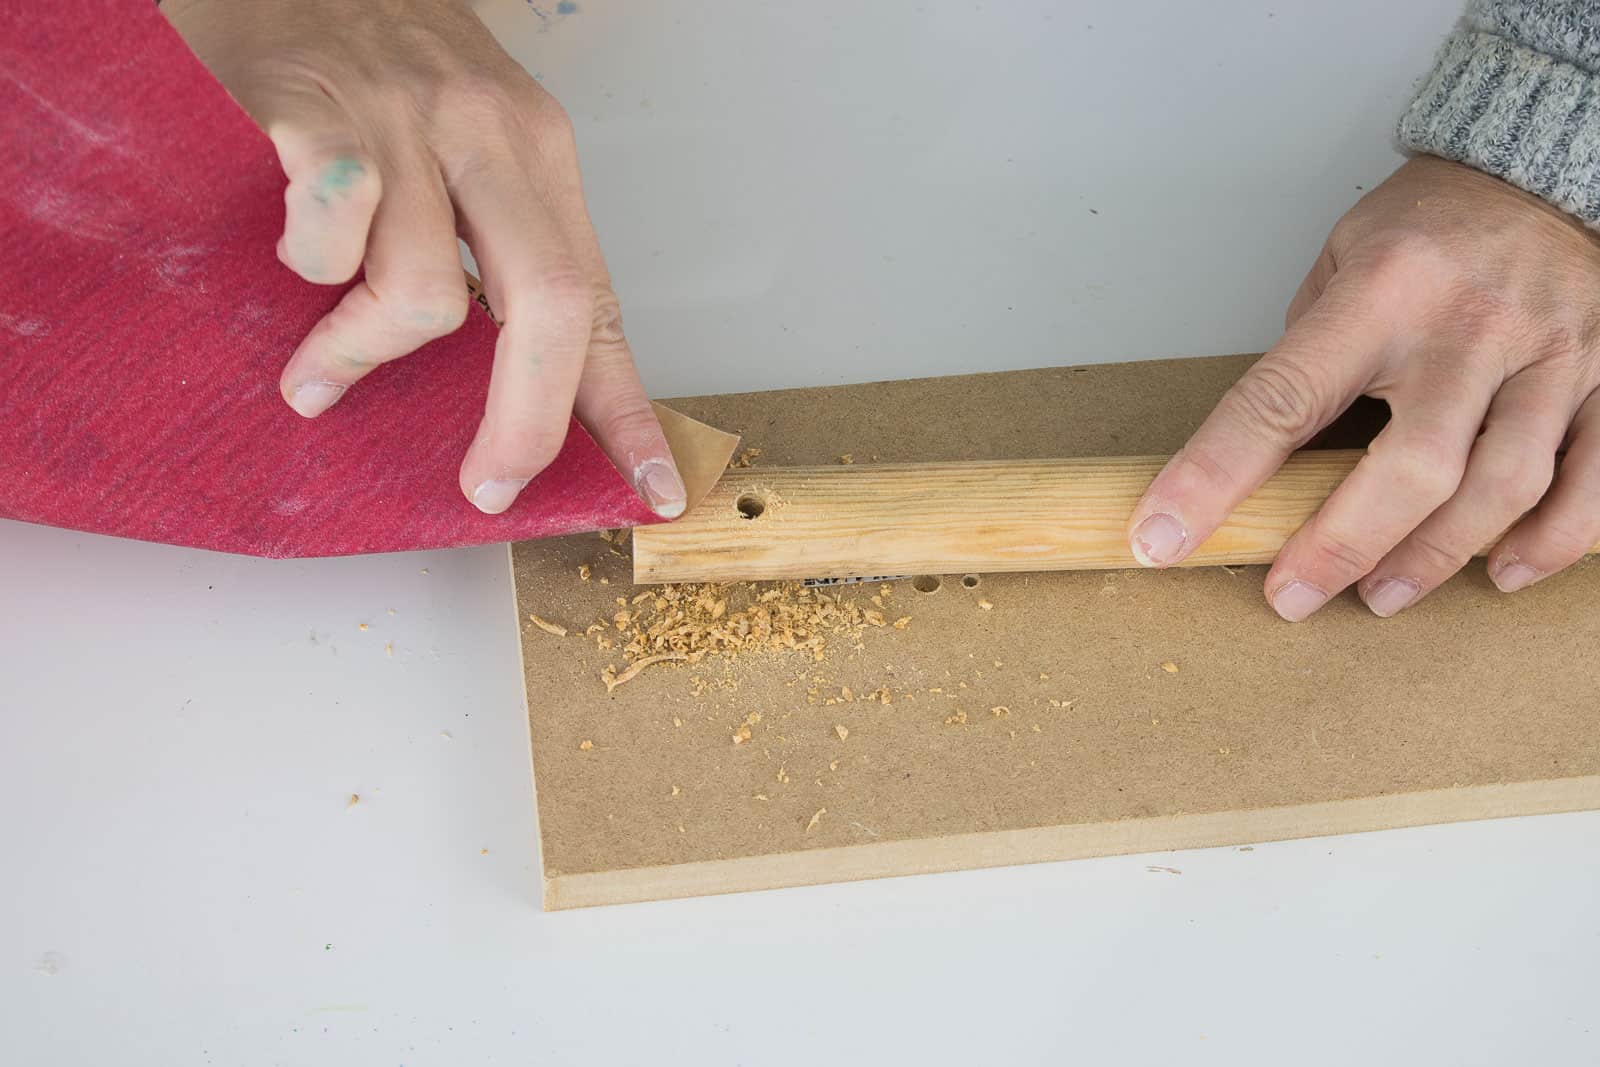
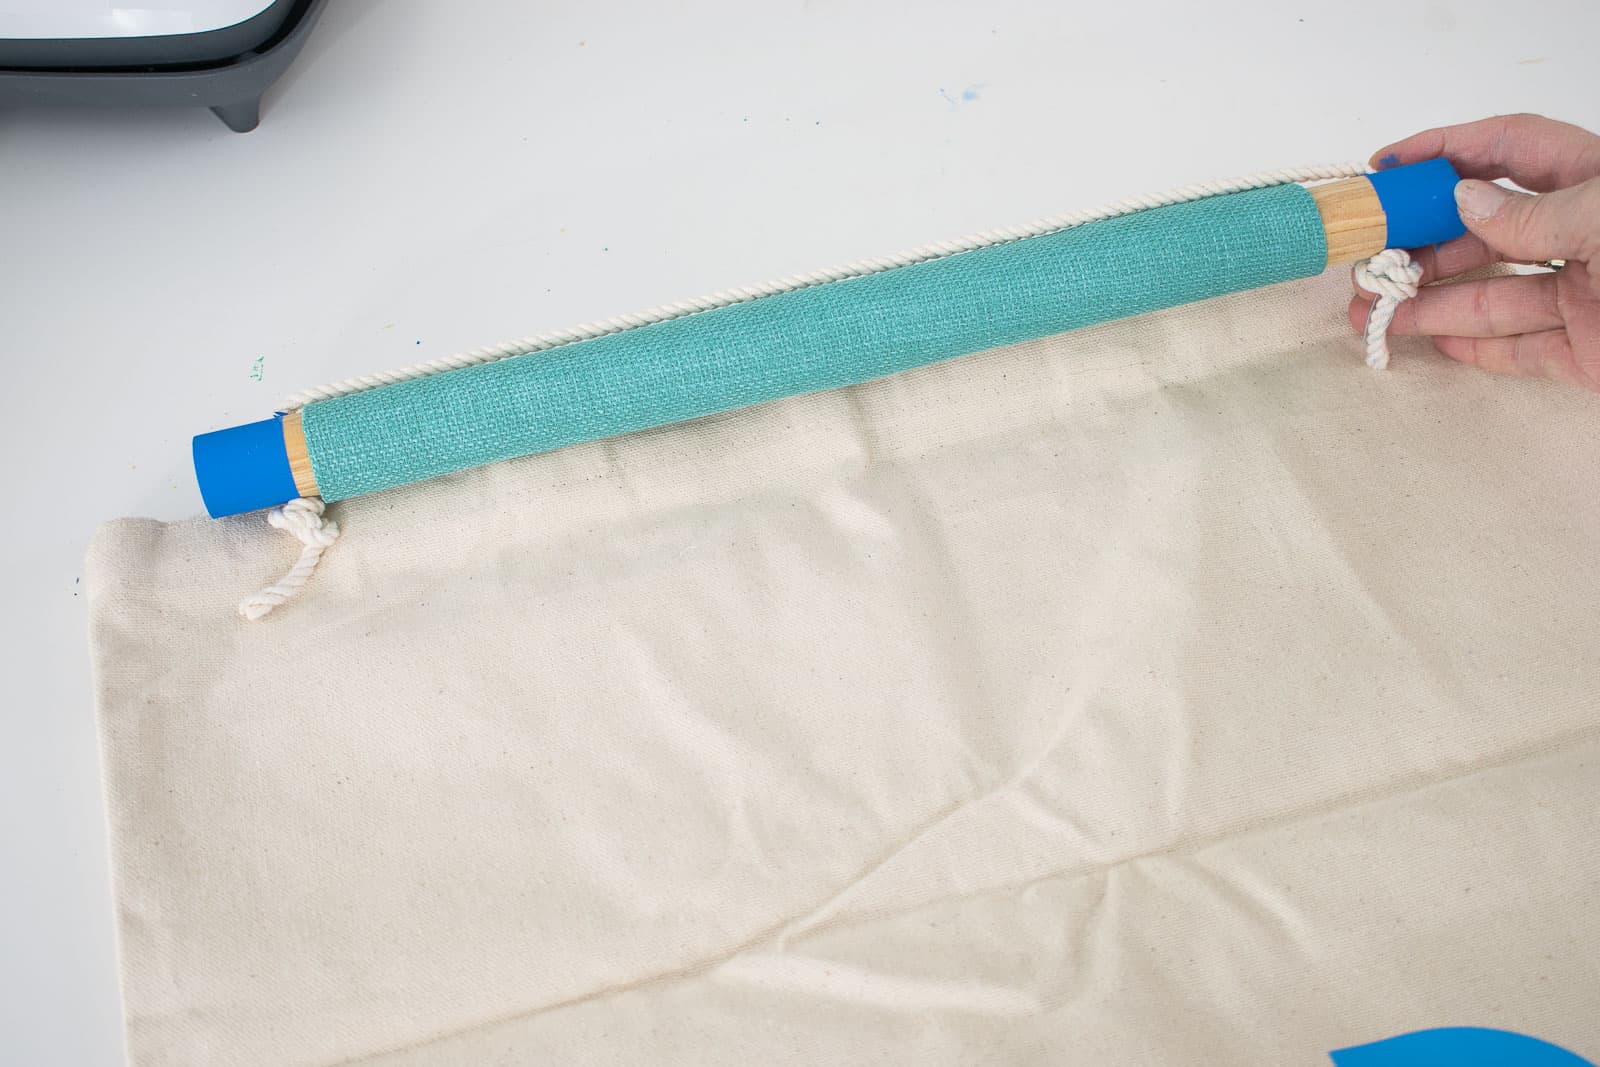
Step 4. Prep the dowels
I cut my dowels down to 15″ to allow for 1 1/2 inches on either side beyond the fabric pocket. Then I predrilled with a small drill bit, 1″ from either end. Predrilling not only prevents the dowel from splitting, but it also gives the drill bit a guide. Once you’ve predrilled, you can go back with the larger drill bit that will accommodate your rope.

Sand down the rough edges.
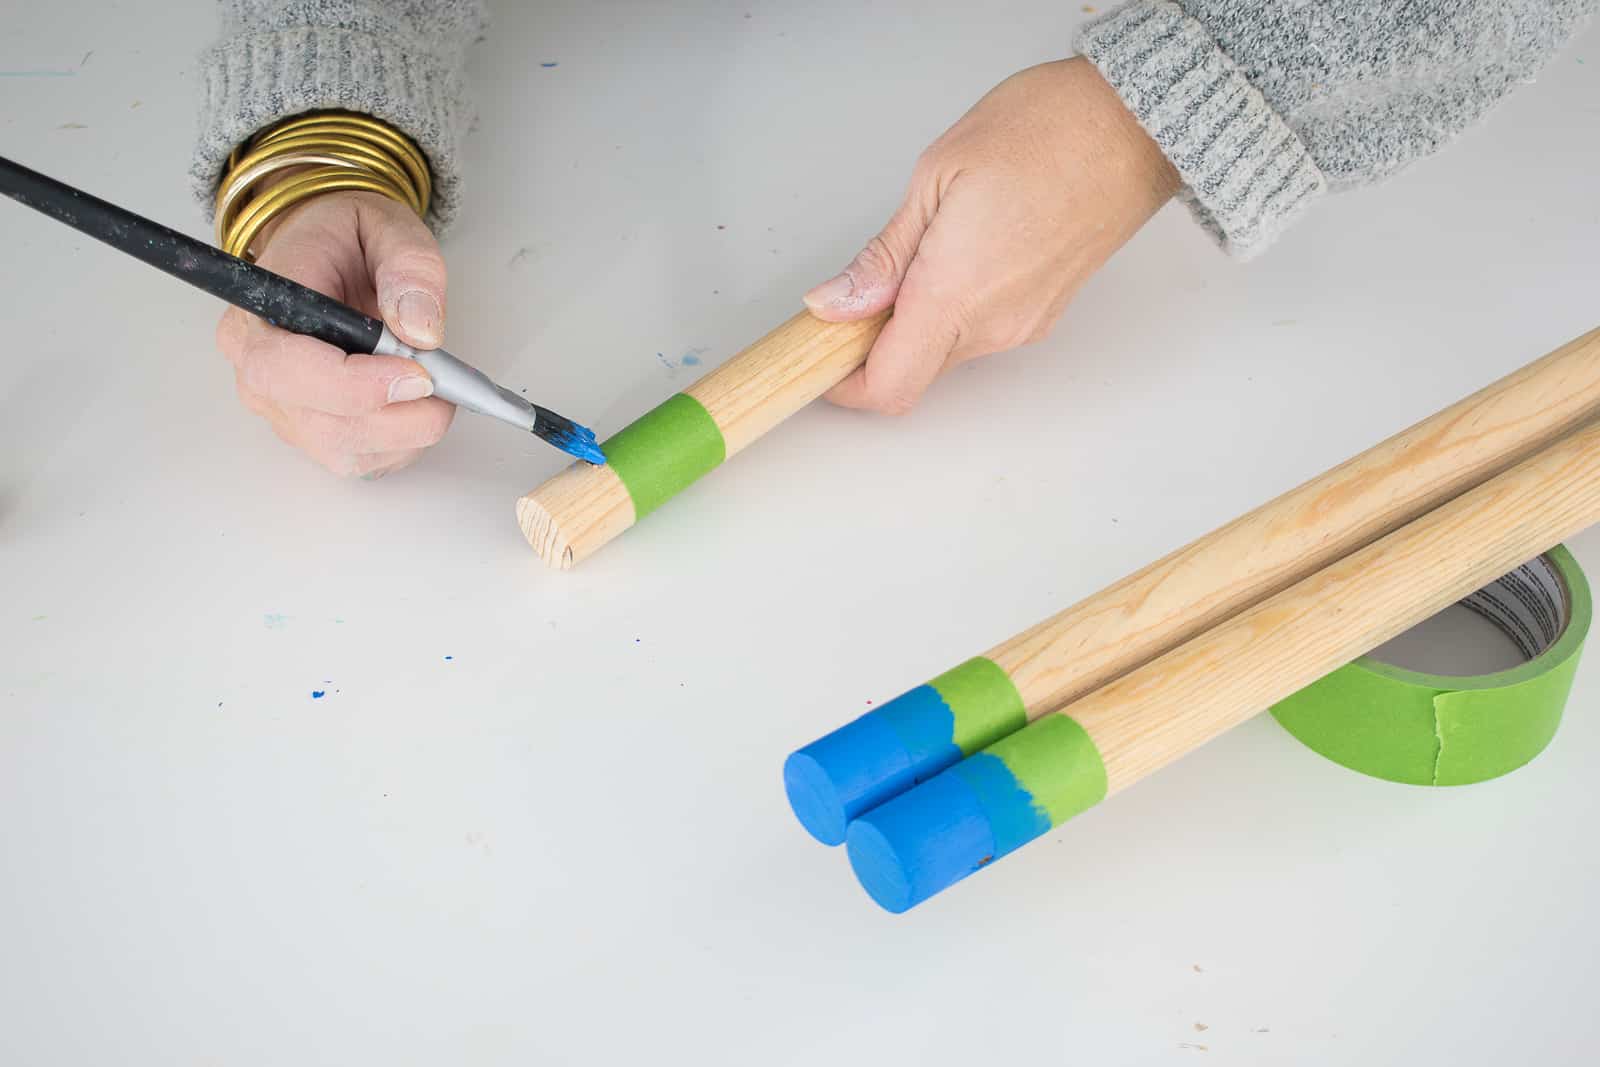
Tape off the last 1-inch and paint with acrylic craft paint. (Obviously this step is optional… I just liked the idea of adding a little bit of color to the end of the wooden dowels.)
Step 5. Thread the hanging rope
To thread the rope through the hole in the dowel, wrap a few inches of tape around the tip of the rope. This should be rigid enough that you can thread the tape through the dowel and then pull the rope through each hole.
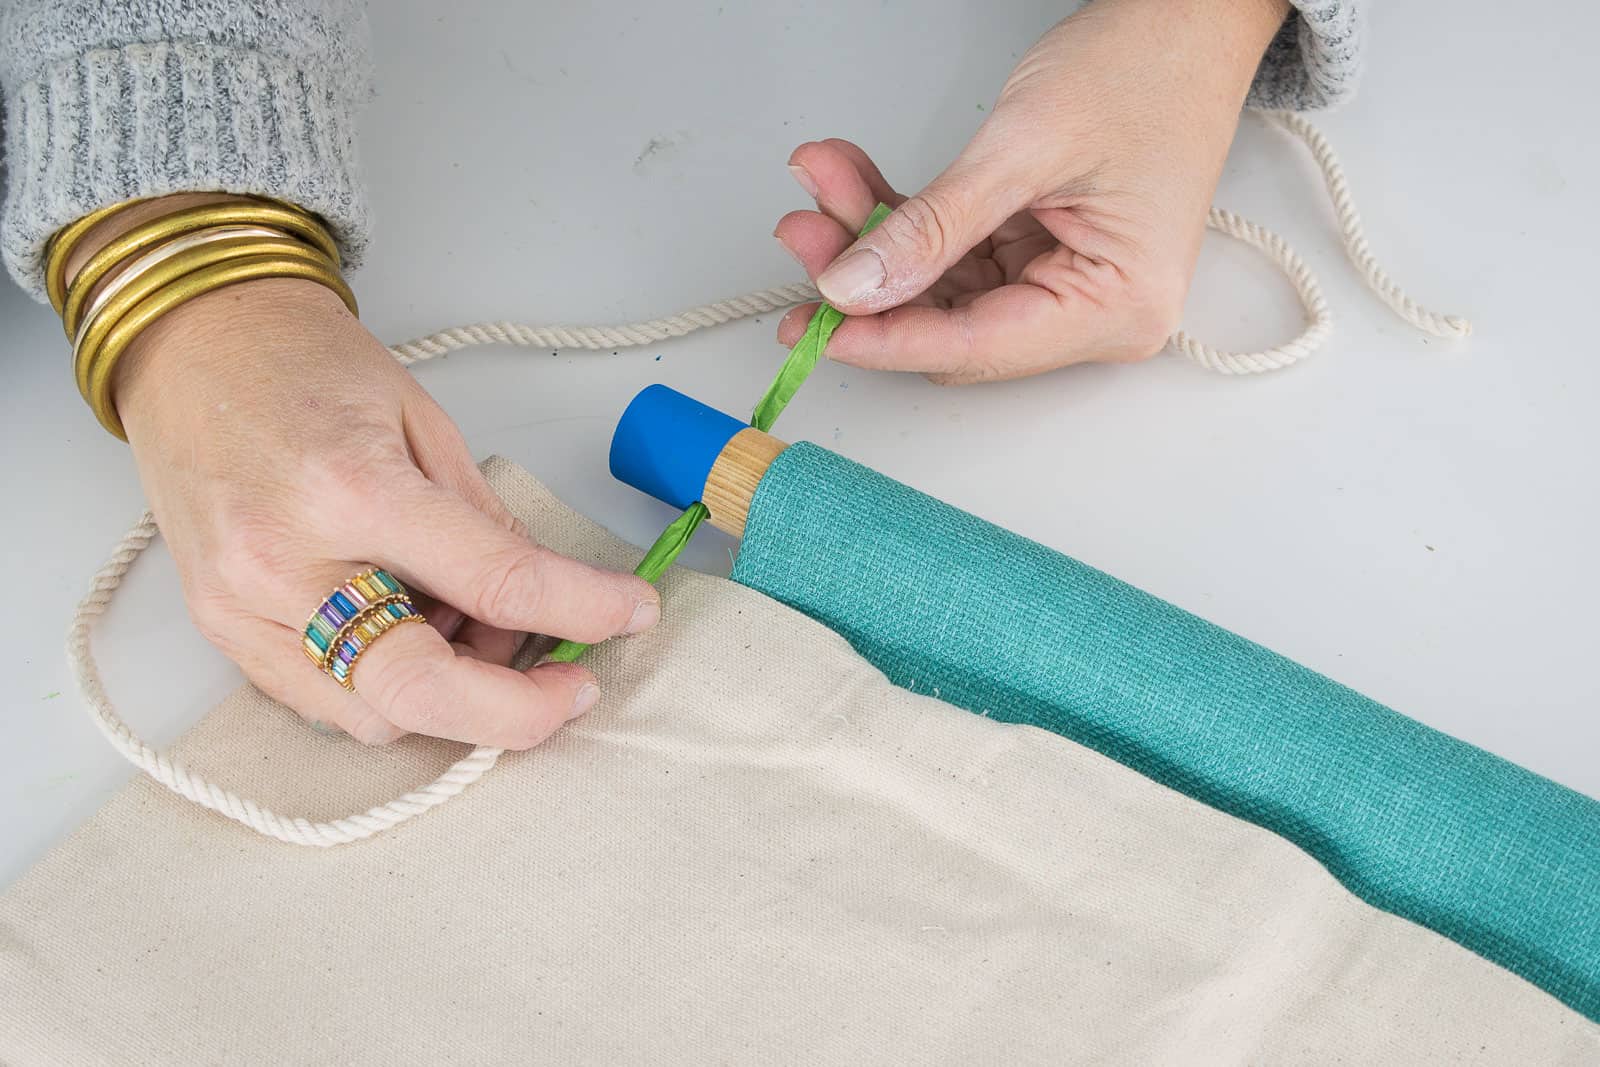
Tie a knot at either end to secure!
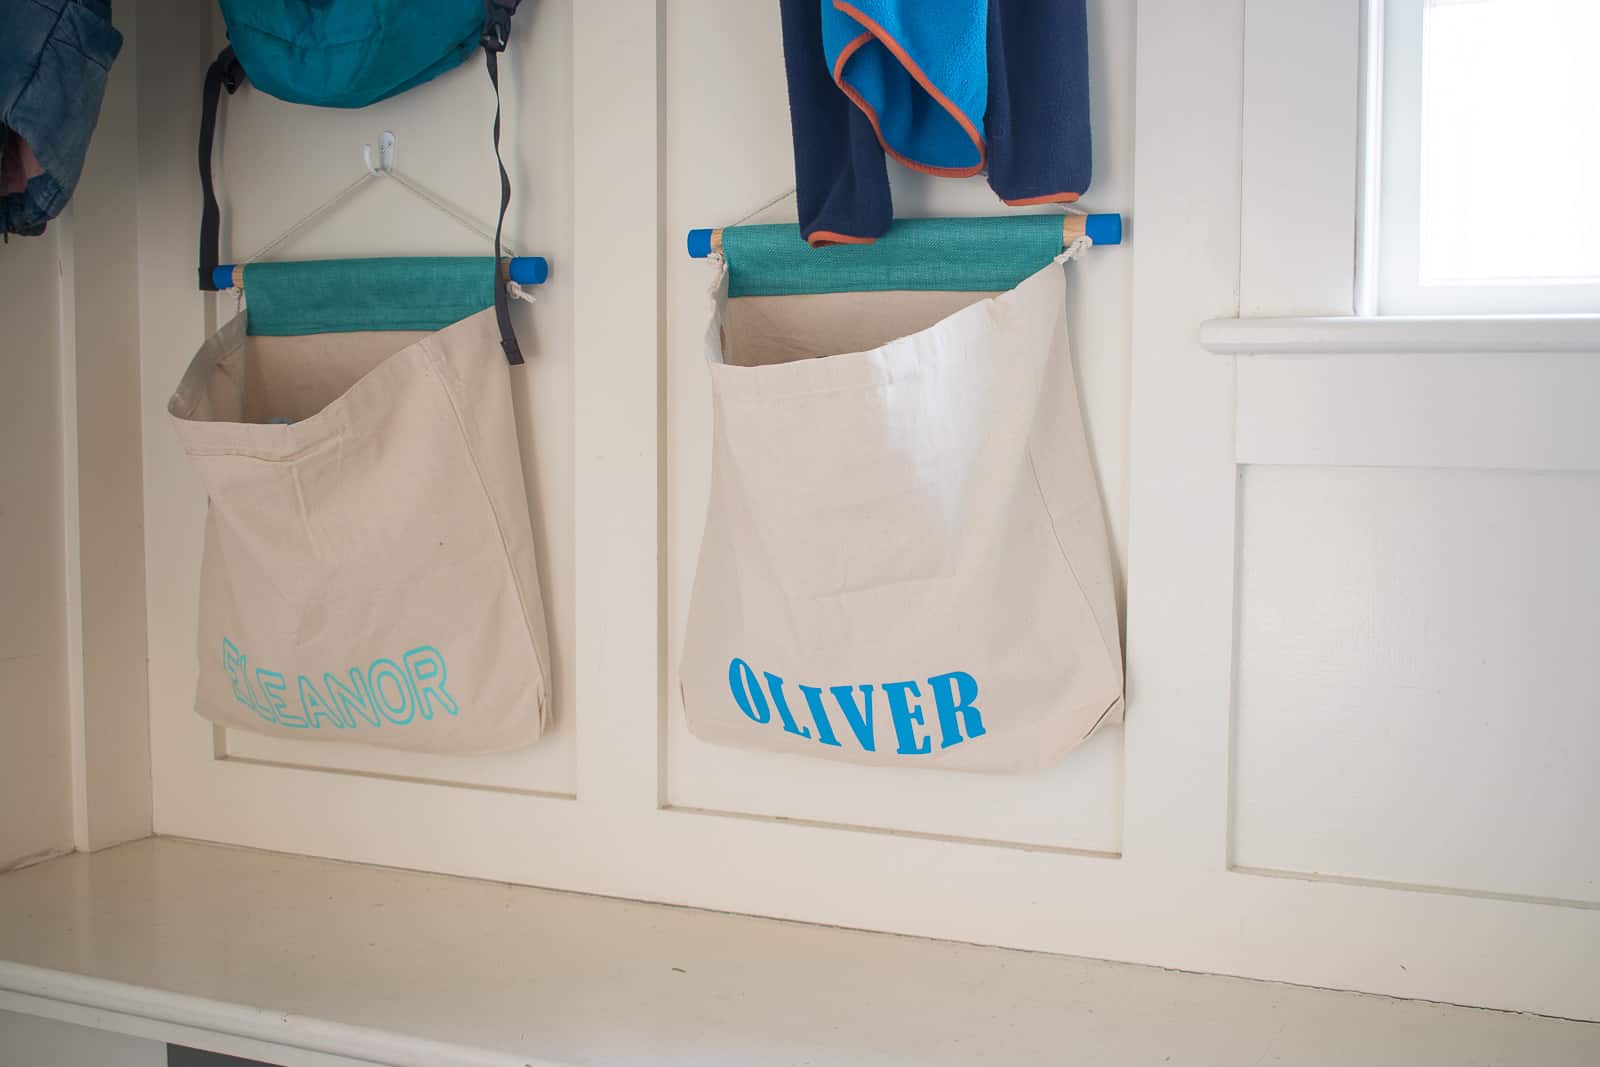
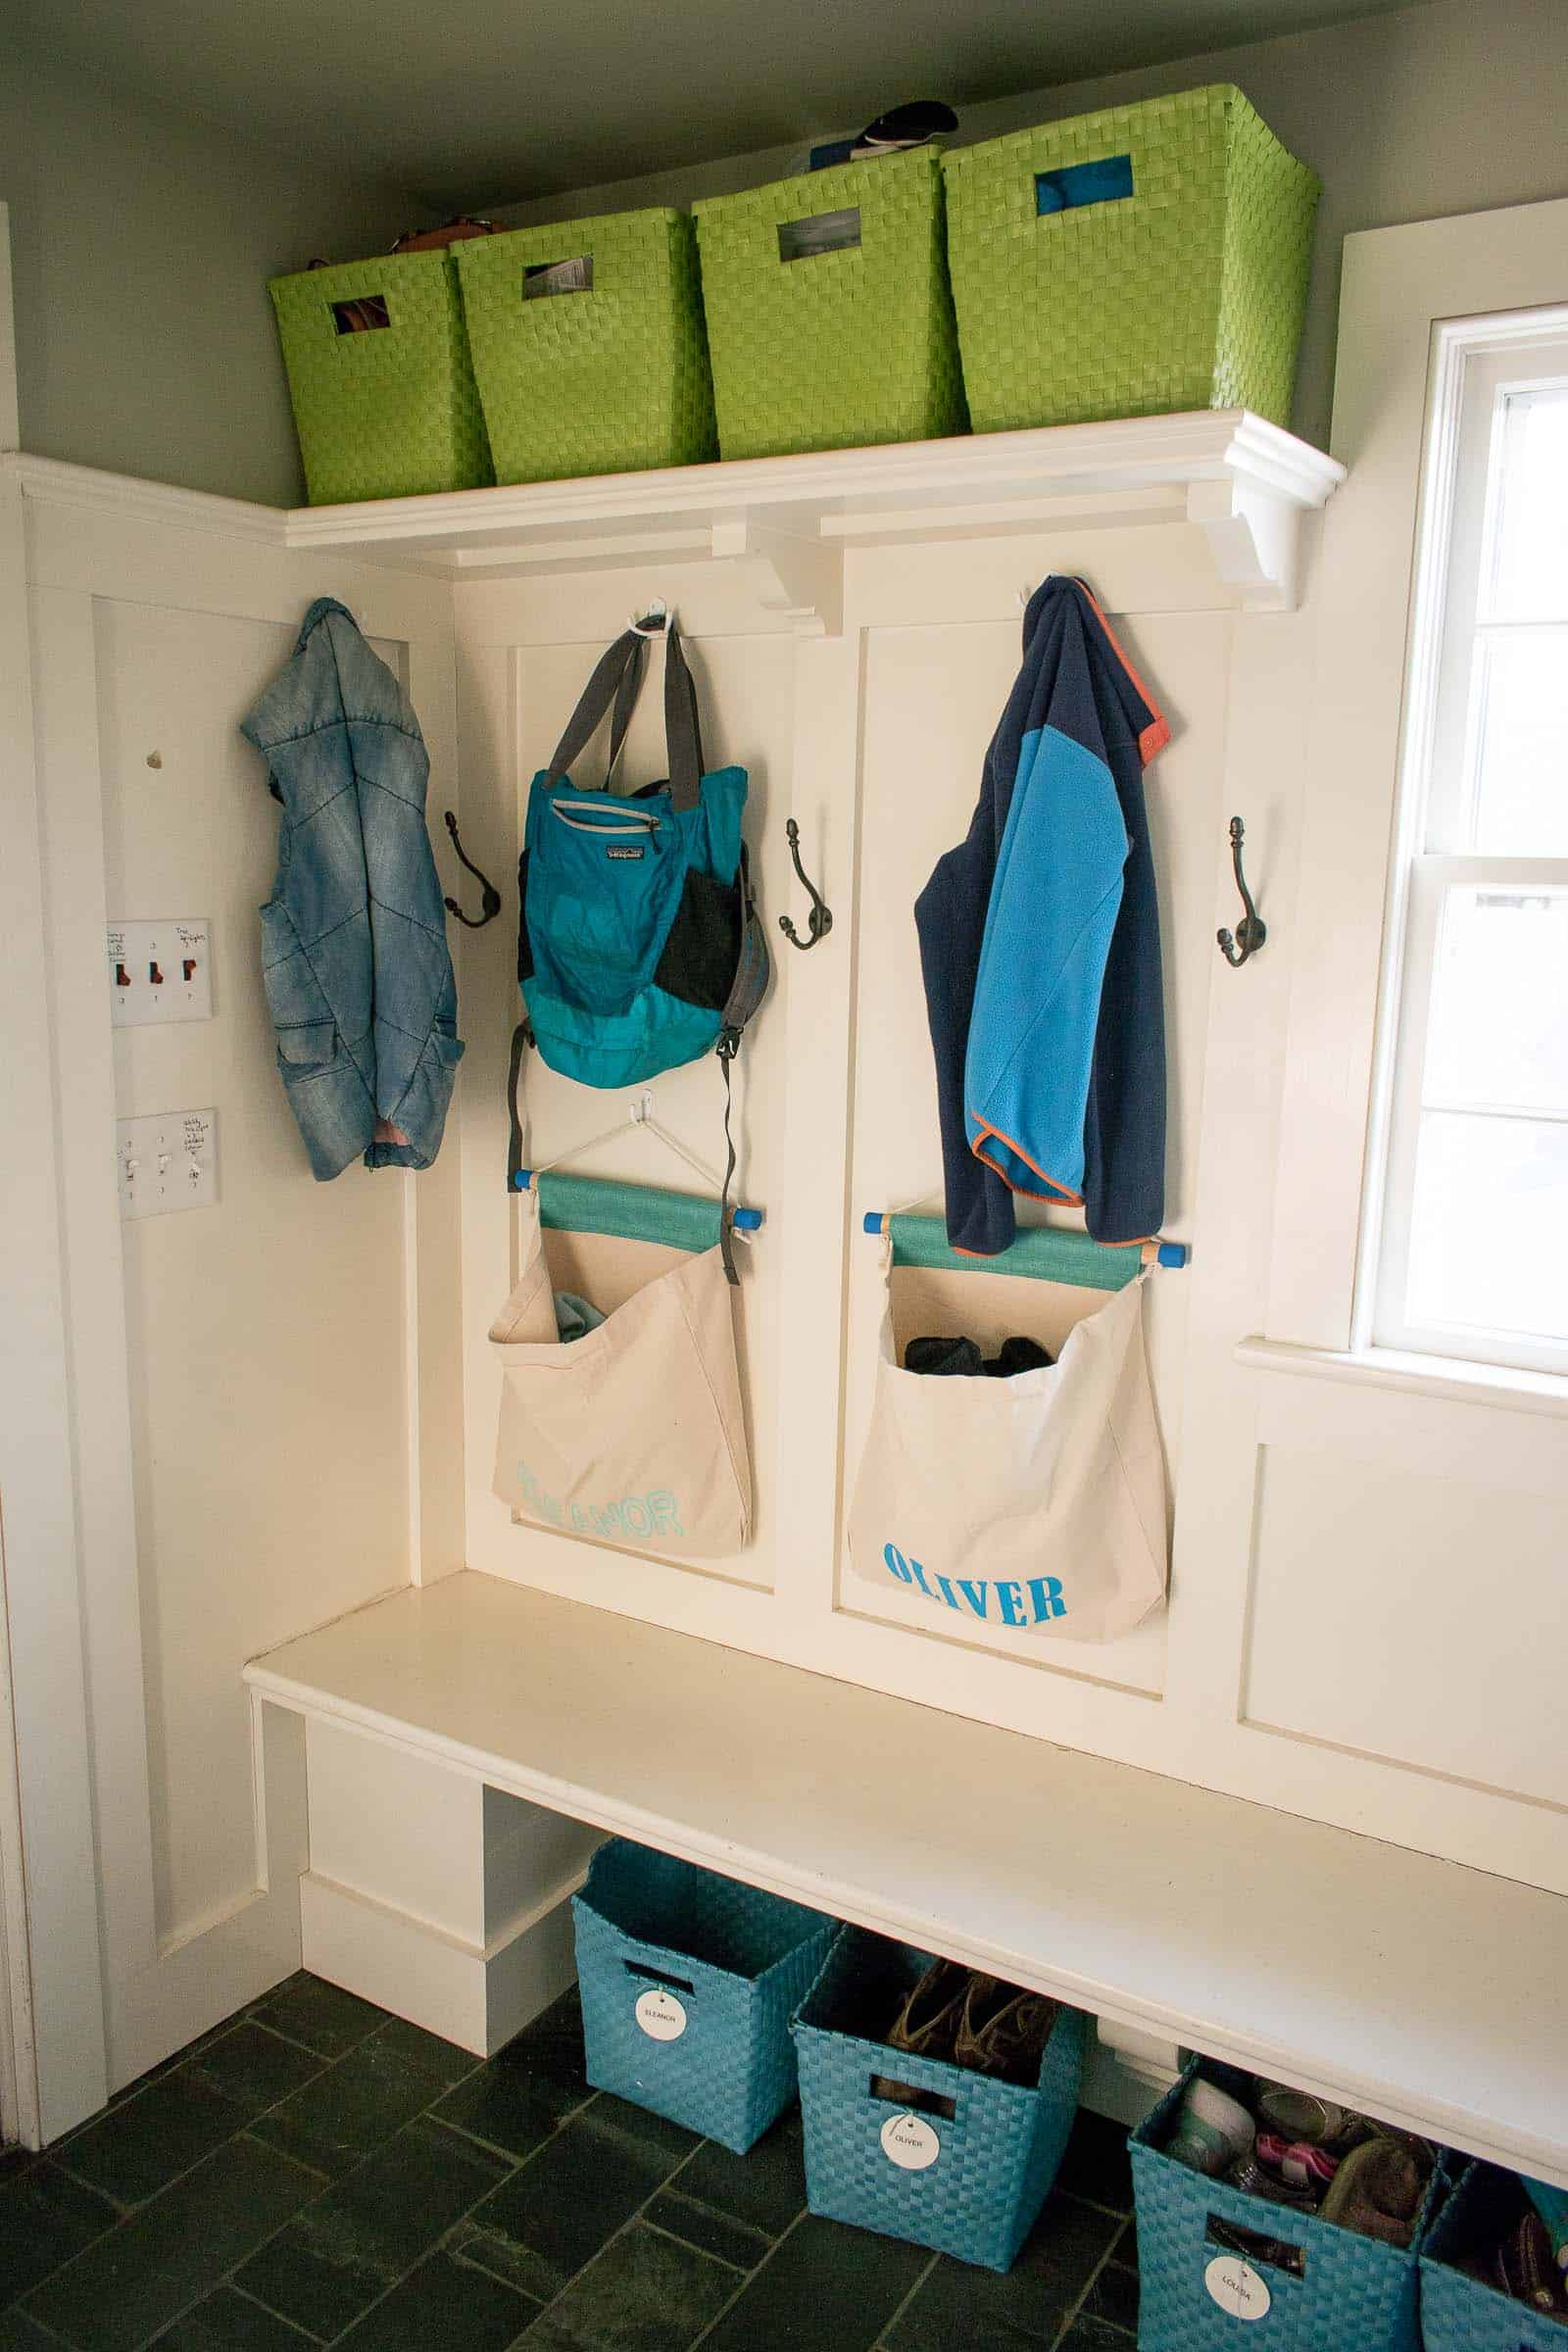
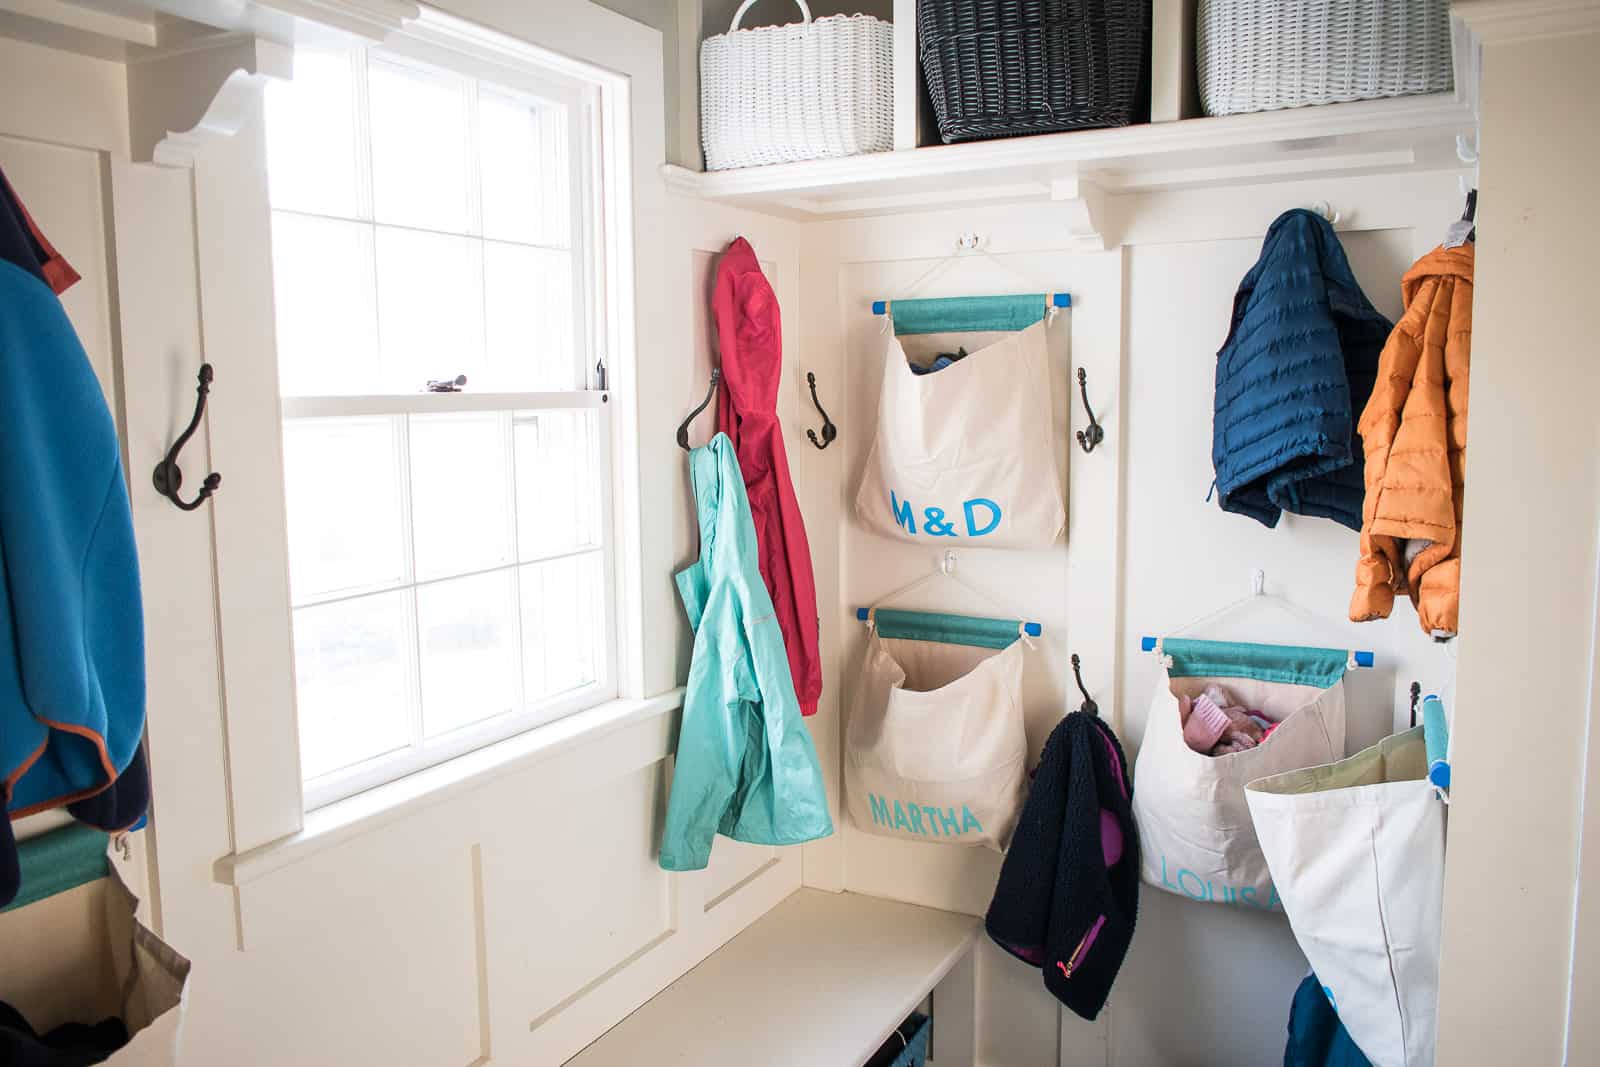
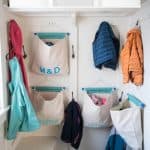
Obviously I cleared out the mudroom a great deal and moved our adult coats into a front closet, but even with a few more jackets loaded back in after being photographed, these bags work LIKE A CHARM!

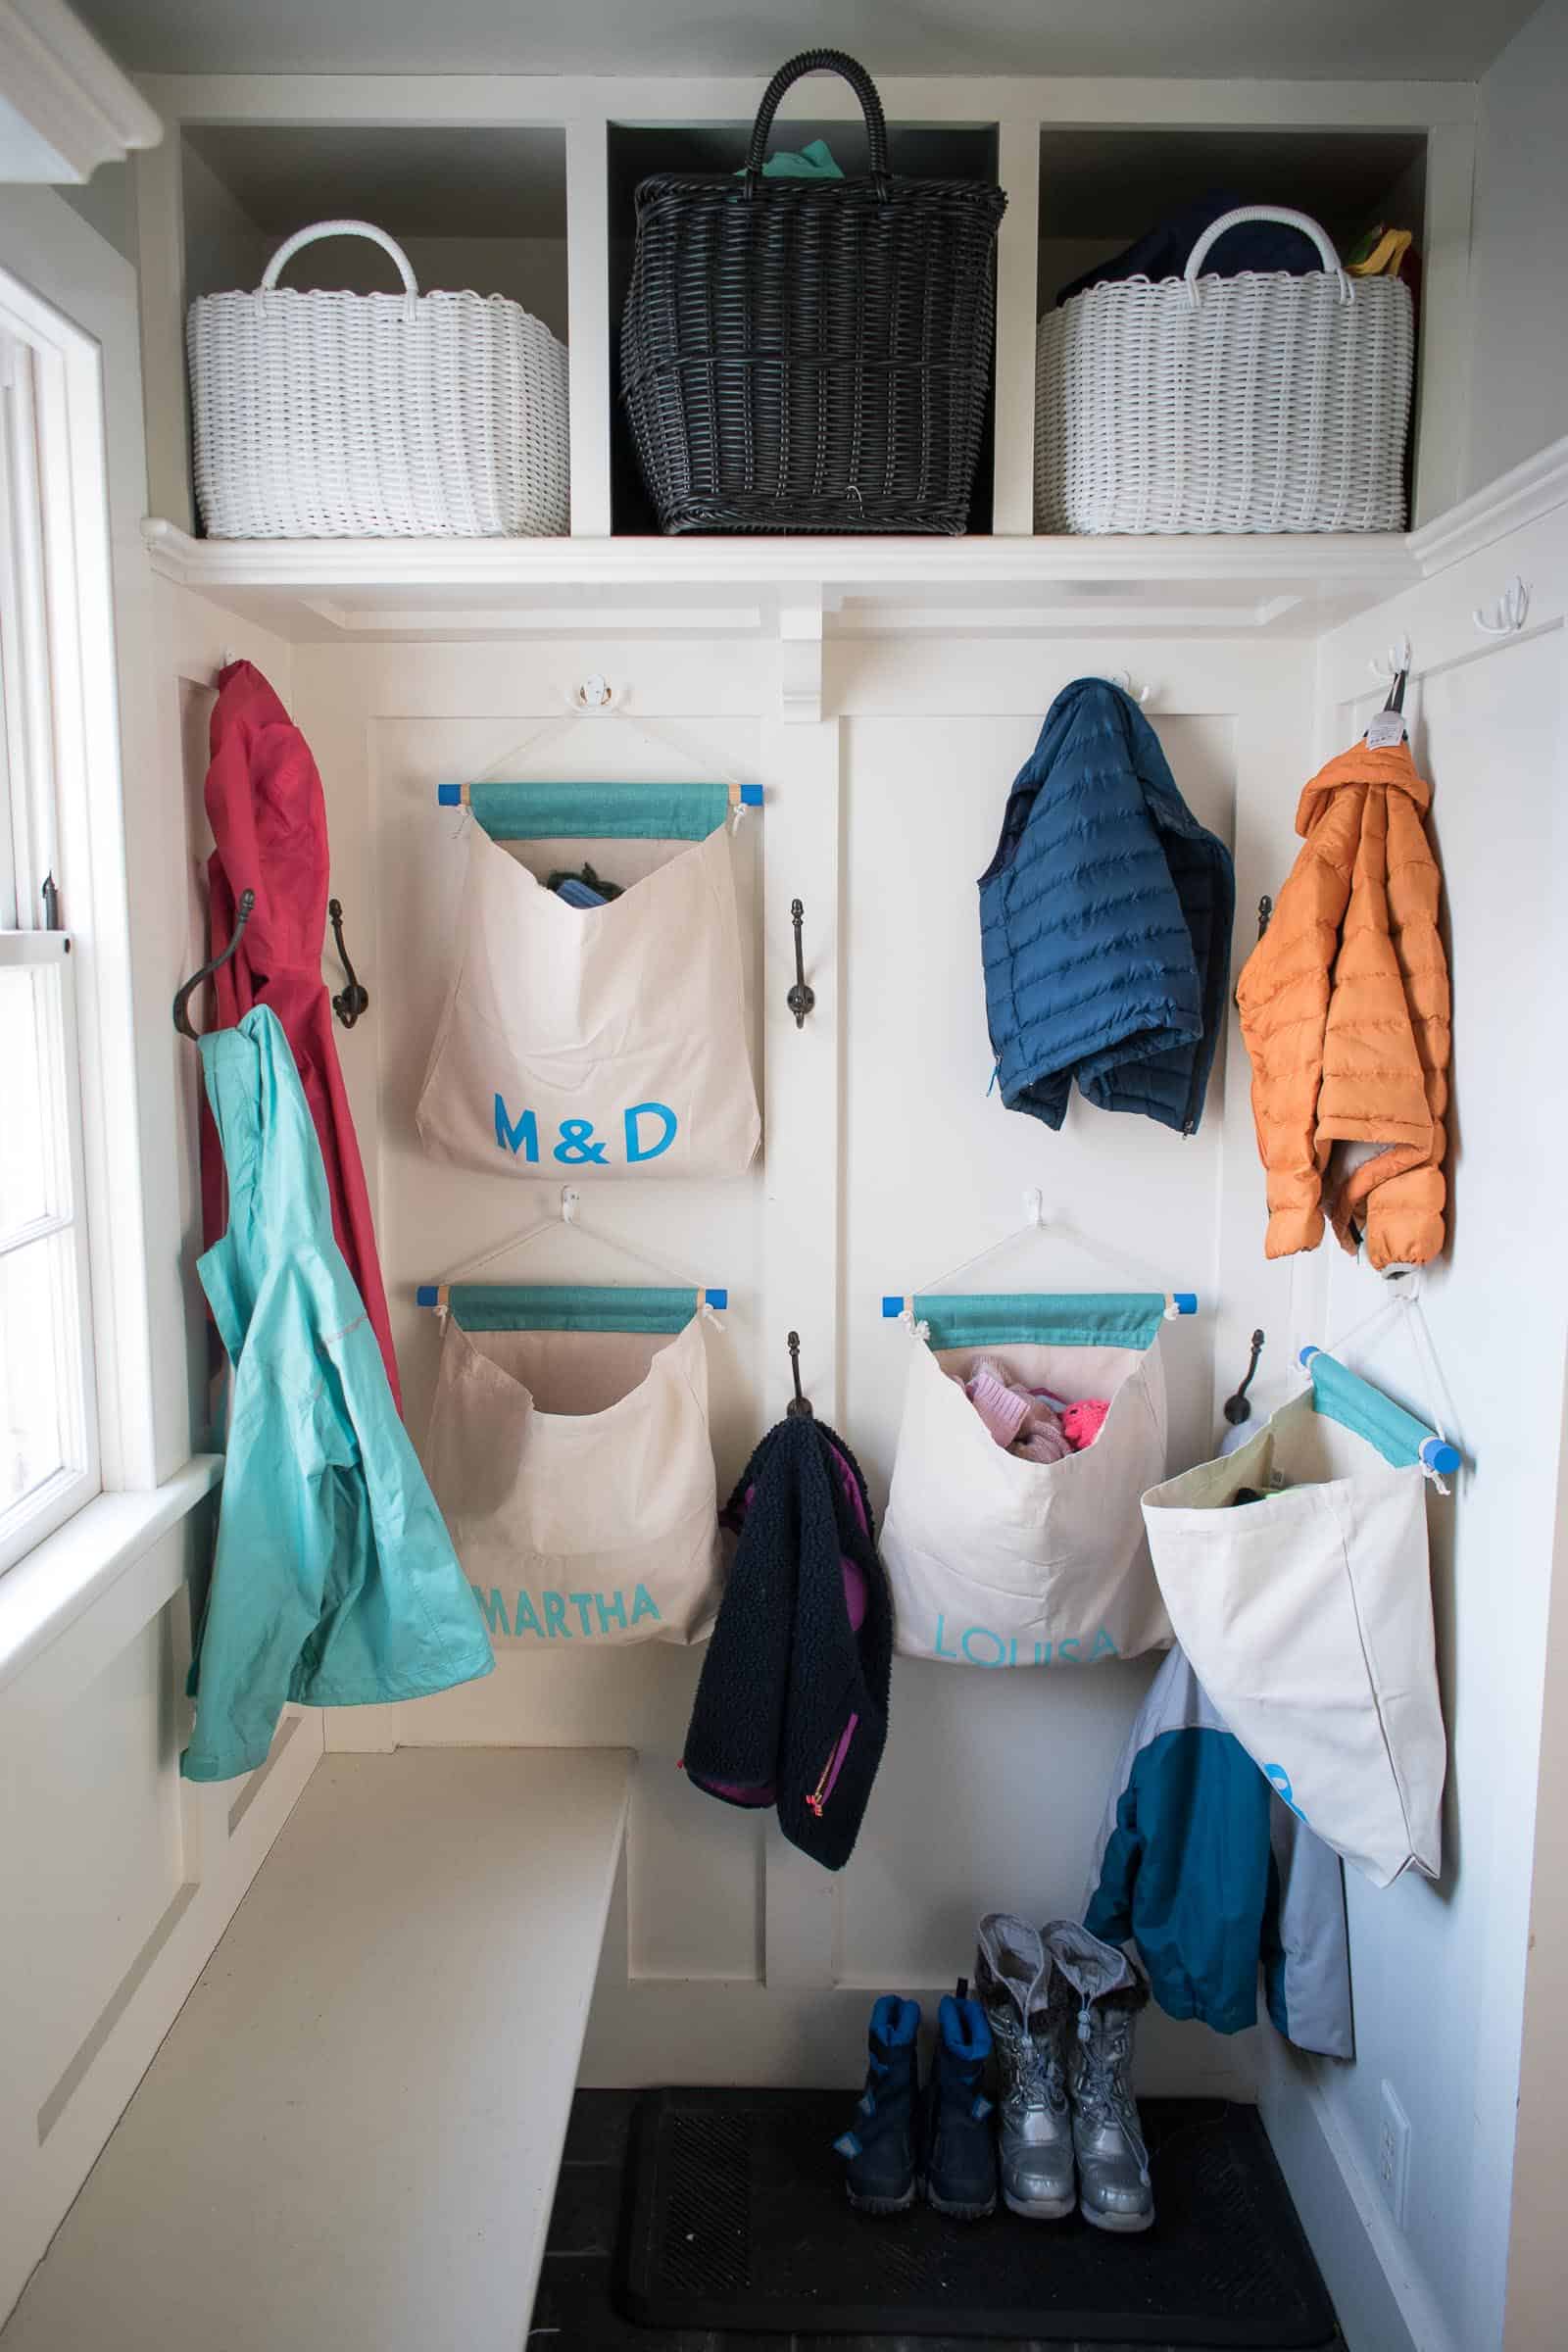
I was able to hang them from small hooks. They fit ALL the individual kids’ hats and gloves. There’s no more scrambling to find this hat or that ear muff. And when the season is over, these are really easy to pack away until next winter!
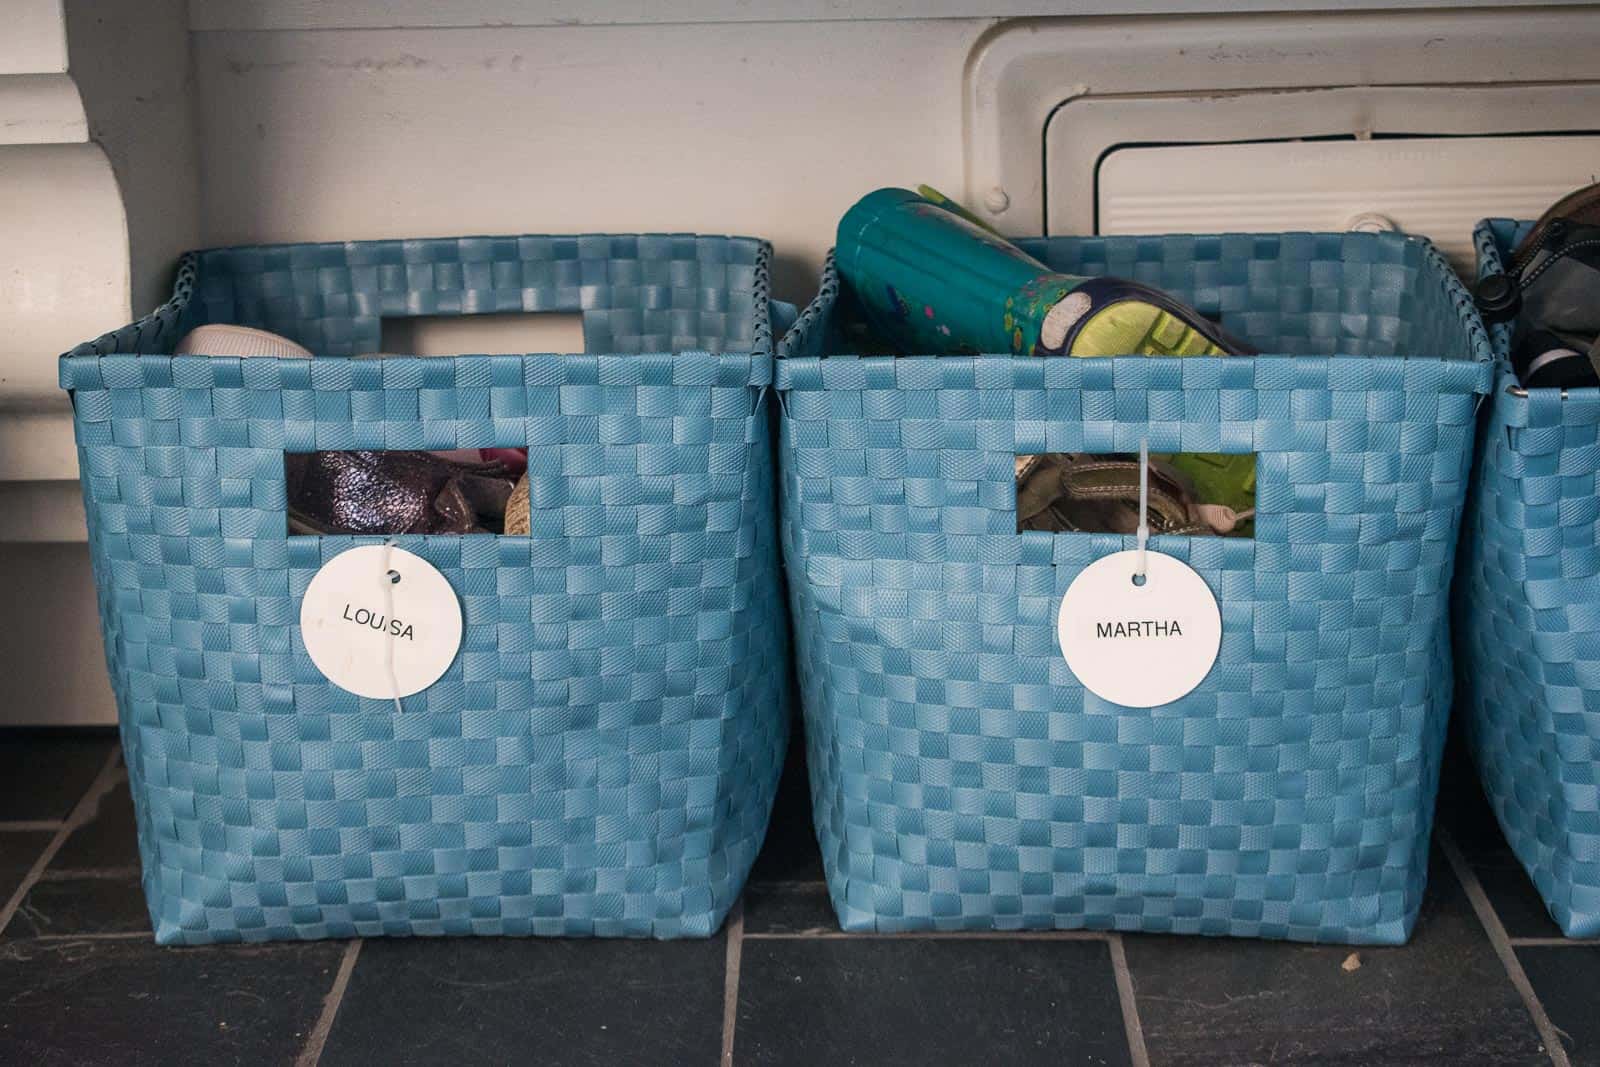
I already had those shoe bins, but using a basic round gift tag with a zip tie to mark each child’s basket has helped a ton also. Overall, I actually didn’t do much to this space aside from making the storage bags so this is definitely proof that you can create a functional organized space without breaking the bank account!
And as always… I have the sewing ability of a freshman home ec student so- say it with me- if I can sew this, YOU can sew this! Want a quick before and after? Of course you do… behold:
Storage Bag Materials
- Large canvas tote bags
- 1-inch dowels
- Upholstery Weight Fabric (I found something in the remnant section… I only needed a yard or so
- Rope
- Iron-on vinyl (I used this one and this one)
- Easy Press/ clothing iron
- Cricut/ exacto knife
- Drill
- Craft paint


Grear use of sPace after! I lOve it’ll also be easy for clEanup and storage at the end of the season. Great job!
YES! That was something I wanted… important to stash away in the summer!
LOve this!
Thanks, Maureen! It was super easy and makes such a difference!
These are great! I love when simple ideas make a big difference!
Thanks, Ashley! Having serious FOMO watching your travels across the country!! xx
I would like many home cleaning hacks ideas and storage ideas to make my home neater than it is right now.