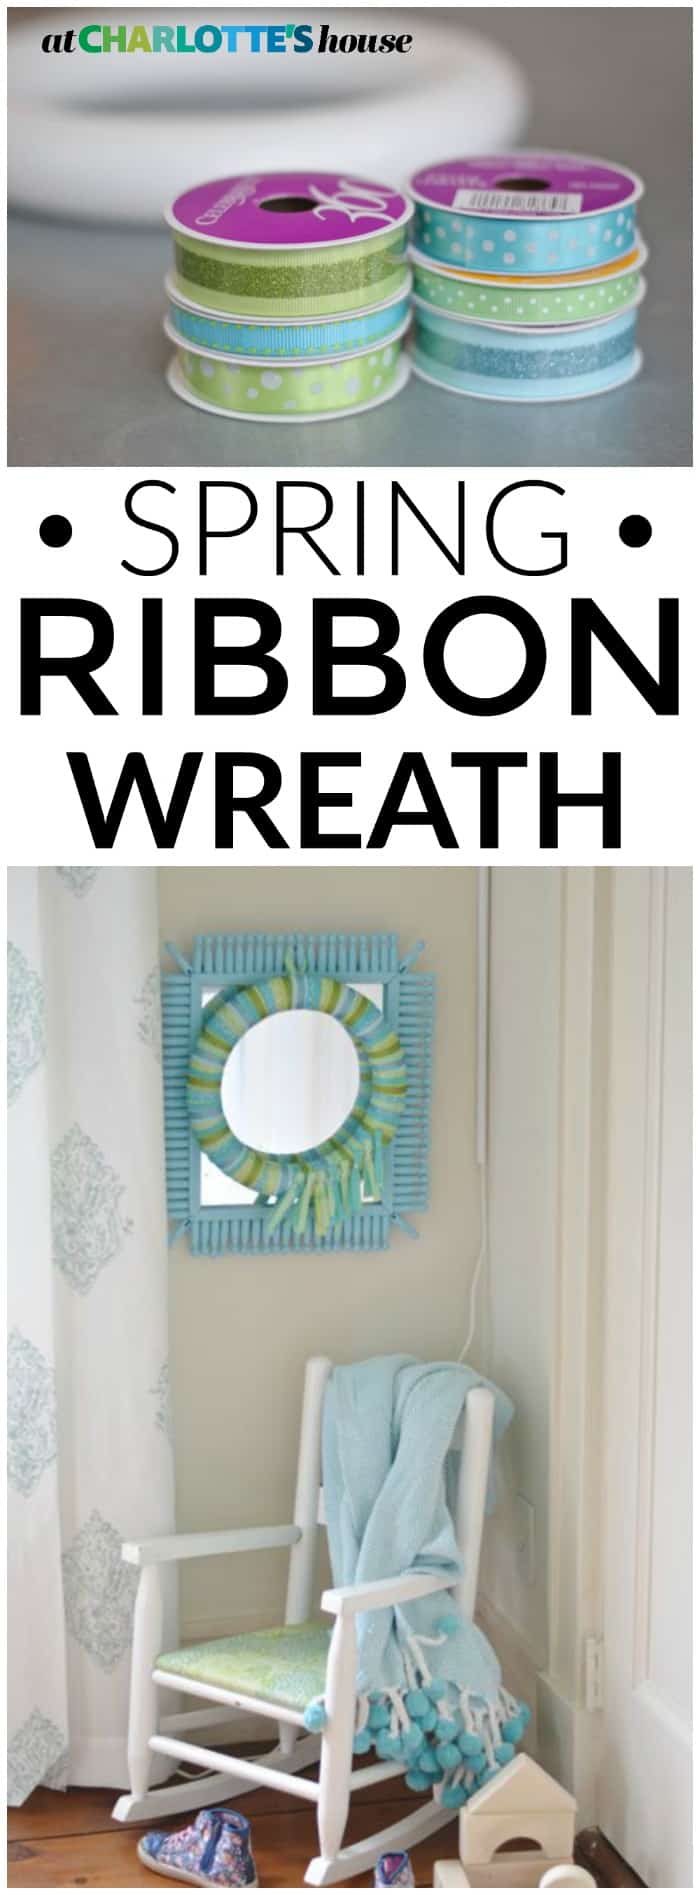
Spring Ribbon Wreath
Psssst… this post *might* contain affiliate links: see my disclosure here.
I’m on a crafting roll, y’all!! I’m telling you… proximity is everything! Pop a Michael’s in around the corner, and I’m a holiday project ninja! It doesn’t hurt that bright spring pastel colors are my jam. 50% off ribbons was icing on the cake and this cute Easter wreath is ready for the party!
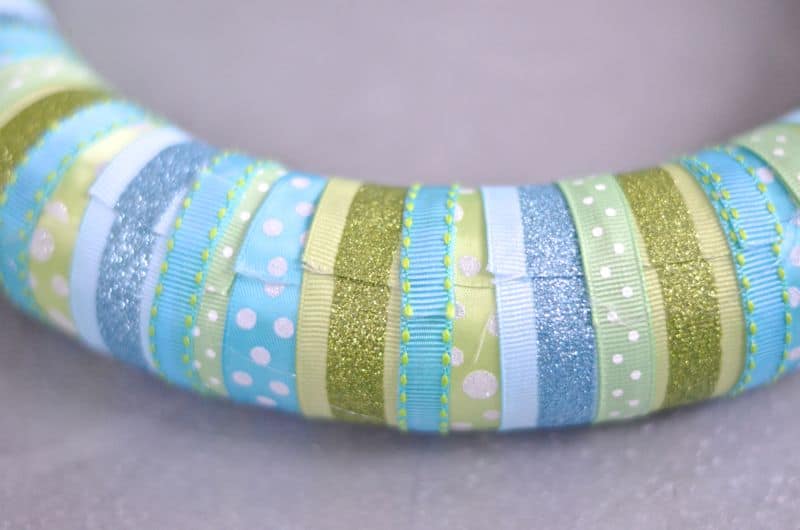
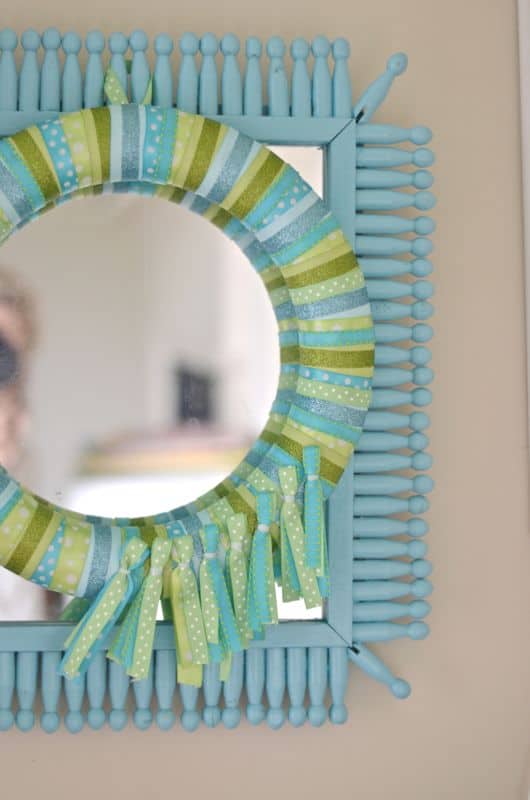
Ribbon Wrapped Easter Wreath
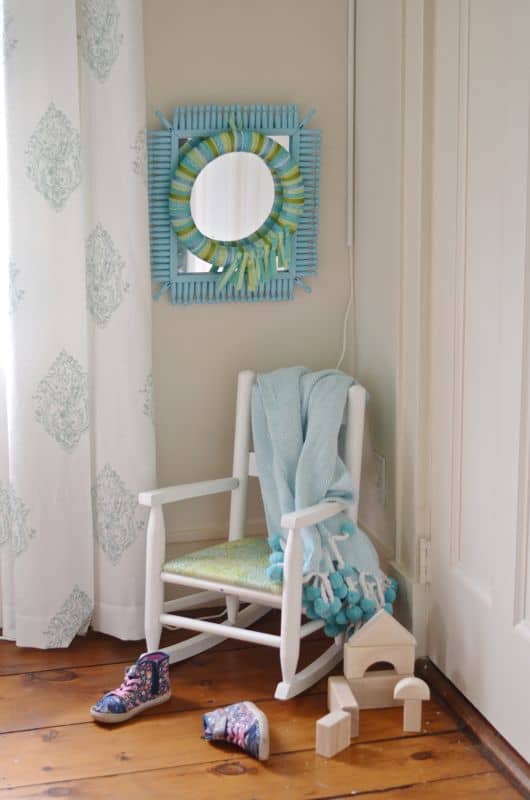
This fits my ‘threasy’ checklist… three easy steps and DONE! (Full material list at the end of this post.)
Shop my favorites!
Step 1. Measure and Cut
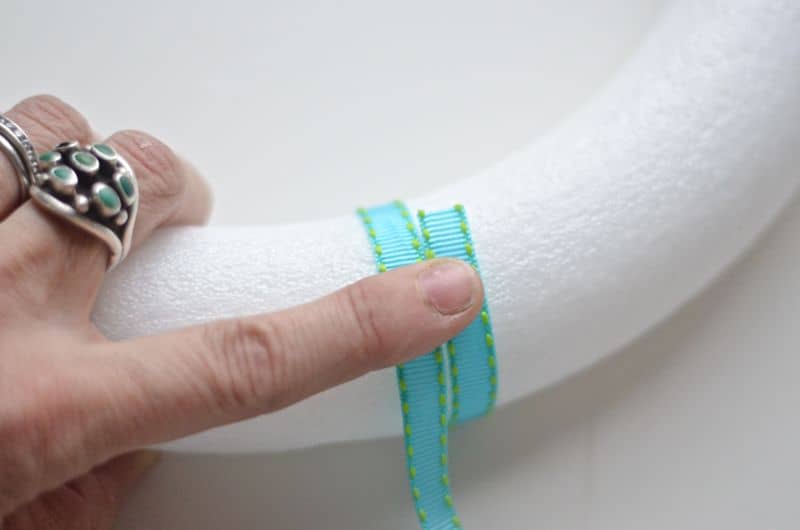
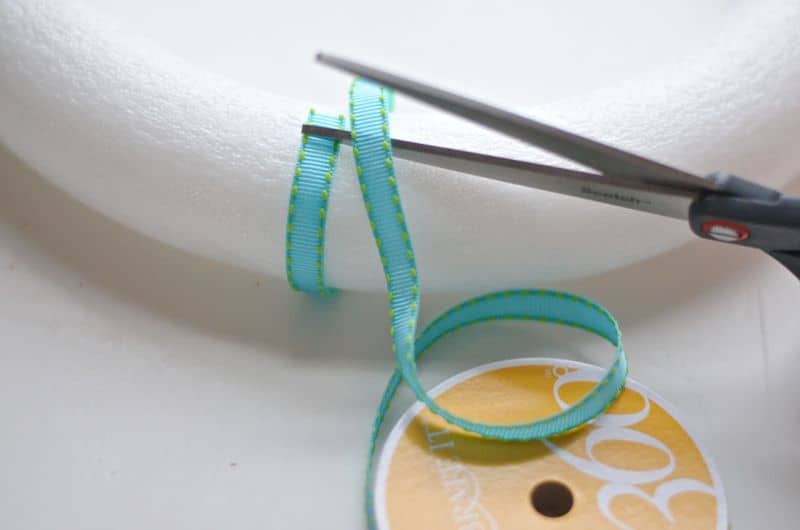
Measure and cut your ribbons. Wrap a ribbon around your styrofoam wreath form so it overlaps by a centimeter and cut. Use this length of ribbon to measure and cut all the others.
Step 2. Glue Ribbon
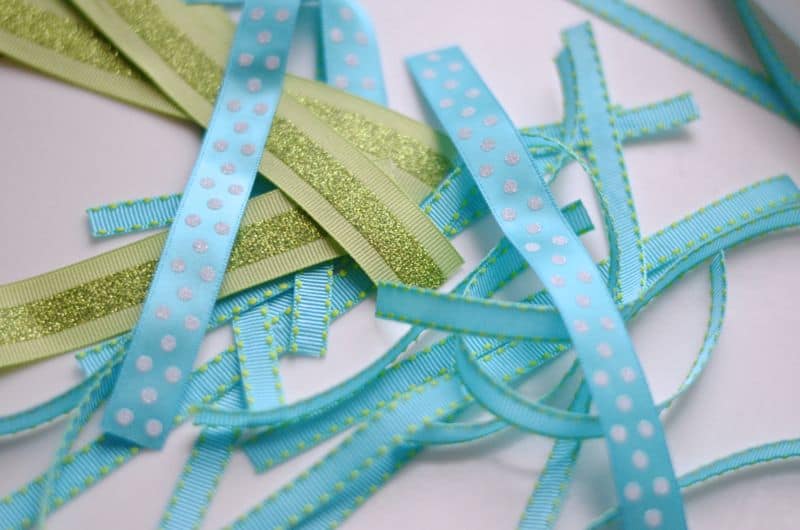
One at a time, use a hot glue gun to glue the ribbon onto the wreath form. I applied a dot of glue at either end of the ribbon as well as one in the middle. I went around with the wider ribbon first and then covered any gaps with the skinnier ribbon.
Step 3
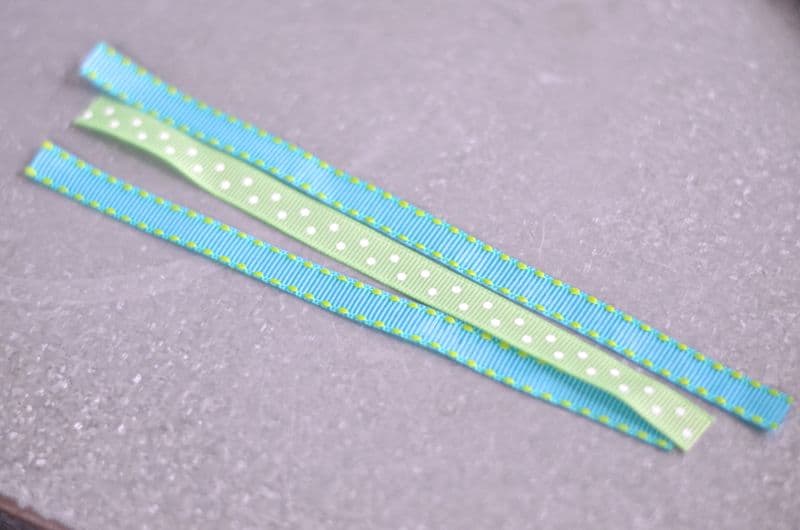
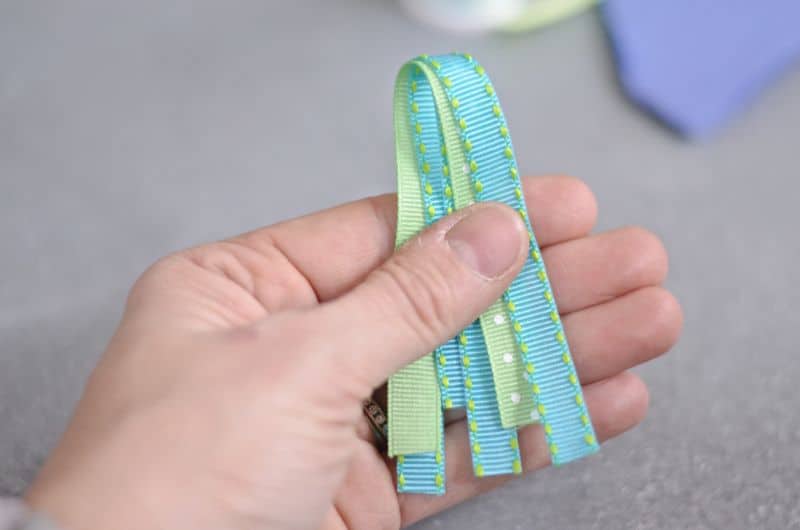
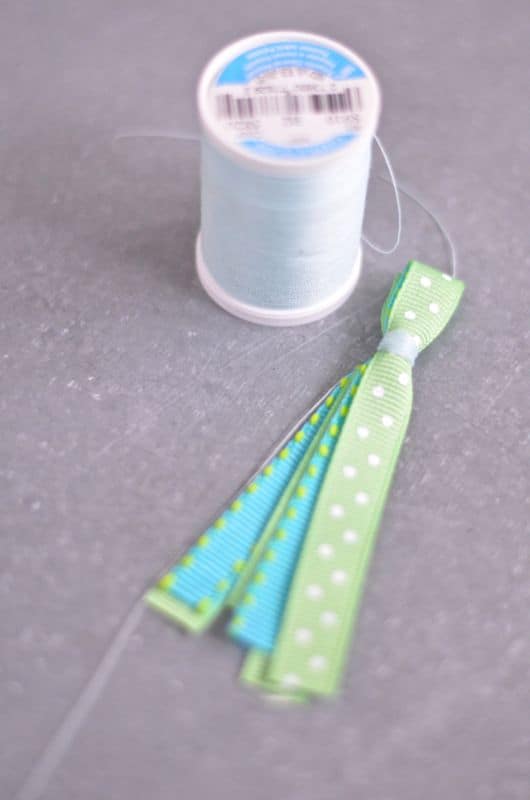
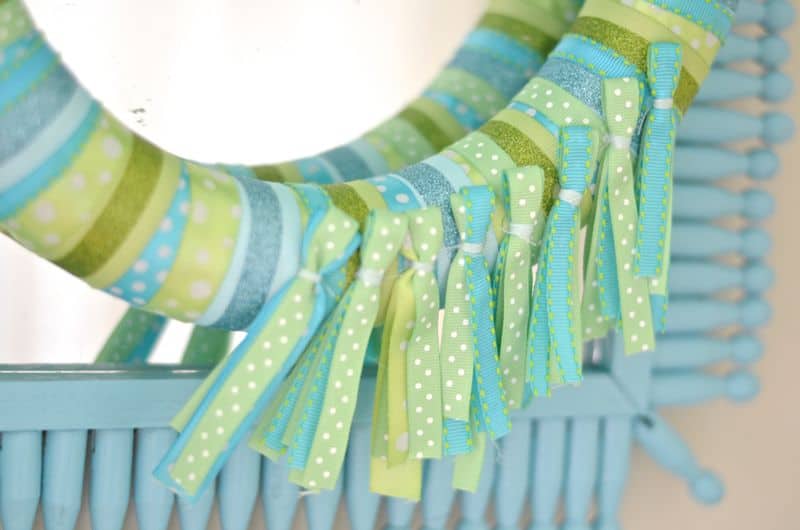
Make and glue ribbon tassels. Take three strands of skinny ribbon, fold them over and wrap with string. Glue onto the wreath.
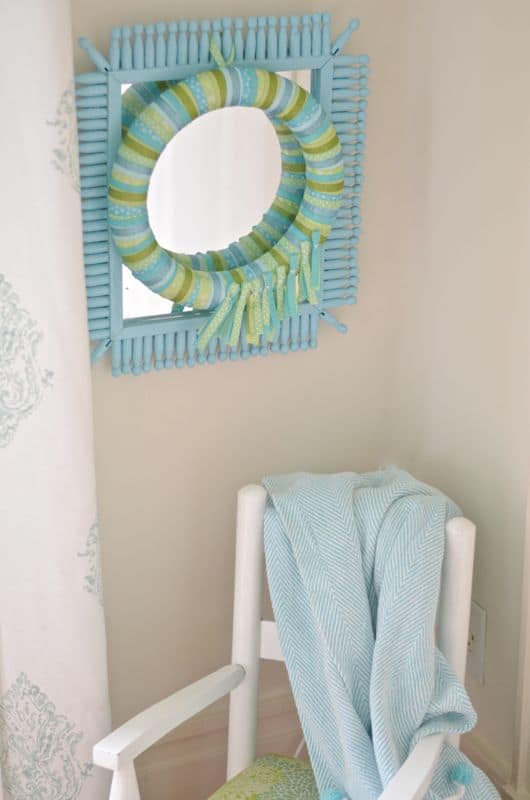
As promised… three simple steps and finito! I hung this on the dollar store mirror in Martha’s room as a little bit of Easter fun for her. Ever since I finished Martha’s desk area and her light-up sign, she’s been spending so much sweet time playing in her room… THAT is the fun of design. Watching someone enjoy the space that I’ve created!
Ribbon Wreath Materials
(Affiliate links included for your convenience.)



Don’t Miss Out
Become An Insider!
Signup for exclusive tips, and tricks from Charlotte’s House!
Let’s chat!
I love comments from you, so feel free to leave your thoughts and ideas below! And don’t forget to follow me on Instagram for even more!