Day 5: Twelve Days of Ornaments- Stained Glass Ornaments
Psssst… this post *might* contain affiliate links: see my disclosure here.
Transparent Pony Bead Ornaments
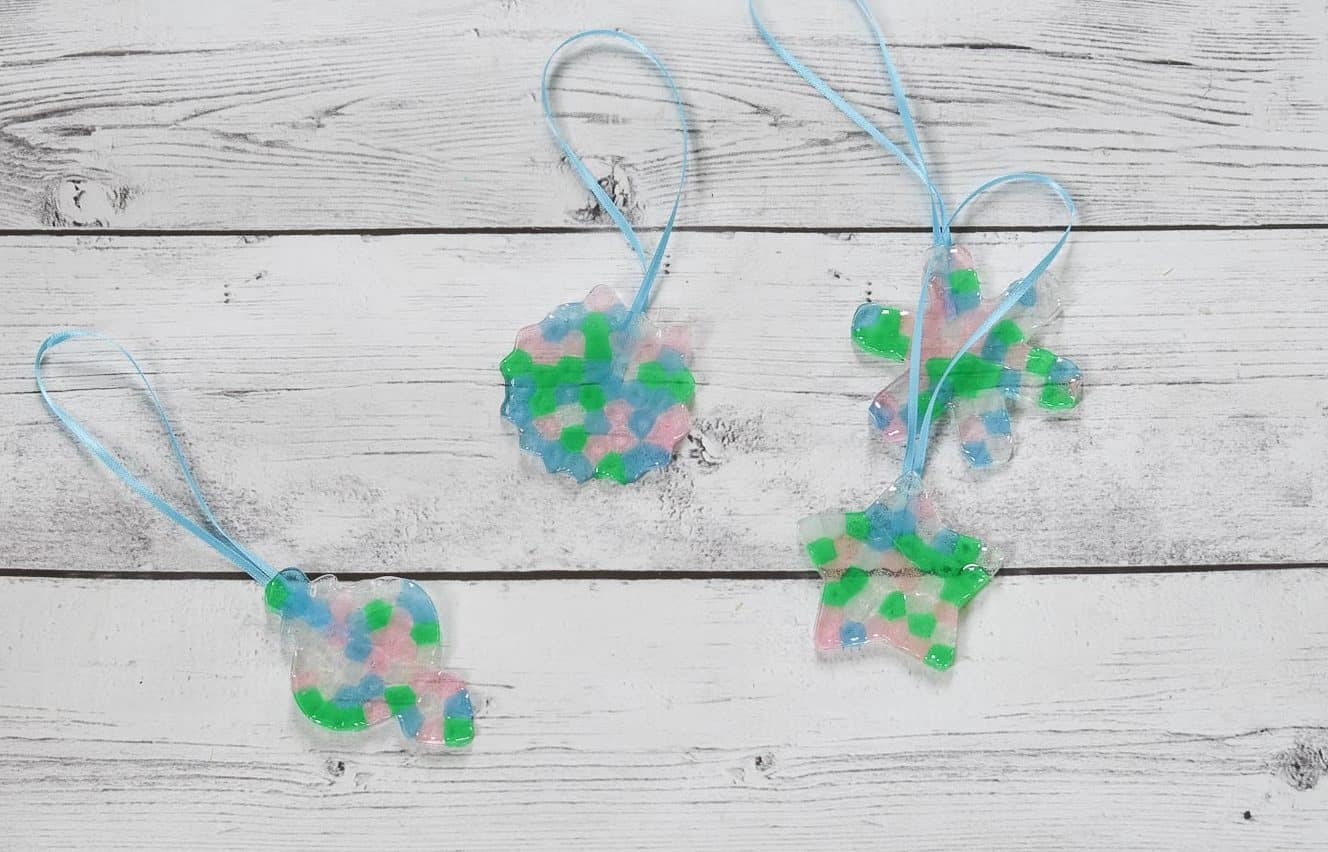
Welcome to Day 5 of 12 Days of Ornaments on the blog and my YouTube channel! You can follow along HERE in case you’ve missed anything!
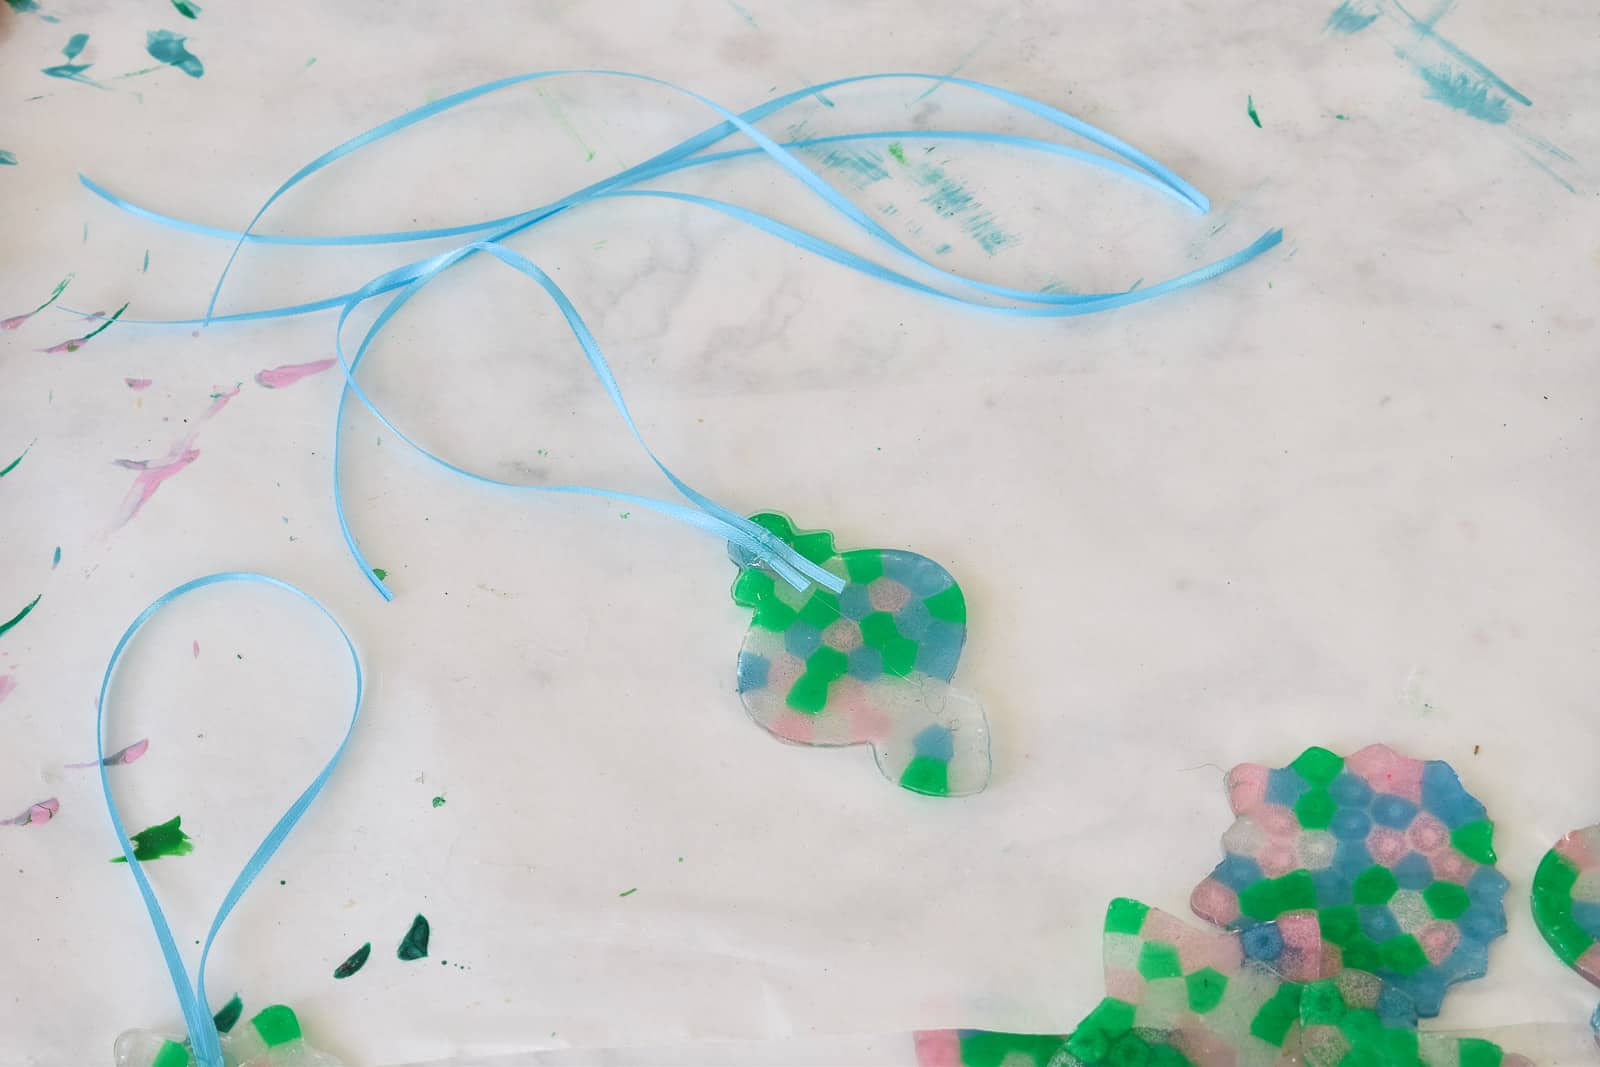
These ornaments are throw backs and probably the easiest ones you’ll make! Kids can help and the effect is really sweet! I love how the transparent pony beads mix to make these sweet color Christmas ornaments.
Step 1. Sort Pony Beads by Color
Technically this step is optional, but I wanted these to coordinate with all of my other ornaments so I pulled out the blues and greens and pinks! To get the stained glass look, you’ll want transparent pony beads like these ones!
Shop my favorites!
Step 2. Arrange Beads
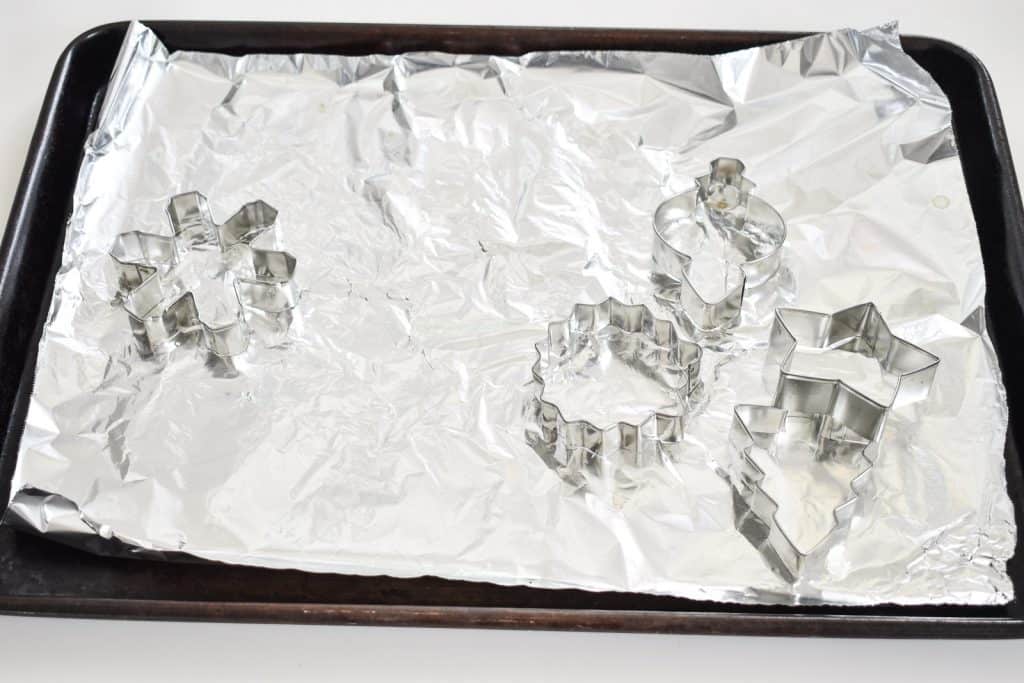
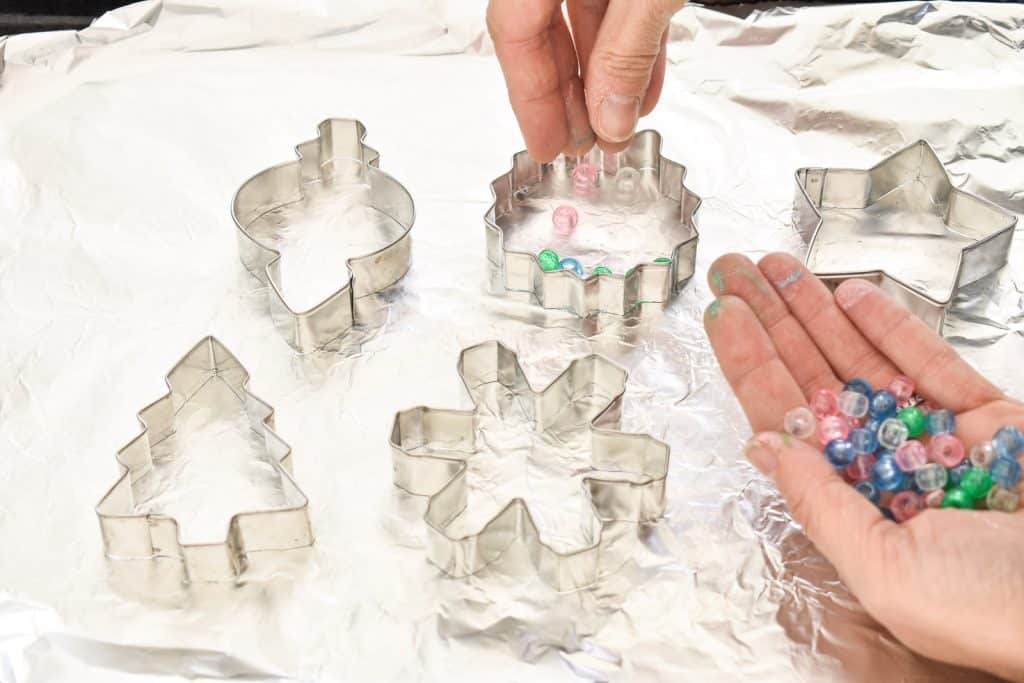
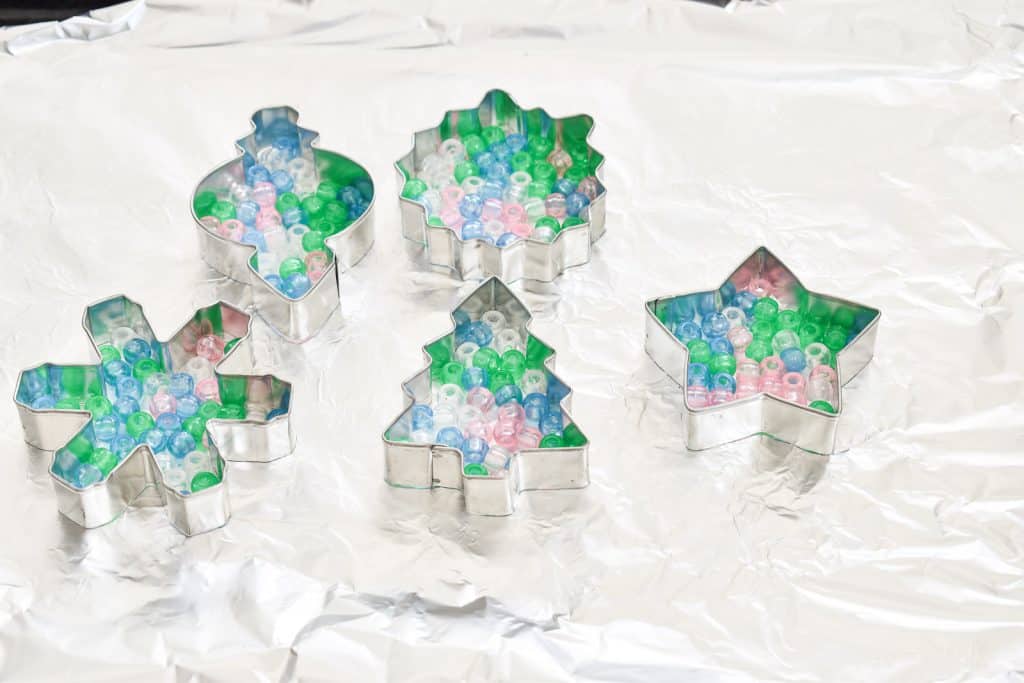
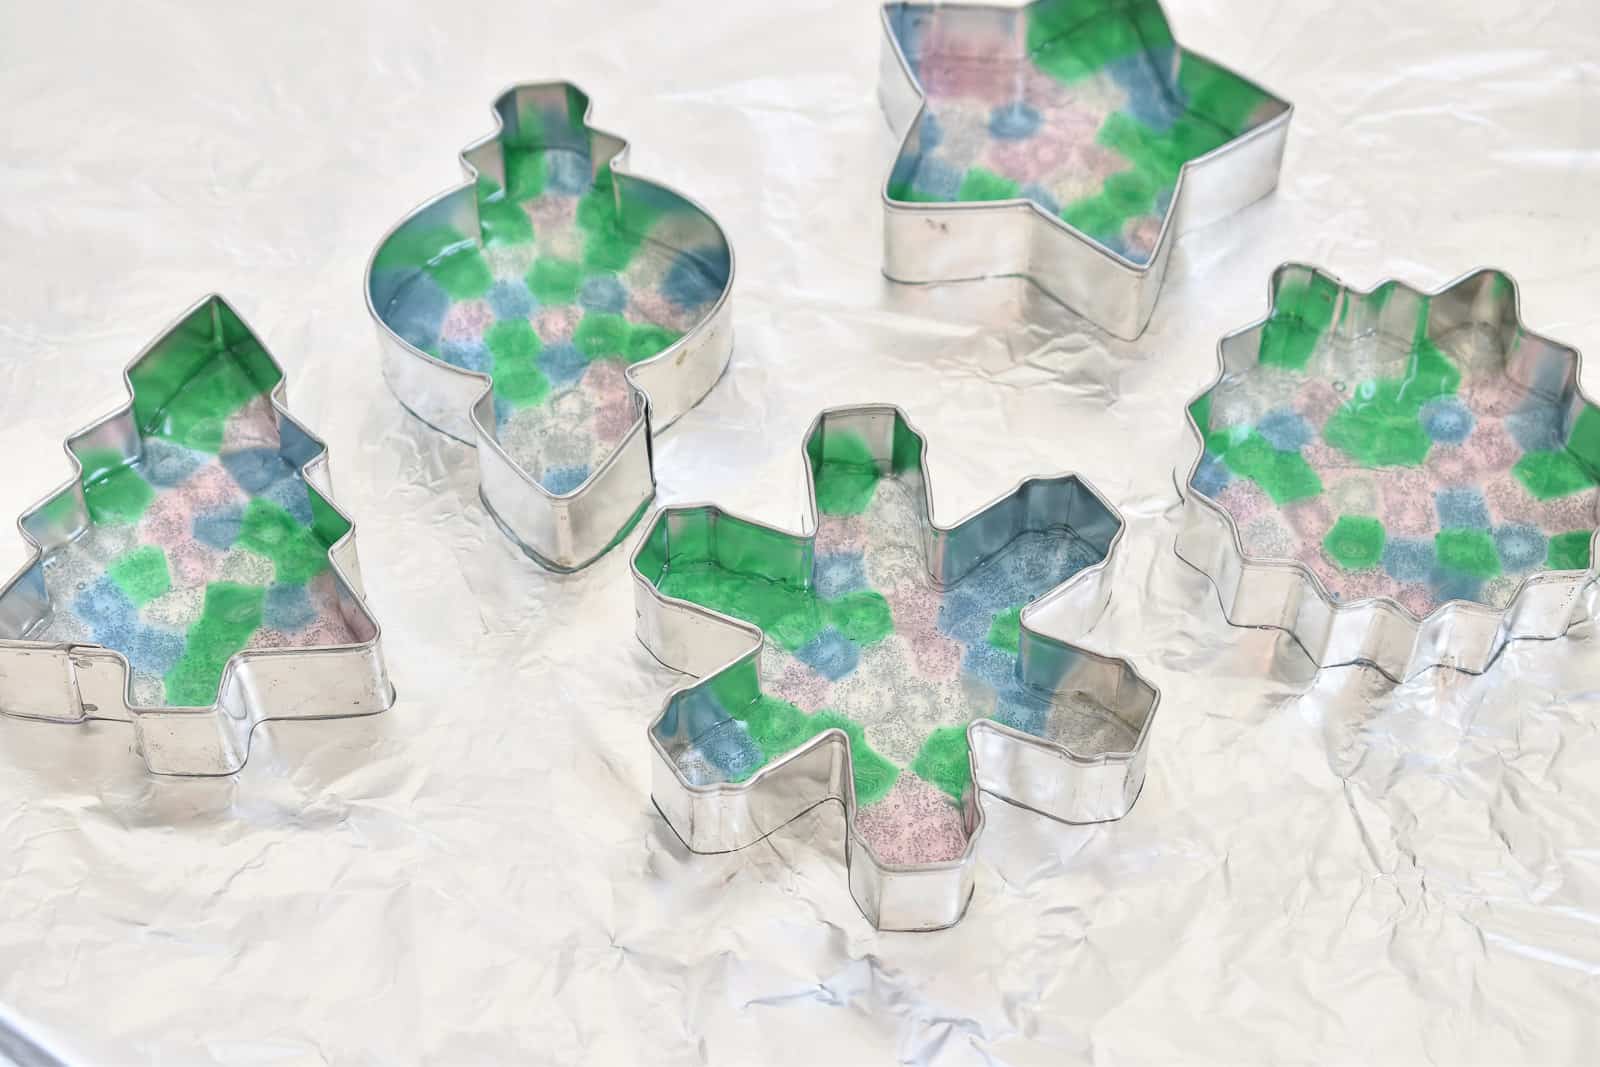
Grab a baking sheet and cover with aluminum foil. Place METAL cookie cutters onto the tin foil, and arrange the pony beads inside. Do your best to keep the pony beads to ONE layer.
Step 3. Bake Pony beads
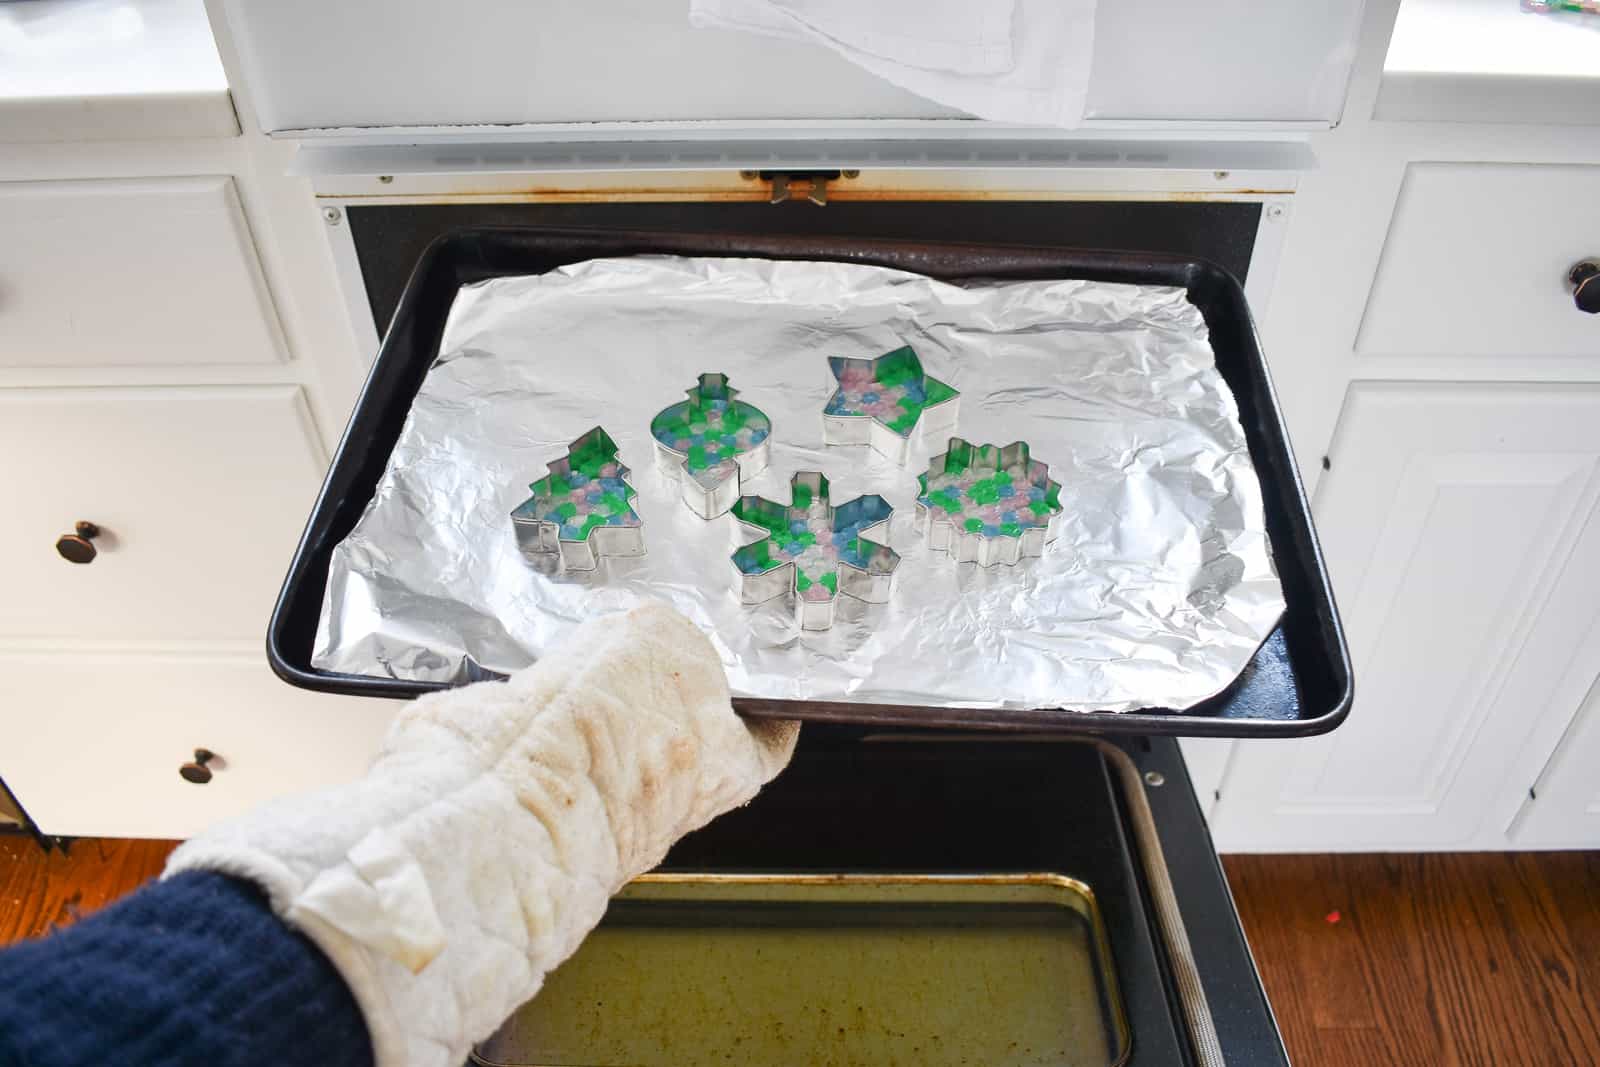
With your oven set to 350 degrees, bake the pony beads for about 10 minutes. Be aware that there WILL be a slight odor as the beads melt. Keep an eye on them and remove when you can no longer see the individual shapes of the beads because they’ve melted together.
Step 4. Remove from the oven
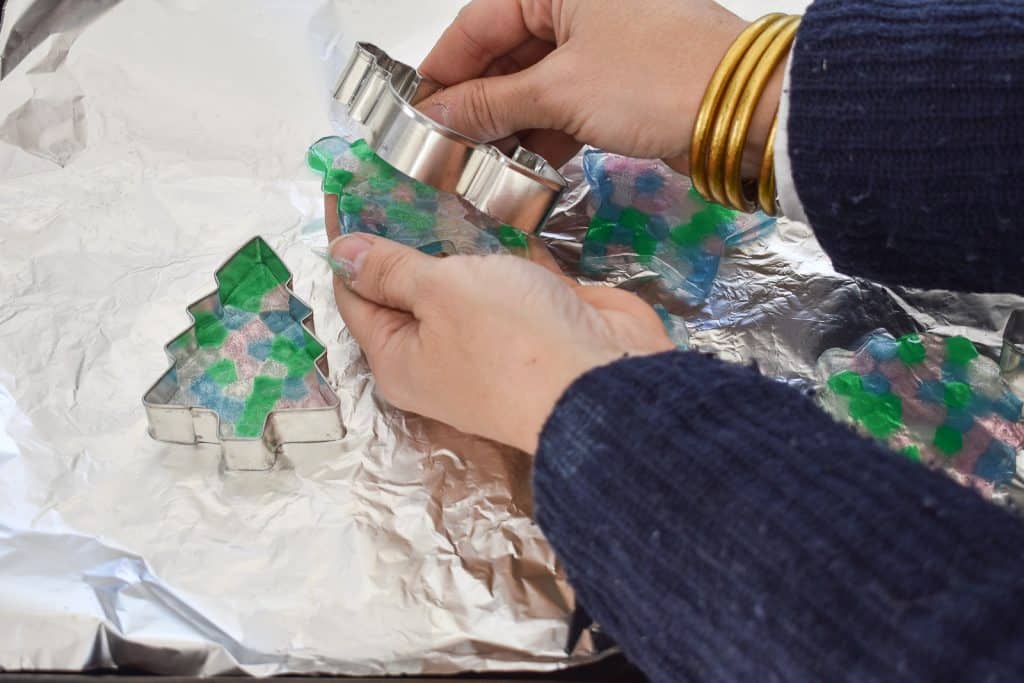
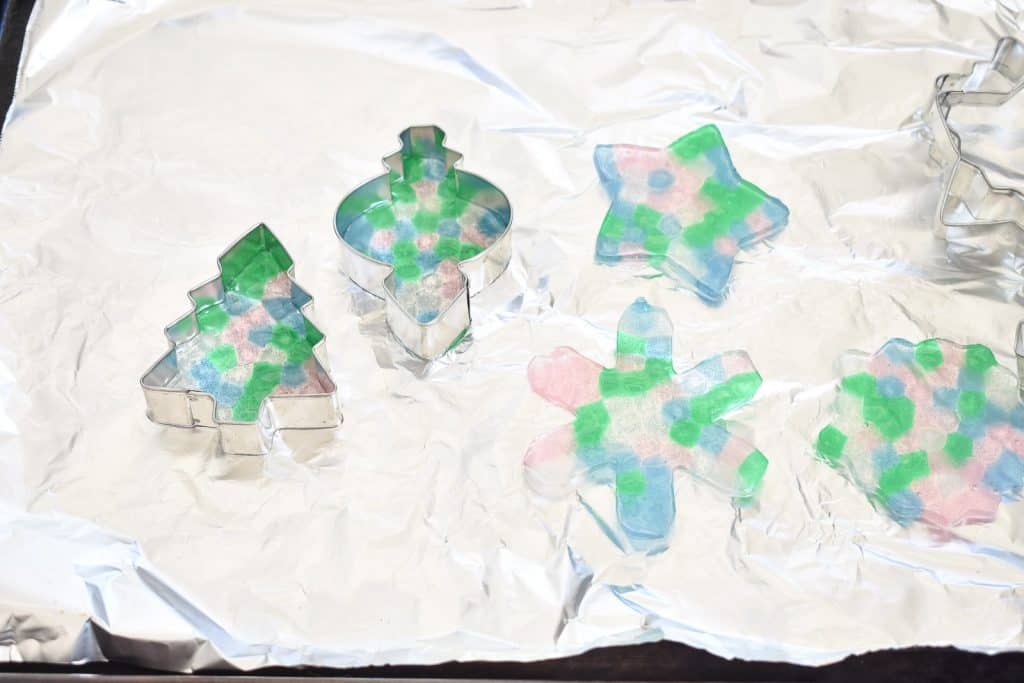
Once the beads have melted, remove from the oven and let them cool. To remove the ornament from the cookie cutter, gently press the ornament out of the ornament, It should easily pop out as you apply gently pressure.
Step 5. Add ribbon
Using a hot glue gun, glue a ribbon on to the back of the ornament.
Obviously kids can’t help with the cooking portion of this project, but they will be a GREAT help arranging the pony beads into the cookie cutter. Also, it’s fun to melt stuff.





Don’t Miss Out
Become An Insider!
Signup for exclusive tips, and tricks from Charlotte’s House!
Let’s chat!
I love comments from you, so feel free to leave your thoughts and ideas below! And don’t forget to follow me on Instagram for even more!