
Stone Paver Side Table
Psssst… this post *might* contain affiliate links: see my disclosure here.
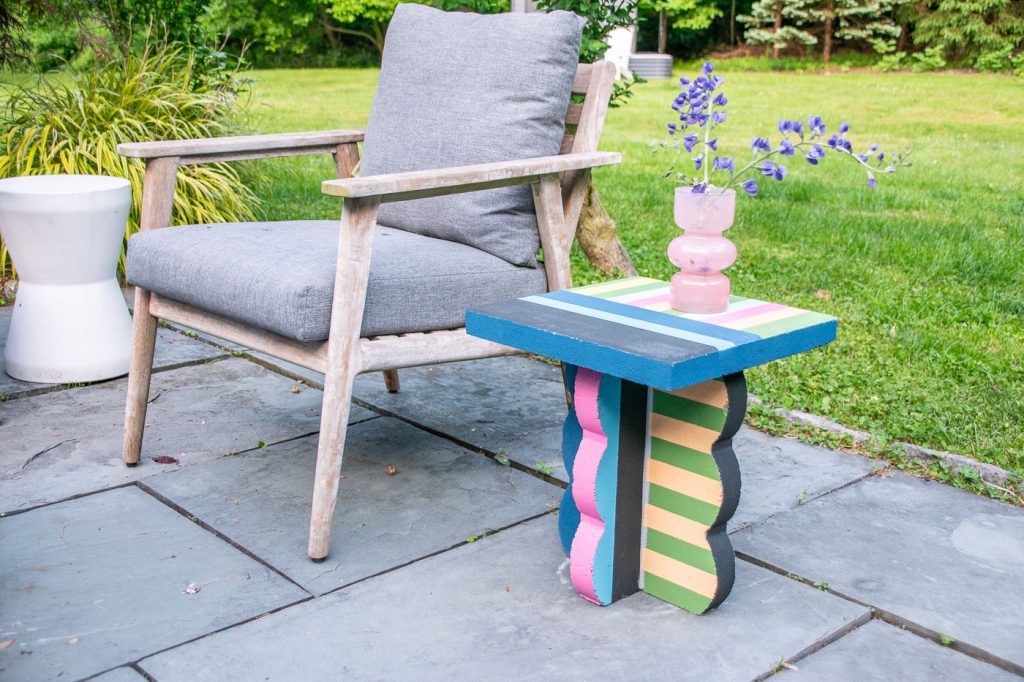
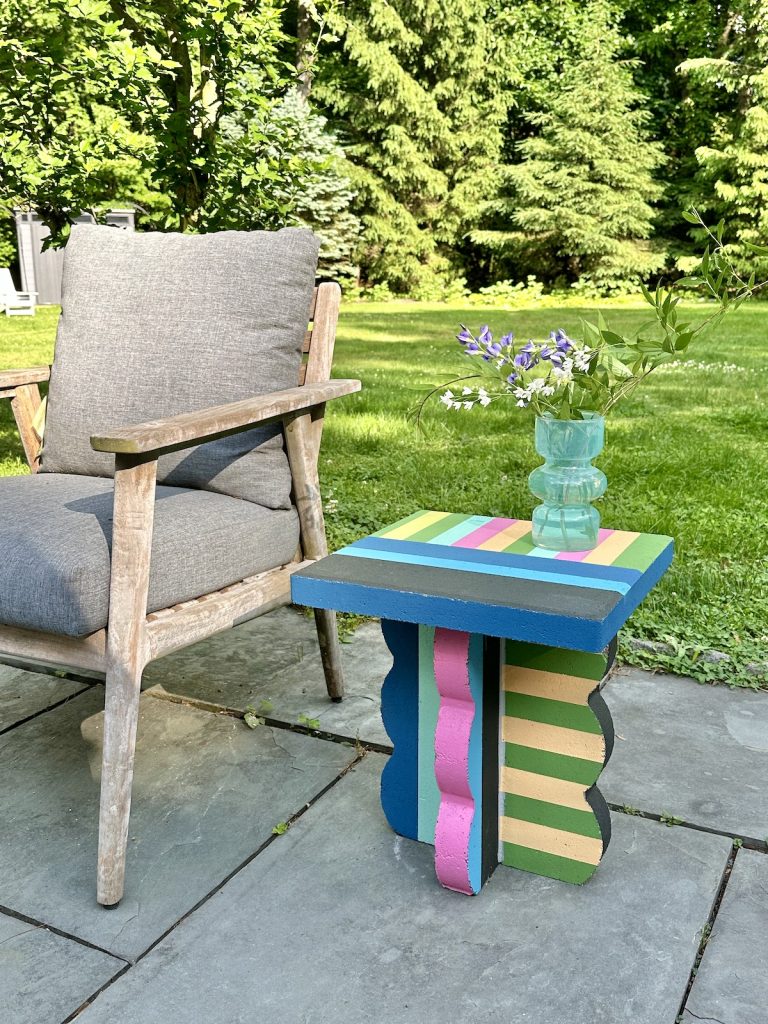
This budget side table is easy to make and the perfect addition to our backyard patio!
I can’t take credit for this idea… it’s been shared and reshared on various social medai channels, but… I had to put my own colorful spin on it! I’ll include a materials list at the end of this post, but be forewarned, you don’t need much and the total cost will probably be close to $20 MAX.
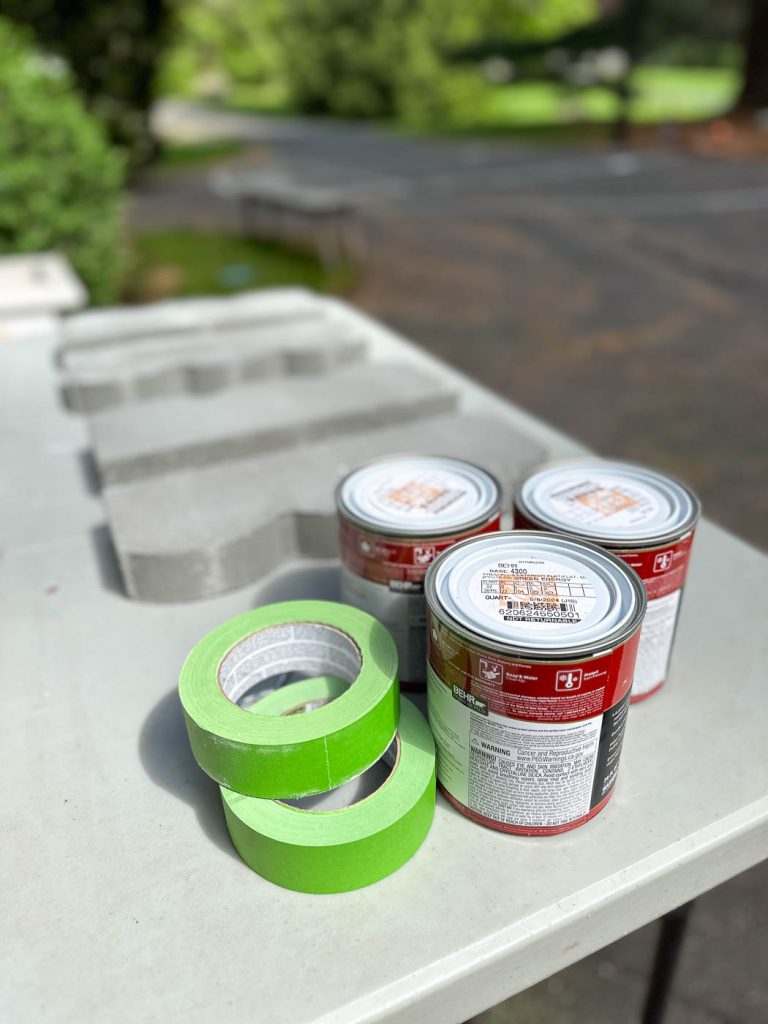
Step 1: Purchase Materials
I include this as a step simply because you’ll have to decide whether you want gray pavers or red pavers. I got mine at Home Depot, and both colors were available. These things are *heavy* so be aware when shopping and make sure you have the right vehicle for the job! If you’re painting these, you’ll also need exterior paint, painter’s tape, etc. Finally… you HAVE to have an adhesive intended for cement or masonry.
Shop my favorites!
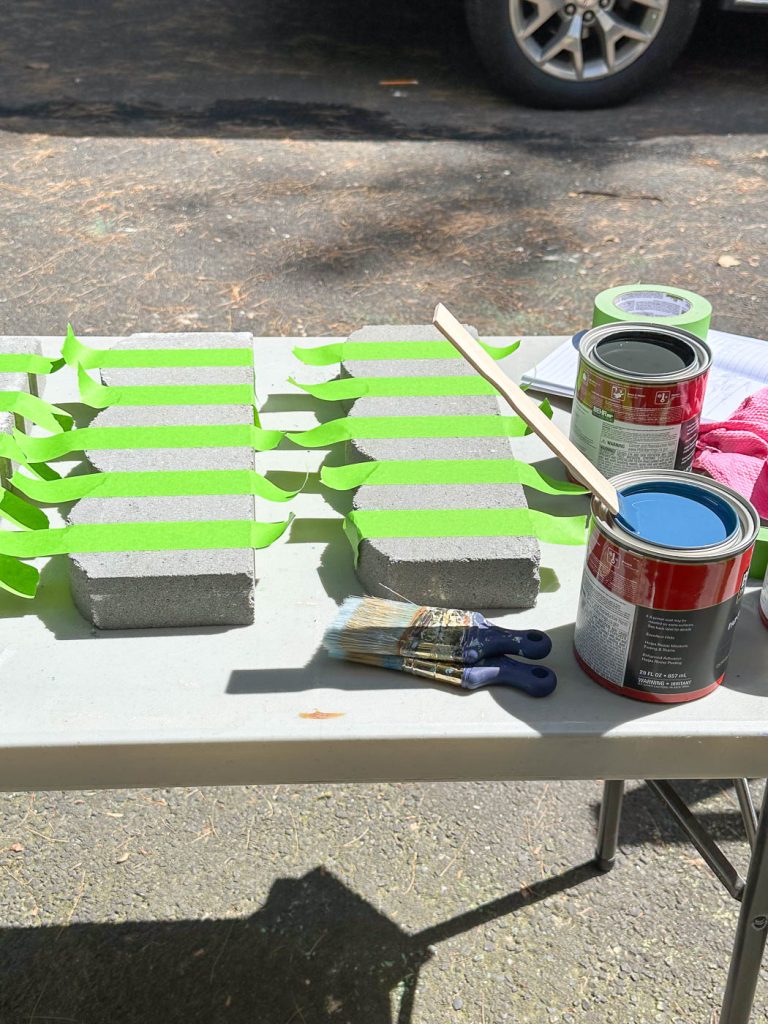
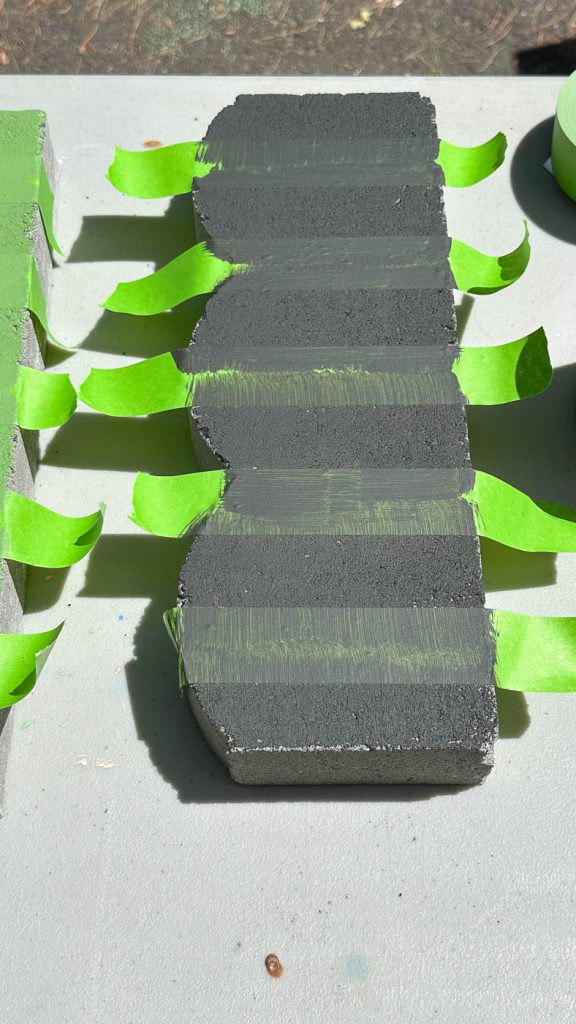
Step 2. Tape off your pattern
Wipe off as much dust and debris as possible before taping your pavers. I kept the pattern simple and gave half the pavers stripes and left the other side simpler. Geometric or diagonal lines could work just as well. You will probably need to do a few touch ups given how rough the surface is, but I was pleasantly surprised with how clean my lines were after using my favorite Frogtape.
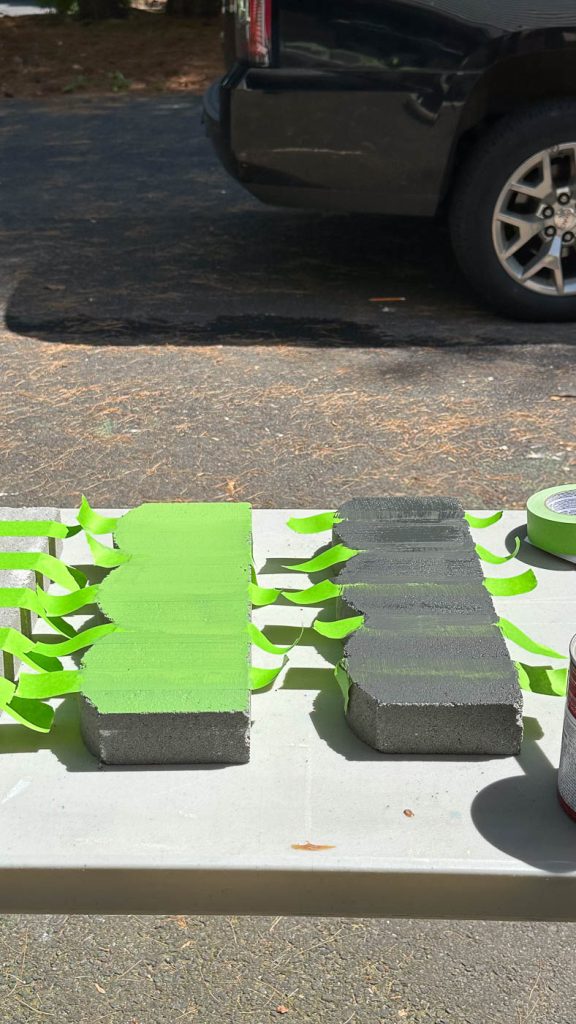
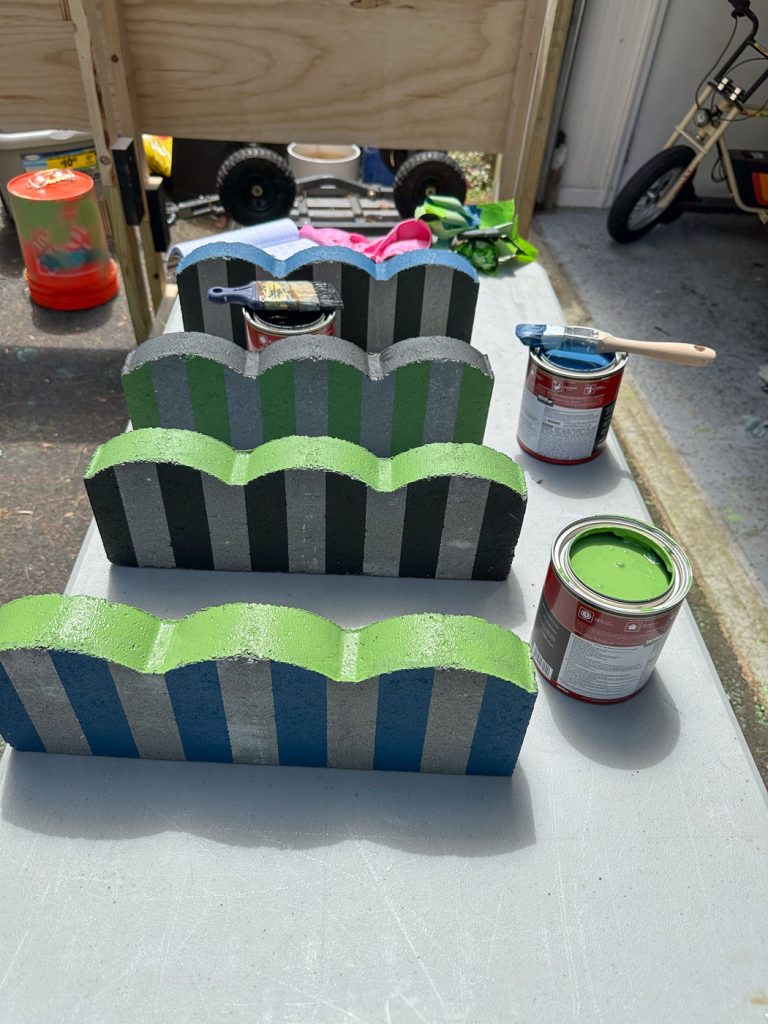
Step 3. Plan Your Colors
This step is where I blew it. Typically with outdoor things, I take it easy with colors… I’ve always found there’s so much vibrancy outdoors that I don’t need to lean into colorful furniture and accessories as much. I tried to map out my first three colors (well, technically 4 because the gray bare concrete is a color too)… I started thinking I could just plan this out on the fly, but quickly realized I needed to take a minute and put pen to paper to make sure it was all balanced. I’m using basic exterior latex paint because masonry paint was only available by the gallon. I’m honestly not sure how durable this paint will be over time, but I figured the project is so inexpensive that it was worth the risk.
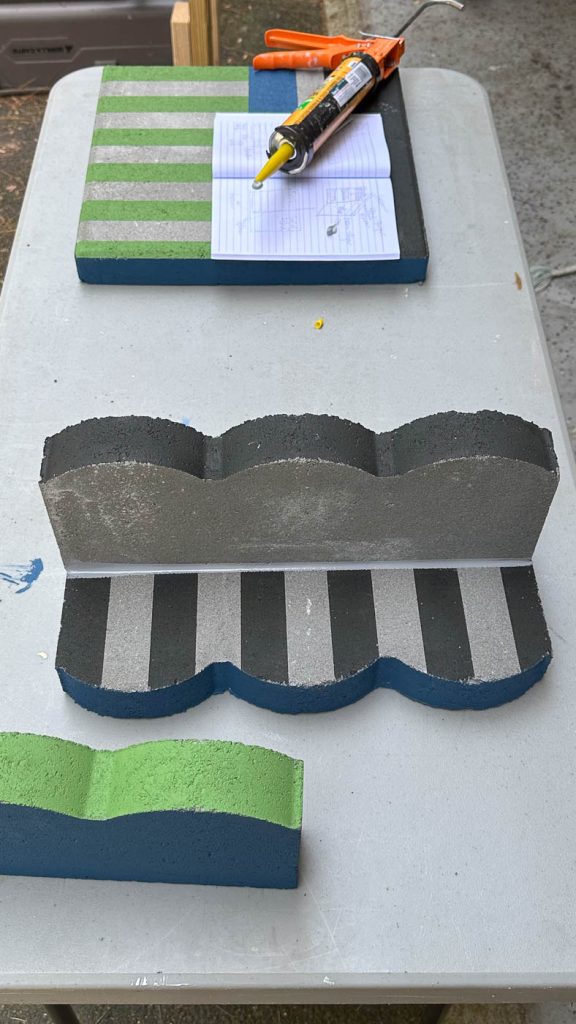
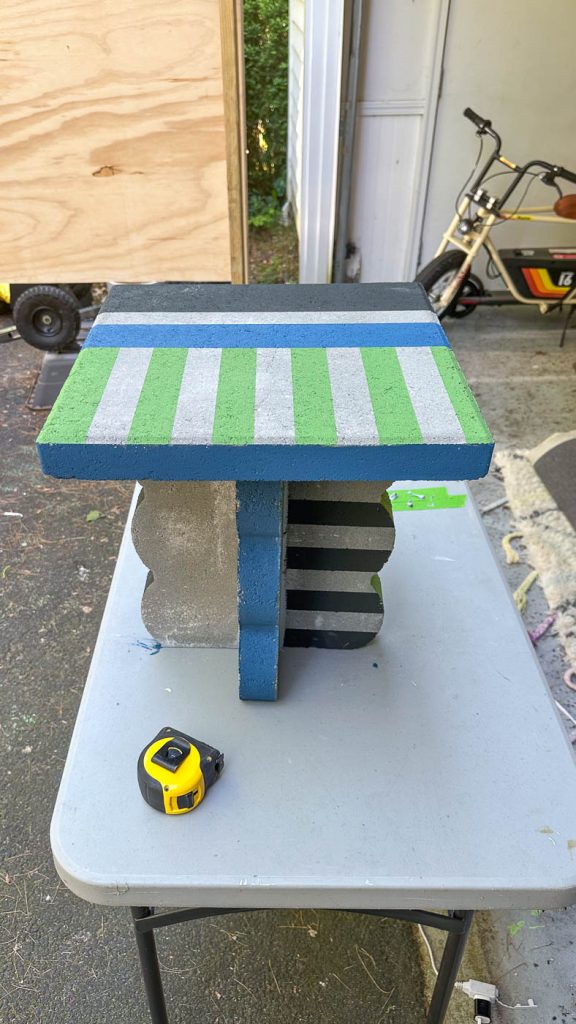
Step 4. Assemble the Table
I assembled this table on my work table and wasn’t sure how the adhesive would hold up to moving it… thankfully, I was able to move this once assembled but keep this in mind when building- it might just be easier to glue it together wherever you plan to leave the table.

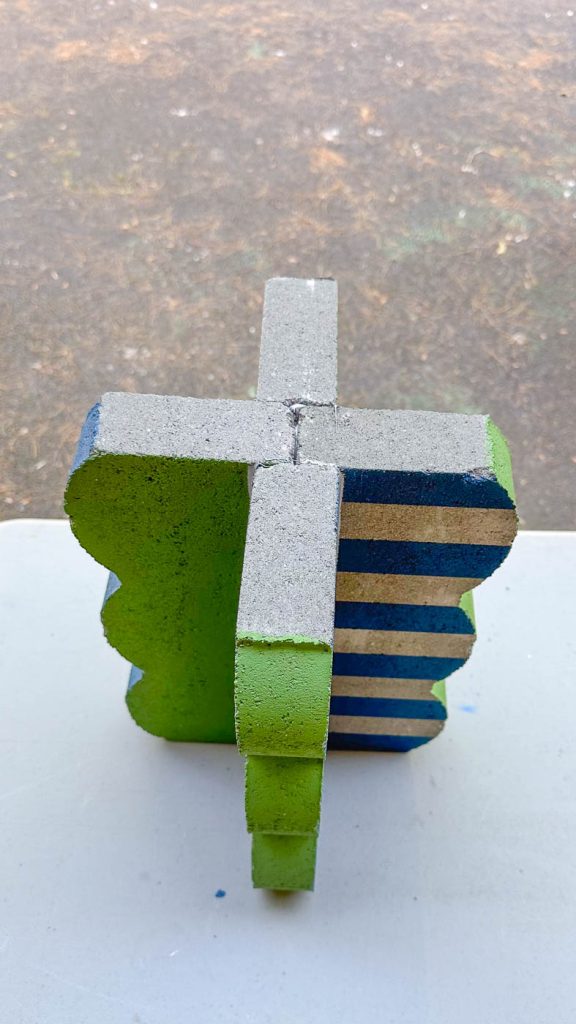
Start by gluing two of the squiggle pavers together end to end with your cement glue. They’re heavy enough to stay stuck together, but give them a good strong push at first. Fill in the center cap with a line of adhesive, then apply a line of adhesive onto the ends of the remaining two squiggle pavers and glue them in place. The table base should be an + shape at this point and easily standing alone. This may have been overkill, but I also ran a line of adhesive down the cracks of the table legs like caulk.
To finish the table, I added a line of adhesive to the legs and centered the square paver on top. I let the glue dry overnight before moving it, so I’m not sure how long it took for the adhesive to totally set up.
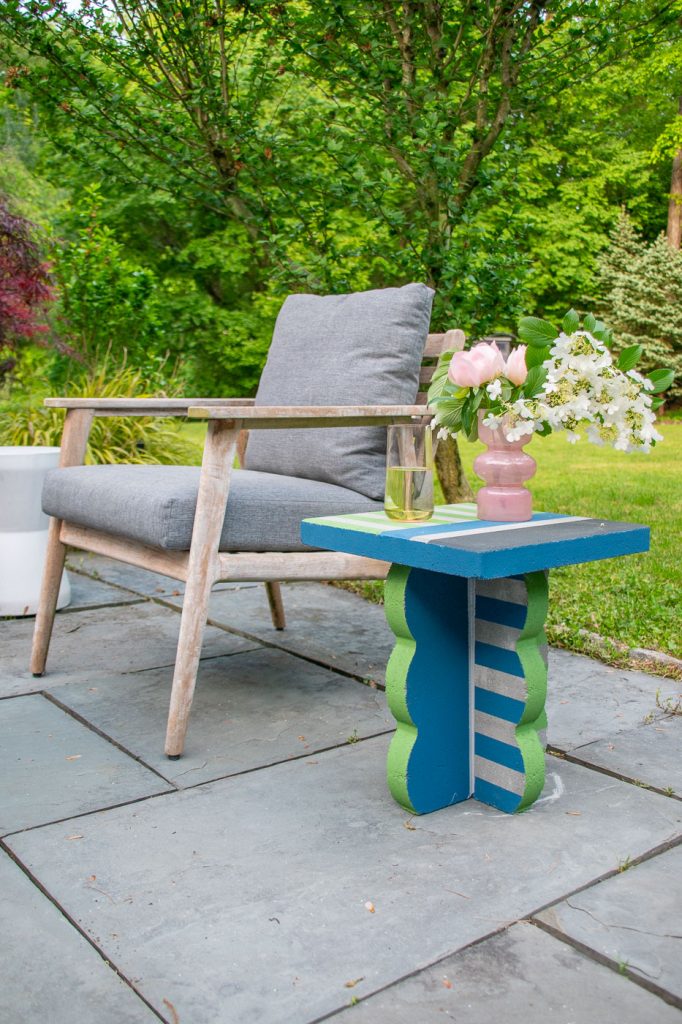
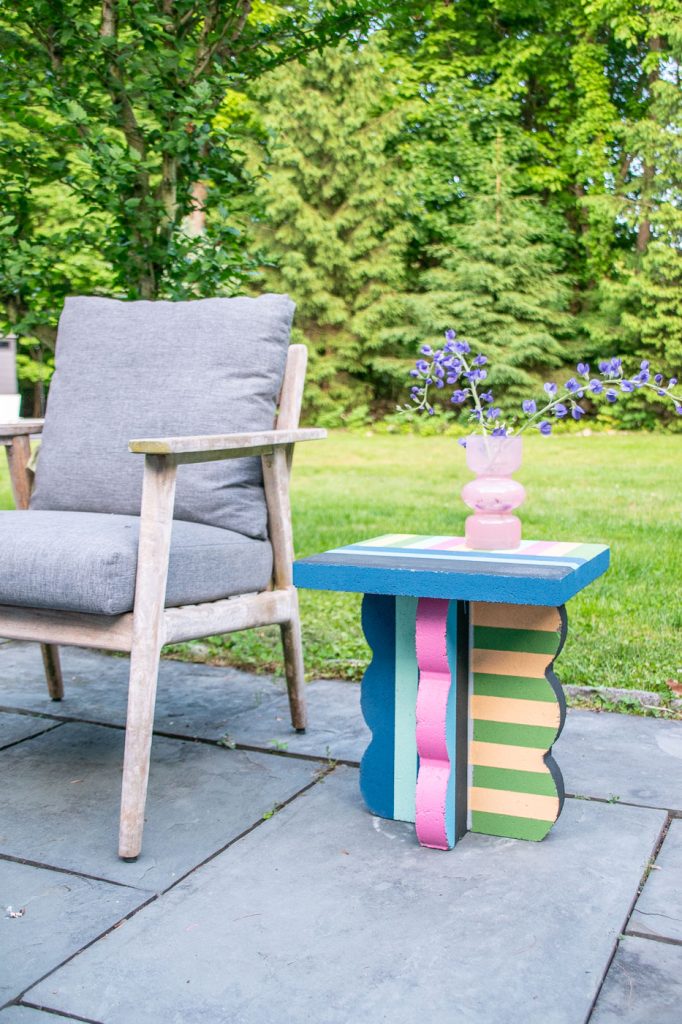
Here’s the finished version of the FIRST table iteration. It’s cute, but not quite right. I finished the whole table, took pictures and then realized… it wasn’t what I wanted. I don’t know if it was the vibrant rug in my sunroom or what, but it needed some color. I didn’t take pictures of how I added the new colors, but I taped and painted just like I did above.
Don’t you think it looks more interesting with the additional colors? I certainly do…
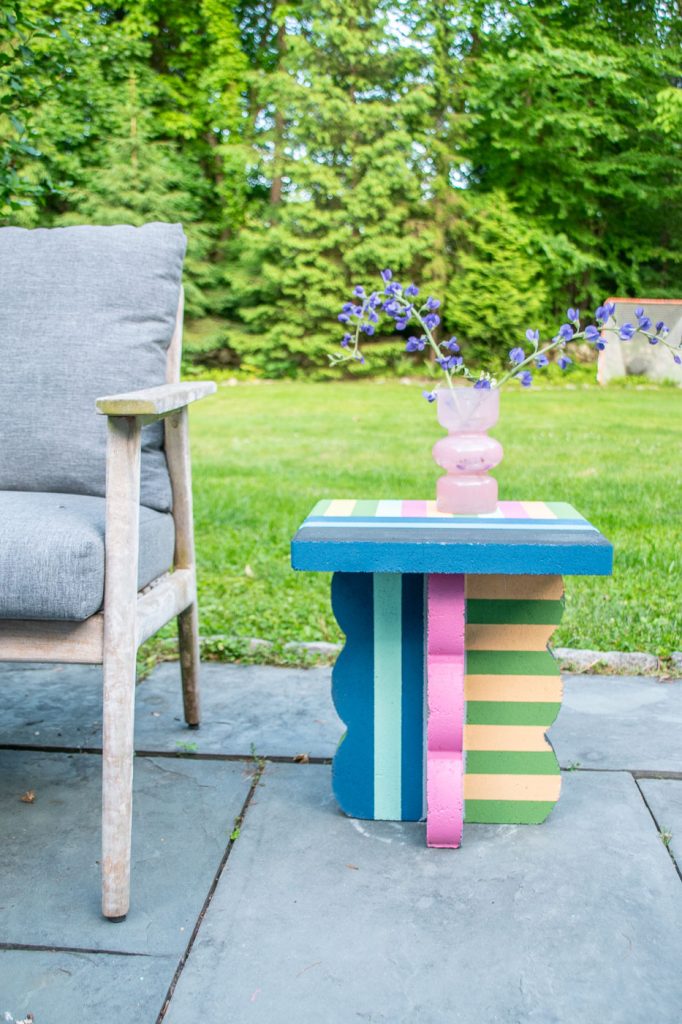
The versions I saw on Instagram were unpainted (and therefore took maybe 10 minutes to assemble) but I couldn’t resist adding some color and making a slightly more complicated version. This would be so cute hand painted, as a checkerboard or really any variation. I love a project like this table with a simple premise but then infinite ways to jazz it up!

Very clever and very cute!!
Thank you!