
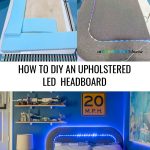
Upholstered LED Headboard
Psssst… this post *might* contain affiliate links: see my disclosure here.
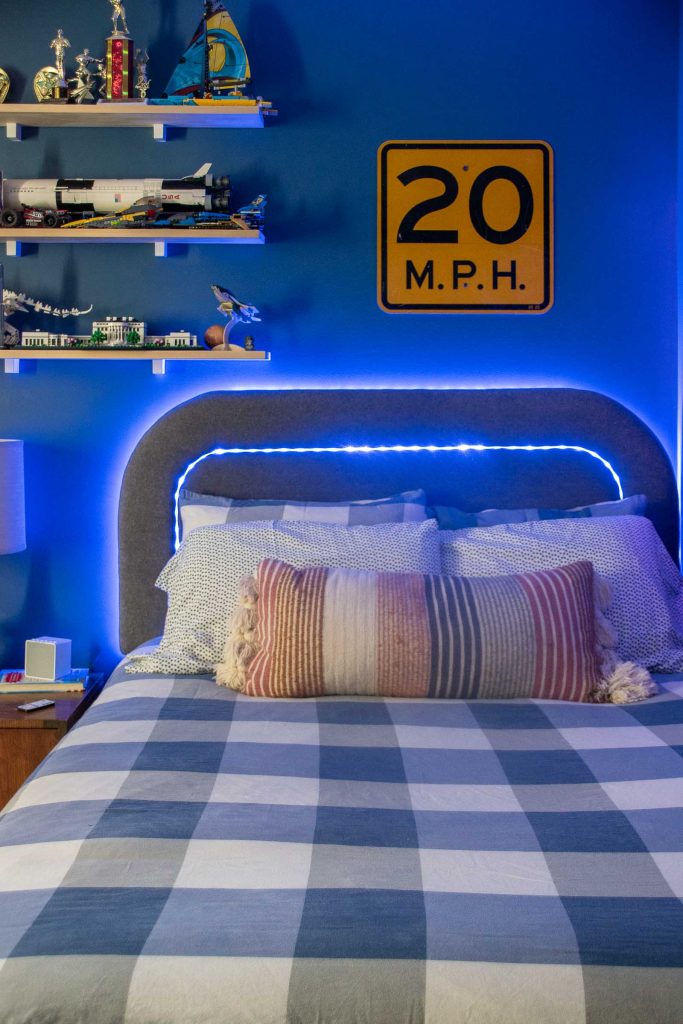
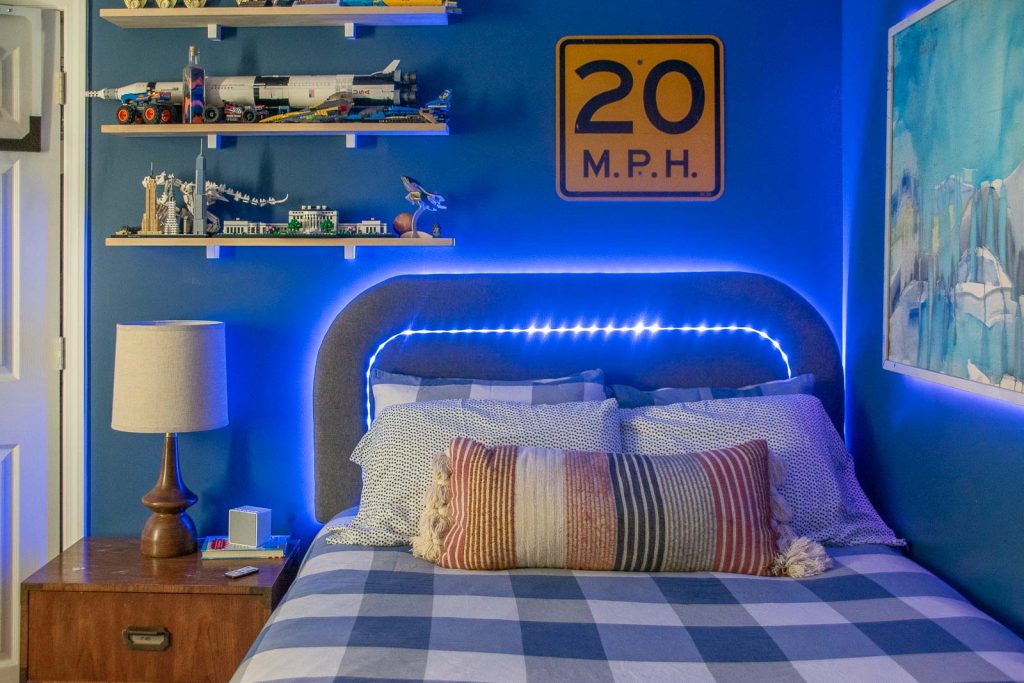
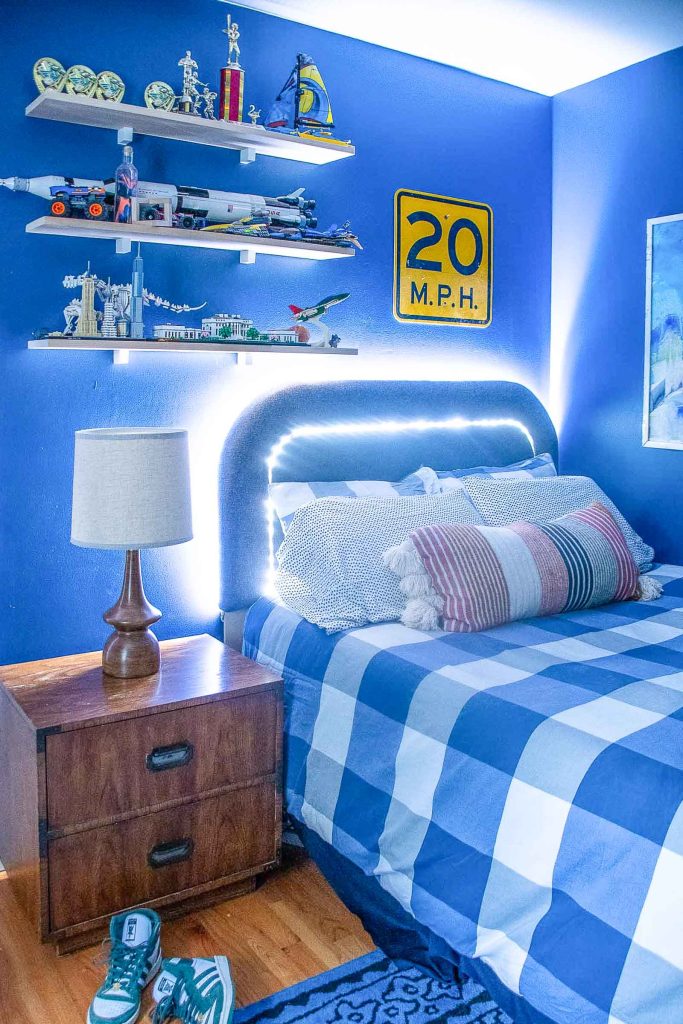
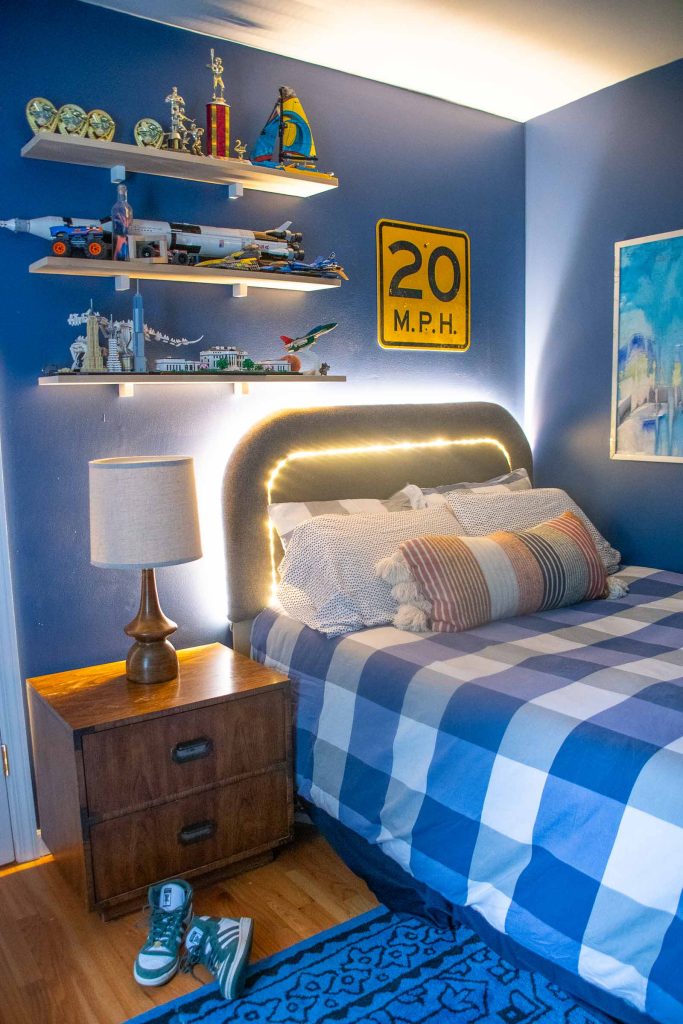
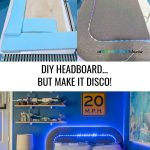
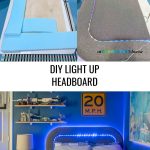
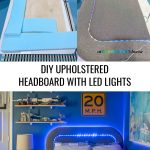
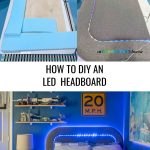
My son needed a new headboard so I made him one with color changing LED lights.

Story time: When it comes to decorating my kids’ rooms I will *always* ask them to help and give their input. I’ve decorated numerous kids rooms at this point in my career and they’ve loved every single one because they are my partner and collaborator. Turns out, I love every single one too because I am in charge and can steer the room in a direction that I think will look nice so the whole process is win-win. This headboard is in my middle schooler, Oliver’s room. He has been asking for a headboard so when Home Depot asked me to make something with these cool LED strip lights, I figured this might be a cool project and Oliver agreed!
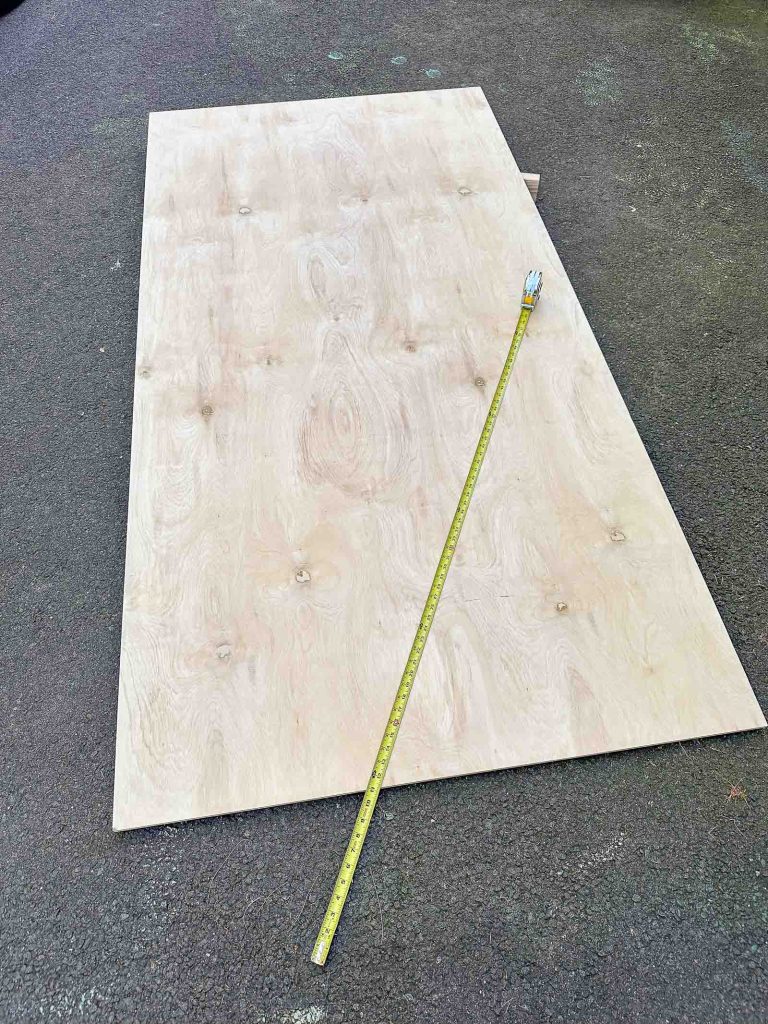
Step 1: Building the Headboard Frame
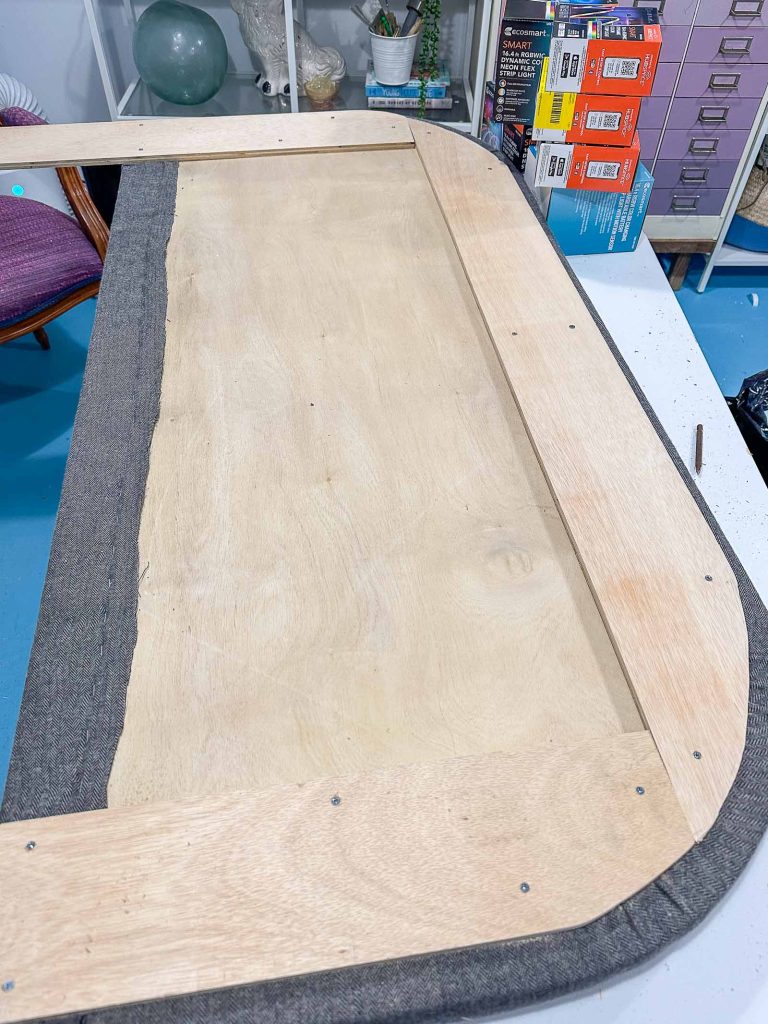
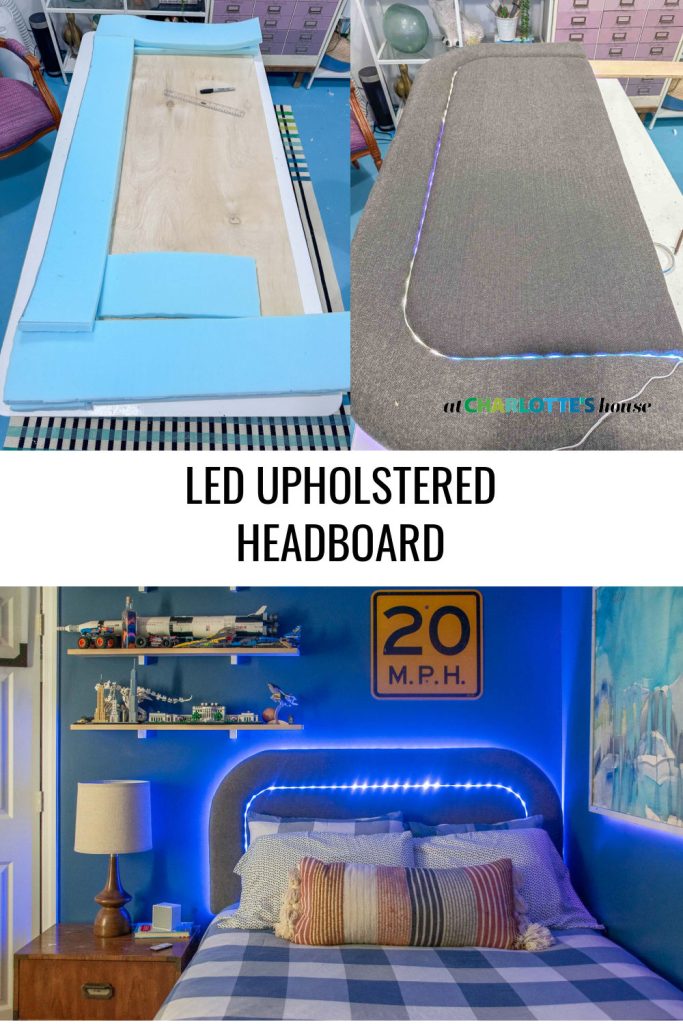
I’m using 1/2″ sanded plywood for this which is pretty skinny but my original plan was to layer two shapes with the LED lights glowing out from behind. (Note I said “original”… my first vision for this project didn’t work so I had to pivot.) At this point, I’m still blissfully unaware of my flawed plan so I’m cutting out the main headboard shape and then a smaller but identical piece out of the same lumber.

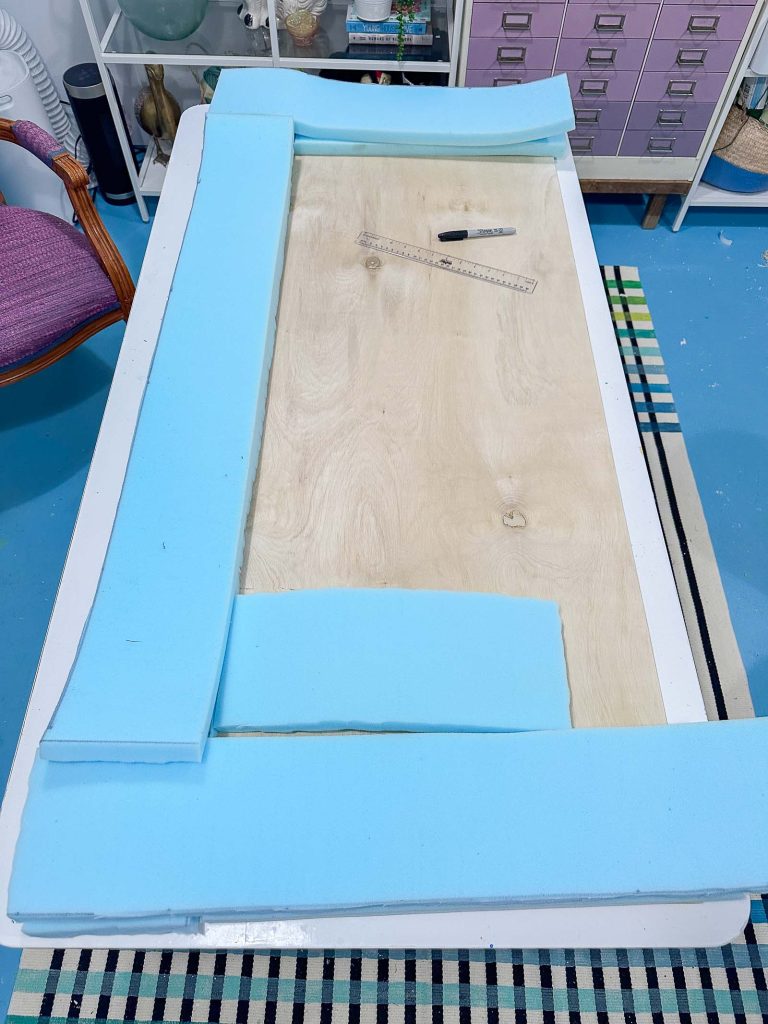
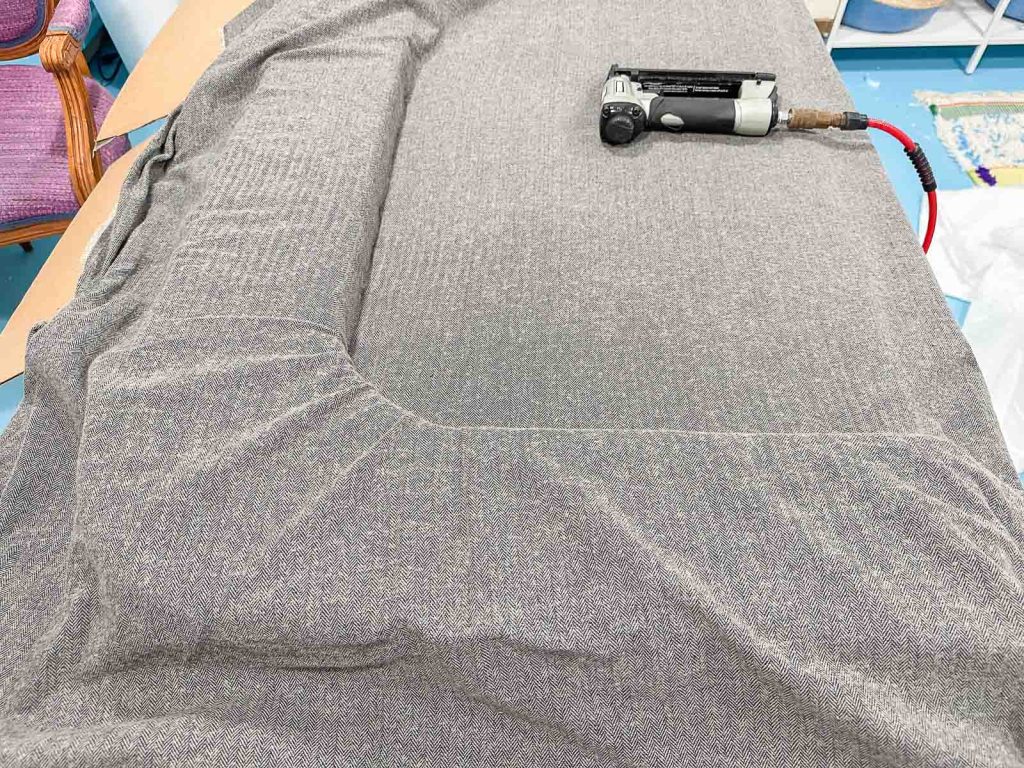
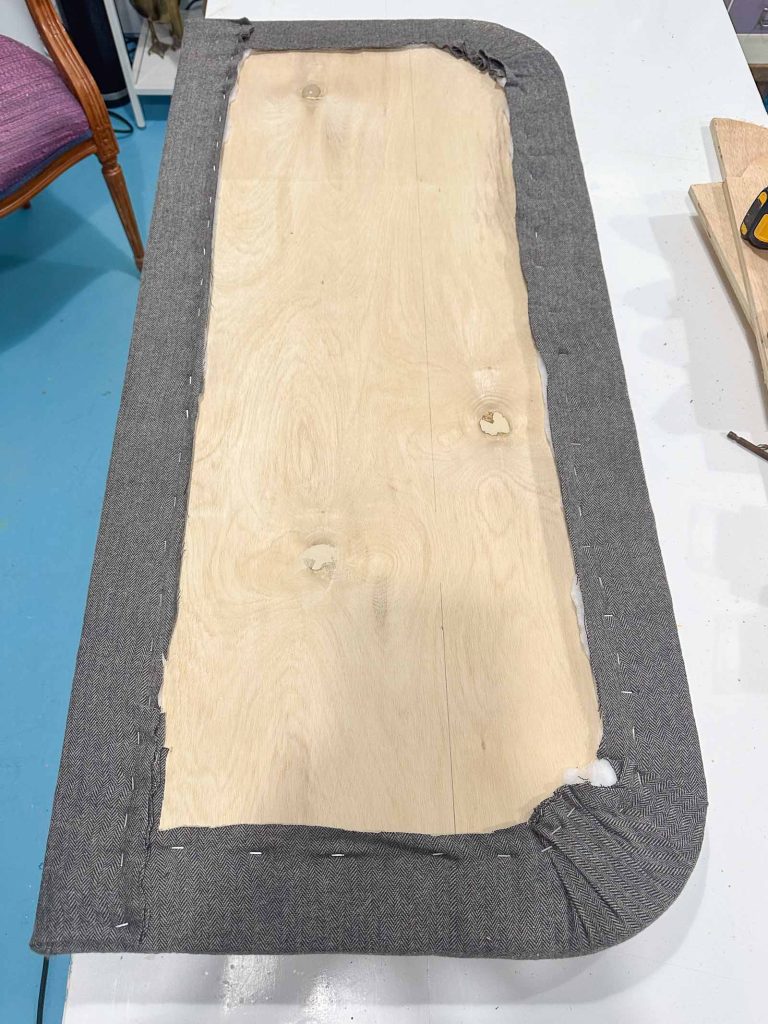
Upholstering the Headboard
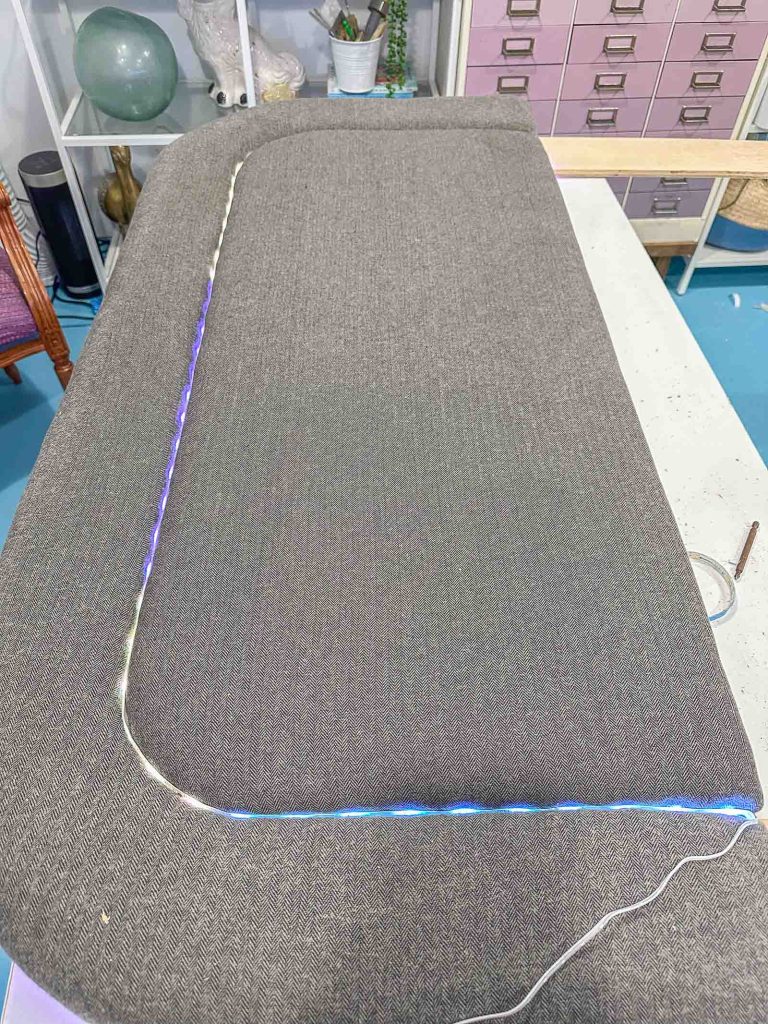
If you’re a professional upholsterer, first- hi! You are a wizard and I wish I could do what you do. Second, I know this may not be the perfect most pristine way to do this, but thank you for your patience. For everyone else, here’s what I did! I Cut a piece of foam to size planning to ‘float’ the inner layer of this headboard just above the larger headboard. I wrapped with batting and then secured the fabric tightly around the foam arch shape and then tight along the back of the headboard.
Shop my favorites!
Integrating the LED Lights into the Headboard
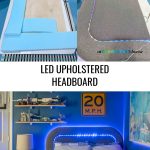
This is where I had to problem solve. As I mentioned, my plan was to upholstered the inner piece for the headboard, attach the LED lights to the *back* of this inner piece and then mount it to the larger headboard so that it had the affect of being backlit. Unfortunately, when I upholstered the inner piece and adhered the lights to the back and slid it into place, the light was totally blocked but the upholstery. SO… the solution was to stick the light around the edge of the inner headboard and then tuck this into place. I was worried you’d be able to see the light strip, but… you totally can’t. The upholstery hides it but you can totally see it when it’s turned on.
I also went ahead and wrapped the lights around the back of the headboard too so that *will* have the appearance of being backlit. For the legs, I trimmed out the back edge of the headboard to give it a bit more stability and just used the leftover plywood for the legs. The legs I built also doubled as a place for the LED strip lights to adhere. I didn’t bother to upholster these because they’re hidden behind the mattress and… chances are good Oliver will want something different in a year or two so work smarter not harder.
I’m using these LED lights and they change colors which is a fun feature for Oliver to play around with. They also connect to an app so you can control them from your phone and sync to music and stuff!
Check out my other DIY upholstery projects here!


Don’t Miss Out
Become An Insider!
Signup for exclusive tips, and tricks from Charlotte’s House!
Let’s chat!
I love comments from you, so feel free to leave your thoughts and ideas below! And don’t forget to follow me on Instagram for even more!