$15 Fireplace Makeover
Psssst… this post *might* contain affiliate links: see my disclosure here.
Easy Fireplace Transformation
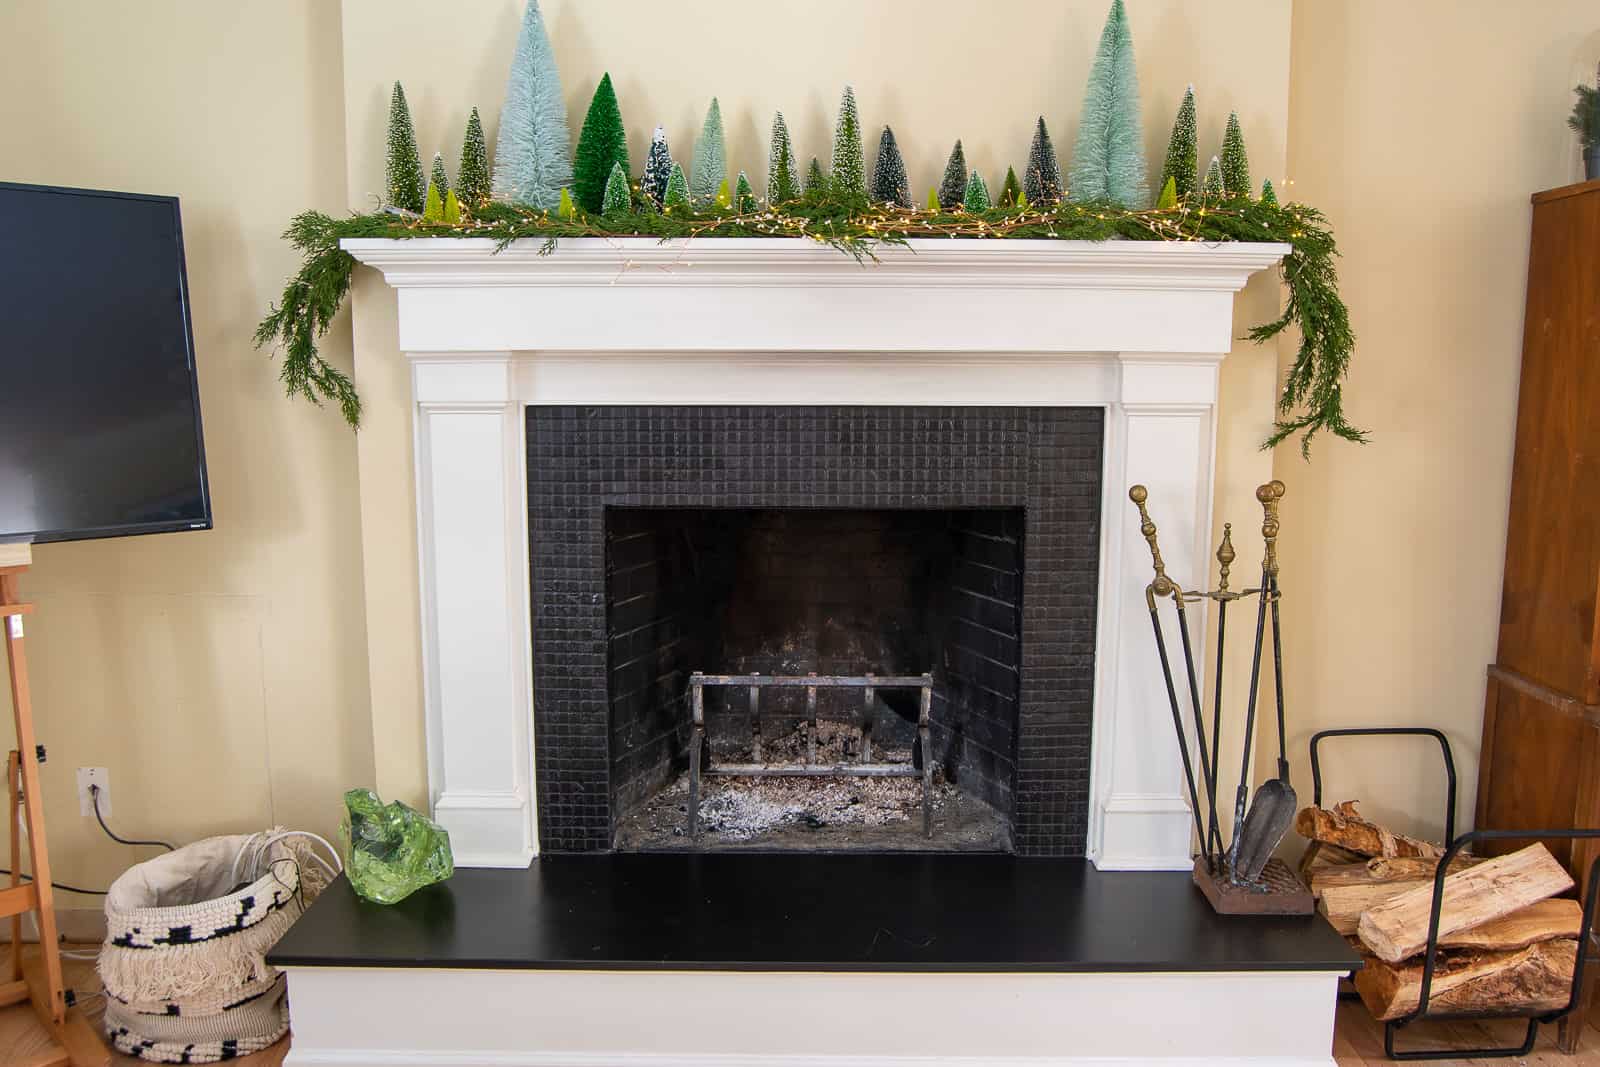
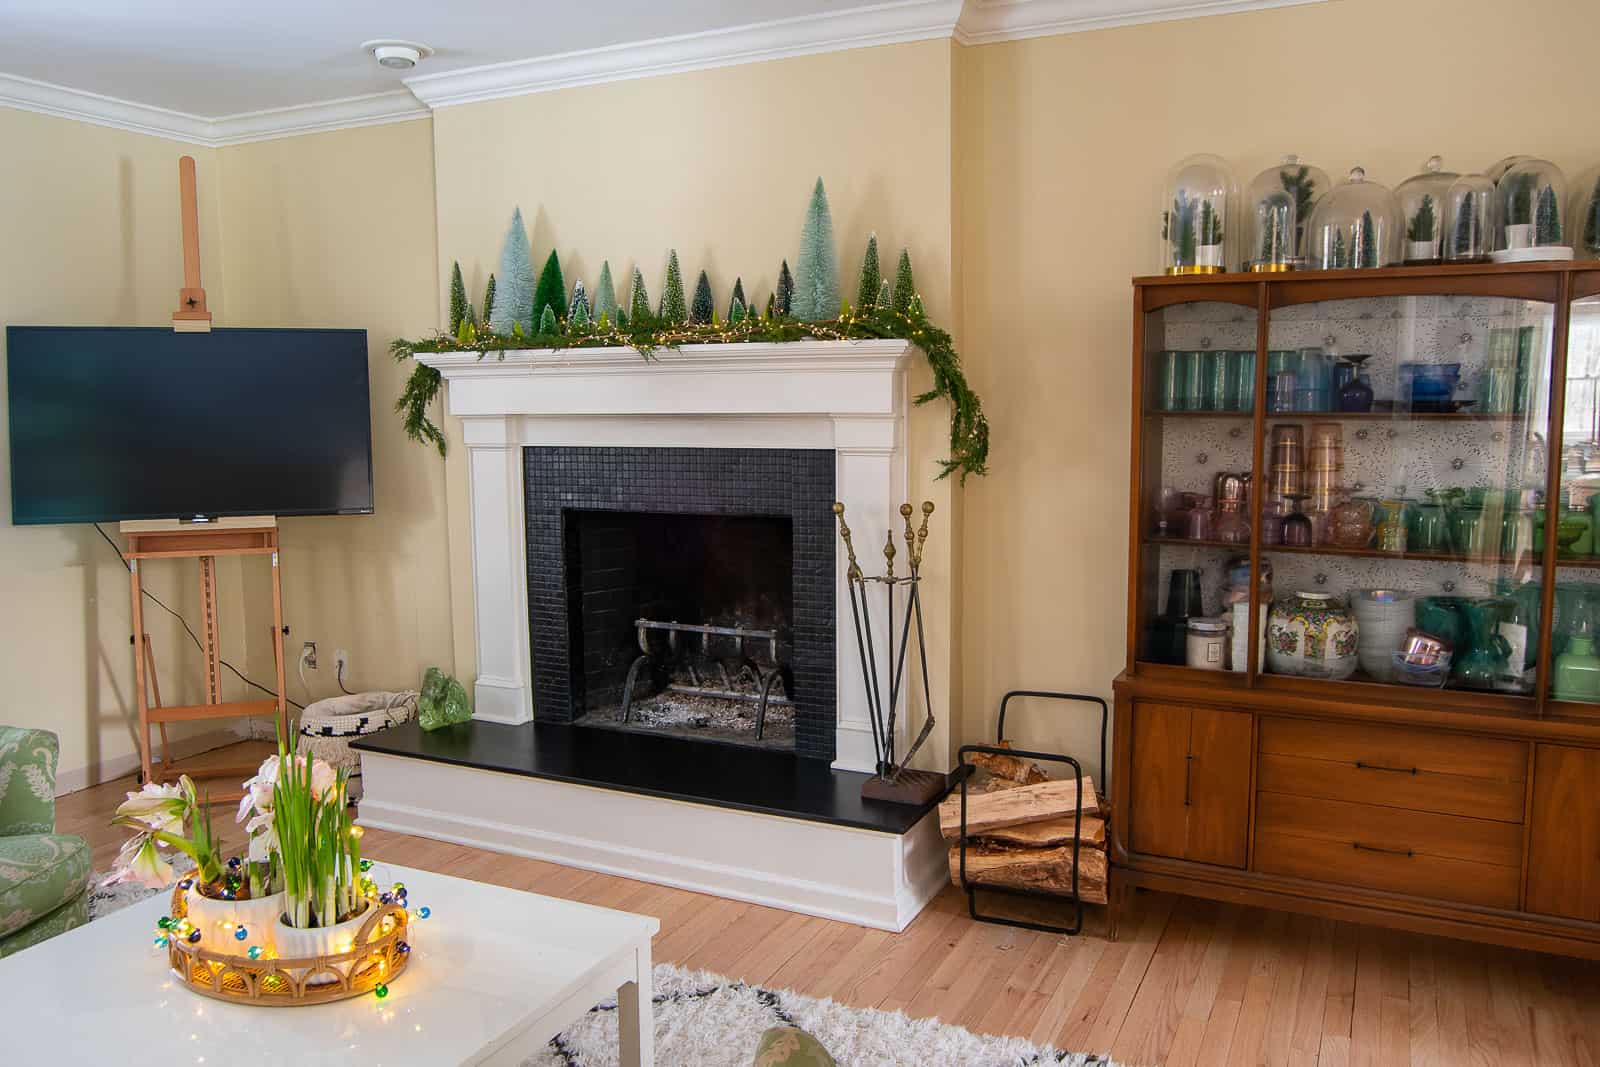
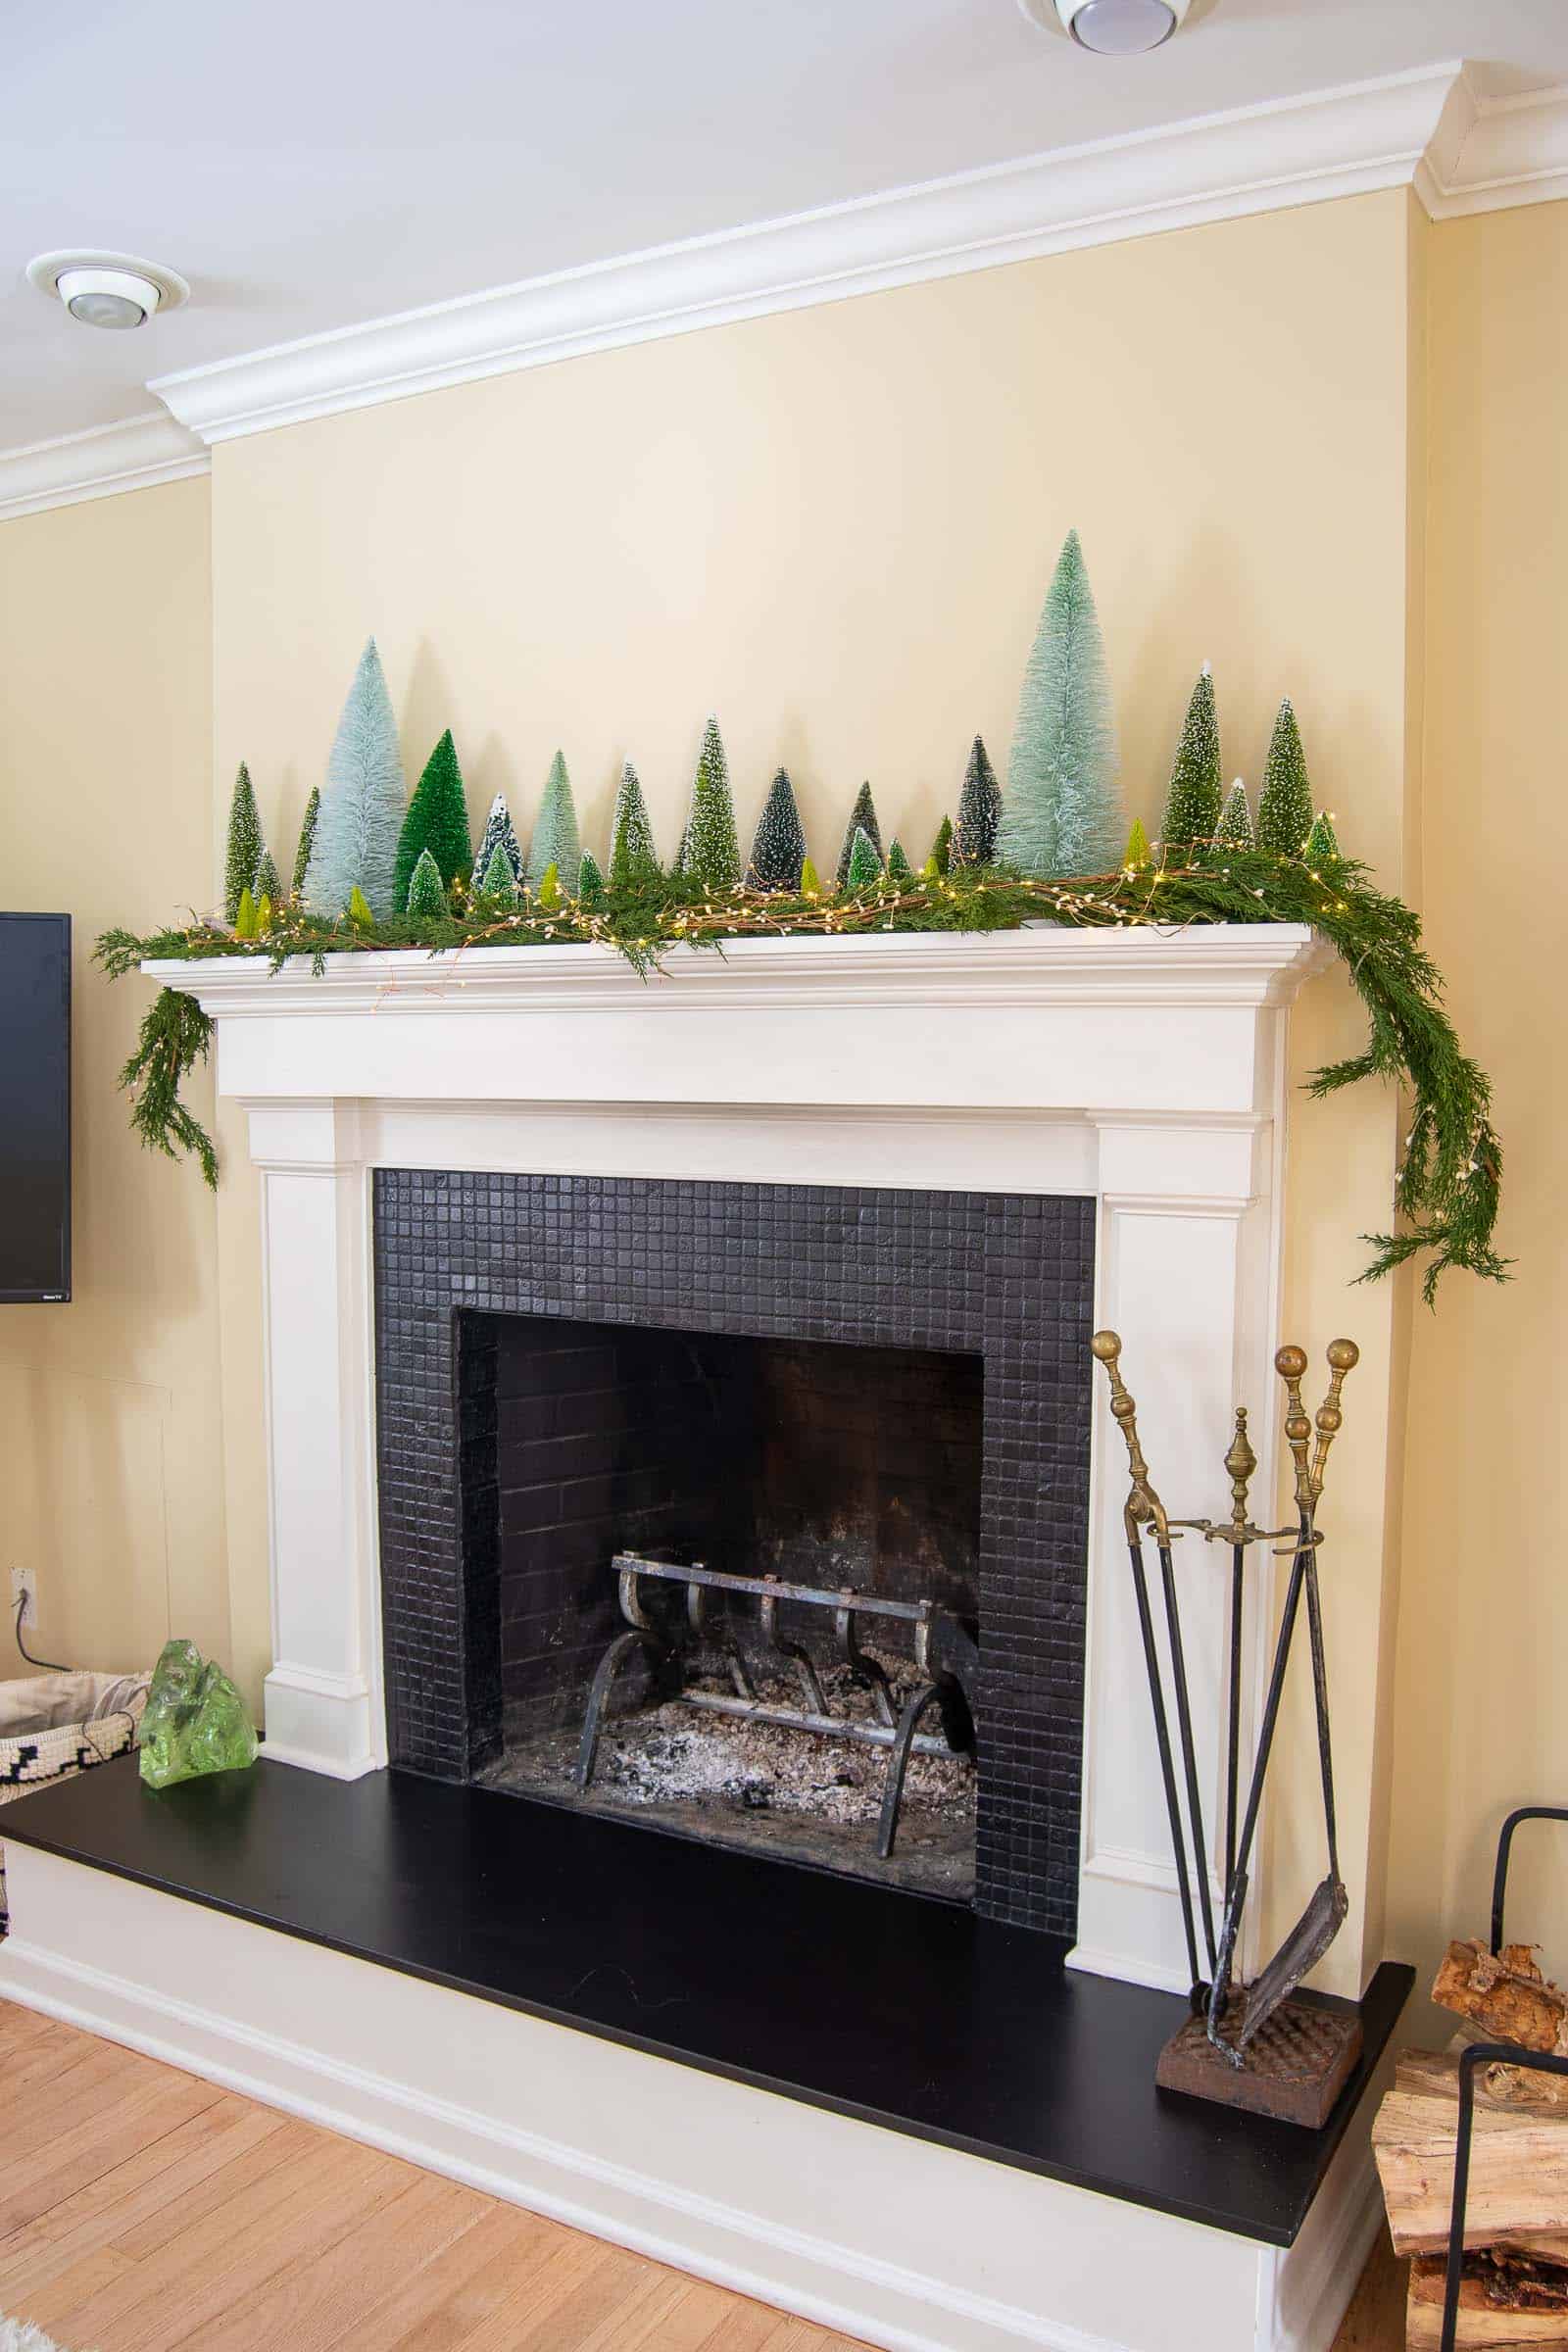
I gave our fireplace and easy low budget makeover using high heat paint. A new fireplace in under an hour!
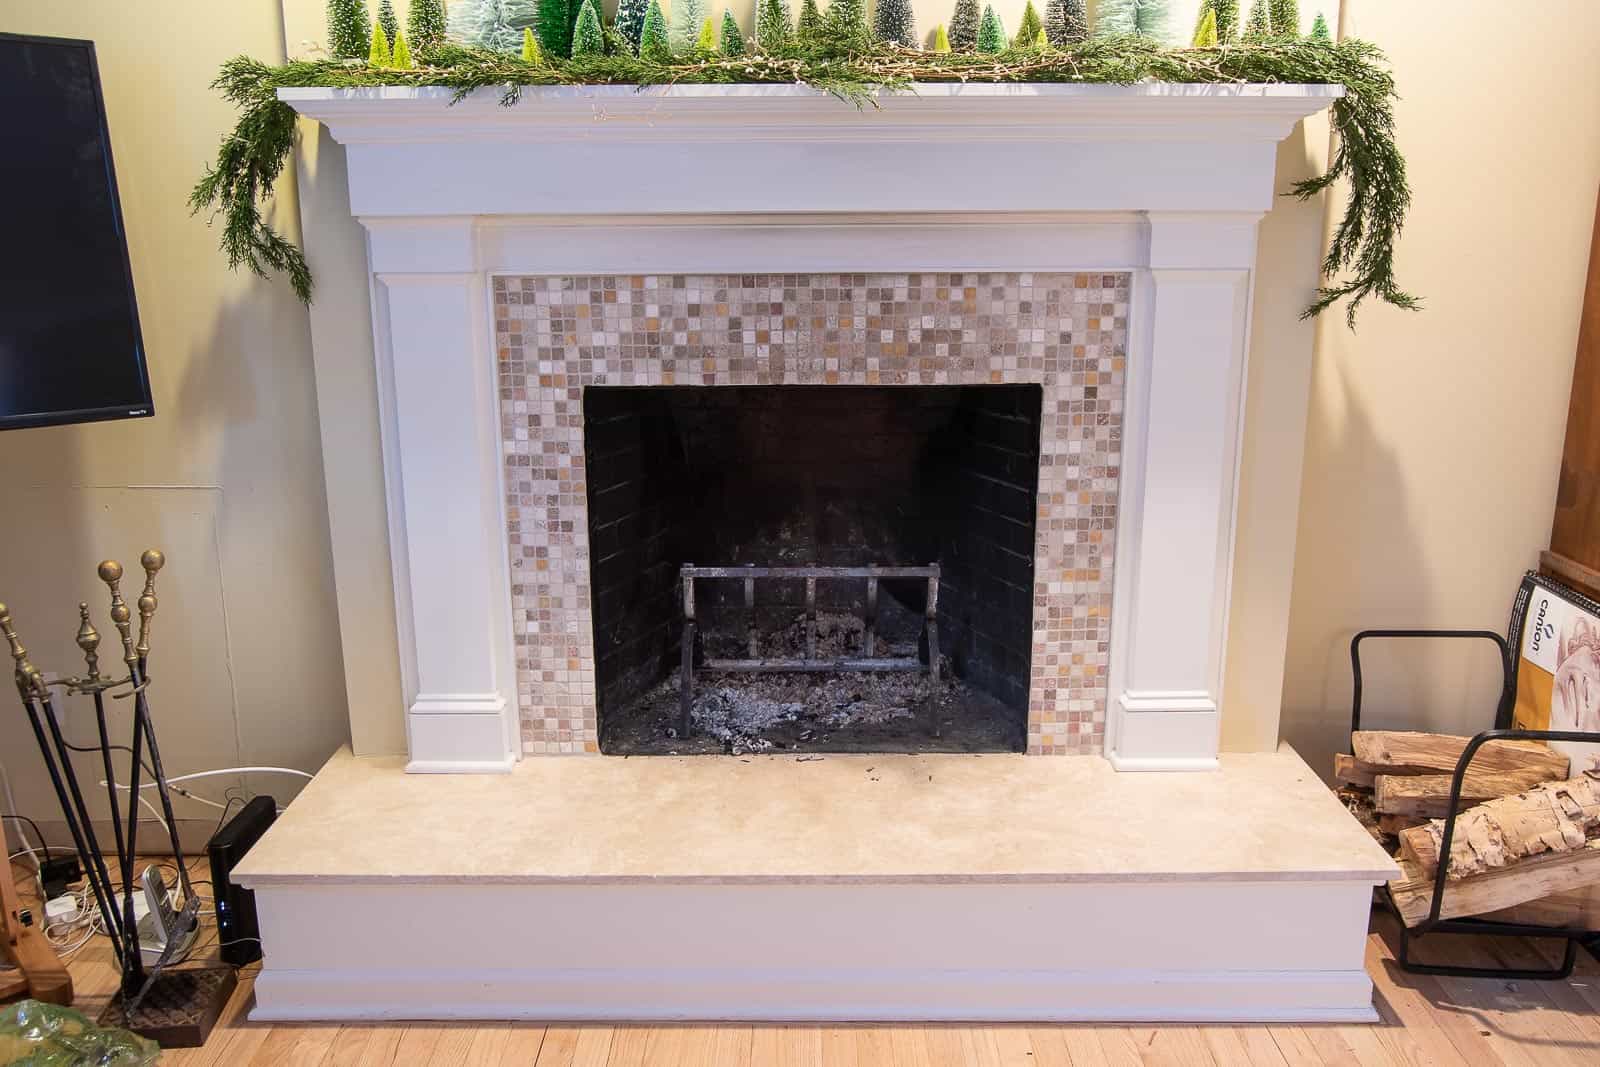
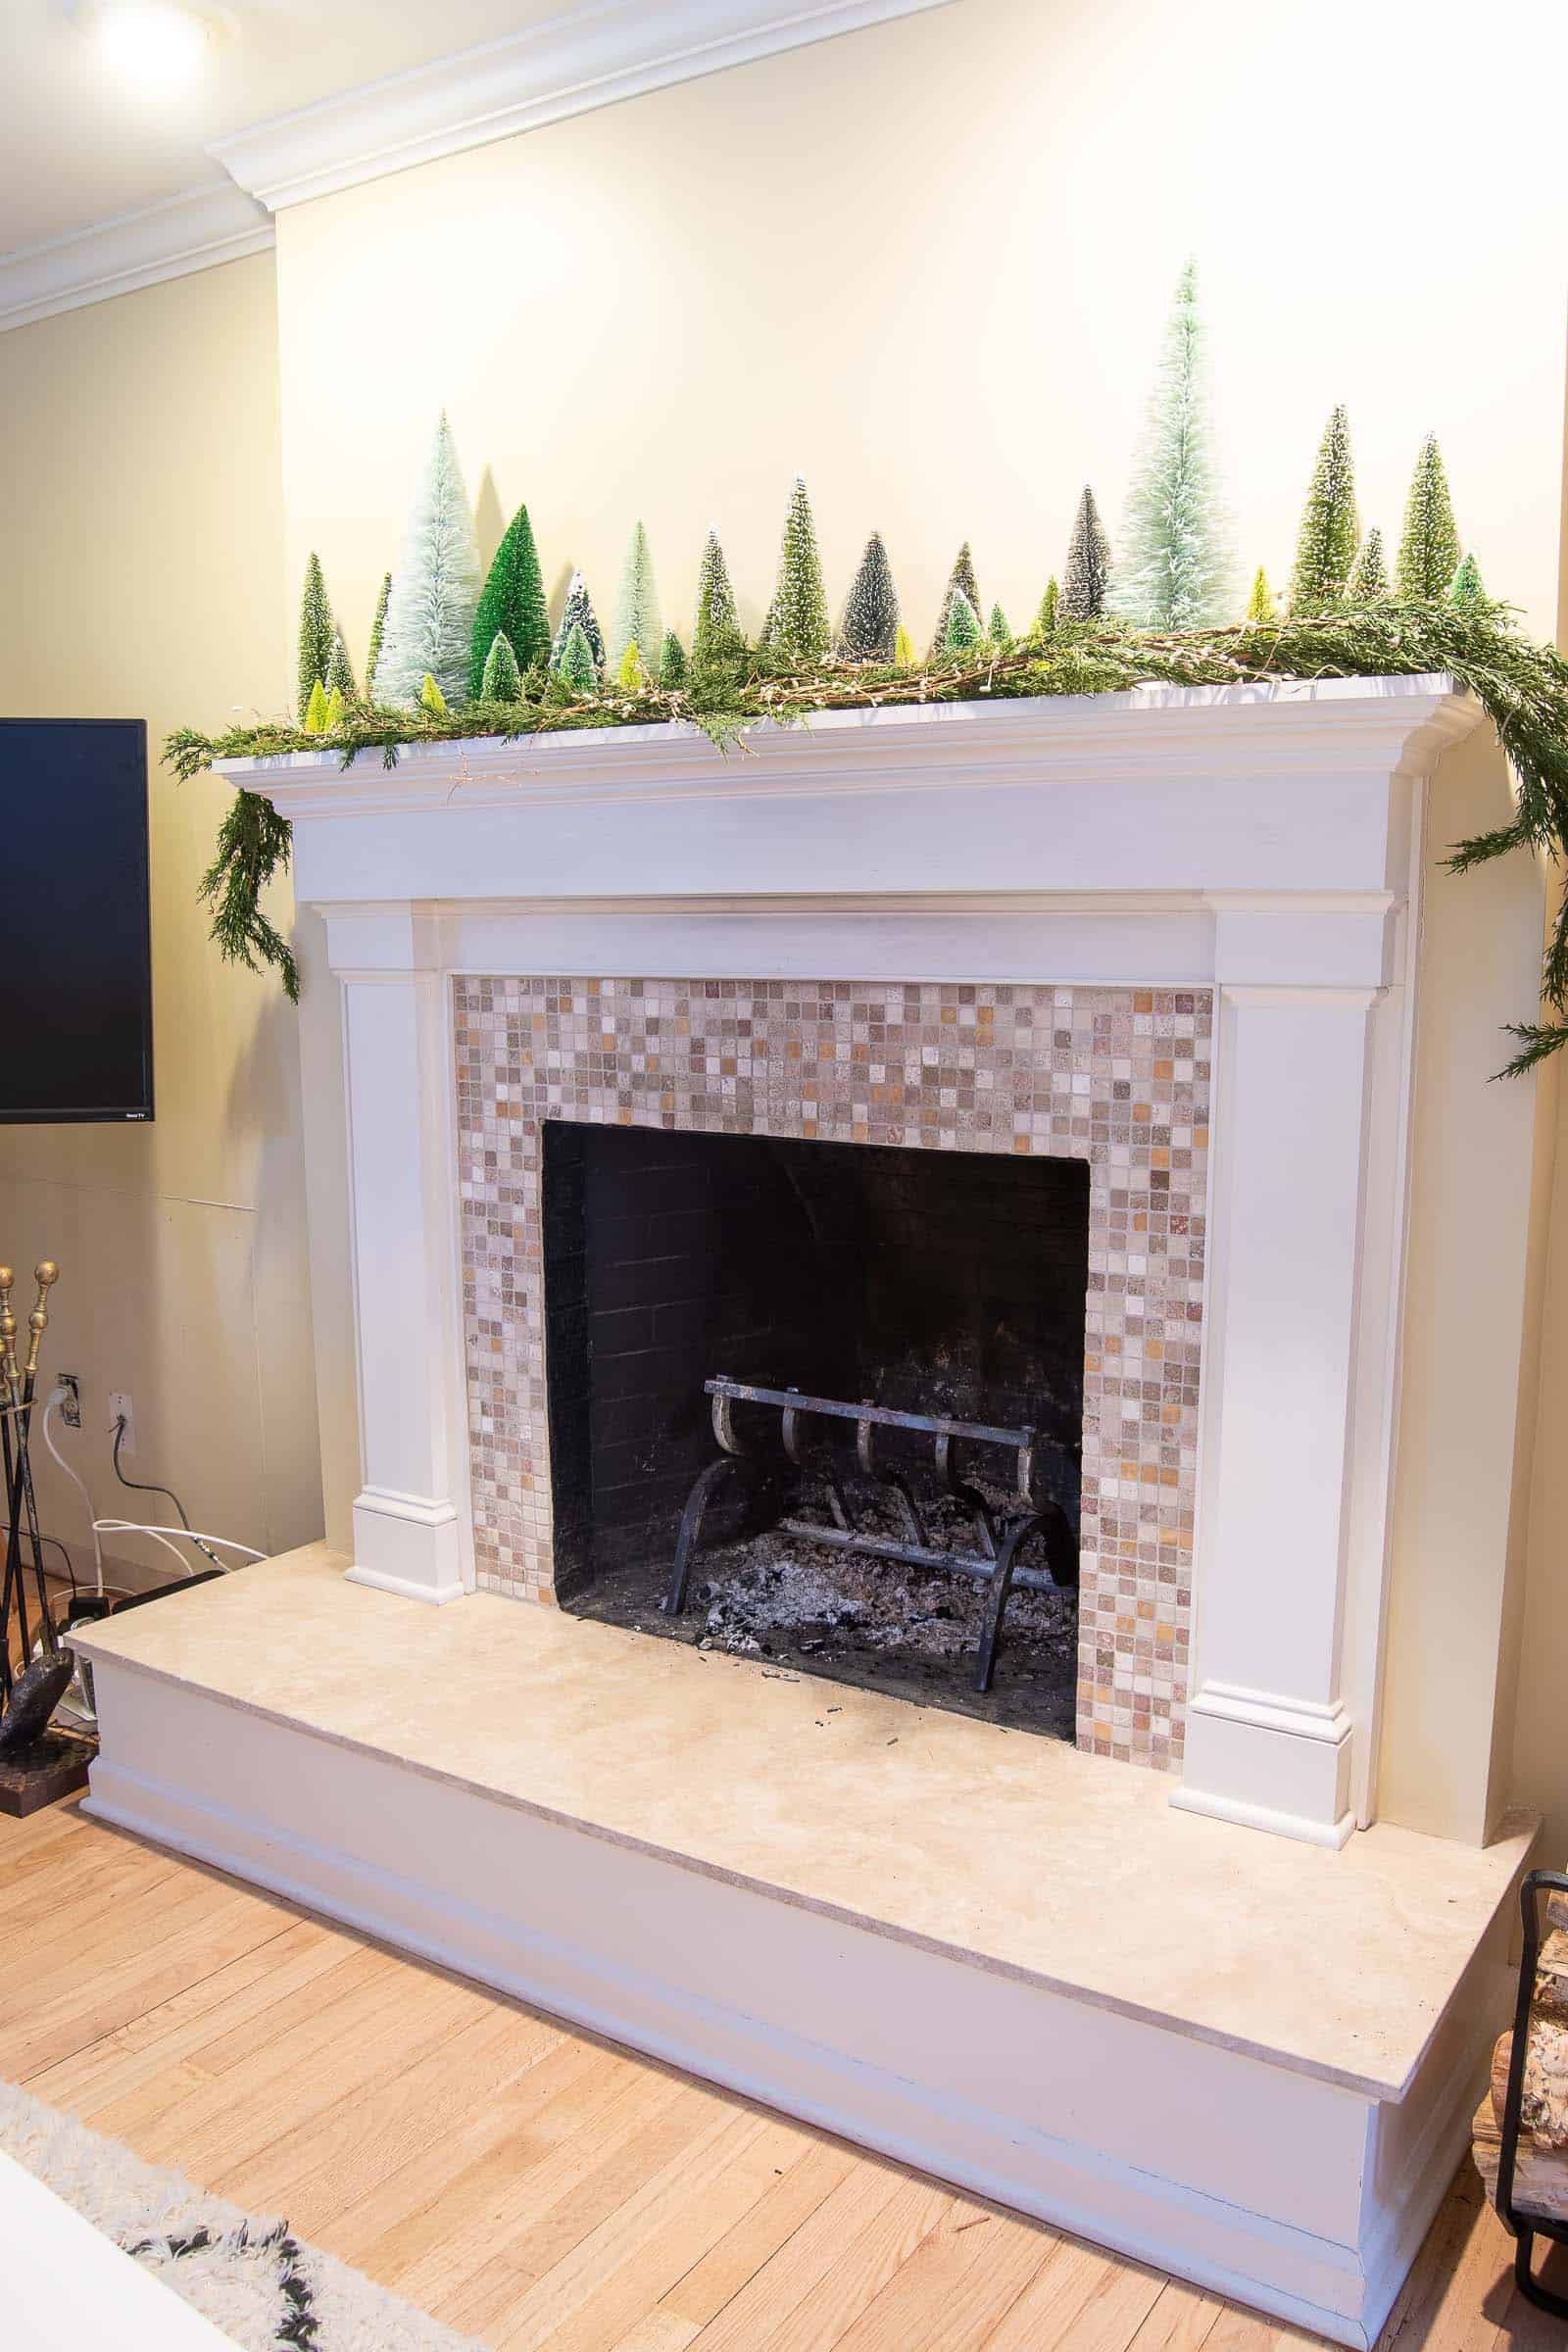
The fireplace in our new house was fine, but not great. The mantel itself was a nice shape and I liked the lines, but the tile surround was drab. Dull. Boring. When I first put together my punch list for the house, a fireplace makeover was on that list. Demo-ing the tile surround and the stone hearth… and replacing with something with a bit more contrast. But then we moved in and the colors of that tile just bugged me. I definitely didn’t have time in the weeks leading up to Christmas to demo and retile. Which is where my $15 makeover comes in: High Heat Paint.
Shop my favorites!
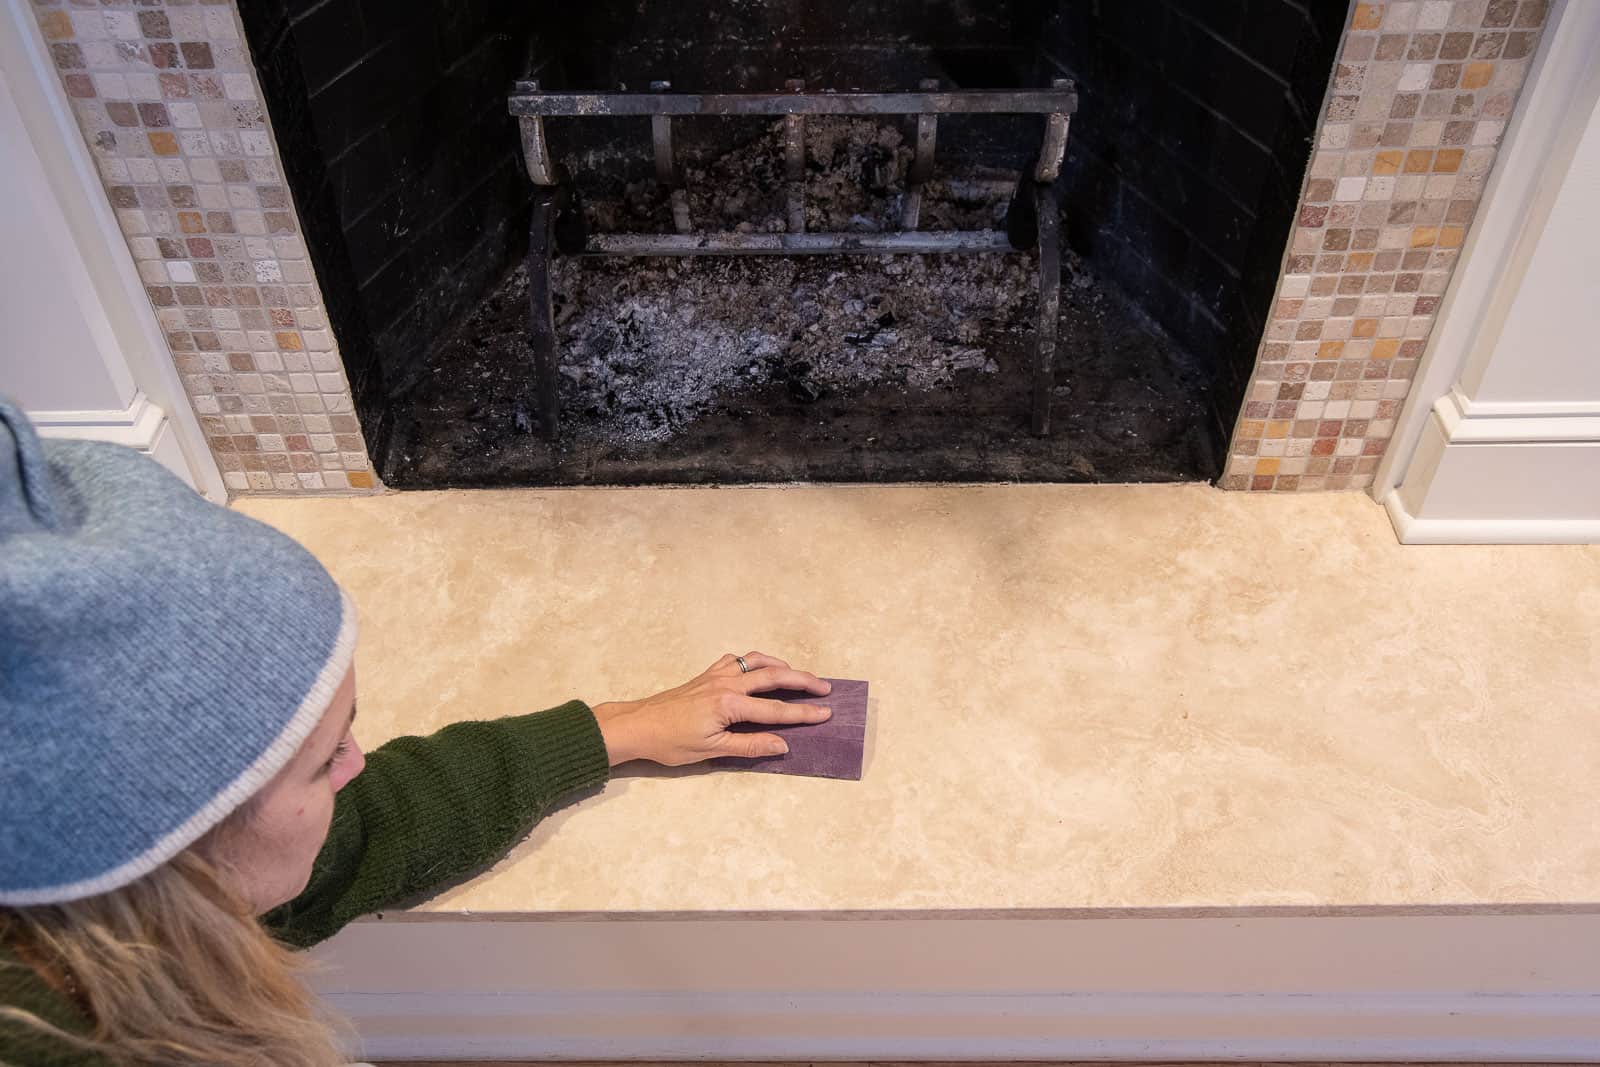
Step 1. Lightly sand the tile
I used a low grit sanding sponge to rough up the hearth and the tiles around the fireplace. I was less worried about the square tiles by the mantel, but definitely wanted to rough up the smooth stone of the hearth itself.
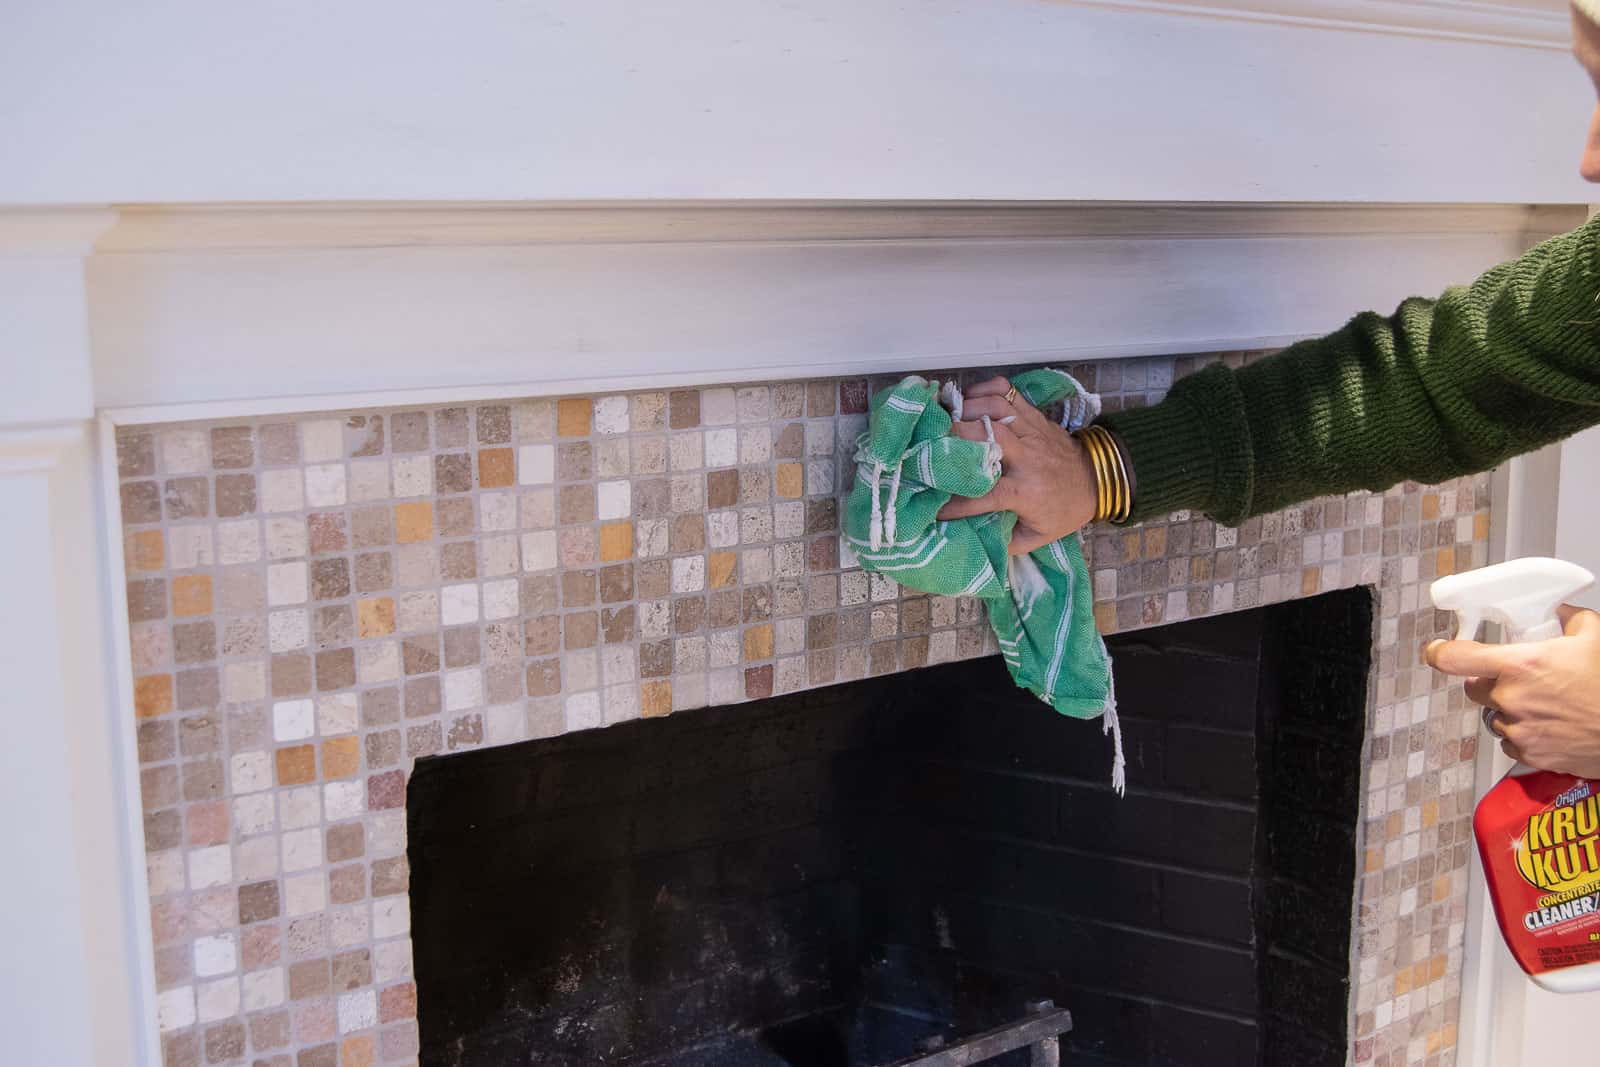
Step 2. Clean
Clean the tile and the hearth to remove all dust and debris.
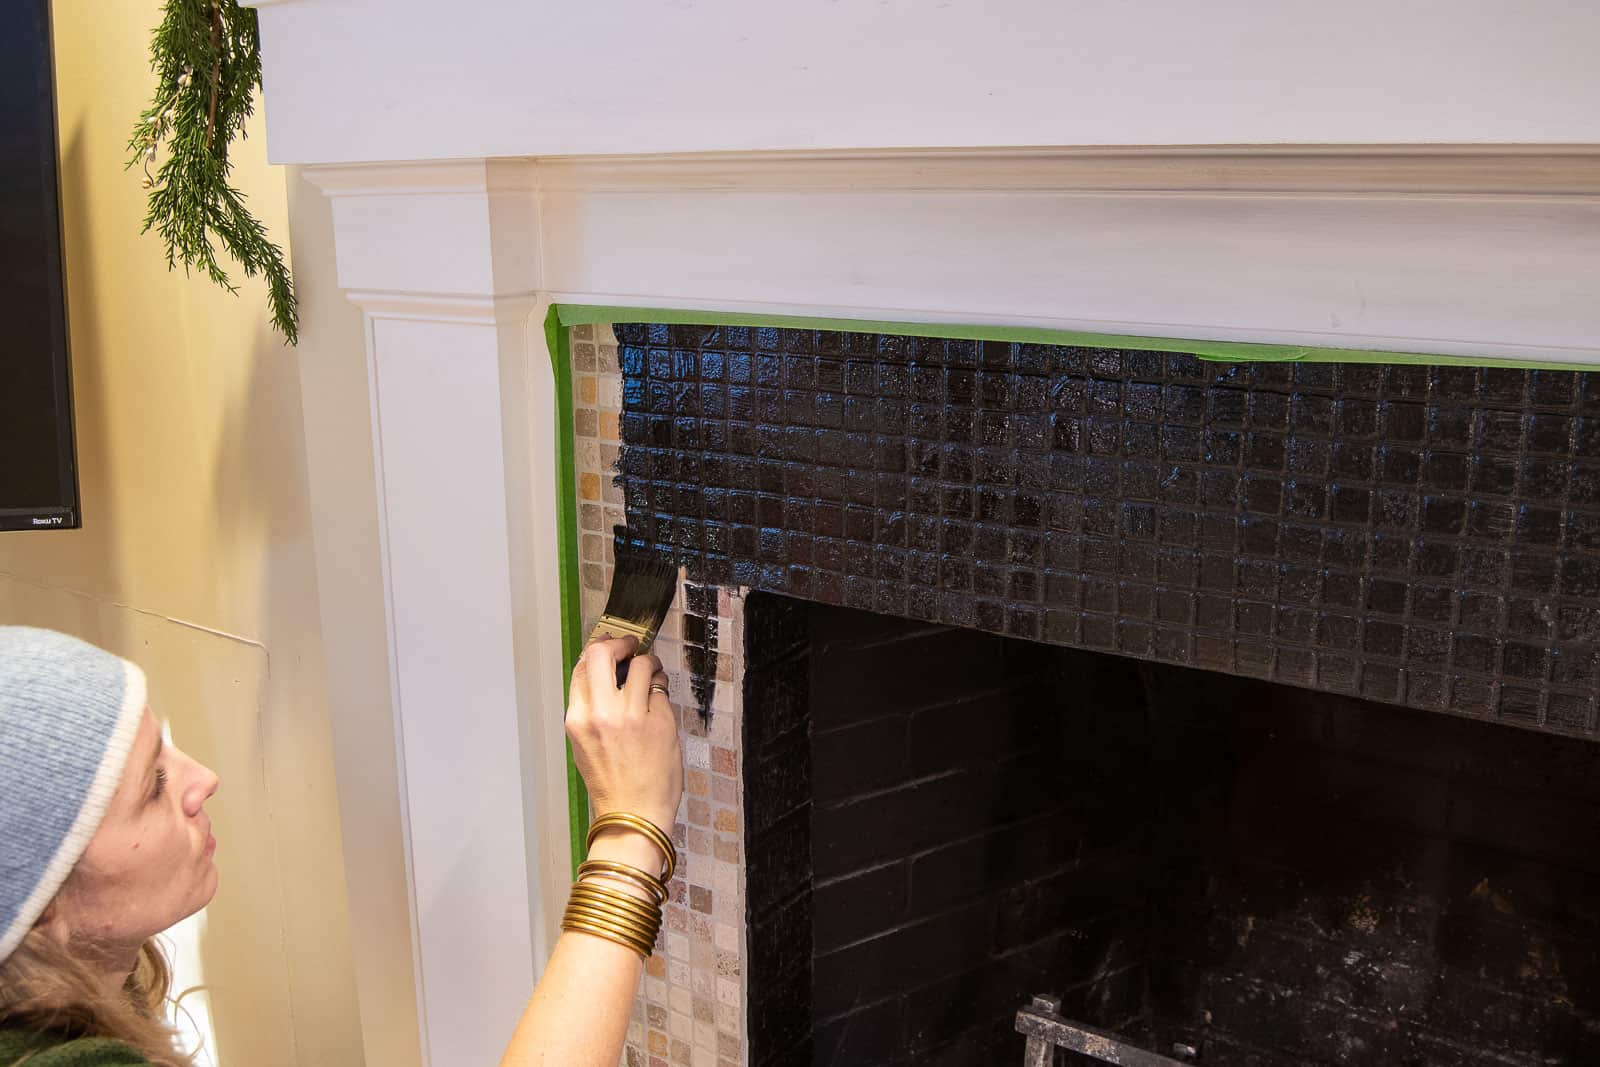
Step 3. Tape off the edges
I used painters tape to tape off the wooden mantel and the wood below the stone hearth. I was still careful along the edges because the tile was uneven so I didn’t trust the tape entirely!
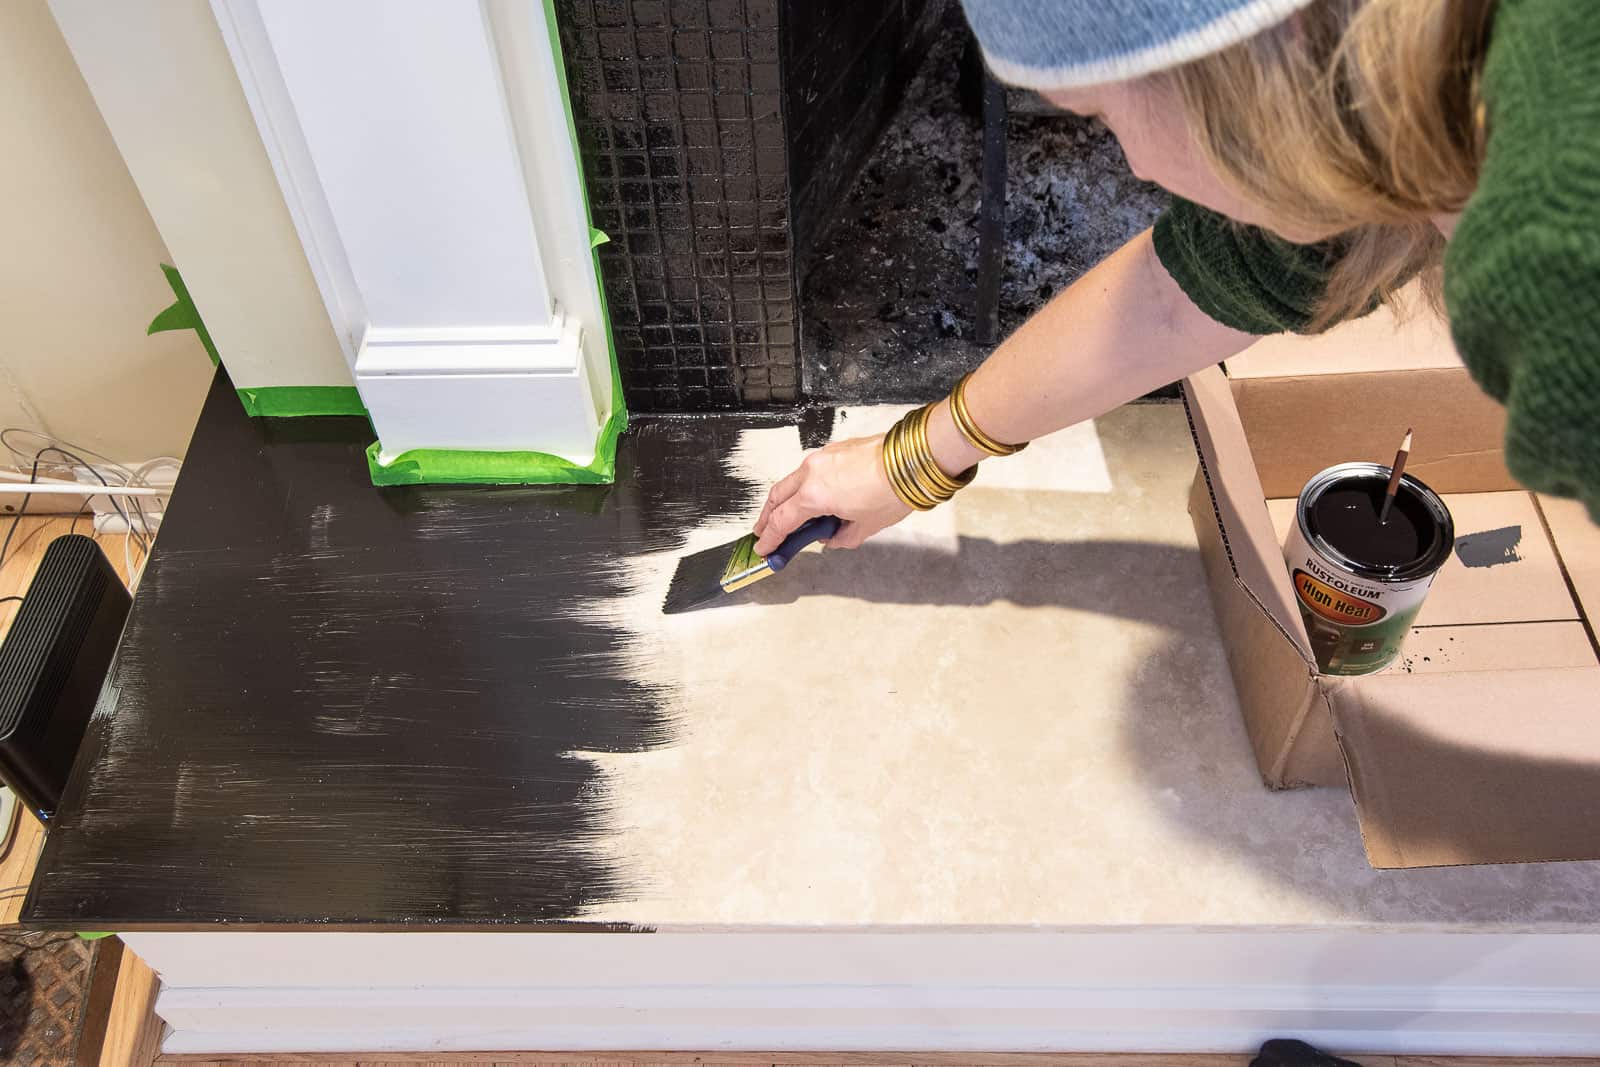
Step 4. Paint!
High heat paint is a thinner consistency than regular latex paint so be prepared for drips. But also be prepared to work faster than you would with latex paint. High heat paint goes on SO easily! Follow the directions on the package as far as re-coat time. I didn’t really need a second coat anywhere other than a few corners of the smooth hearth stone. You won’t be able to use your fireplace for at least 24 hours to let the paint cure so plan accordingly.
Now that I see the painted black tiles around the fireplace, I’m honestly not sure whether I’ll go for the bigger makeover! I love the clean black tiles against the white mantel and can’t wait to paint the rest of the room a nice bright white!

























I actually LOVE the black! Great job – as always!
Thanks Cici! It works great in here!!