
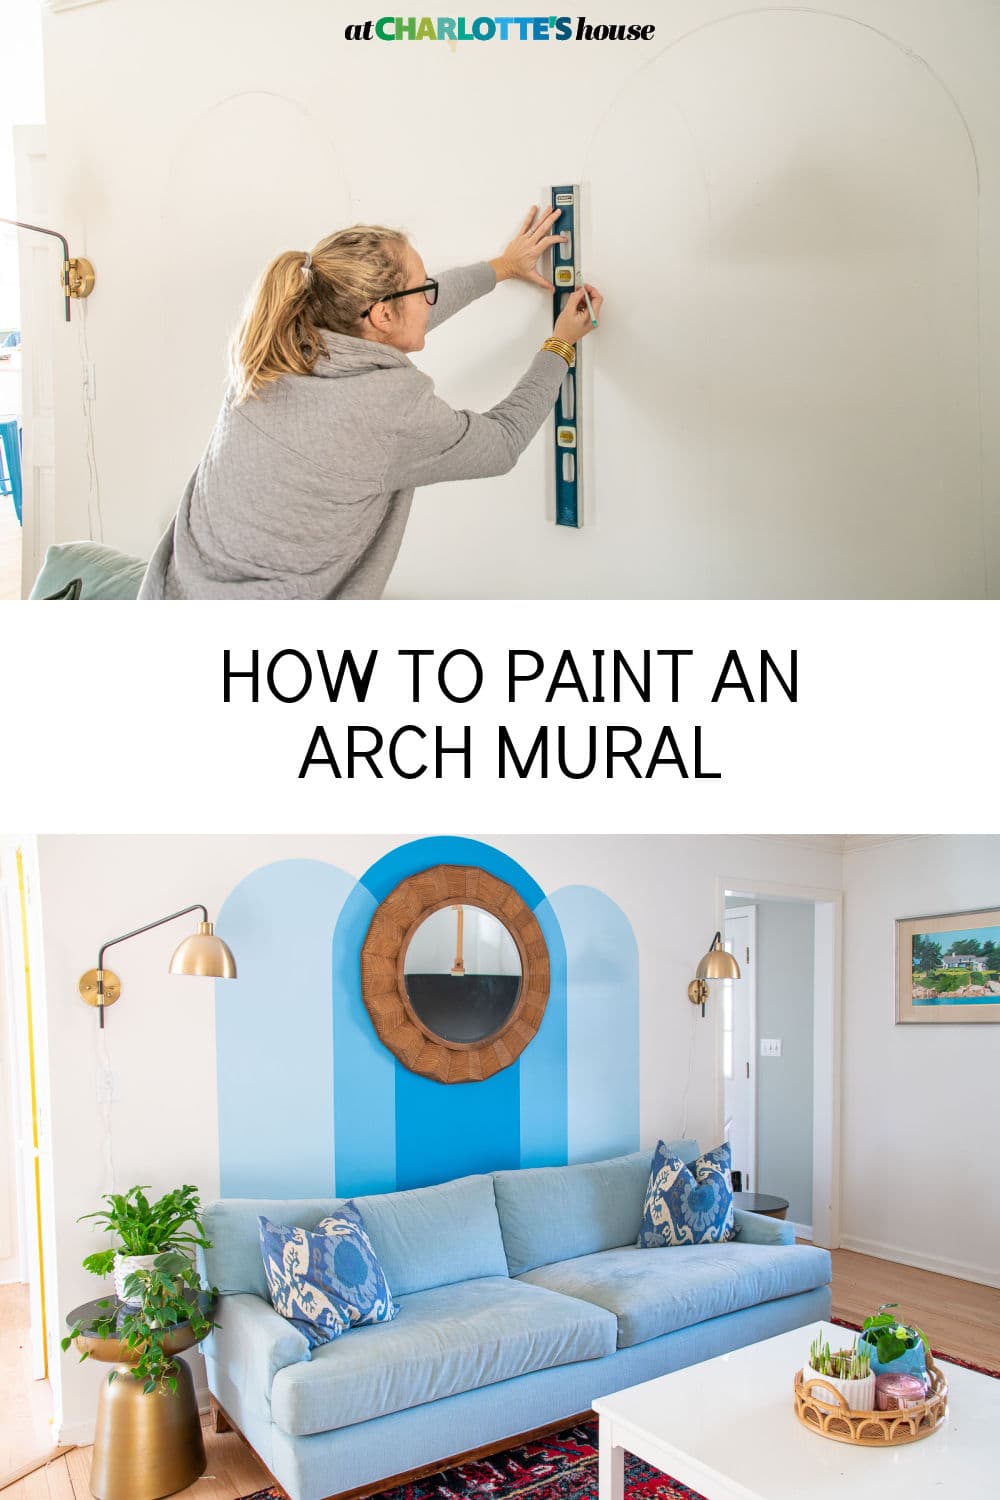
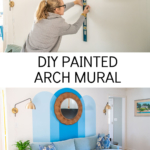
Painted Blue Arch Mural
Psssst… this post *might* contain affiliate links: see my disclosure here.
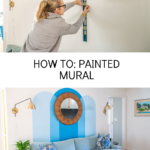
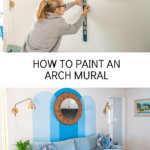
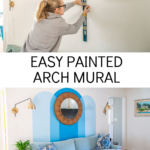
How to Paint a Custom Wall Mural
I wanted to add a little colorful flare to this wall in our family room so I painted this lovely arched wall mural.

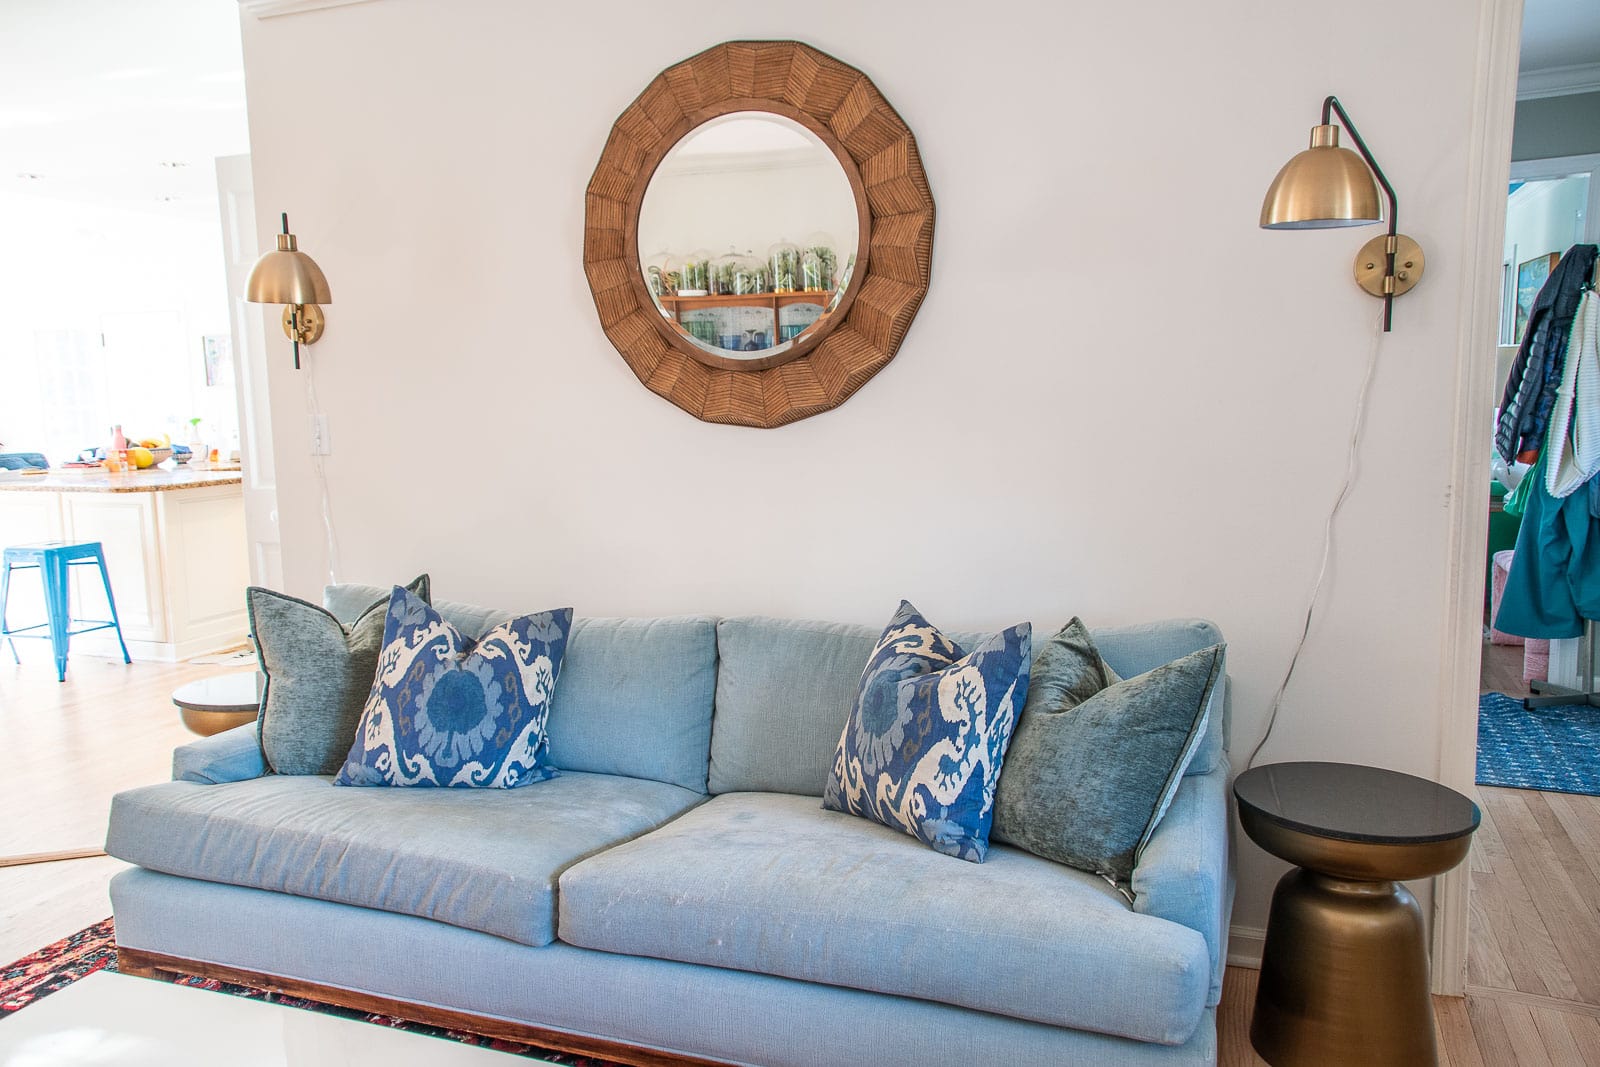
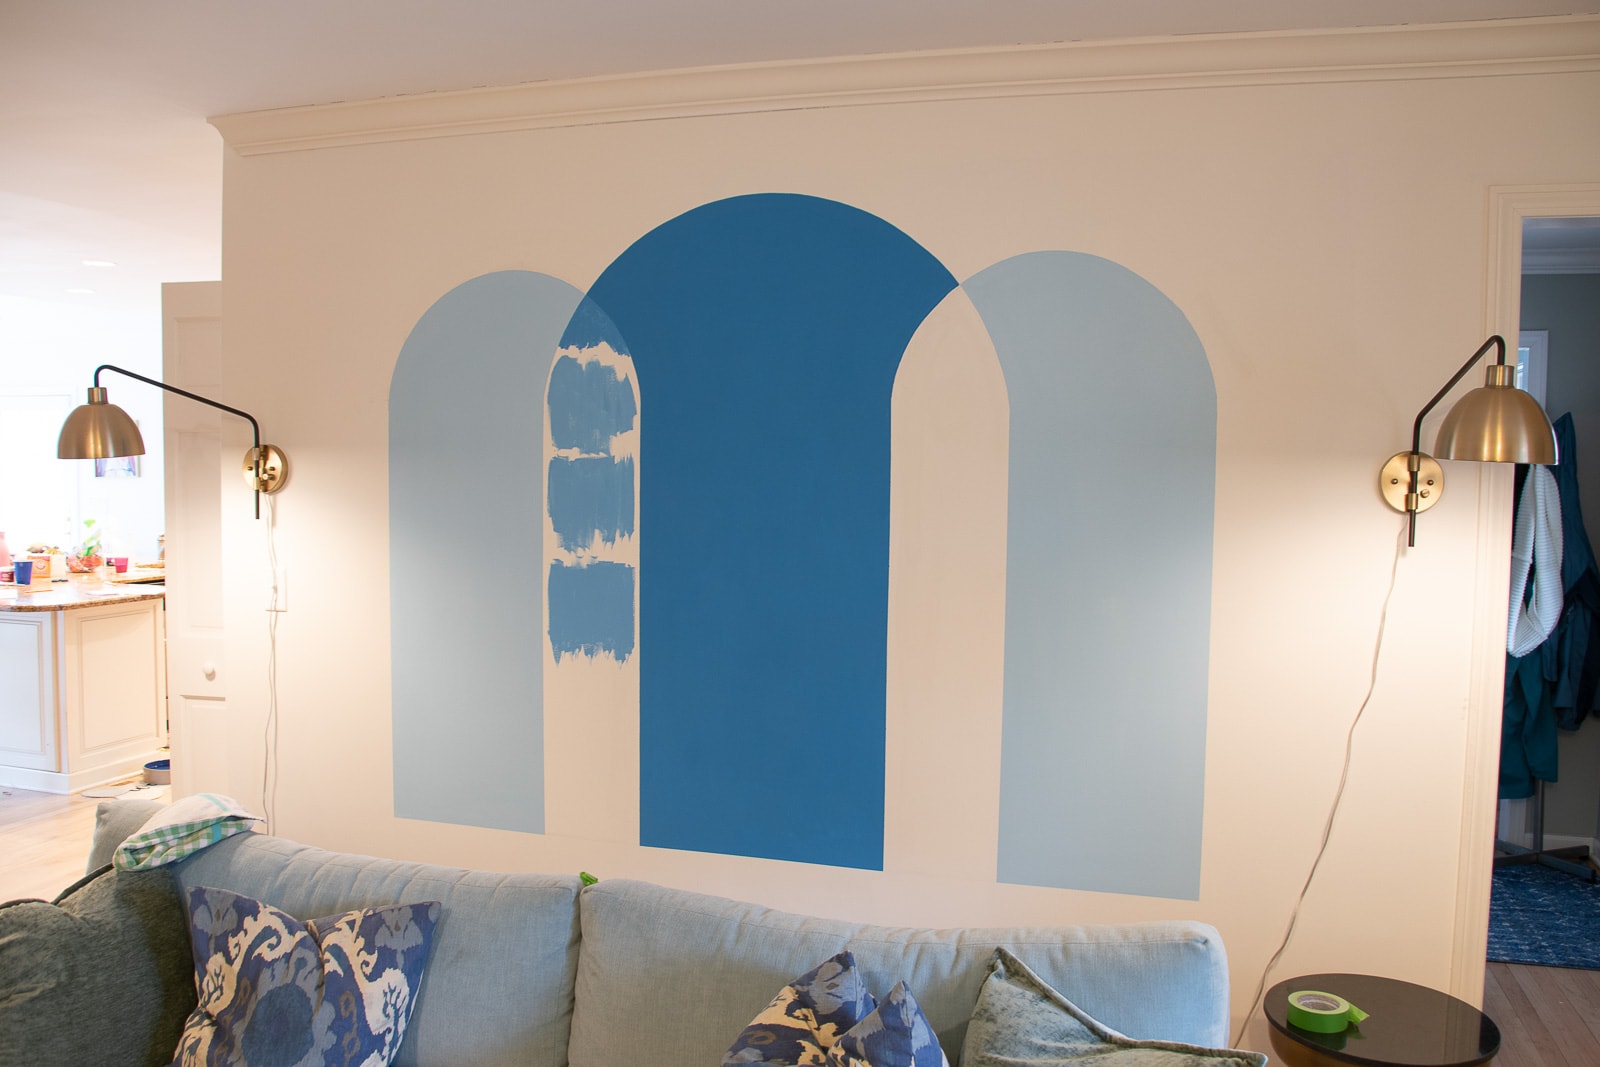
I painted the family room a couple of weeks ago and the white walls made SUCH a difference. They also highlighted the space over the couch and made it seem a little lackluster. I hung this gorgeous mirror there and it helped but the wall needed… something. I dreamed up a family room this past fall with Homes.com and mocked up this mural. Also showing how the room looked when I started!
Shop my favorites!
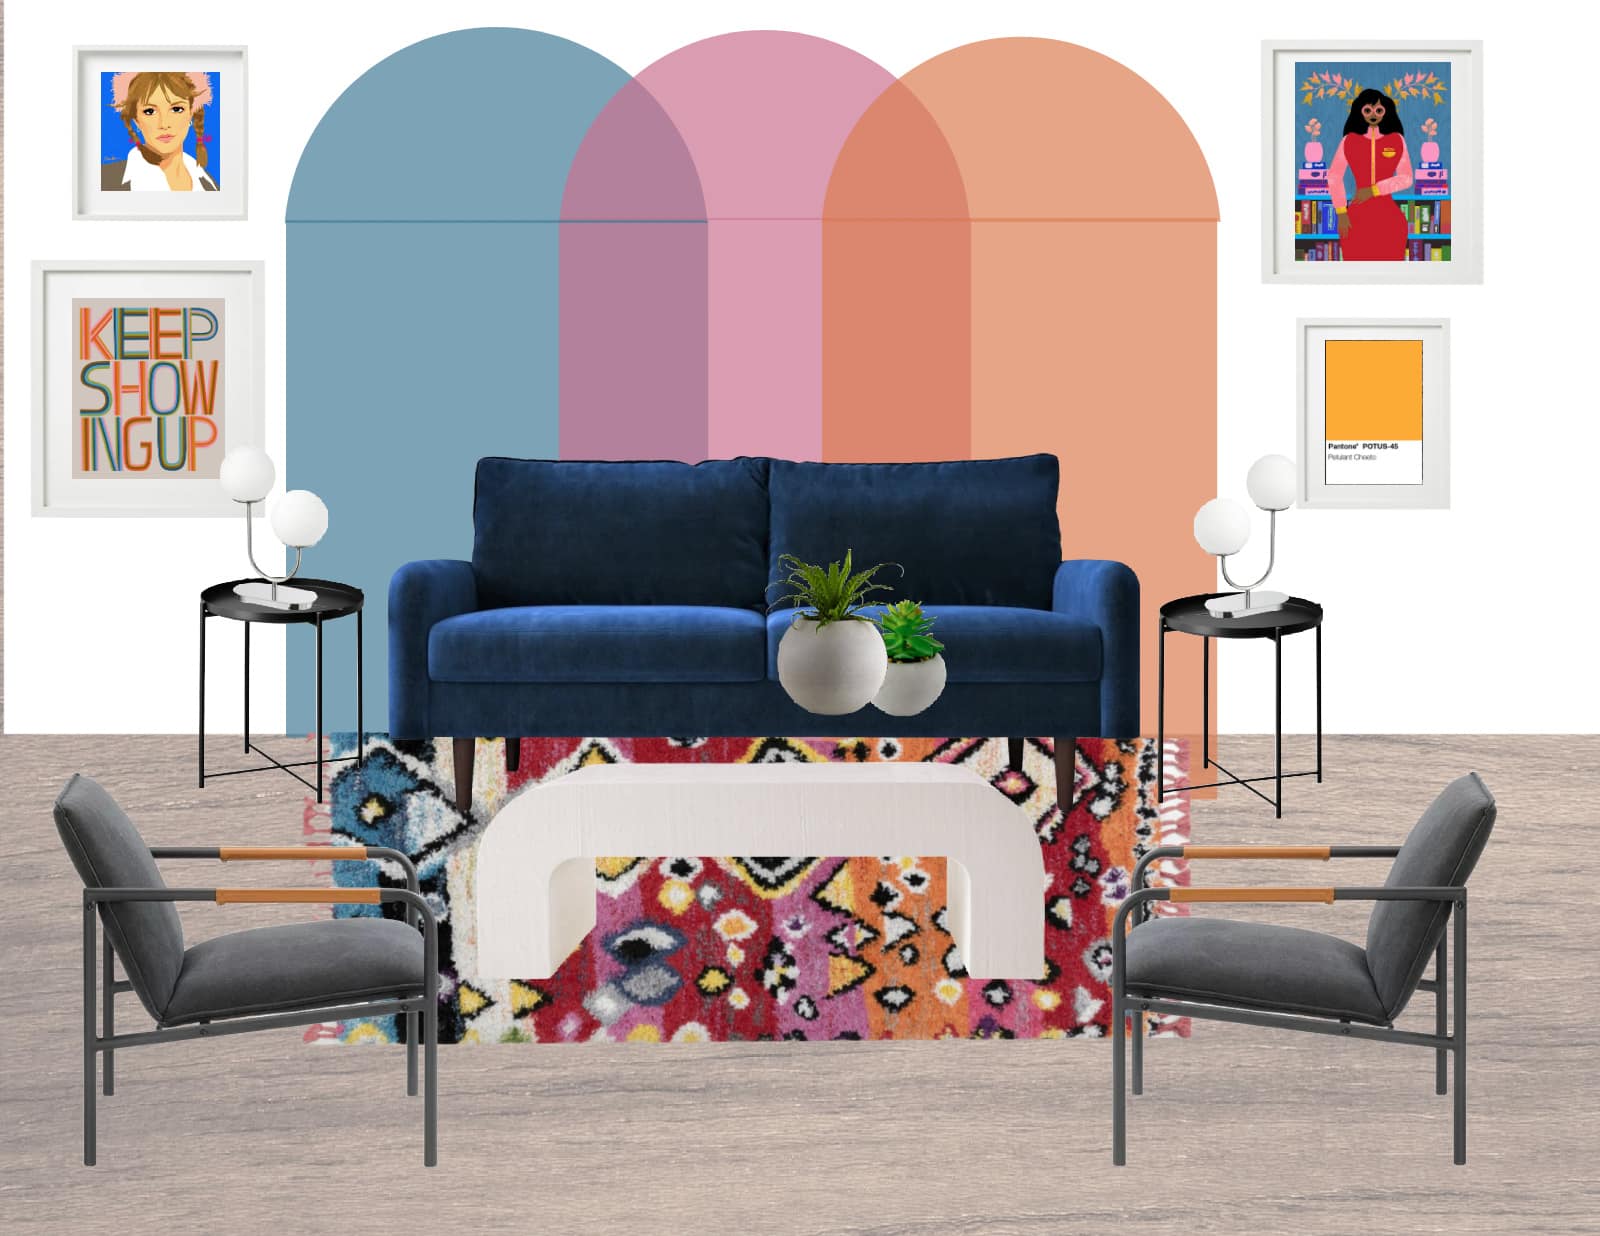
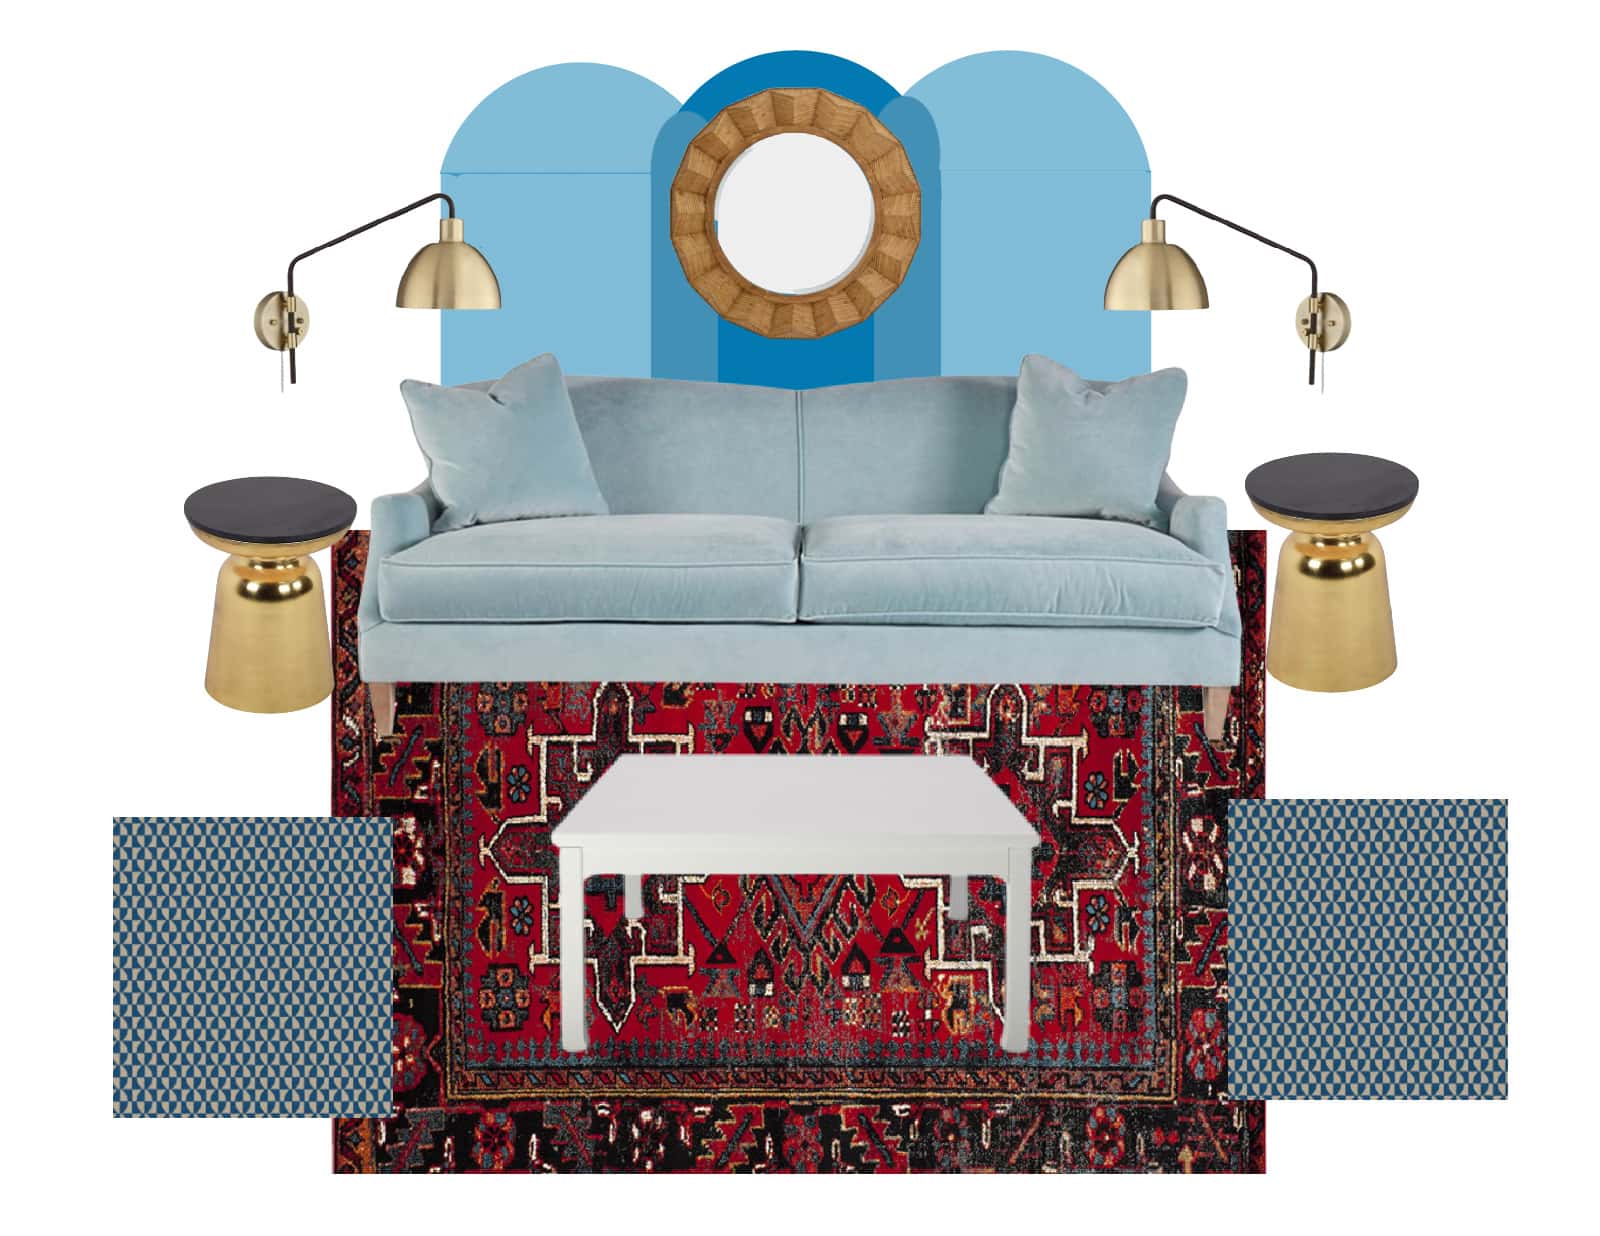
Now that we own the house, I can paint! I loved the idea of arches behind the couch the the round mirror set right in the middle. I also loved the idea of the arches overlapping to ‘mix’ a new color. Since the furniture in the family room is different than the imaginary furniture above, this was the design board I made for our current family room:
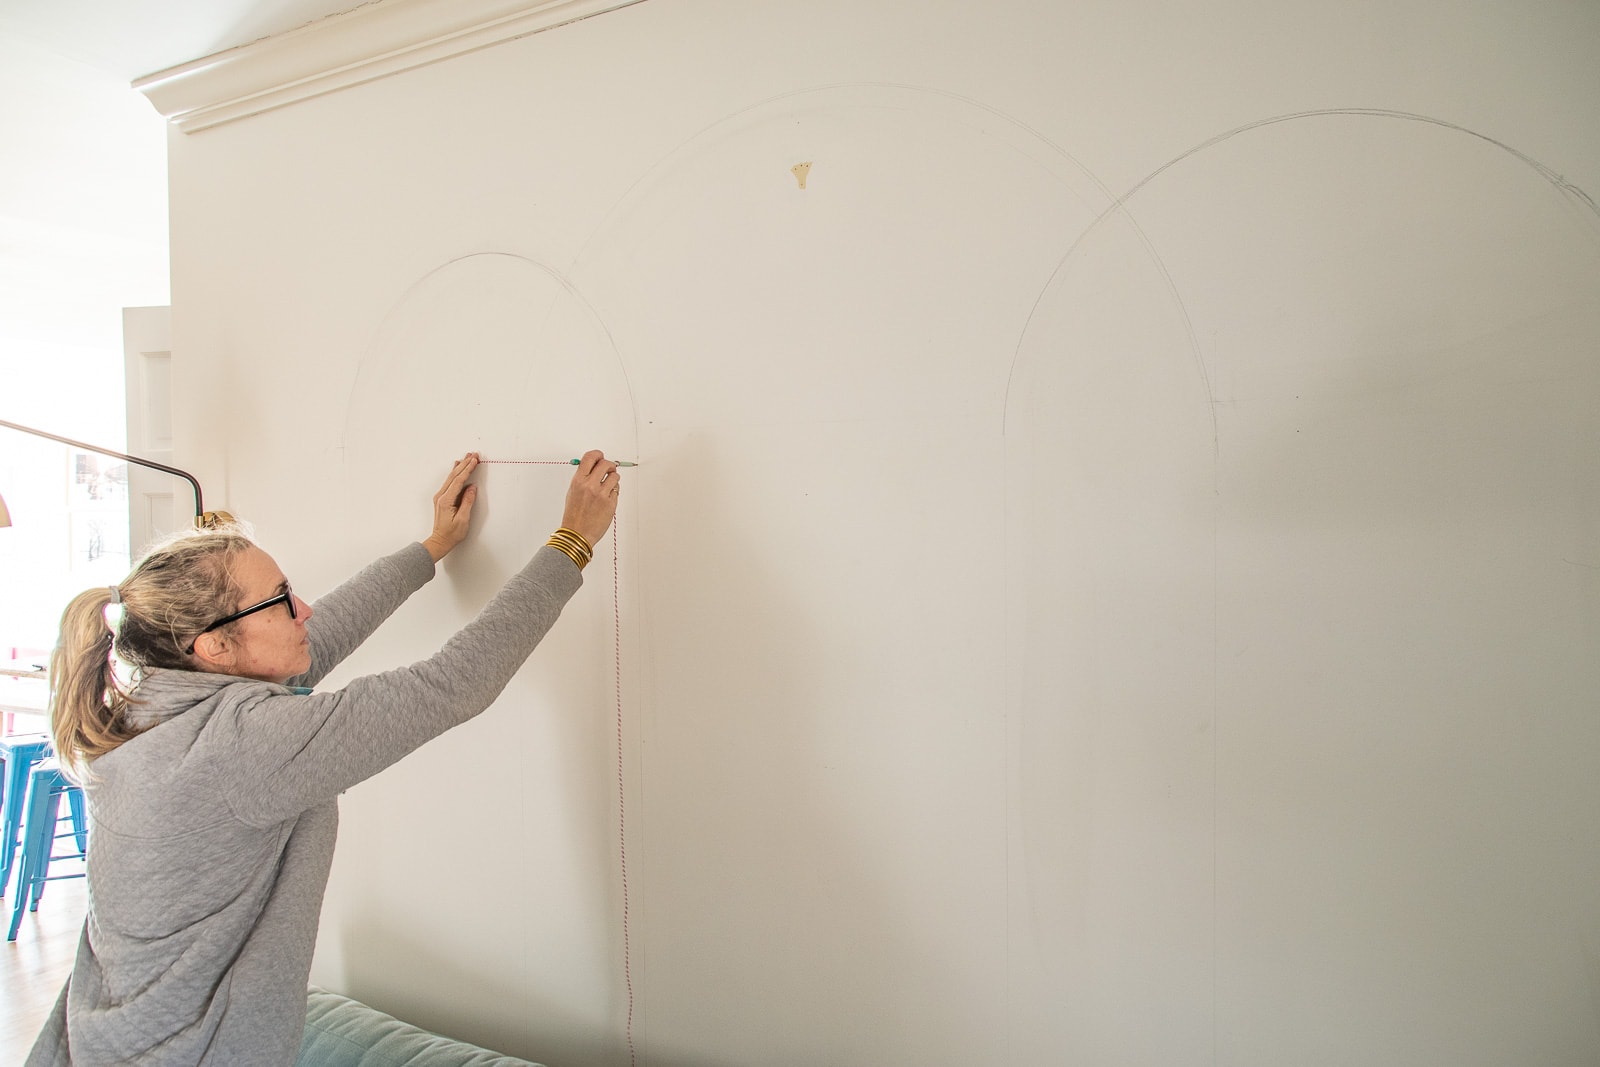
Step 1: Draw the vertical lines
I started by drawing the vertical lines using my level. I wanted the arches to be within the lines of the couch so I measured a few inches in from the outer corners of the sofa and went from there!
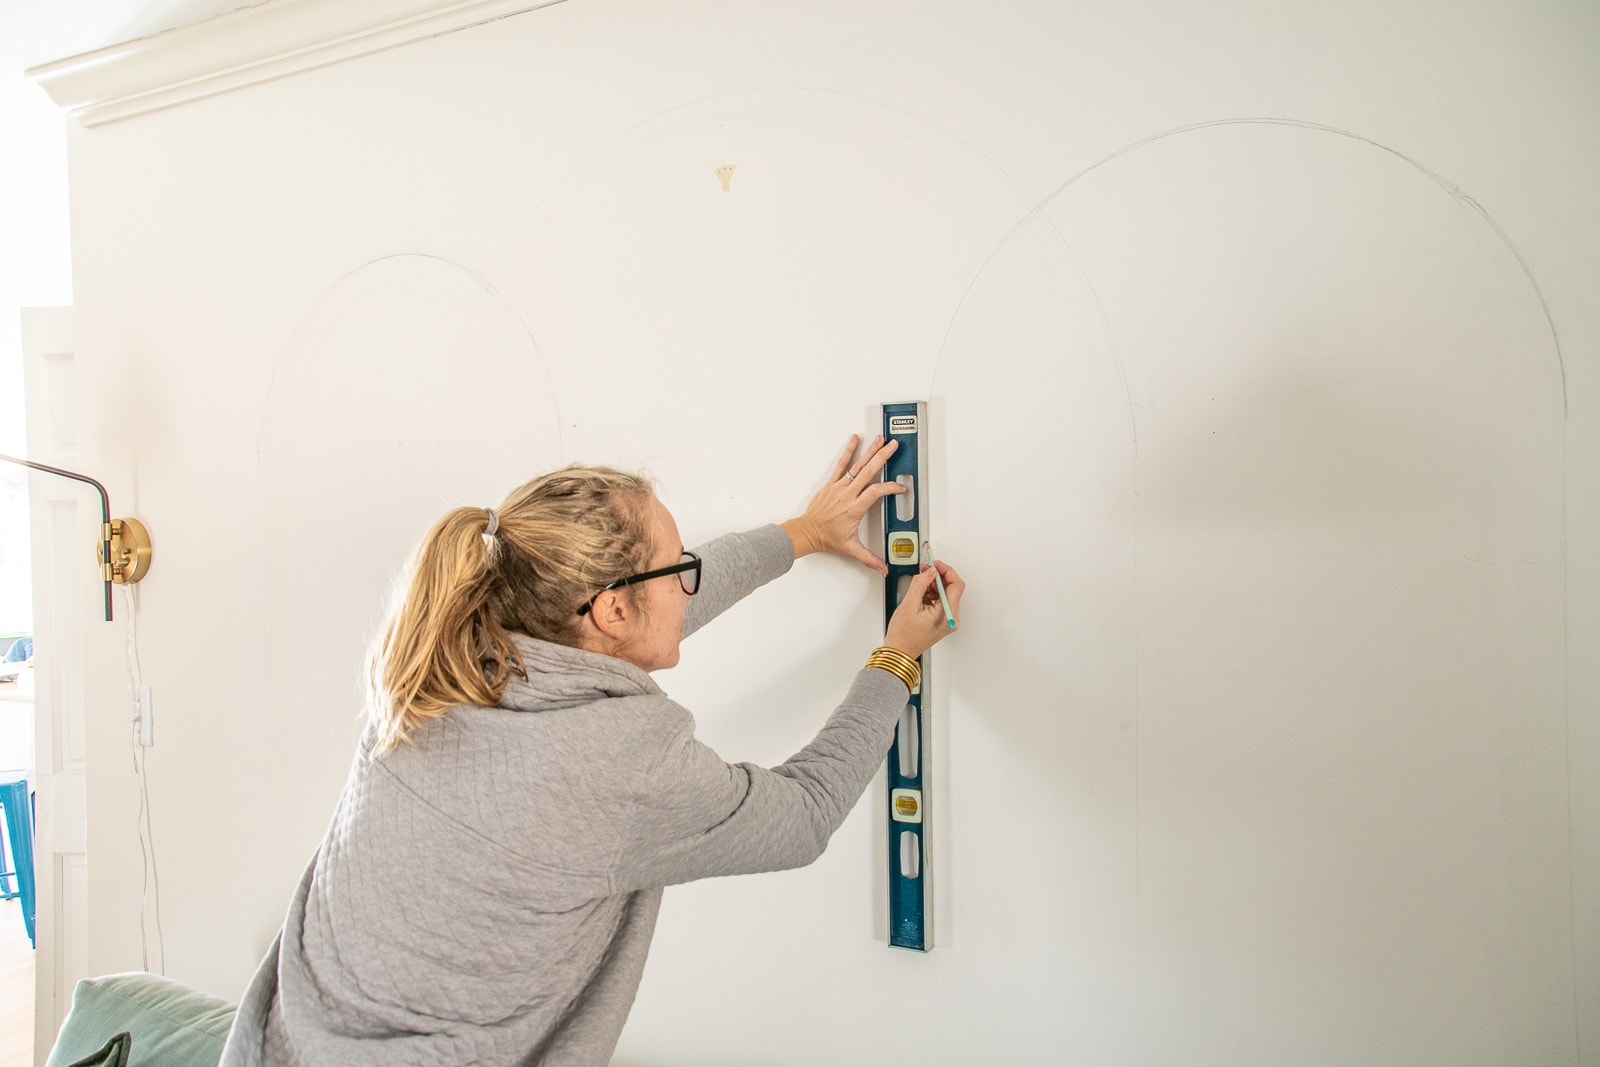
Step 2. Draw the Arches
For the arches, I wanted the middle one to be bigger than the mirror so the mural would ‘frame’ the mirror. I measured the mirror and added 8 inches so there would be 4″ of arch around the mirror. To draw the arch, I tied a knot at the end of some twine and tied it around a brad nail that I hammered into the wall. Then I attached a pencil where I wanted to draw the curve. In other words, the twine is the length of the radius so if you want the arch to be 26 inches wide, you need to make sure the string is 13 inches between the knot and the pencil.
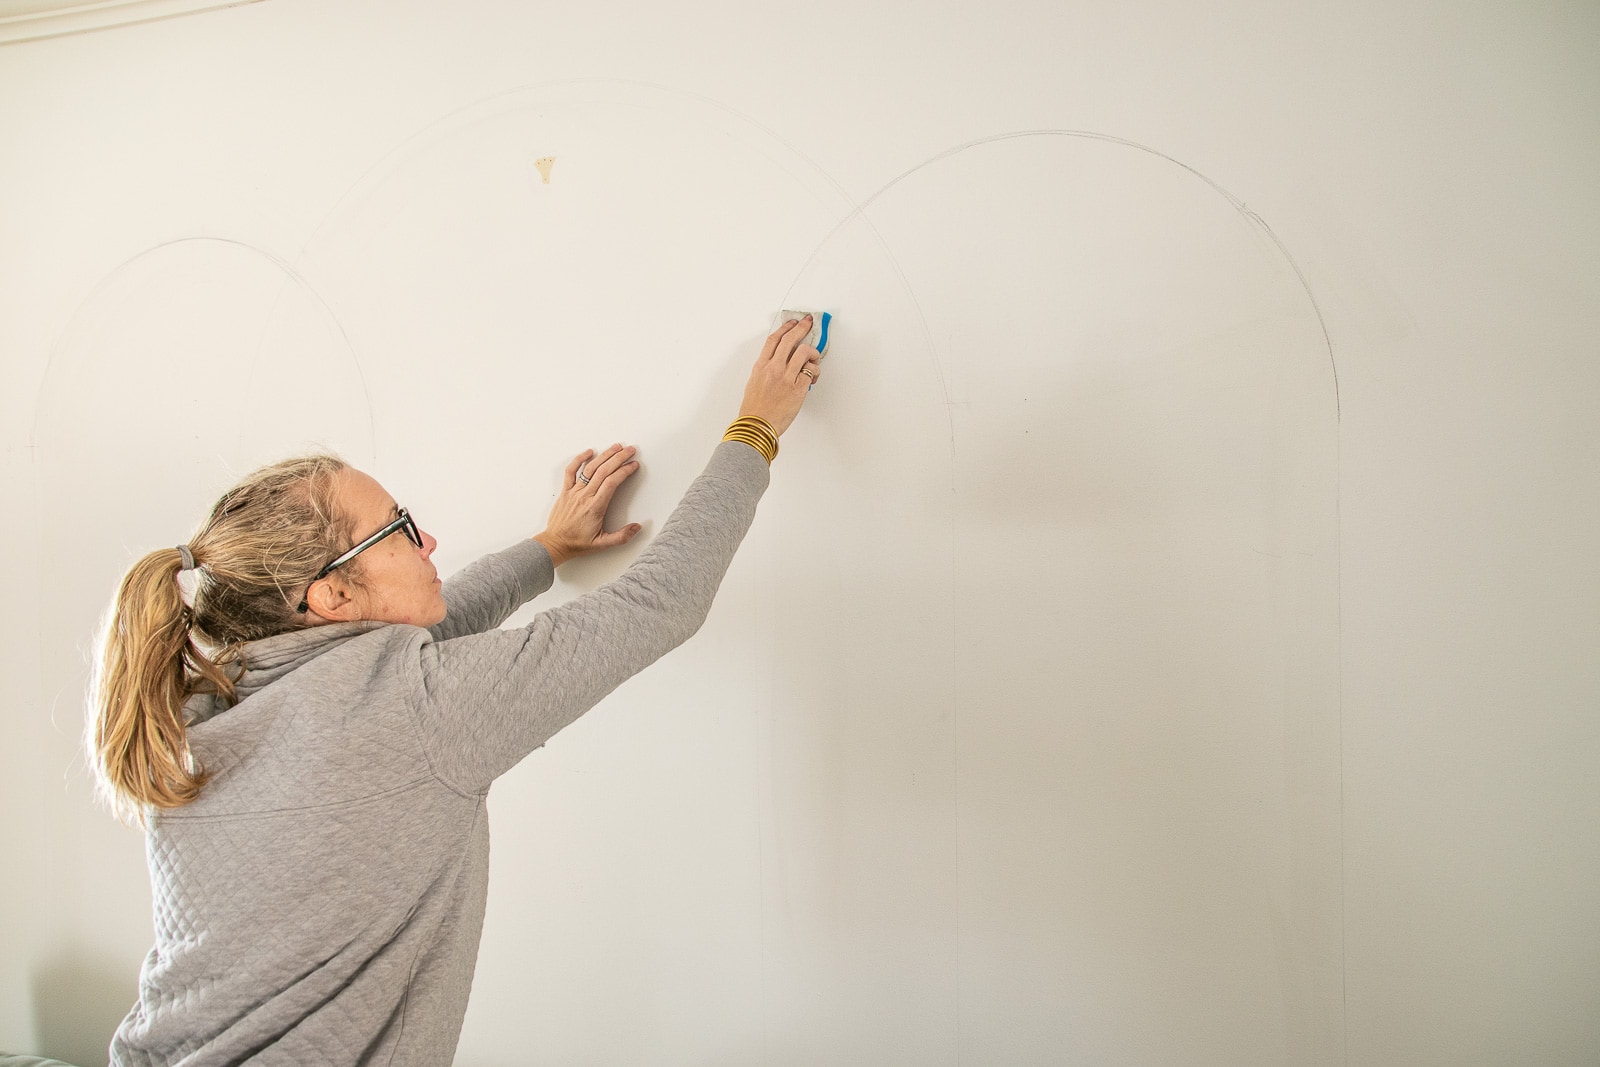
Step 3. Prep for Paint
There were a few false starts with the brad nail so I had to quickly fill the nail holes. I also used a magic eraser to clean off the pencil lines I wasn’t going to follow.
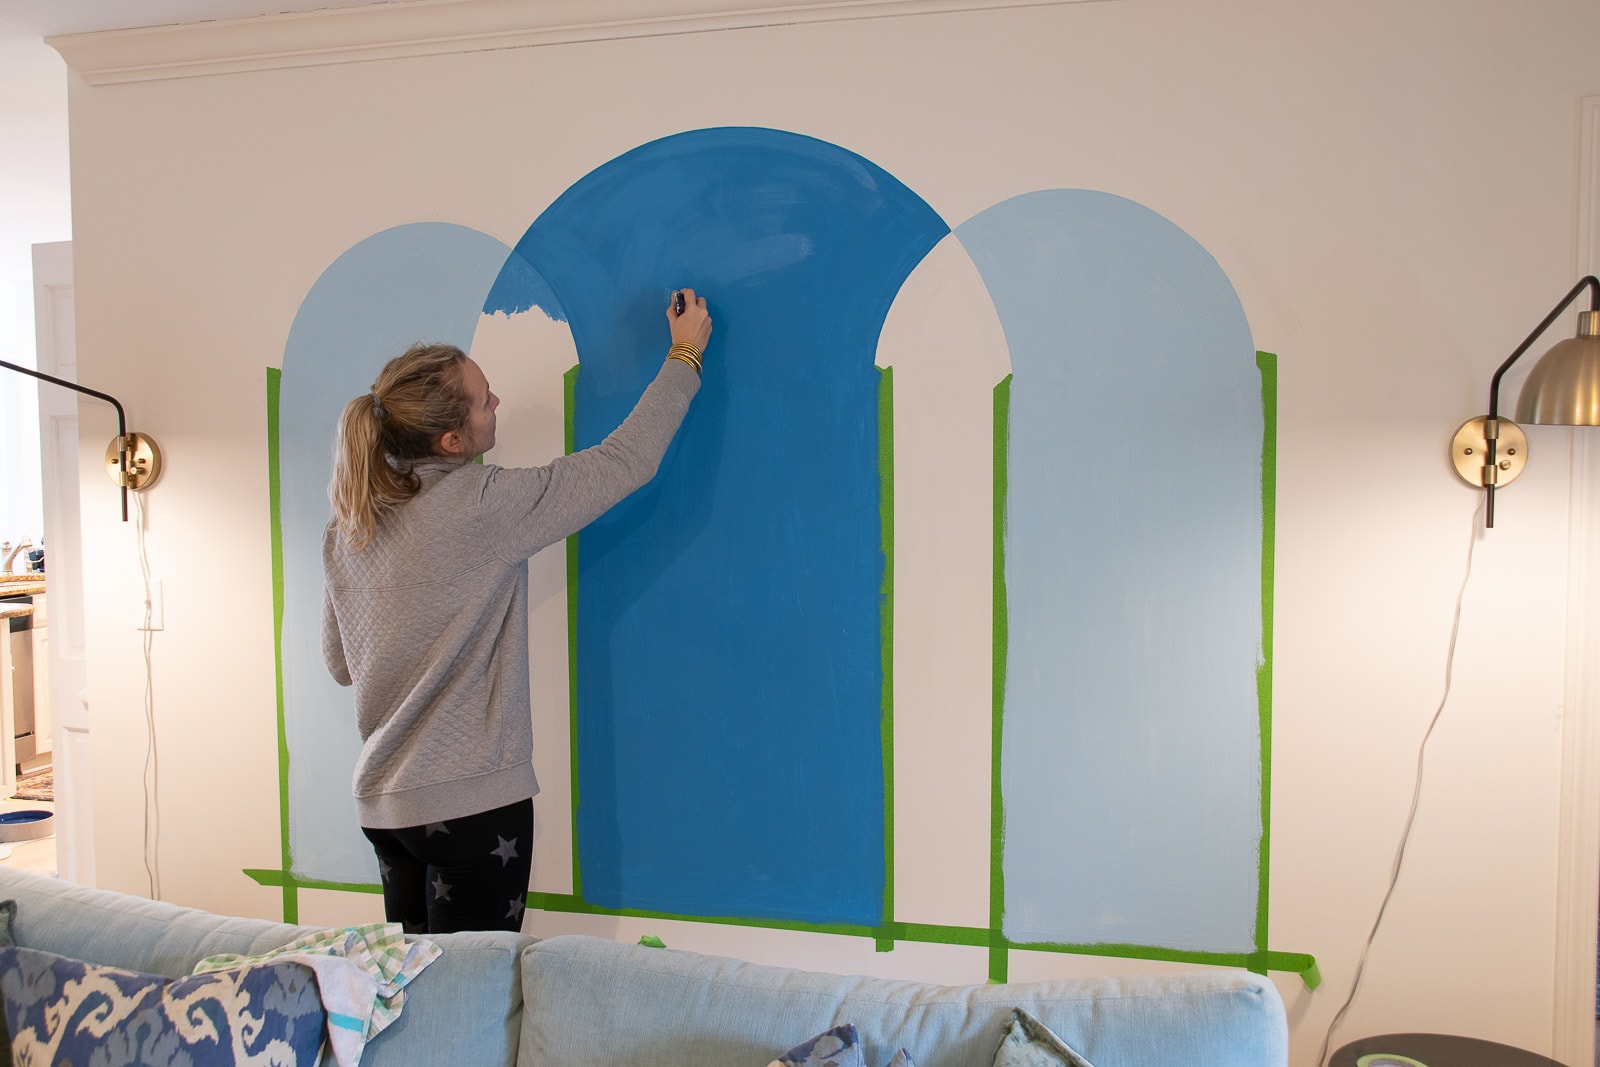
Step 4, Paint the Arches
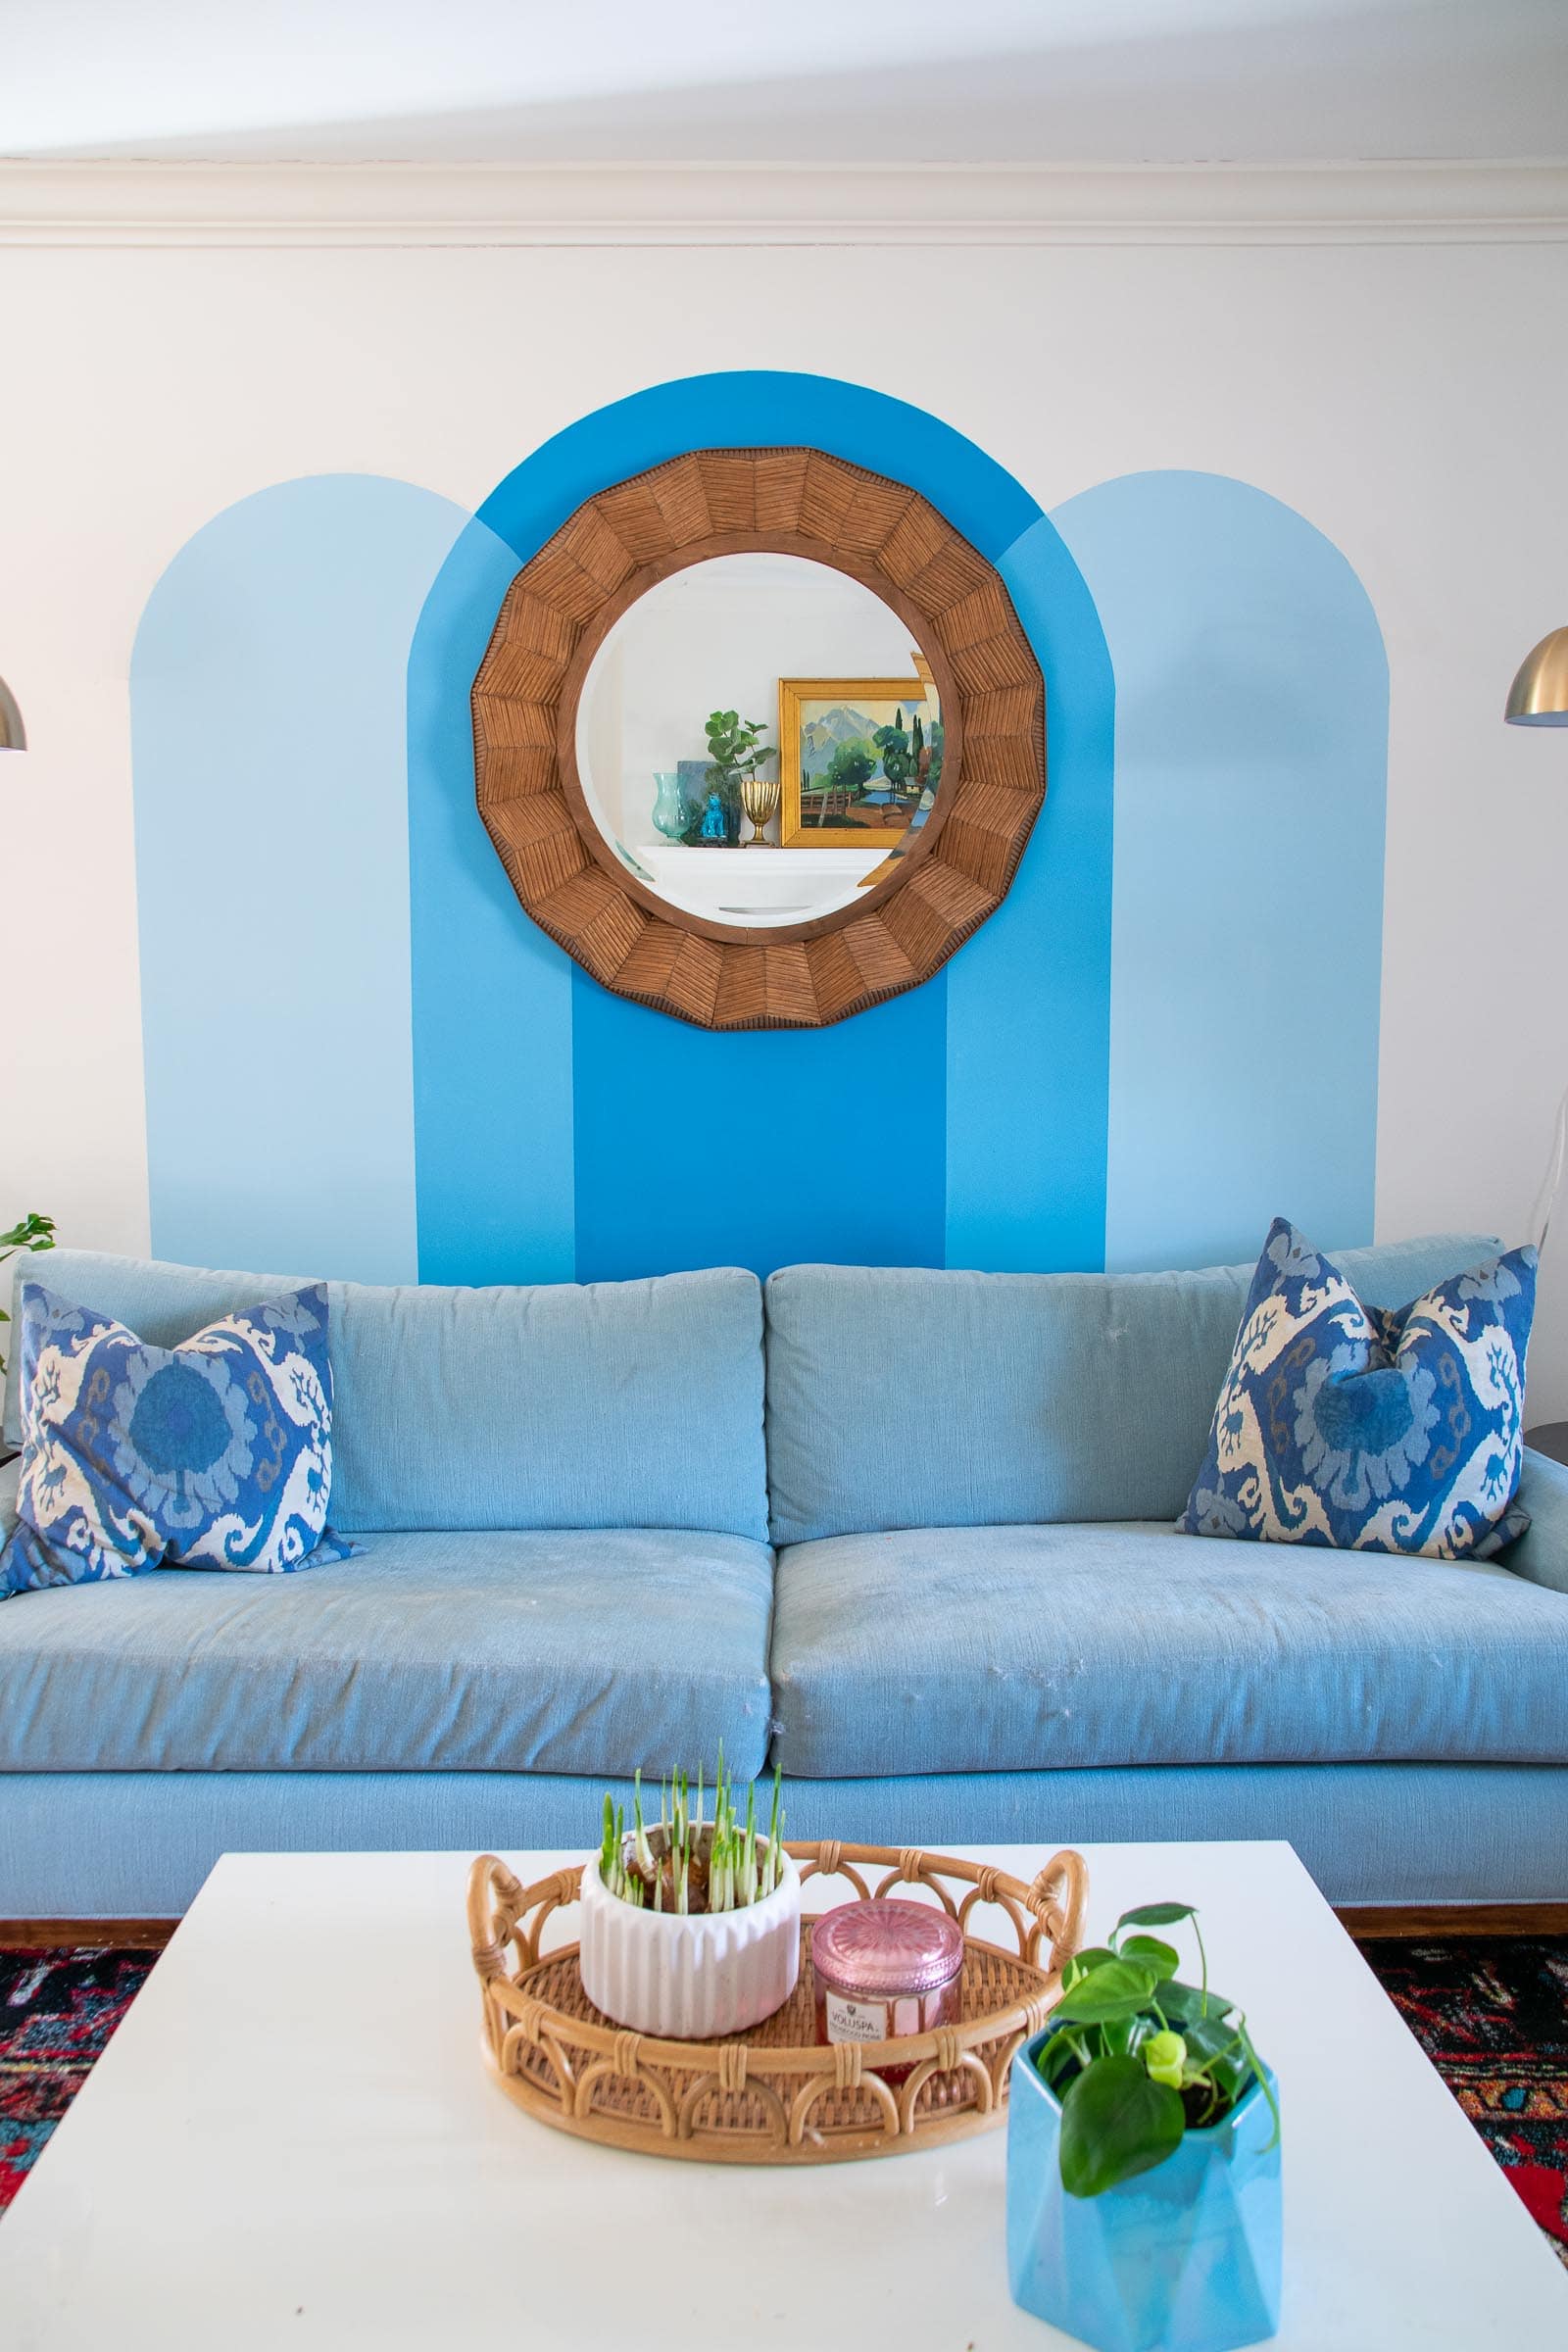
I painted this whole mural with 2 sample pots. I used Glidden’s Quiet Night and PPG’s Flemish Blue here and the strips in the middle are a custom mixture. Before painting, I taped off the straight lines. I should have painted over the tape lines with my wall color to “seal” the edge and prevent bleeding. But I was impatient so I didn’t. BUT… I’m using Frogtape so what I did do was to run my wet finger over the edge of the tape to ‘activate’ the frog tape and release it’s magical unicorn technology that prevents bleeding. I freehanded the arches going slowly with a small angle brush.
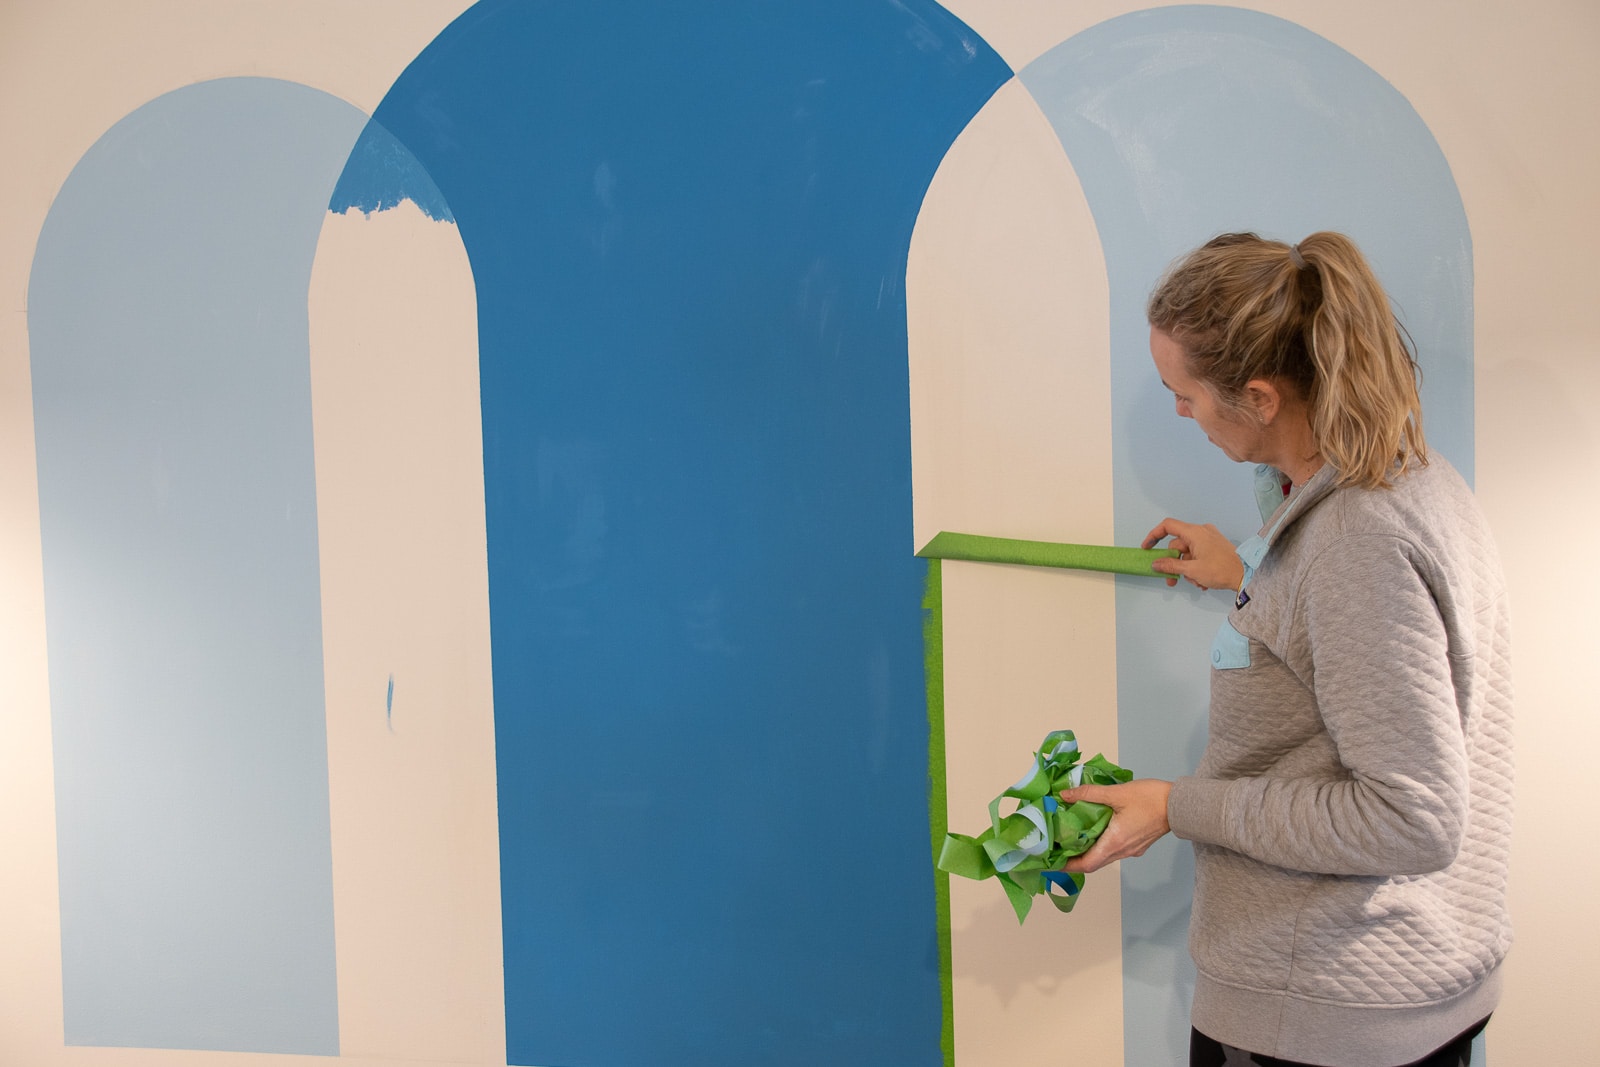
Once I’d painted the middle arch and the outside arches, I removed the tape and gently retaped the lines of the intersecting pieces. I mixed a few different shades of blue to see what looked right and ultimately chose the bottom sample you can see here. Just like with the other arches, I carefully free handed the curves and then relied on the tape for the vertical straight lines. A few small detail brushes came in handy to get to the tight corners here.
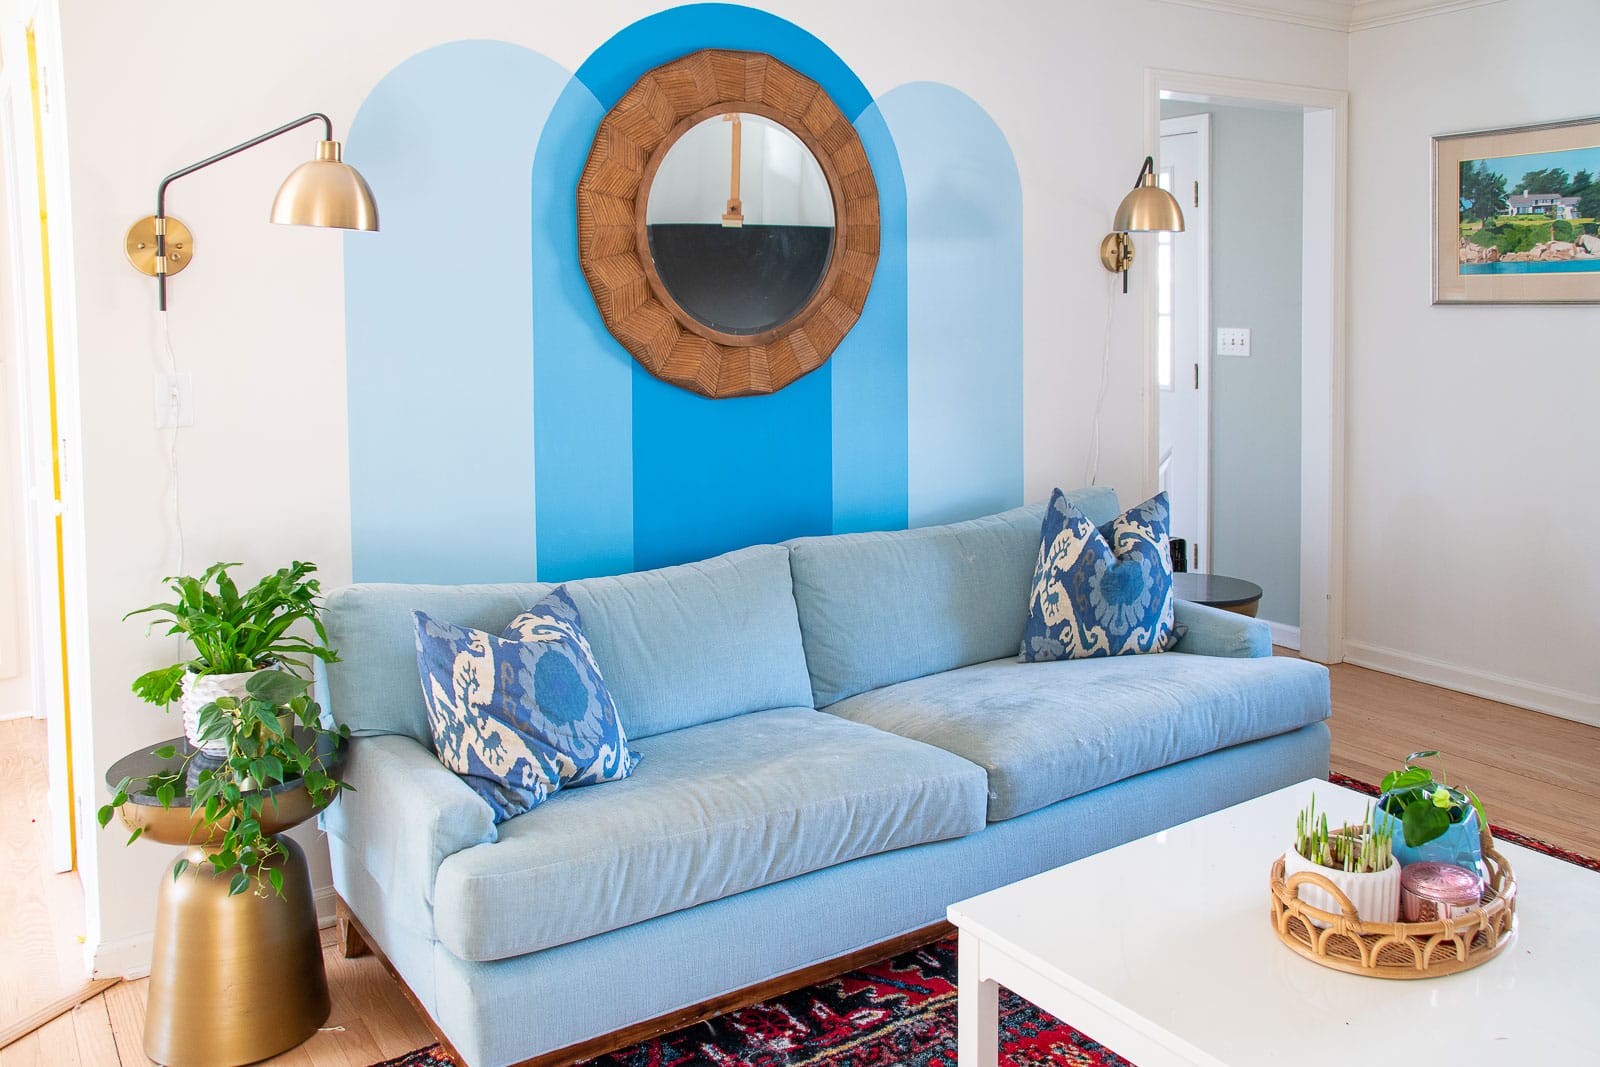
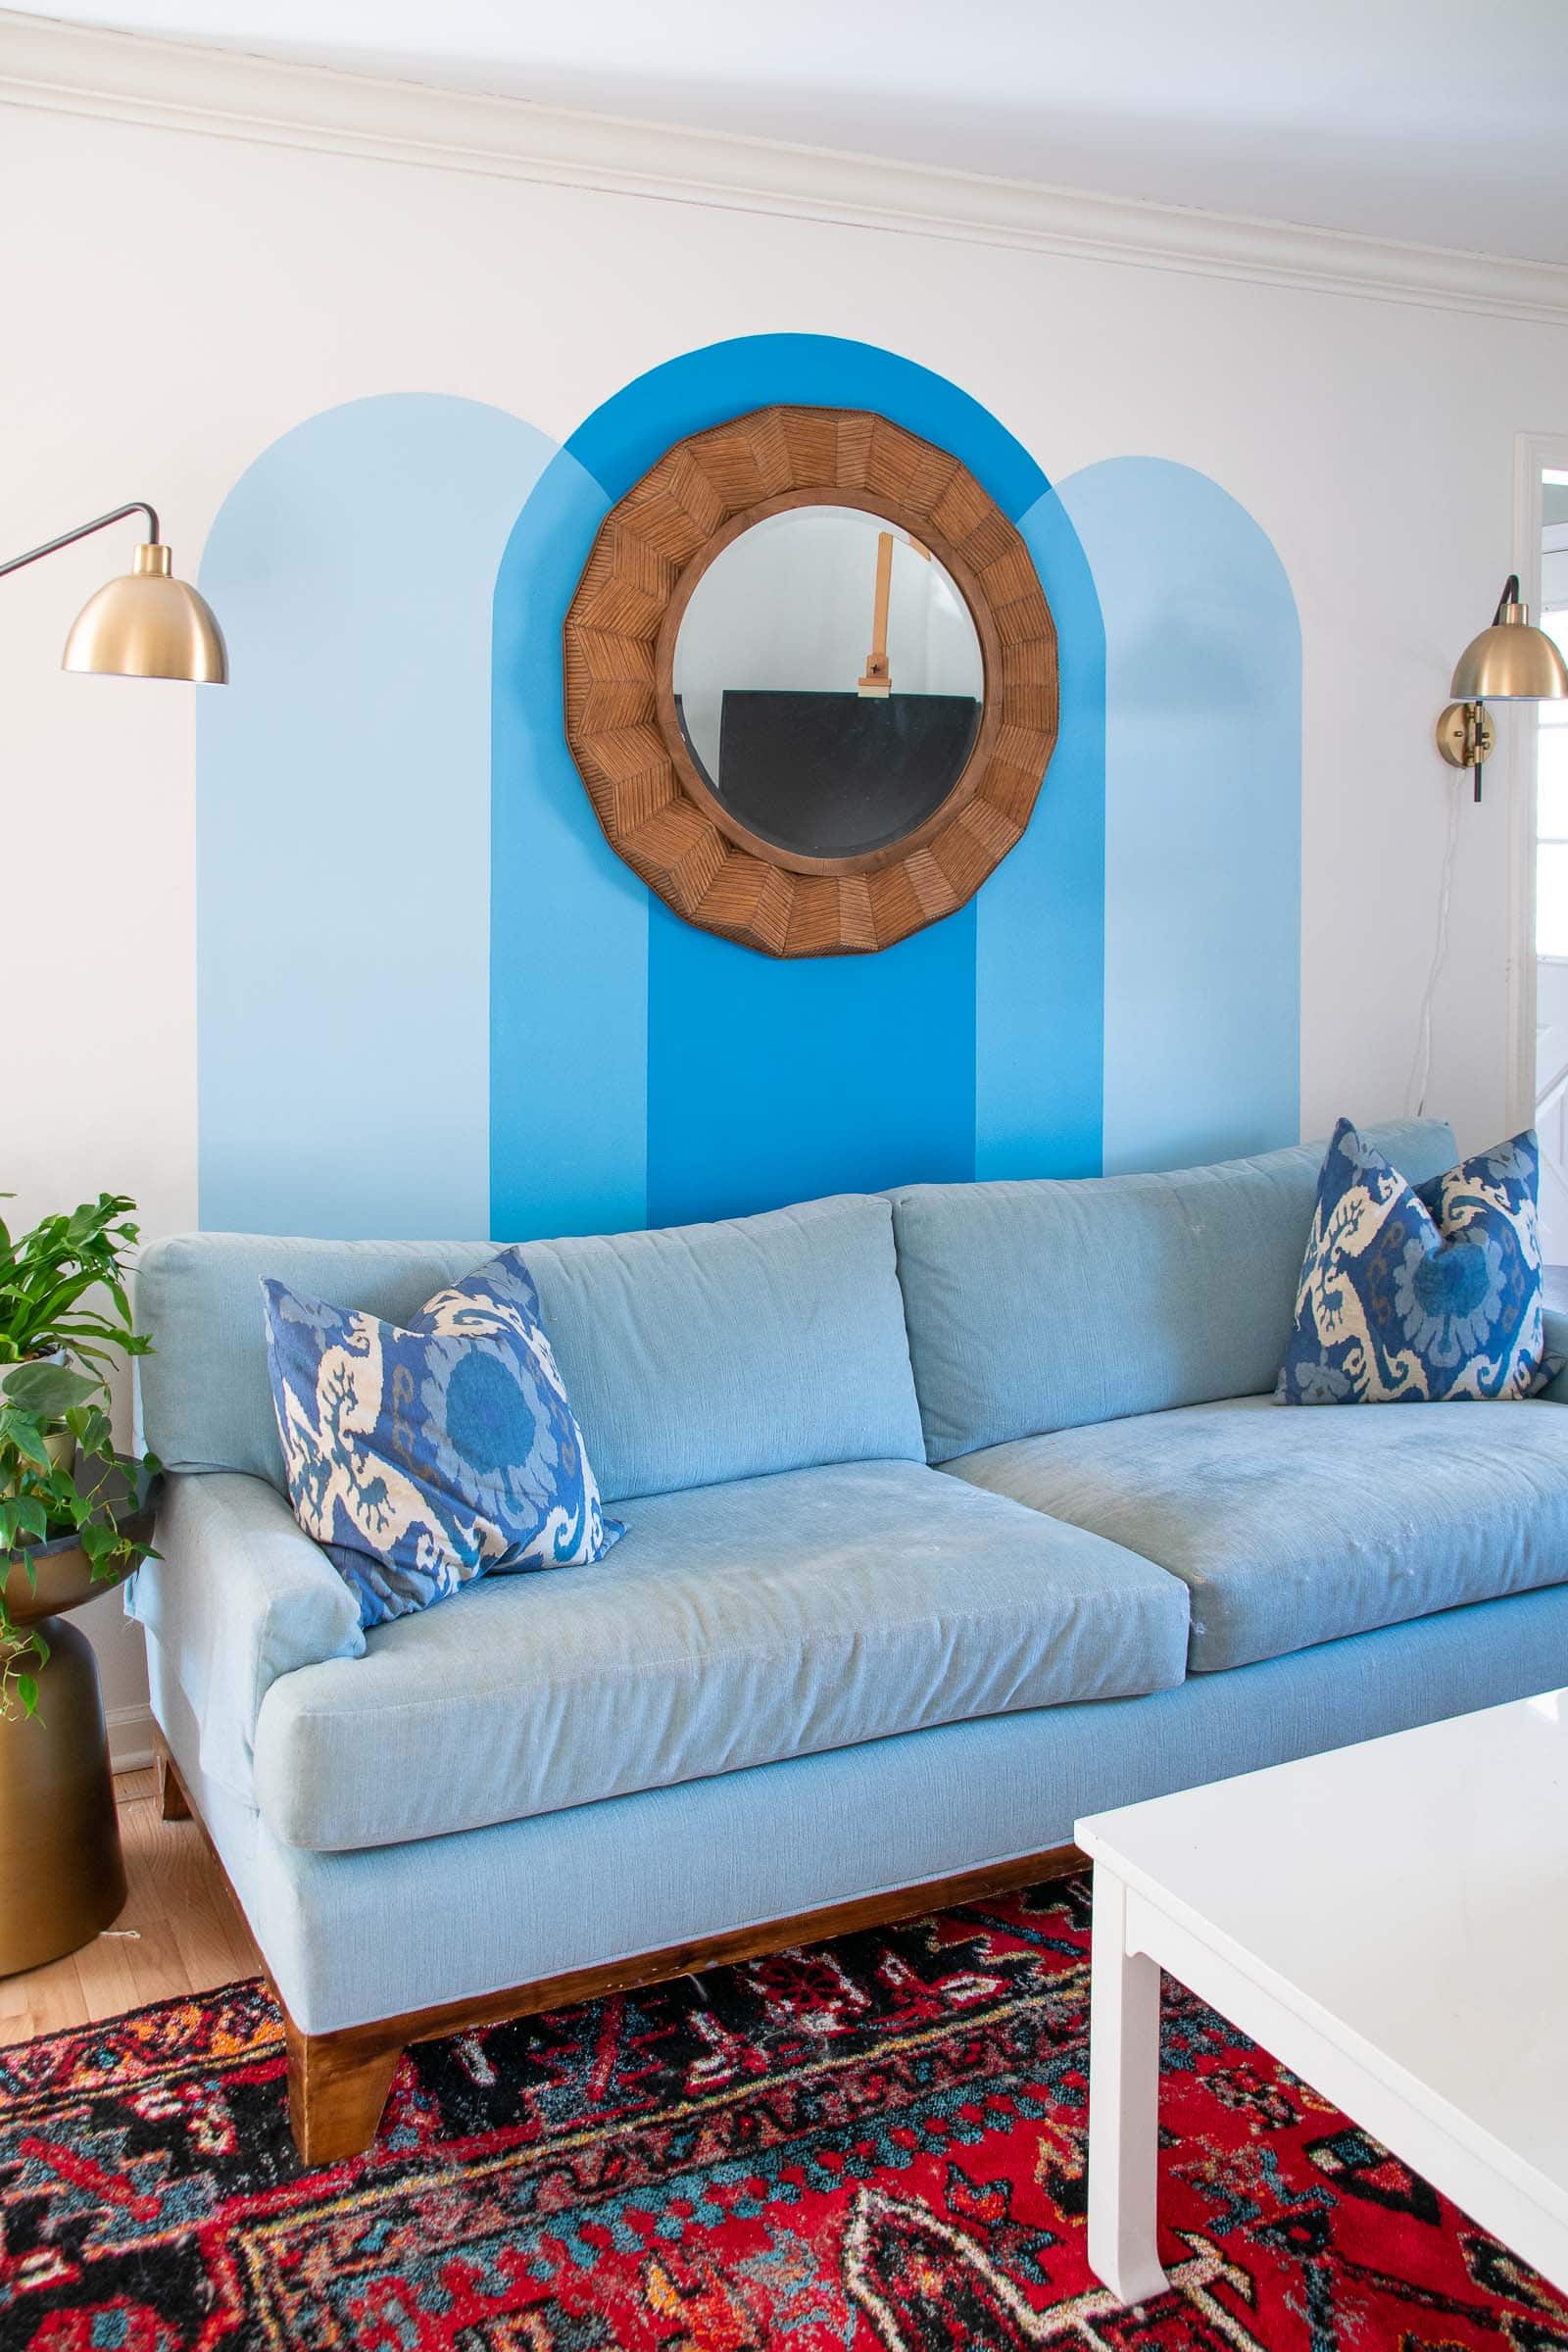
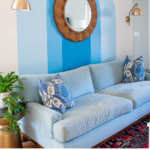
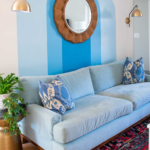
Step 5. Finishing Touches
I rehung the mirror to complete the full impact of the three arches. I have some new fabric coming for the swivel arm chairs and two baseboards to replace, but this room is otherwise done! Or at least my vision board will have come to life. It’s fun to see the plans move into reality!
Have you ever painted a mural? Where would you put one if you could?


I LOVE LOVE LOVE it! The Wall now says “look at me, im fAbulous!”
Haha! Definitely! Wall is feeling MUCH better. 🙂
This is awesome! Thanks for TEACHING us how to do the arches and overlapping color.
Thanks so much for checking it out!
So so good!