
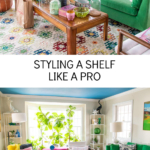
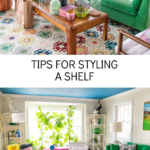
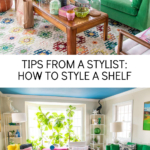
5 Tips From a Stylist for Decorating a Shelf
Psssst… this post *might* contain affiliate links: see my disclosure here.
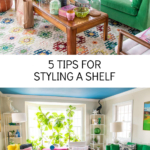
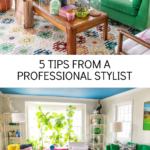
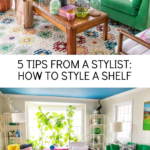
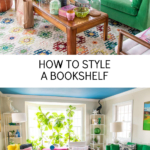
How to Style a Shelf like a Pro
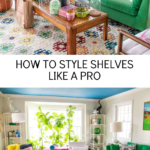
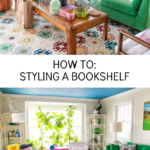
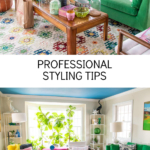
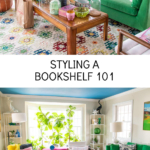
I asked a professional stylist for tips before styling the shelves in our living room.
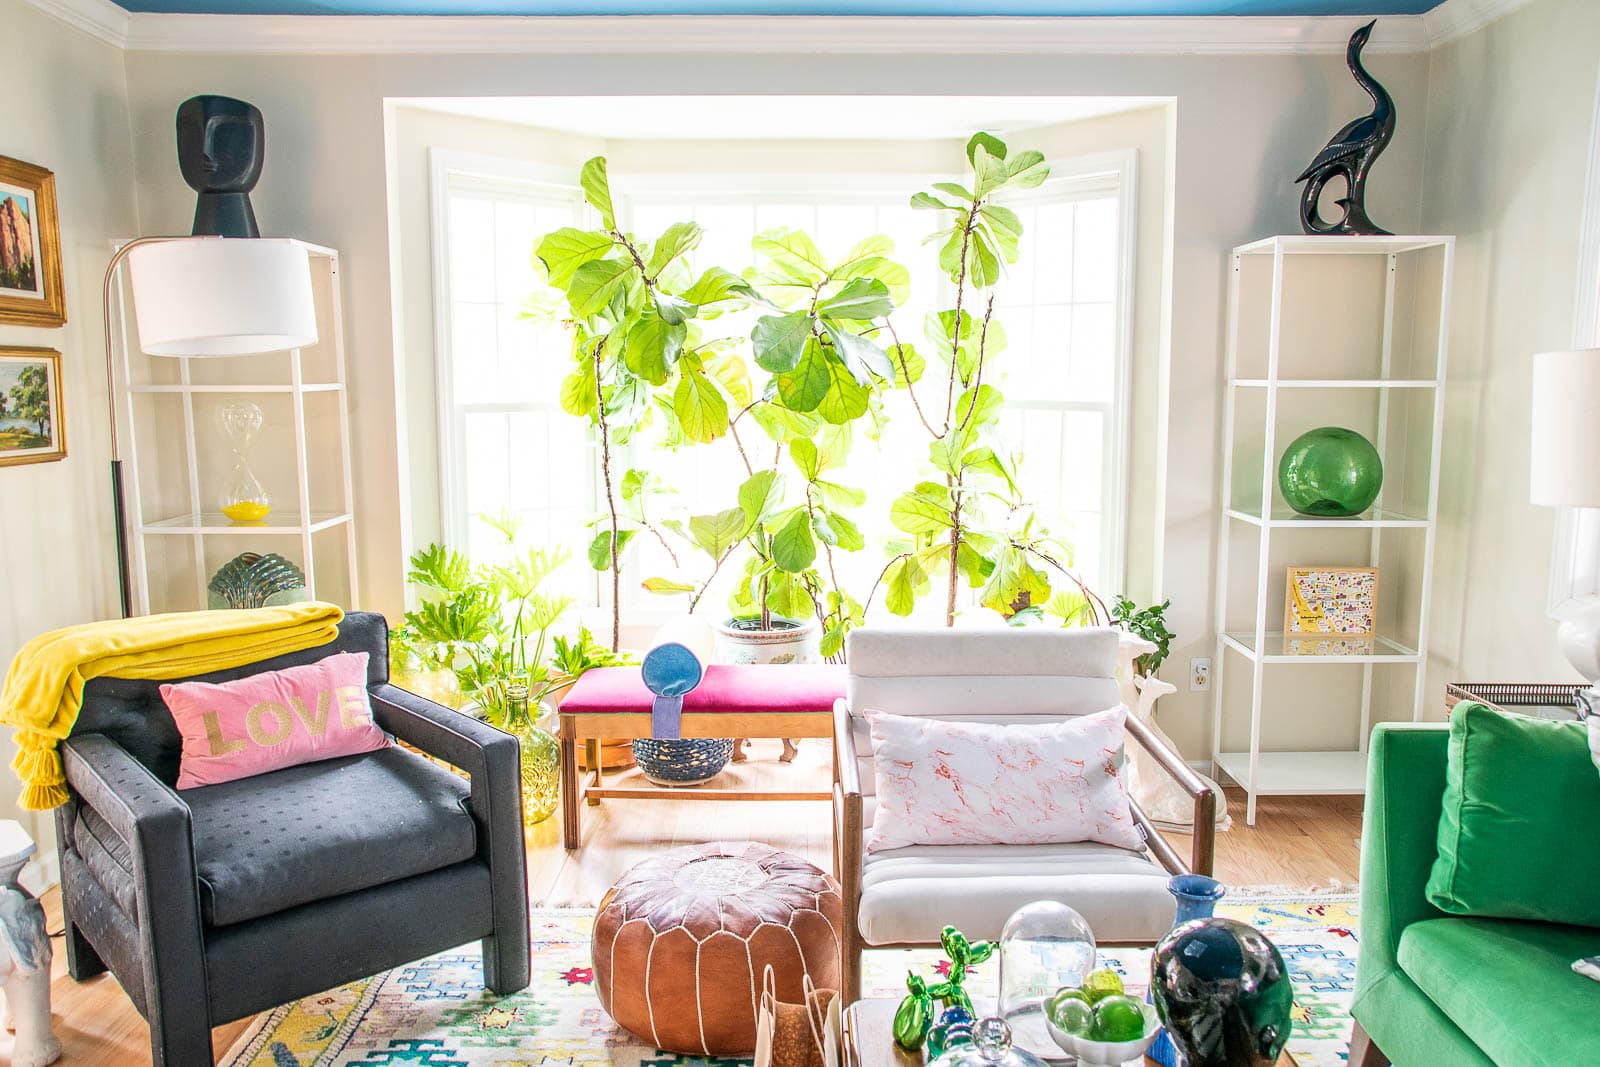
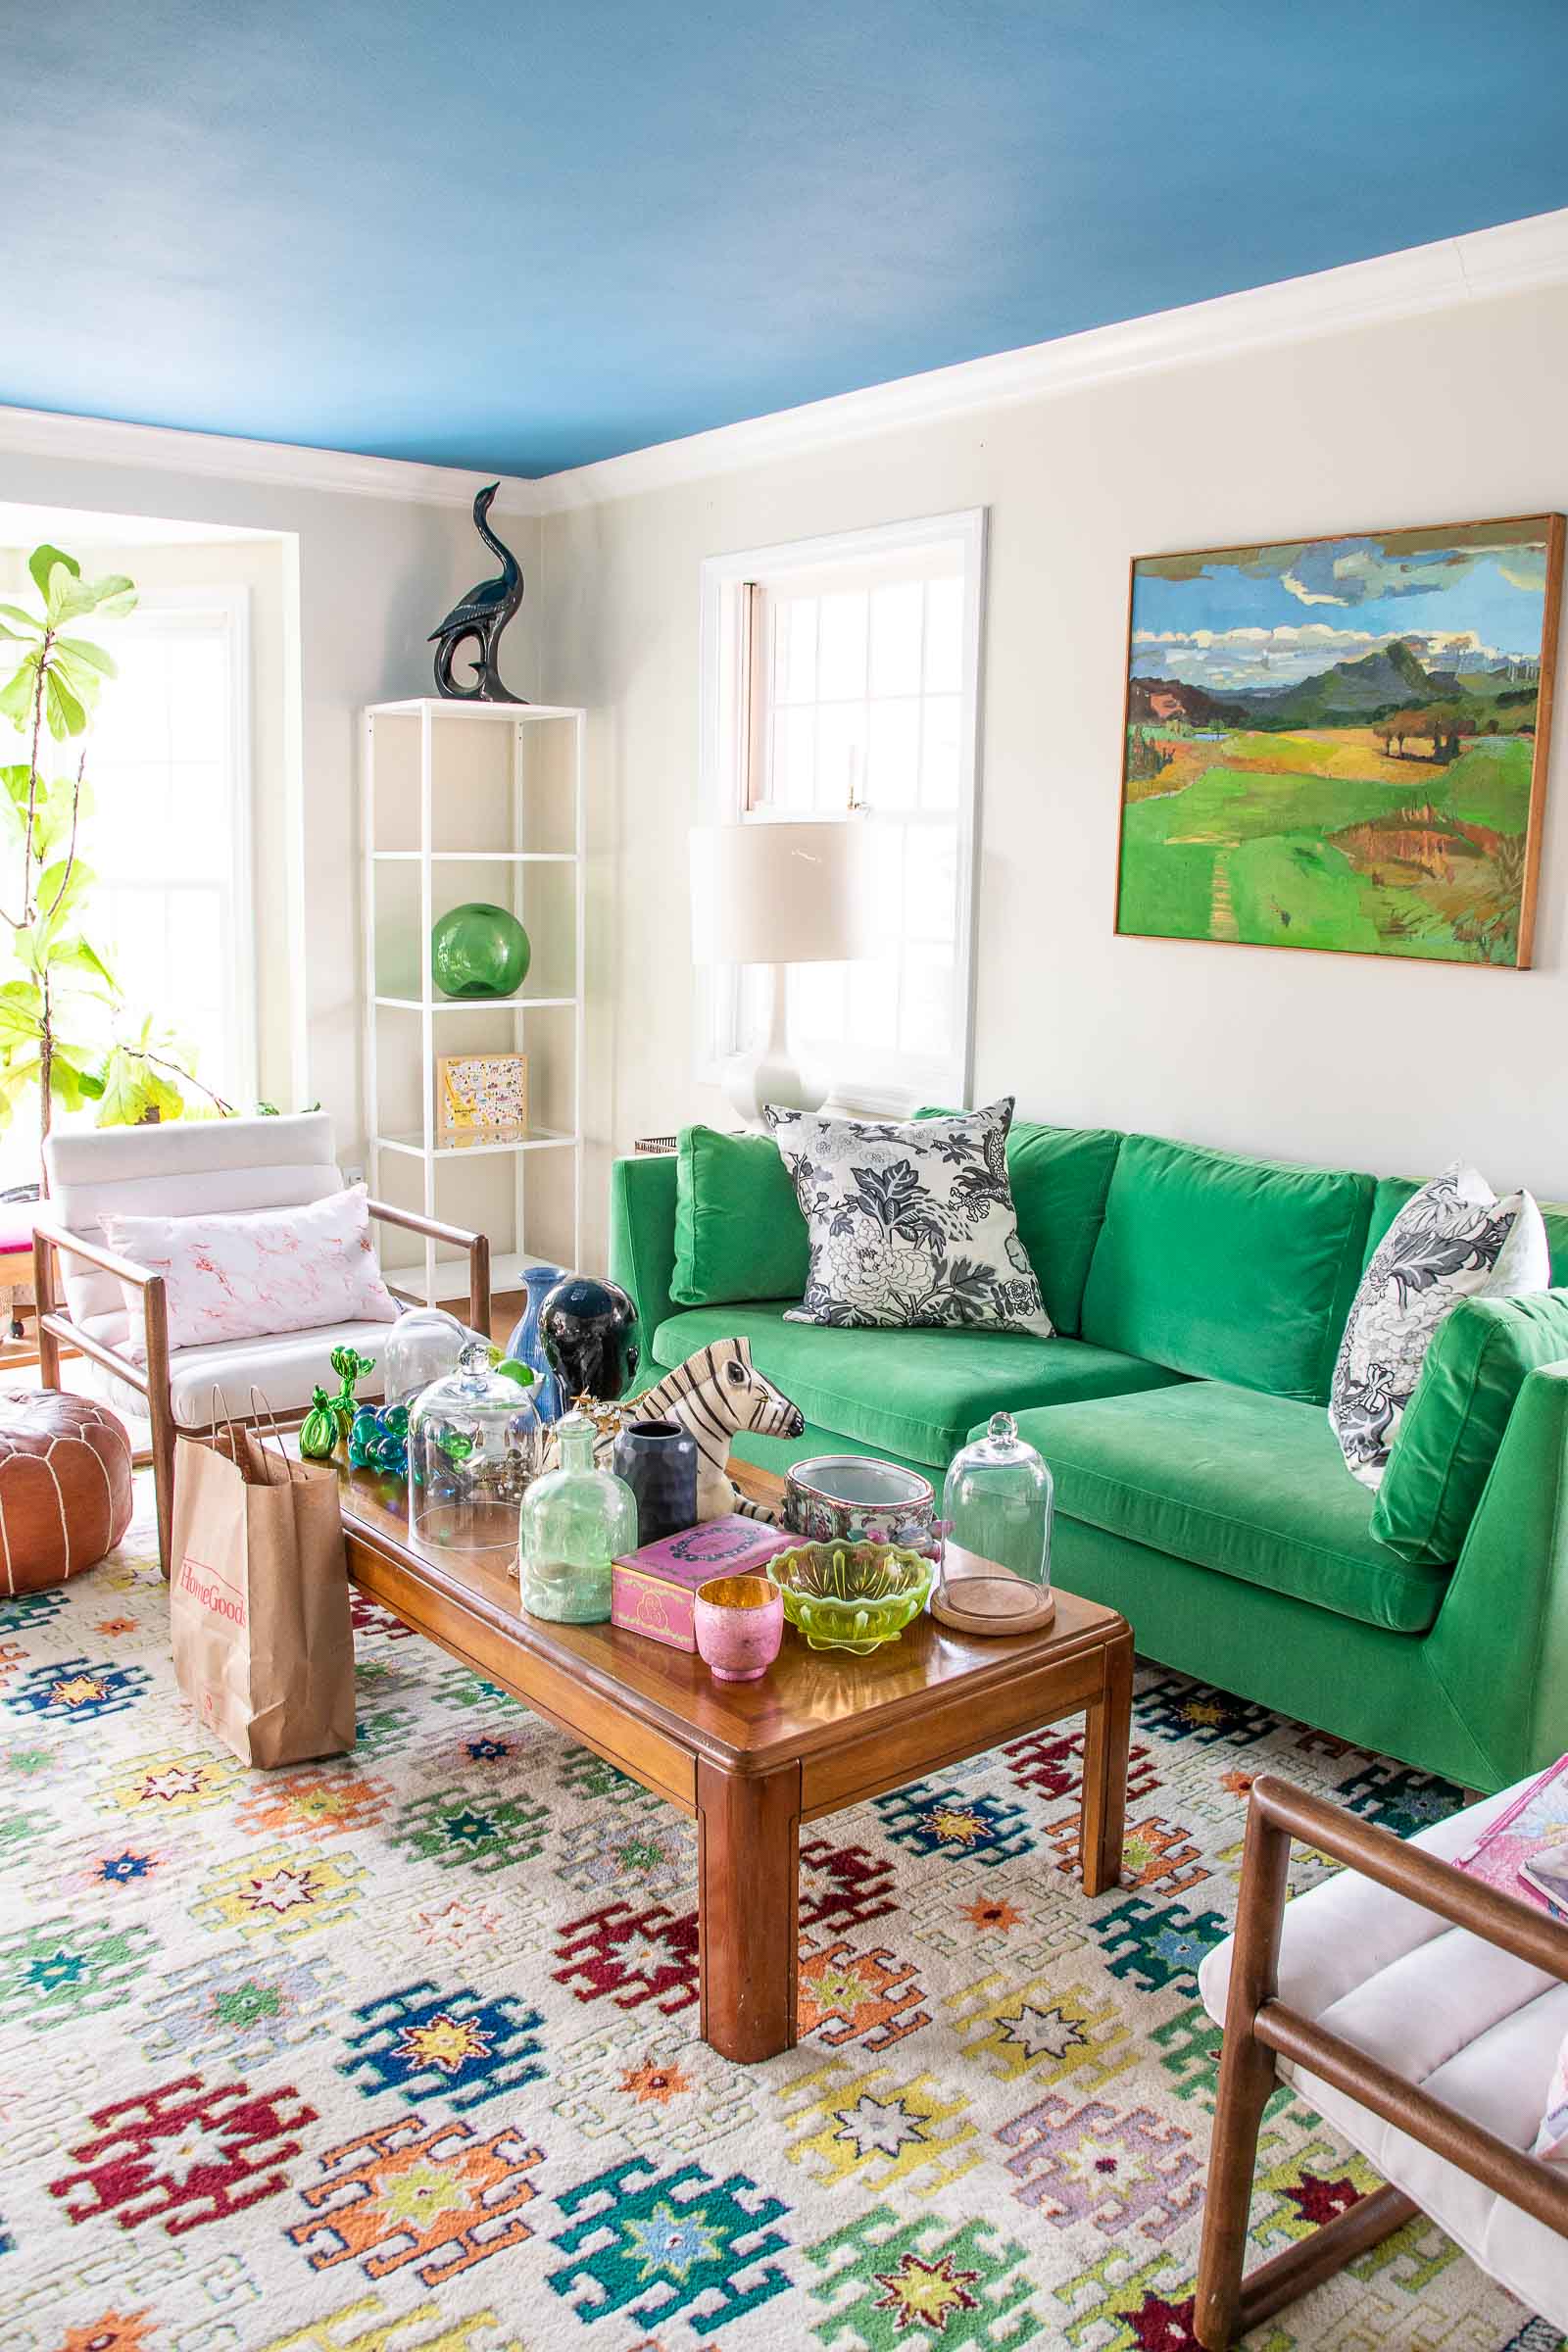
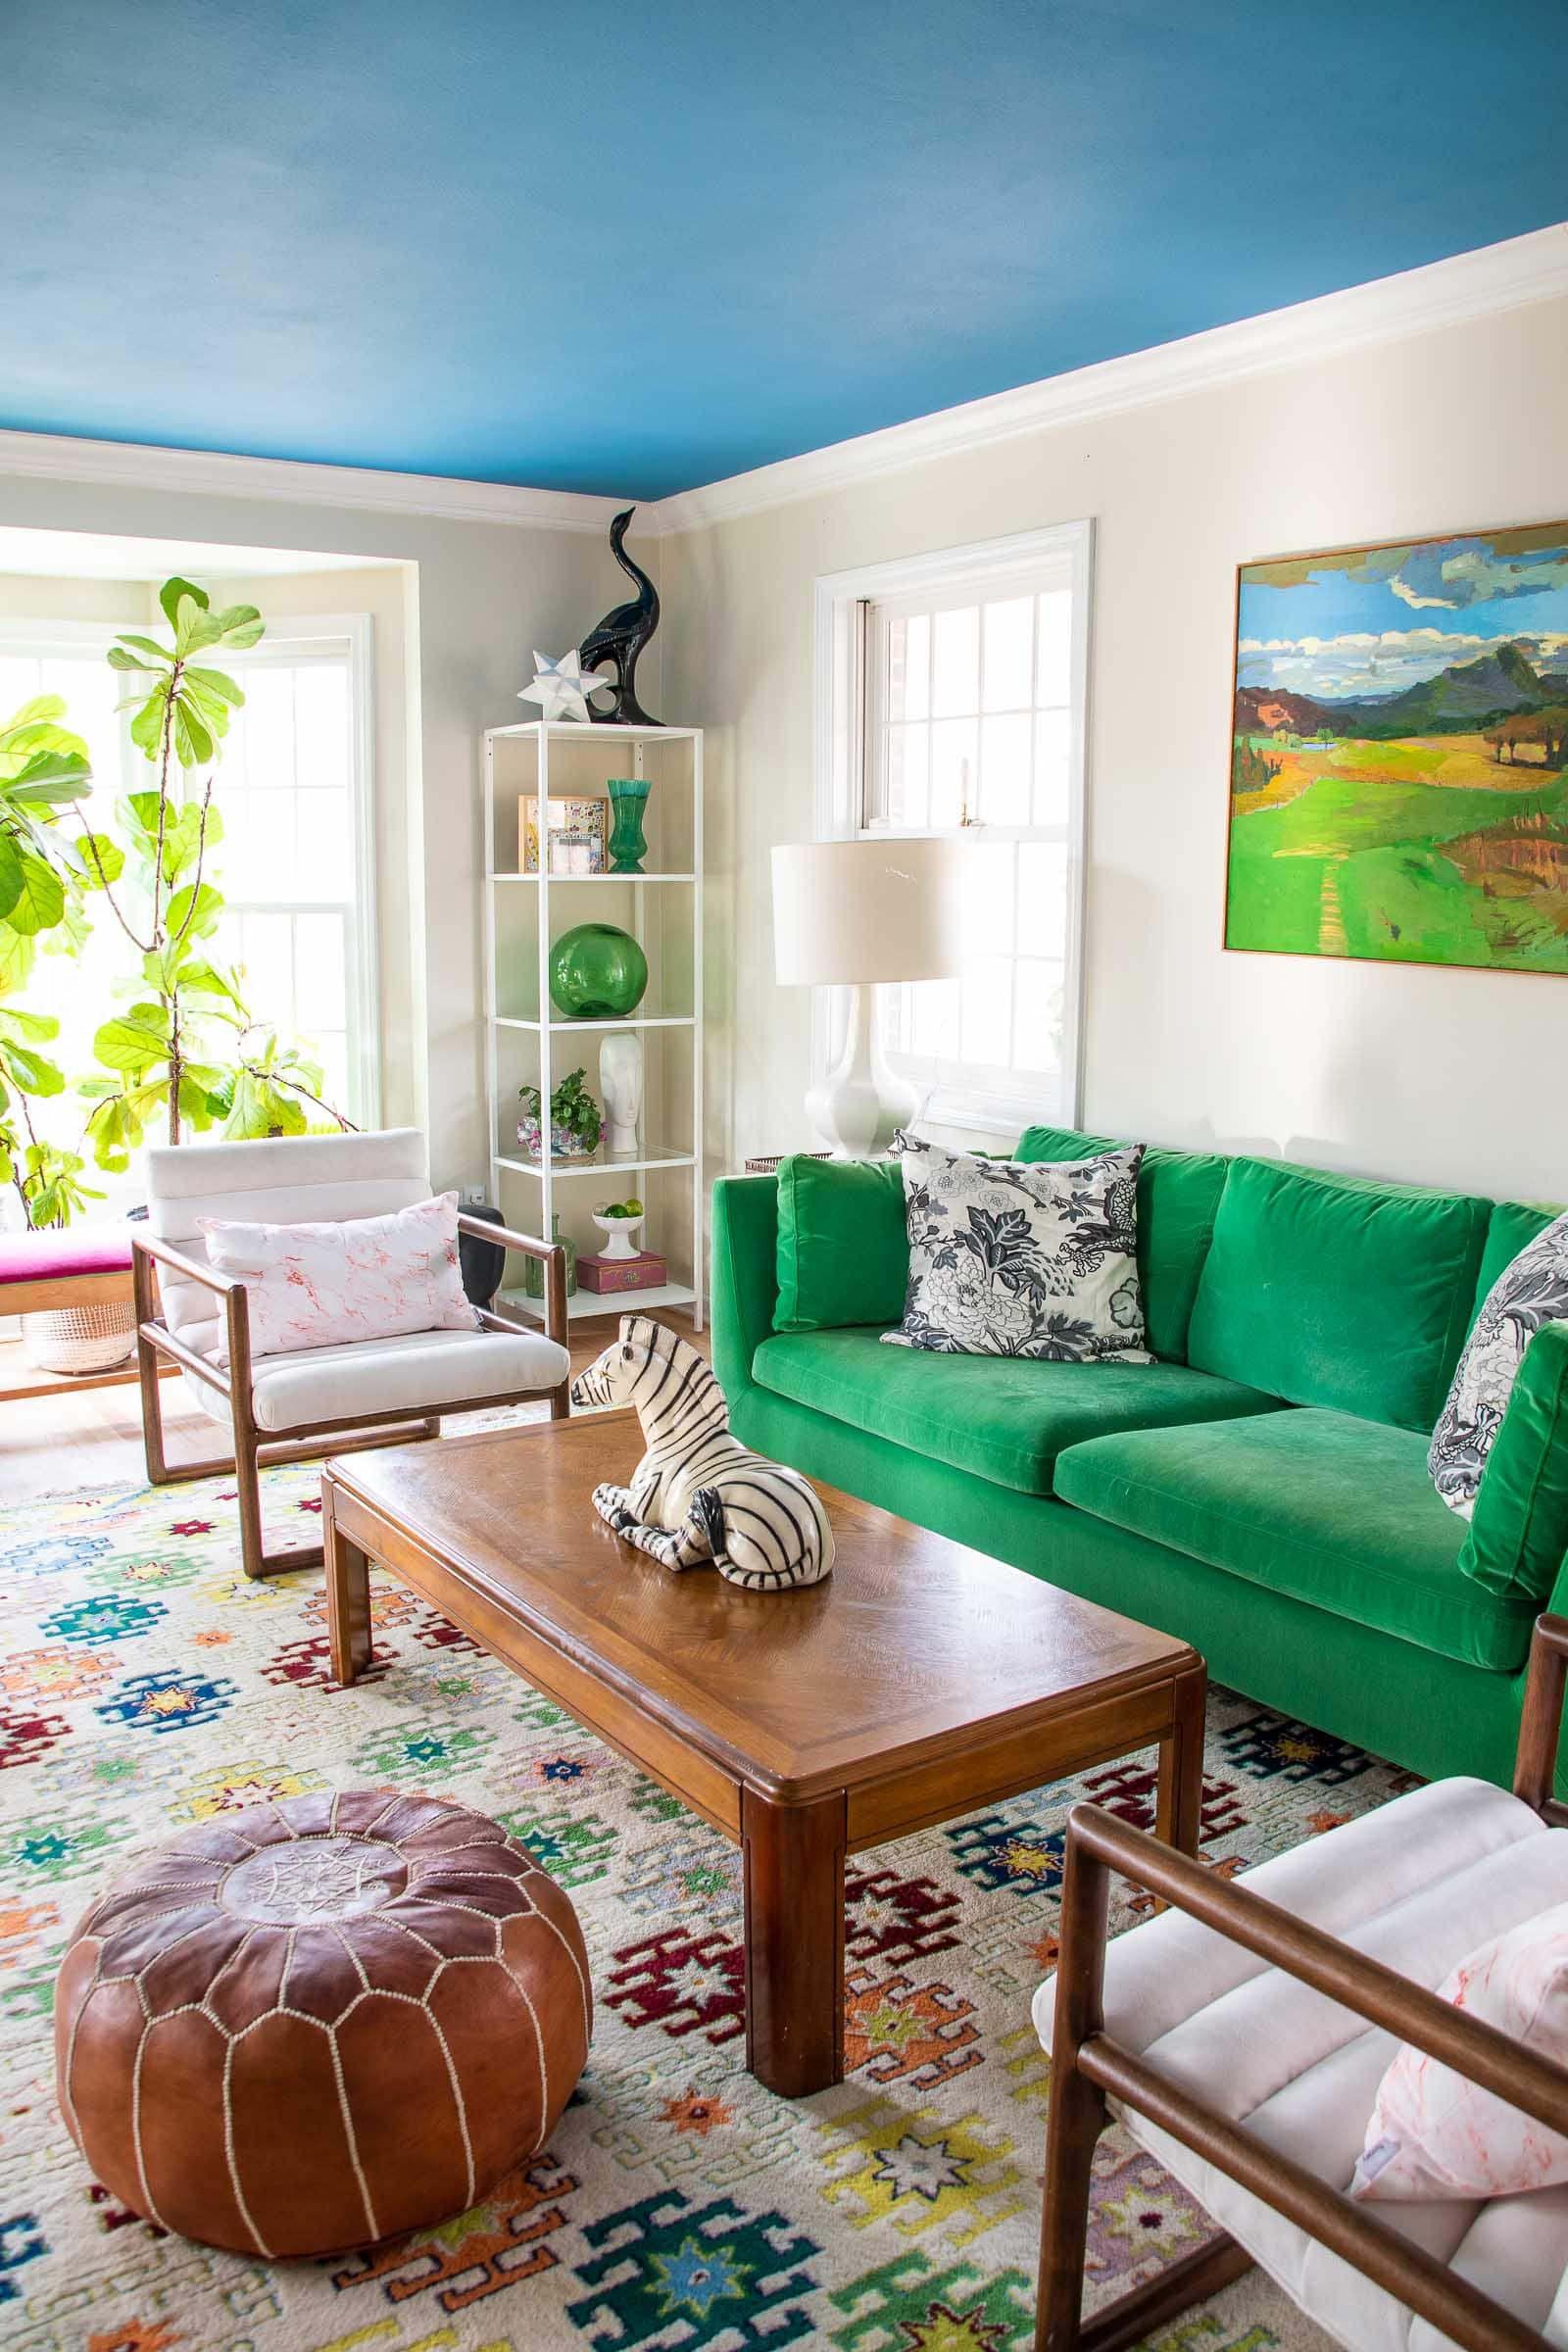
One of the best things that came from my spread in Better Homes and Gardens a couple of years ago was the chance to work with a professional stylist! It’s truly a gift and not one that I possess. Thankfully we are now great friends, so I bug my friend Matthew whenever I need another set of eyes. Our new house has two shelves in the living room that intimidated me to no end. I finally decided to tackle them, but made sure to keep Matthew on speed dial so he could talk me through it. His tips are so good I wanted to share them with you here!
Shop my favorites!
I started by gathering all of the accessories and items I liked from around the house. I tried to find a variety of items with similar colors and interesting textures and shapes.
5 Tips from a Professional Stylist
1. Less is More
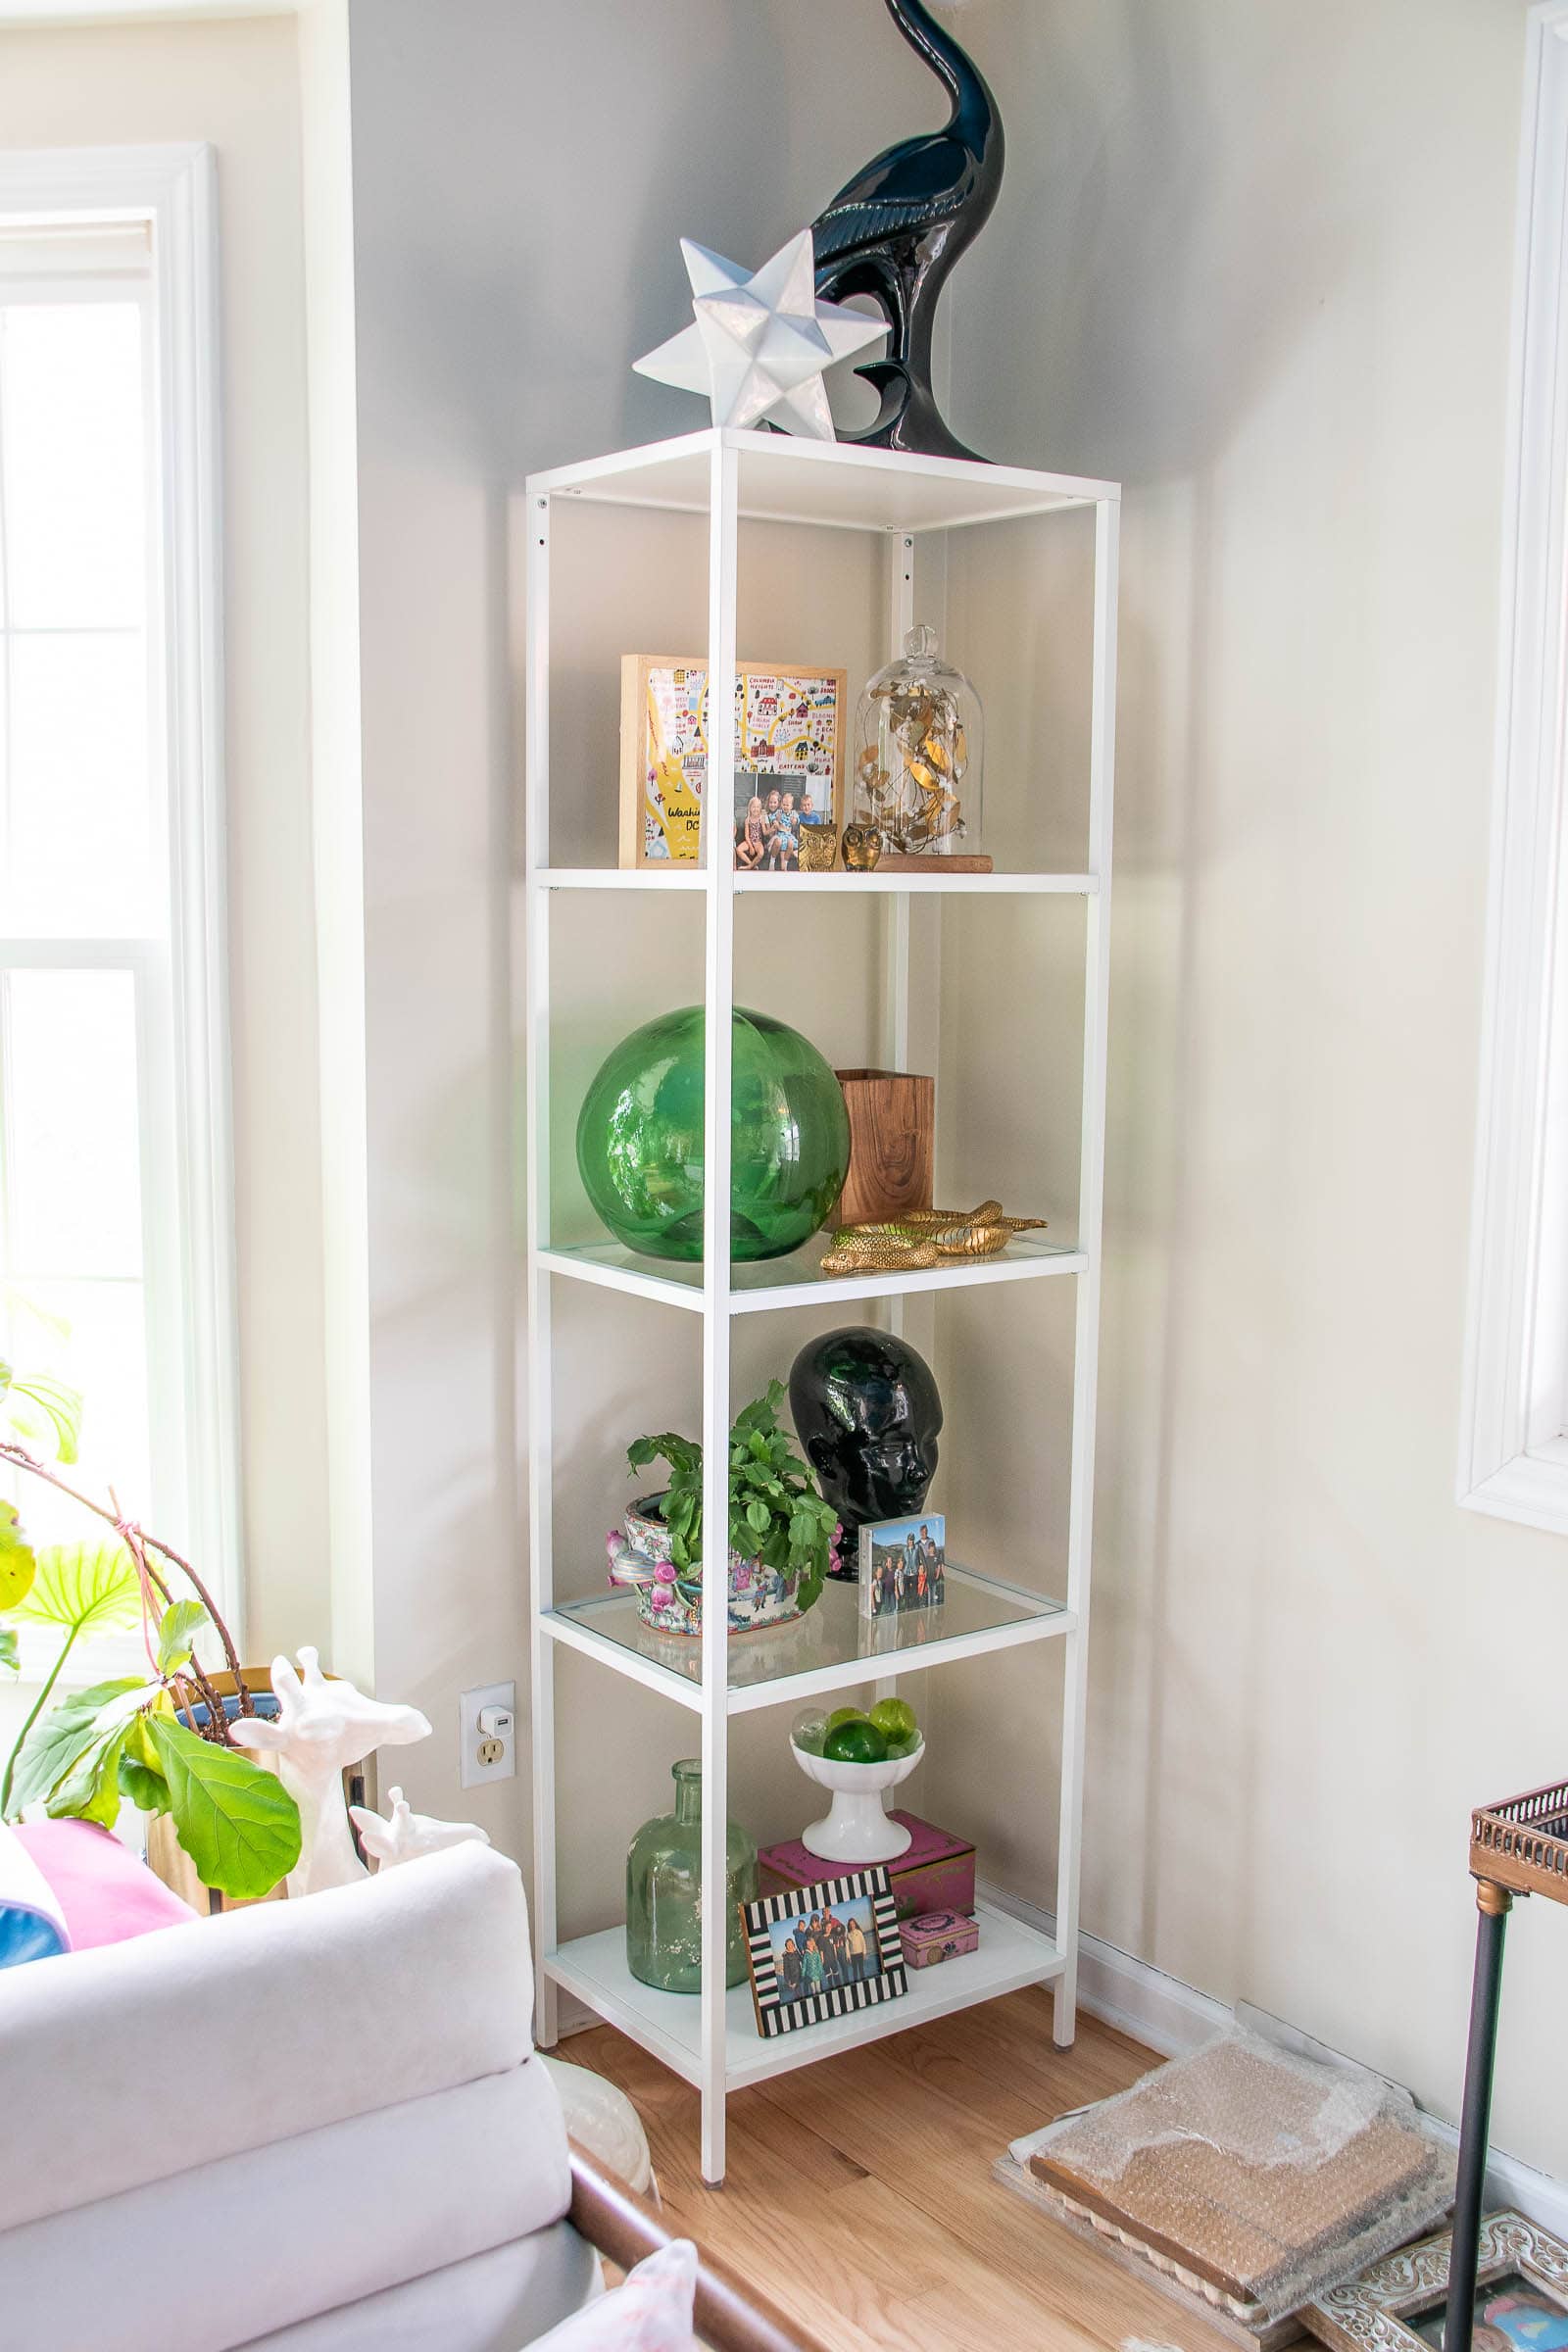
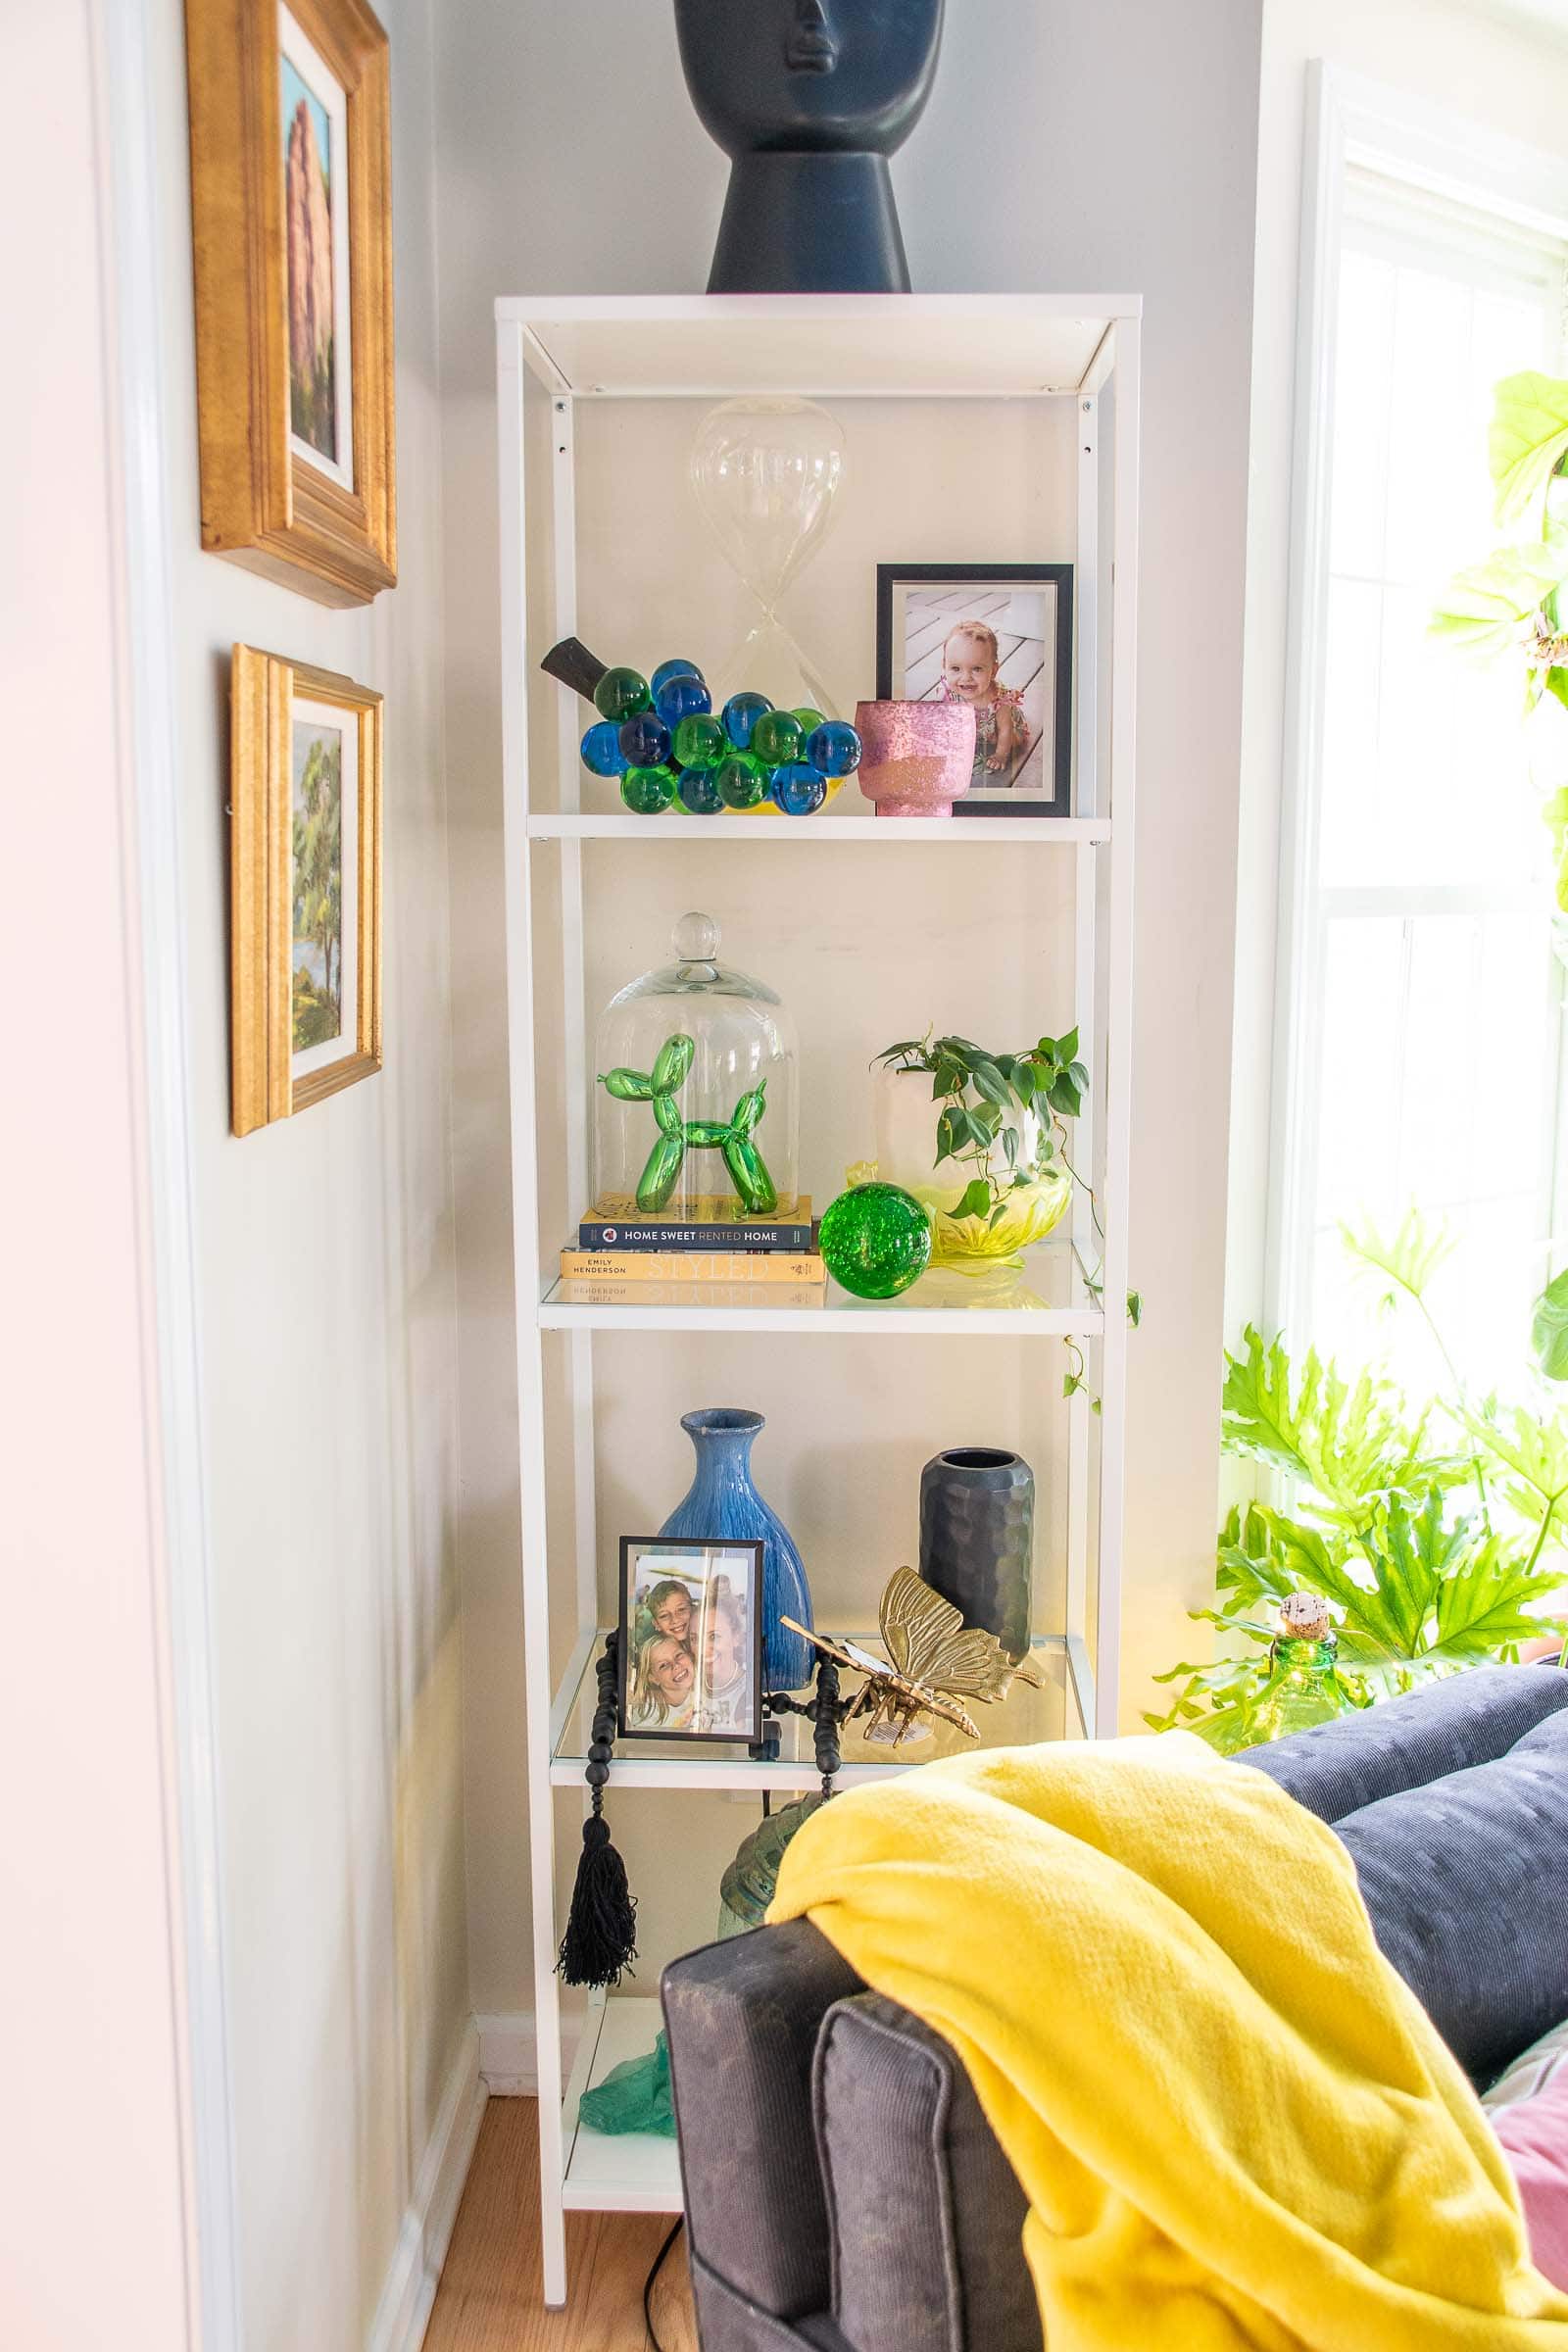
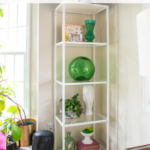
Small objects make the shelf feel cluttered and add busy-ness. A good rule of thumb is that if you take a few steps back and can’t tell what an item is… it’s too small so get rid of it. This is SO hard for me since I love tucking little dainty things in. Just remember to backup to get that perspective… the little things always look messier from afar than they do right up close. Consider taking a picture of your shelf also… sometimes seeing something on a screen can help you identify excess or unnecessarily details. Matthews suggestions after seeing this shelf were to remove the little items up top, and remove a few items from the other shelves as well.
2. Repeat colors and materials
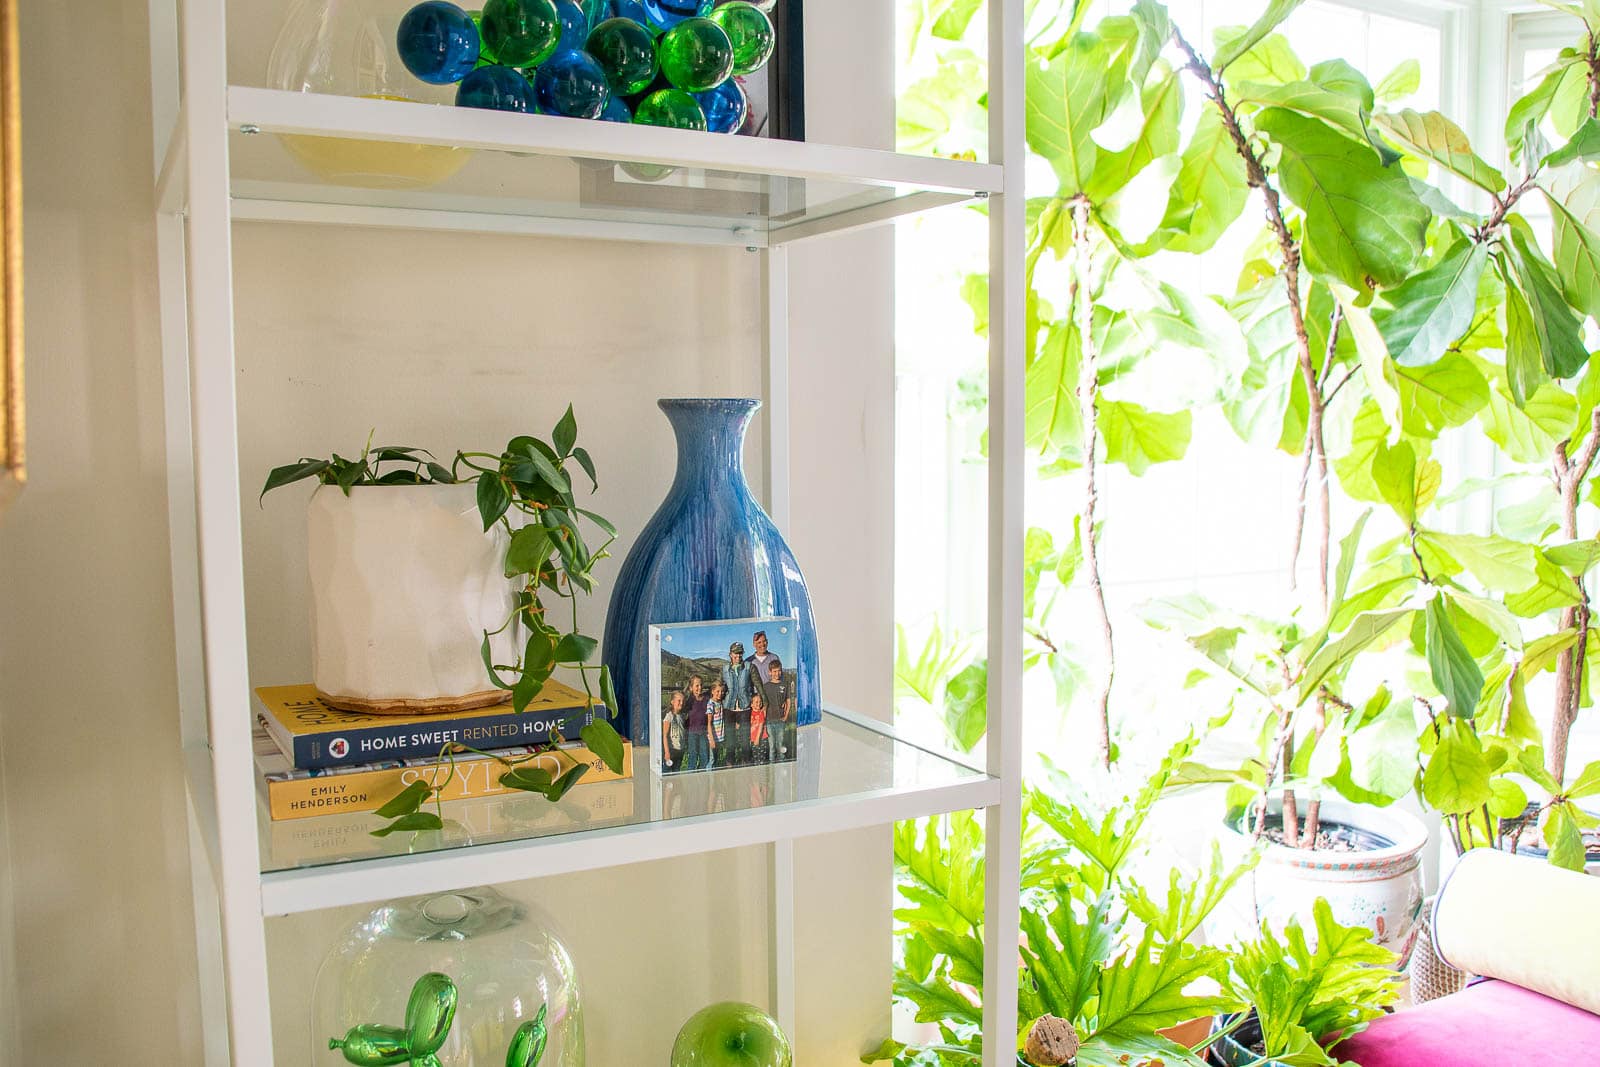
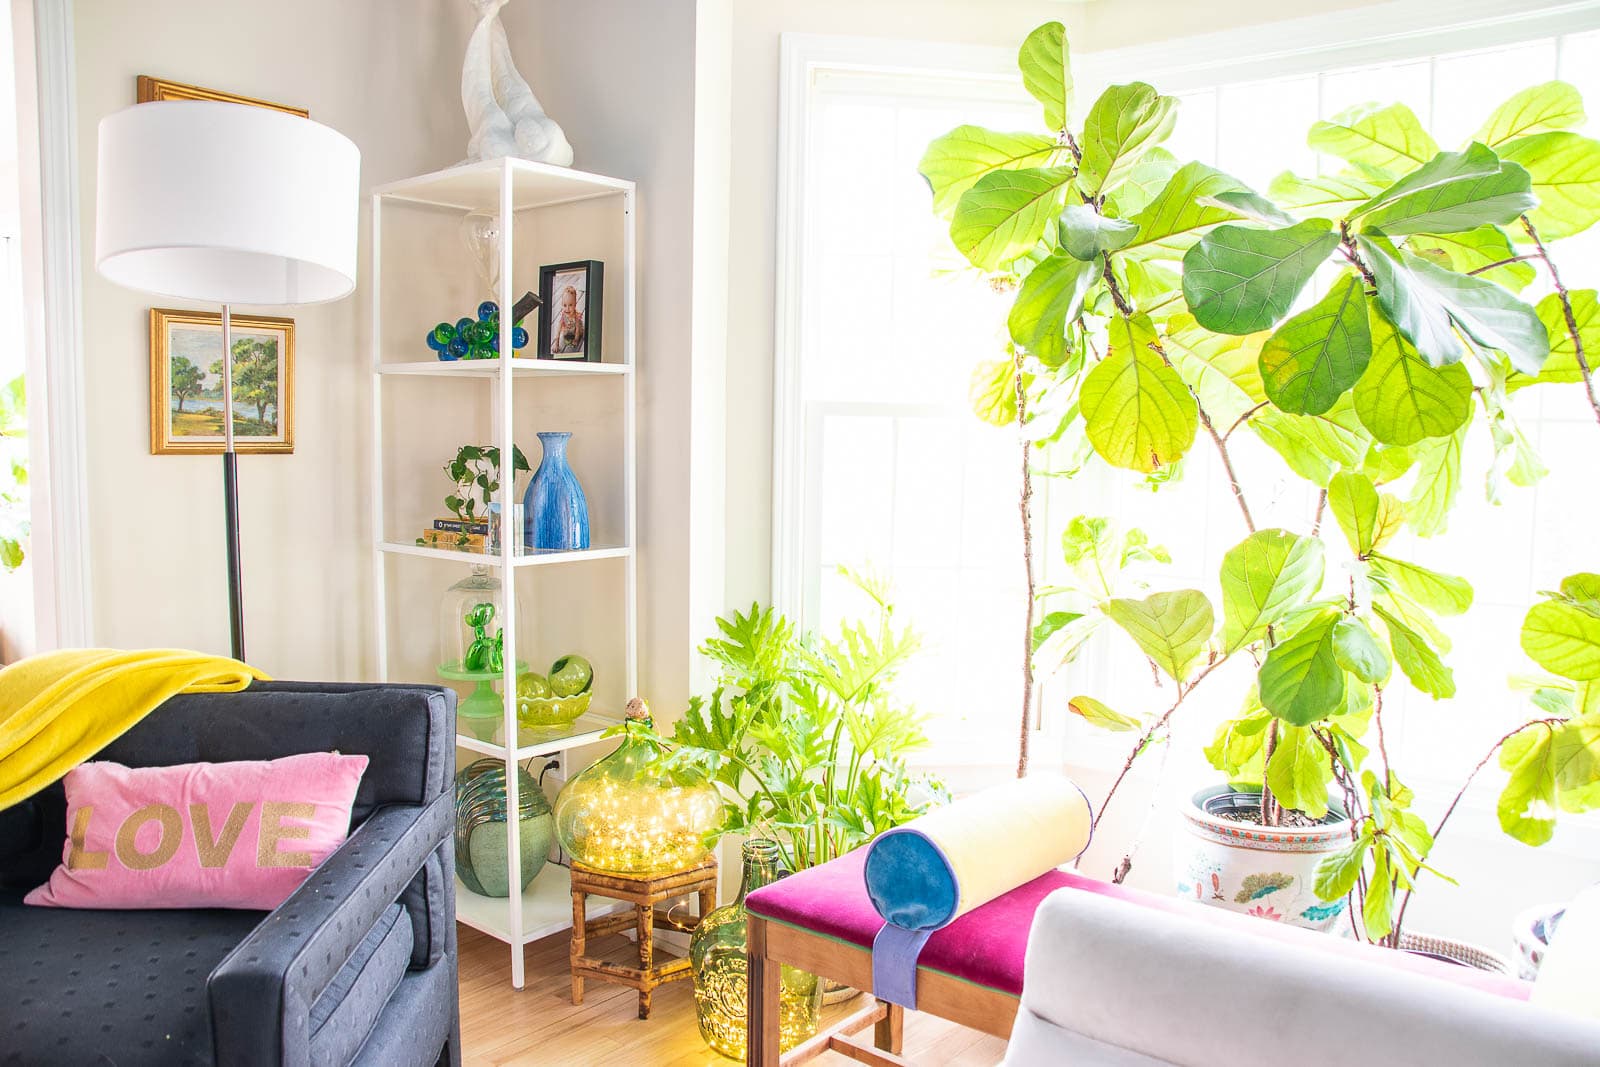
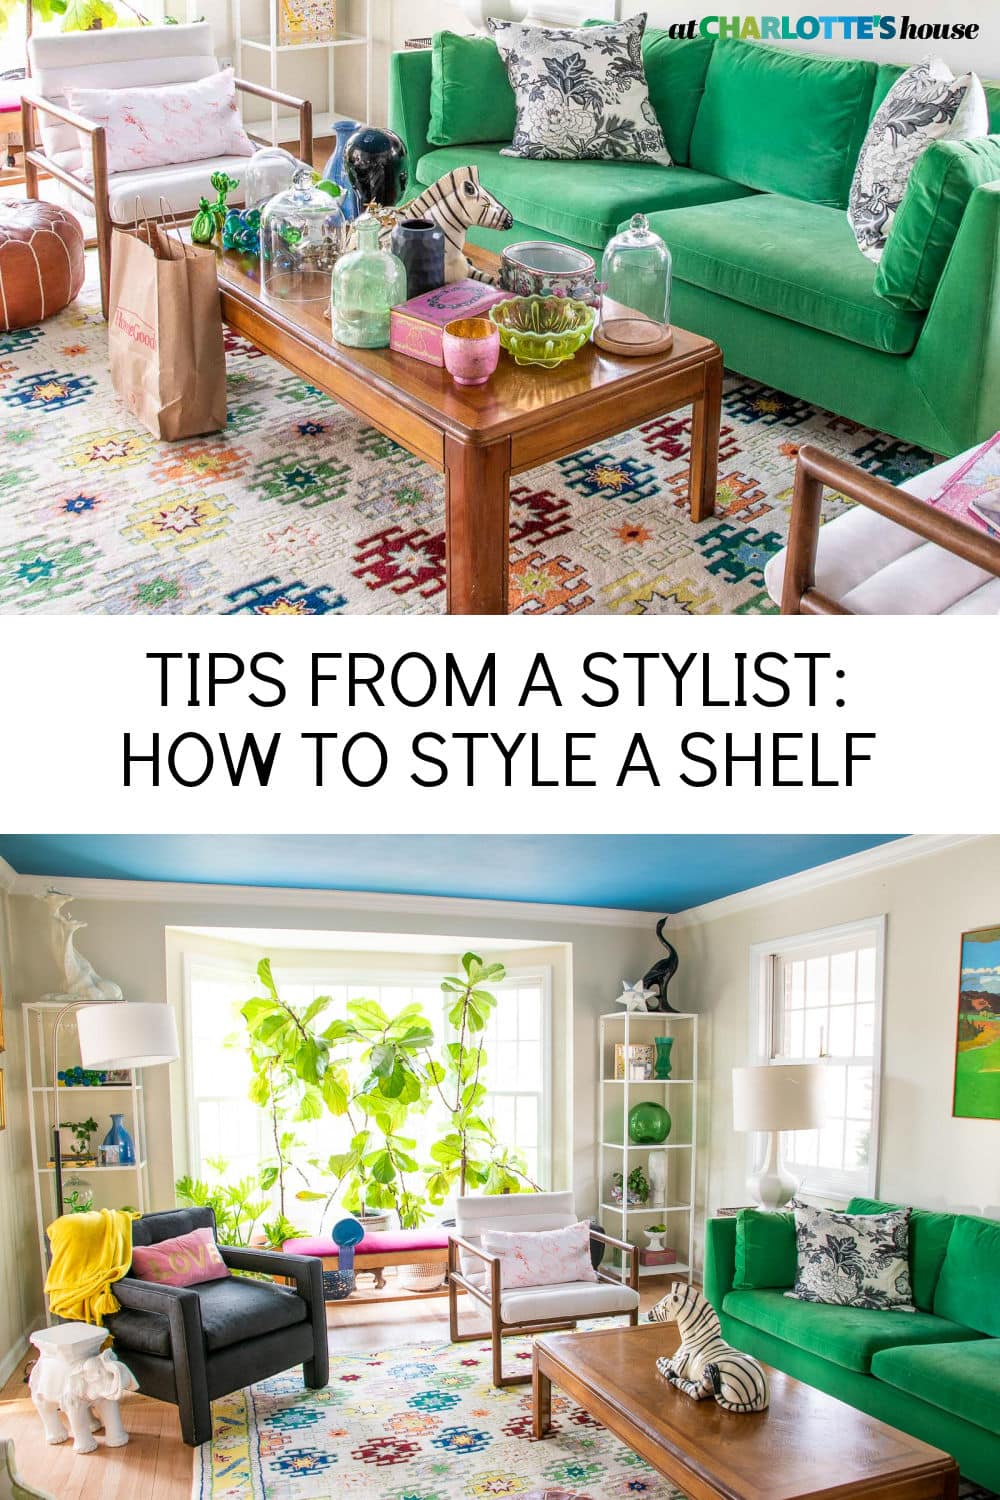
The goal of a good shelfie is balance. You want the eye to move fluidly back and forth across the shelf so spreading out materials, textures and colors and keeping them balanced is key. A gentle mix of materials and styles is a good thing as it adds interest but too many things can feel really busy. My shelfies tend to be more eclectic than they probably should be since many of my accessories are thrifted or plucked from the flea market so they don’t always have much in common, but I love seeing all the different items regardless. I try to find similar colors or materials or shapes but sometimes it’s still a bit haphazard. Case in point… the shelf below has a lot of different elements but the blue in the vase and the green vine both tie into the glass grapes so I’m calling it a win.
3. Bigger and Darker Items on the Bottom
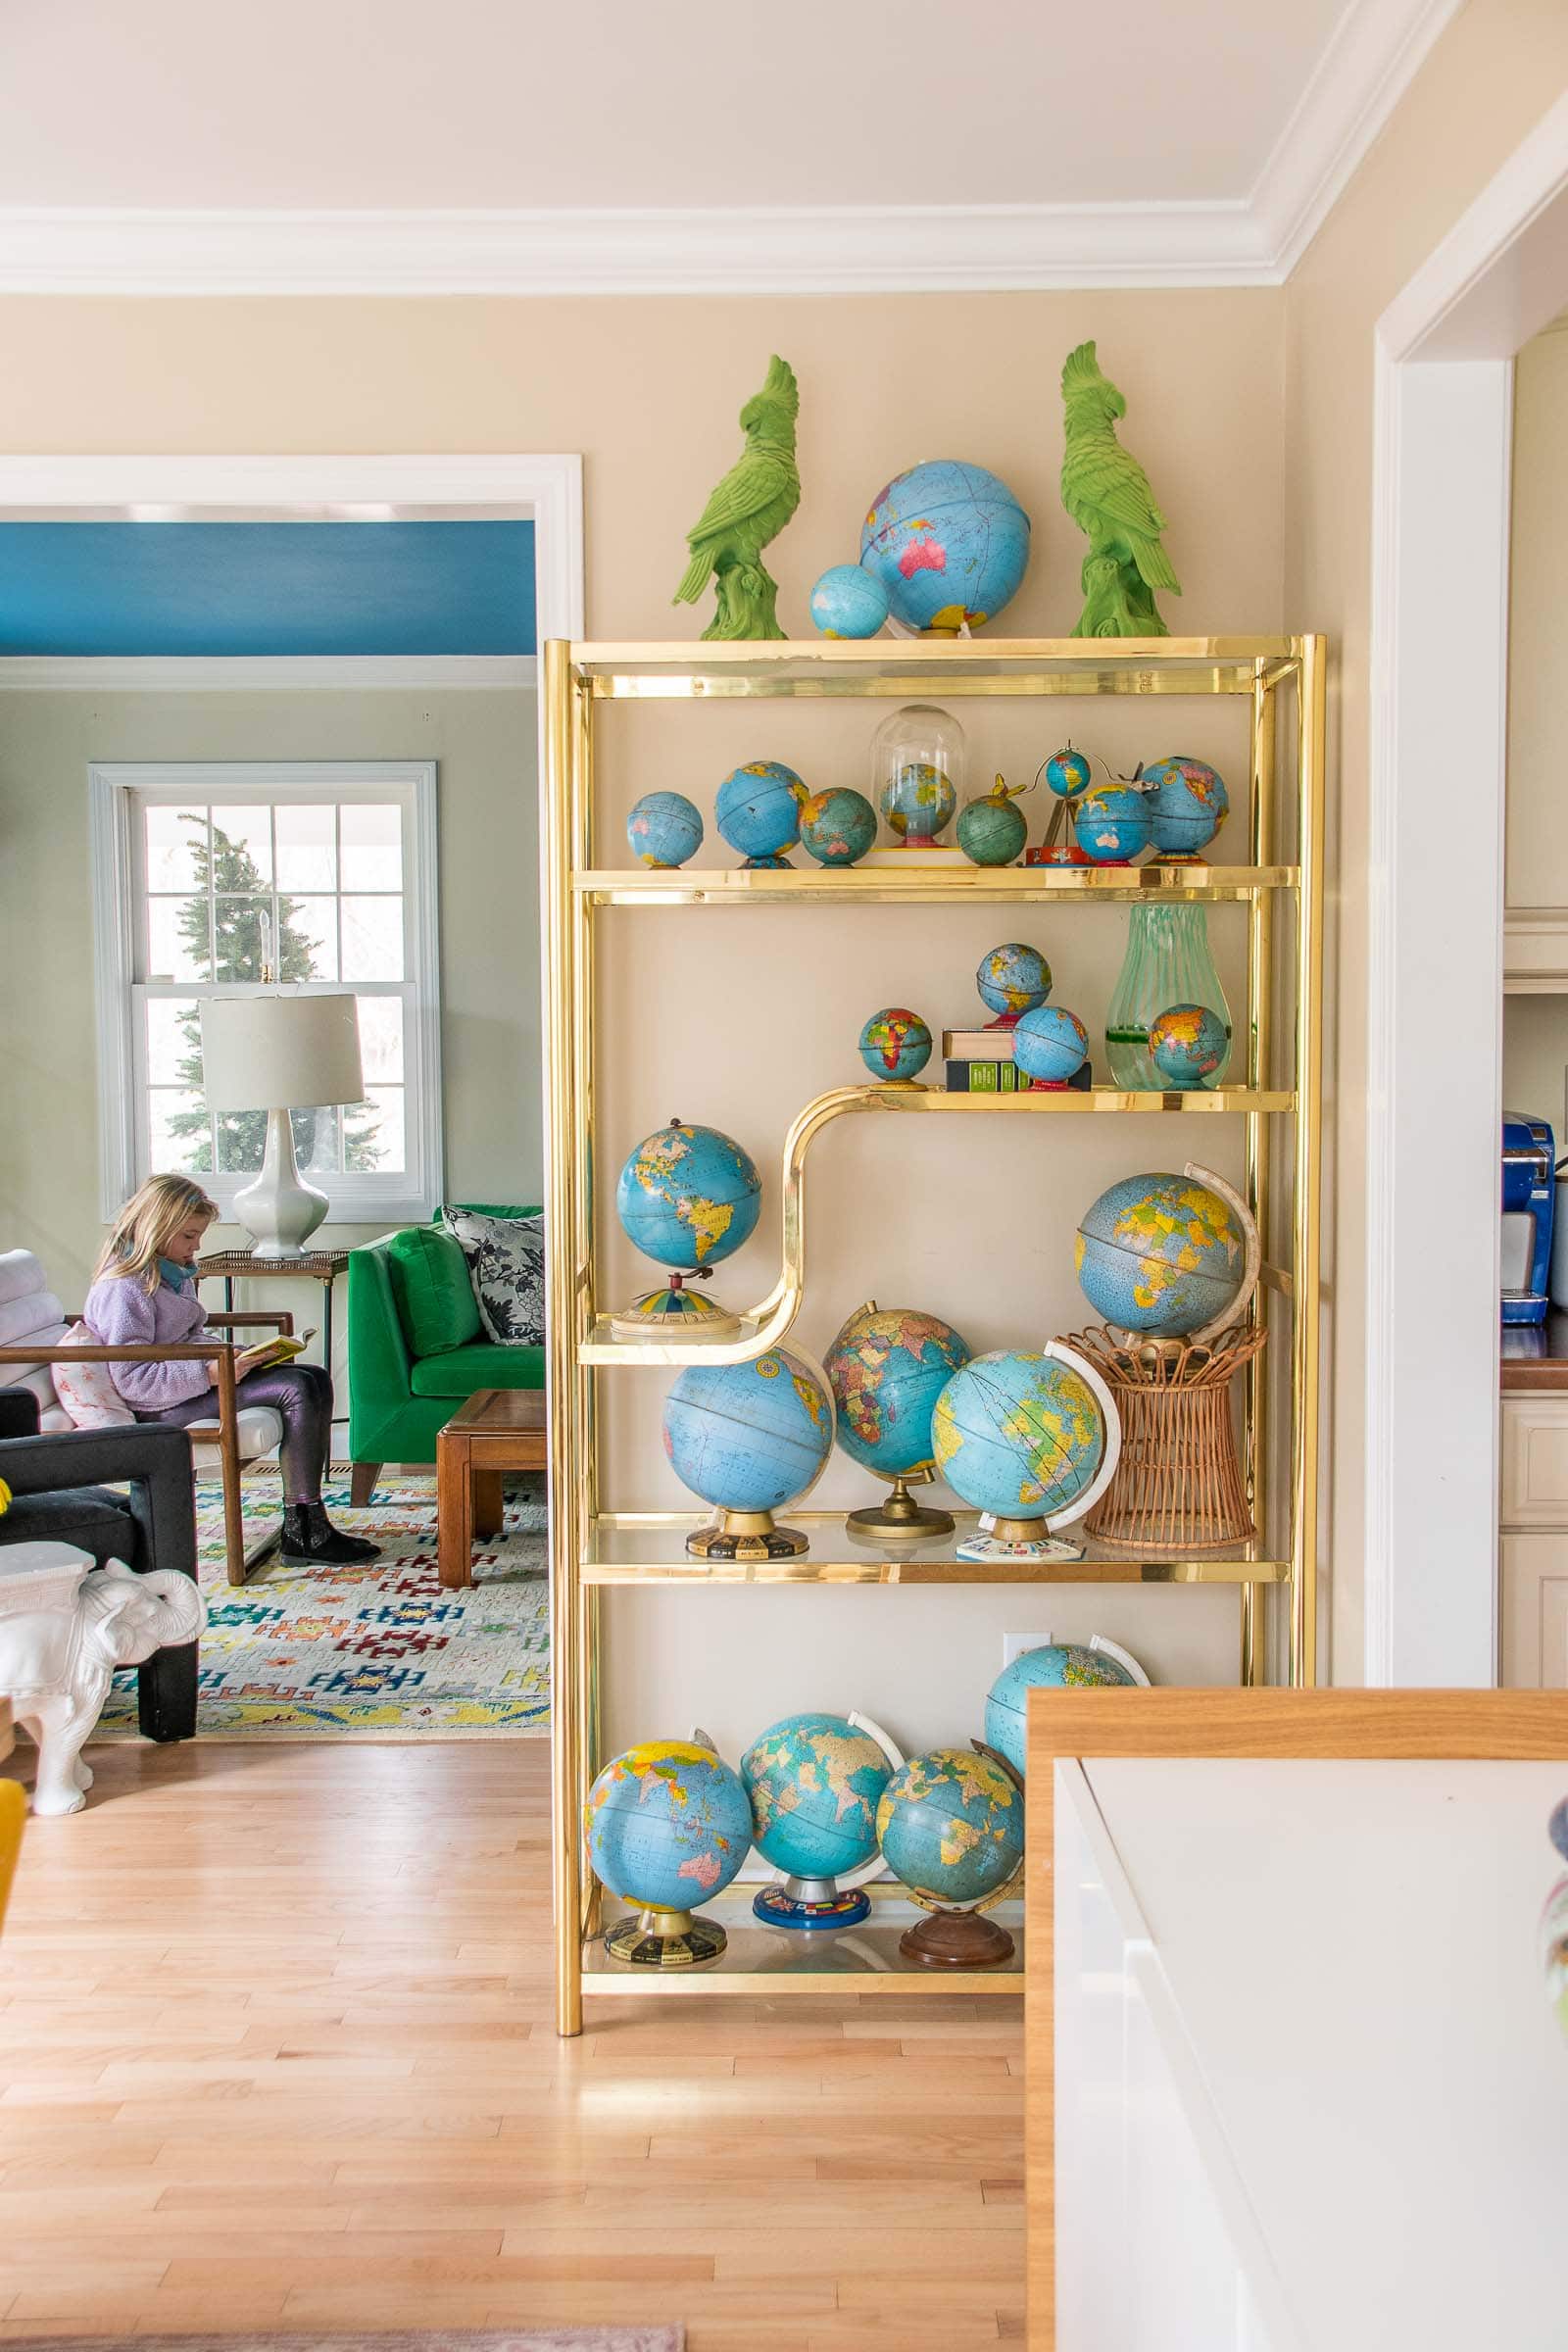
To get started, place bigger/ darker things on the bottom of the shelf and go from there. Matthew didn’t share this little tip with me before I started so I don’t know that my living room shelves actually demonstrate this… My big glass fishing ball is too pretty a green to hide on the bottom shelf, but I did tuck a larger vase on the bottom of the other shelf. It’s more evident with my globe collection where I tried to cluster the larger globes on the bottom shelf.
4. Stagger the Heights
Use books or cake stands or small boxes to ensure that items on each shelf have staggered heights. This is easier said than done, because whatever you use to raise your items needs to be cute also! When I go shopping with Matthew at the flea market, he’s a master at finding little boxes or cake stands or other small objects that can essentially be used as a riser. For my shelves, I used a box on one shelf, a cake stand on another and then a few design books on the third. A plant stand came in handy on my globe shelf for this also.
5. If using framed photos, keep them closer to eye level
Not much explanation is required for this one, but it makes perfect sense so I figured I’d share. I had some frames on the bottom shelf in this first draft and the minute he pointed this out, I realized how silly it was to have them lower. He also suggested I remove the black head from the top and take away items from each of shelves. The second shelf with the balloon animal is in pretty good shape as is… I’m learning!
6. Regarding bookshelves…
Books present a separate challenge because there are so many of them on a working bookshelf. Matthew says to use books to create groupings. Treat each stack as a separate “thing” in other words. Don’t be afraid to layer photos or smaller framed pictures in front of books. Vary whether the books are stacked horizontally and vertically as a way to add interest! See how he did this in his own living room:
I’m sure I’ll continue to make some small little tweeks to these shelves but following Matthew’s simple tips and tricks above definitely got me headed in the right direction. Finding common shapes/ colors/ textures and then removing some of the smaller fussier items made the biggest difference! For now, this room is done!


Terrific tips, thanks! The shelves look fab!
Thank you! So happy I can “phone a friend” for these! 🙂
Great tips! Thanks! It can be overwhelming bc i like to use allll the things! Lol
Oh same here! I’m terrible at editing!!
Love it! Can you tell me where you got that multi colored rug?
Sadly that was from a local Norwalk, CT outlet that’s no longer in business! 🙁