
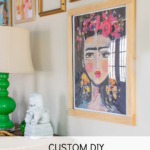
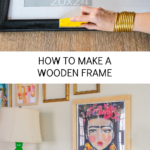
How to Make a Budget Wooden Frame
Psssst… this post *might* contain affiliate links: see my disclosure here.
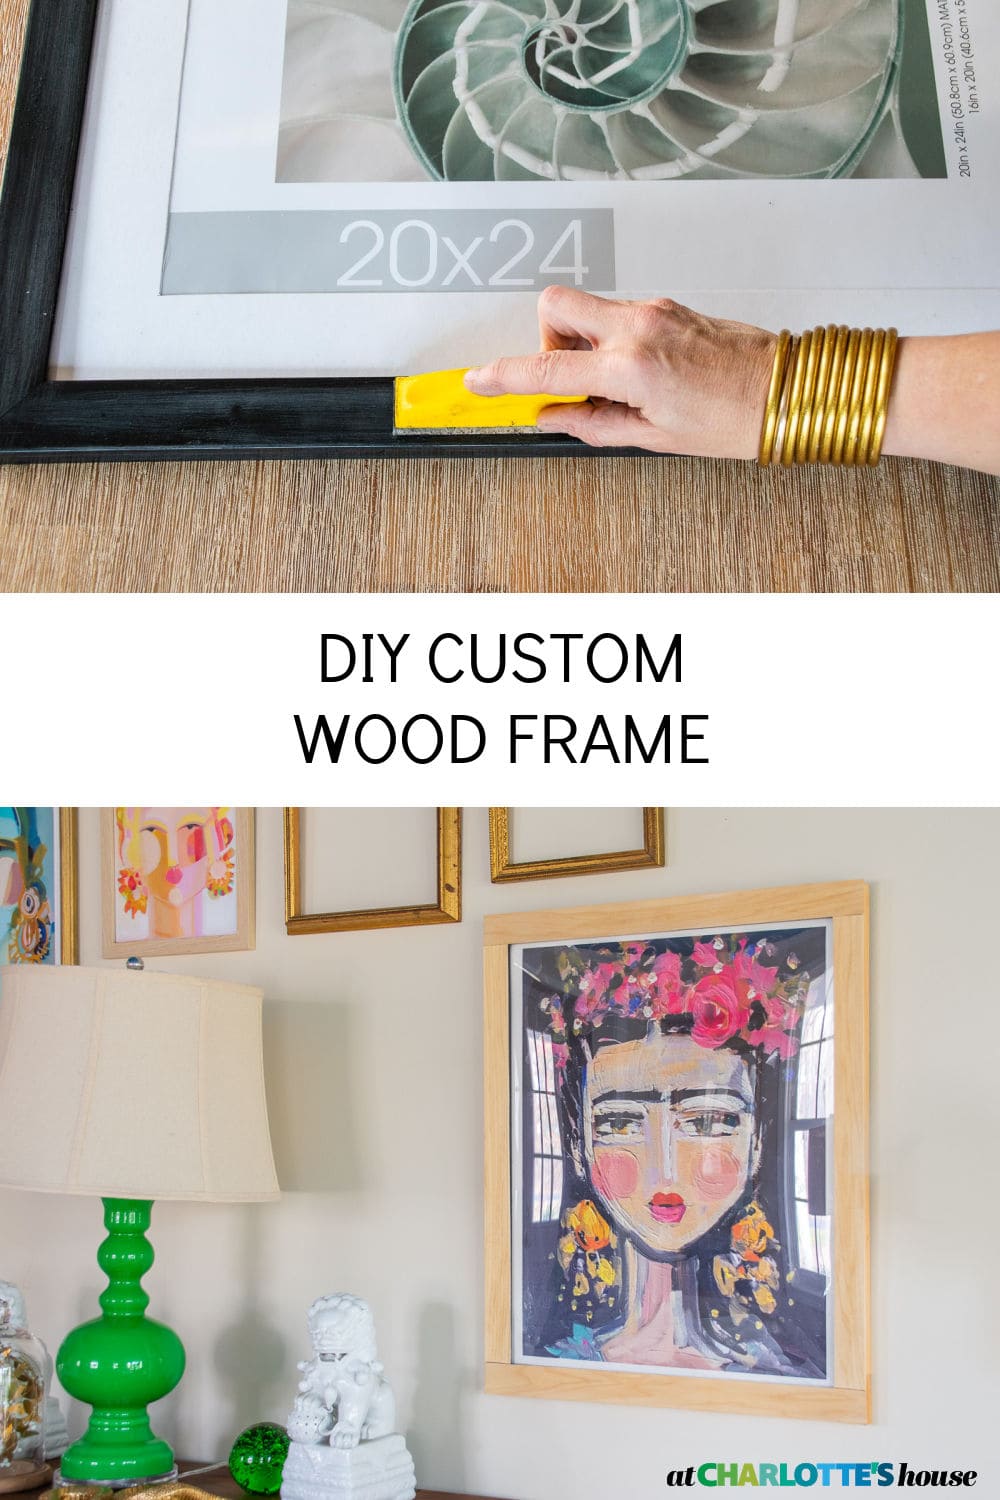
$6 Wooden Frame Hack
I used inexpensive basswood to create a custom DIY wooden frame on a budget.
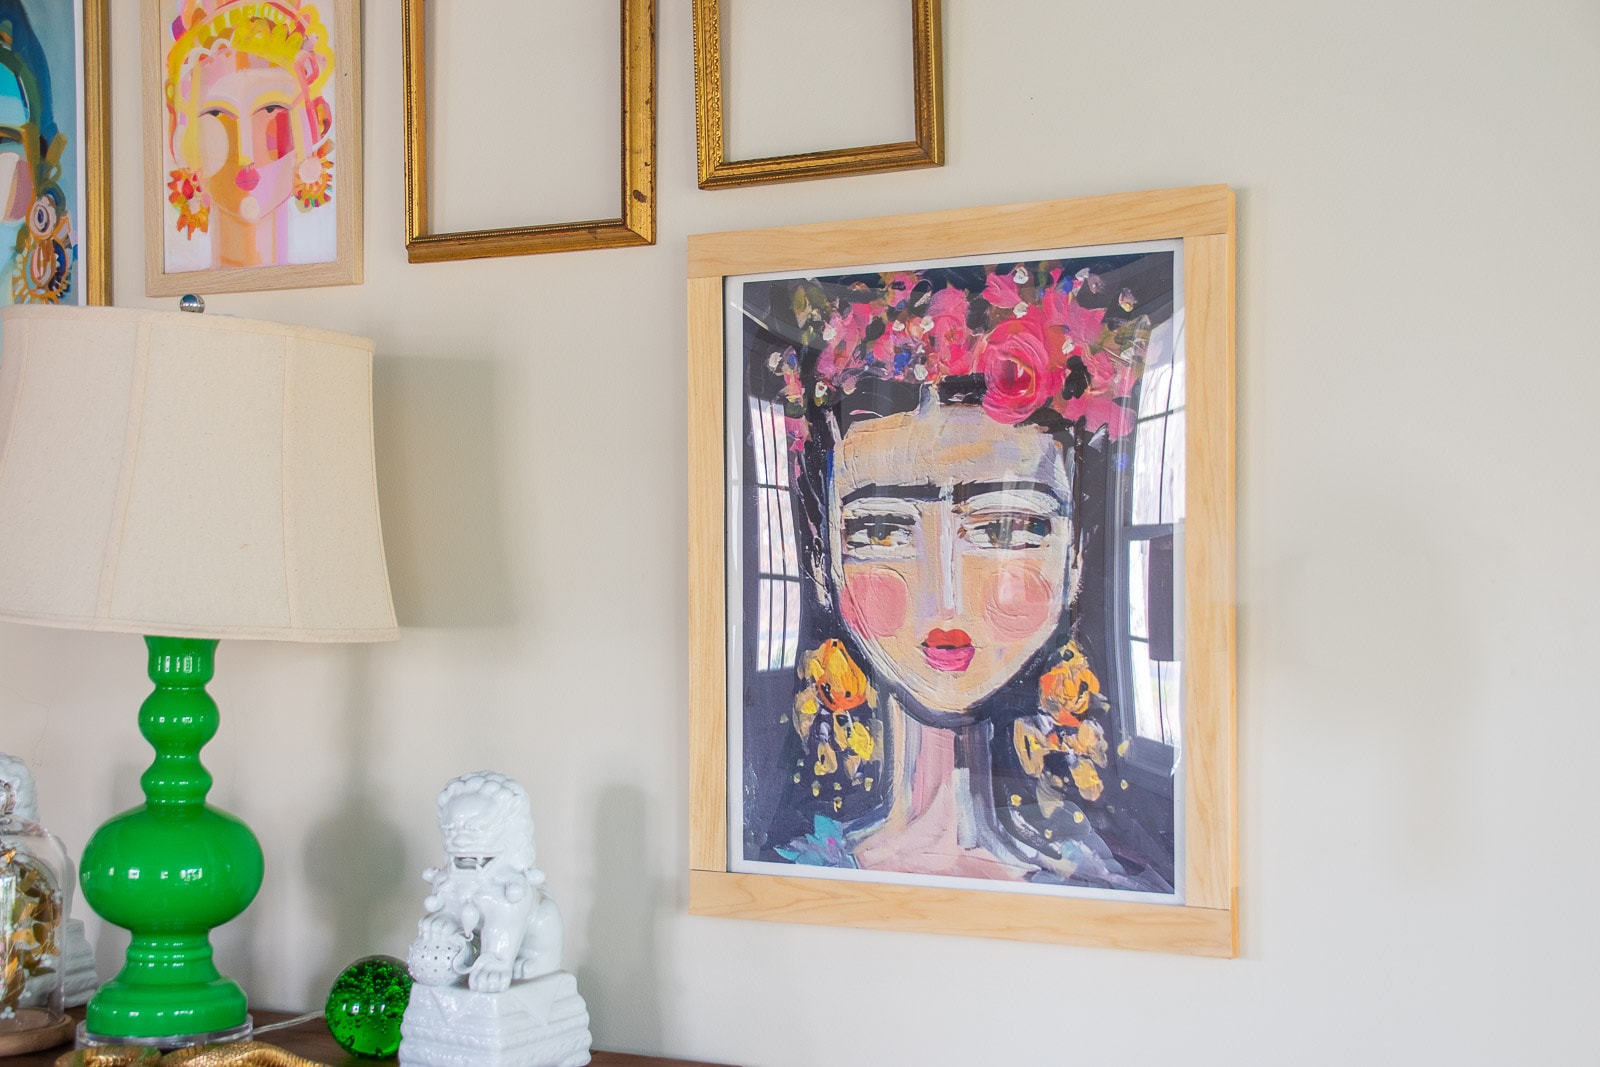
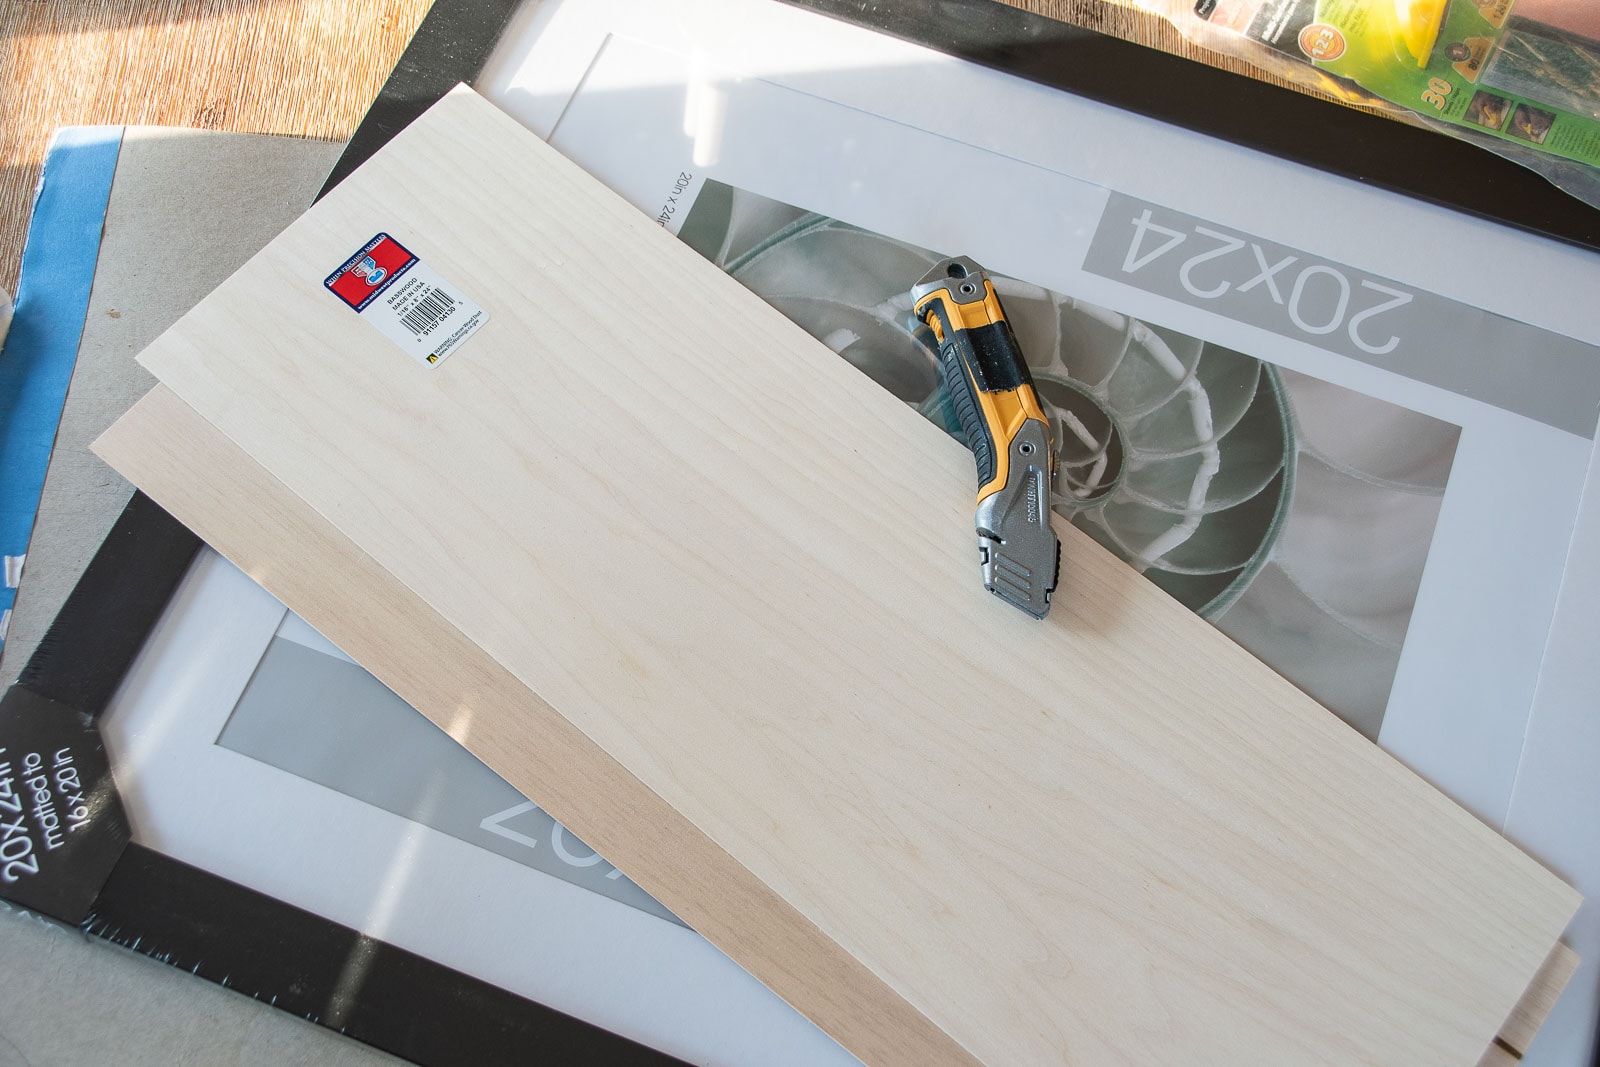
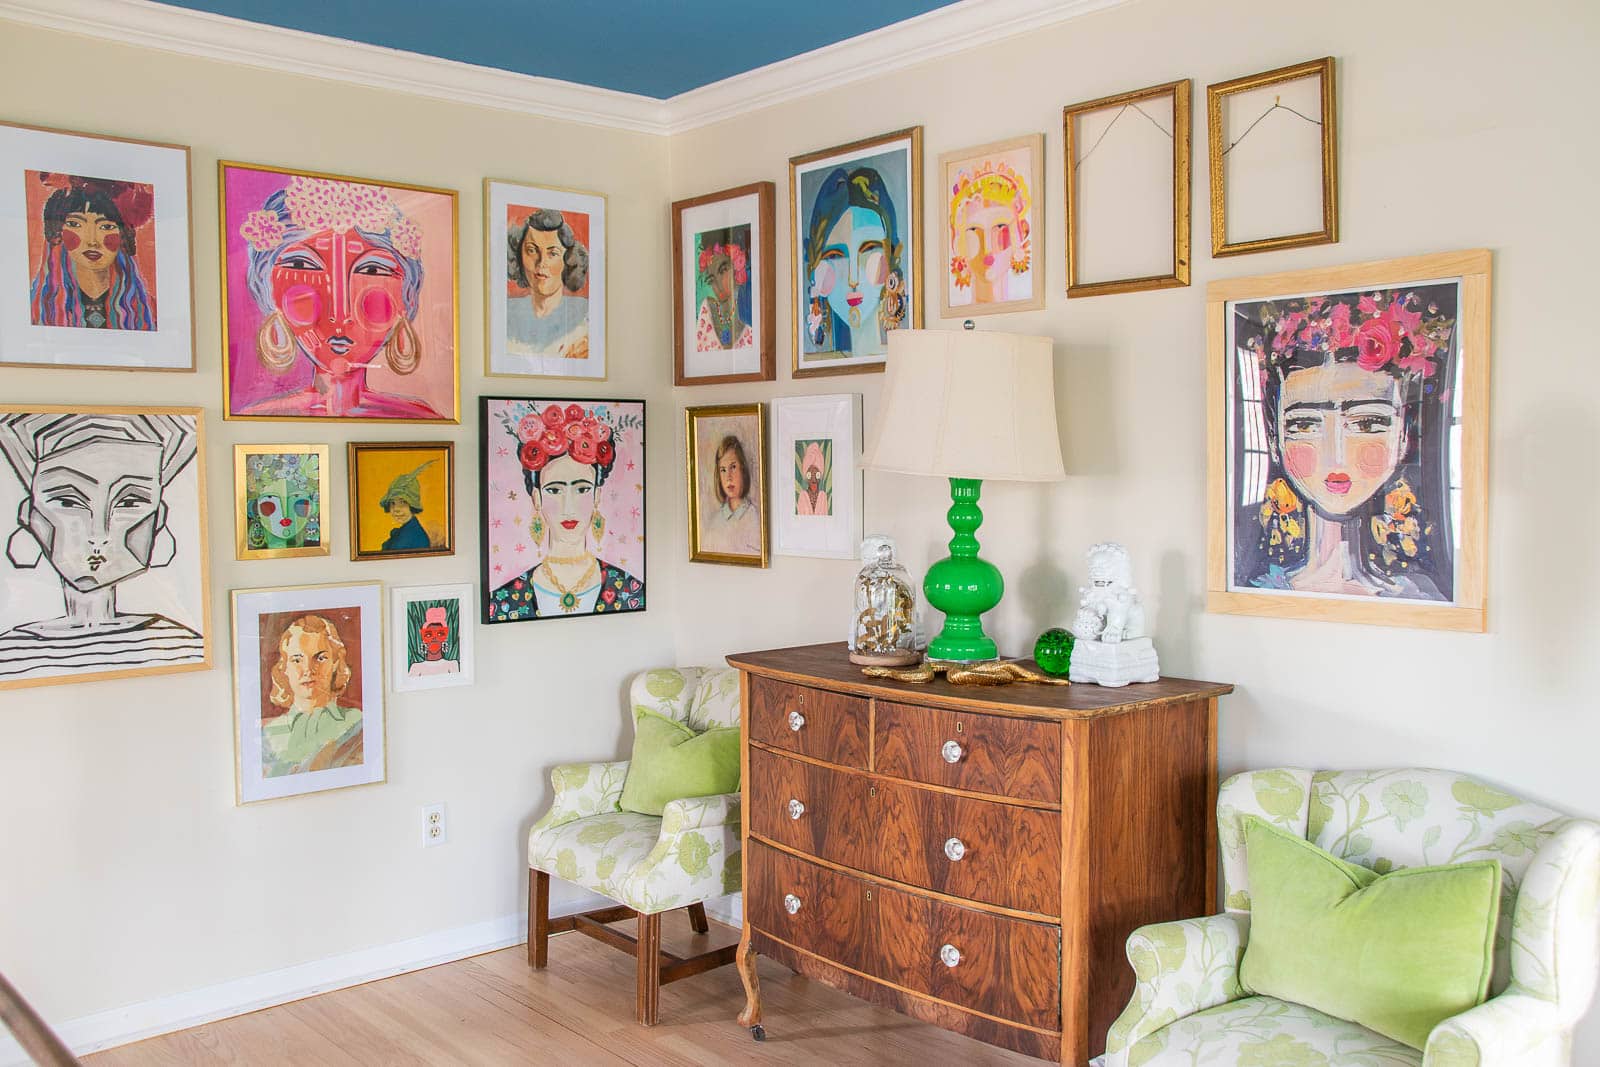
I wanted to frame a print I had for our living room gallery wall but everything was SO expensive. I picked up a simple black frame for under $20 and decided to give it an easy budget friendly wooden makeover! Full materials list with links at the end of the post. I’m using 1/8″ basswood from the wood trim aisle at Joann. It’s thin enough to cut with an exacto knife!
Shop my favorites!
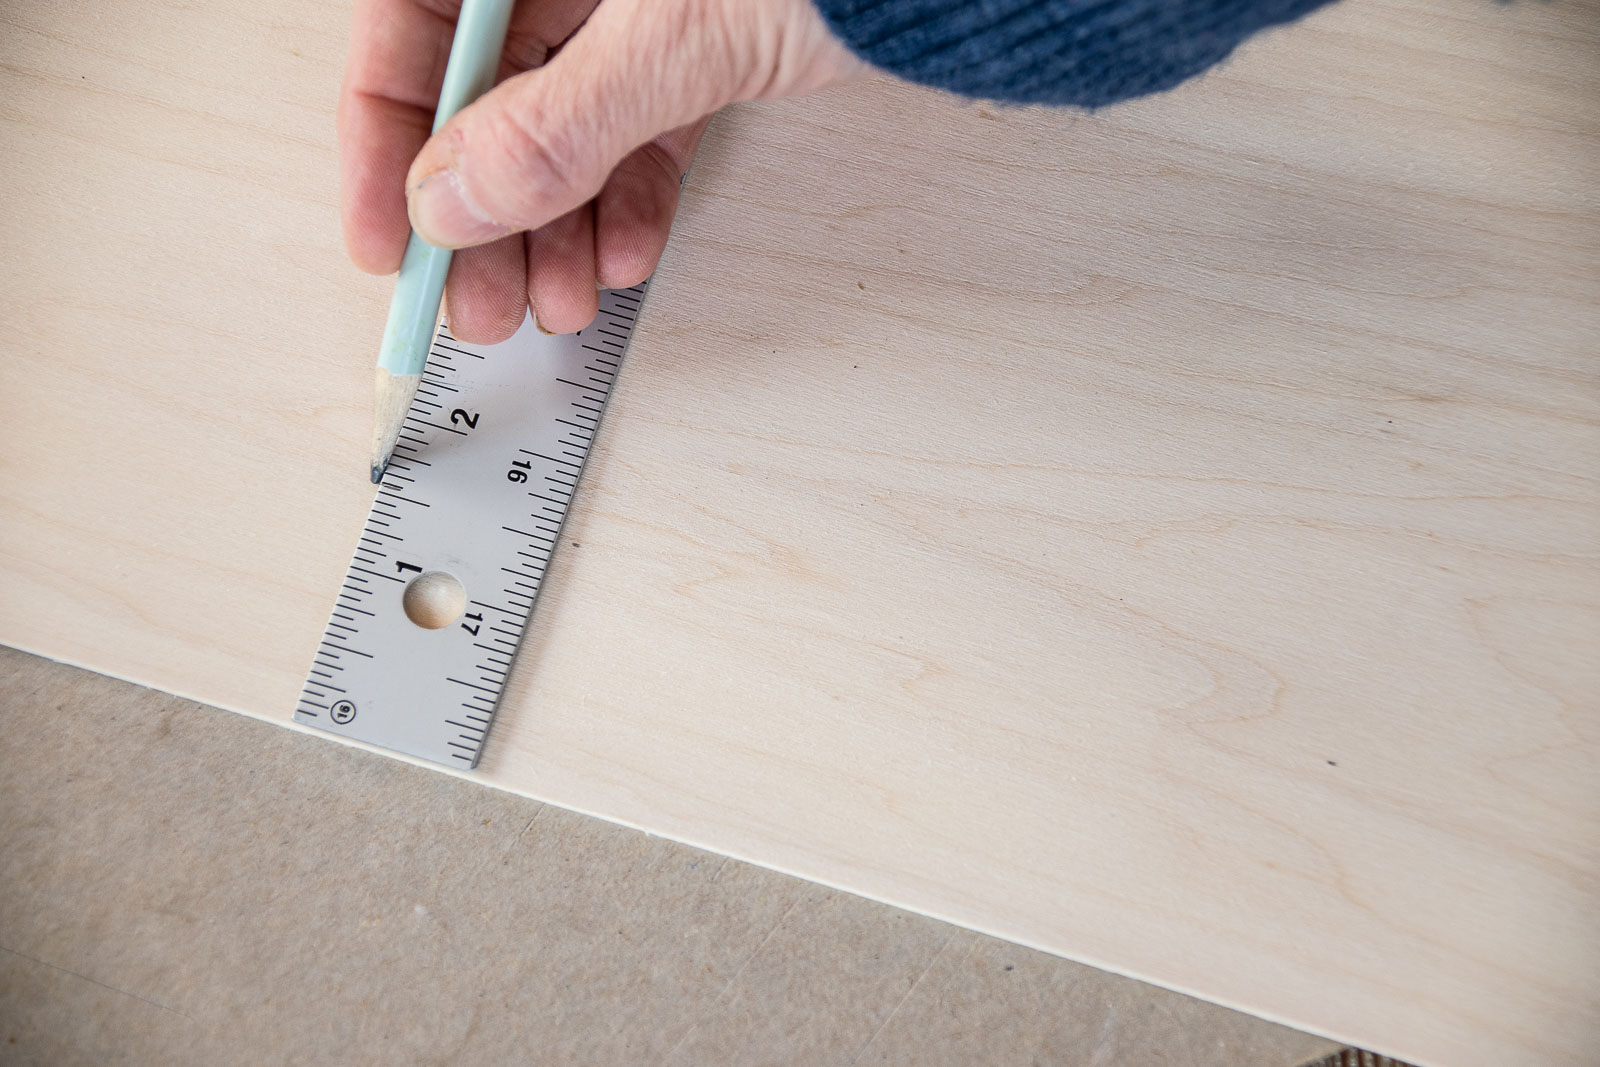
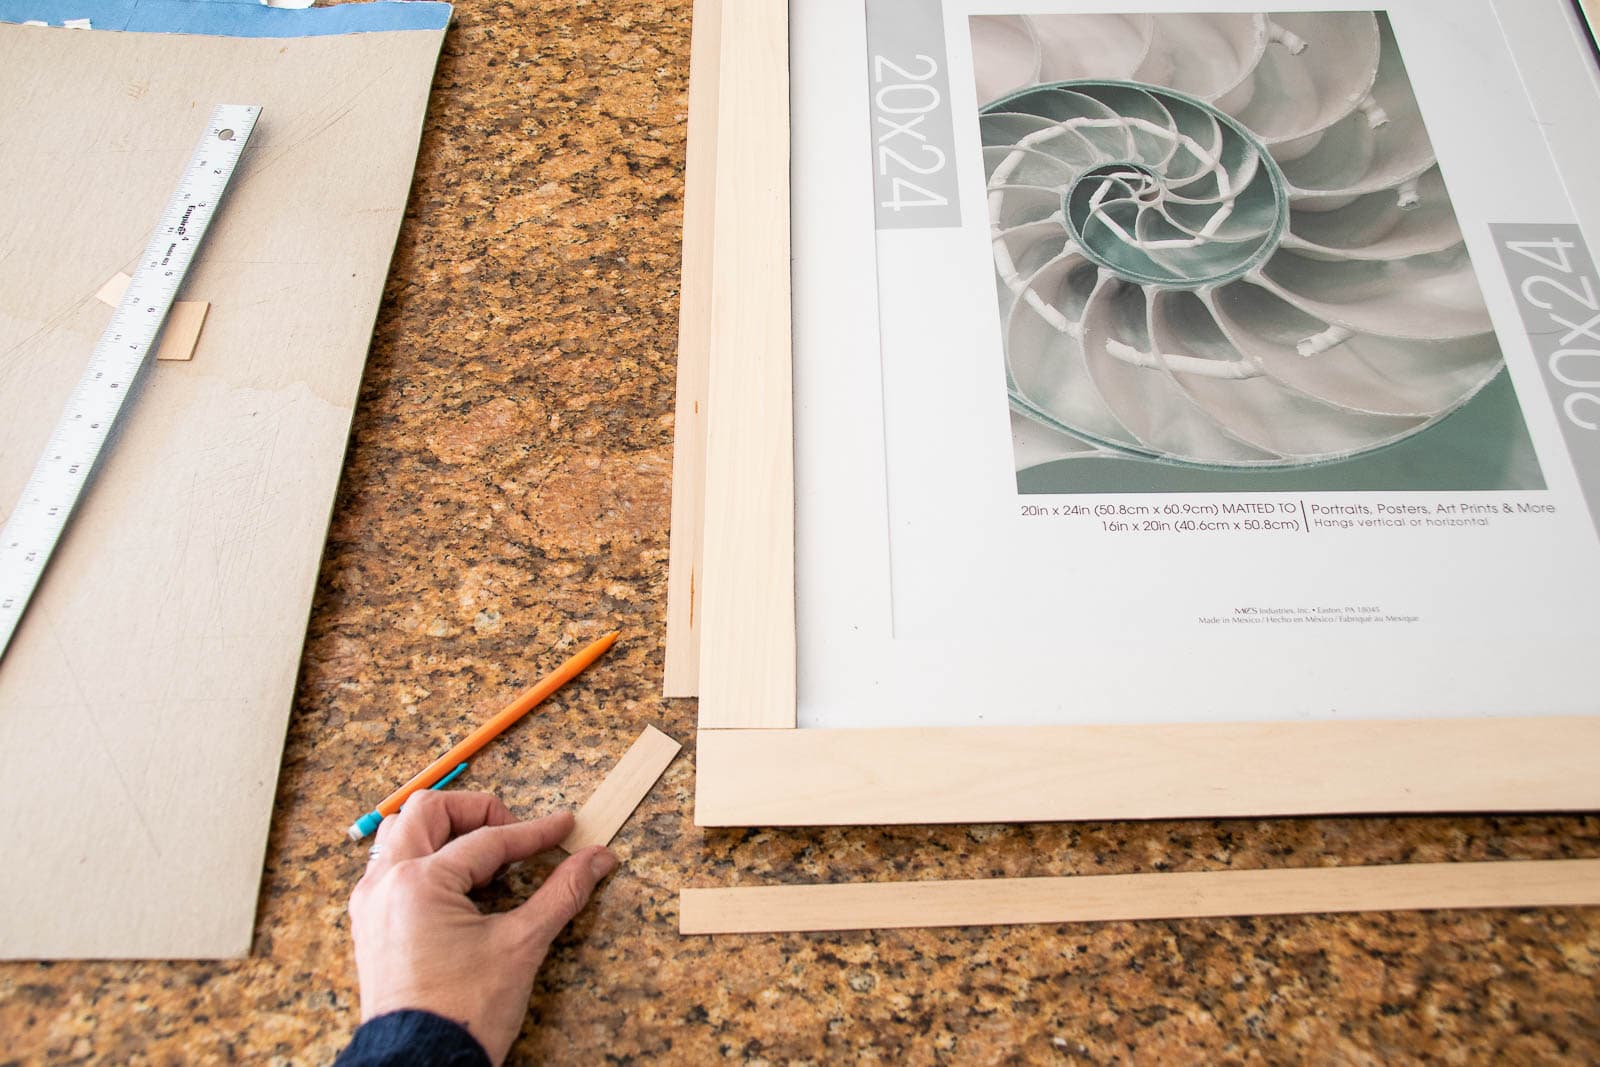
Step 1. Measure Your Frame
Measure the width of the frame as well as the depth. Take into account the width of your basswood (mine was 1/8″). You’ll want the wood covering the top of the frame to overlap the edges by this much to cover the basswood wrapping the sides of the frame.
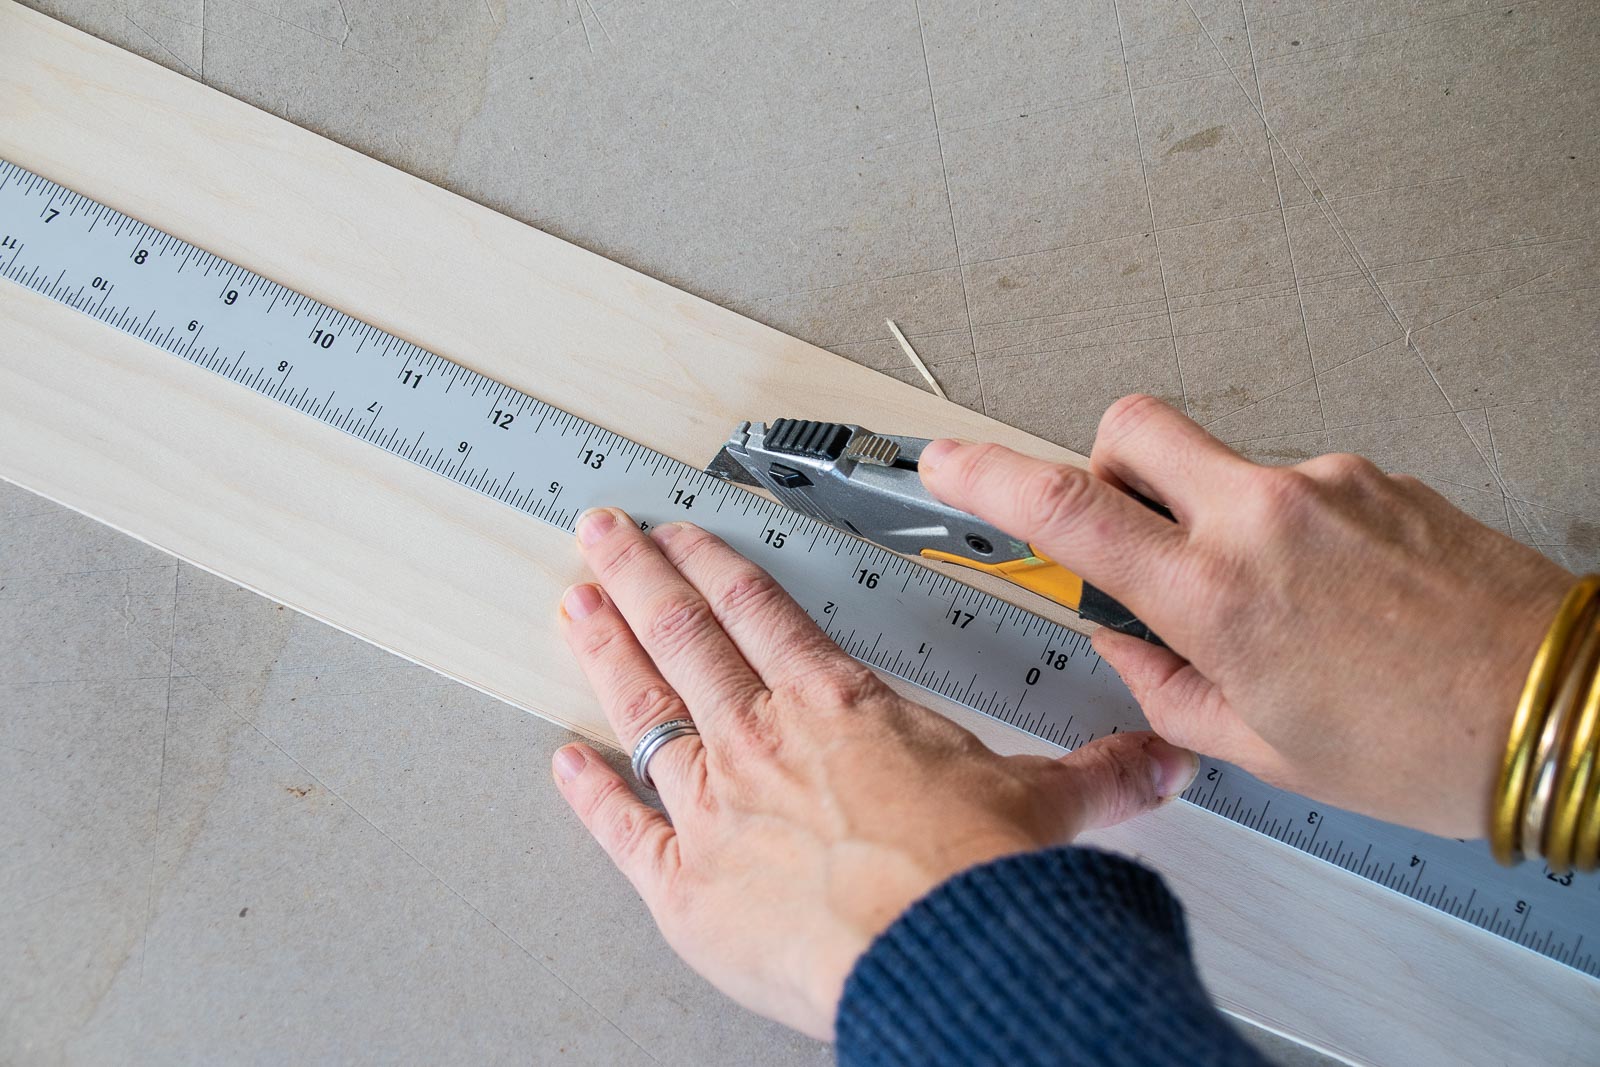
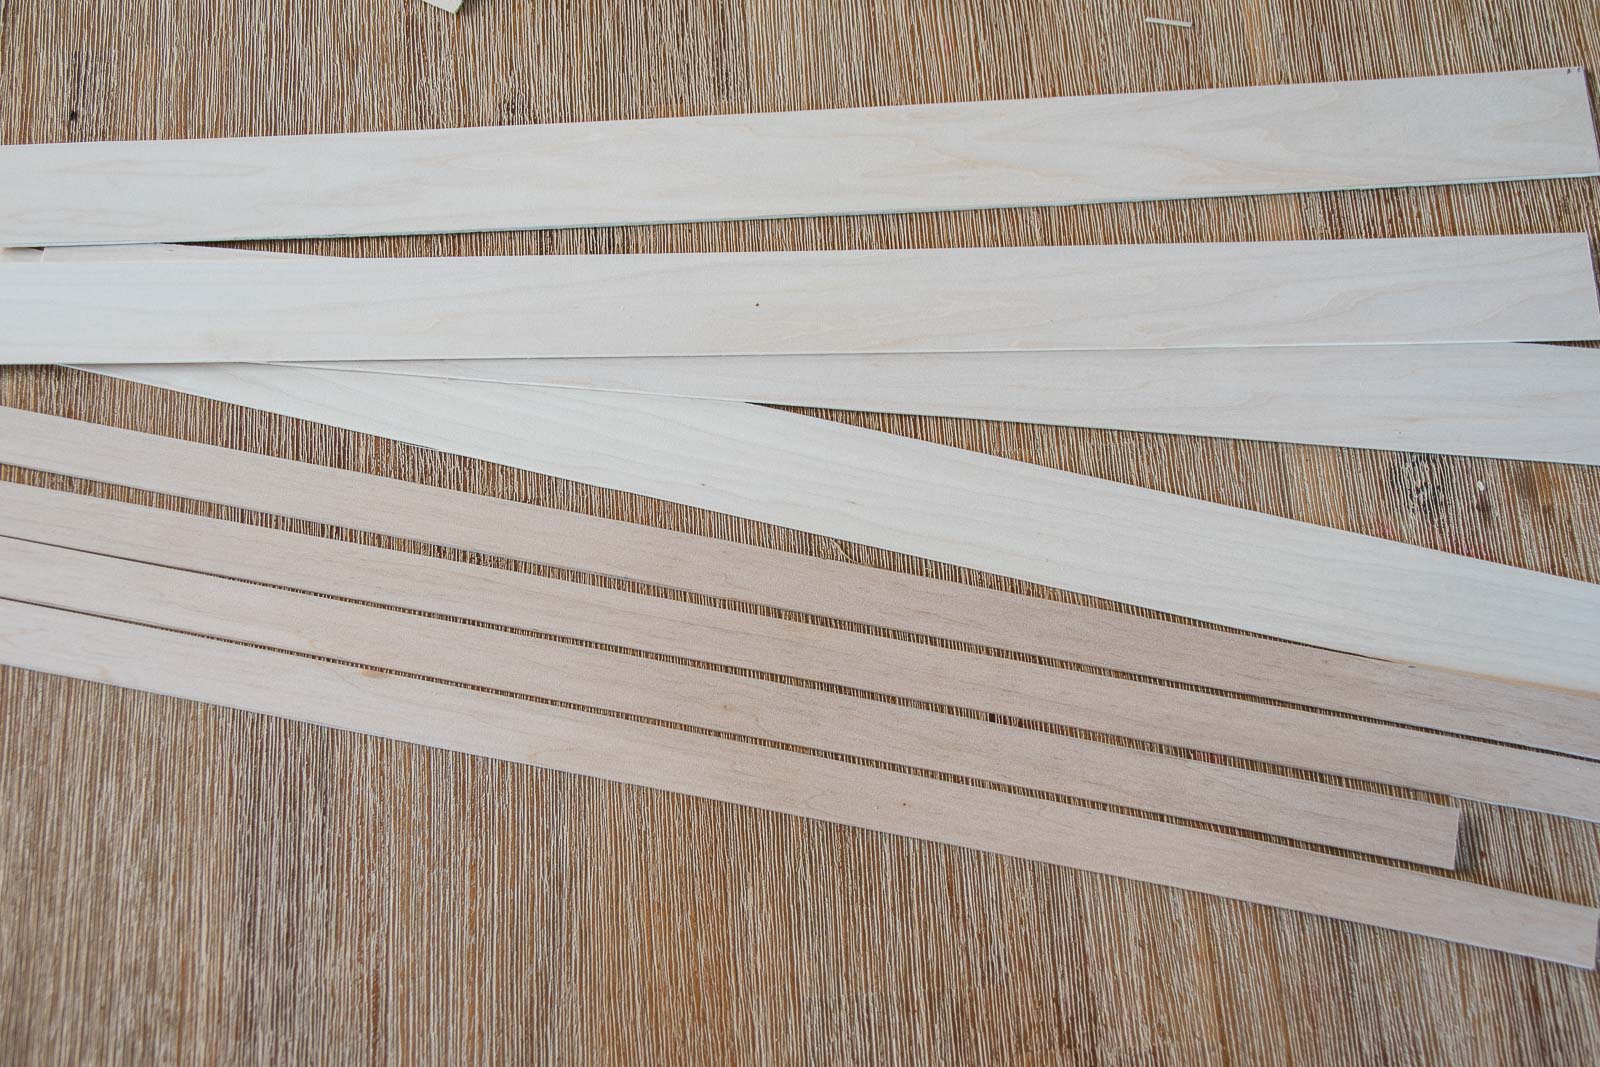
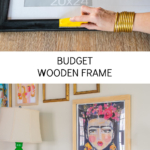
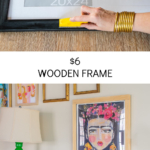
Step 2. Cut the Basswood
Basswood is really thin and soft which means you can cut it with an exacto or utility knife. I found I had the most success when I firmly pressed down on the ruler with my left hand and slowly but firmly cut through the basswood with my right hand.If you’re too gently, it’s easy for the blade to catch the wood grain and veer off your mark.
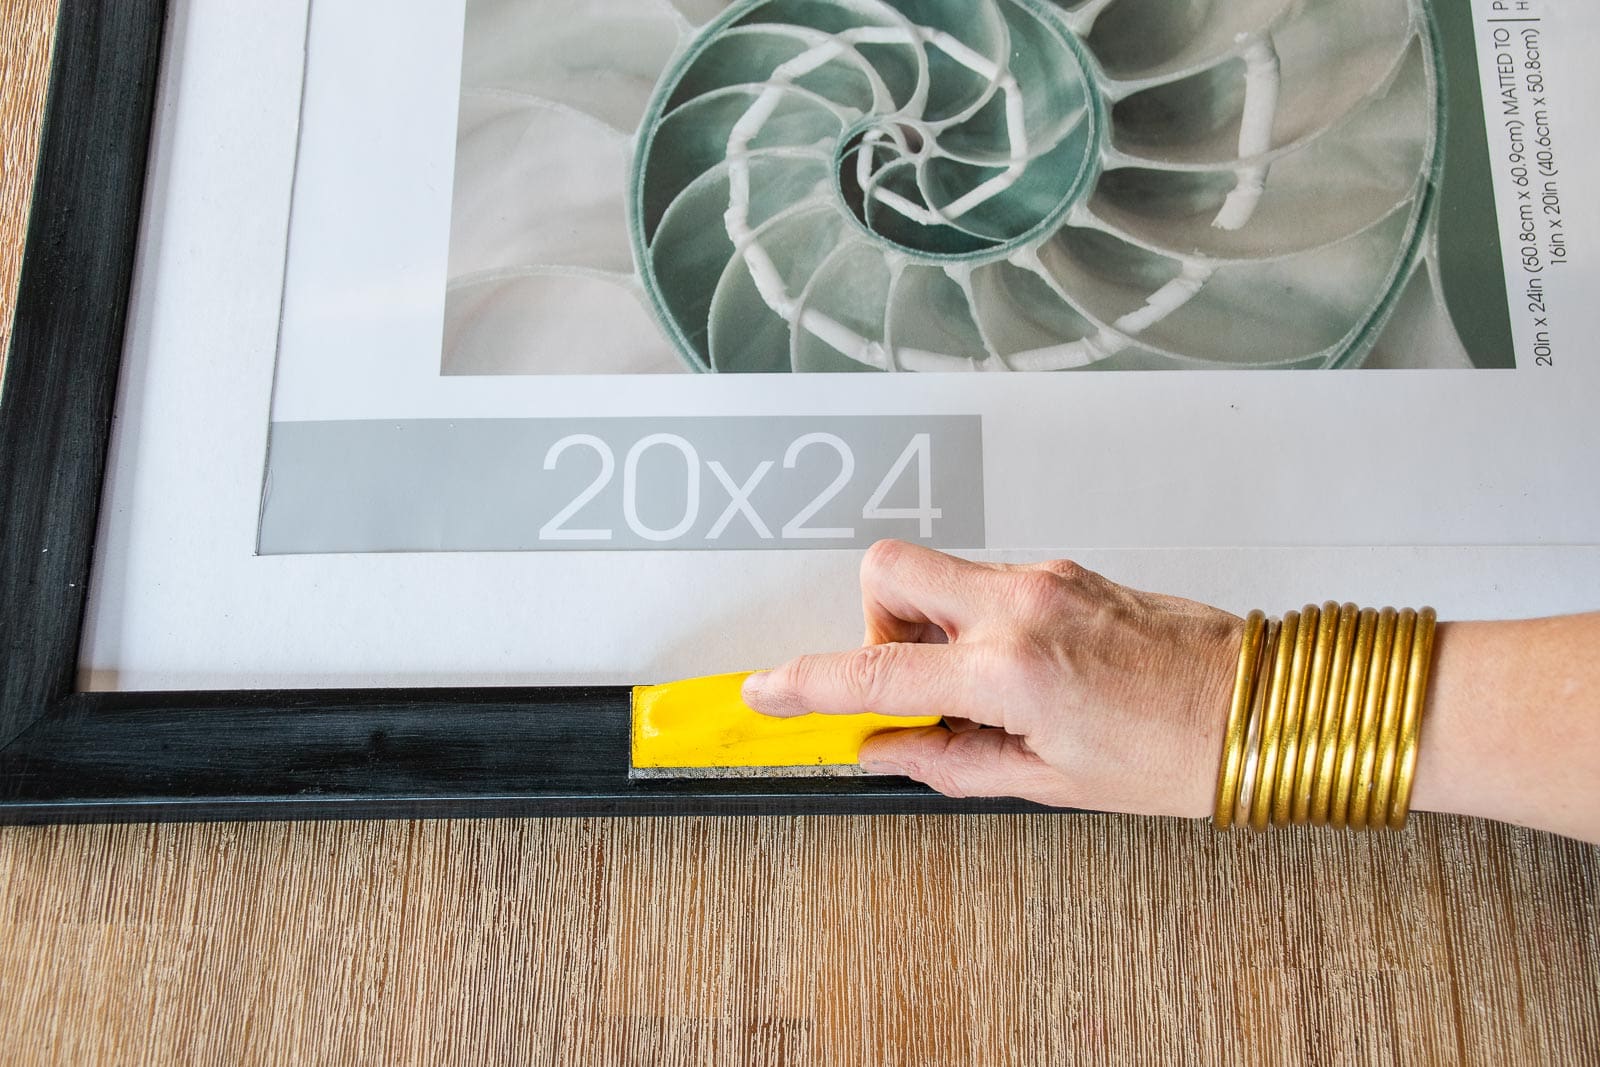
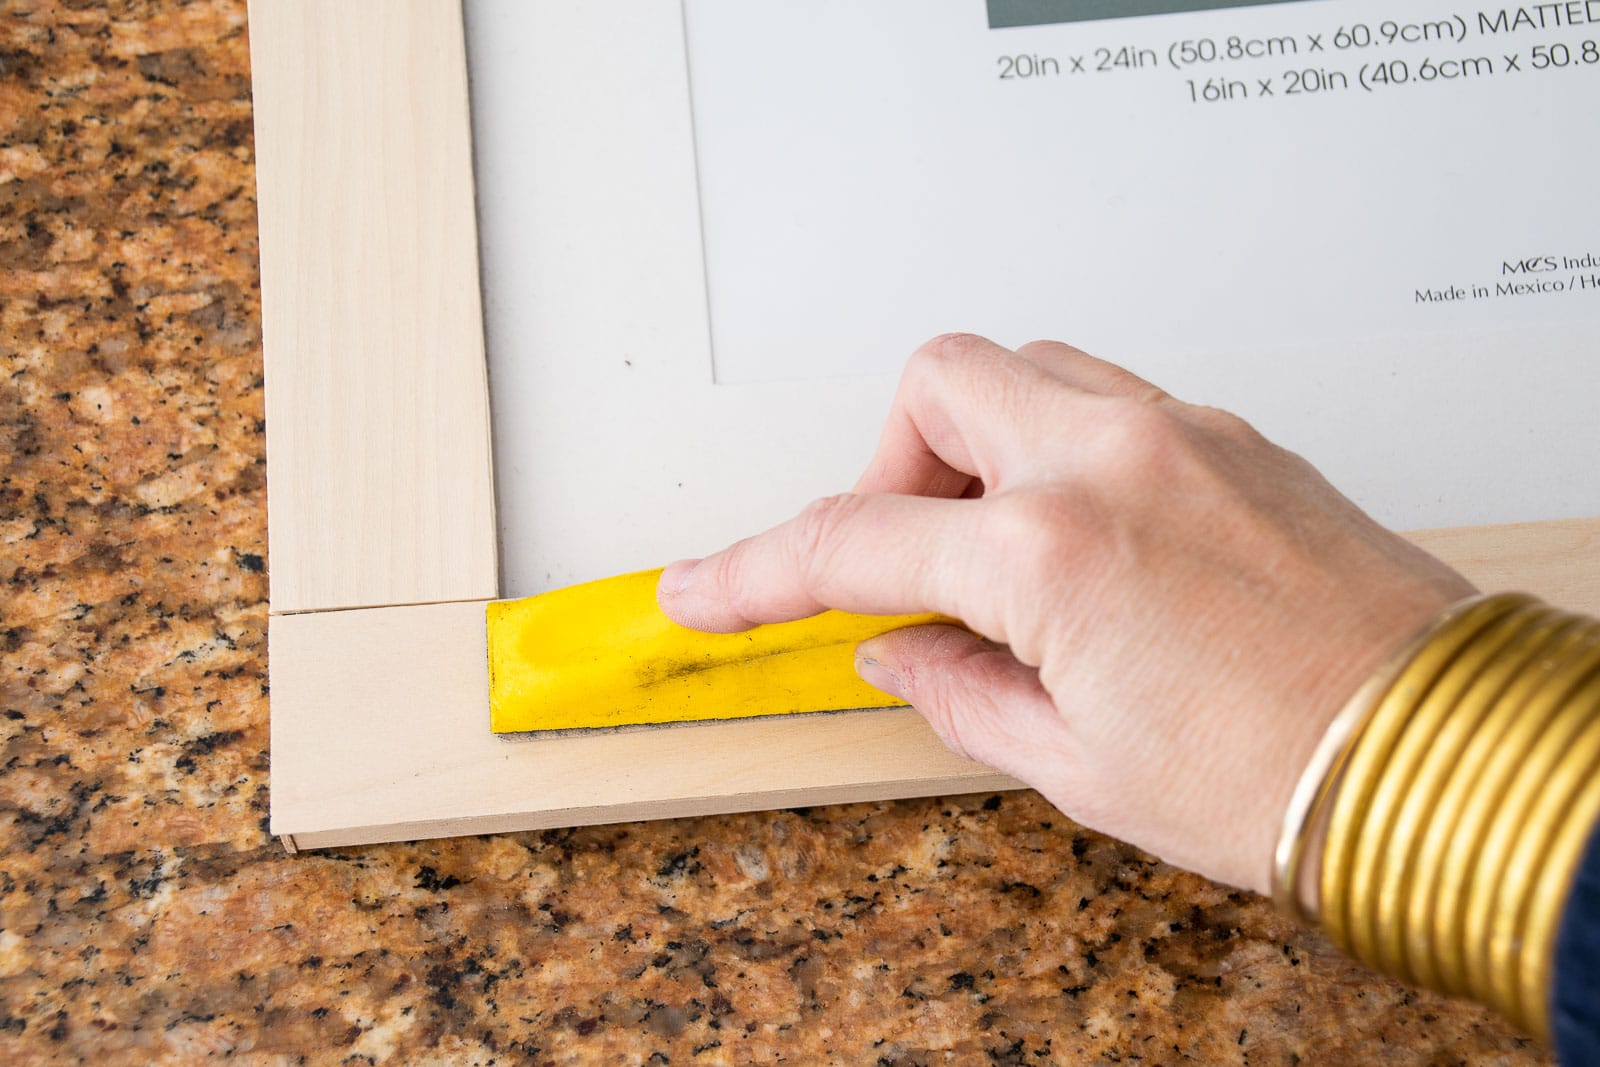
Step 3. Prep the frame
Whenever I’m painting or gluing a surface, I lightly sand it to rough it up just a bit. For this project the frame didn’t need to be sanded too much, but just enough to remove the gloss.
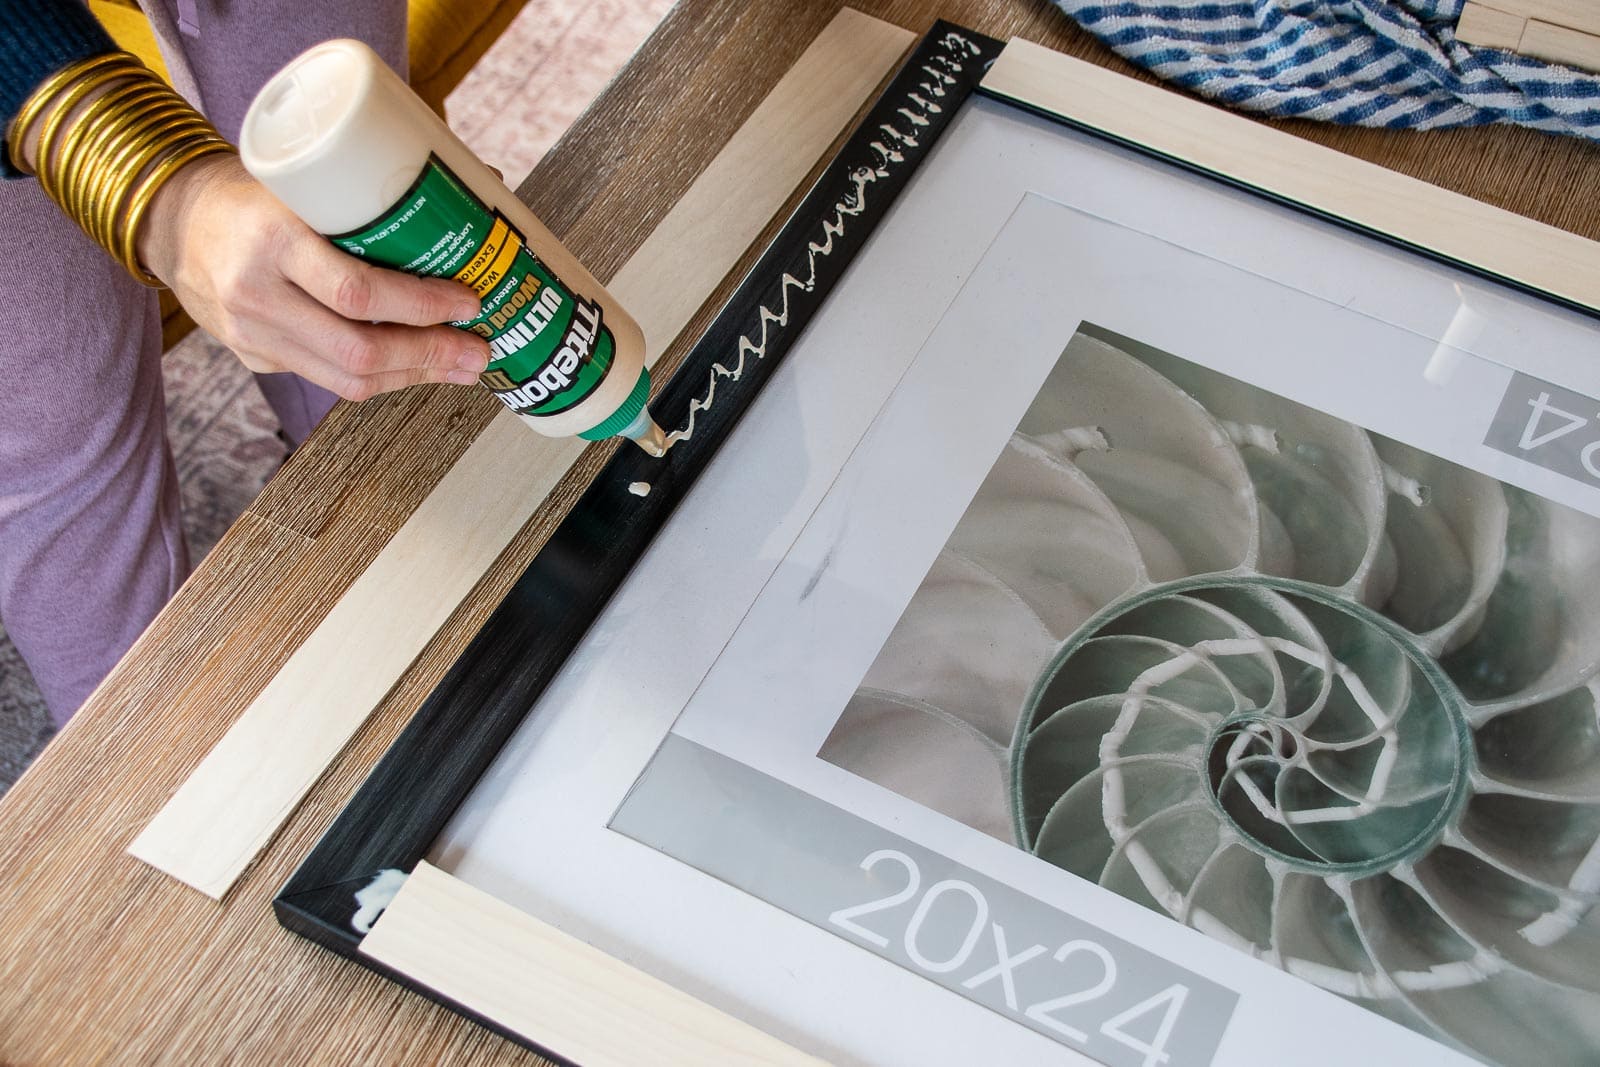
Step 4. Glue the Wood
I used wood glue, but… if I did this again I wouldn’t. The wood is so thin that the wet glue warped it ever so slightly. It settled back down as it dried, but a glue gun would have sufficed! My basswood was 24″ long so I used one strip across the top and the bottom of the frame and then two more on the sides. I started by gluing the wider strips onto the top of the frame and then turned the frame over to glue the sides on. For the sides, I needed to cut two smaller strips to make up the difference and cover the whole perimeter.
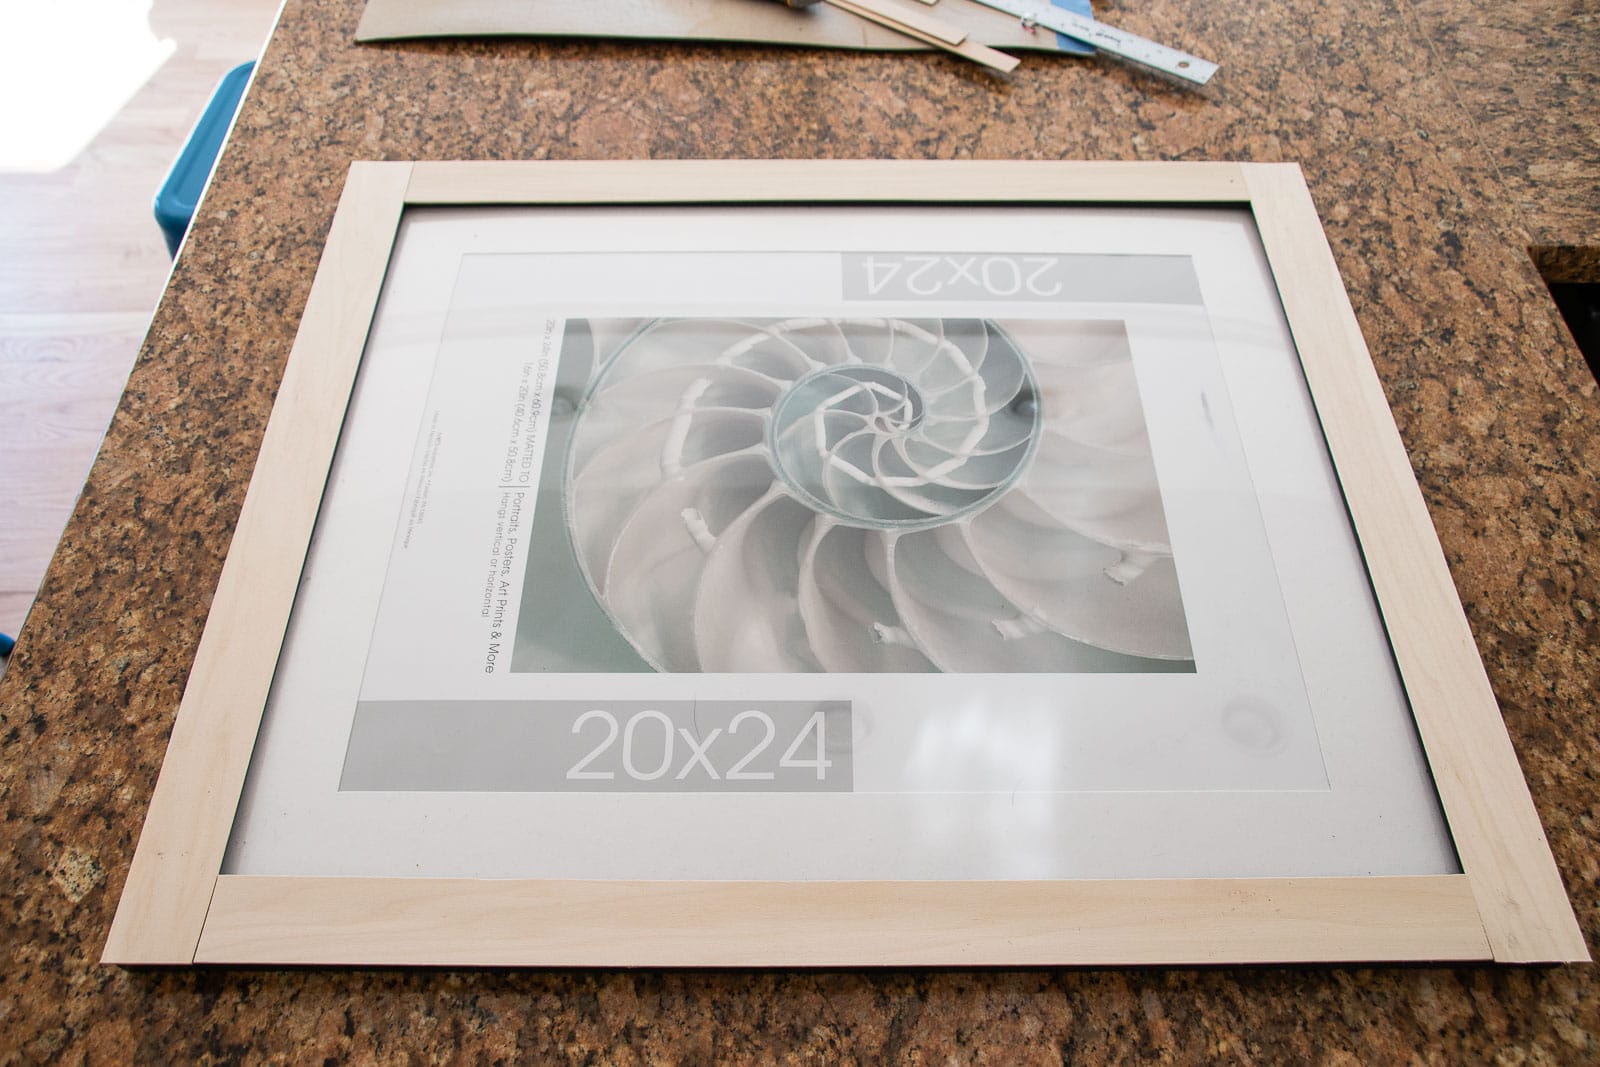
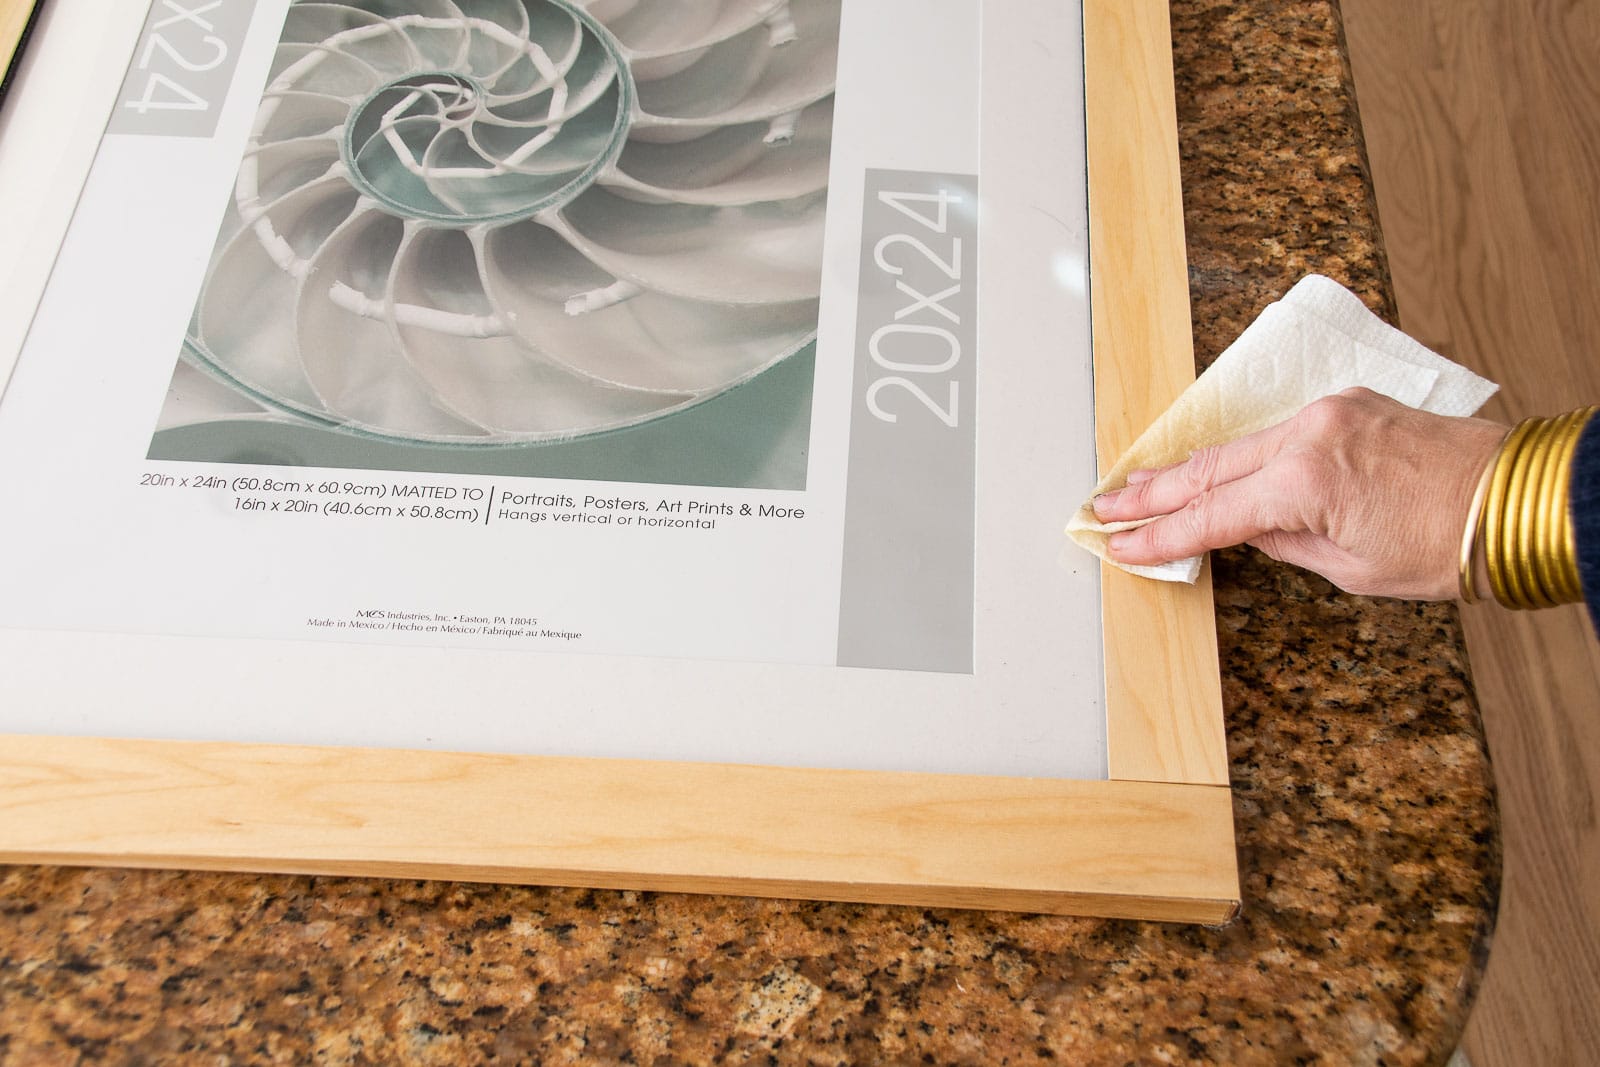
Step 5. Stain or Oil the wood
In order to bring out the grain of the basswood, stain or condition it. I lightly sanded the frame to remove any residue or rough edges and used a paper towel to wipe on this wood conditioner. There are lots of different options or, obviously, you can skip this step and just leave the wood plain.
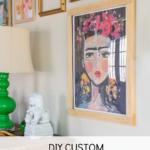
I chose to leave the little bit of an edge along the inside of the frame visible to great a little contrast between the matte and the light wood of the frame, but you could easily paint this white or gold with a paint pen and it wouldn’t stand out quite the same way. You could use this hack on any frame that has flat sides. (If the frame is carved or rounded, obviously this wouldn’t work.)

Materials for DIY Wooden Frame
- 1/8″ basswood
- exacto knife or utility knife
- hot glue gun
- sandpaper
- wood conditioner or stain
- plain flat picture frame


Love eVerything you do!
You’re so sweet! Thank you!!
Very easy to follow along with your instructions. I’m not sure why IM yelling (CAPS)
REALLY LIKE the empty gold frames too.
Going to “recreate” several of your wall art ideas.
Thanks so much! Good luck!
Where do you get your artwork from?
Lots of them are grabbed at flea markets or local thrift stores! Some are actually just prints I see online and then a handful are even Homegoods!