
Applying Self Adhesive Vinyl Tiles to our Powder Room Floor
Psssst… this post *might* contain affiliate links: see my disclosure here.
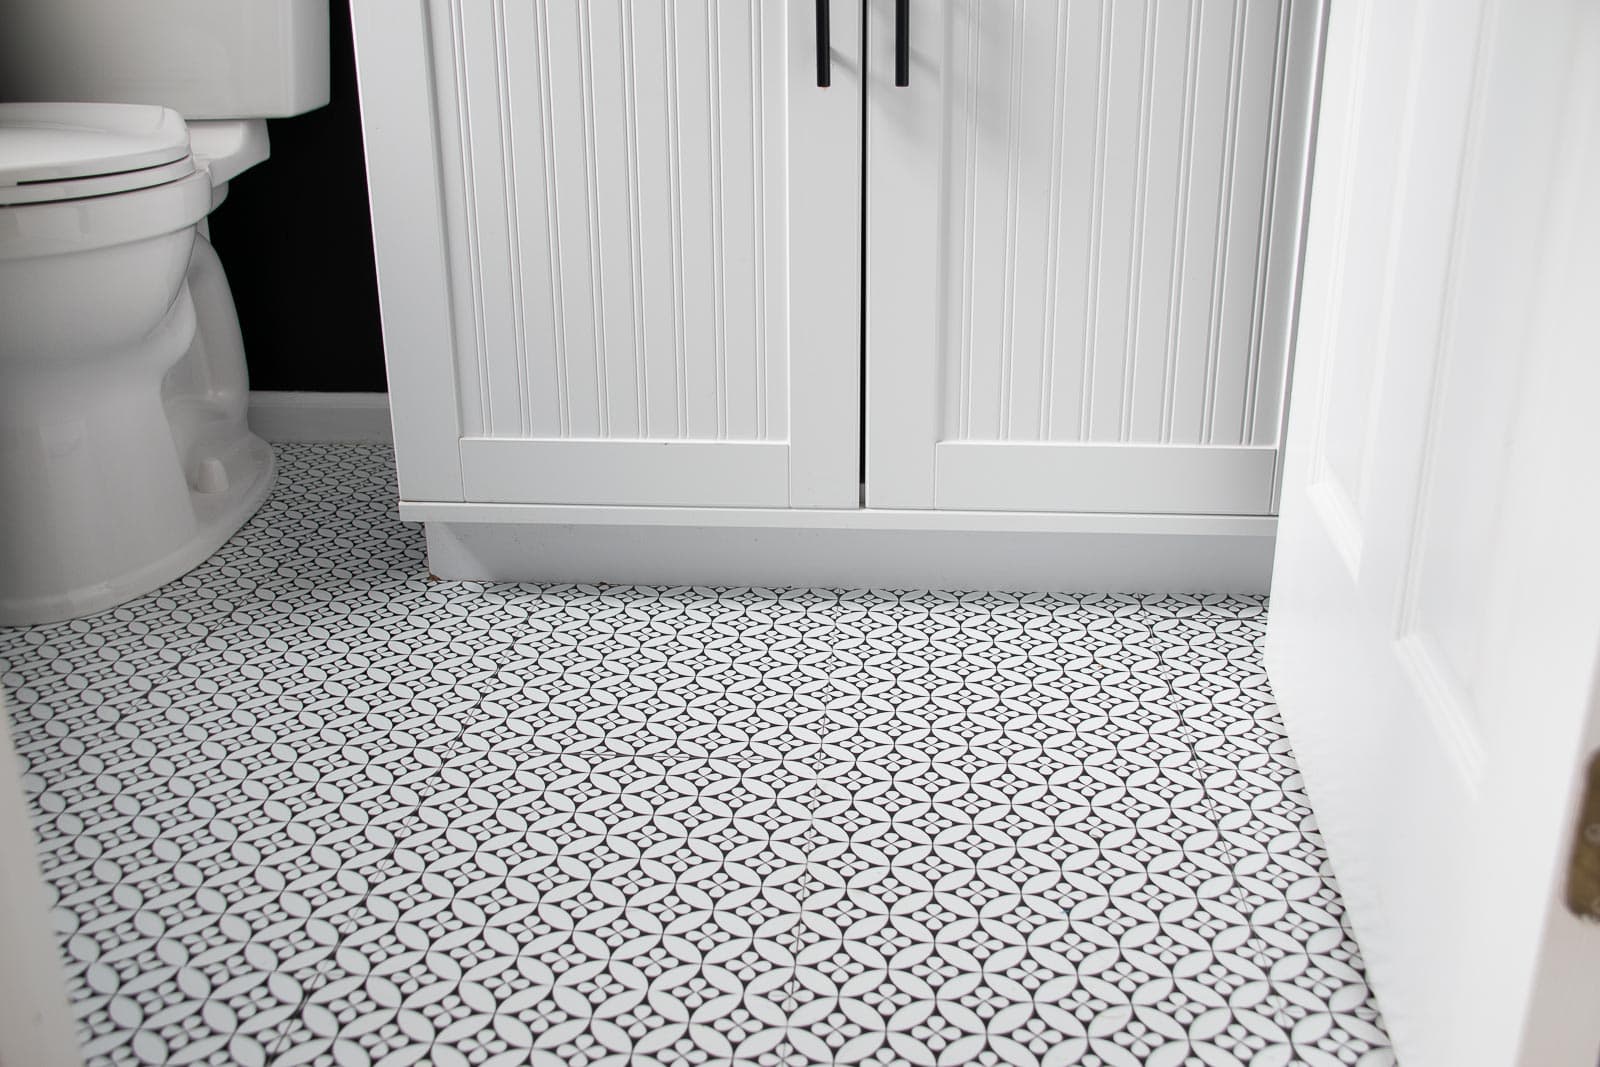
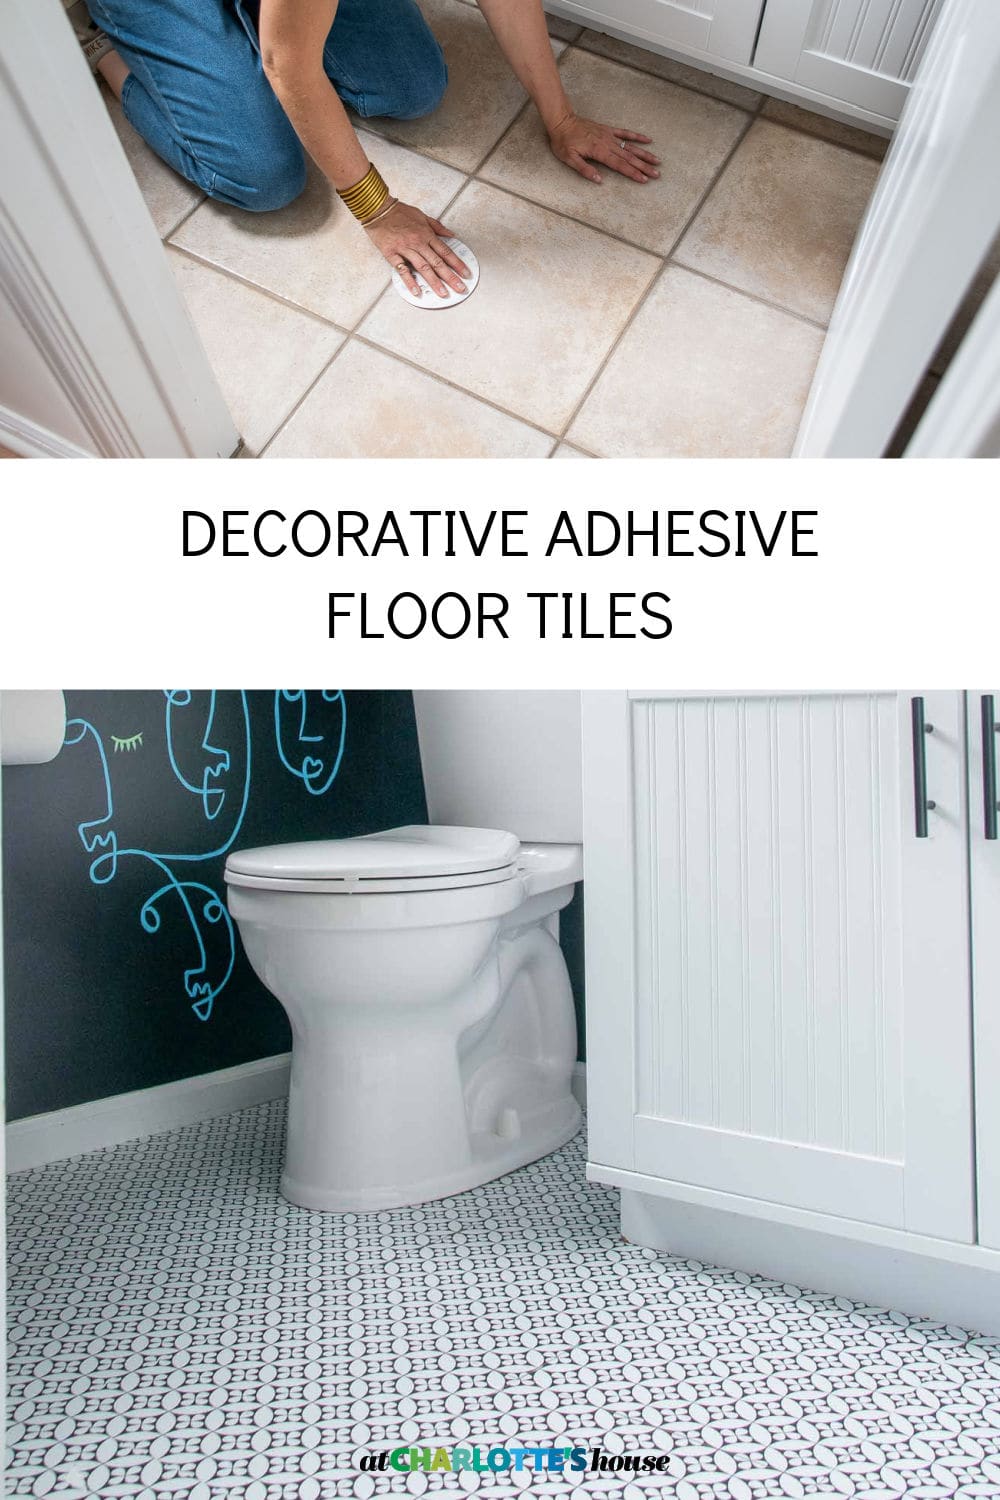
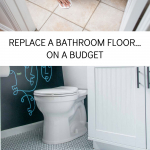
Adhesive Vinyl Floor Tiles for a Powder Room Makeover
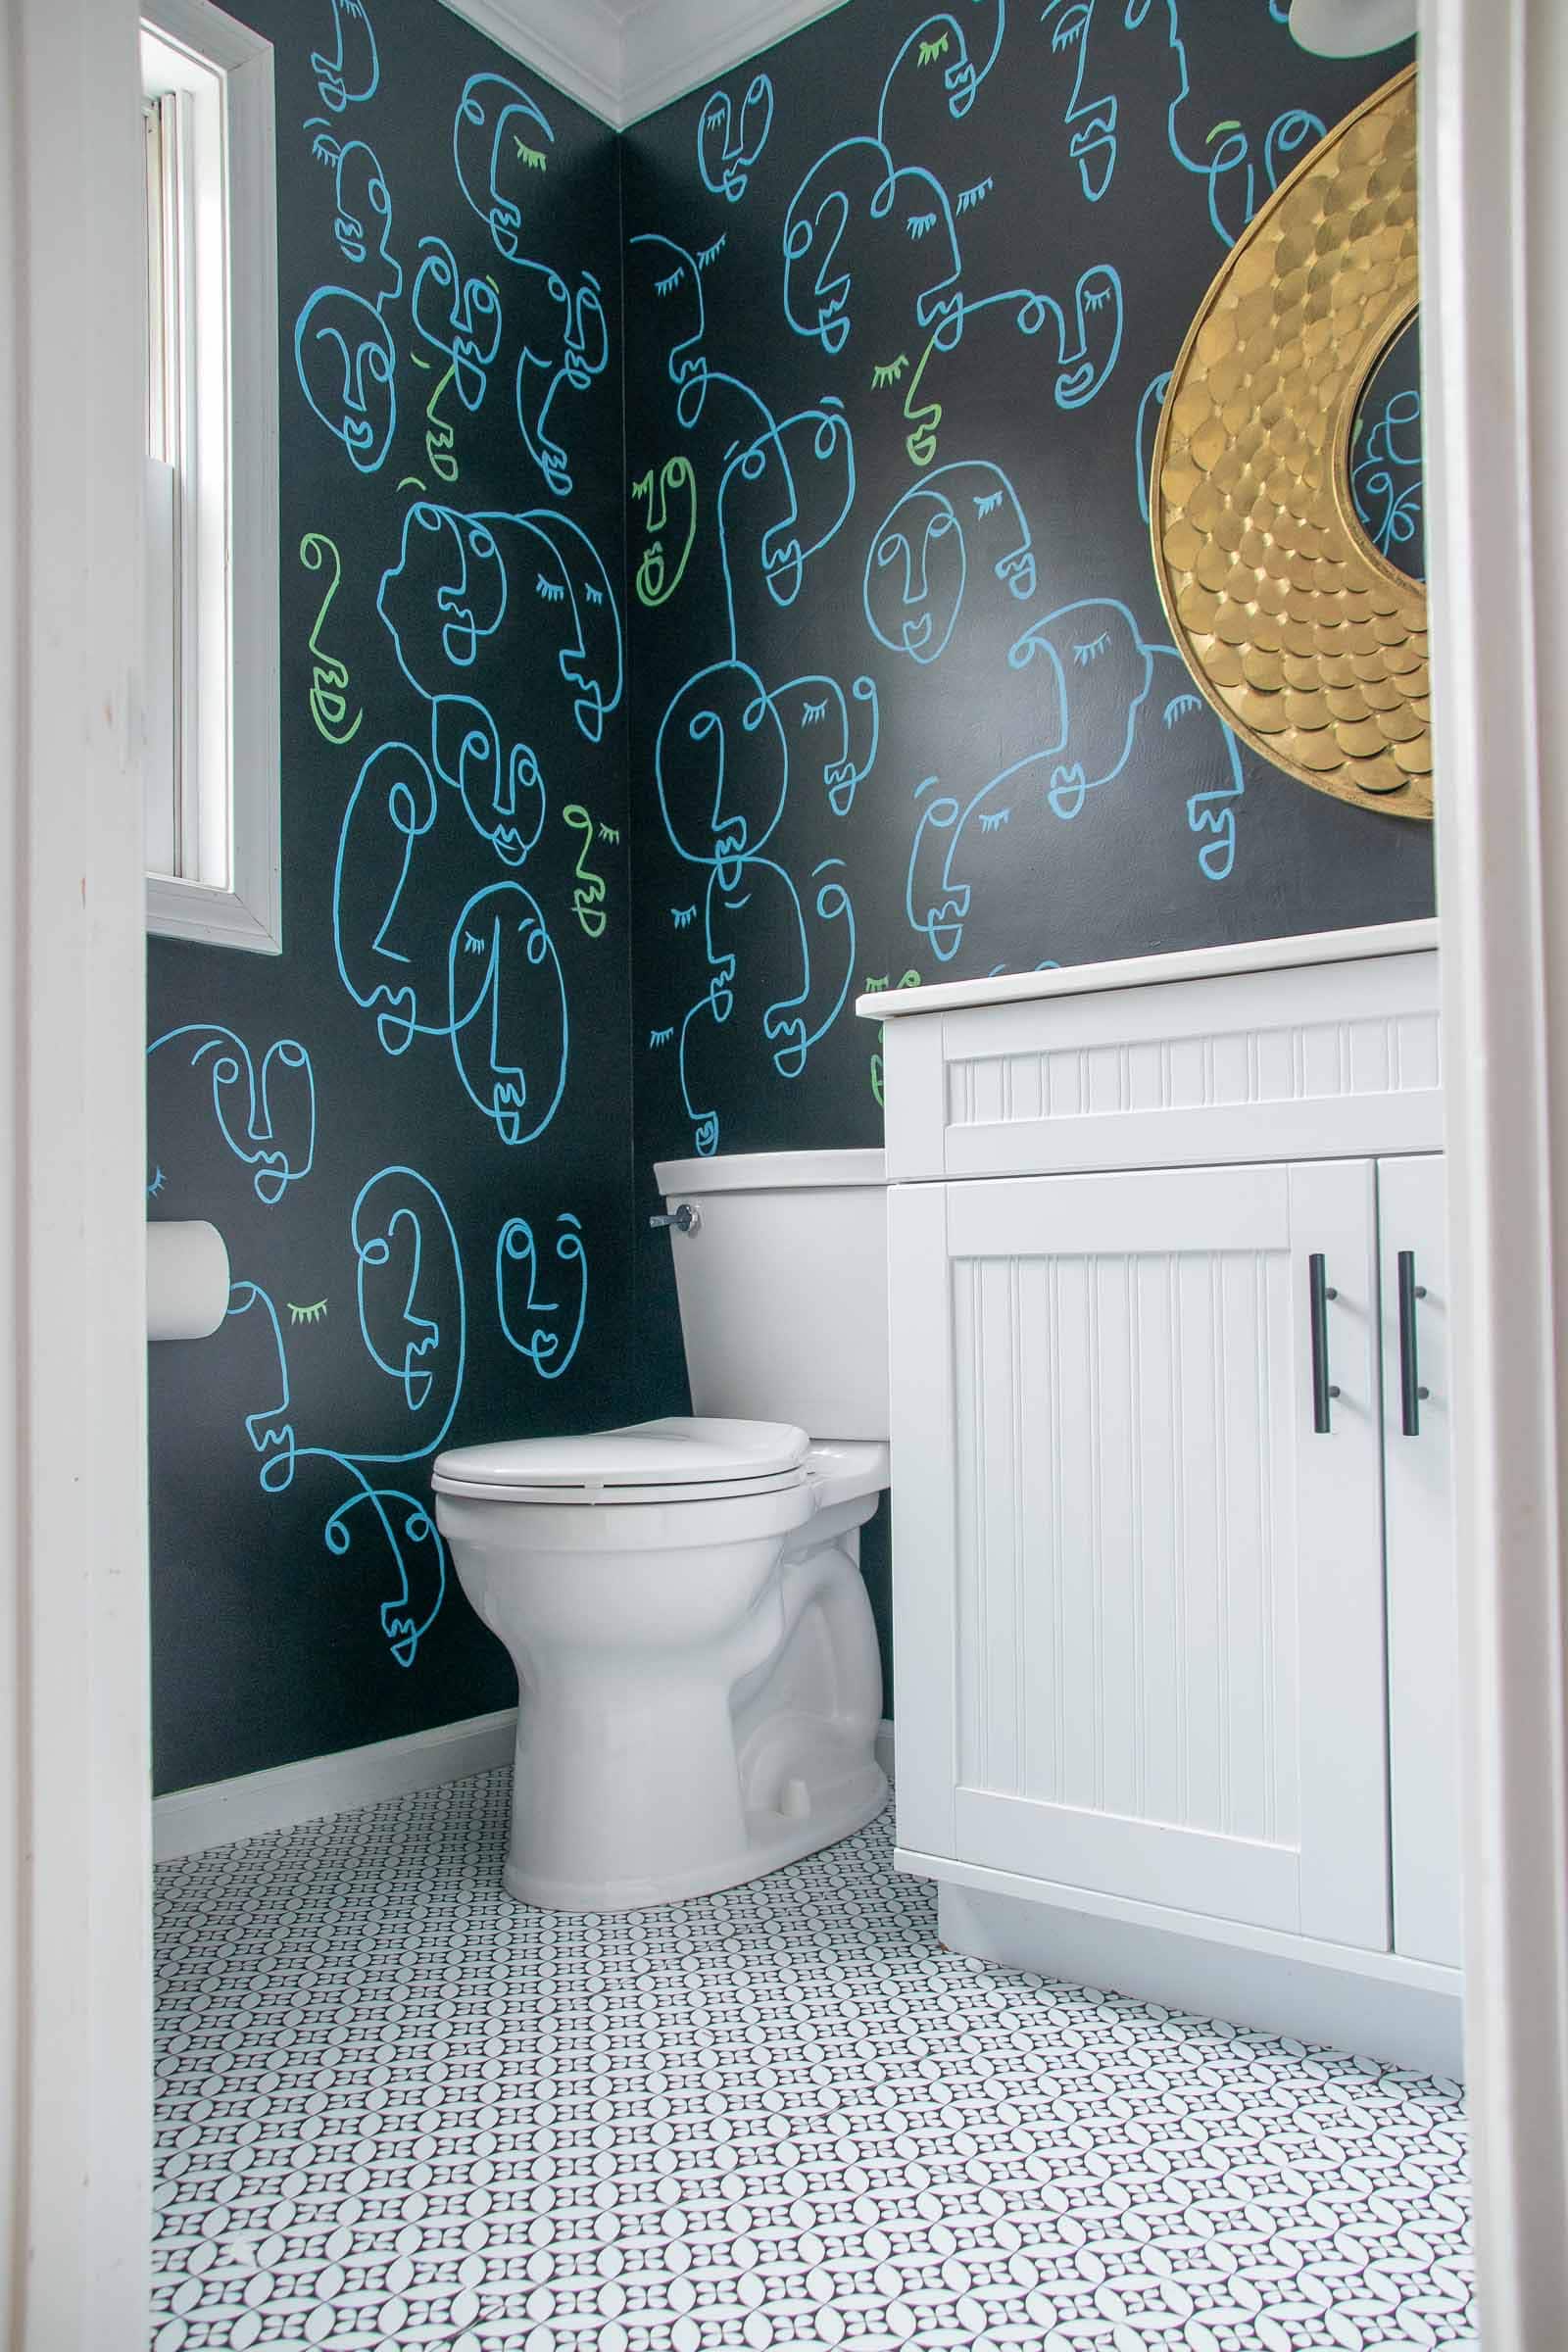
These adhesive floor tiles transformed our downstairs powder room.
Disclosure: I partnered with Wallpops! to share their adhesive floor tile (FloorPops) for our powder room floor makeover.
Shop my favorites!
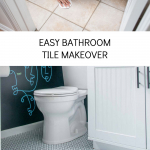
Our downstairs powder room was in dire need of a makeover. With beige tile floors, brown walls and a builder grade vanity/ vanity light, it was… meh. Full disclosure, I have a bigger makeover for this space planned but then I got these adhesive floor tiles from Wallpops and wanted to take a cute picture for the blog. The temporary updates got away from me a bit! It looks a LOT different! Here’s where we started.
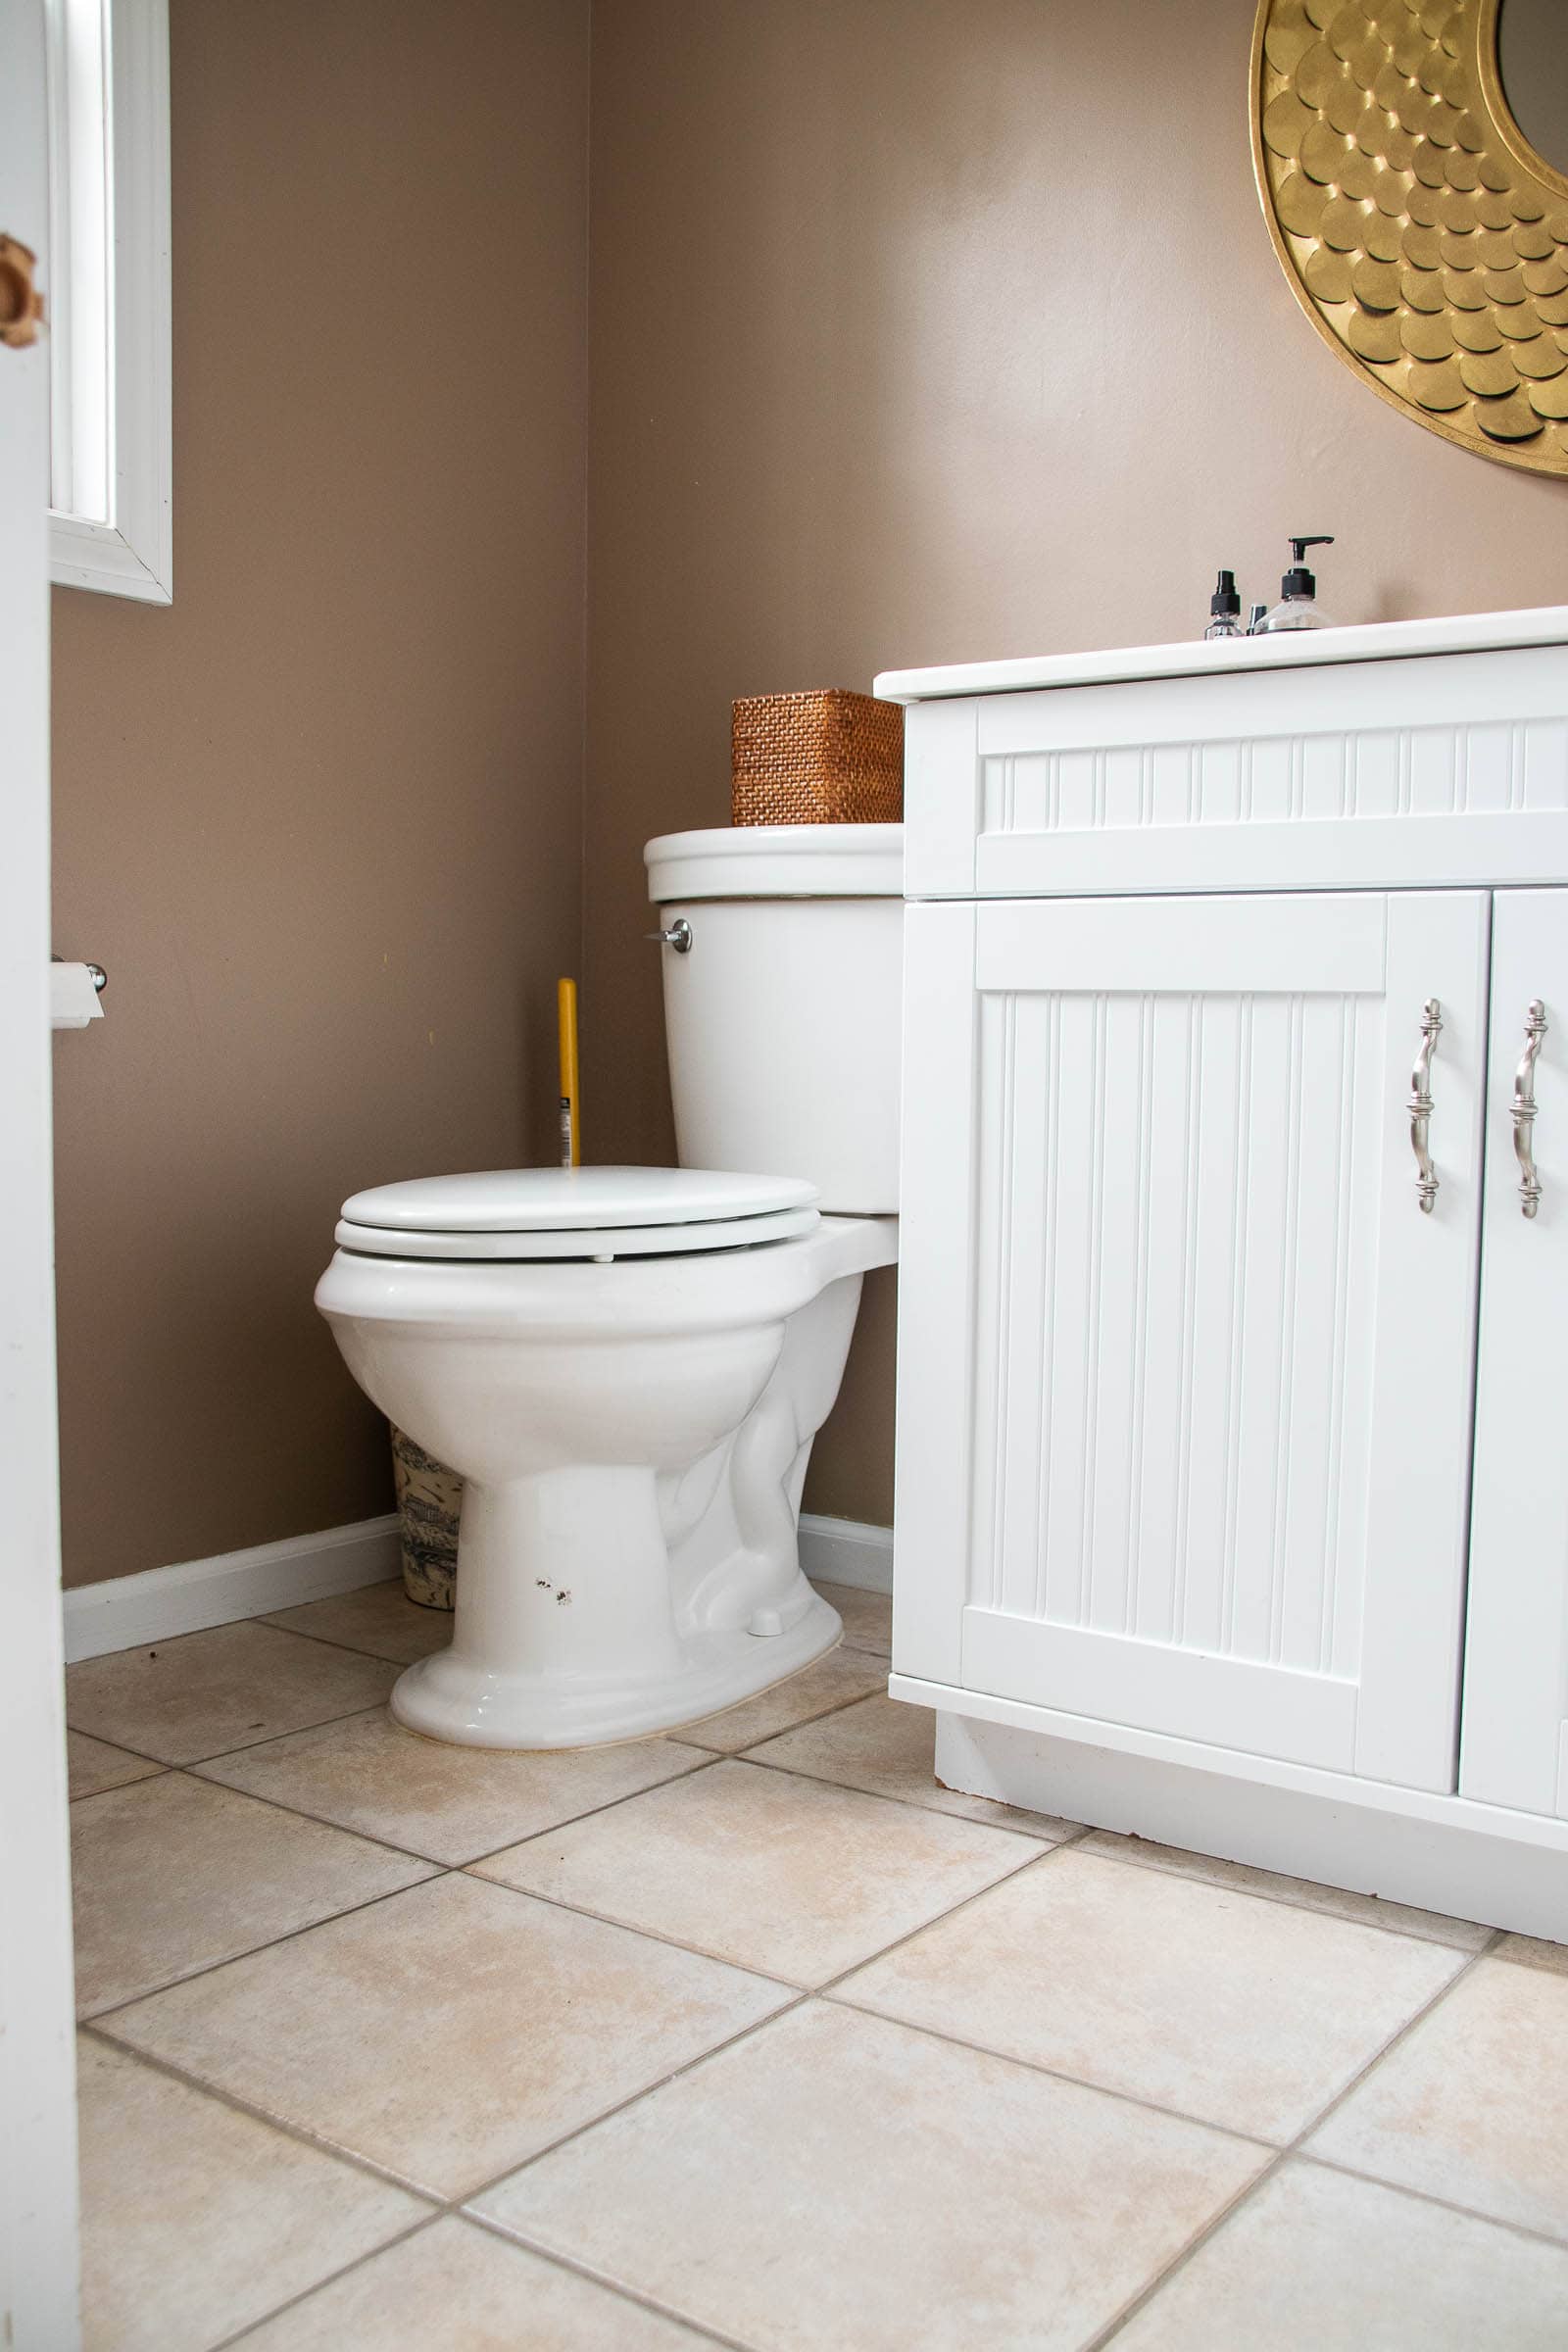
Although it’s not required, I always think it looks better when the flooring goes *under* the toilet. I wanted to replace our toilet anyways so I figured this was the obvious time to take out the old toilet. I started by removing the toilet before prepping the floor beneath it.
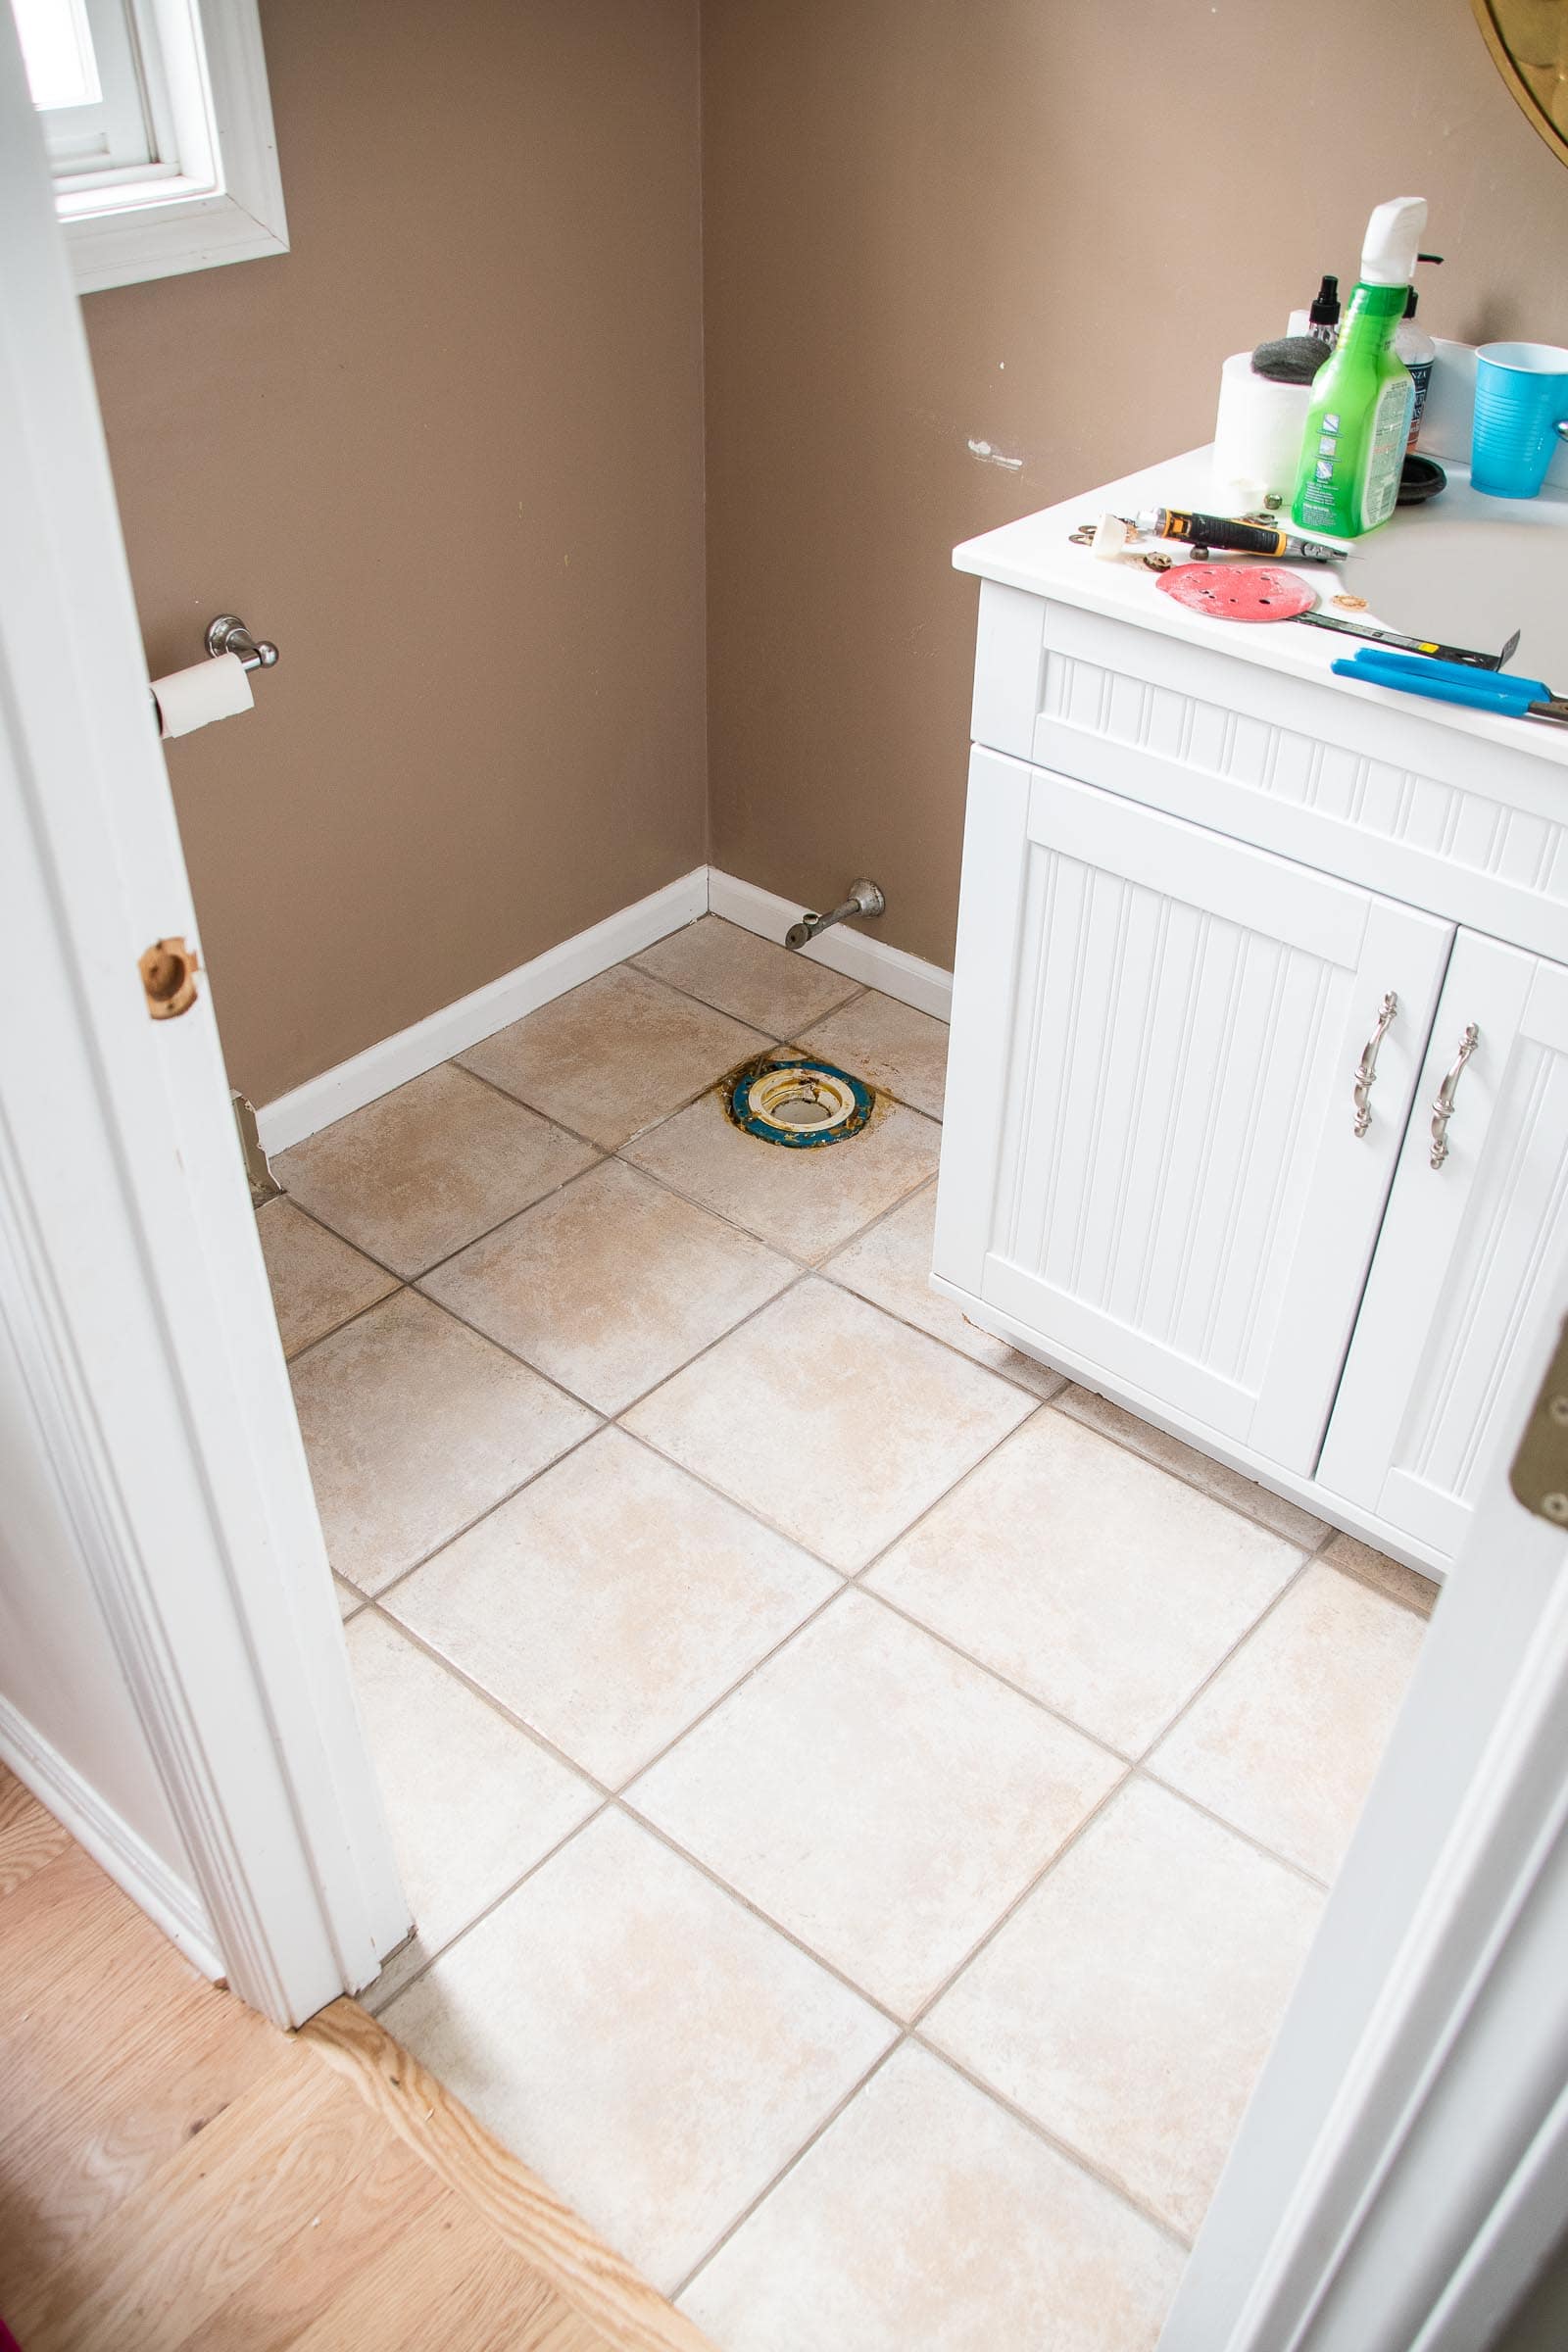
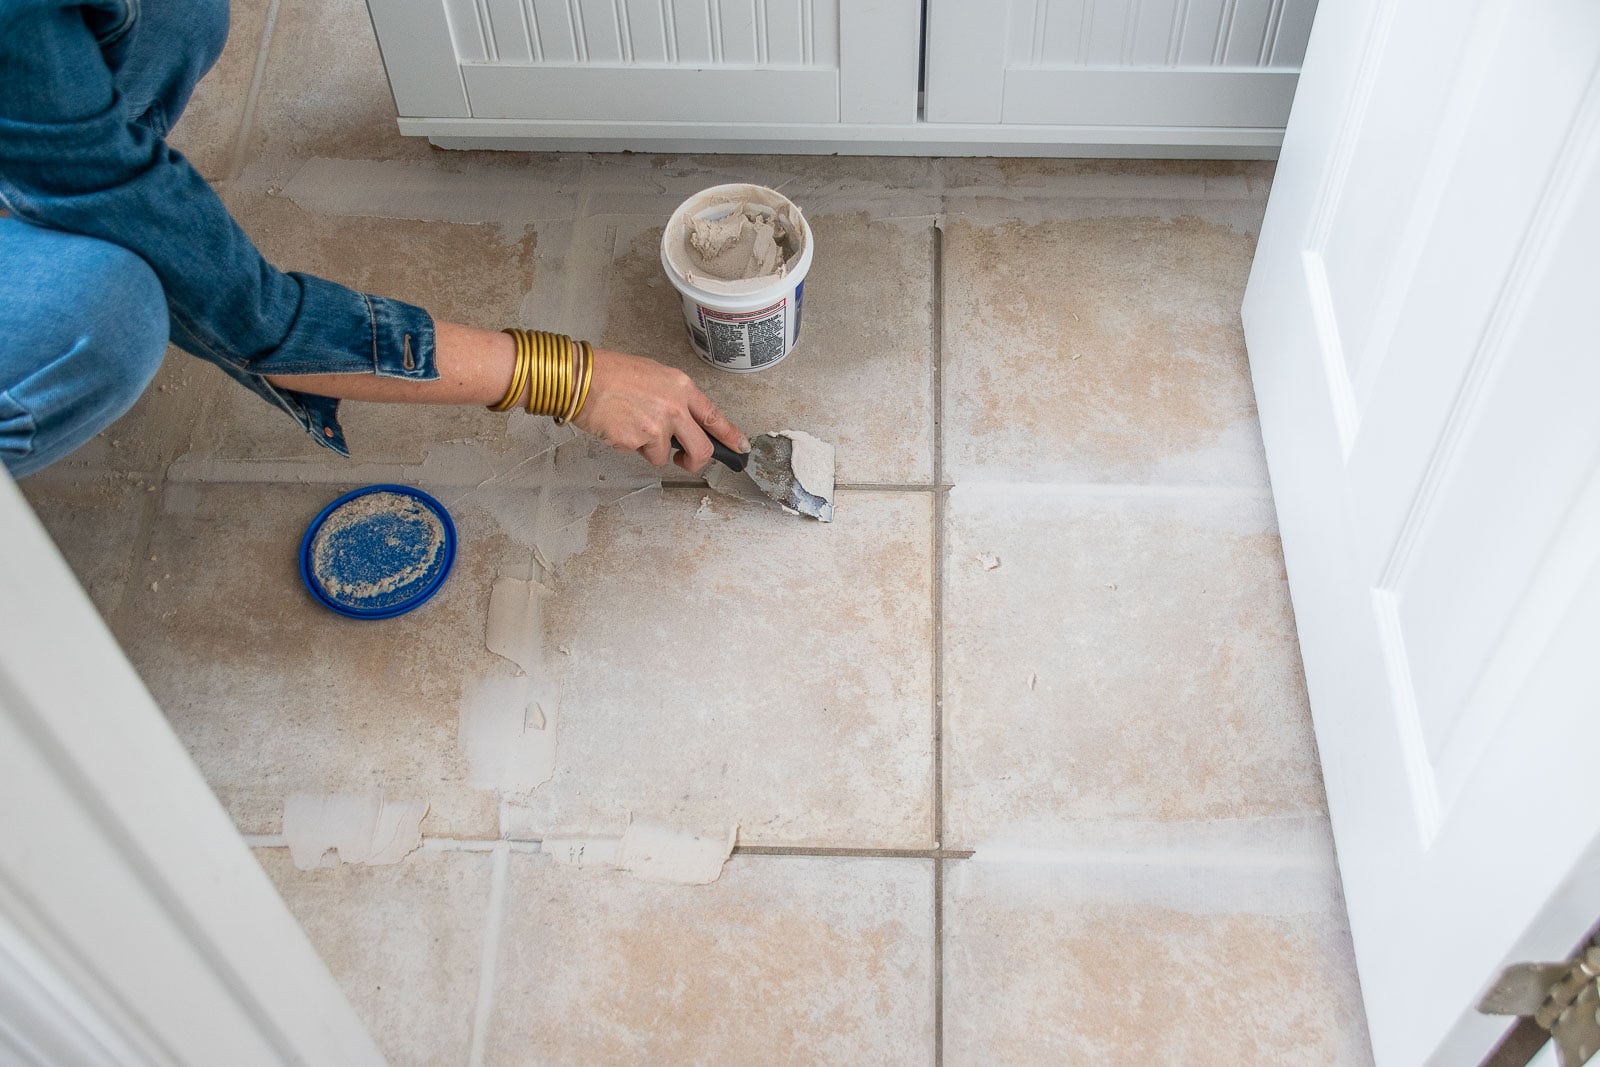
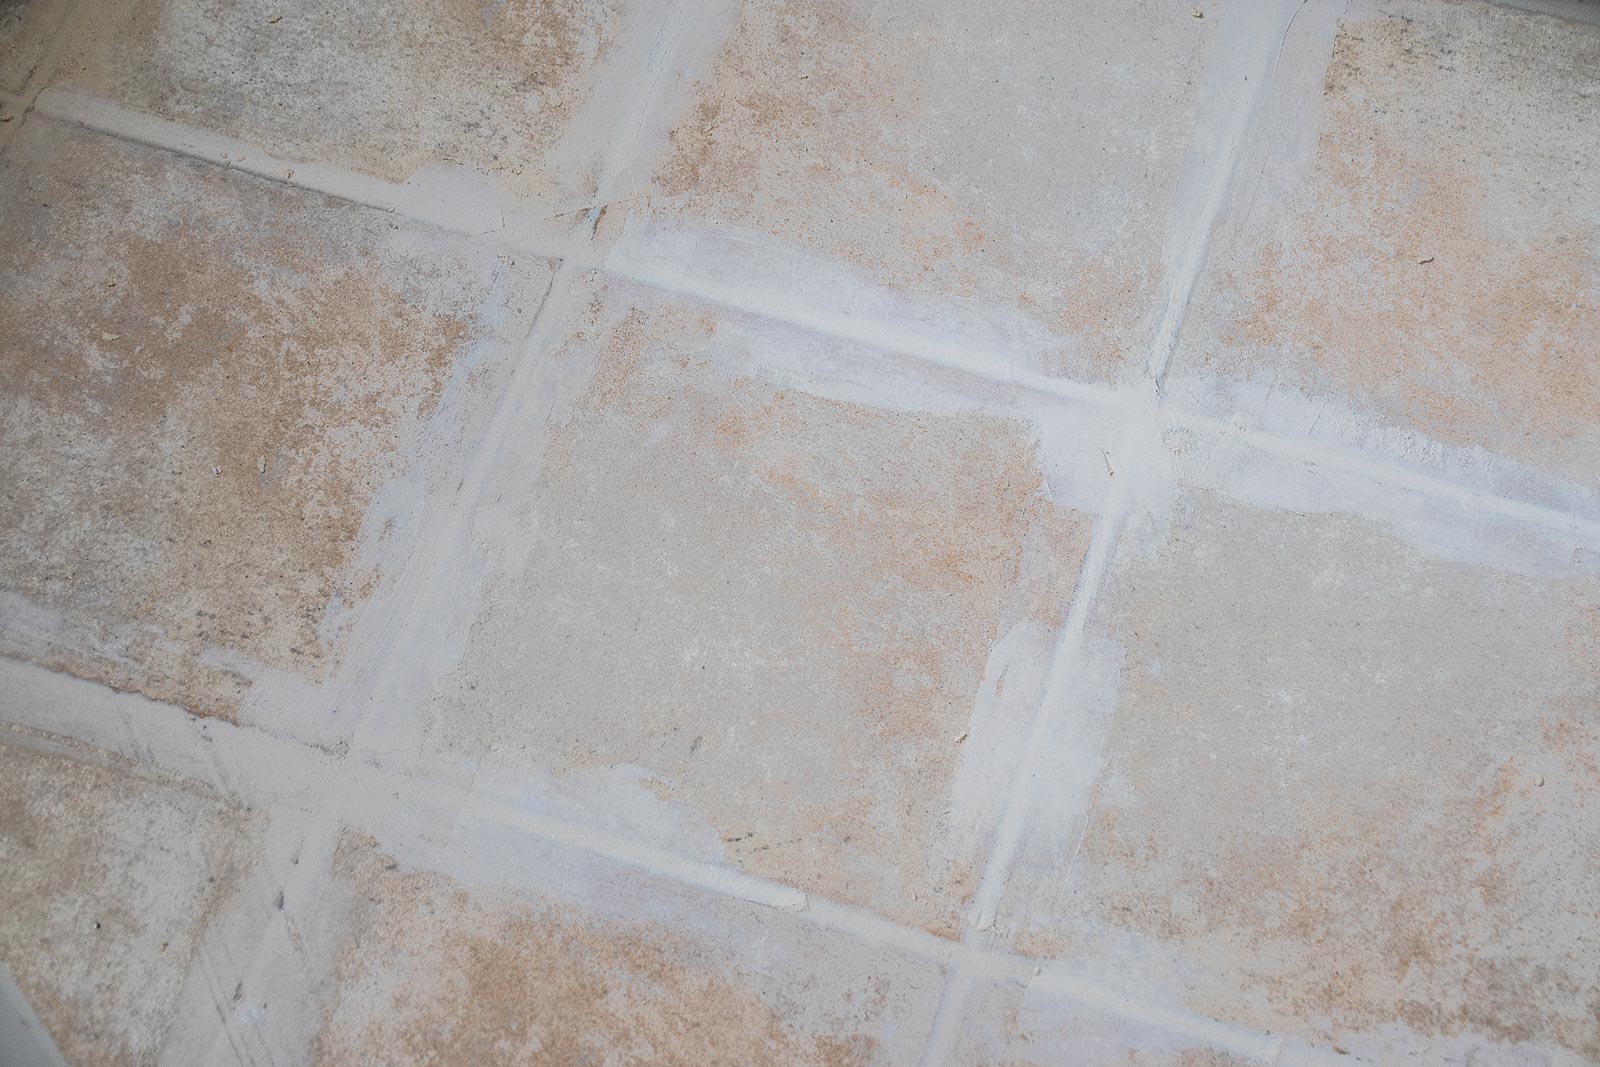
Step 1. Fill in grooves and grout lines to smooth out the floor
To apply adhesive tiles, you need a flat subfloor. Mine was not, because of the tile and the grout lines. In order to stick the tile in place, I had to smooth this out. I found a product that is meant to smooth out floors under tile and flooring. I would have applied it slightly differently if I did this again, but I think something like this is the right product for something like this.
I gave the floor a light sanding just to rough up the tile and give the underlayment something to grab onto. Then I cleaned the floor to remove any dust or debris. Next I used a spackle knife to apply the underlayment to the grout lines. This is where I could have done a better job. I needed to pay more attention to how much underlayment was on the grout lines. I mistakenly thought I would be able to sand it down like you do joint compound or wood fill. This product ended up drying REALLY hard so I could smooth it out a bit, but it was more challenging to sand down the volume significantly. If I did could go back and do anything different it would be to take a bit more care smoothing down the underlayment filling in each grout line. Let it sit overnight.
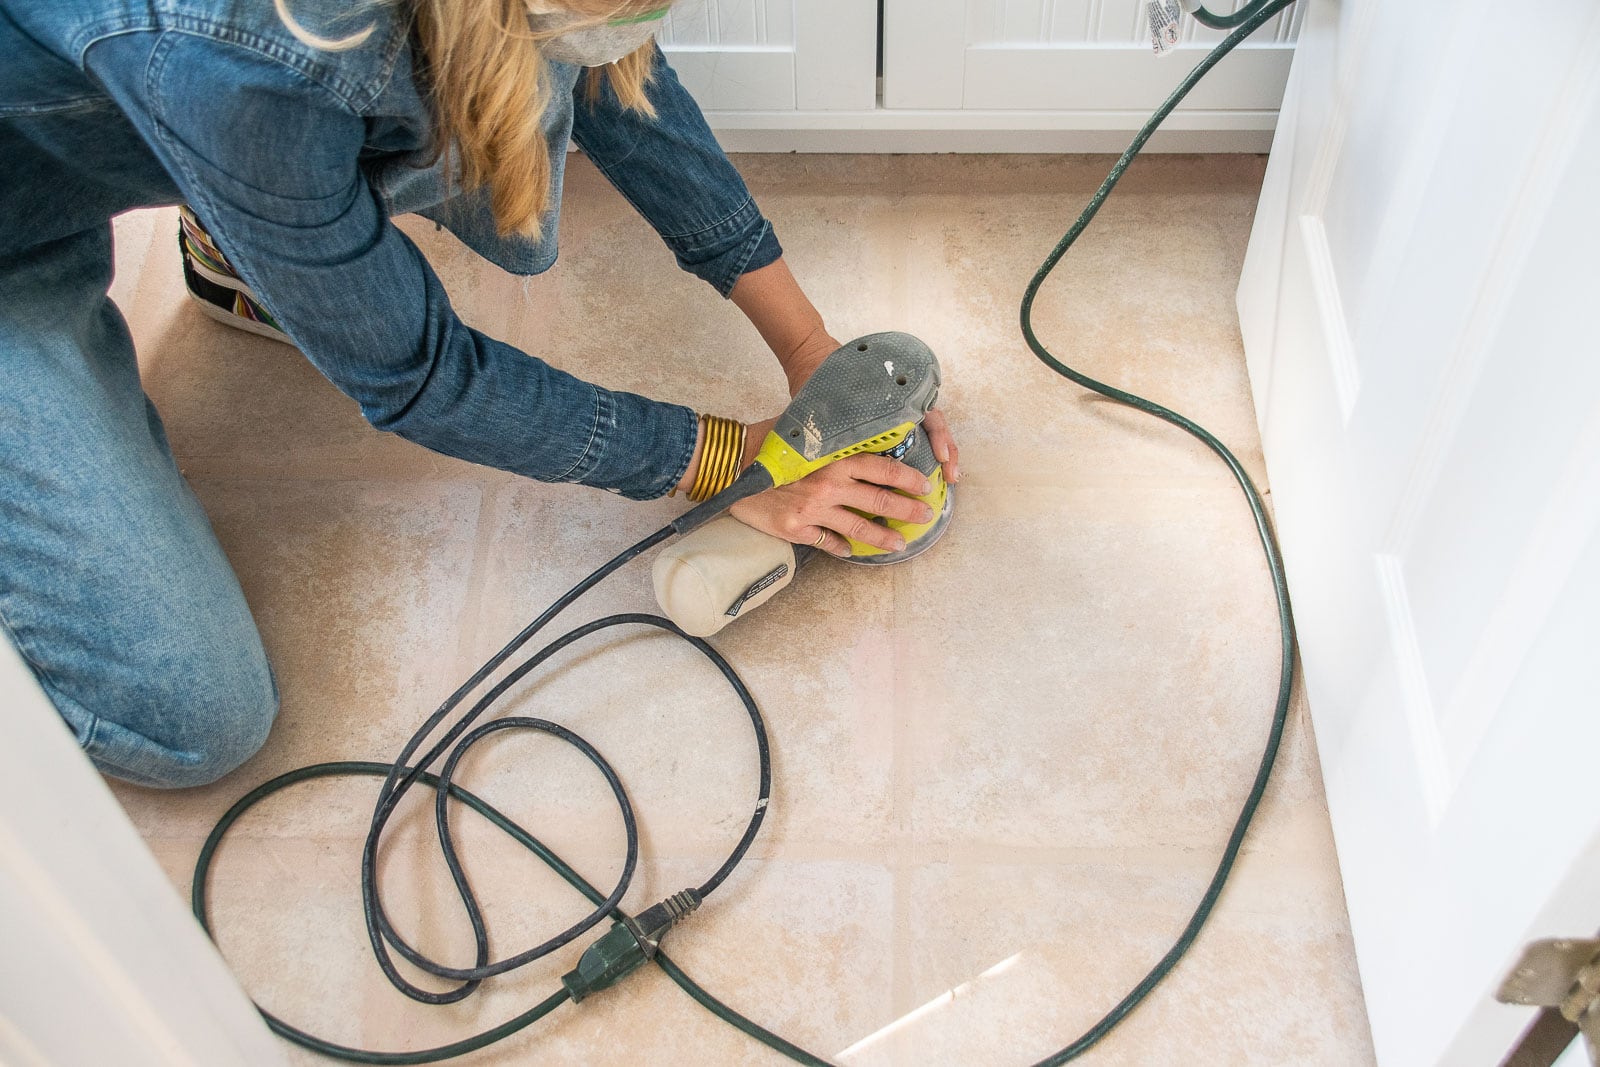
Step 2. Sand and Clean the floor
Like I said above, the sander didn’t take down big irregularities in the hardened underlayment but it definitely sanded it smooth. Once i finished sanding I cleaned the floor again REALLY well. I used a surface cleaner and then went over with white vinegar.
Step 2b. (Optional) Paint
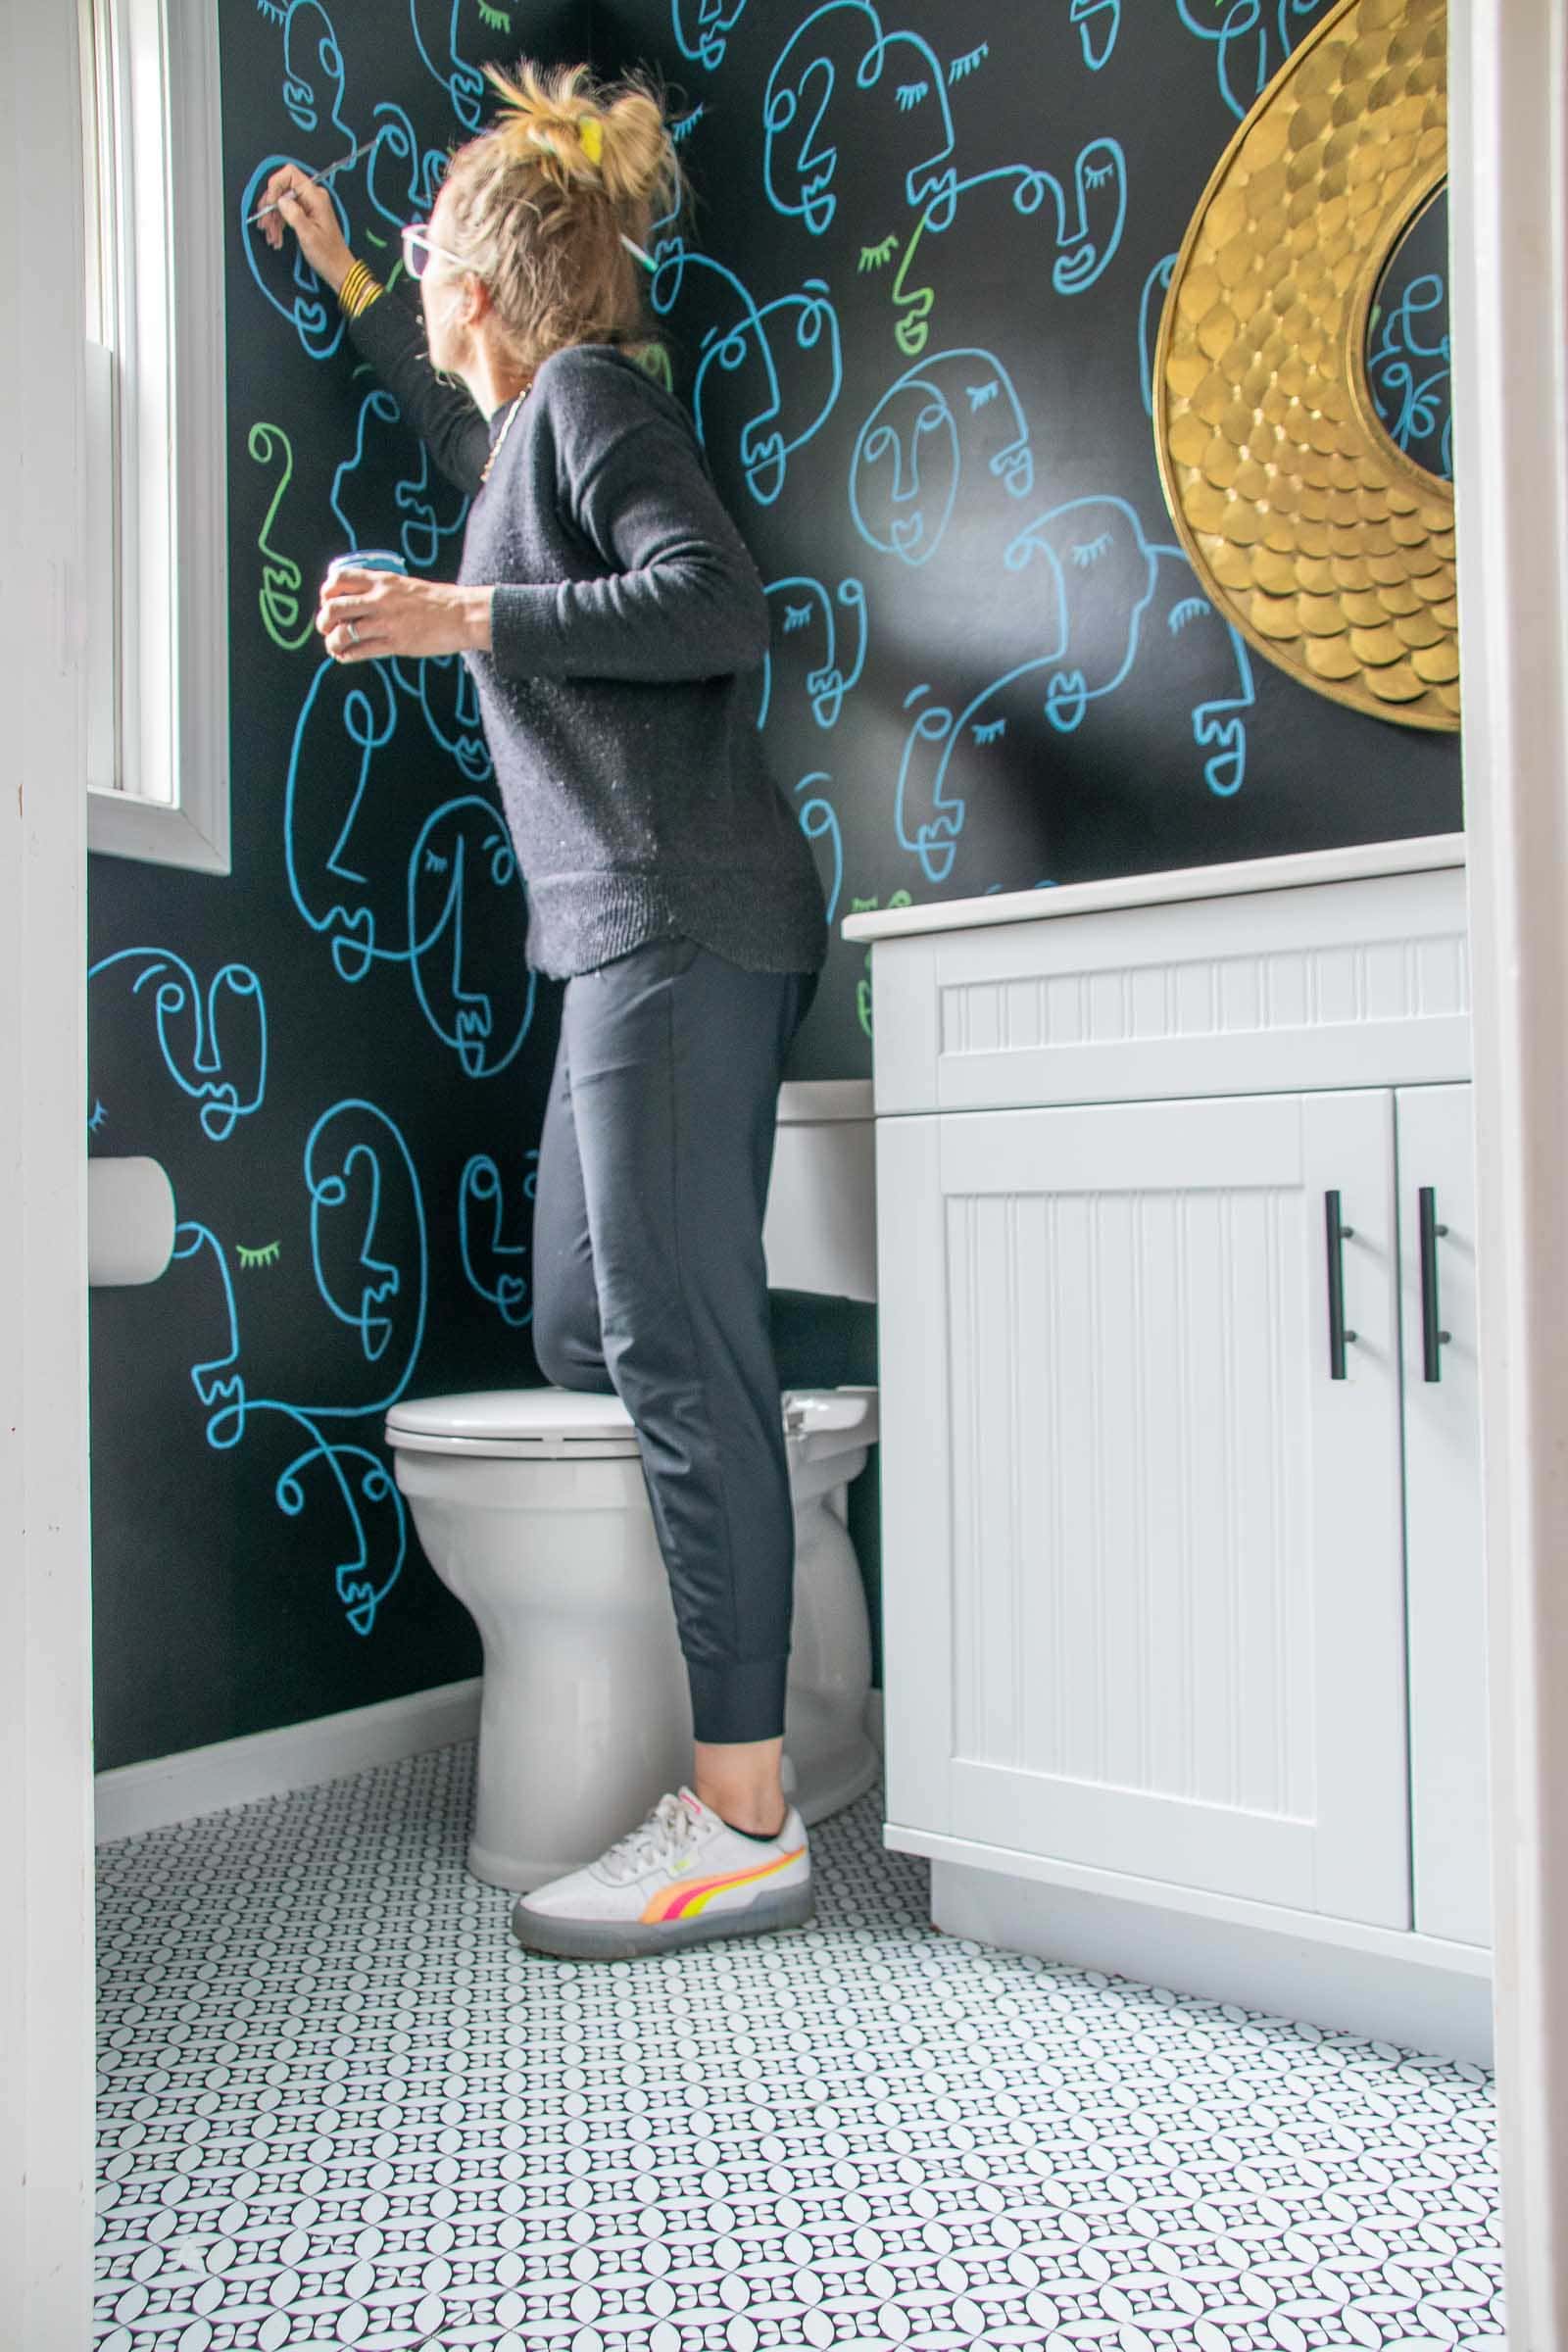
Obviously paint doesn’t have anything to do with the floors… but I mention here because it makes sense to do anything to the walls BEFORE putting in the new floors. I painted our walls black to match the new tile.
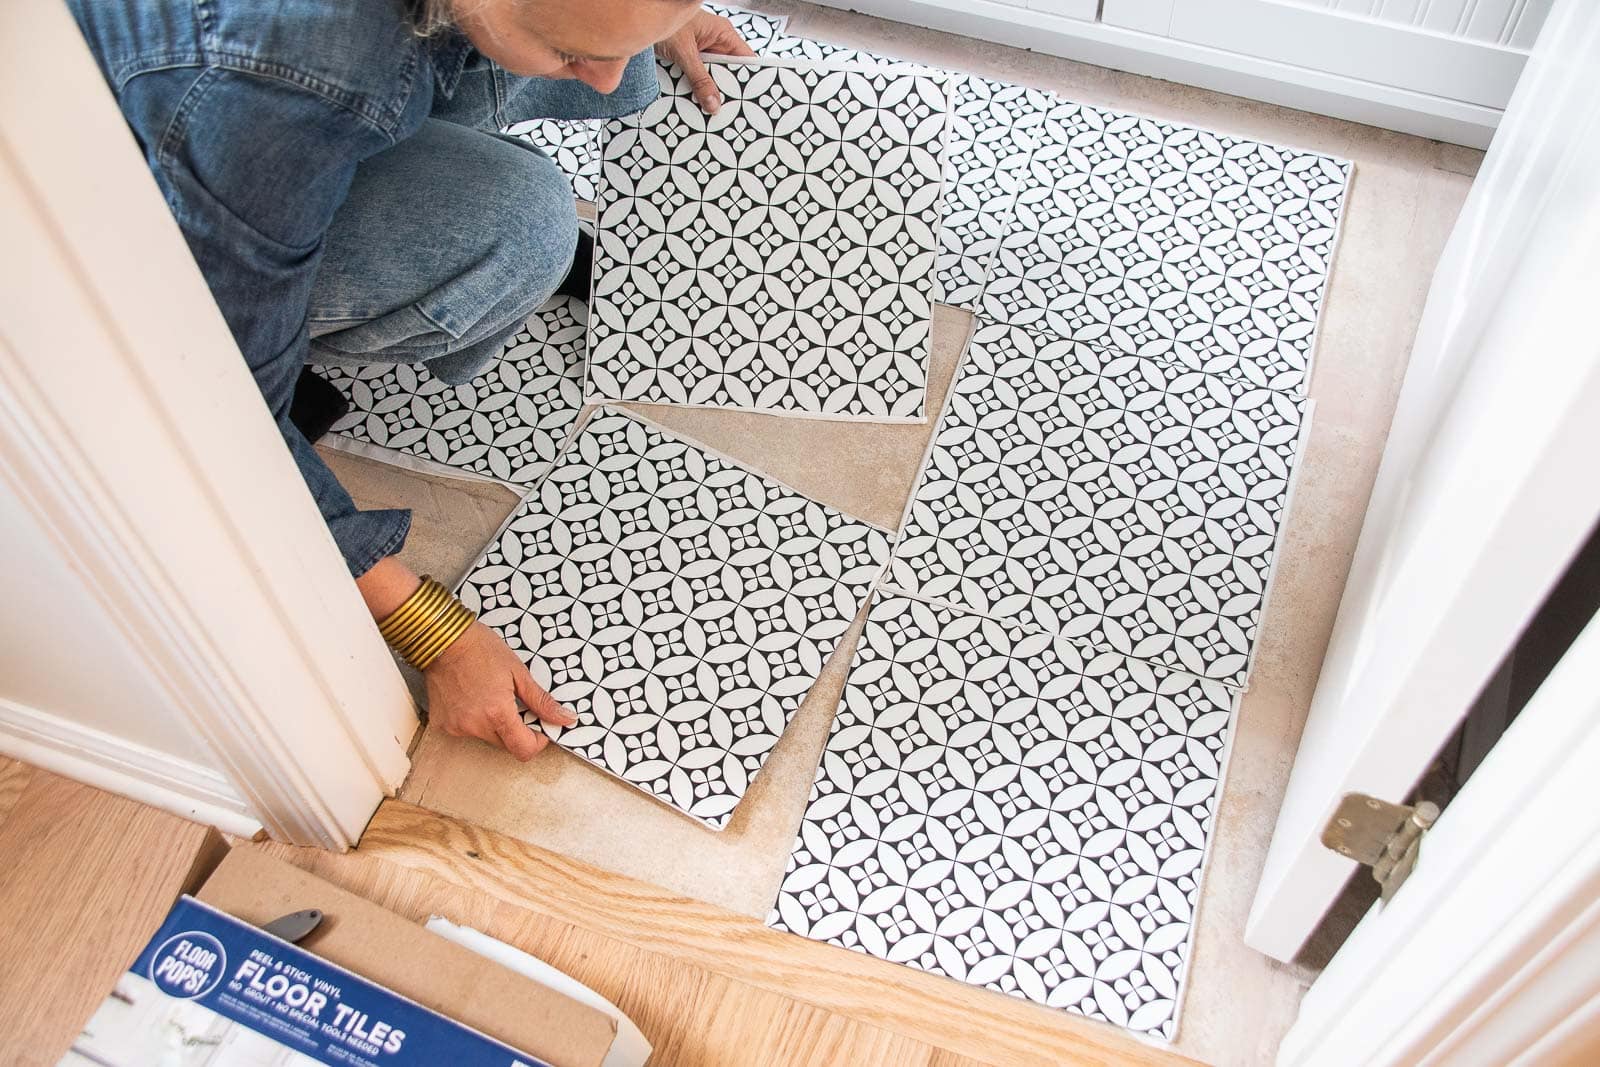
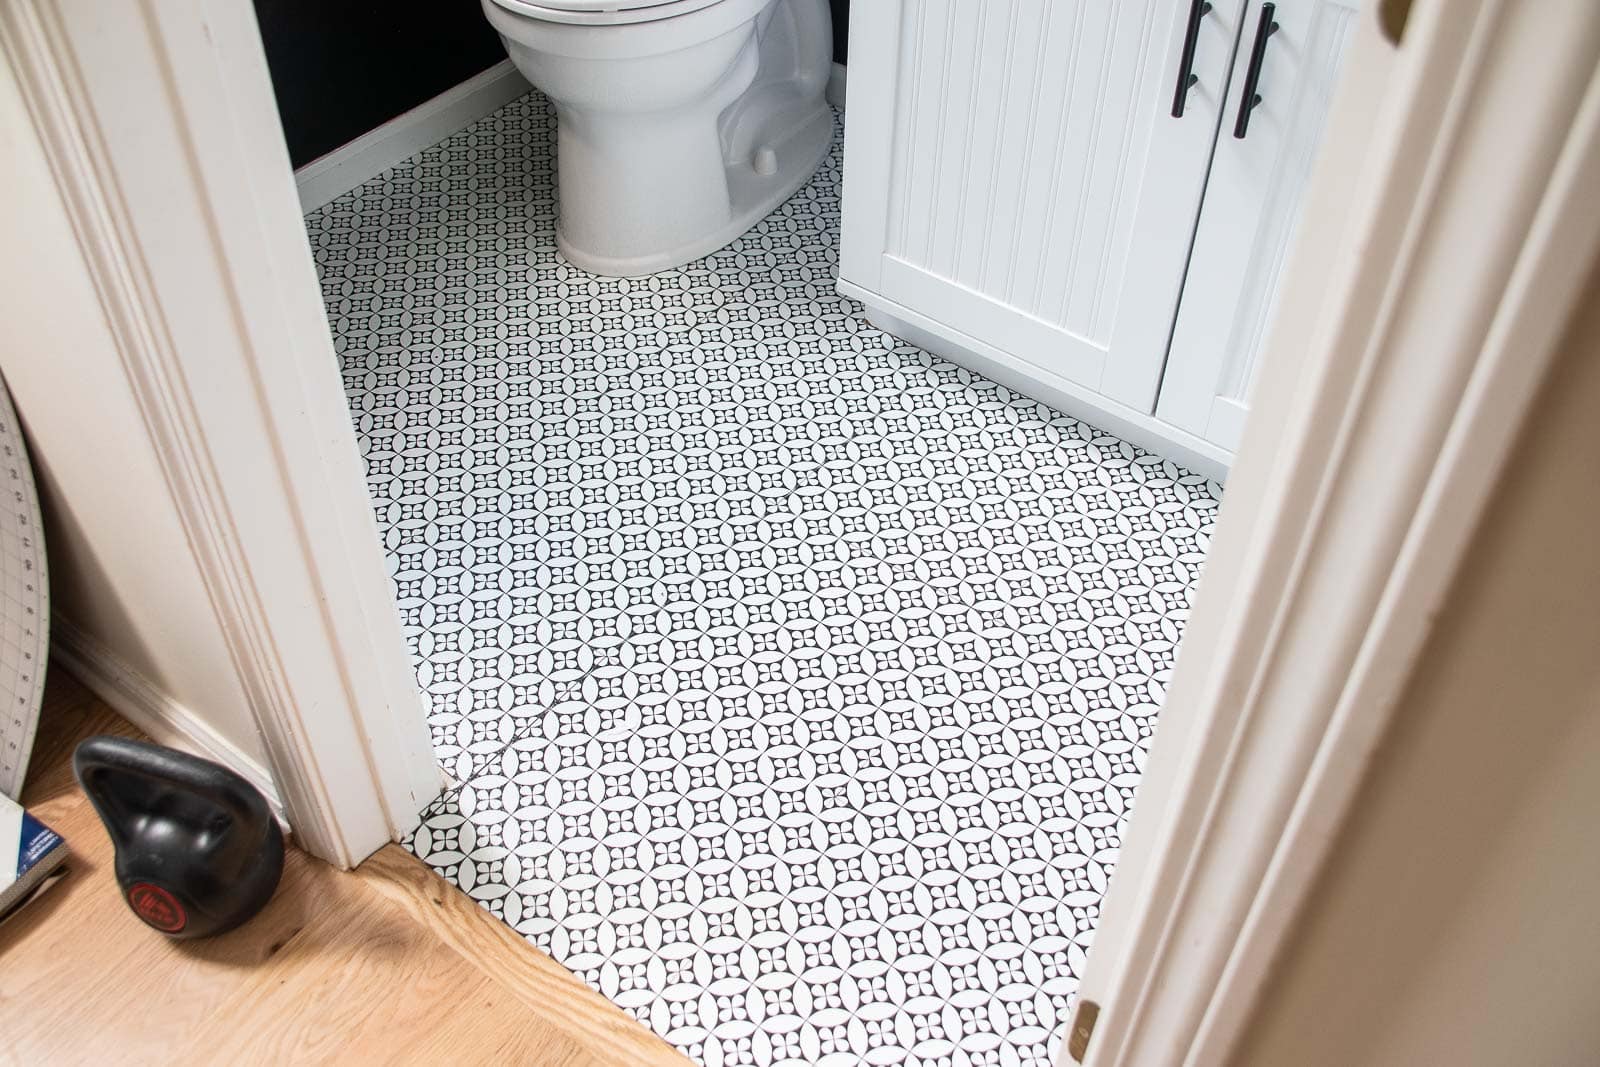
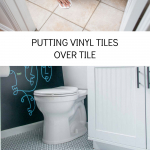
Step 3. Apply the adhesive floor tile
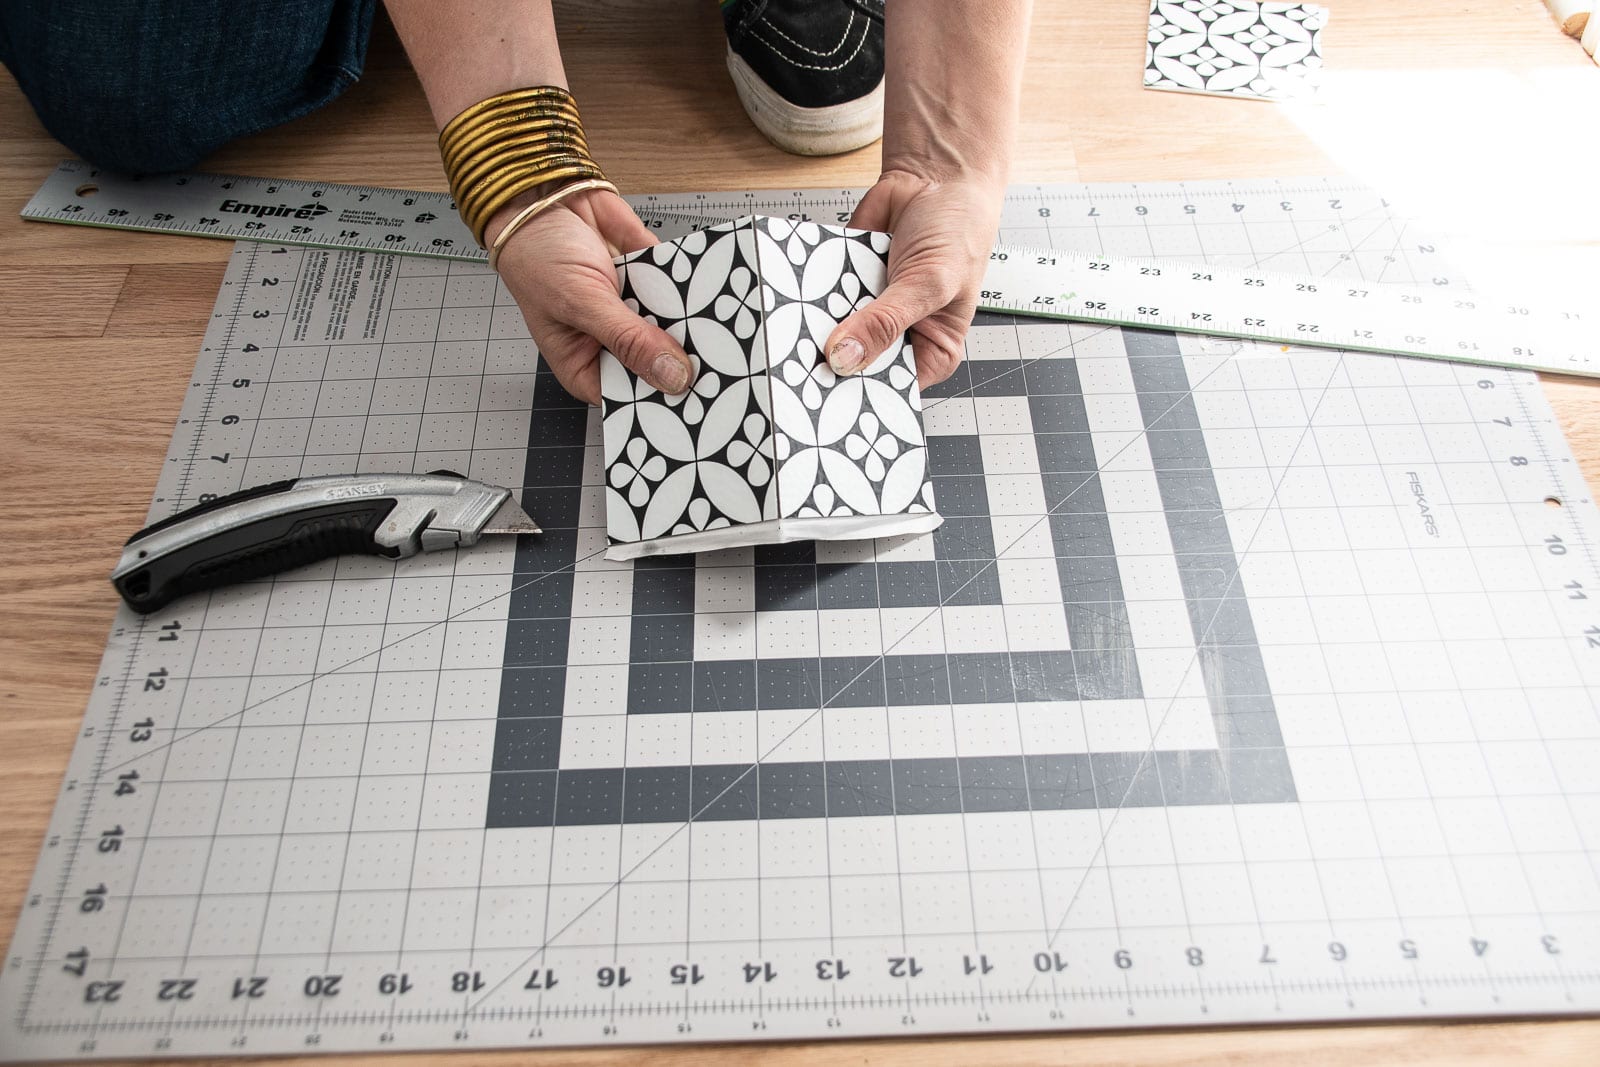
Applying the Floorpops floor tile couldn’t have been easier. Truly. I started by dry fitting the tile to see where they would line up in the small space. I wanted full tiles to be in the high traffic areas and then the smaller pieces to be around the perimeter.
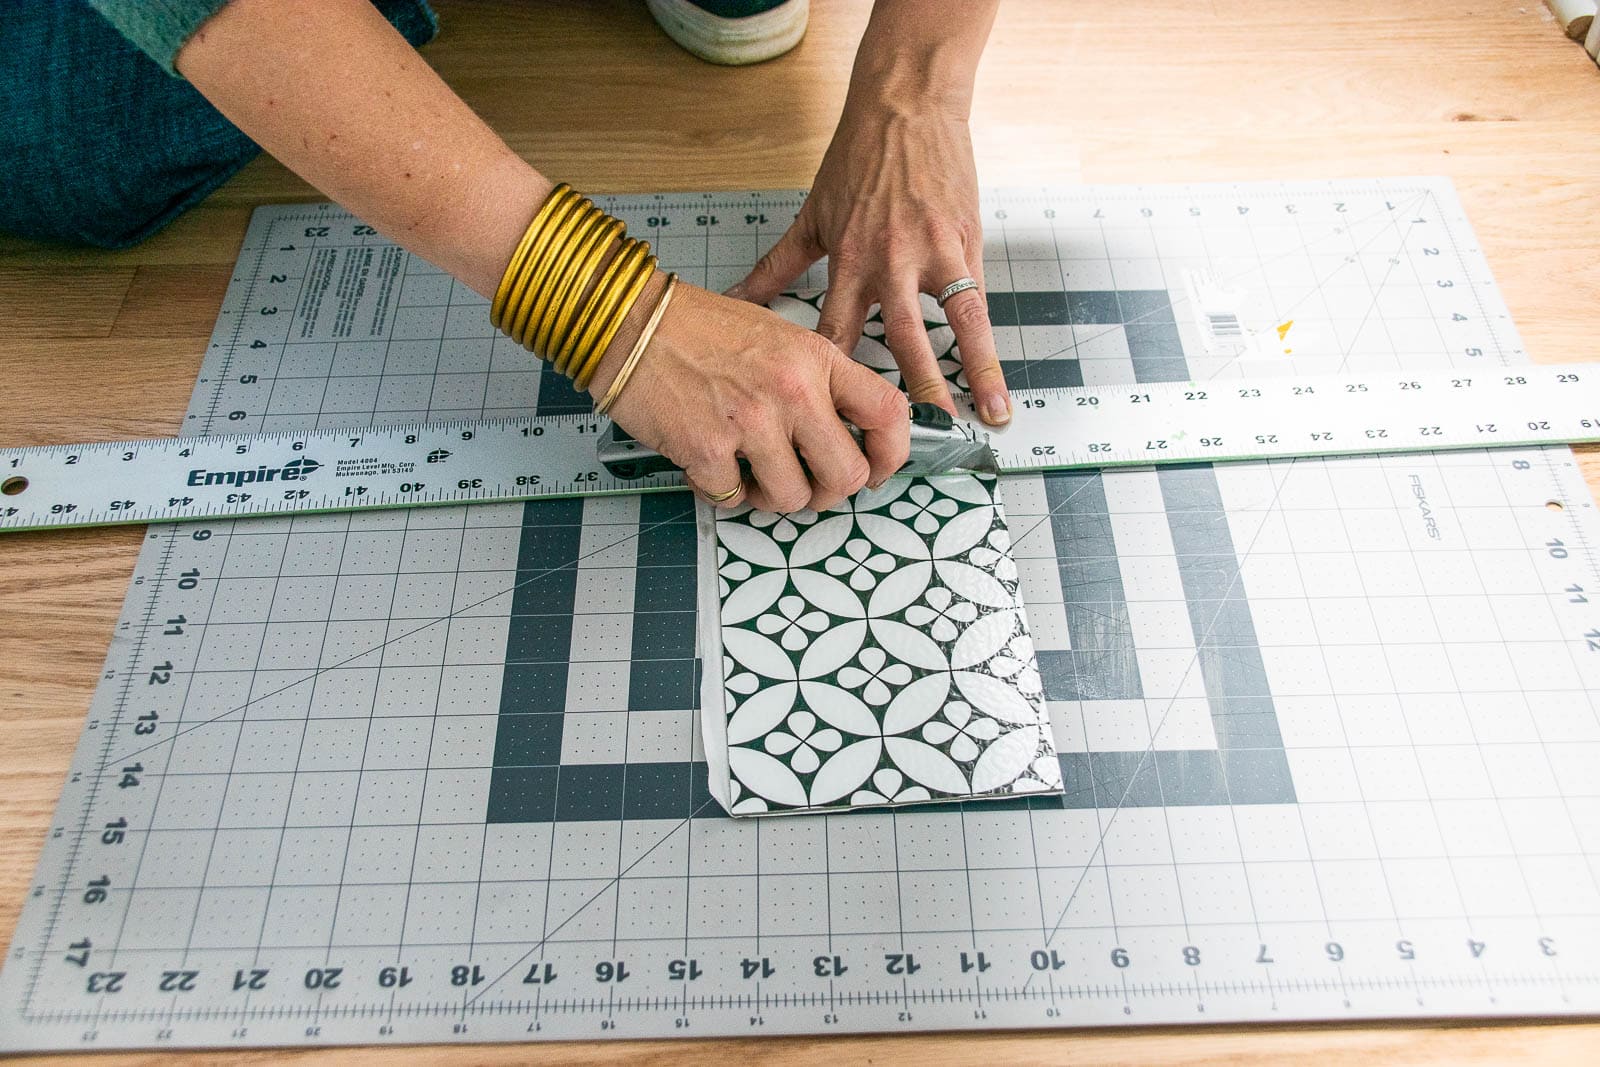
Cutting the tiles is really really easy. I used a utility knife and a metal straight edge to score the tile, then you just fold it along the score line and… snap! For right angles or curves, I did the same thing and slowly snapped along the score line the same way. Remove the adhesive backing and stick in place! Note that you need to figure out which tile edge lines up best with the pattern… check each side before removing the adhesive and sticking in place.
Step 4. Weigh down the tiles
Because I had been a bit sloppy with the mortar fill, there were a few places were the edges of the adhesive tiles lined up with my uneven underlayment and didn’t immediately stick. I used weights and heavy books to keep the tile in place and over time it seems to have stuck in place. If these edges peel up, I’ll remove the tile and sand down the underlayment some more and replace with a new tile. In the places where I patched the mortar correctly, the floor tiles stuck perfectly so I think I followed the right steps but just needed to be a bit more careful. Lesson learned.
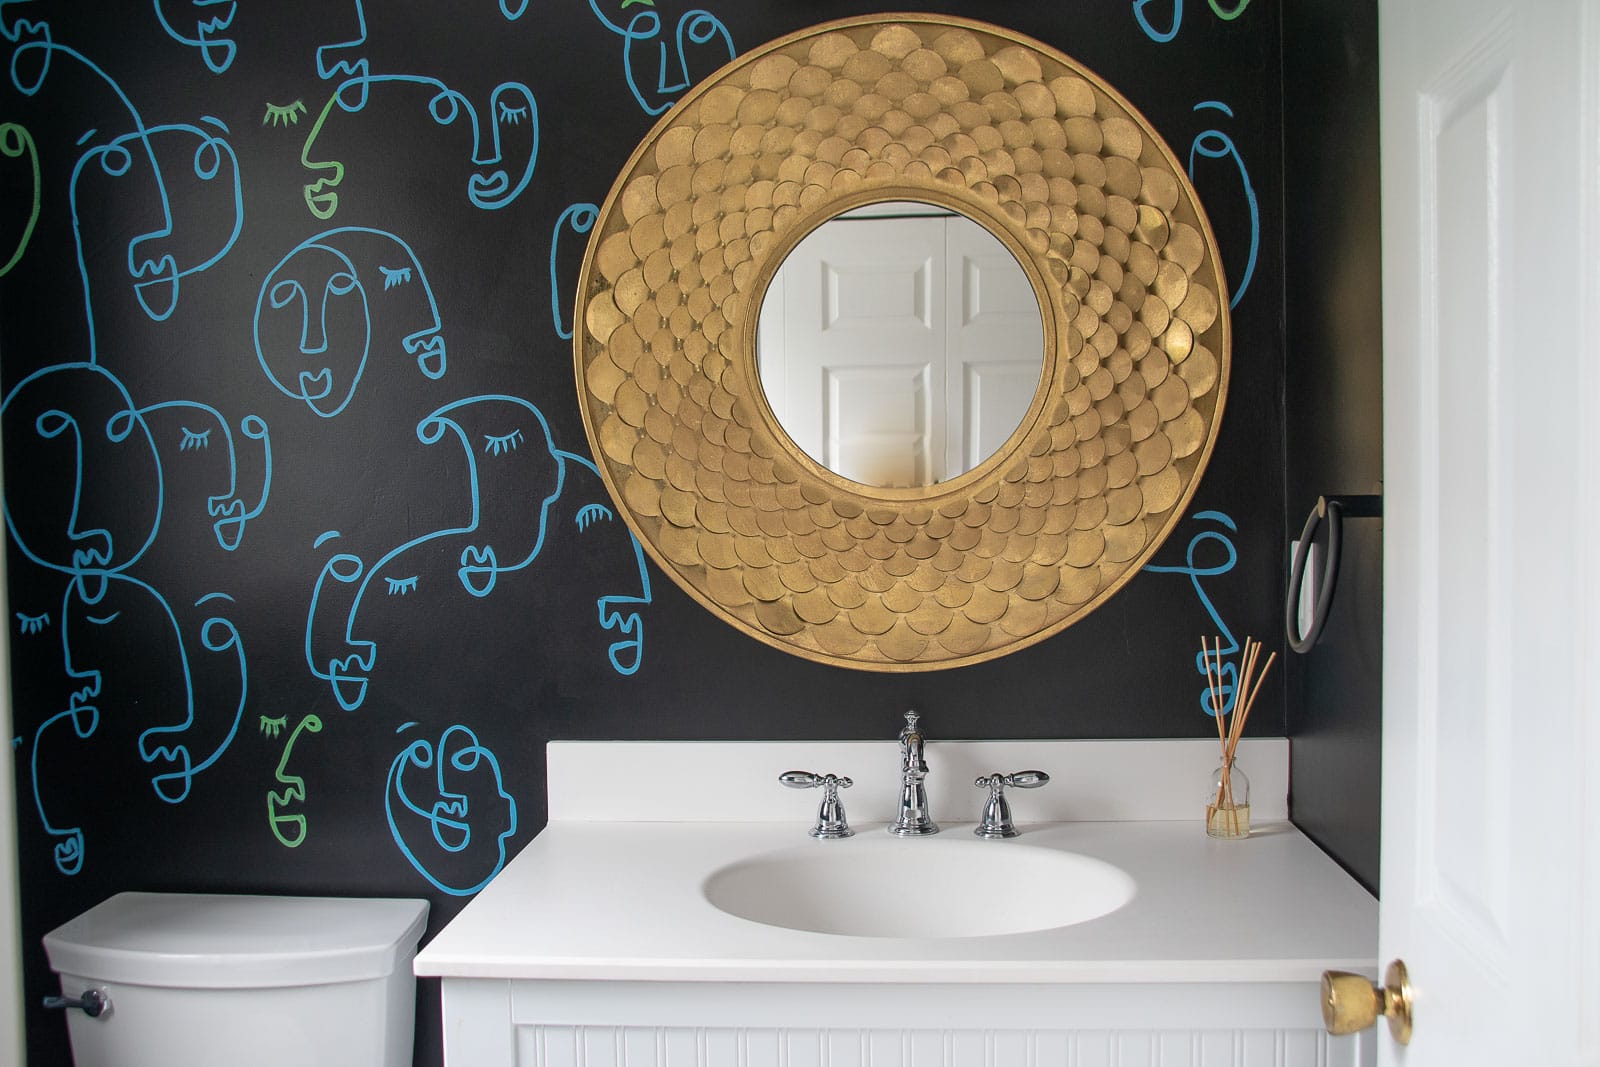
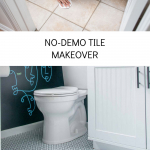
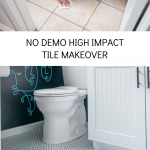
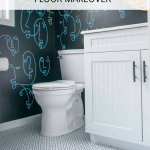
I added a hand-drawn design detail to the black walls, replaced the cabinet pulls and put in the new toilet and the space couldn’t look more different! I have plans to replace the faucet and the vanity lights as well. Lots of simple little updates to make the space feel totally new and improved and it all started with… new tiles.
 UPDATE:
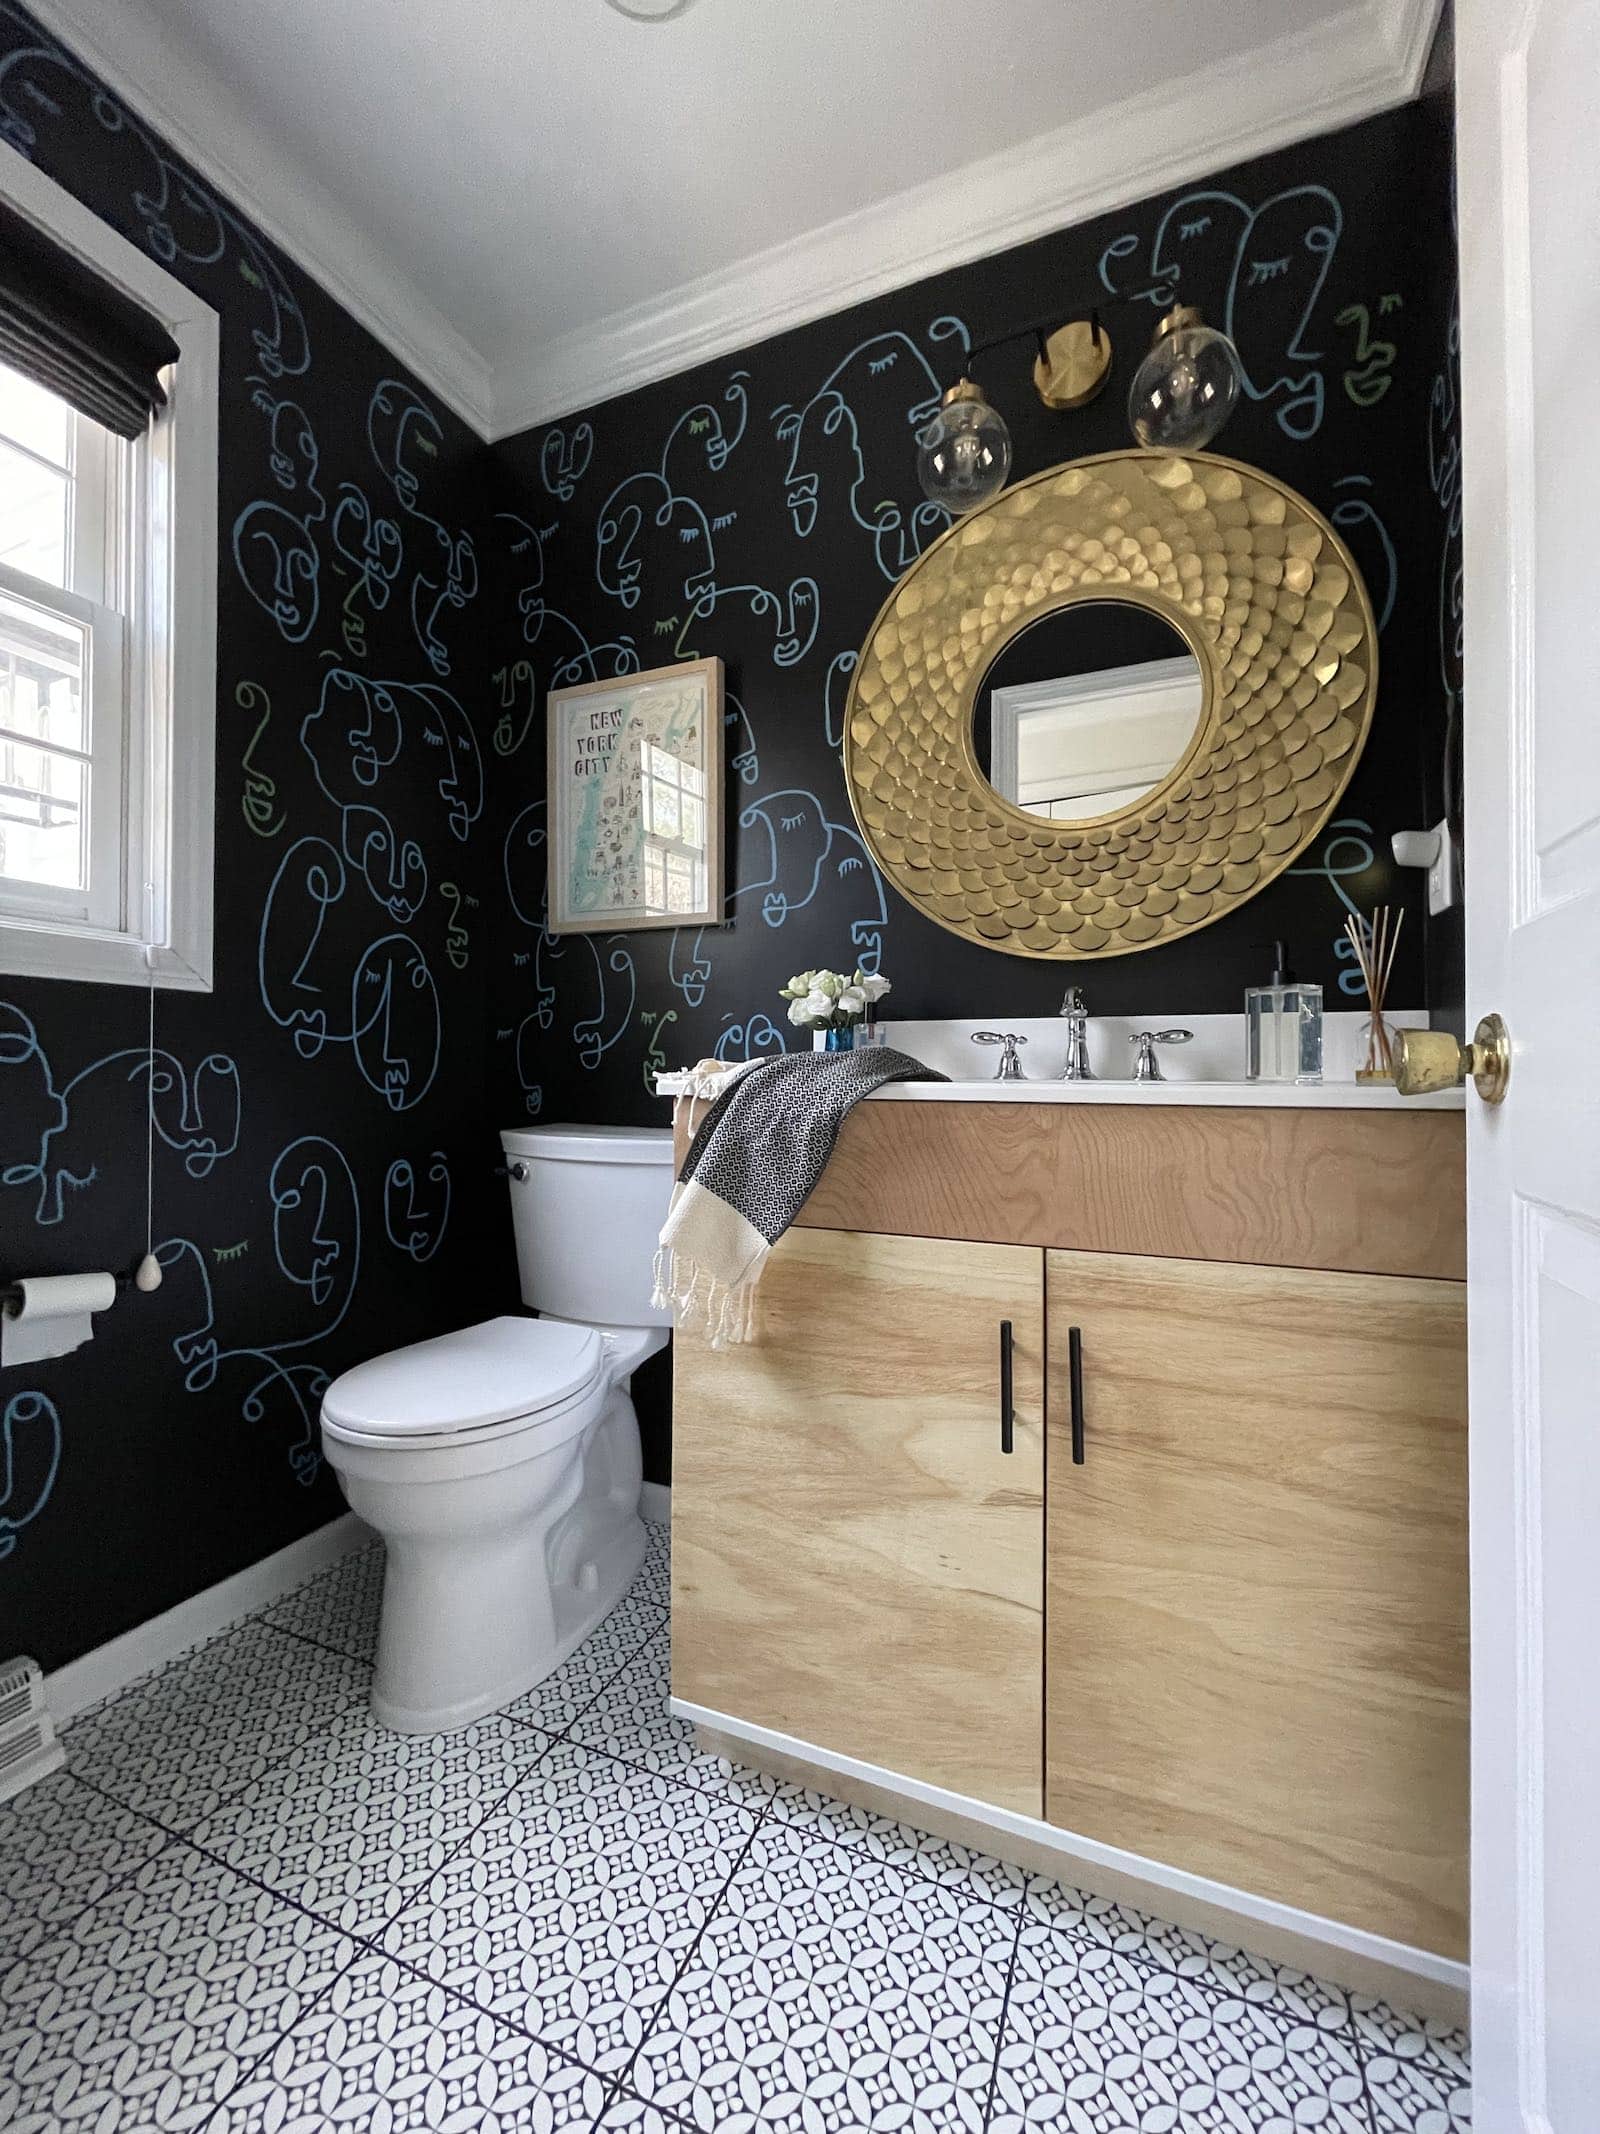
I wanted to warm up that builder grade vanity so I traded out the doors and drawer panel for some scrap plywood! Not permanent at all, but adds a bit of interest in my opinion!


In a few pictures it shows you didn’t grout. However the picture with updated cab doors there are grout lines. Did you apply 12×12 tiles over 12×12 tiles and still needed to fill in grout lines?
I just went over the edges with Sharpie!