
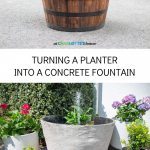
Turning a Wooden Planter into a Concrete Fountain
Psssst… this post *might* contain affiliate links: see my disclosure here.
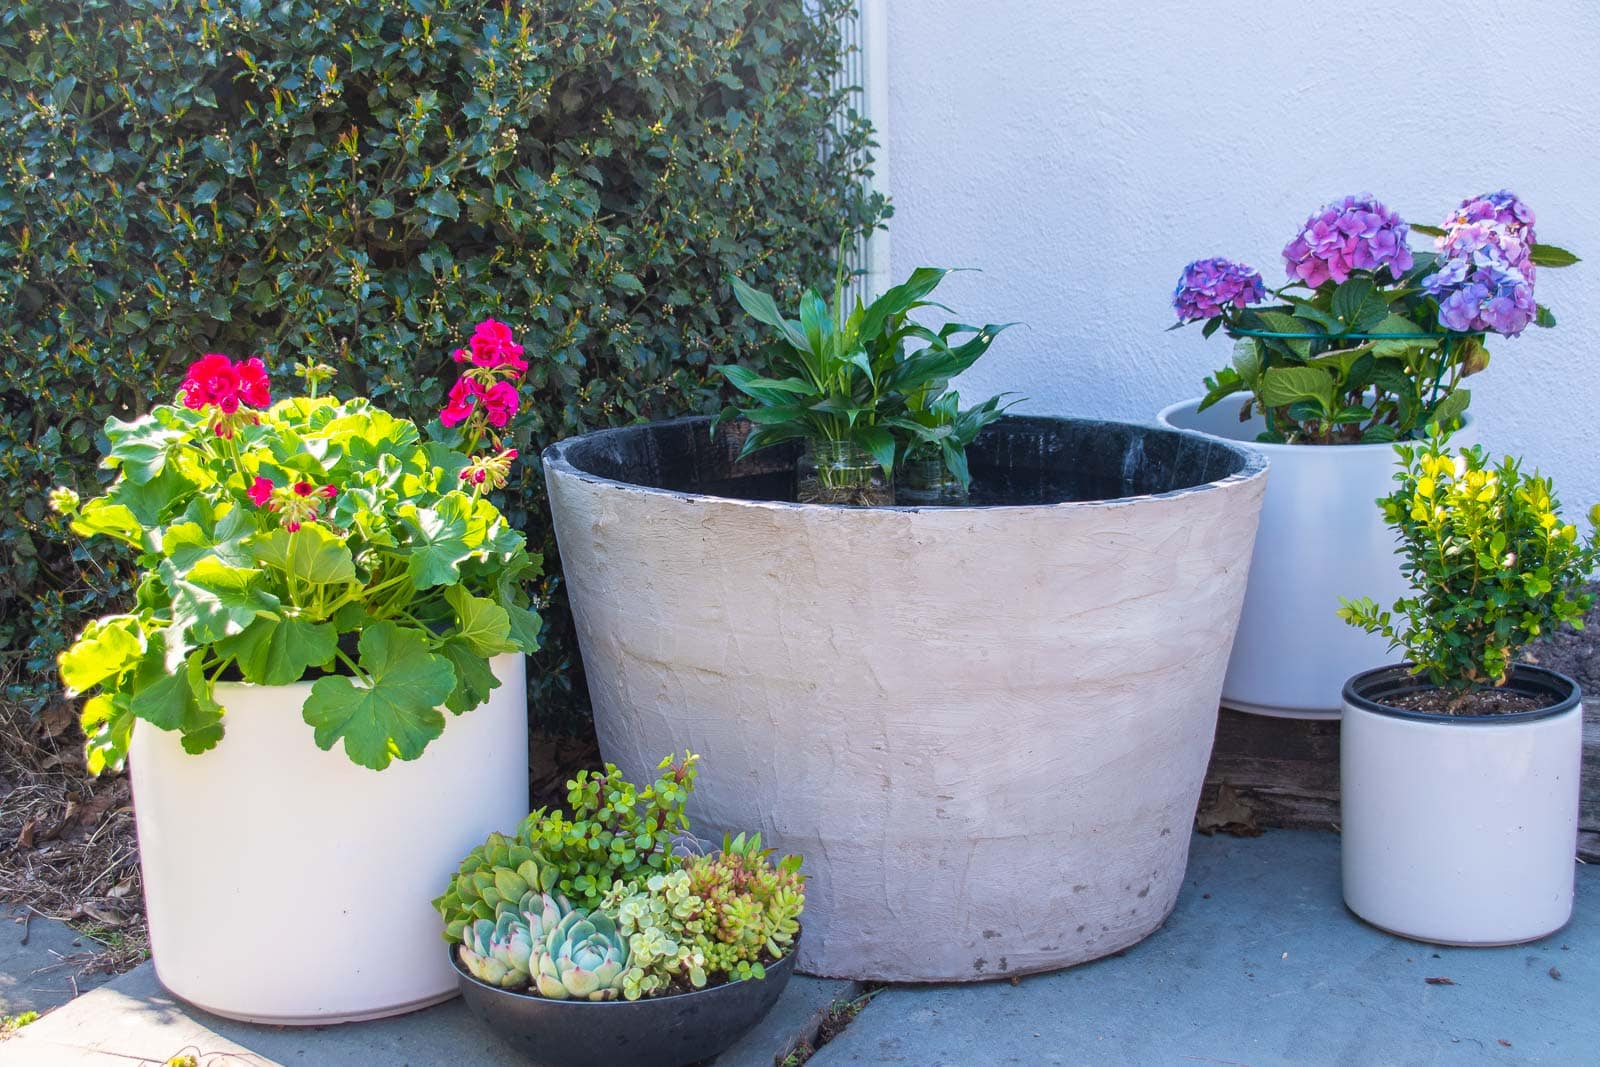
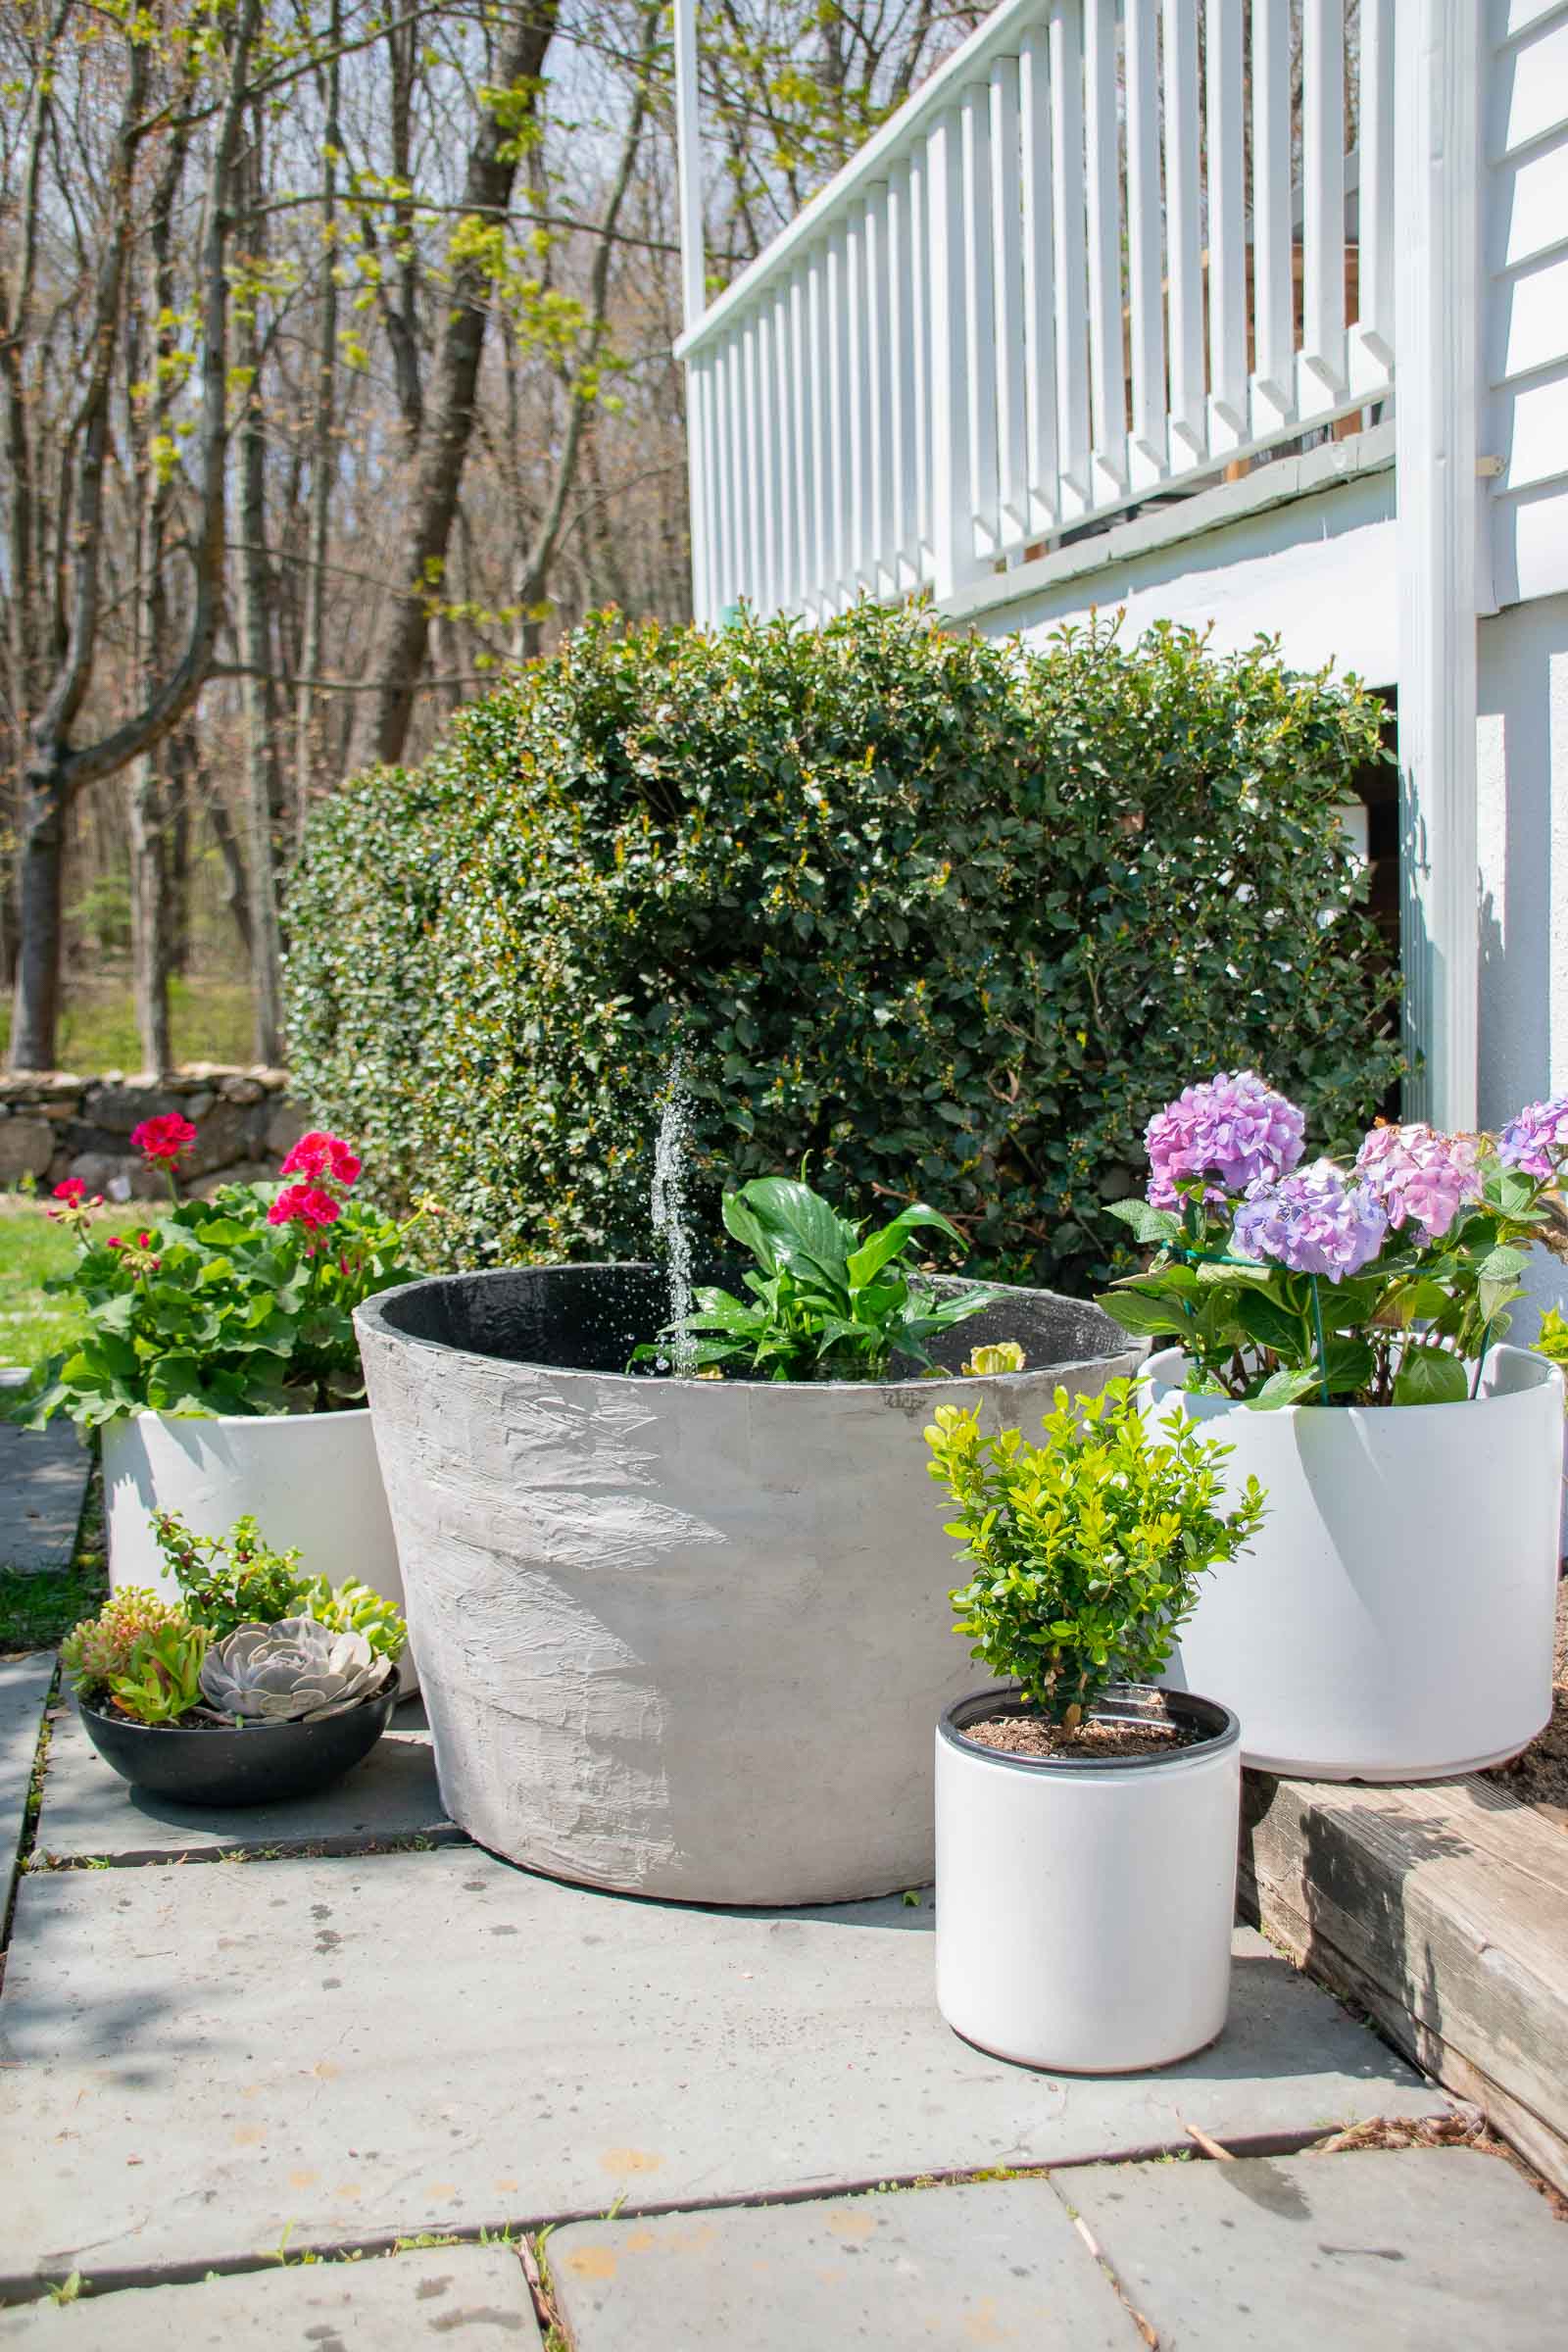
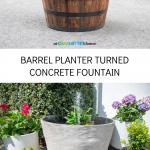
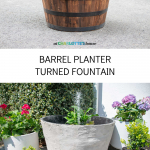
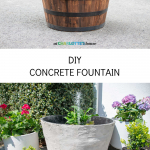
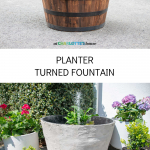
Barrel Planter Turned Concrete Garden Fountain
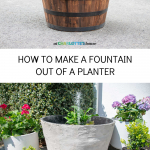
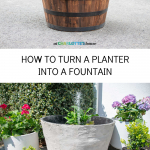
I turned a basic barrel planter into a sweet concrete fountain for our patio.
Disclosure: I’m partnering with The Home Depot and their DIY On-Trend Workshops, inspired by Pinterest, to share this post with you.
Shop my favorites!
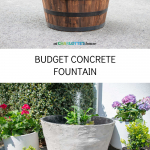
I love a garden fountain but am always a little hesitant to pull the trigger on buying one because they can be an investment. Which is why I love this concrete fountain hack! I was experimenting with materials and am thrilled that everything I experimented for this project *totally* worked since the basic steps couldn’t be easier! I’m looking out my sunroom window at our fountain as I type and I can’t wait to show you how easy it was to make this sweet budget fountain. (Full materials list at the end of this post!)
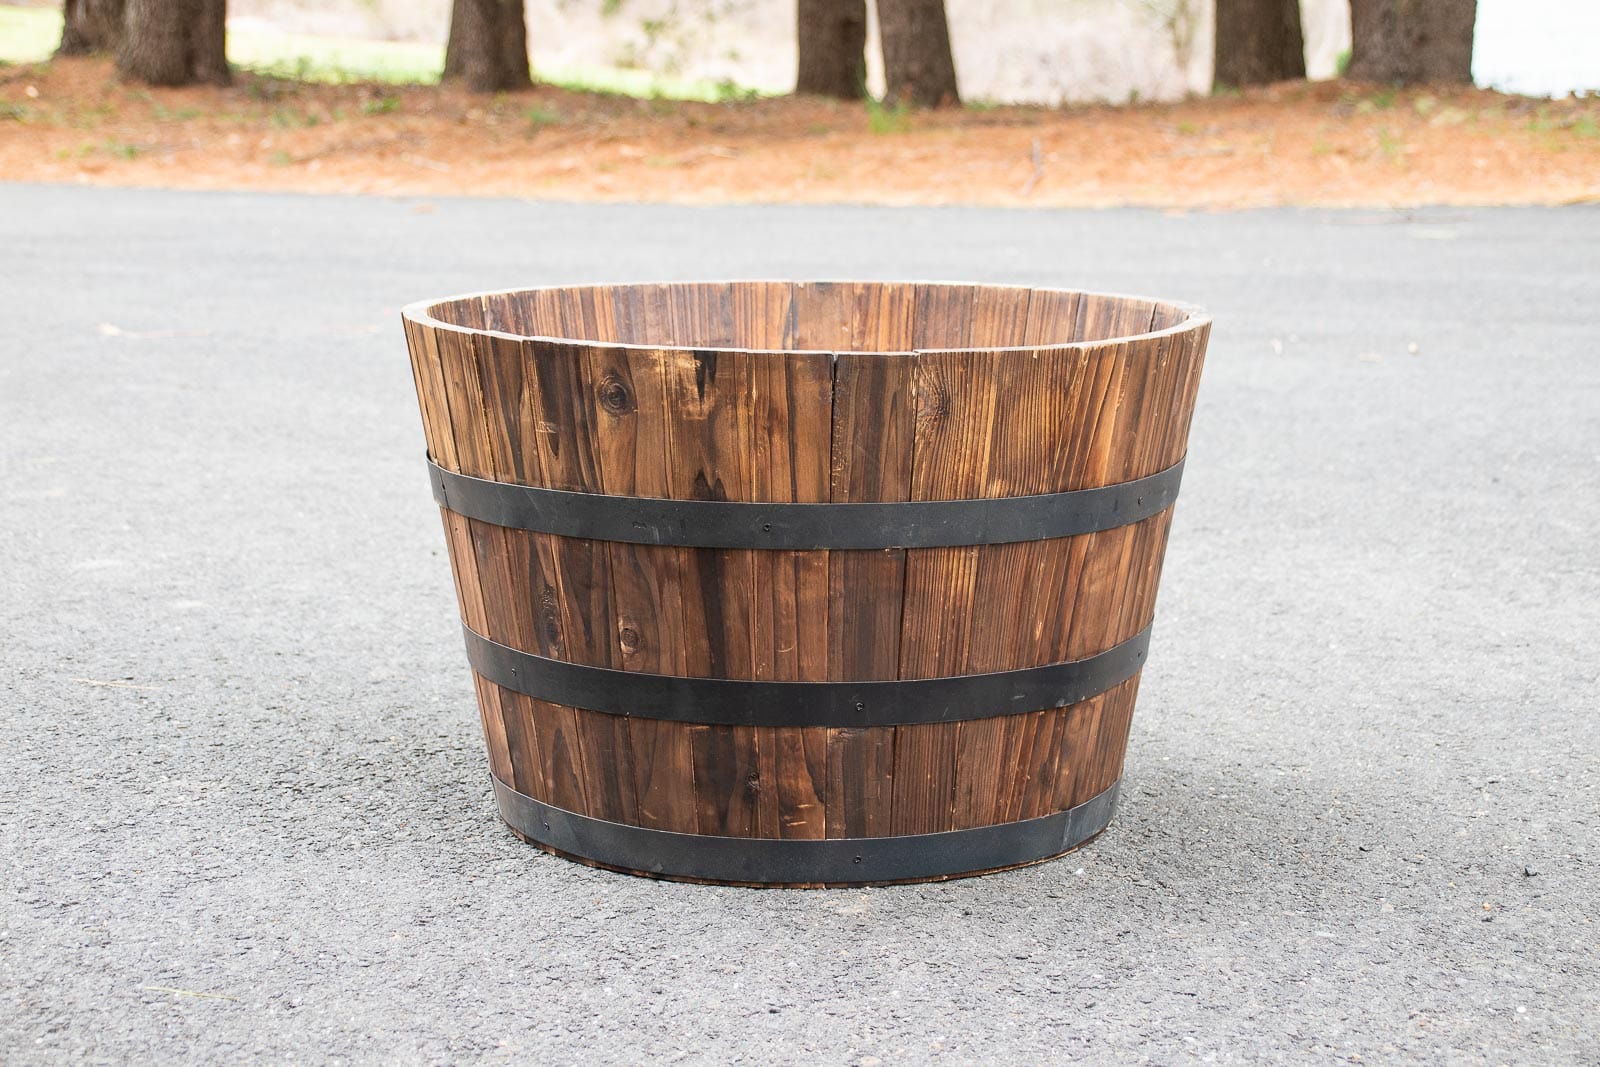
Step 1. Find the right container
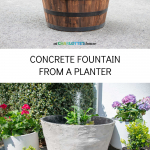
Ideally you can find a wooden container that is already waterproof, but I could not. I grabbed this basic barrel planter. Pros: It’s readily available and BIG. Cons: It took a couple of steps (see below) to waterproof. Home Depot.com has lots of different options, and I was originally considering this one, but I waited to long and now it’s out of stock. The website makes it SUPER easy to find things and shipping is usually within a week so I purchased most of the items for this project online!
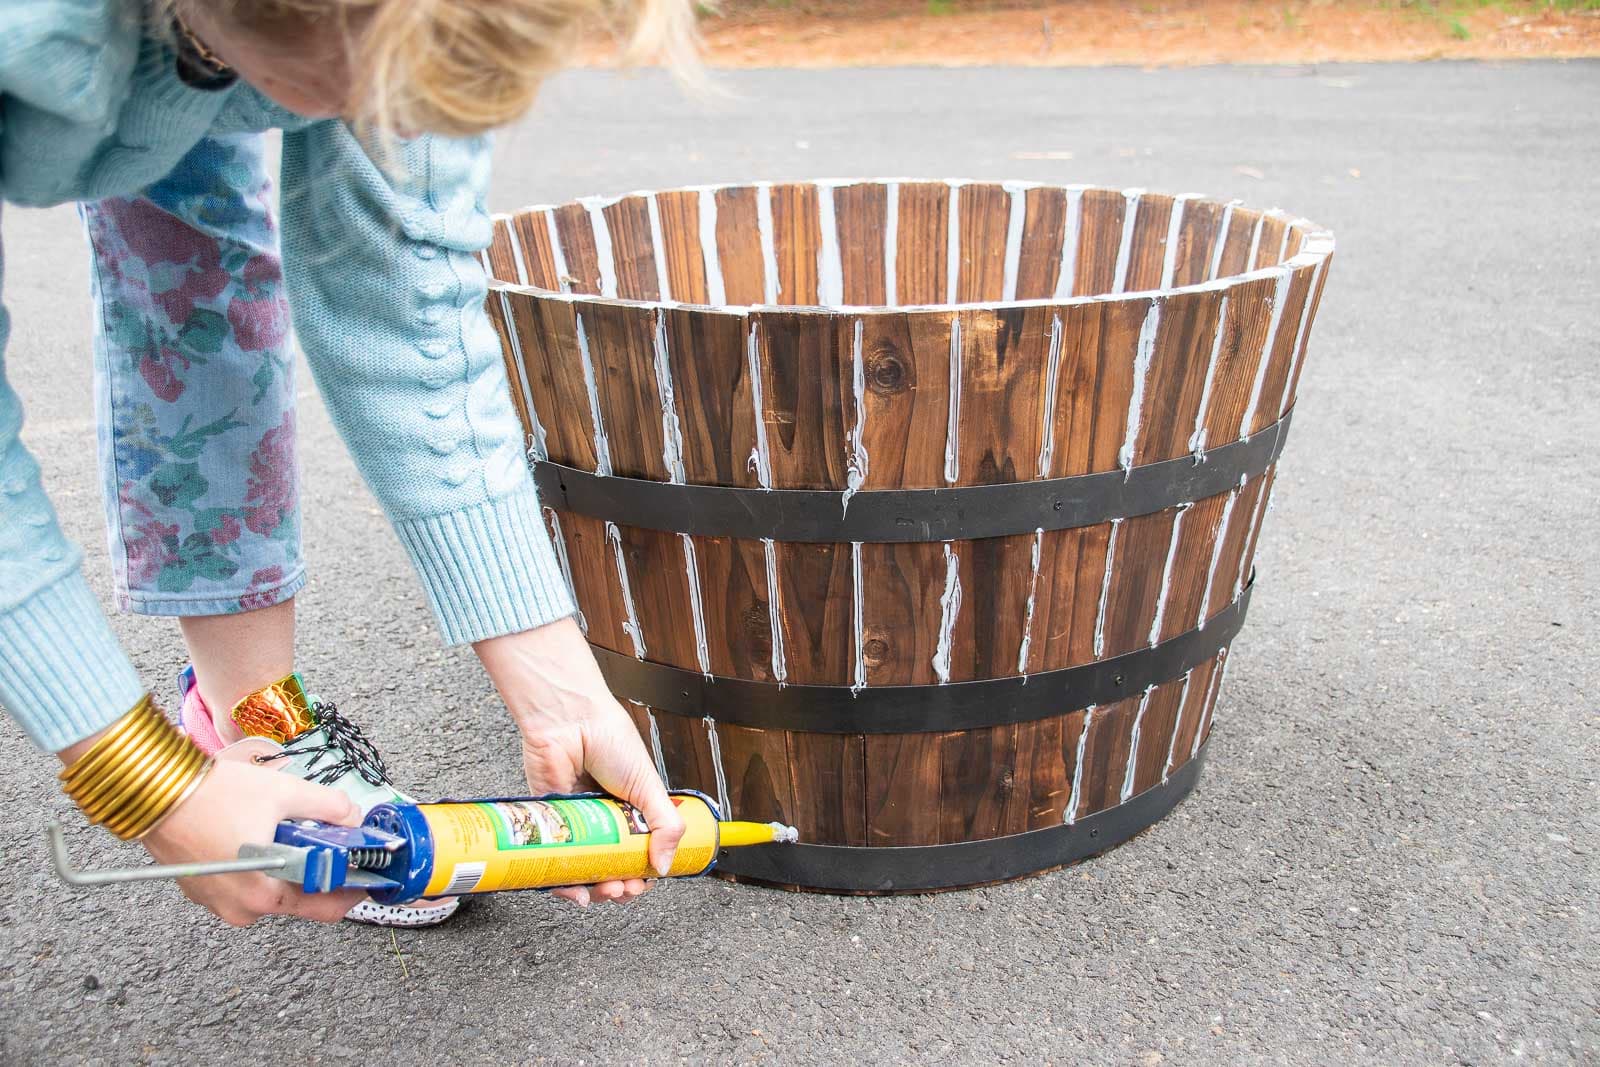
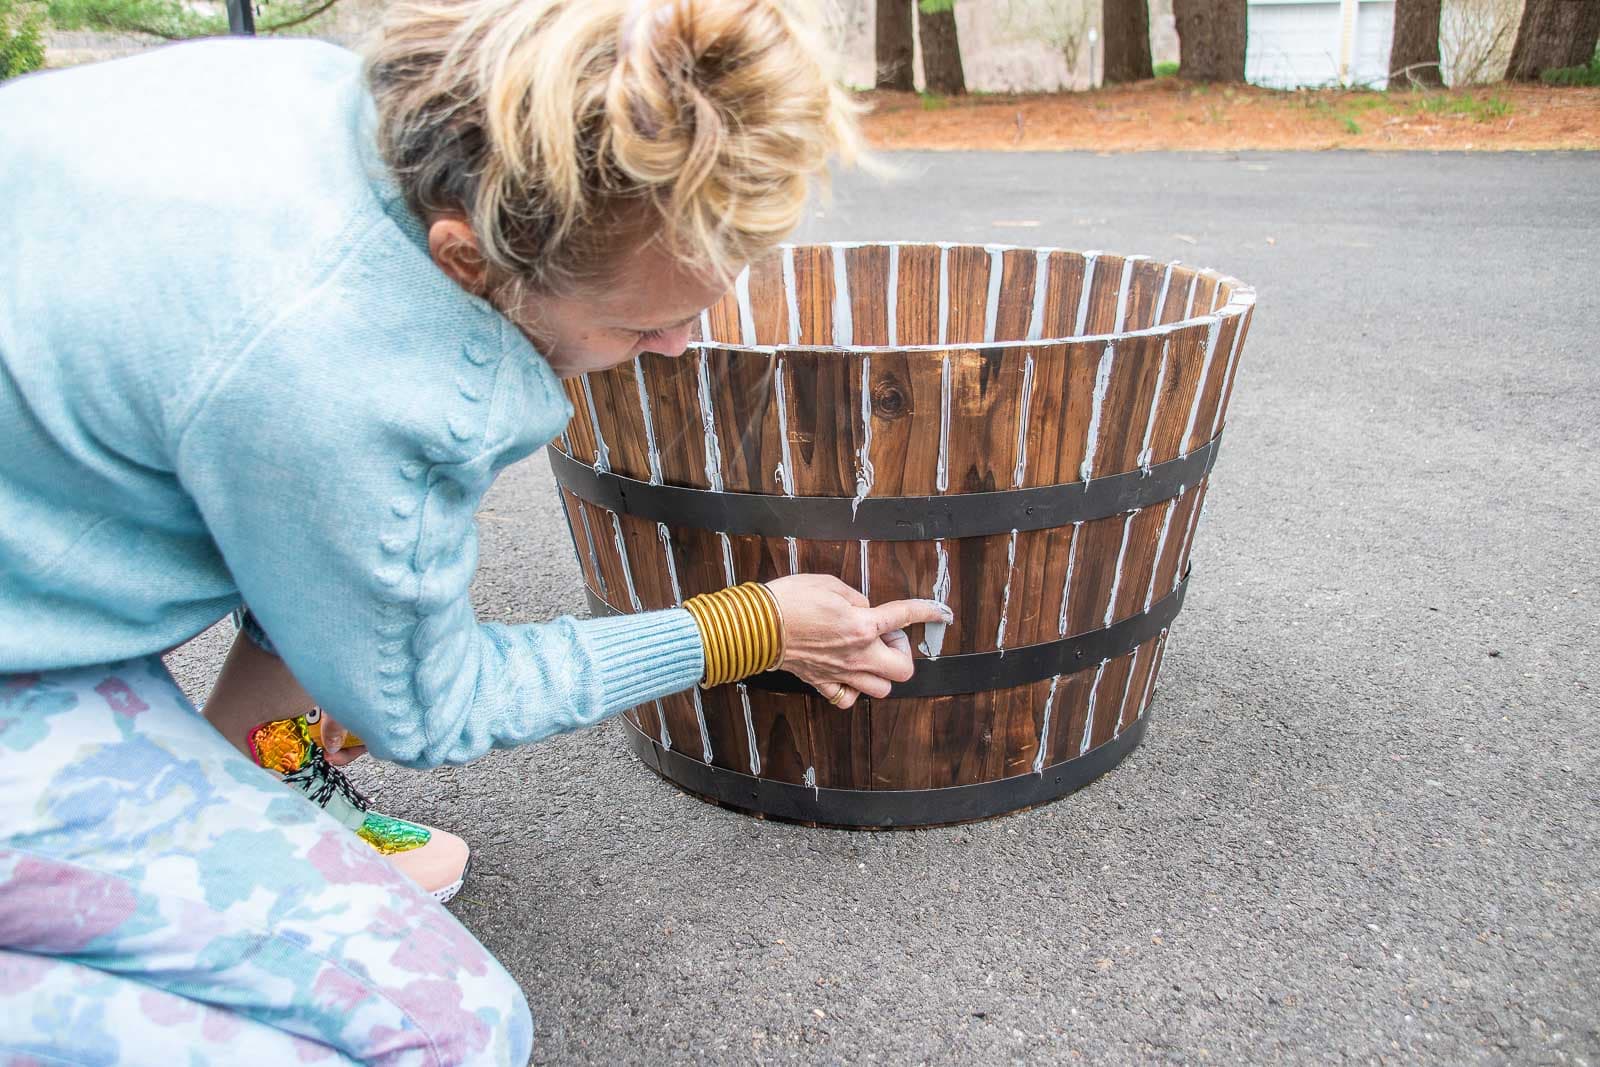
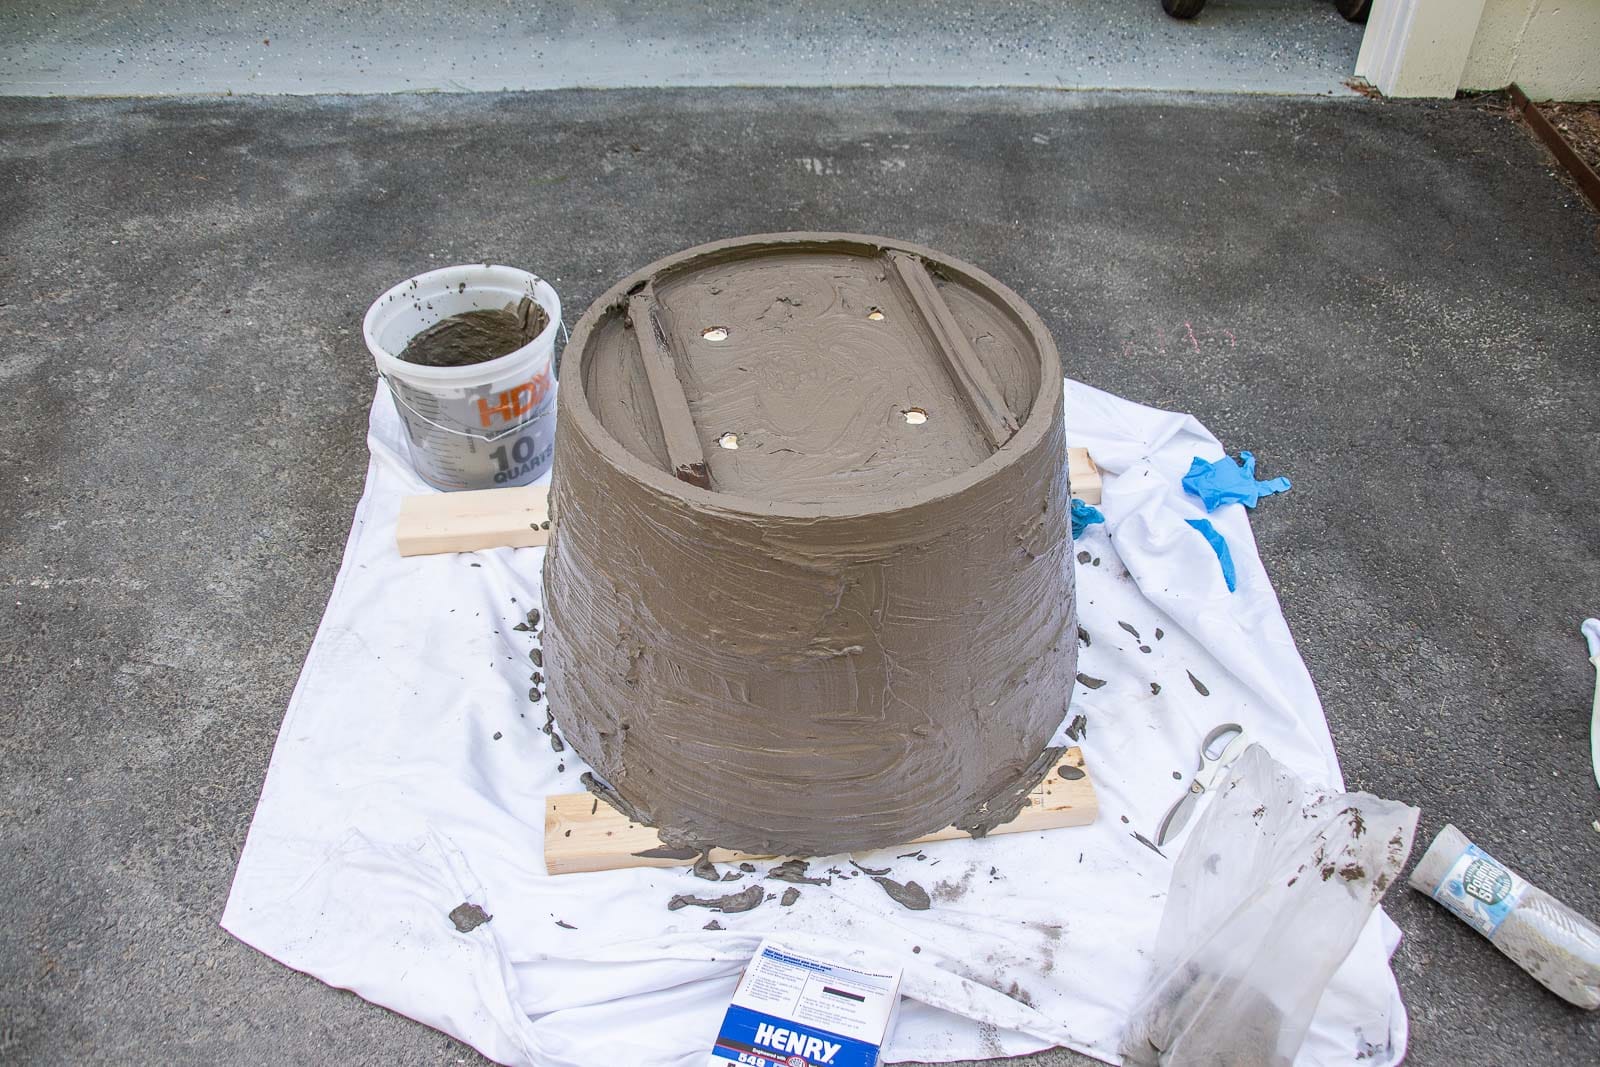
Step 2. Prep the barrel with Caulk
This barrel is comprised of wooden slats that have small gaps between them and they also shift a bit when you move the barrel. Neither was ideal for what I had planned so the first step to prep this fountain was to use construction adhesive to seal up and secure the cracks between each strip of wood. I put this into my caulk gun and ran a heavy bead along each crack on both the inside and the outside of the barrel. With a damp cloth or your fingers, smooth out each caulk line.
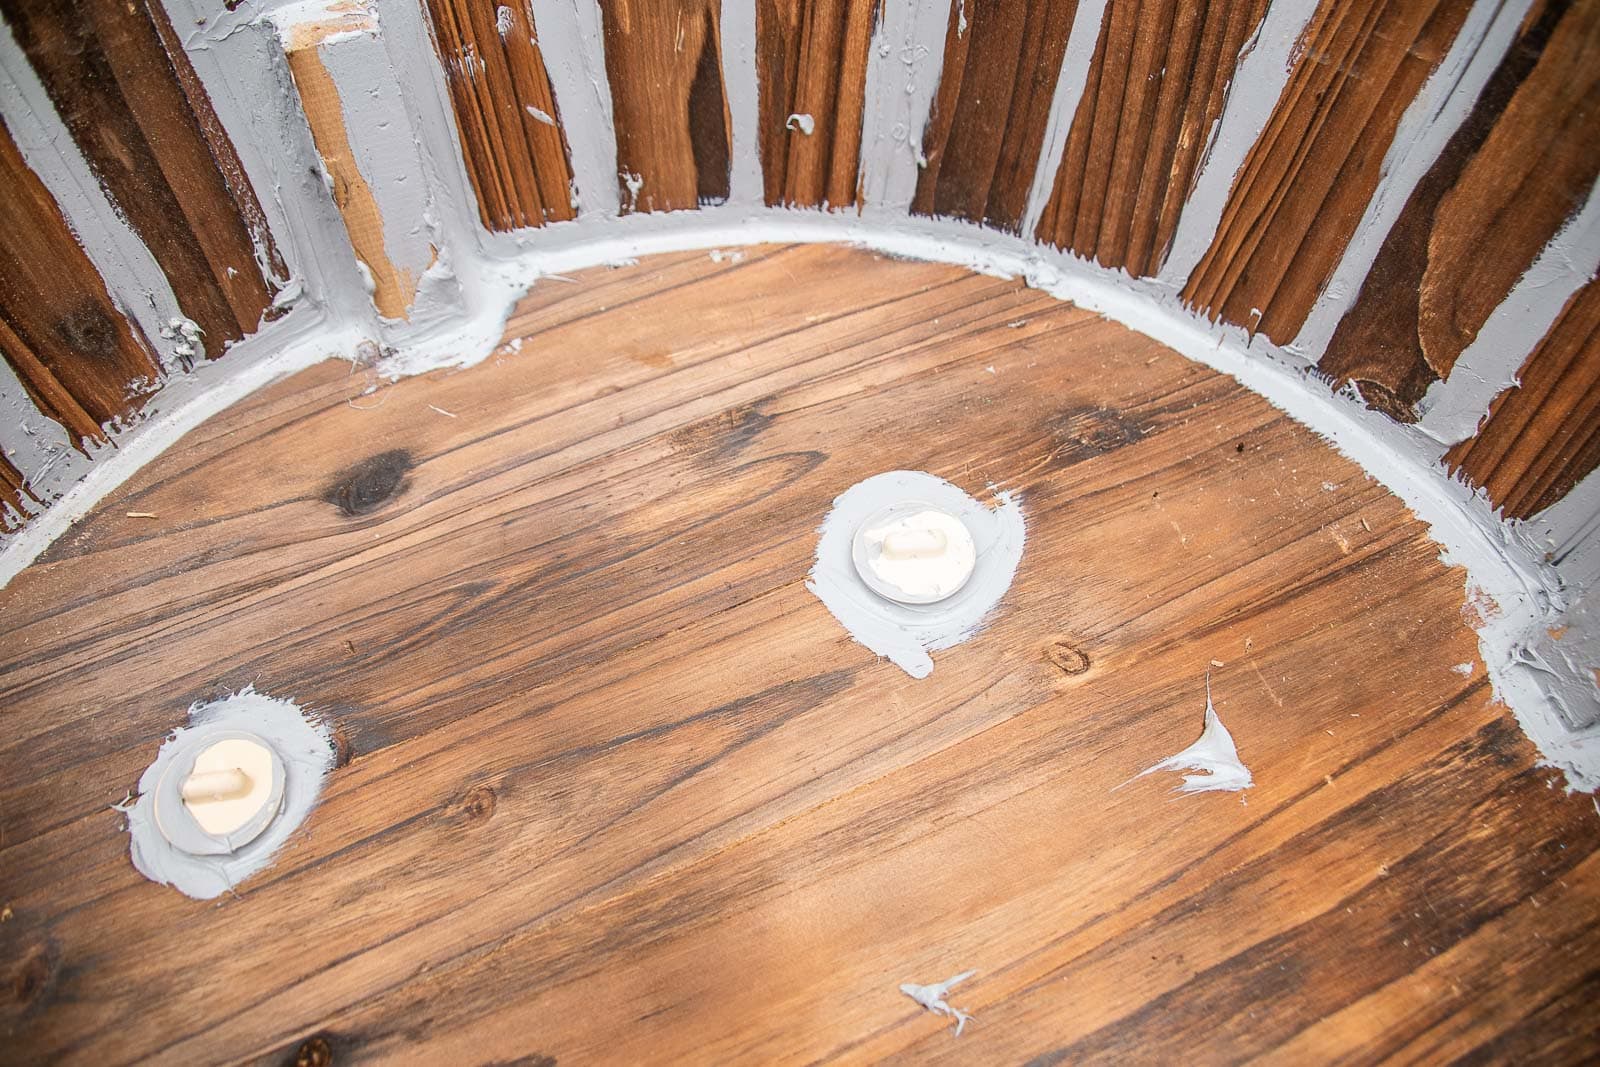
Step 3. Seal the Drainage holes
This barrel is intended to be a planter so there were drainage holes in the bottom. Great for a planter, less great for a fountain. I grabbed some rubber stoppers in the plumbing section and used a thick bead of the same construction adhesive to stick the stoppers in place in each drainage holes. Note these stoppers come in assorted sizes so measure your drainage hole and find a rubber stopper that fits your container.

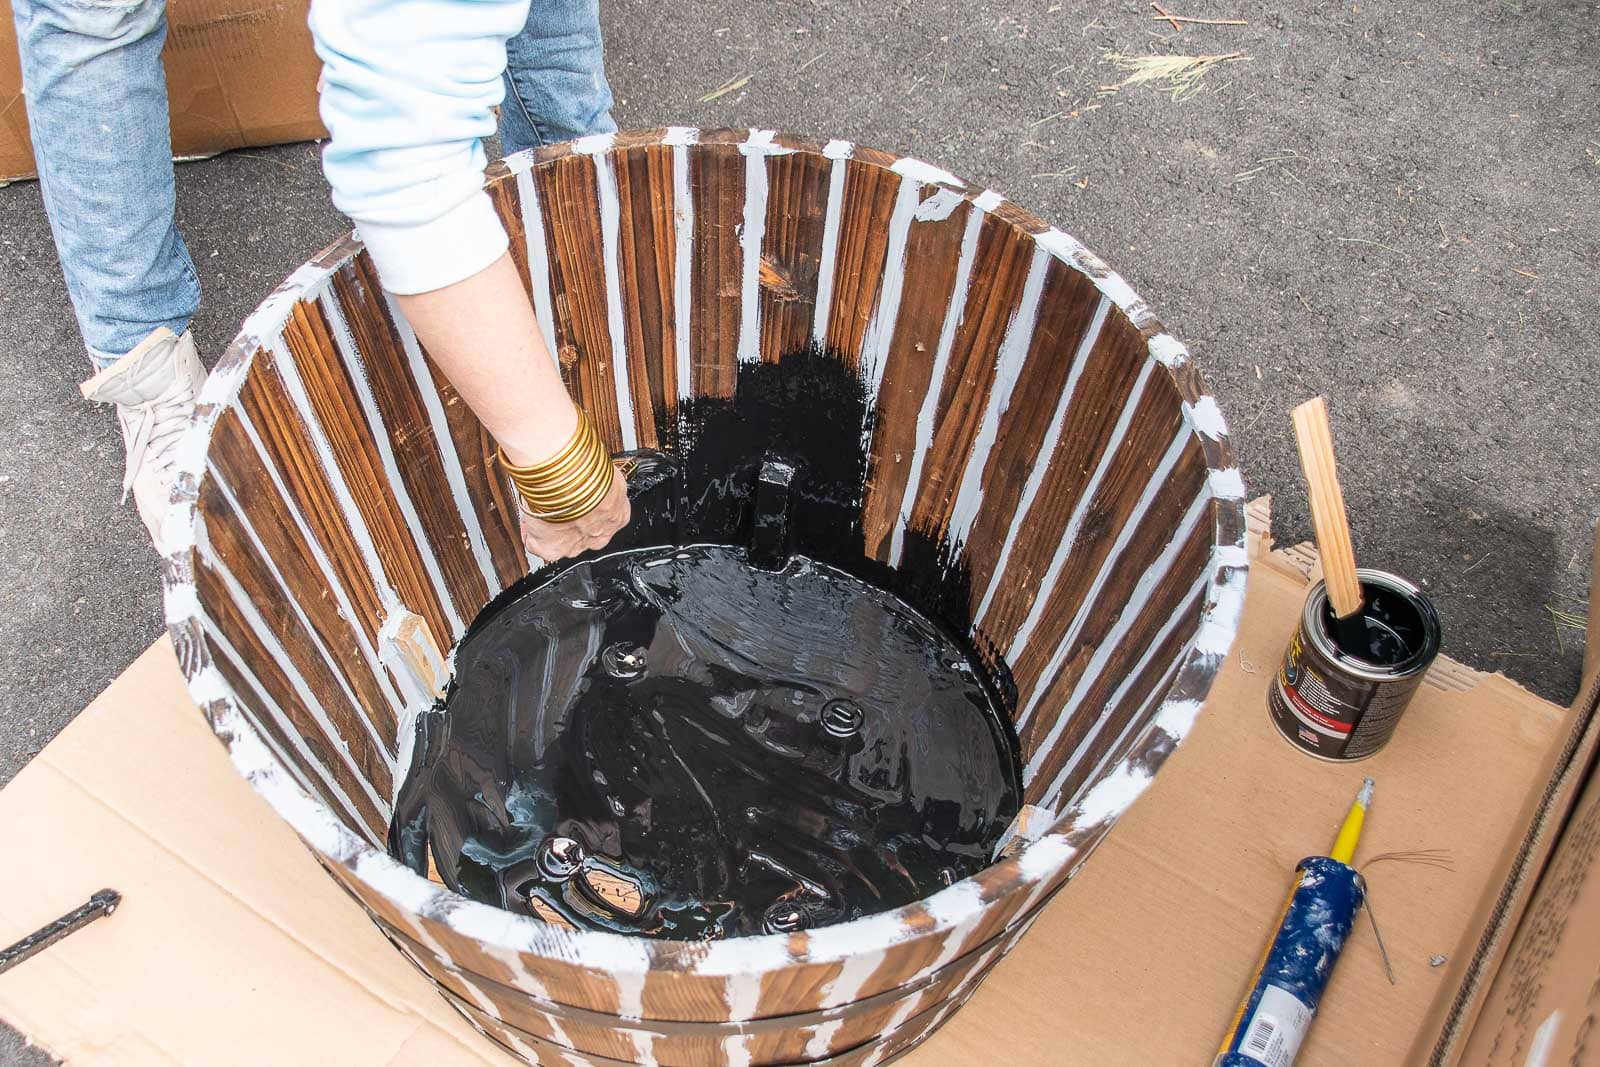
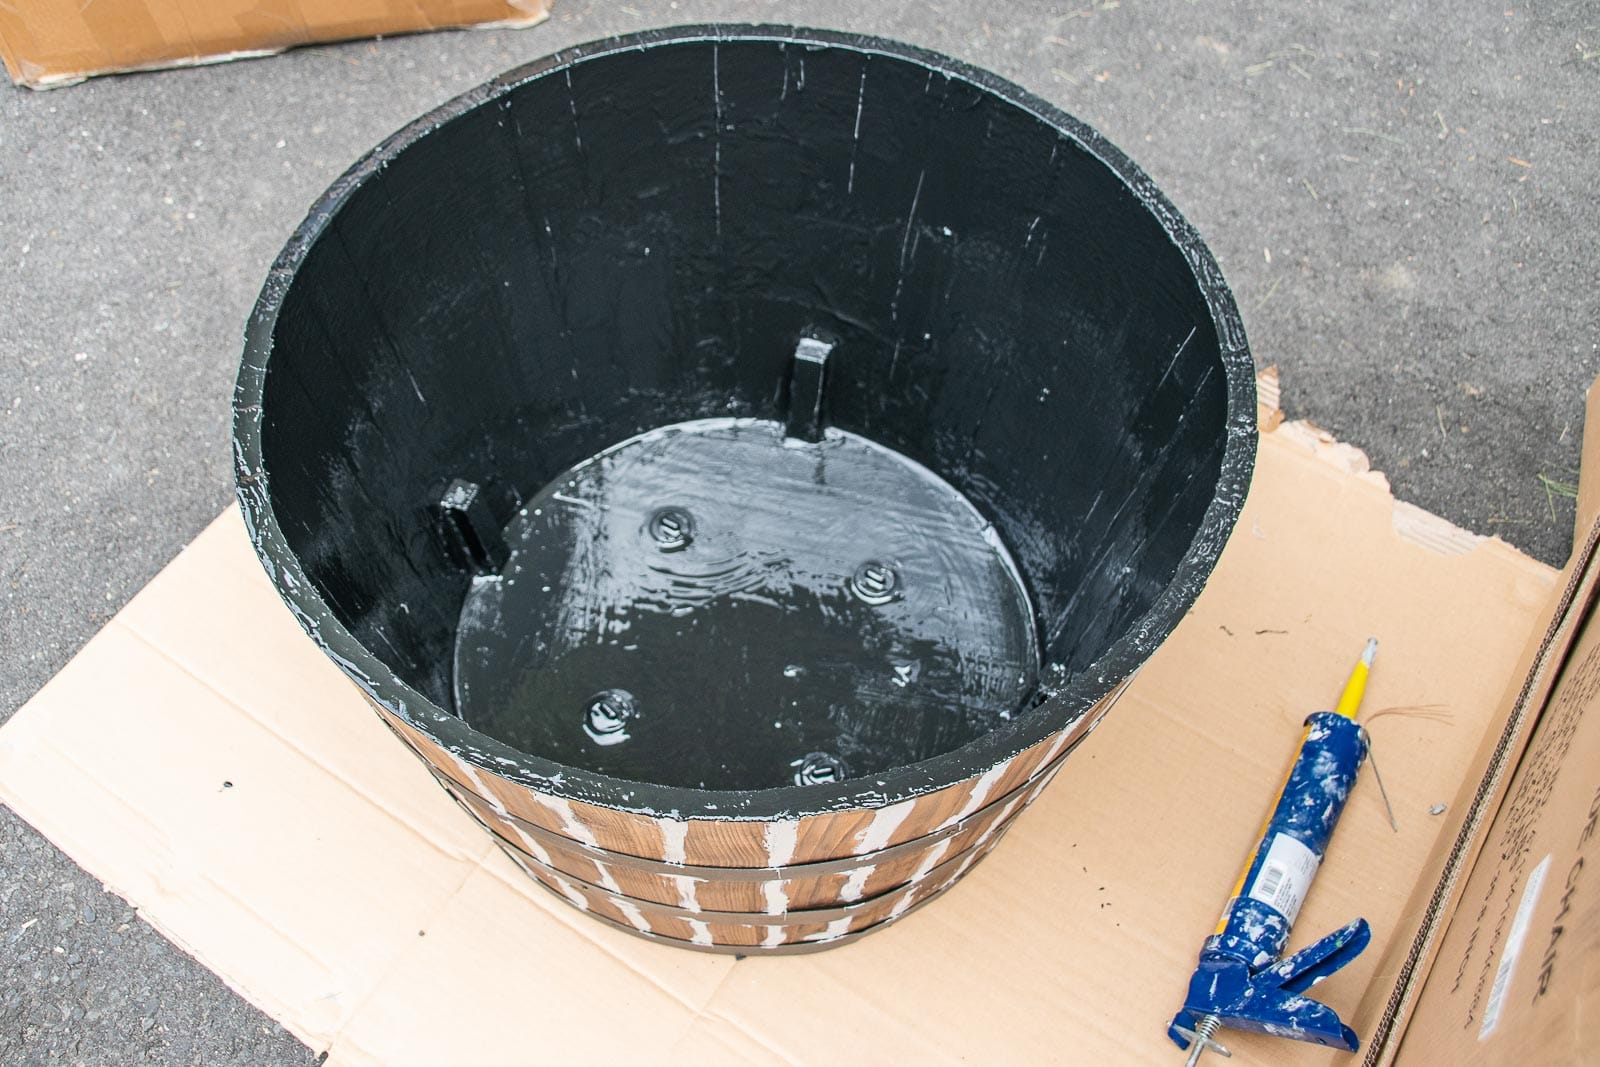
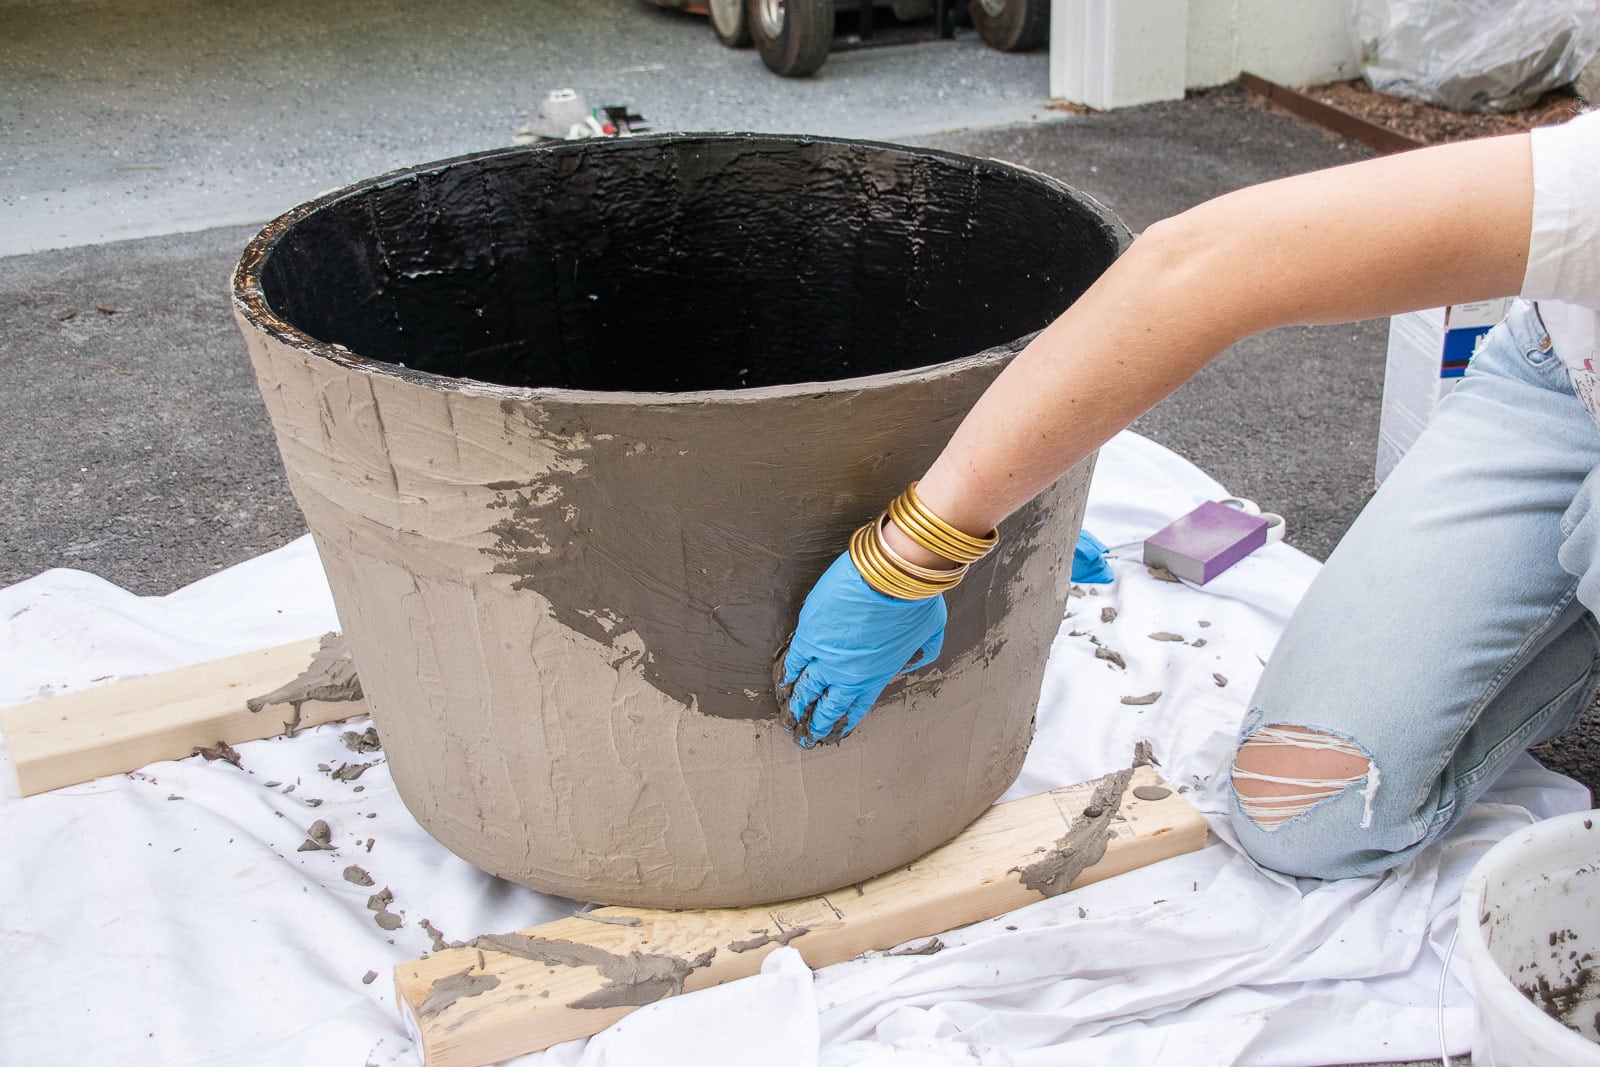
Step 4. Seal the inside of the planter Barrel
Wood can be super porous so I didn’t trust that this barrel planter would be water tight. So I needed to seal the inside with something first. I explained what I needed to do to the Home Depot paint associate and he directed me to this Flex Seal paint. Guys… it’s magic. Total total magic. It comes in black or white and I chose black to look more like a garden water feature. It is the consistency of honey and you paint it right onto the inside of your bucket like you would paint. I gave my barrel two fairly heavy coats of flex seal, letting it dry between coats, obviously and it worked like a charm. One thing to note for the next step. The concrete skim coat I used did NOT adhere well to the flex seal so there were a few places where it dripped down the sides that I should have taken more care to clean up after. I also used the flex seal on the top edge of the barrel to protect it from water splashing, but if you’d prefer the top edge to be concrete, don’t paint the flex seal along the top like I did.
Step 5. Concrete
I’m using this Henry feather finish product and I LOVE it. Years ago I used it to conceal an old sink vanity and loved the results. Despier having used the product before, I made a small mistake with this step… It’s super easy to mix but I inverted the ratio of water to concrete the first time around and ended up mixing the entire bag all at once. The only reason this was a problem is that I might have given the outside of my barrel a few thin coats rather than one heavy handed one. Because the concrete dries so fast I had to apply a fairly thick first coat and only had a small big left to go over with a second skim coat. You can sand between coats or not… totally depends on how you want the ultimate finish to be: rougher or smoother.
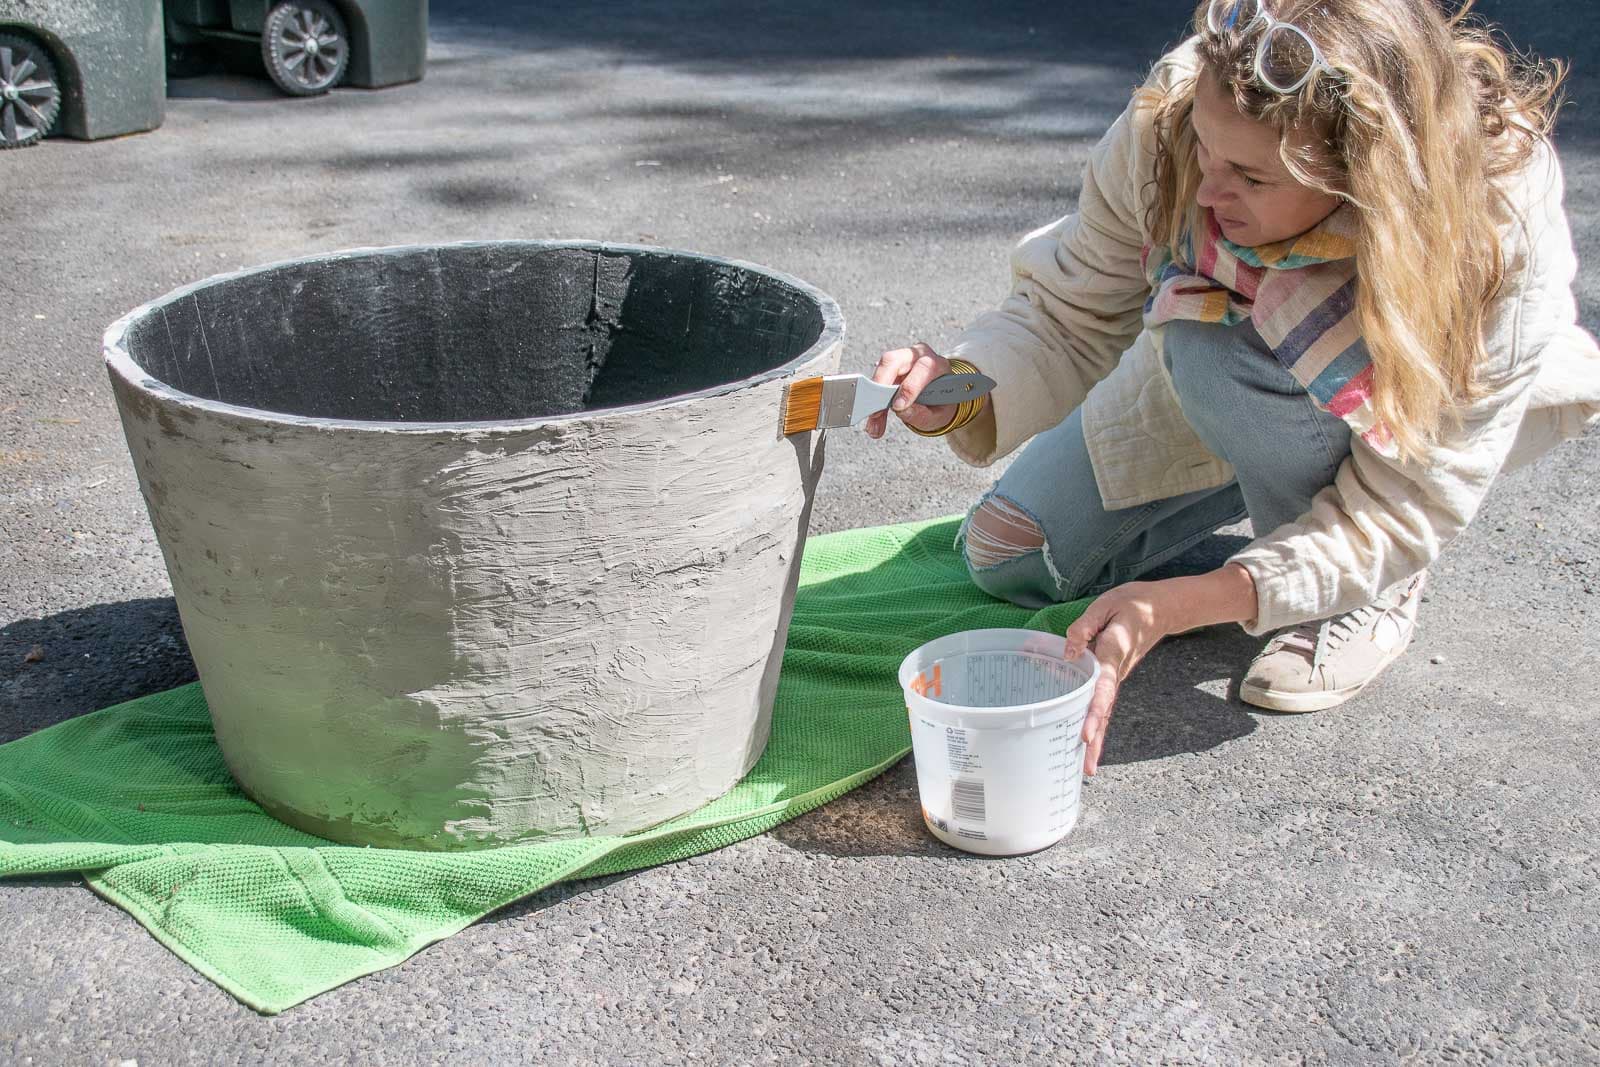
Step 6. Seal the concrete
Because this will be splashed by the fountain itself and it will live outside, I wanted to go ahead and seal the concrete. With a paint brush I painted a sealer on top and let it dry.
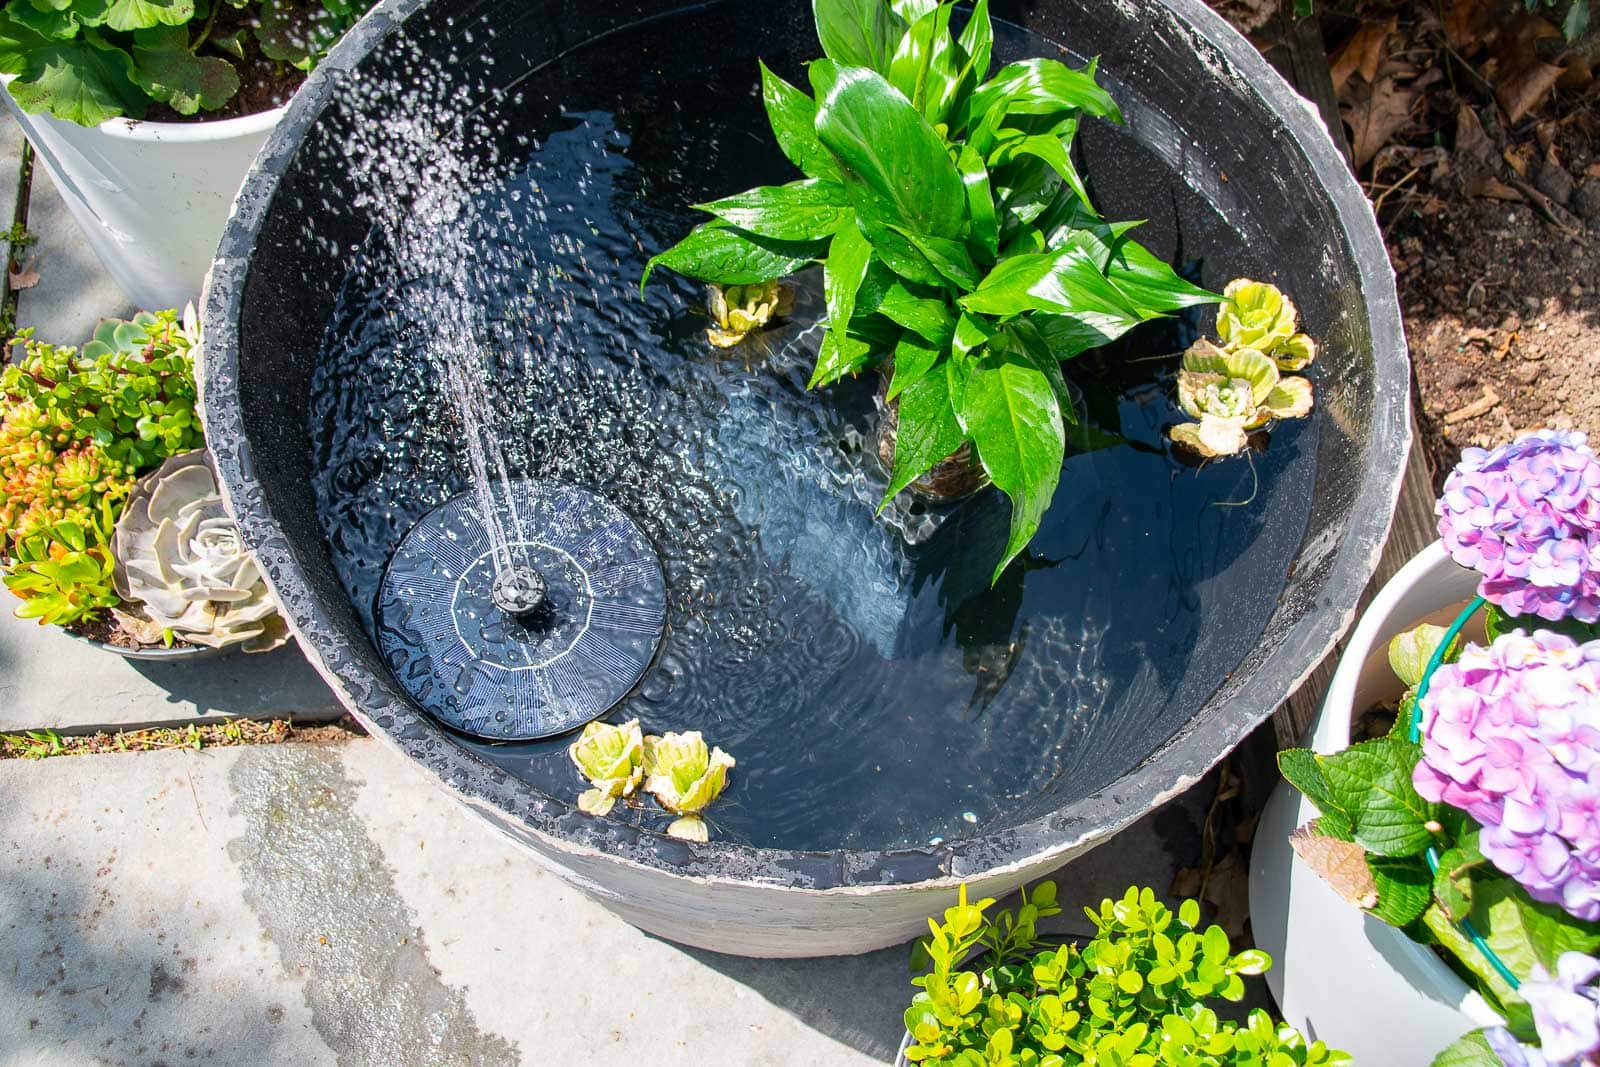
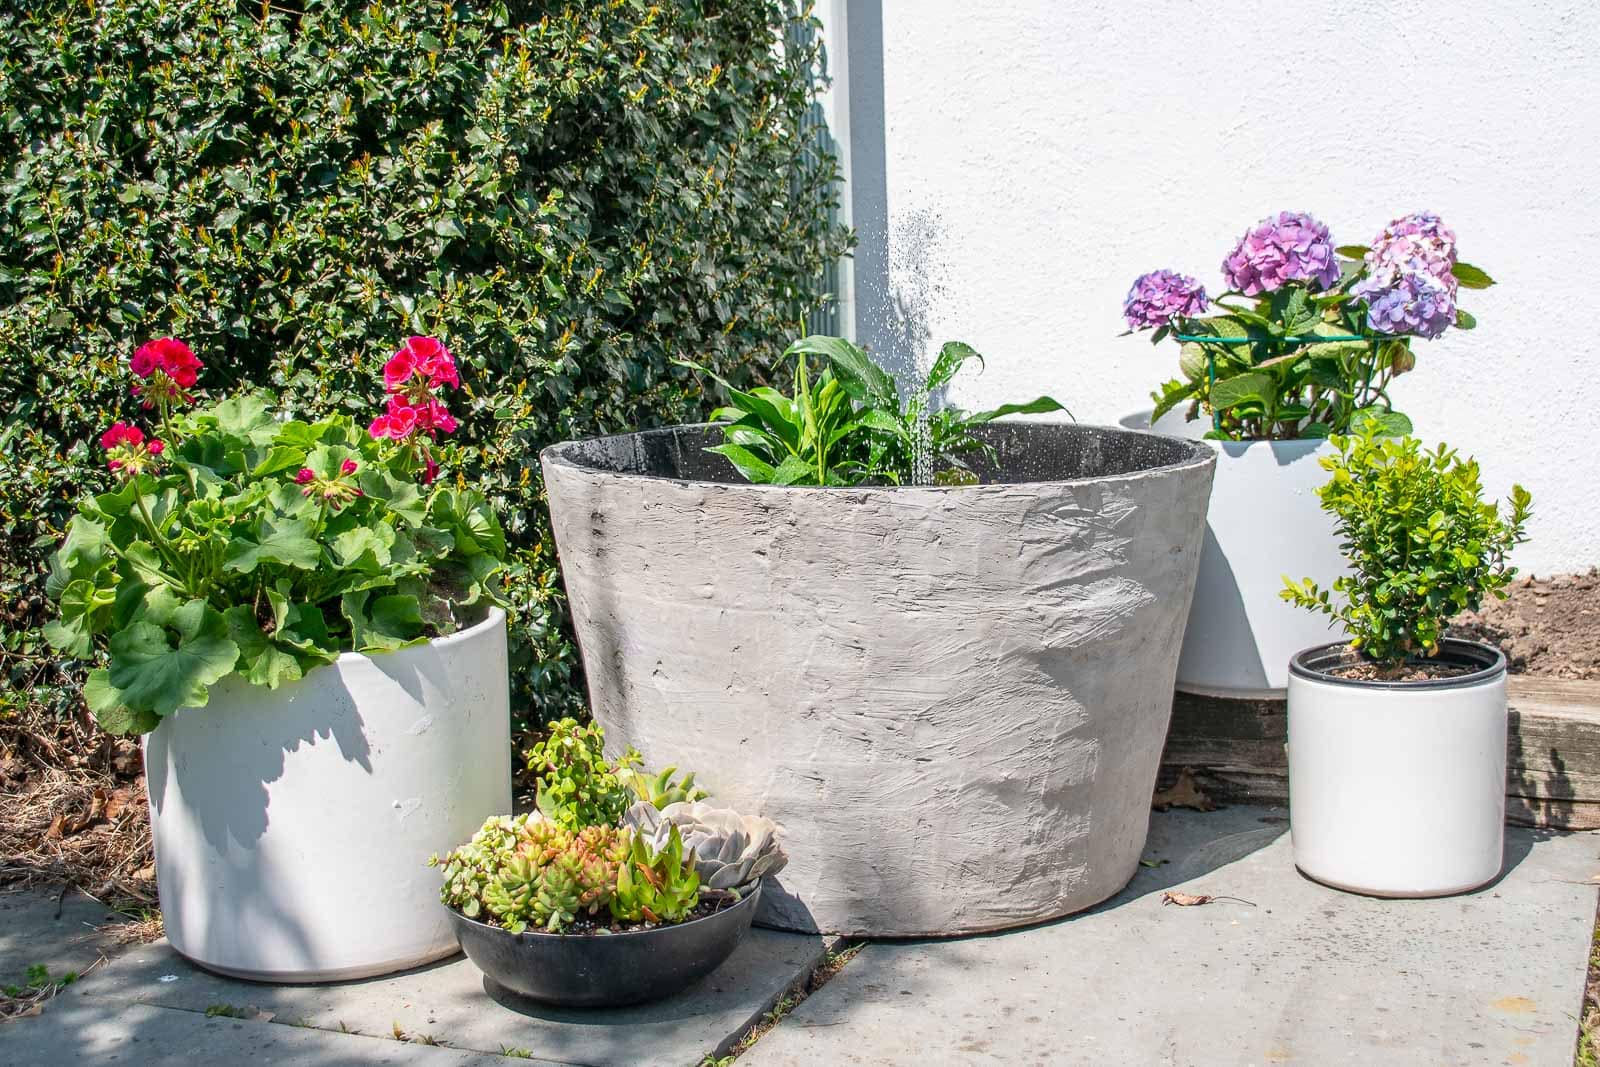
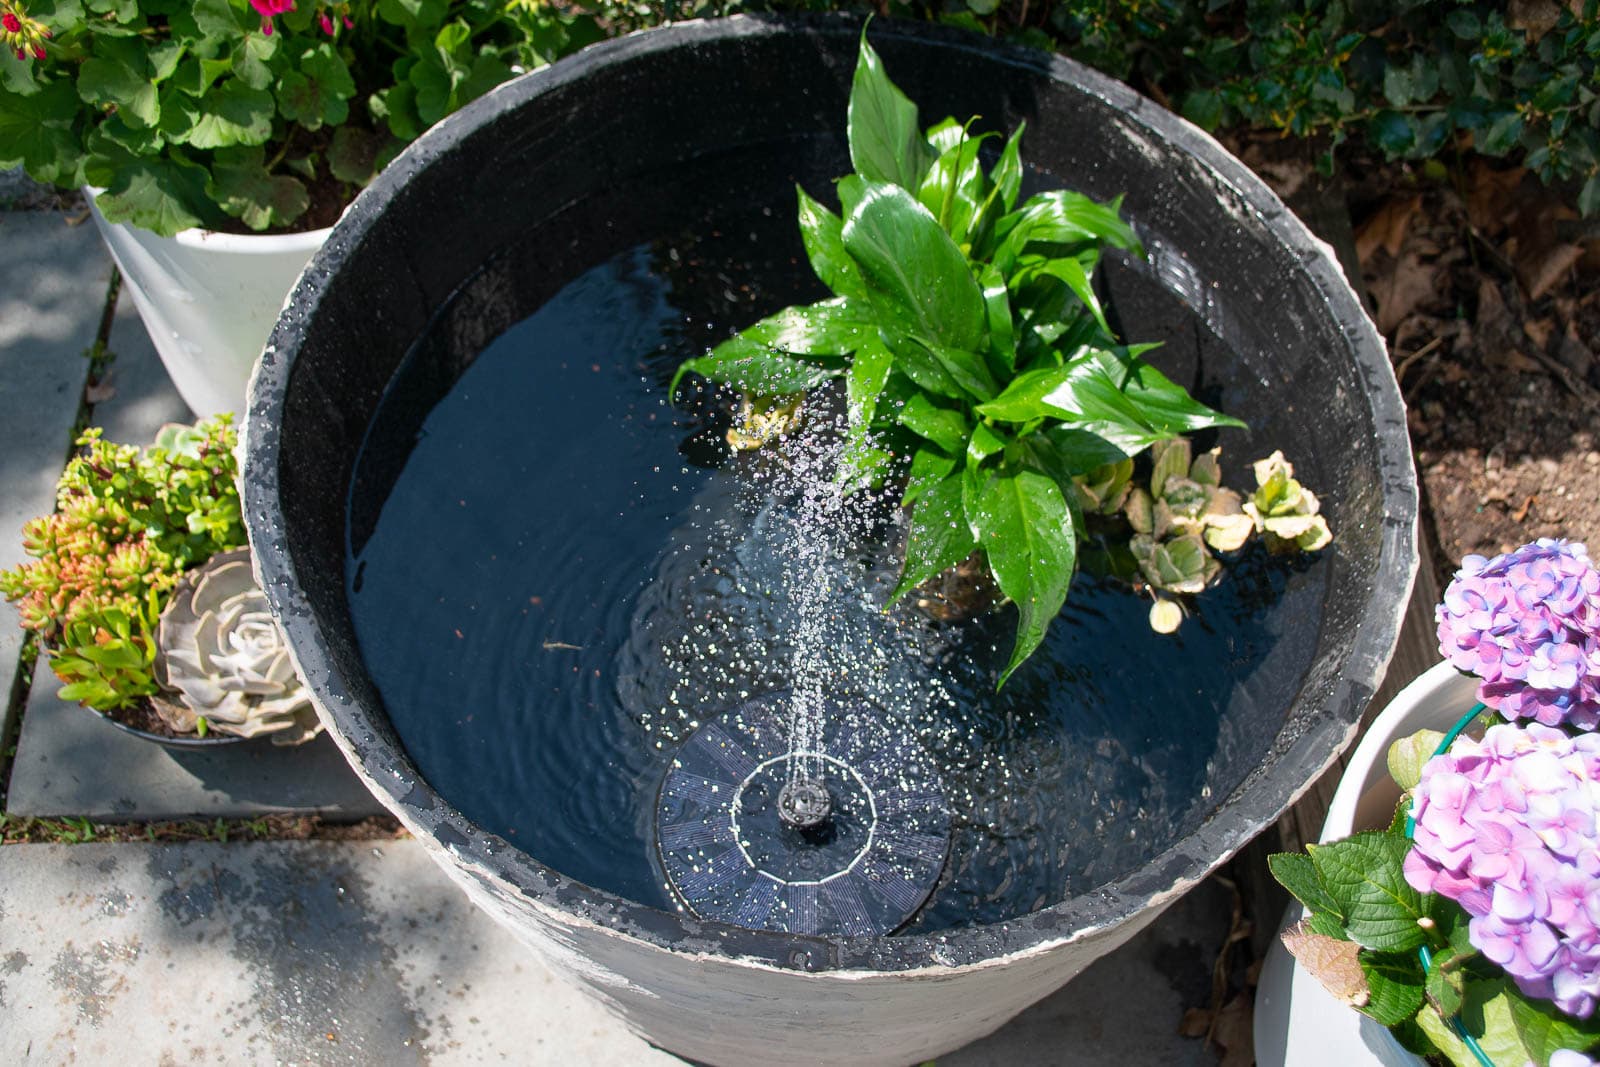
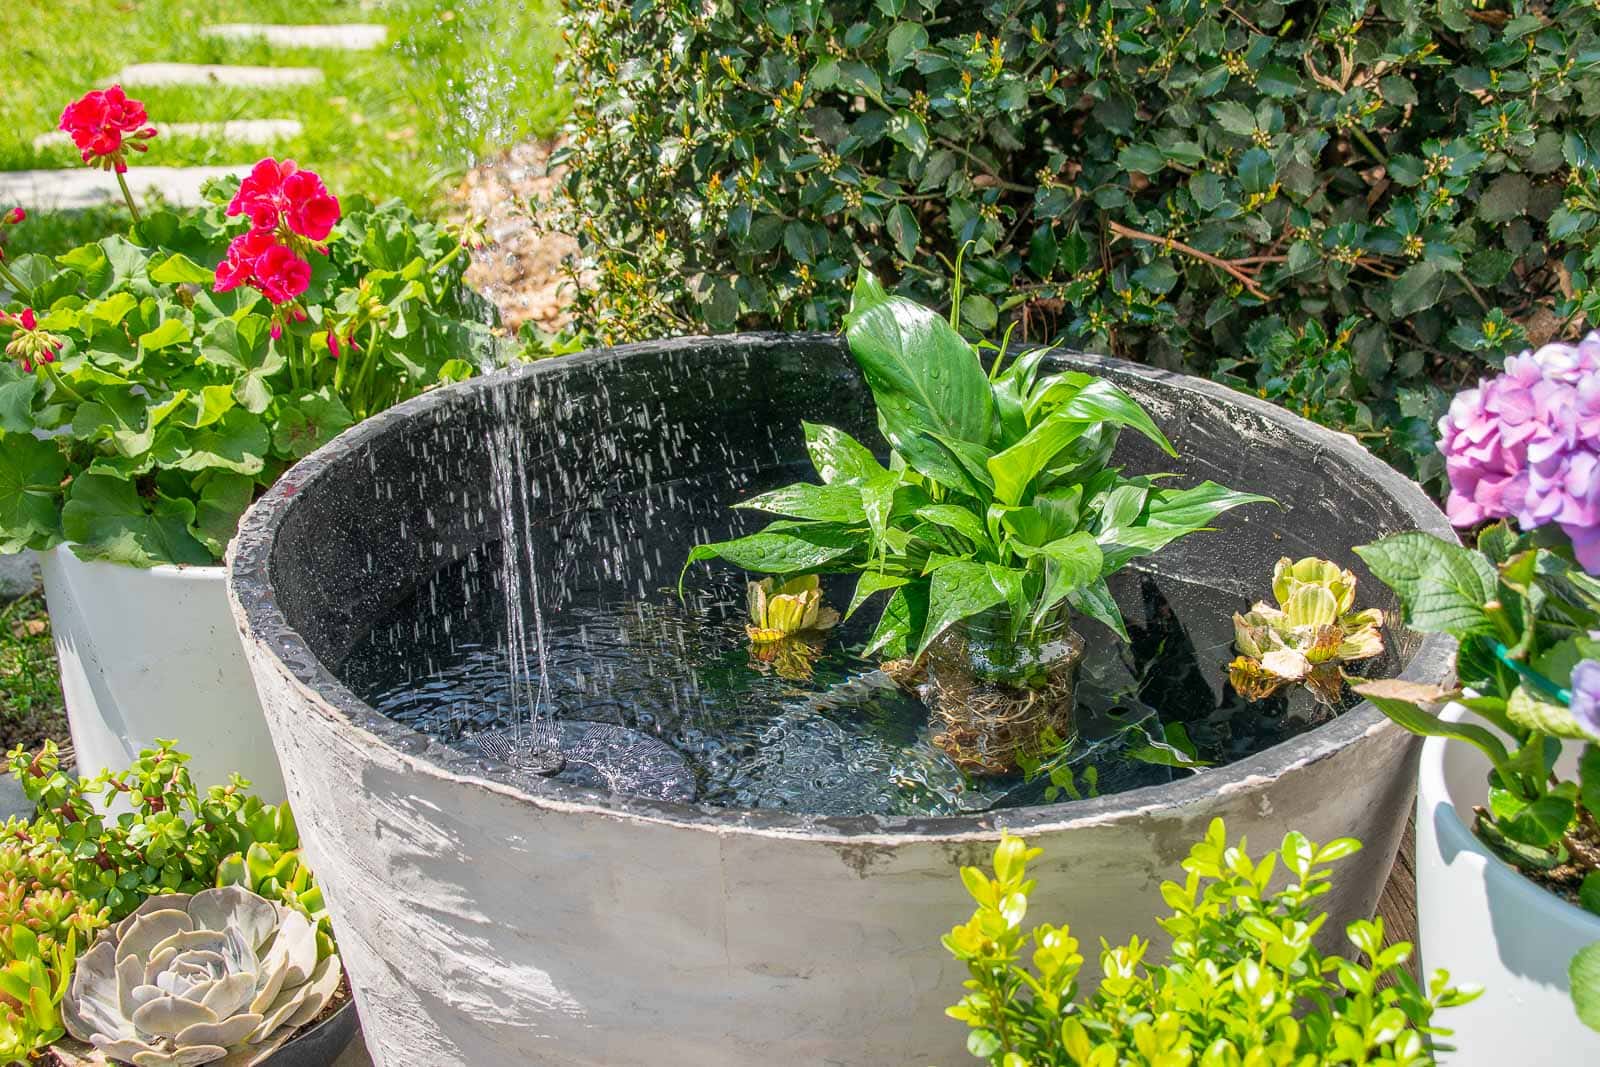
Step 7. Add the fountain
I decided on a floating solar fountain for this project and I love it. There are loads of other fountain pumps that you can use, but I love that this is low maintenance and it doesn’t need any sort of plug or pipe to operate. It just floats on the surface and sprays when it’s in the sun and stops when it’s not. I also inverted a garden planter and put some peace lily plants in glass jars to act as fountain plants. It’s a tiny bit early for us to have any more tropical options in Connecticut, but these plants provide a little bit of greenery for the time being!
Planter Fountain Materials
- Barrel Planter
- Construction adhesive (mine was SIKA brand but it’s not currently available on the website)
- Caulk gun
- Rubber stoppers
- Flex Seal
- Concrete Feather Finish
- Concrete Sealer
- Solar Fountain
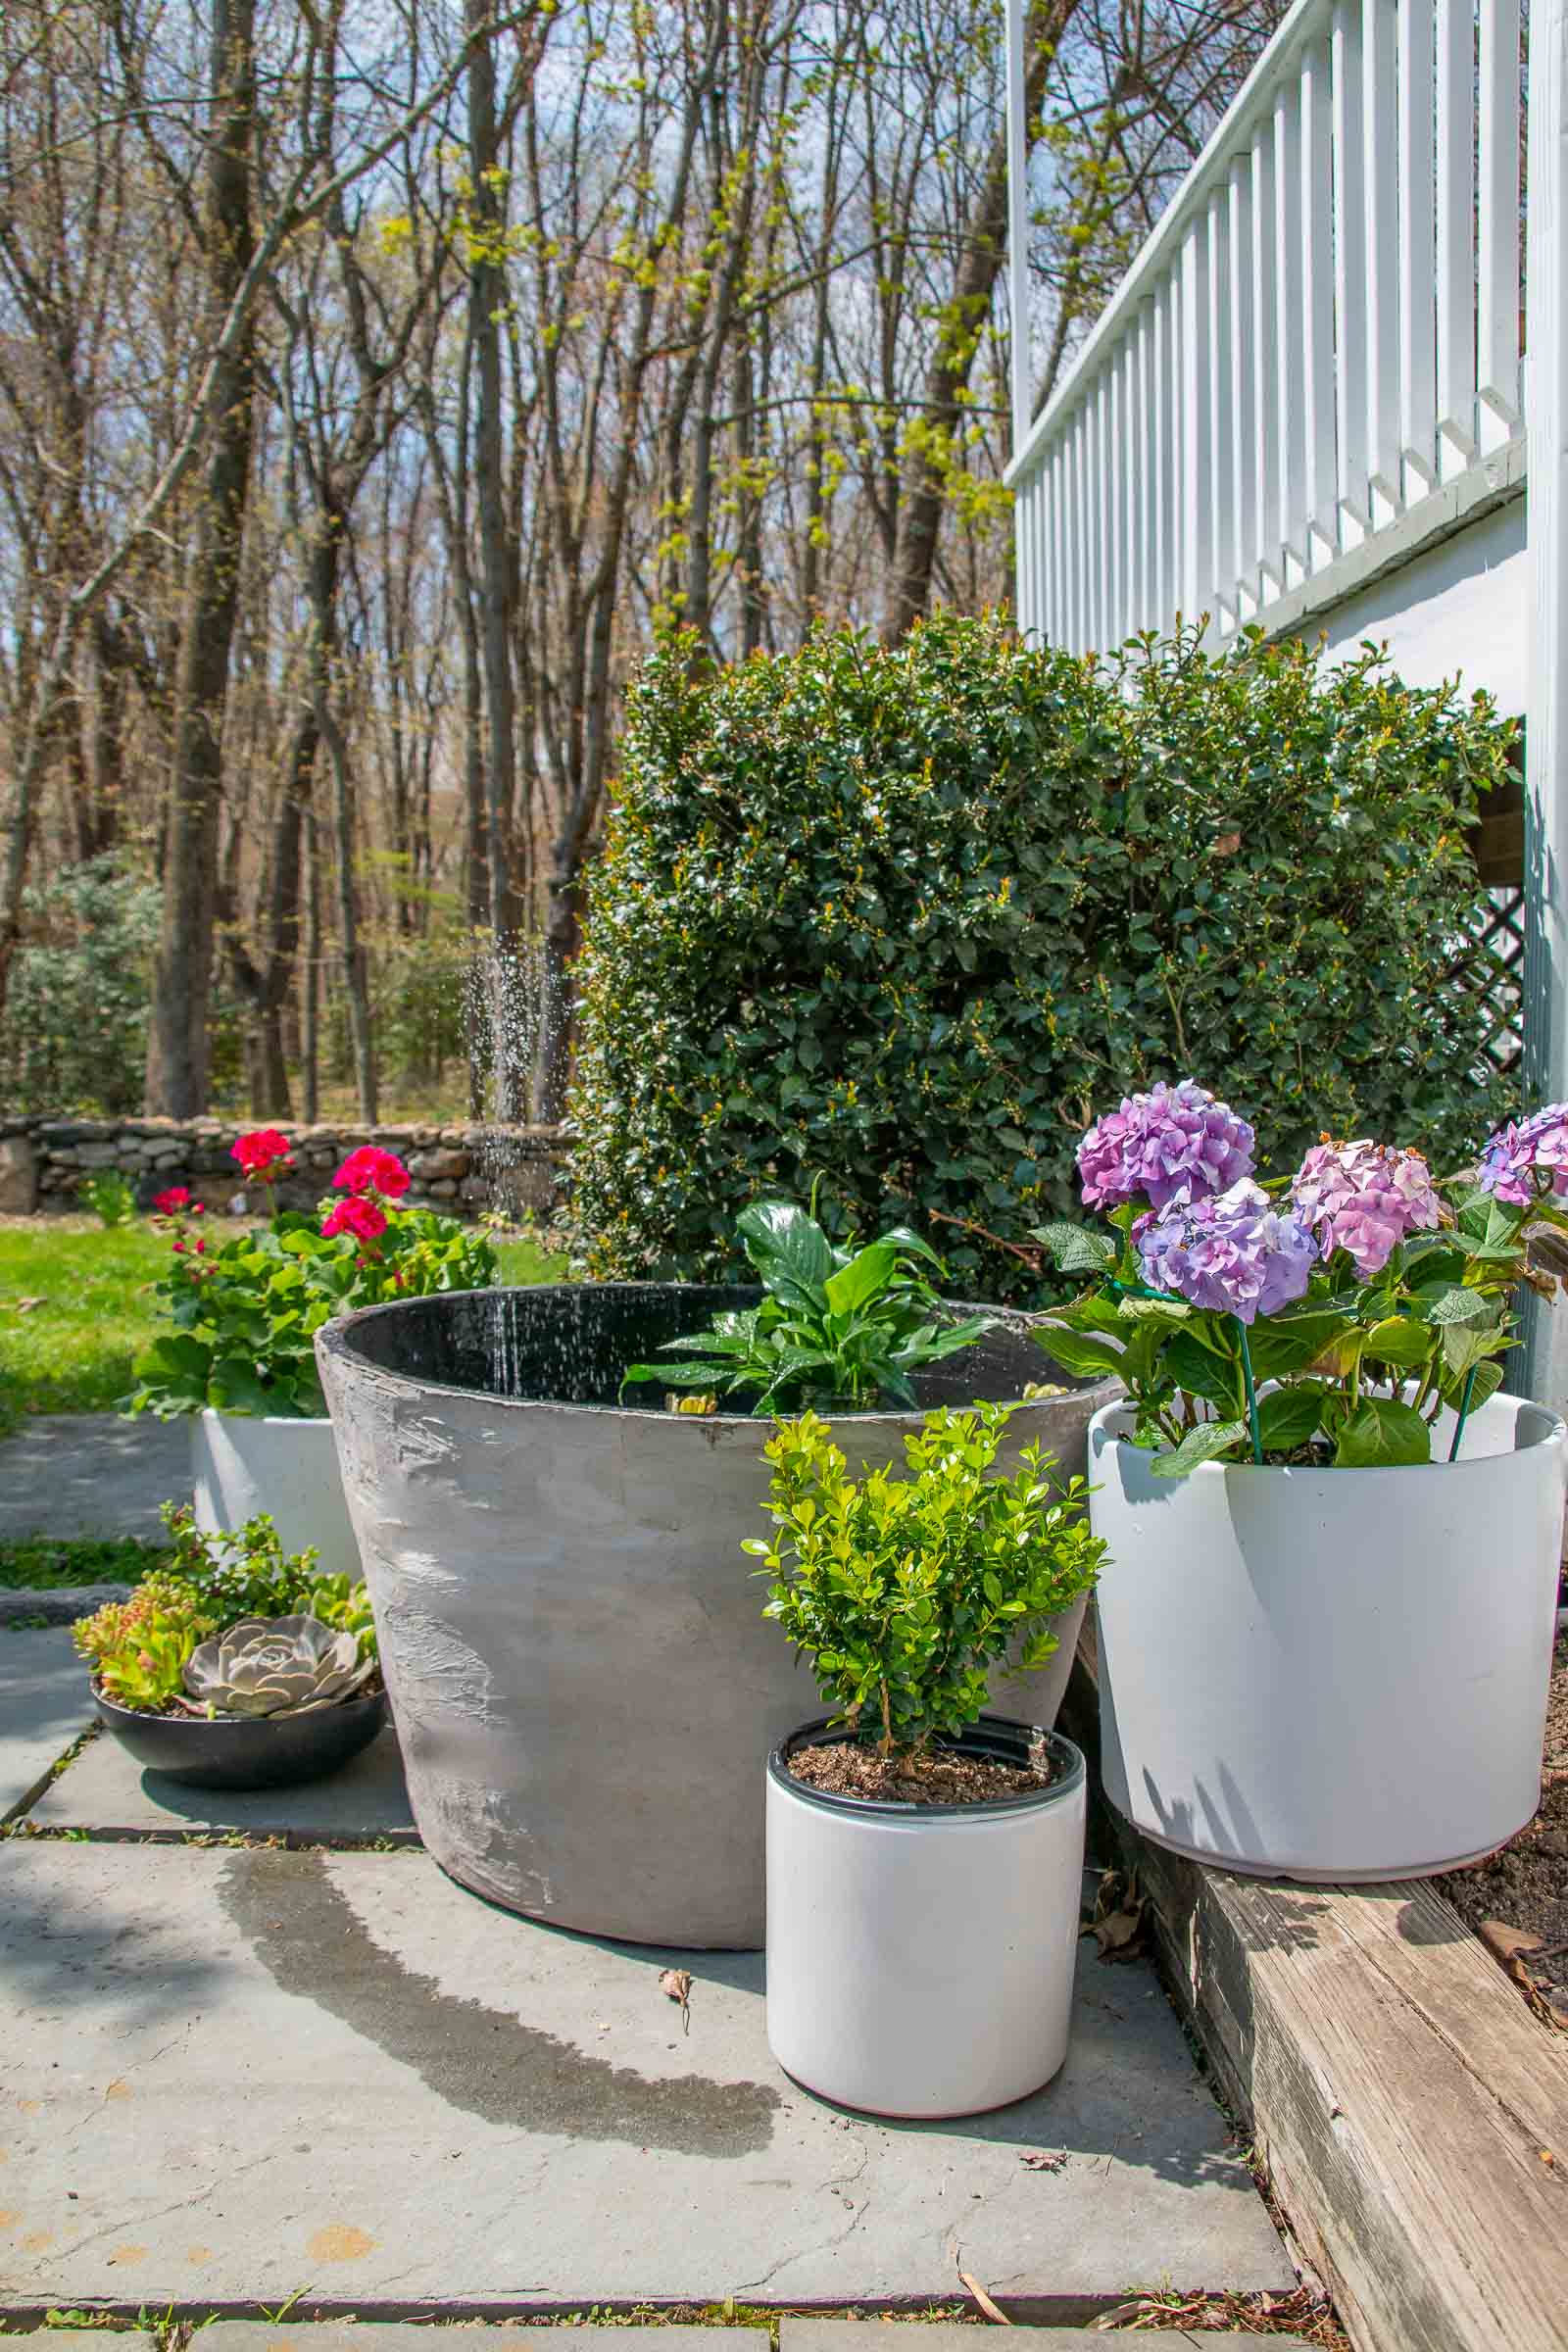
I love how lightweight this fountain was when empty since it was easy for me to move anywhere on our patio. It’s been filled with water for the last couple of weeks and seems totally water tight! The hardest thing about this project was photographing it because the fountain doesn’t work when the lighting is ideal for photos so some of these images might seem a bit harsh so you could see the fountain in action! In real life, it’s such a sweet part of our patio and I suspect there are so many other ways to turn a planter in a fountain now that I know that these materials work so well! Just imagine what else could be a fountain!


Don’t Miss Out
Become An Insider!
Signup for exclusive tips, and tricks from Charlotte’s House!
Let’s chat!
I love comments from you, so feel free to leave your thoughts and ideas below! And don’t forget to follow me on Instagram for even more!