
At Charlotte’s Dollhouse: Painting the Exterior
Psssst… this post *might* contain affiliate links: see my disclosure here.
Dollhouse Makeover Step 1: Paint
I’m so excited to take the first step towards fixing up our old dollhouse- painting the exterior!
Disclosure: I’m partnering with JOANN for this post and using DecoArt Americana craft paint to kickoff this makeover!
Shop my favorites!
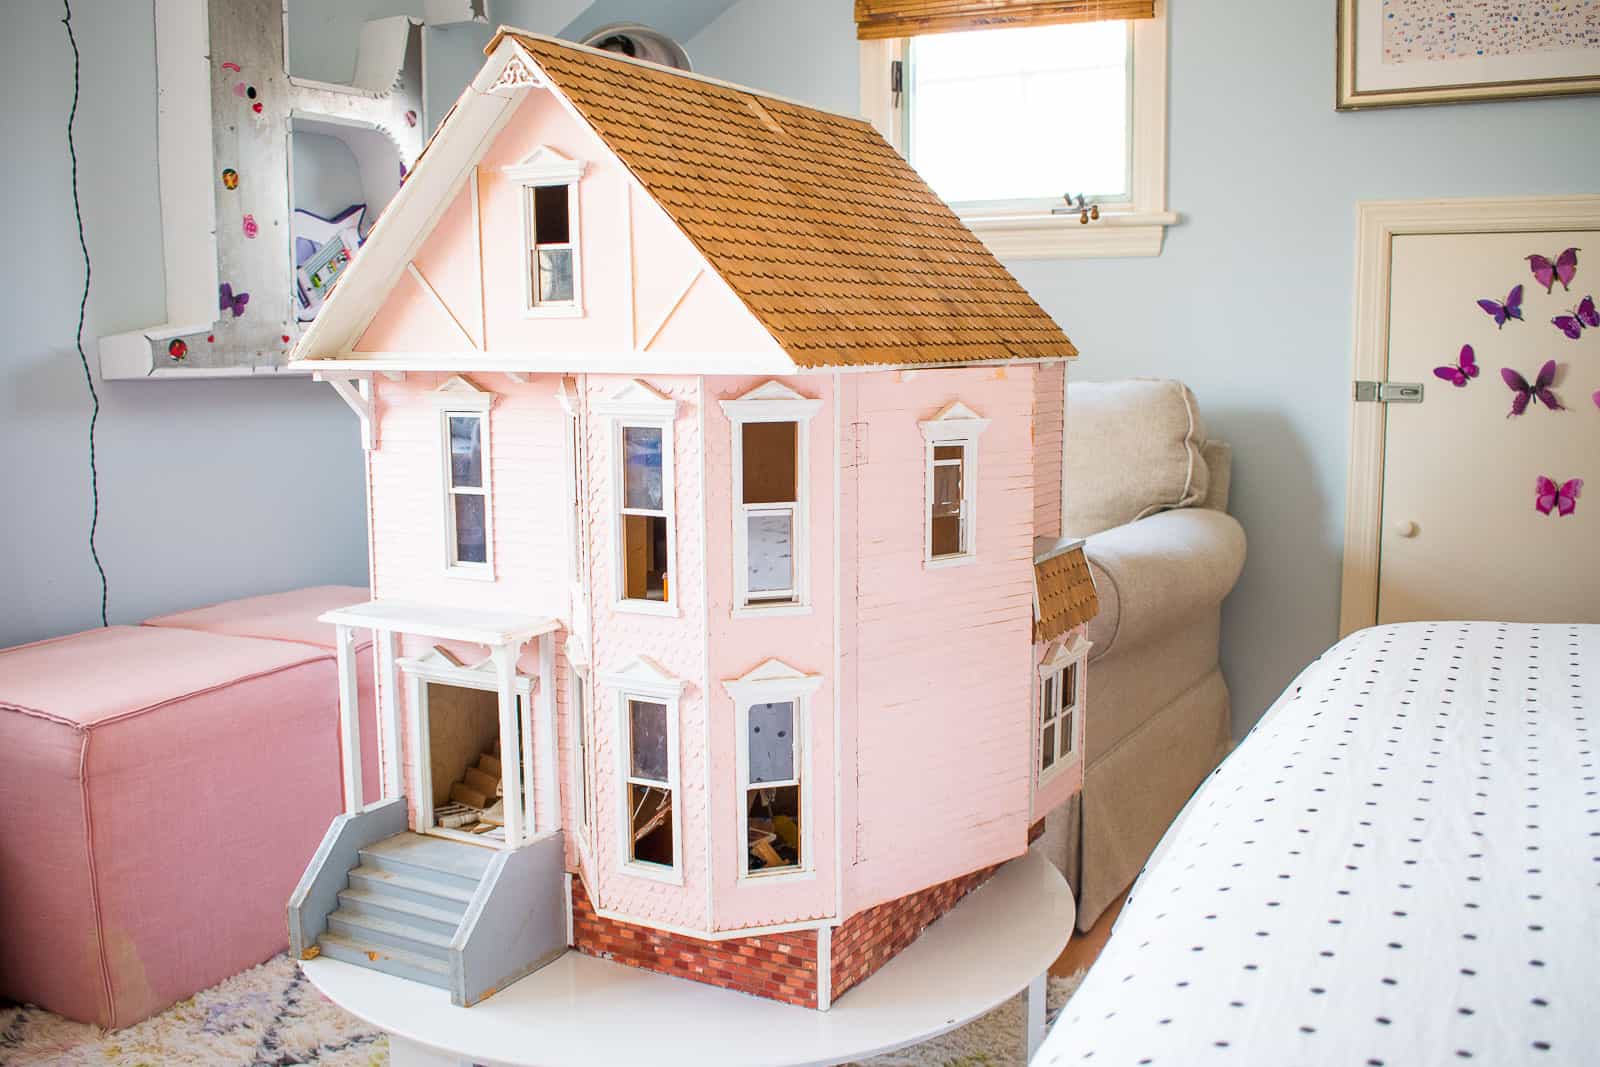
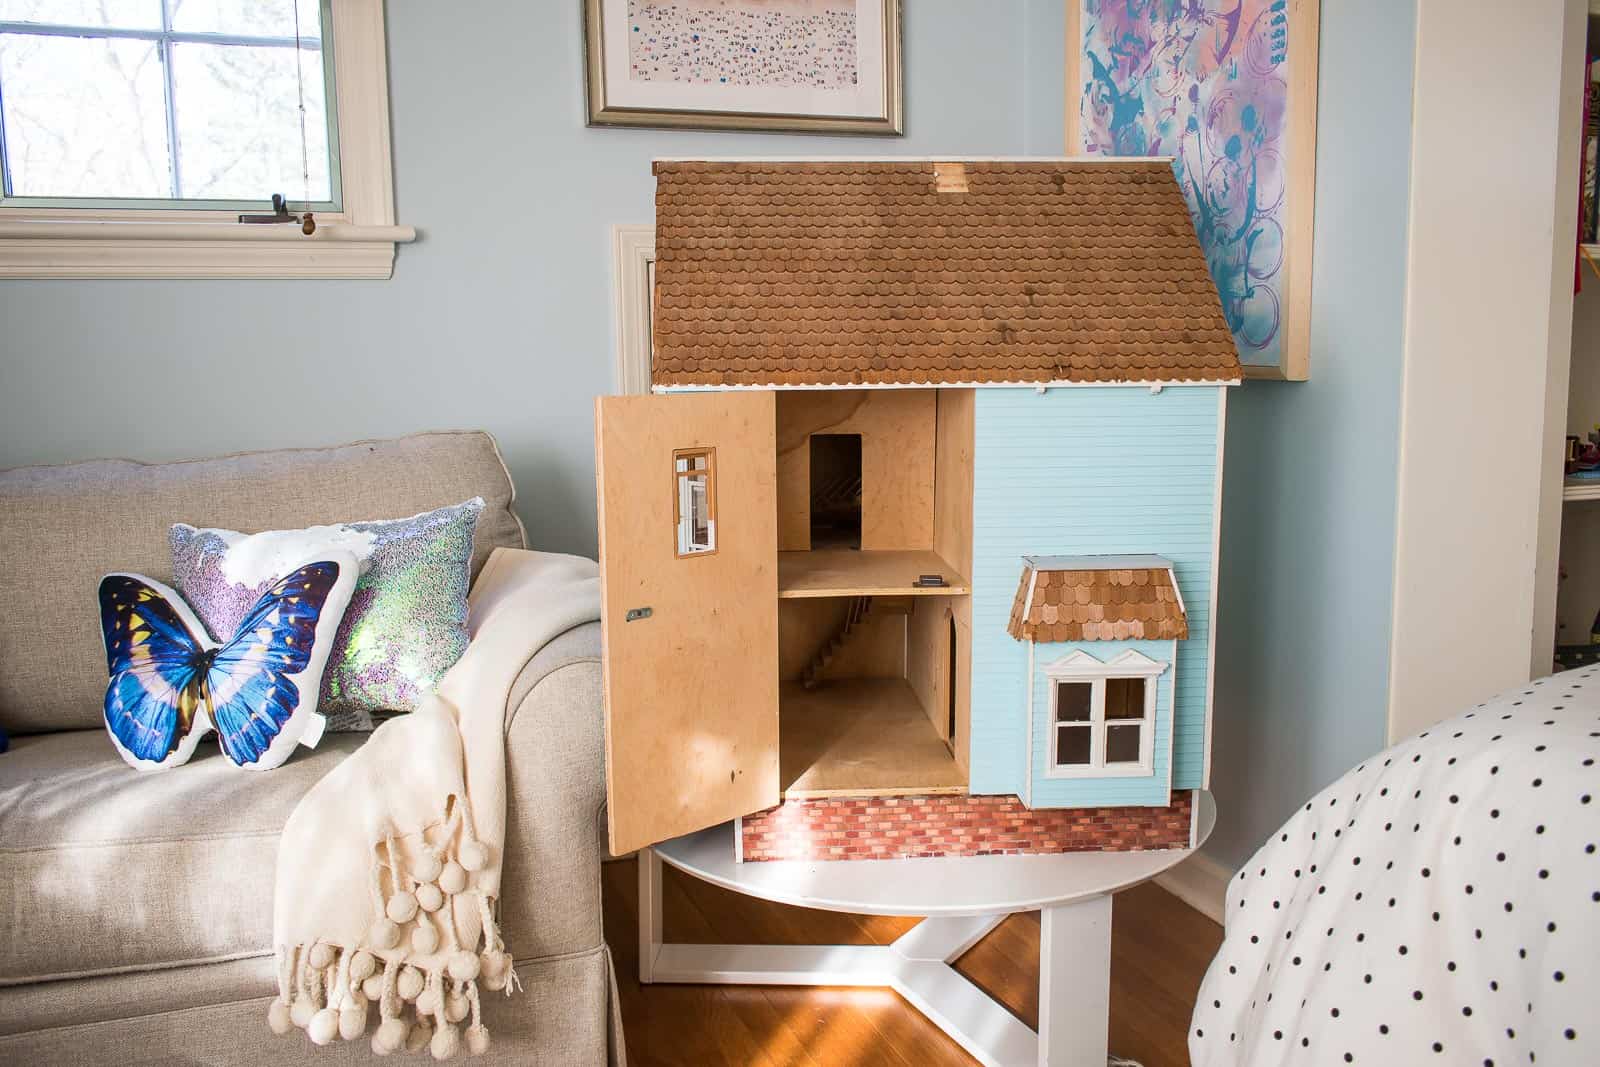
Right before Christmas, Eleanor was given a beautiful old Victorian dollhouse that Mark’s grandfather had made for his grandmother. Mark’s mother and his sisters had given the dollhouse kit to their parents thinking their father would put it together and their mother would help decorate it, but sadly, the house was assembled but never decorated. Until now! There’s no way we can tackle the whole thing in one fell swoop so today I’m partnering with JOANN as part of National Craft Month to fix up the exterior! Baby steps!
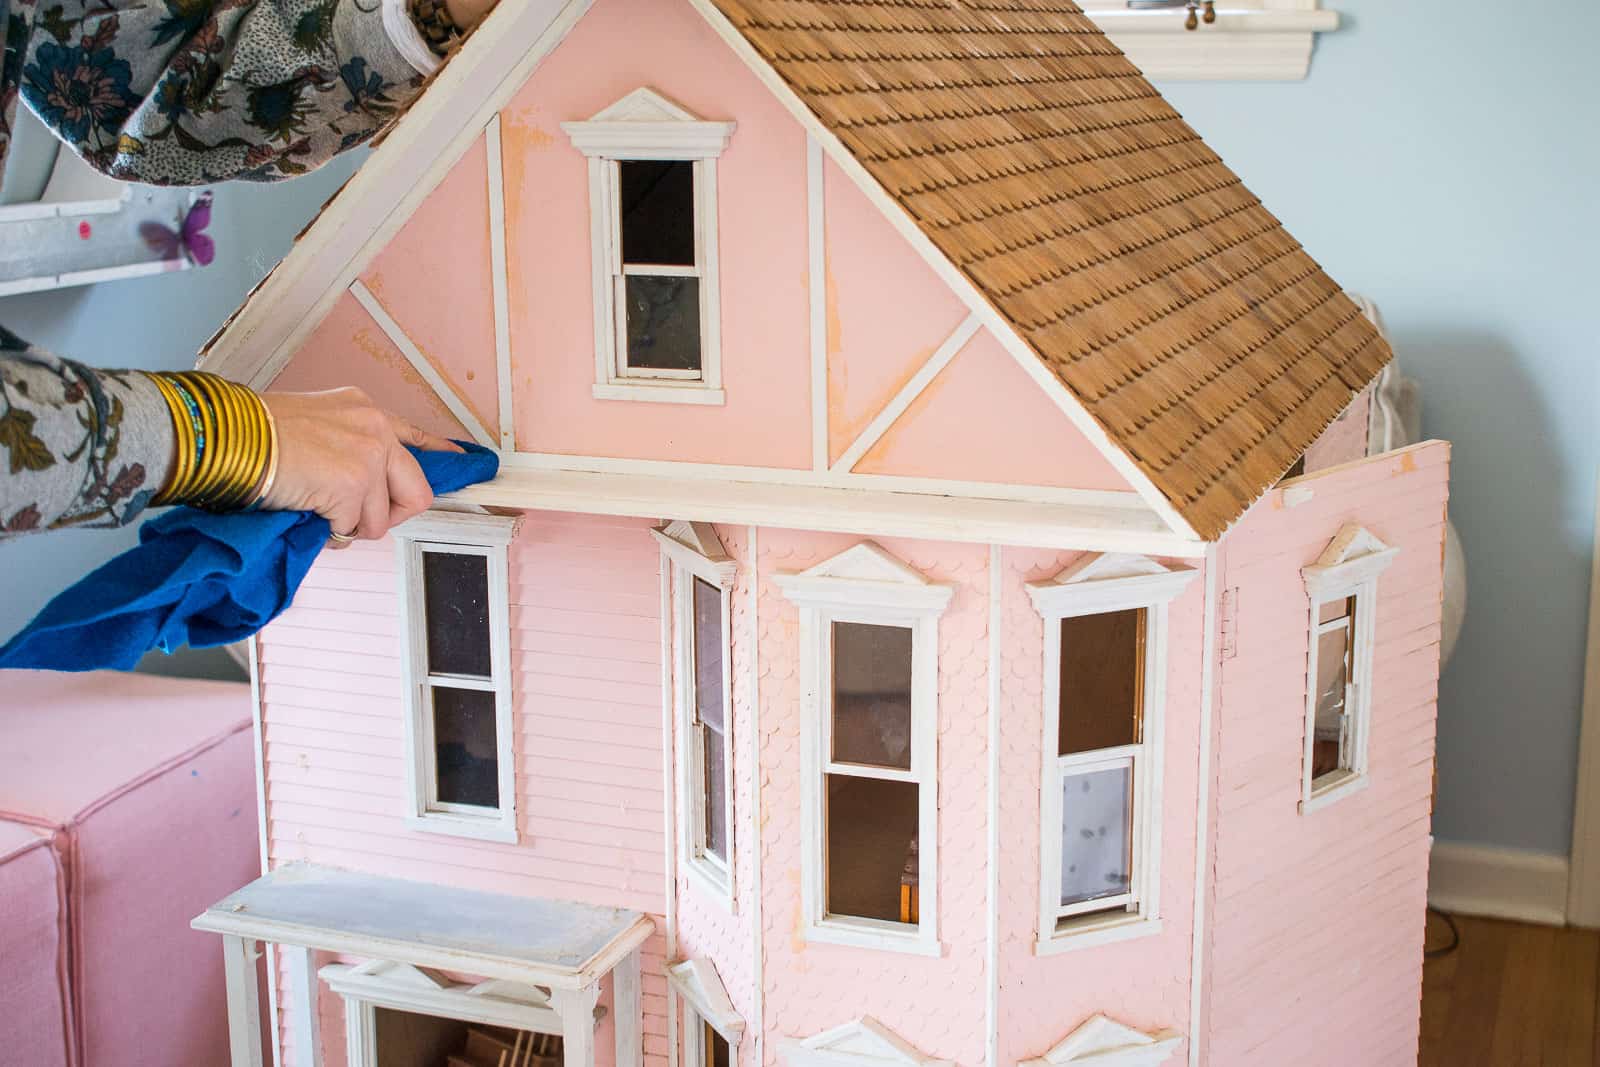
Step 1. Clean the Dollhouse Exterior
The house itself was in pretty good shape with a few minor exceptions. A broken railing here, a few missing shingles there. But it was old so there was lots of dirt, some staining from wood glue and just a general drab appearance. Step one was to clean the exterior of the house as best I could. I just used a soapy rag and some all purpose cleaner to help remove the dust and build-up.
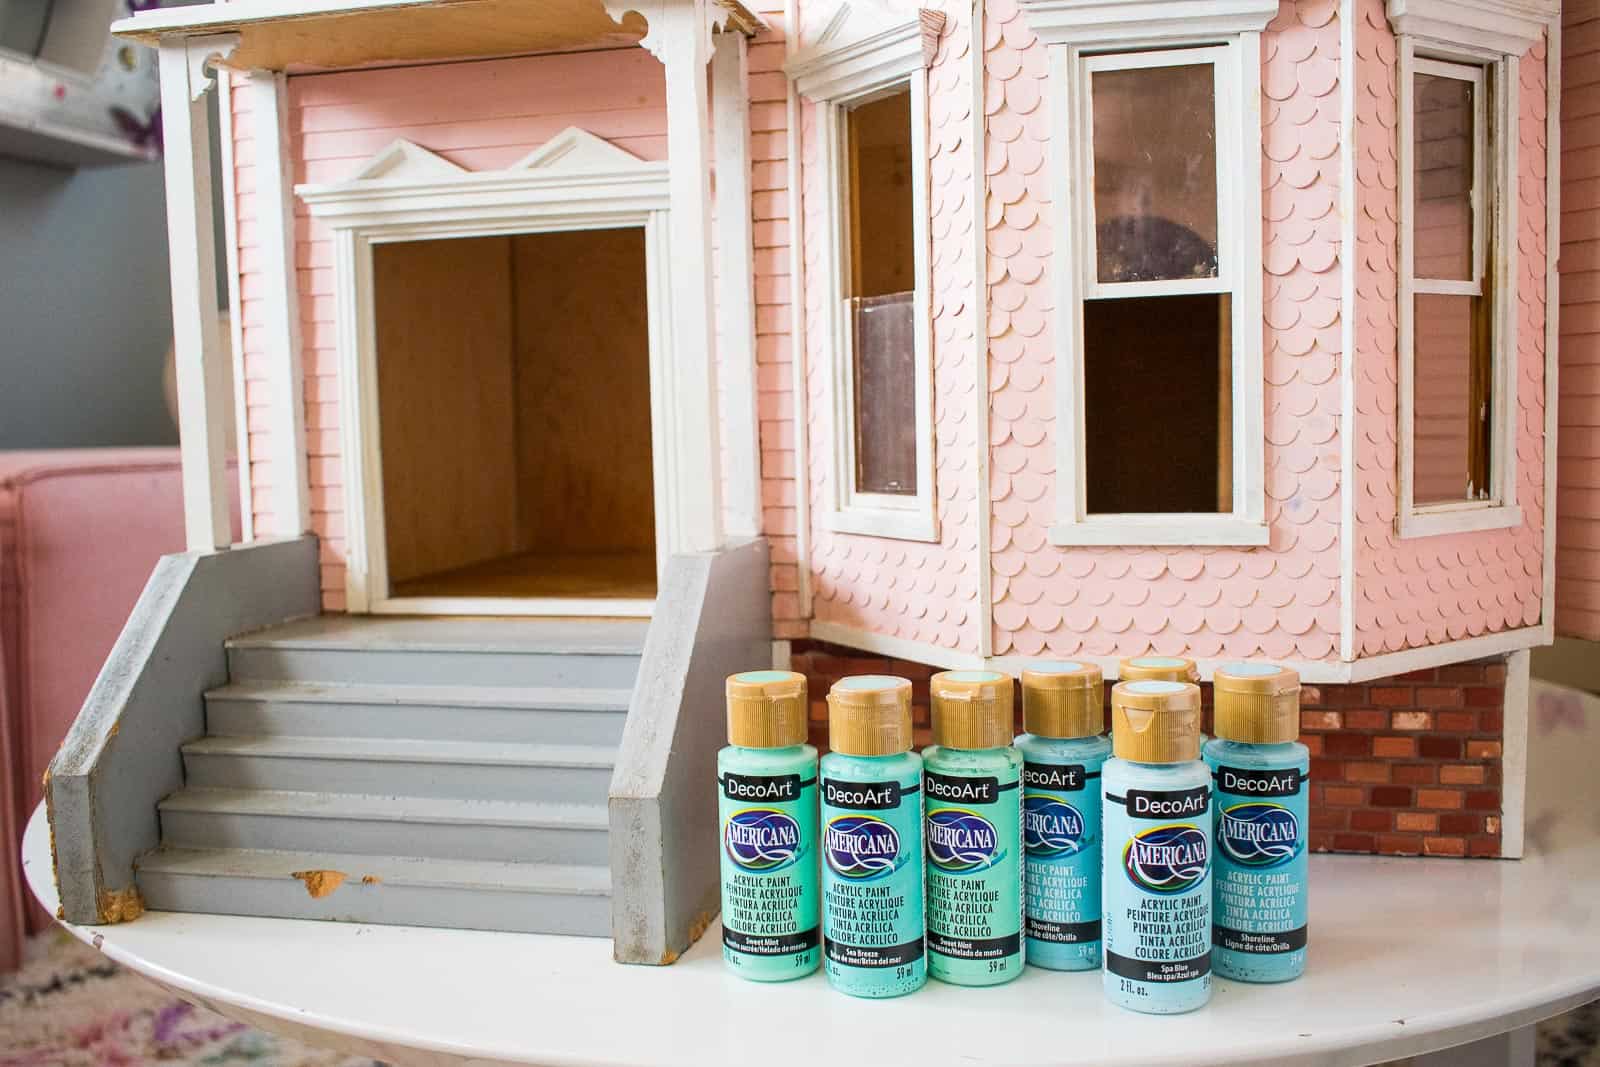
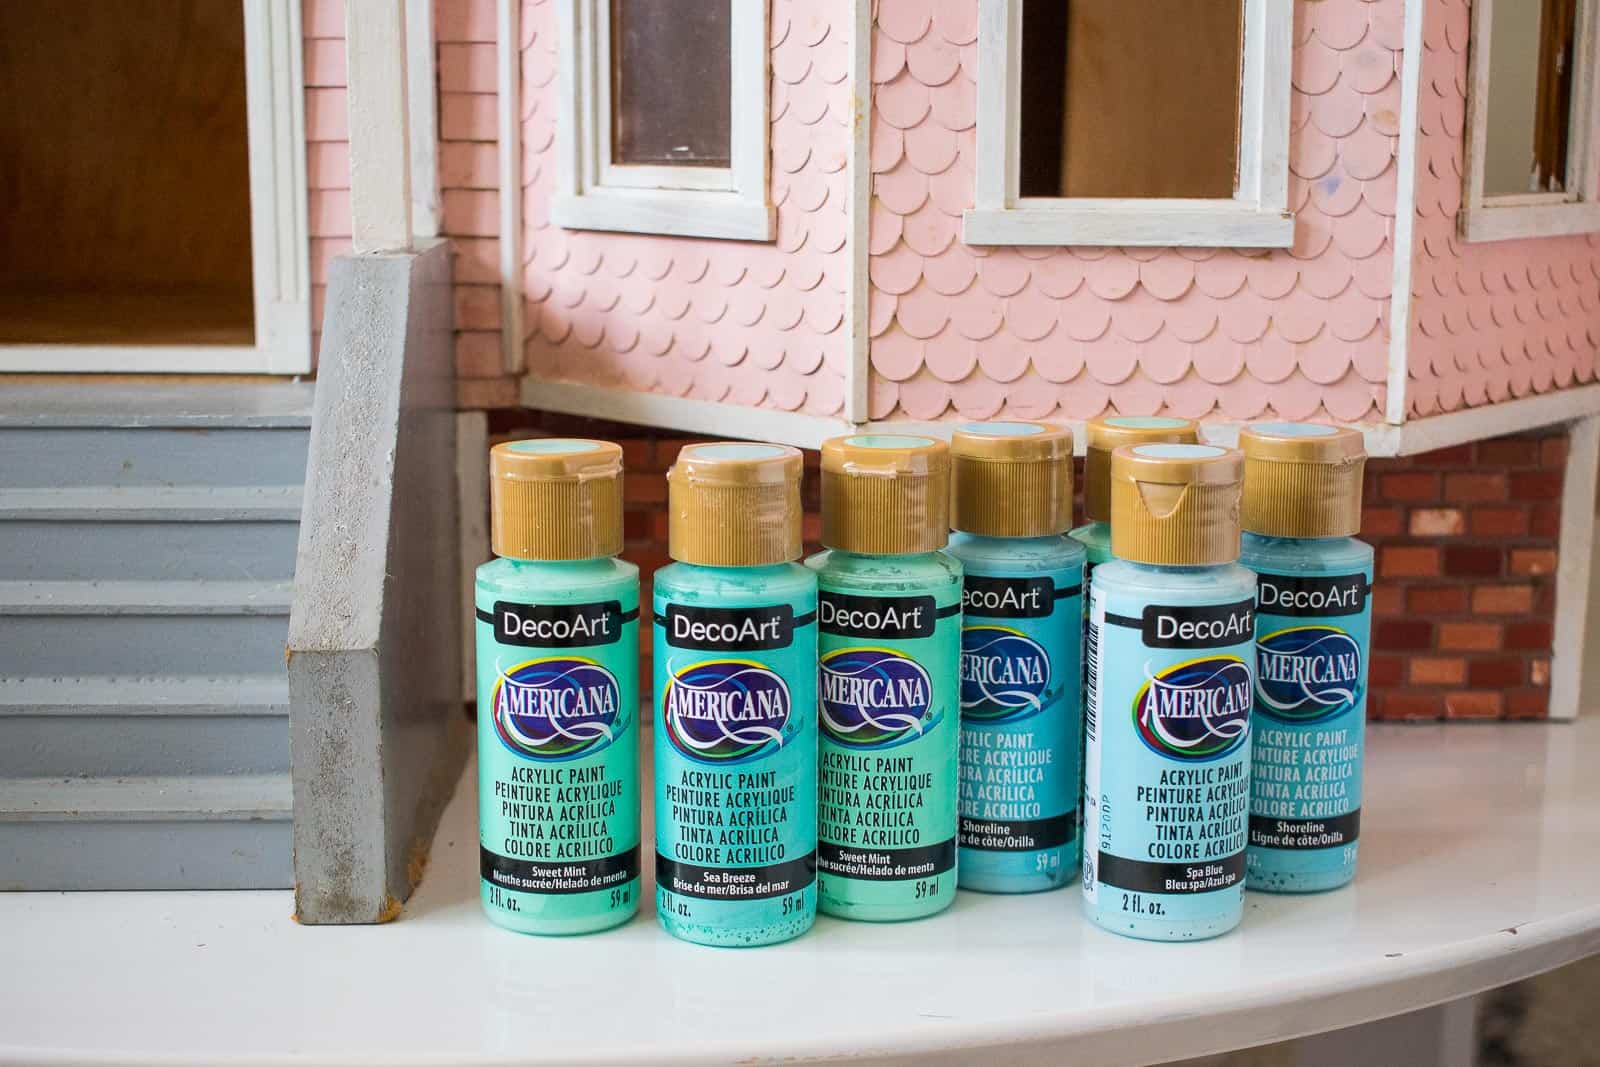
Step 2. Choose a Paint Color
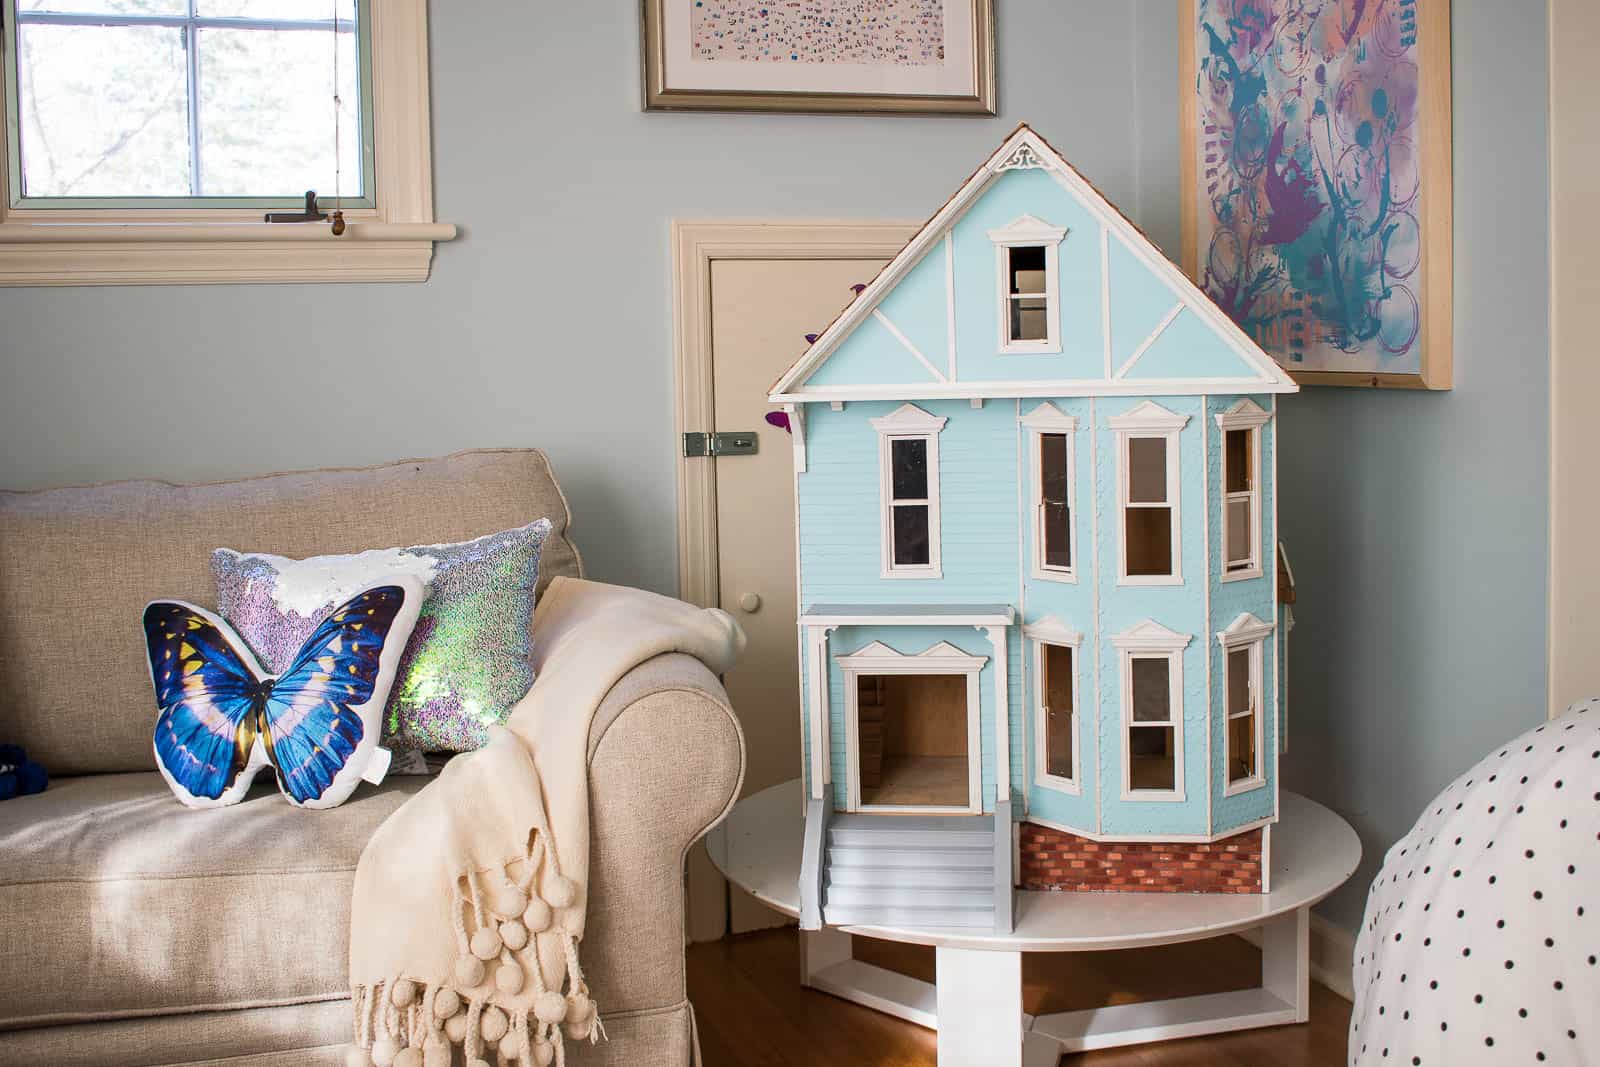
I let Eleanor decide what color she wanted and then I headed over to JOANN to pick one of DecoArt’s Americana colors. This is my go-to craft paint and I’ve always been super pleased with the both color accuracy and the coverage! I brought home lots of selections but ultimately settled on Spa Blue.
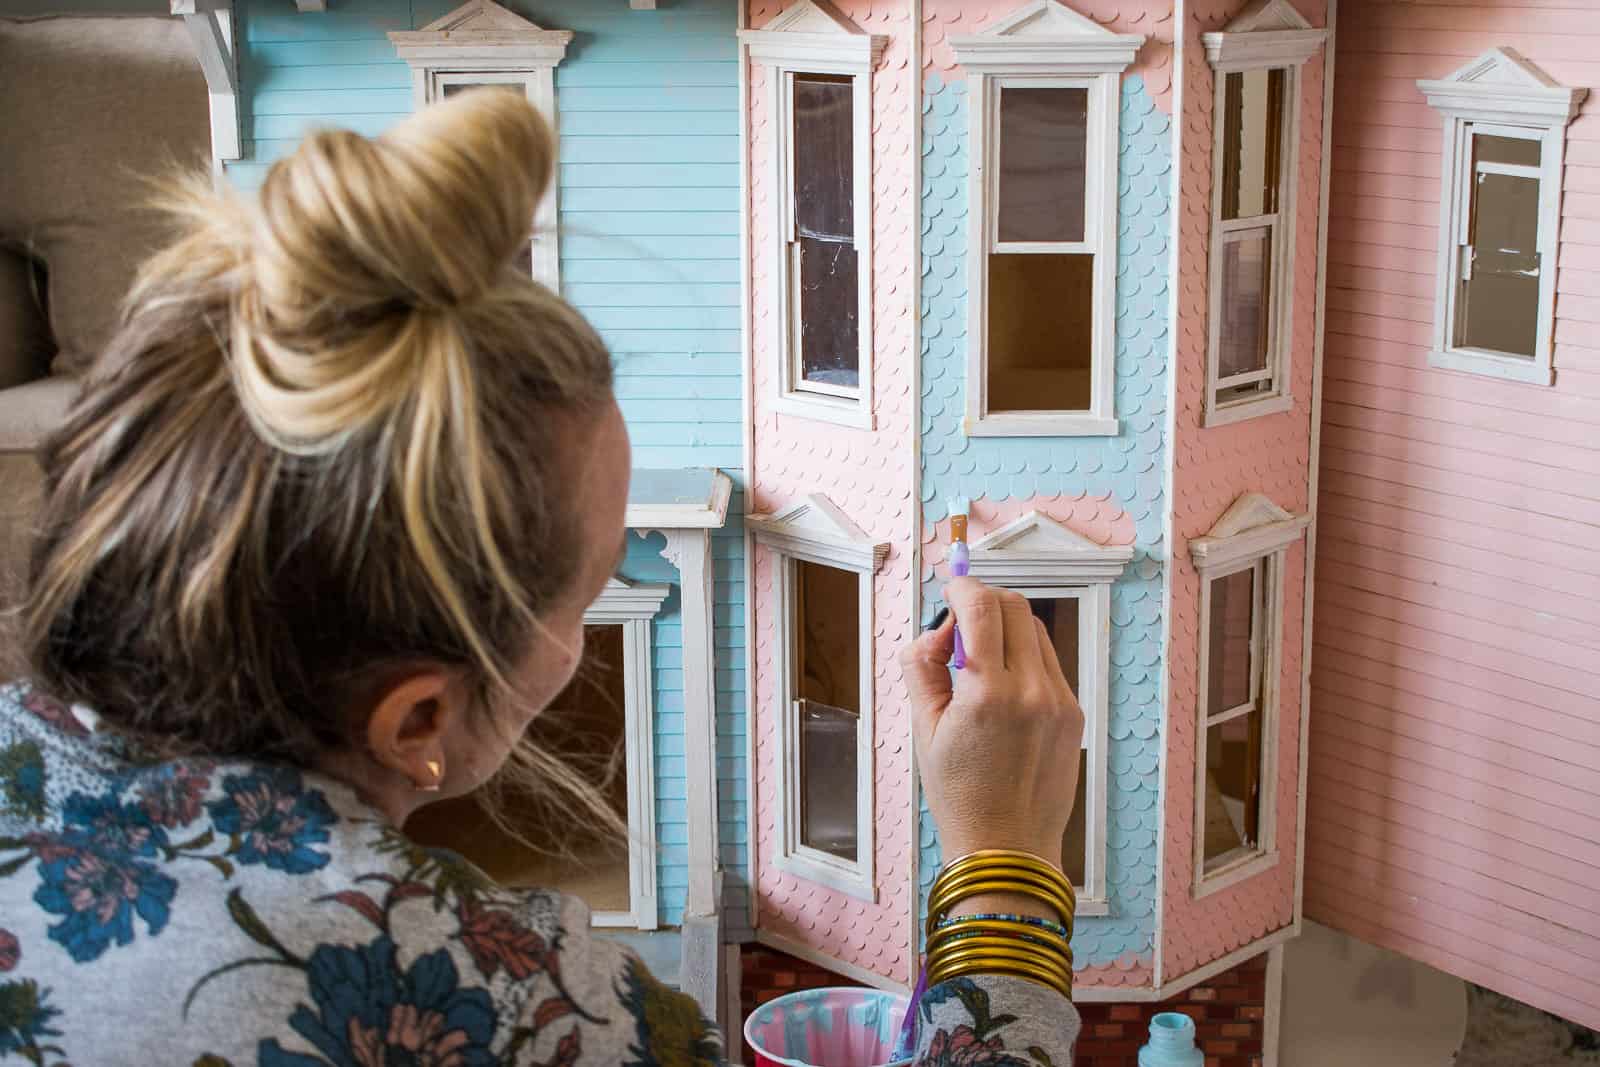
Step 3. Prep the Dollhouse For Paint
I considered being all #extra with our prep but I’m lazy so I settled on a few select craft brushes with just the right angles for me to get into corners and, with a careful hand, I was able to paint everything without taping off edges, etc. In most places, a single coat was good enough, but I went back and gave a second coat just to make sure the color was even and consistent.
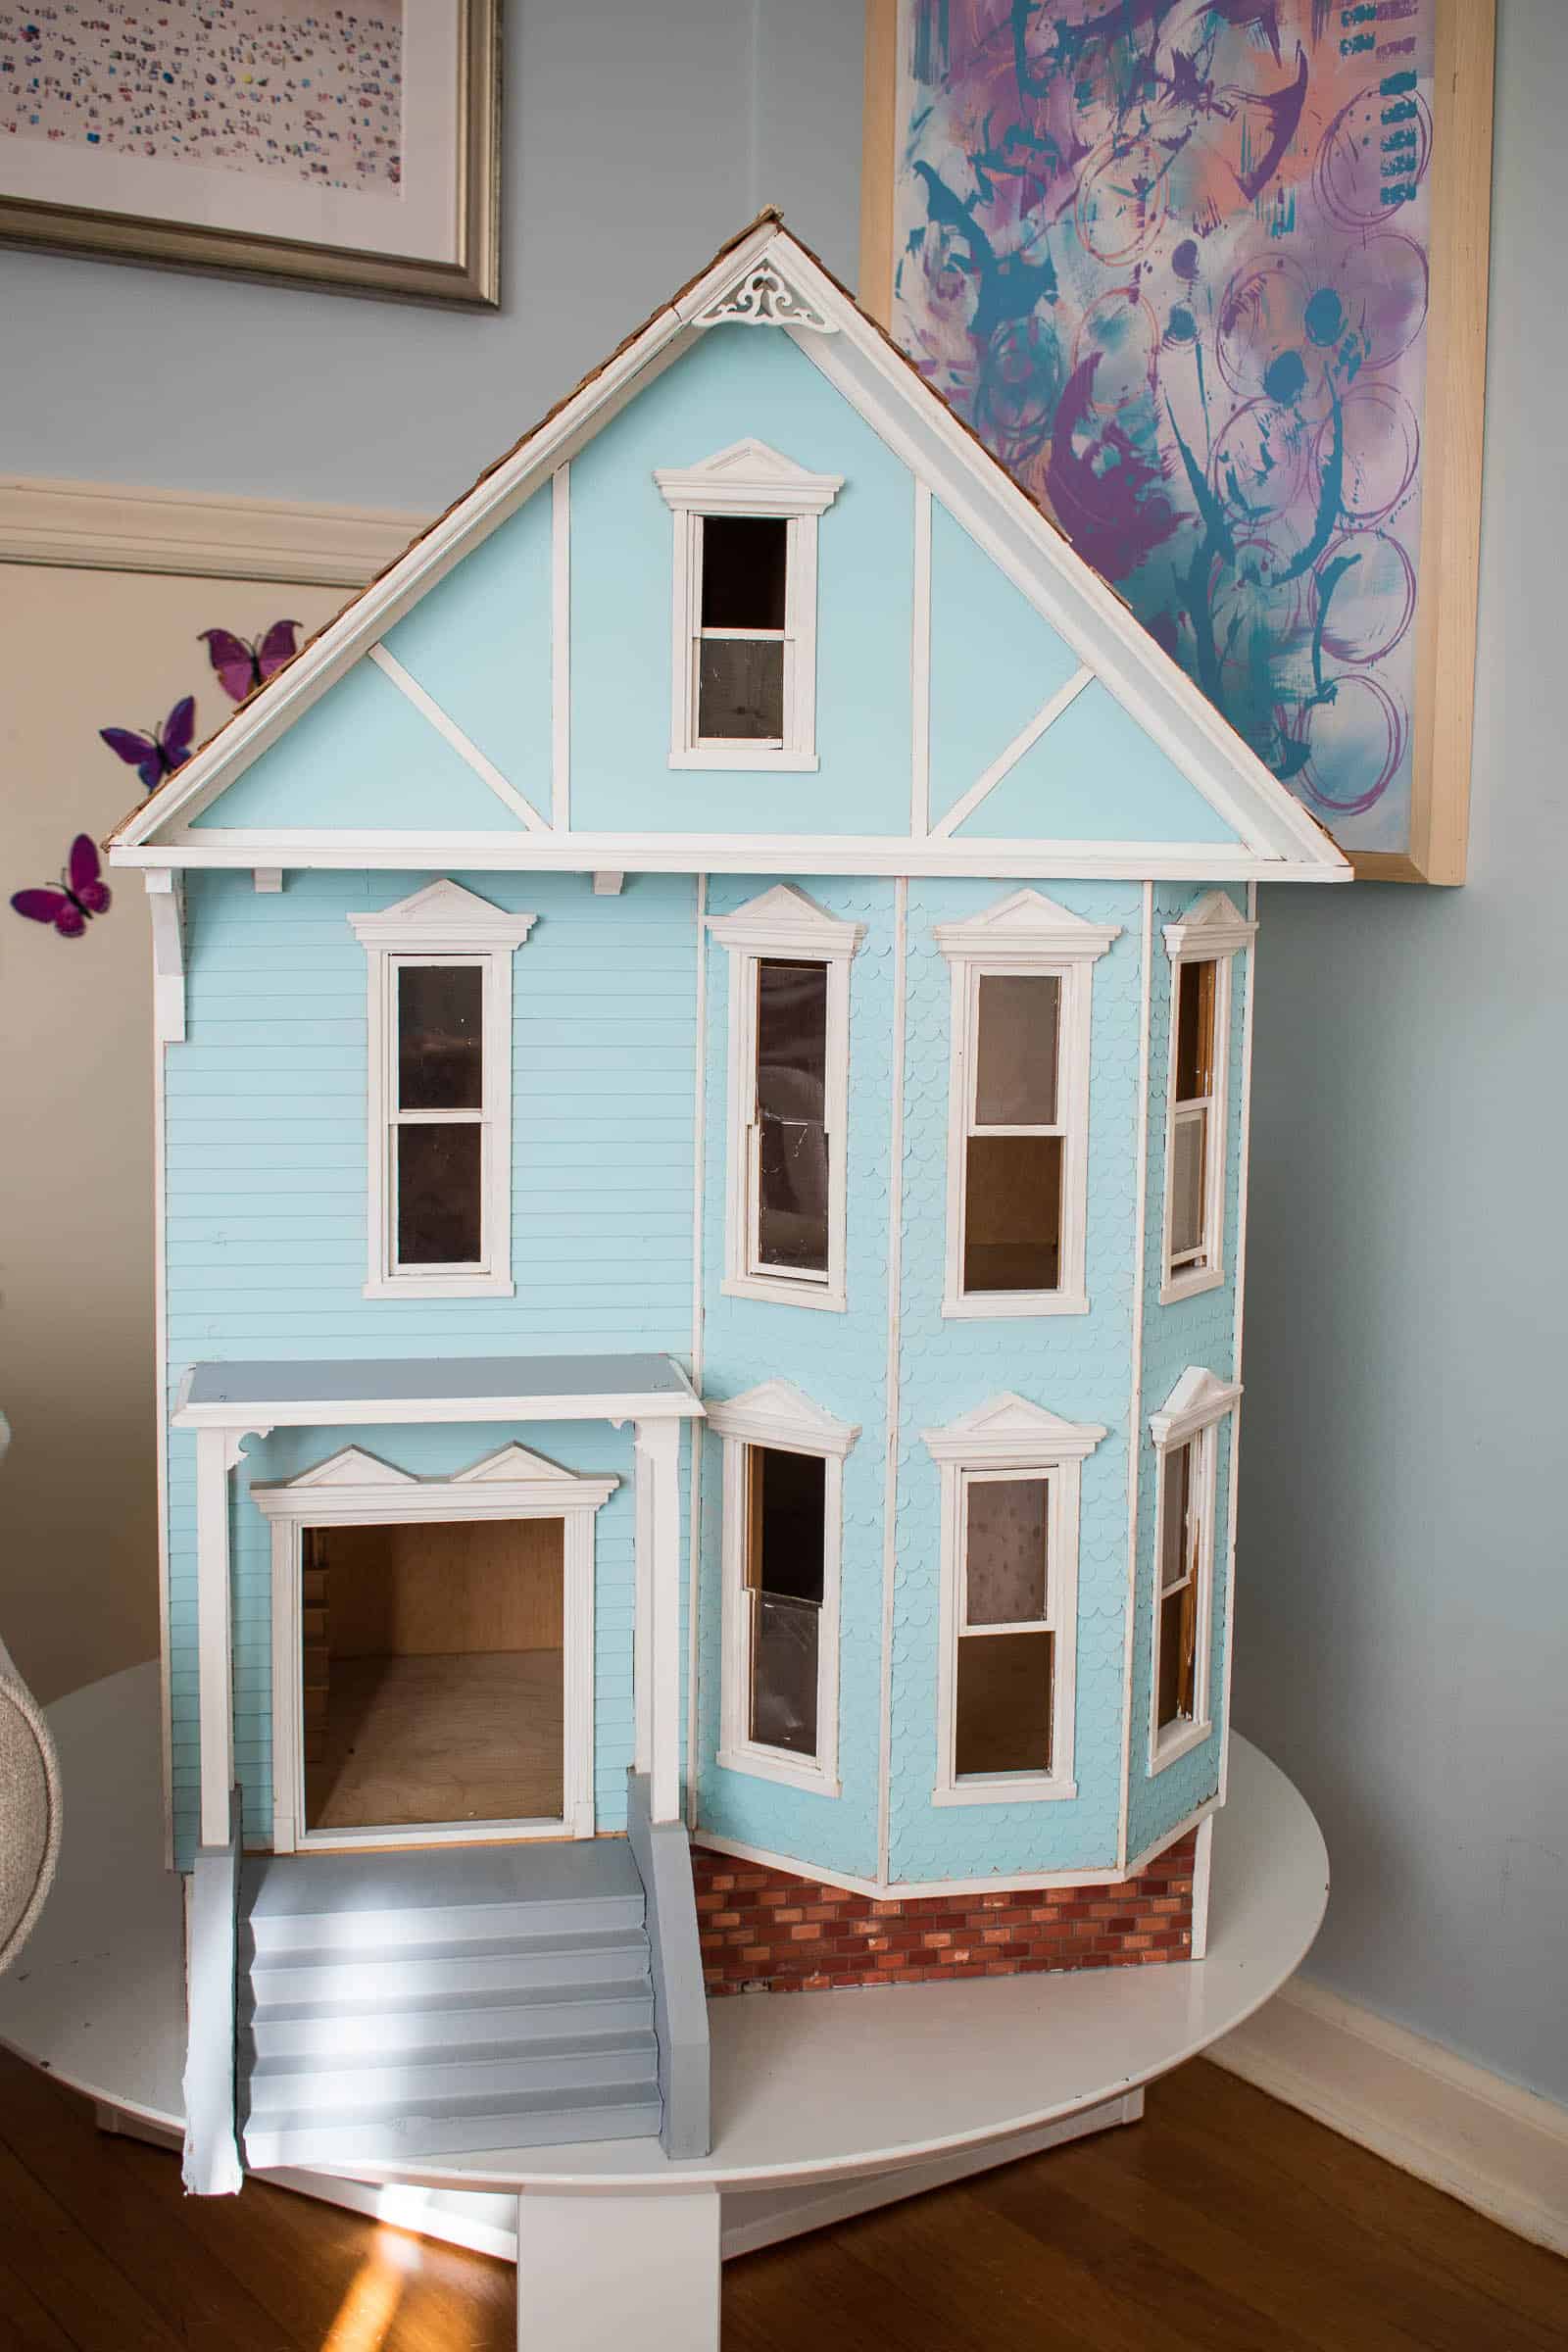
Step 4. Painting Trim, etc.
Once the shingles were painted with the Spa Blue, the white trim and the gray porch felt even more dingy so I grabbed some white and a matching shade of gray to touch these areas up as well. So. Much. Better!
Eleanor doesn’t love the color of the roof so we’re in negotiations about whether I can lightly stain the wood without making the roof feel like a big dark shadow over the whole house. There are a few places where shingles have fallen off, so I have some thin balsa to hopefully patch and replace. Stay tuned to see how I repair some of these elements as well as what we have plans for walls and floors inside! Just like a full size home, we’re taking care of the walls and floor treatments before moving in any furniture!
Thanks as always to my friends at JOANN for always having what I need to indulge ANY little crafting whim or makeover I have in mind! Including dollhouse refurbishing.

I love the blue! And I’m so excited that you have a dollhouse. I can’t wait to see the progress?
Do you remember what the previous (pink) paint color brand/name was?!
It’s so perfect!!
Shoot, I don’t! Sorry!