
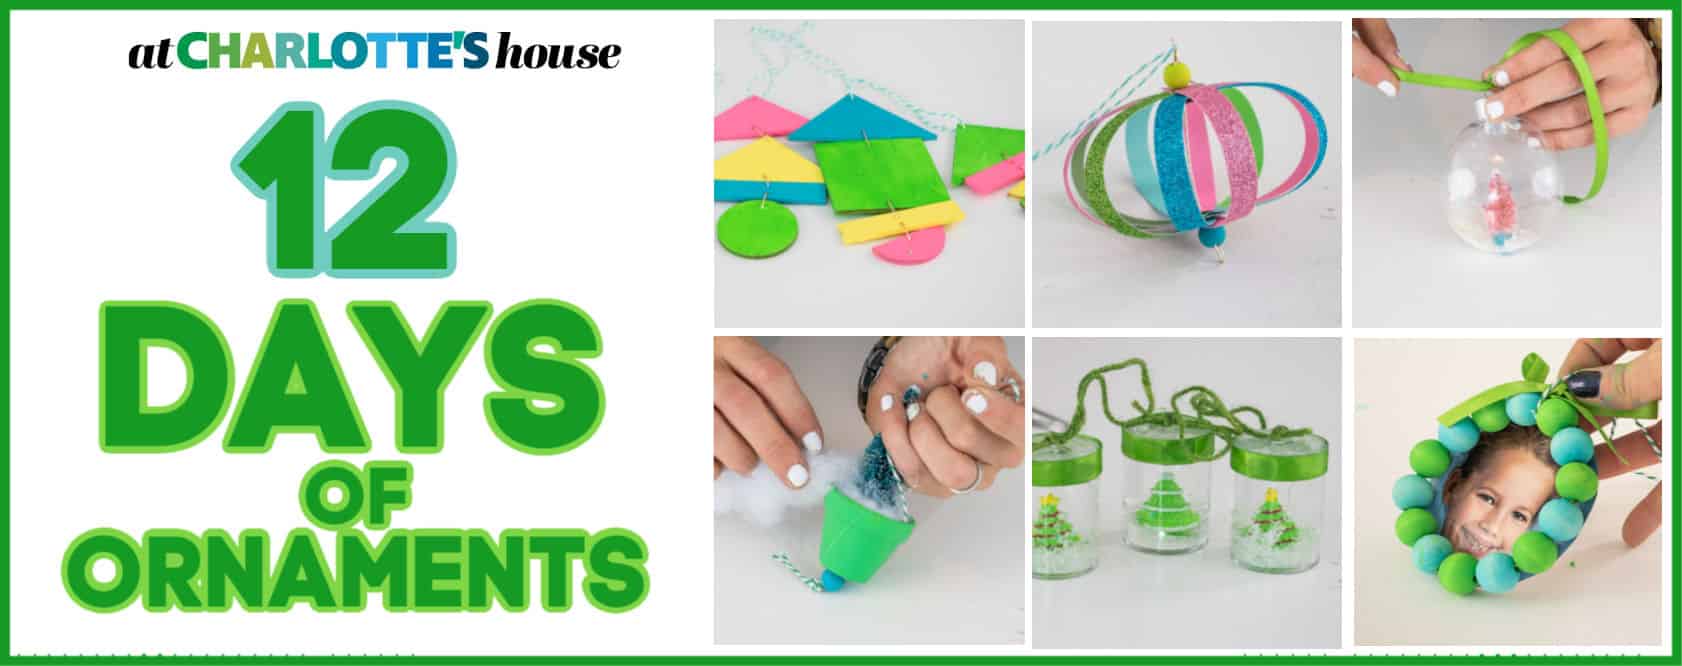
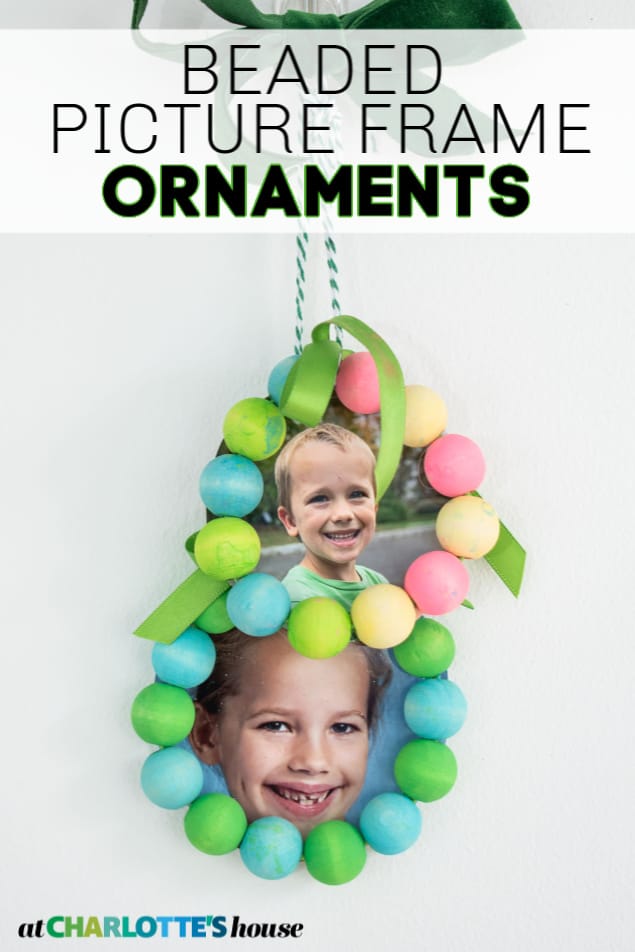
Day 4: Beaded Picture Frame Ornament for Christmas
Psssst… this post *might* contain affiliate links: see my disclosure here.
Turn School Photos into Framed Christmas Ornaments
Folks… this ornament is a good one. It kills two birds with one stone AND- bonus- could also be an adorable Christmas present!!
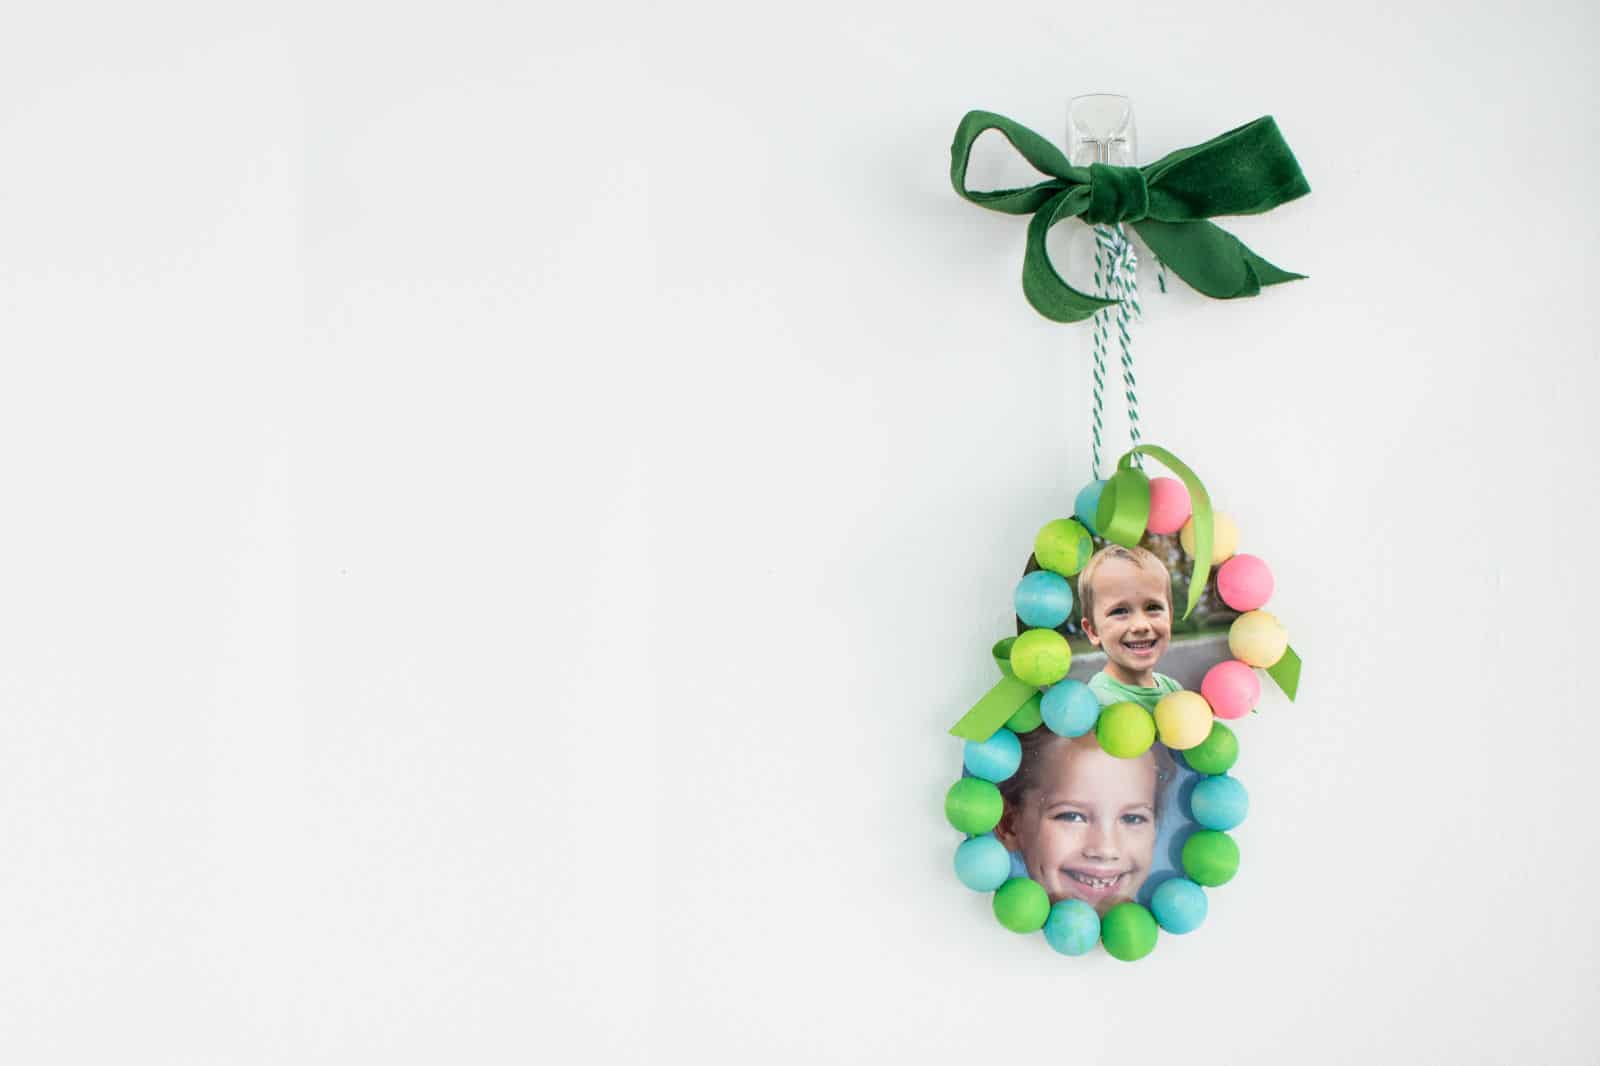
You know those school photos we all buy every year? They cost 4000% more than ordering photo prints anywhere else and the telltale blue background means they’re probably not the first choice for a frame on the front hall table. My mother has ours all framed together so under one mat, I can see grades 1-8 in one fell swoop, but until my kids are 13, I’m always looking for ways to make use of my school photo investments. This beaded framed Christmas ornament takes care of all of that! Get caught up by clicking the image below!
Shop my favorites!
Step 1 (optional): Paint your beads
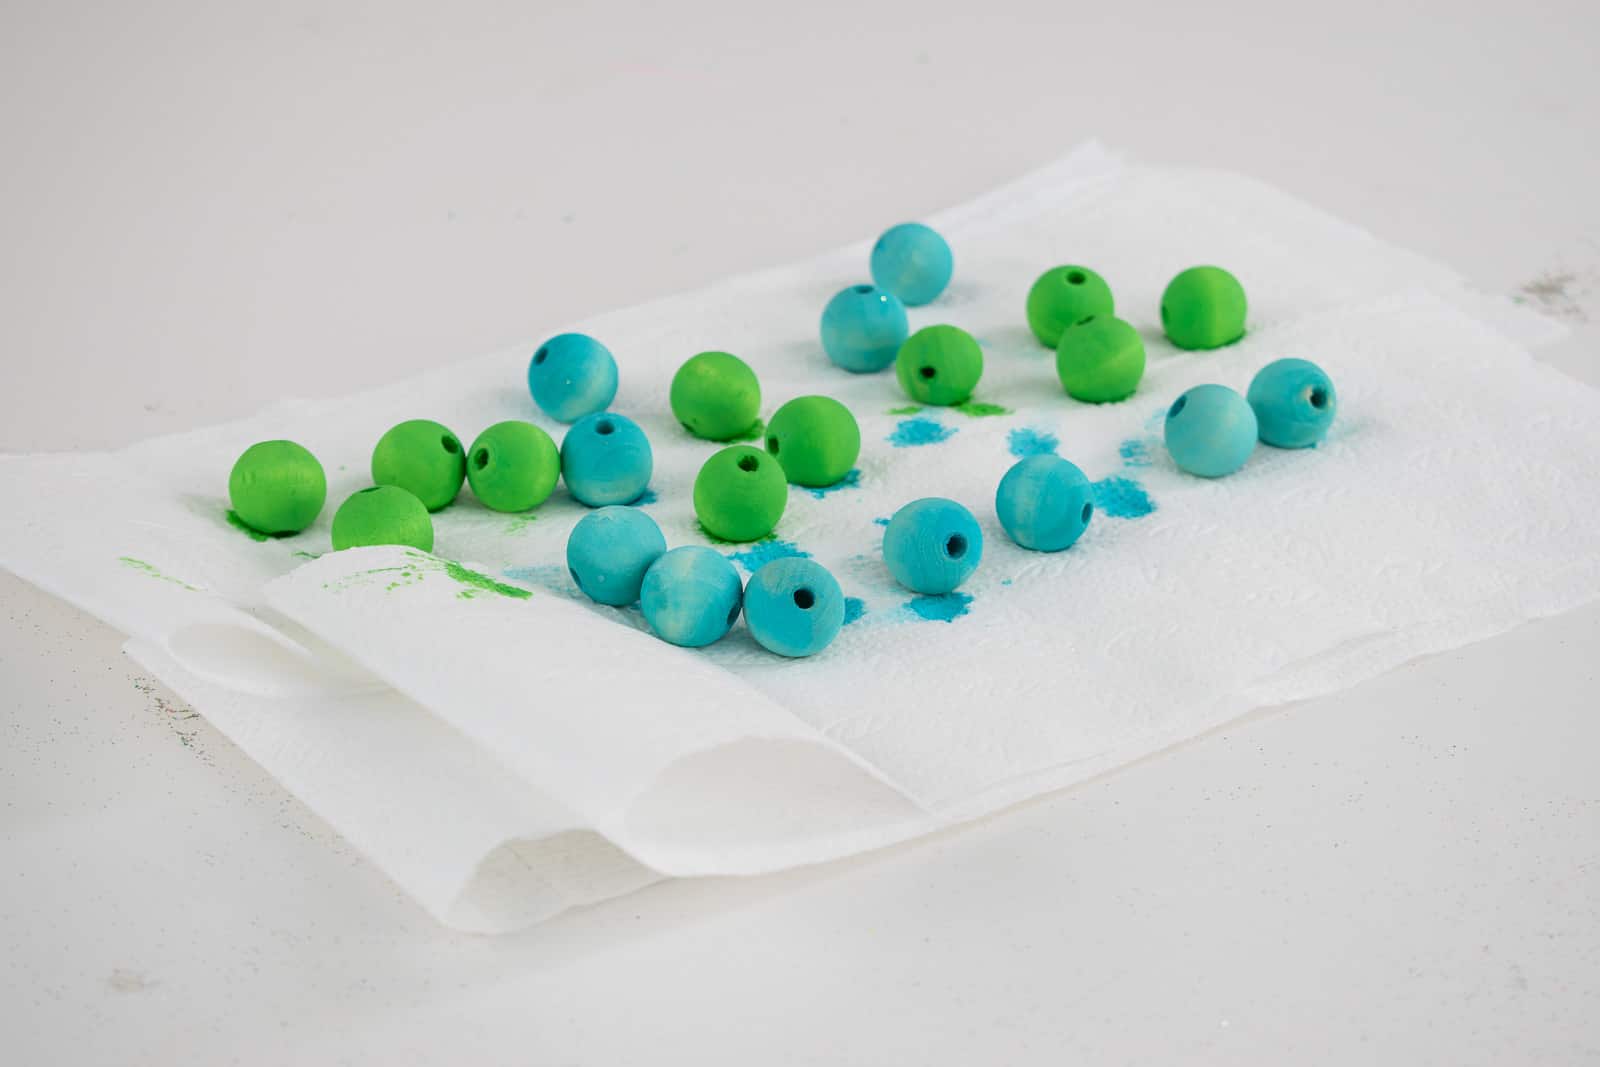
You know I will add color to anything, so my wooden beads needed to get painted. (If you tend to be more neutral… then you can skip this step and I think it would look just as cute!) Here’s my hack for painting beads: grab a ziplock bag, place your beads inside and then squirt in some craft paint. I added water to mine so the paint became more of a wash than a paint.
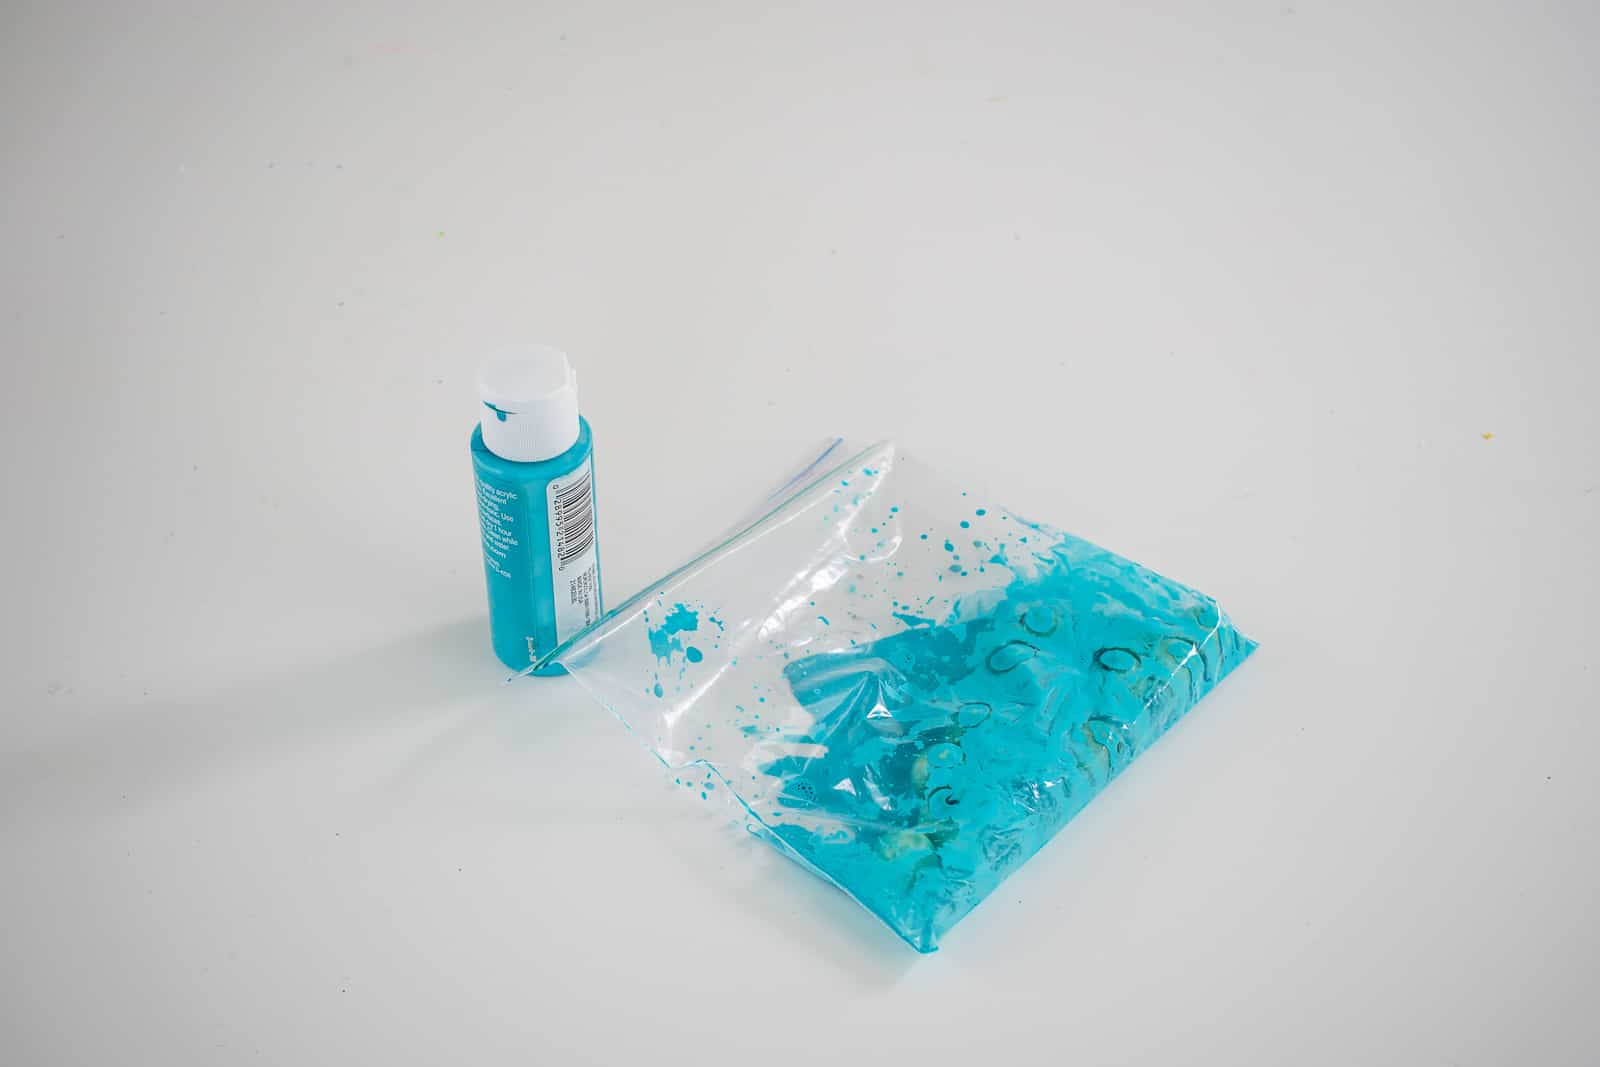
Seal the bag and mix the beads around inside. The longer the beads sit in the paint mixture, the more saturated the color will be. Carefully pour the beads onto a paper towel and let them dry.
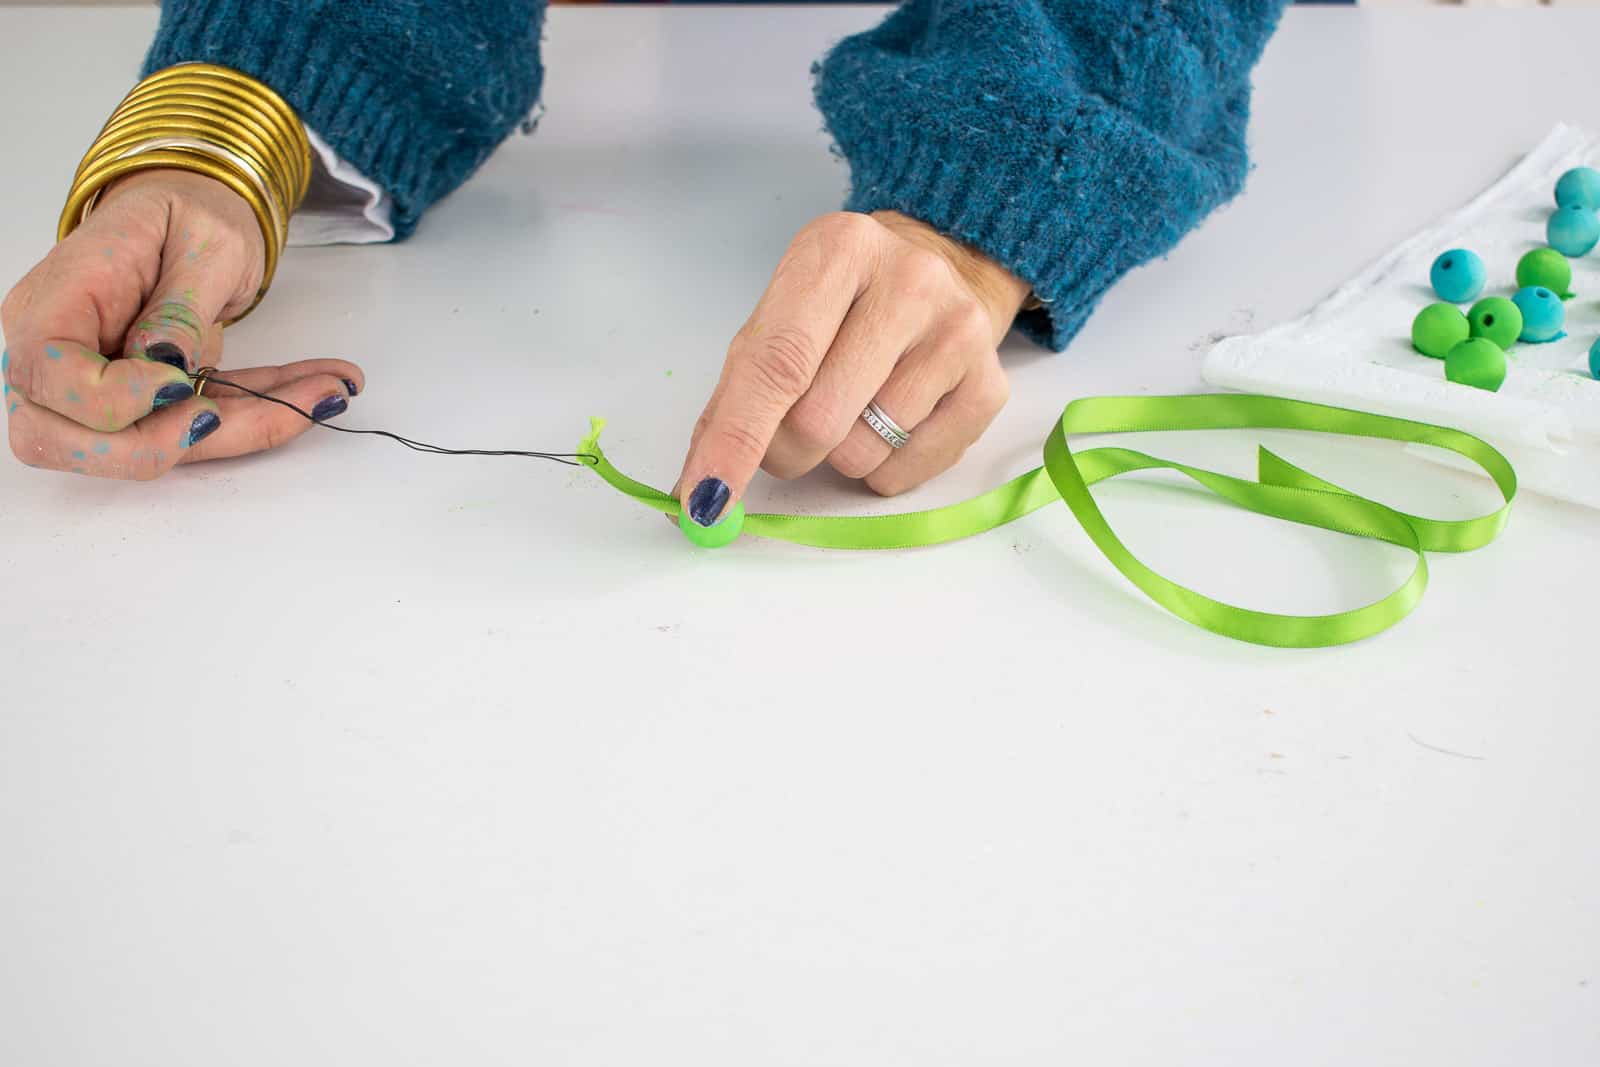
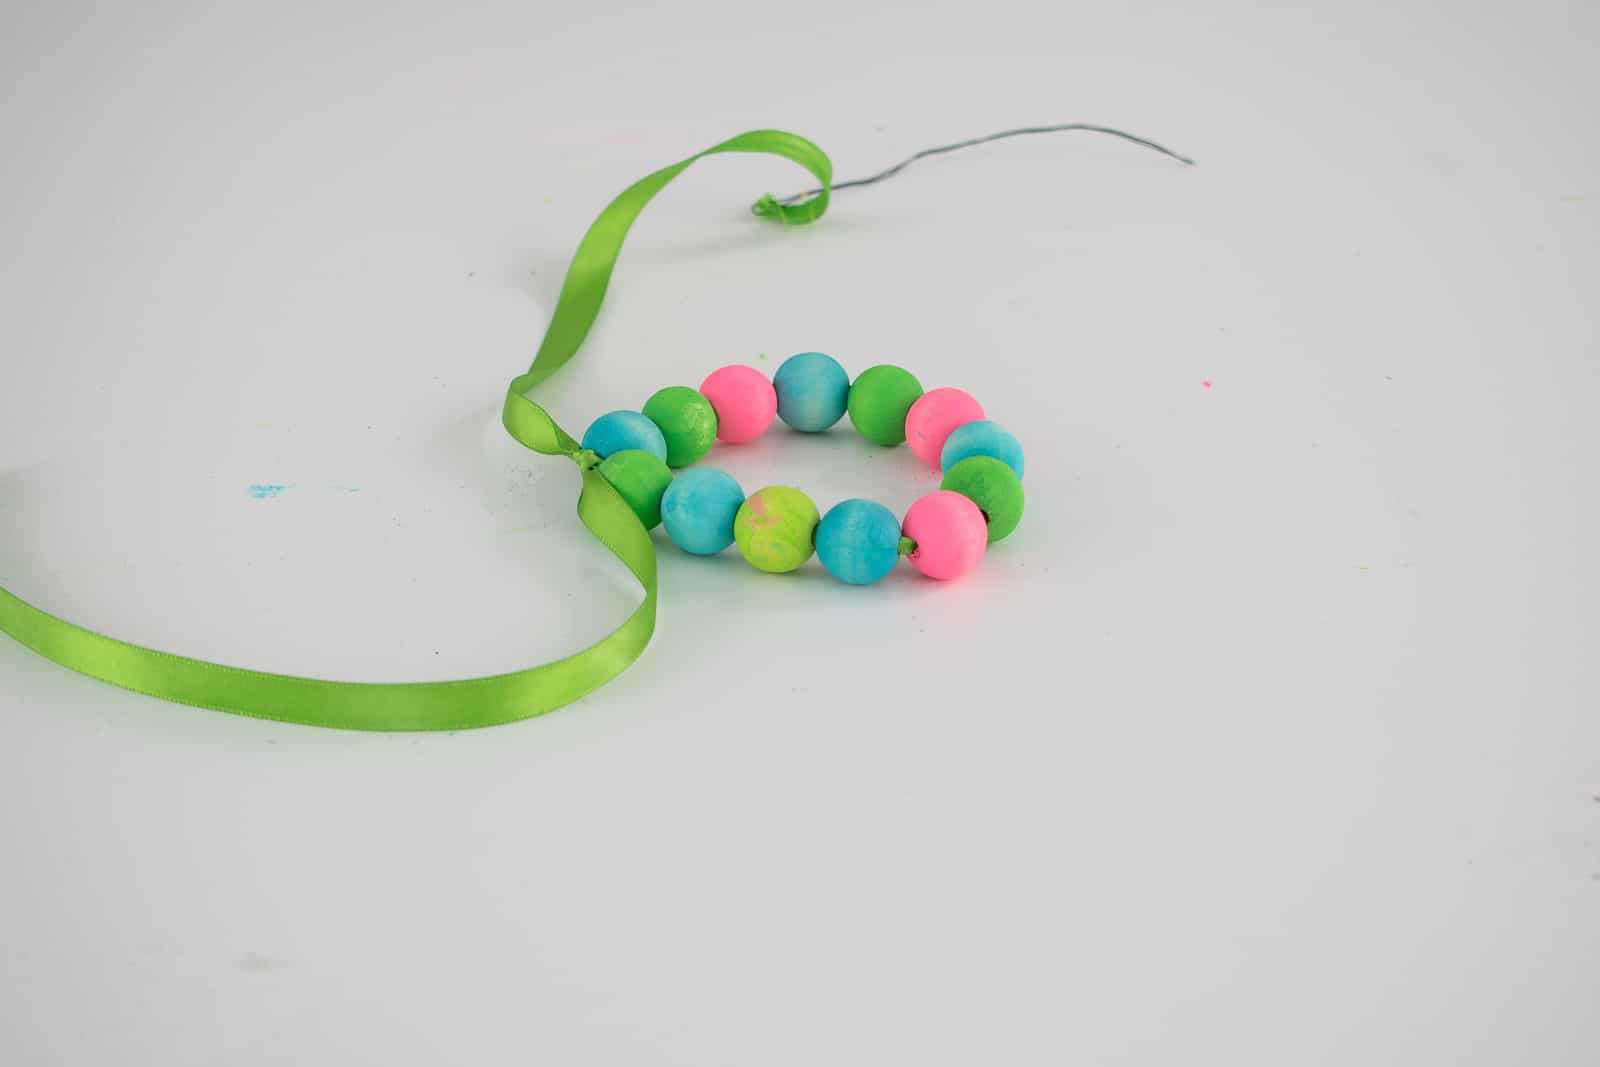
Step 2: String the beads onto Ribbon
Grab some floral wire and poke it through the end of your ribbon. Fold it over and use it as a makeshift needle. Thread as many beads as necessary to make a circle large enough to fit your photograph. Once you have enough beads, tie your ribbon in a knot and add a bow.
Step 3. Cut out the Photograph
Find a circle roughly the same size as your wooden bead loop and trace it onto the photograph. Cut out.

Step 4. Glue photograph in place
Using a hot glue gun, work quickly, and add a dot of clue to the top of the wooden beads. Quickly place the photograph face down onto the hot glue. Your child’s face should be in the middle of the bead frame.
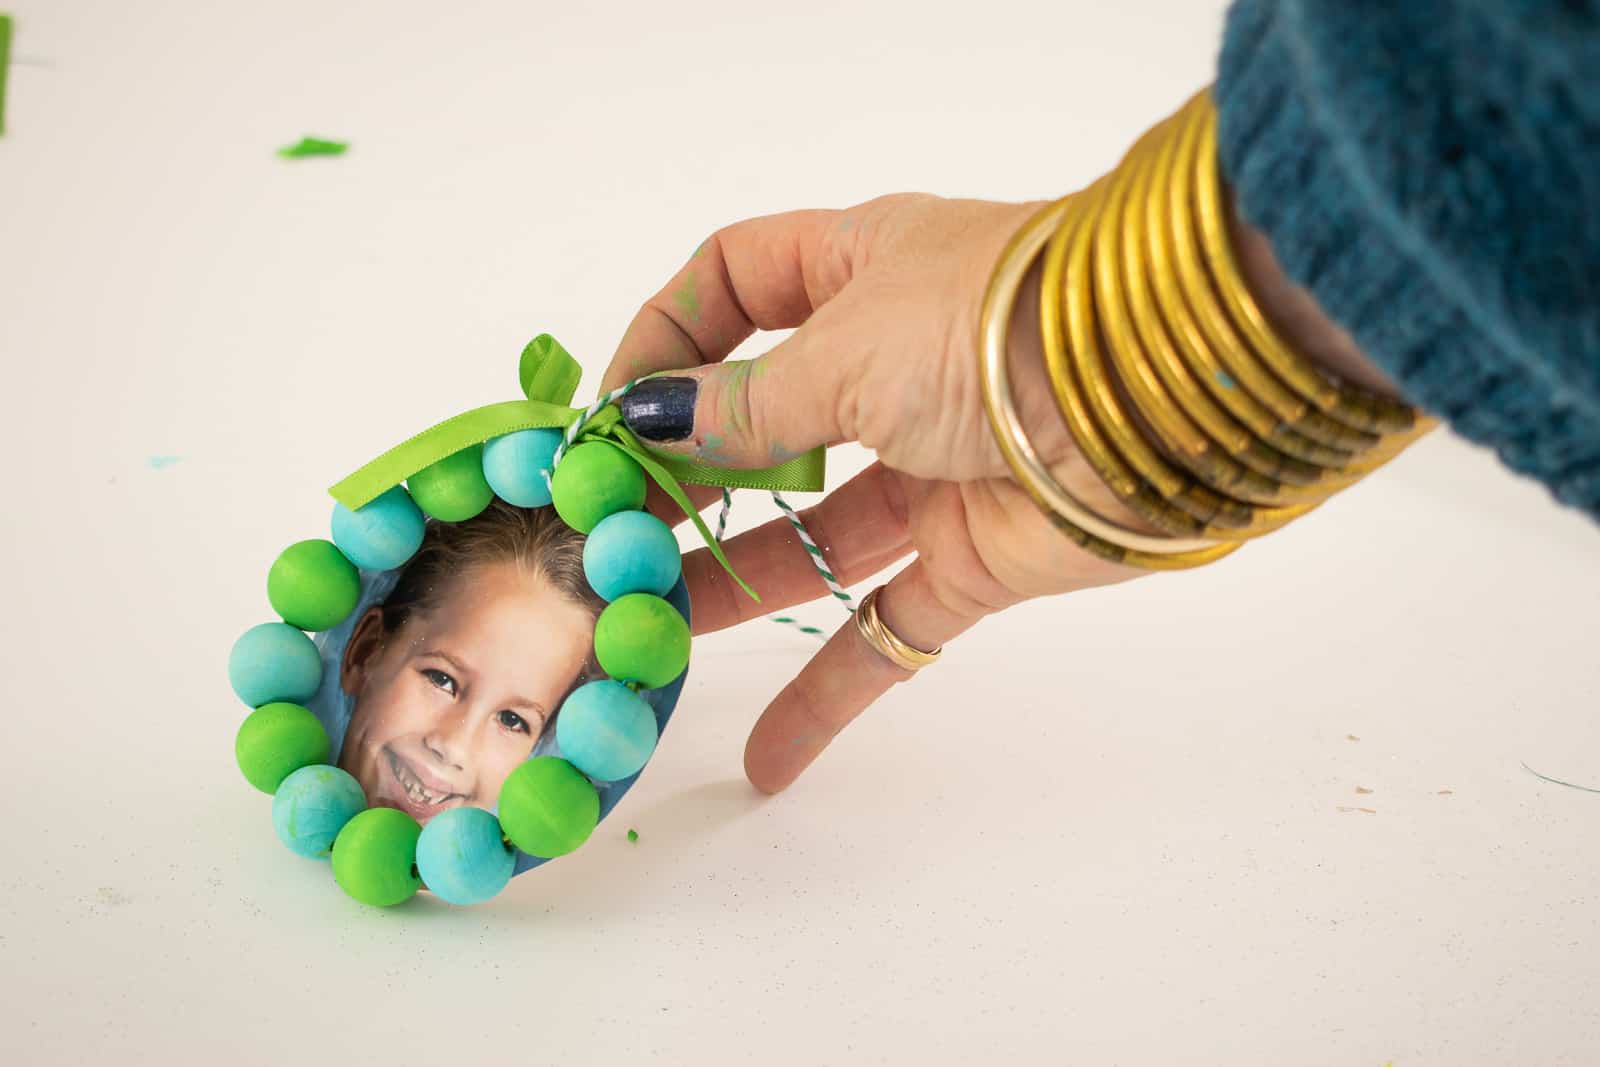
Thread some twine through the two beads at the top of the ornament as a hanging loop. Imagine one of these from each year of school photos hanging on your tree? How cute would that be, and it’s the perfect way to memorialize these school pics!
Materials for Beaded Framed Ornament

A few reminders: the entire materials list for this ornament series is linked up in my Amazon shop so click here for easy access to everything I use for all twelve ornaments!


Would the Martha Stewart craft paint work for this?
And I would never have thought of that painting short cut!
Definitely! I think it’s the same consistency as always of these so should behave the same way! Water is a bit of an experiment so feel it out a bit!
These are so PRETTY! I’ll be trying it with the grandgir! Thank you ❤️
Oh yay! They’re the perfect project for kids to make! Thanks!