
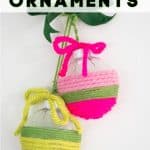
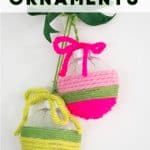
Day 6: Boho Yarn Wrapped Christmas Ornaments
Psssst… this post *might* contain affiliate links: see my disclosure here.
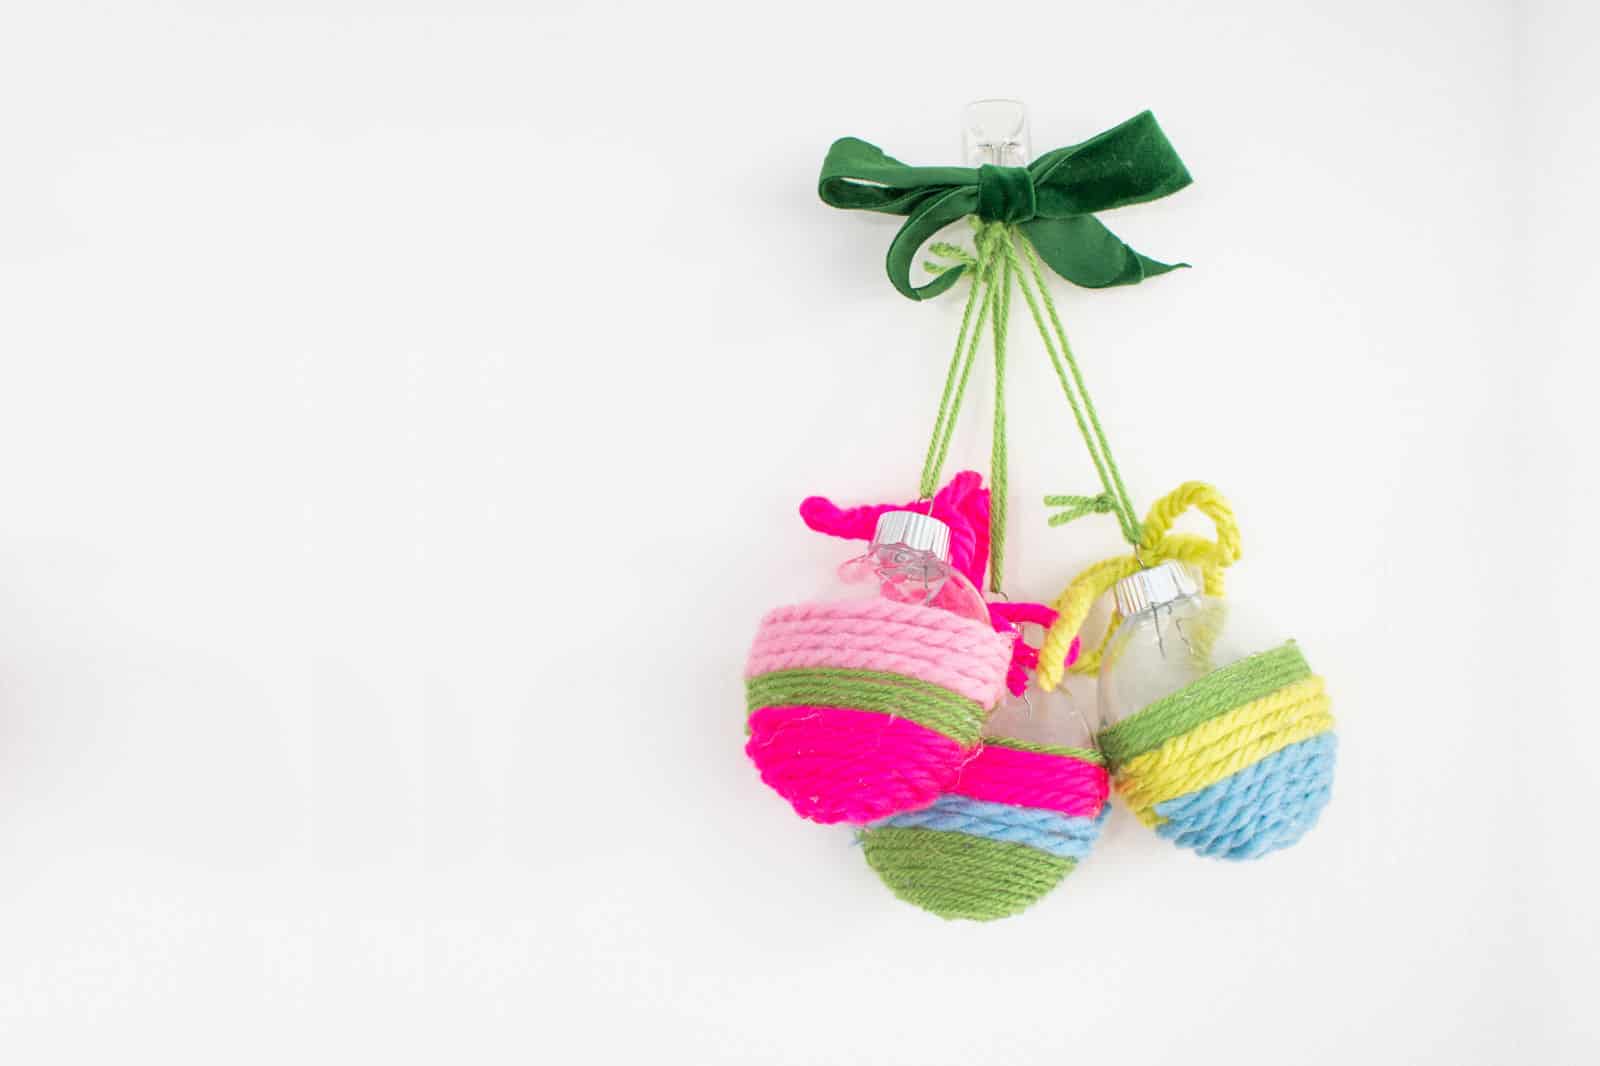
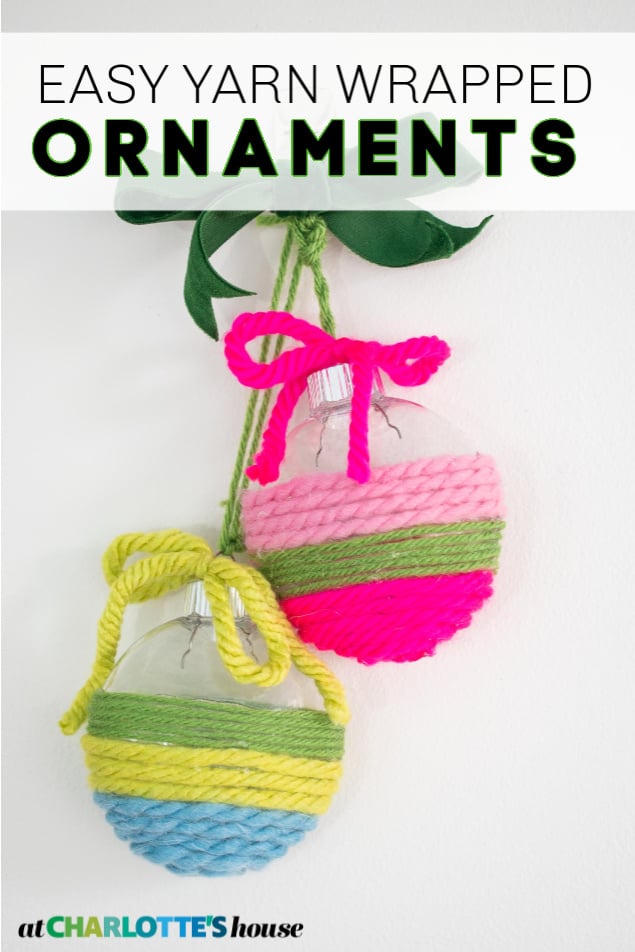
Yarn Wrapped Clear Plastic Christmas Ornaments
Yarn is an easy colorful way to decorate those clear plastic ornaments that are so common at craft stores this time of year.
This time of year, those shatterproof acrylic ornaments are available everywhere! They often come in a pack of 25 for sometimes less than $10 and, I don’t know about you… but I ALWAYS get them. There are lots of ways to decorate these but I came up with two for my 12 Days of Ornaments that look adorable and are… wait for it… SUPER easy! Reminder that ALL the materials for the entire series are linked in my Amazon shop so you can essentially make all of these without leaving your home! And to get caught up on all the ornaments I’ve already posted, click the image below!
Shop my favorites!
Now, without further ado, let’s move on to today’s yarn wrapped ornament. Best part about this one is that it makes great use of all that leftover yarn that I had kicking around the house. And if you don’t have yarn, this will cost you a few dollars in new materials.
Step 1. Anchor your Yarn
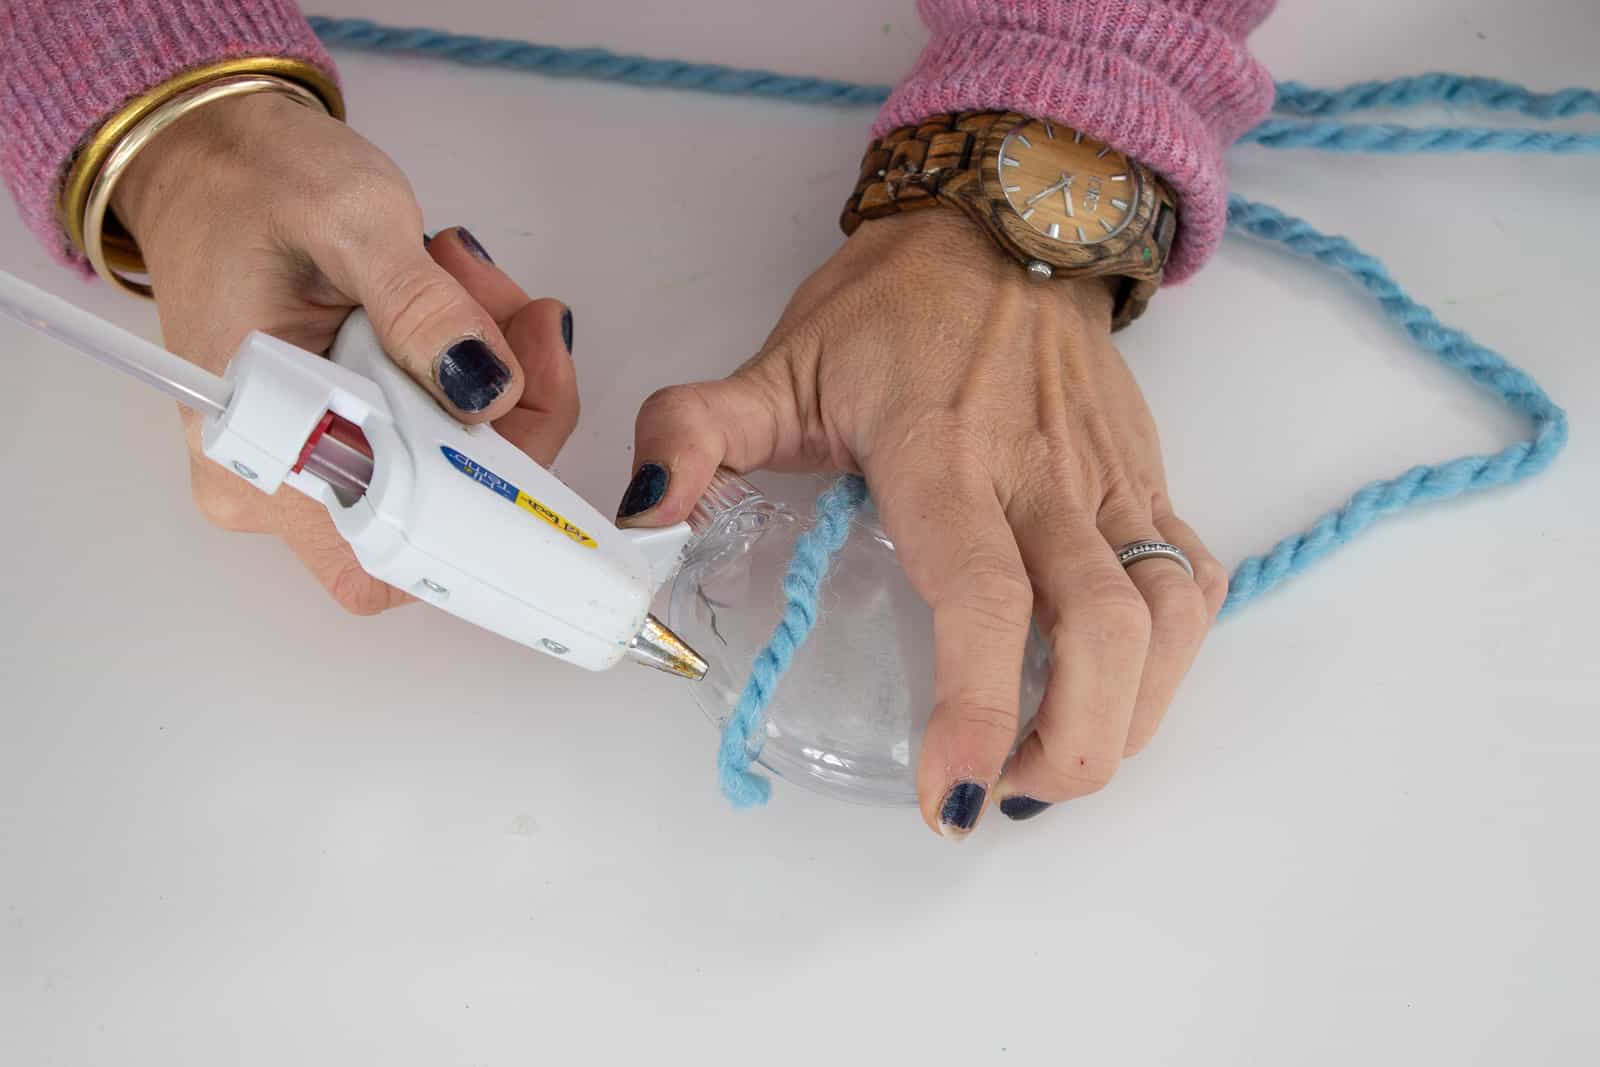
Whether or not you’re doing this project with children, I suggest anchoring your yarn with a bead of hot glue. It sets immediately and will allow you to wrap the rest of the ornament without the yarn sliding all around the ornament and/ or pulling off.
Step 2. Wrap and glue
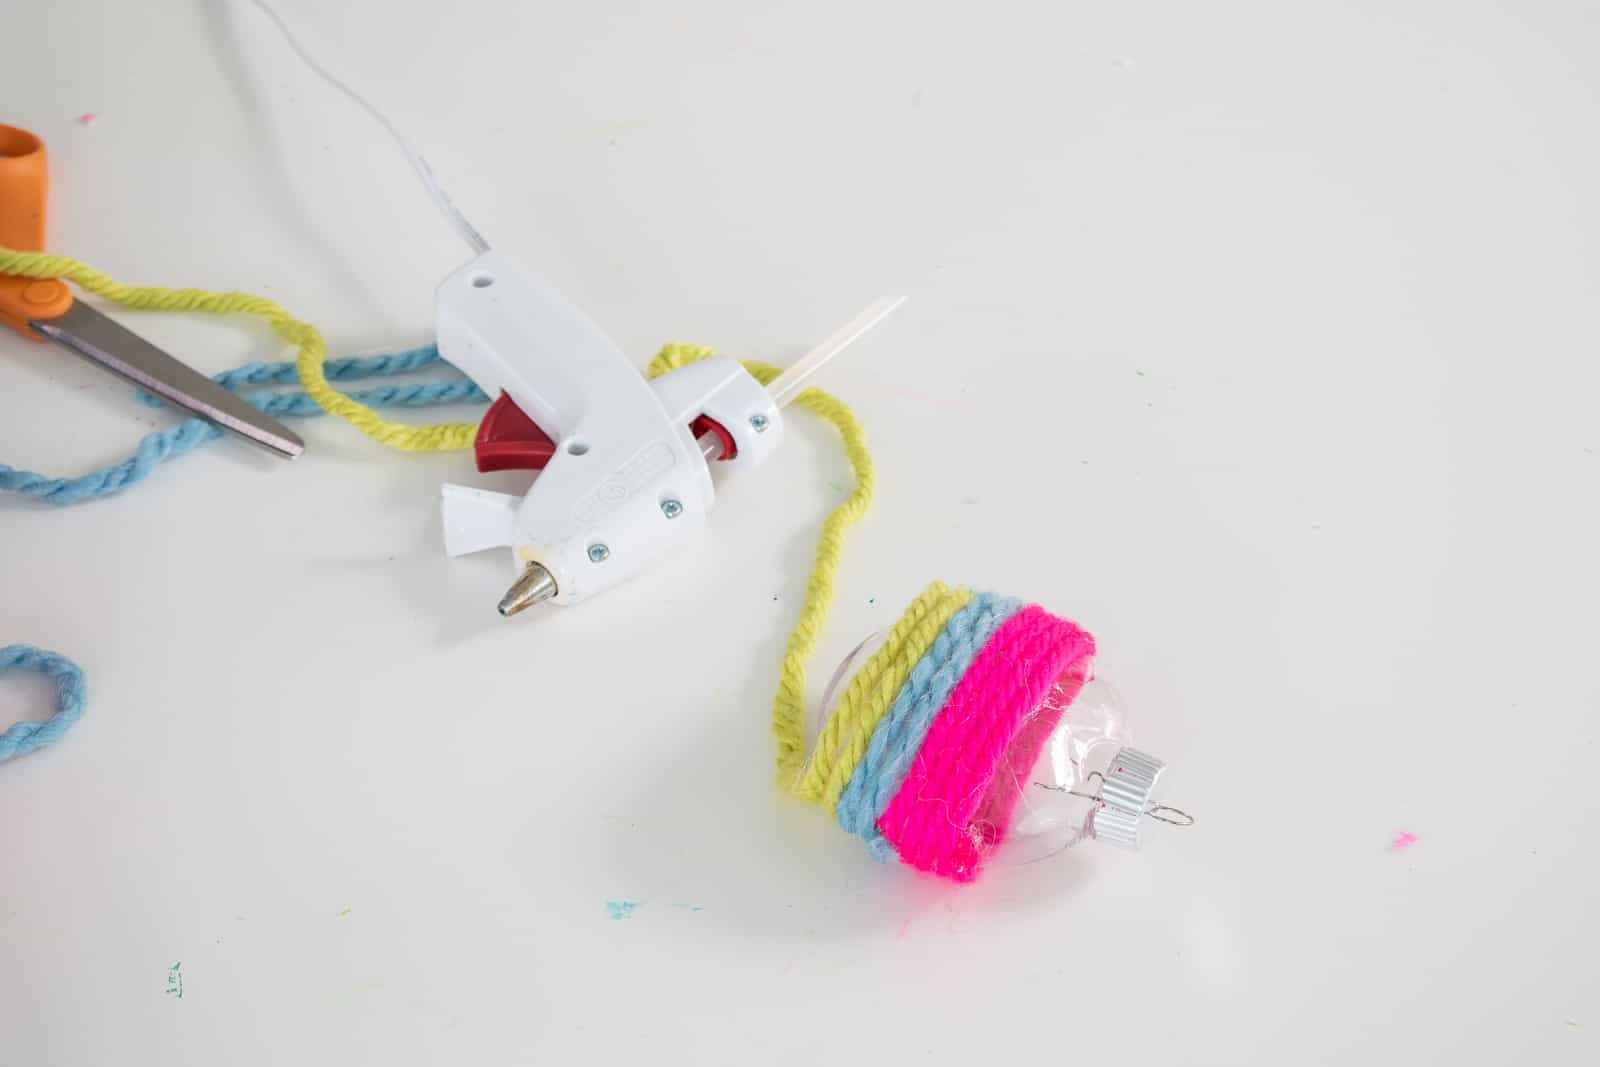
I used hot glue for the entire ornament applying a thin line of hot glue on the ‘belly’ of the ornament and then each corner as I slowly wrapped the yarn. If you’re doing this project with children, they can totally use school glue. I will be a bit messier, so maybe provide a couple of toothpicks to help them place their yarn and to avoid sticky fingers. If using a hot glue gun, I will often use the tip of the glue gun to help push the yarn in place.
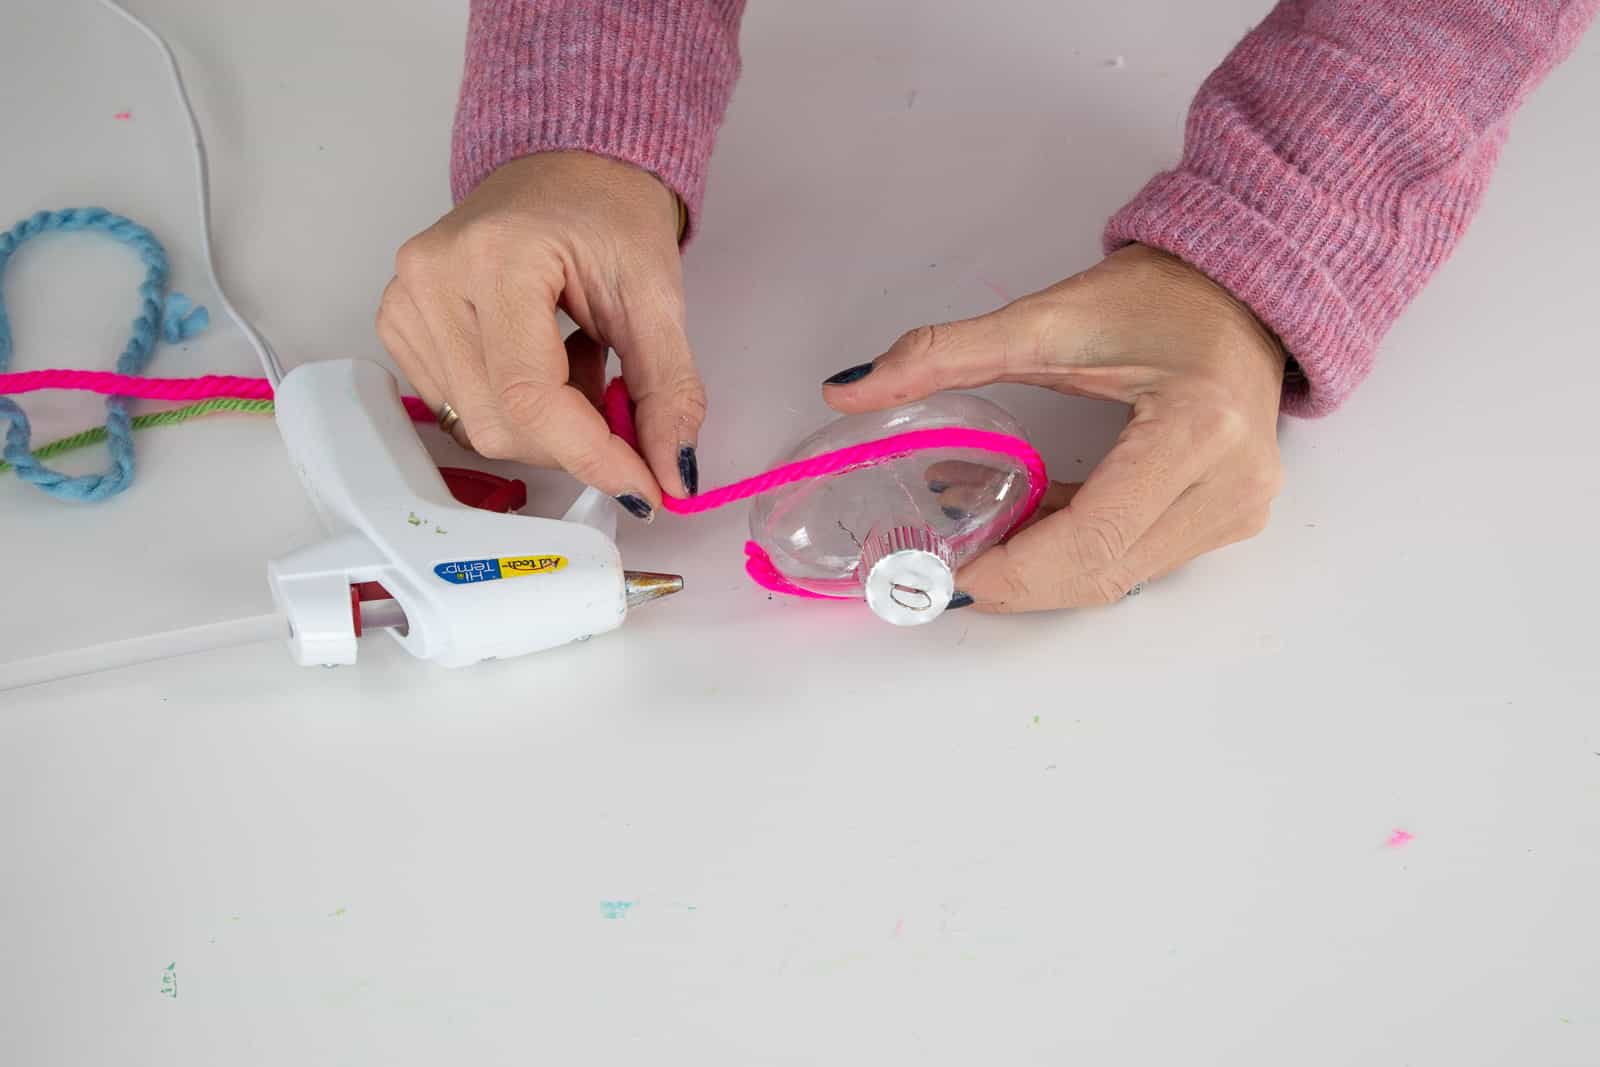
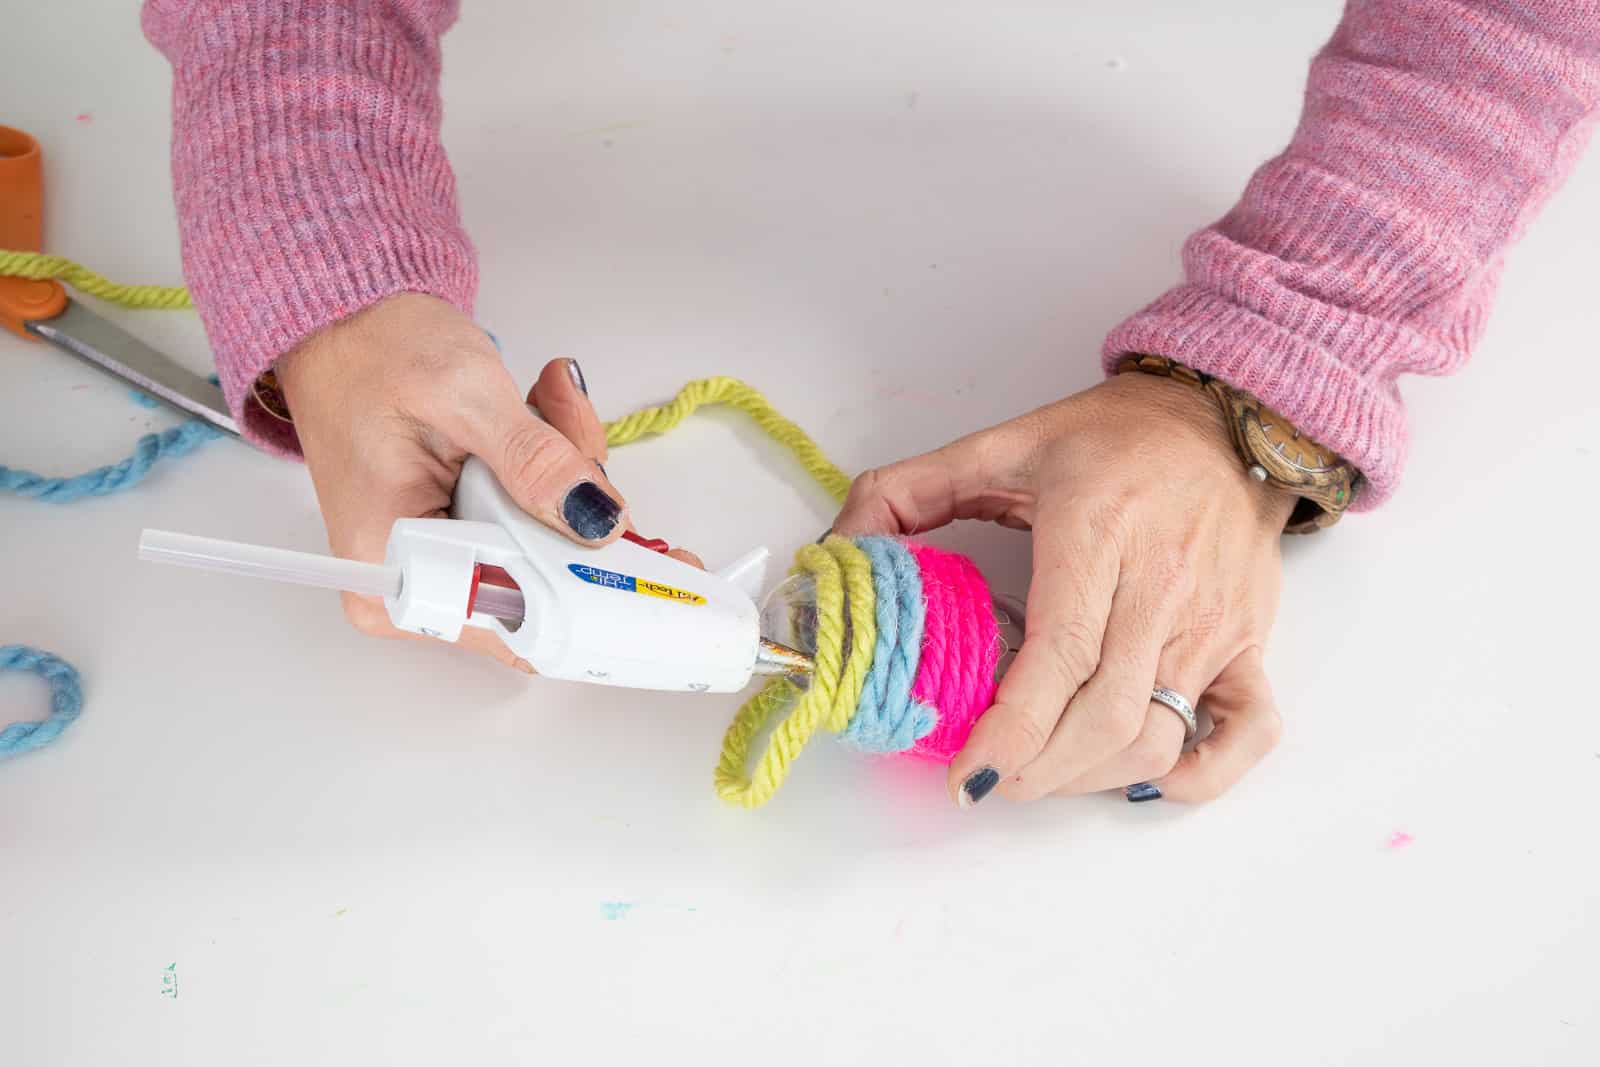
Try to wrap the yarn neatly and without leaving any gaps between each row. You can work in any pattern, but I started halfway down the ornament and alternated between chunky yarn and thin yarn. I decided to cover the entire lower half of the ornament, but again… this is where you can bring in your personal flair!
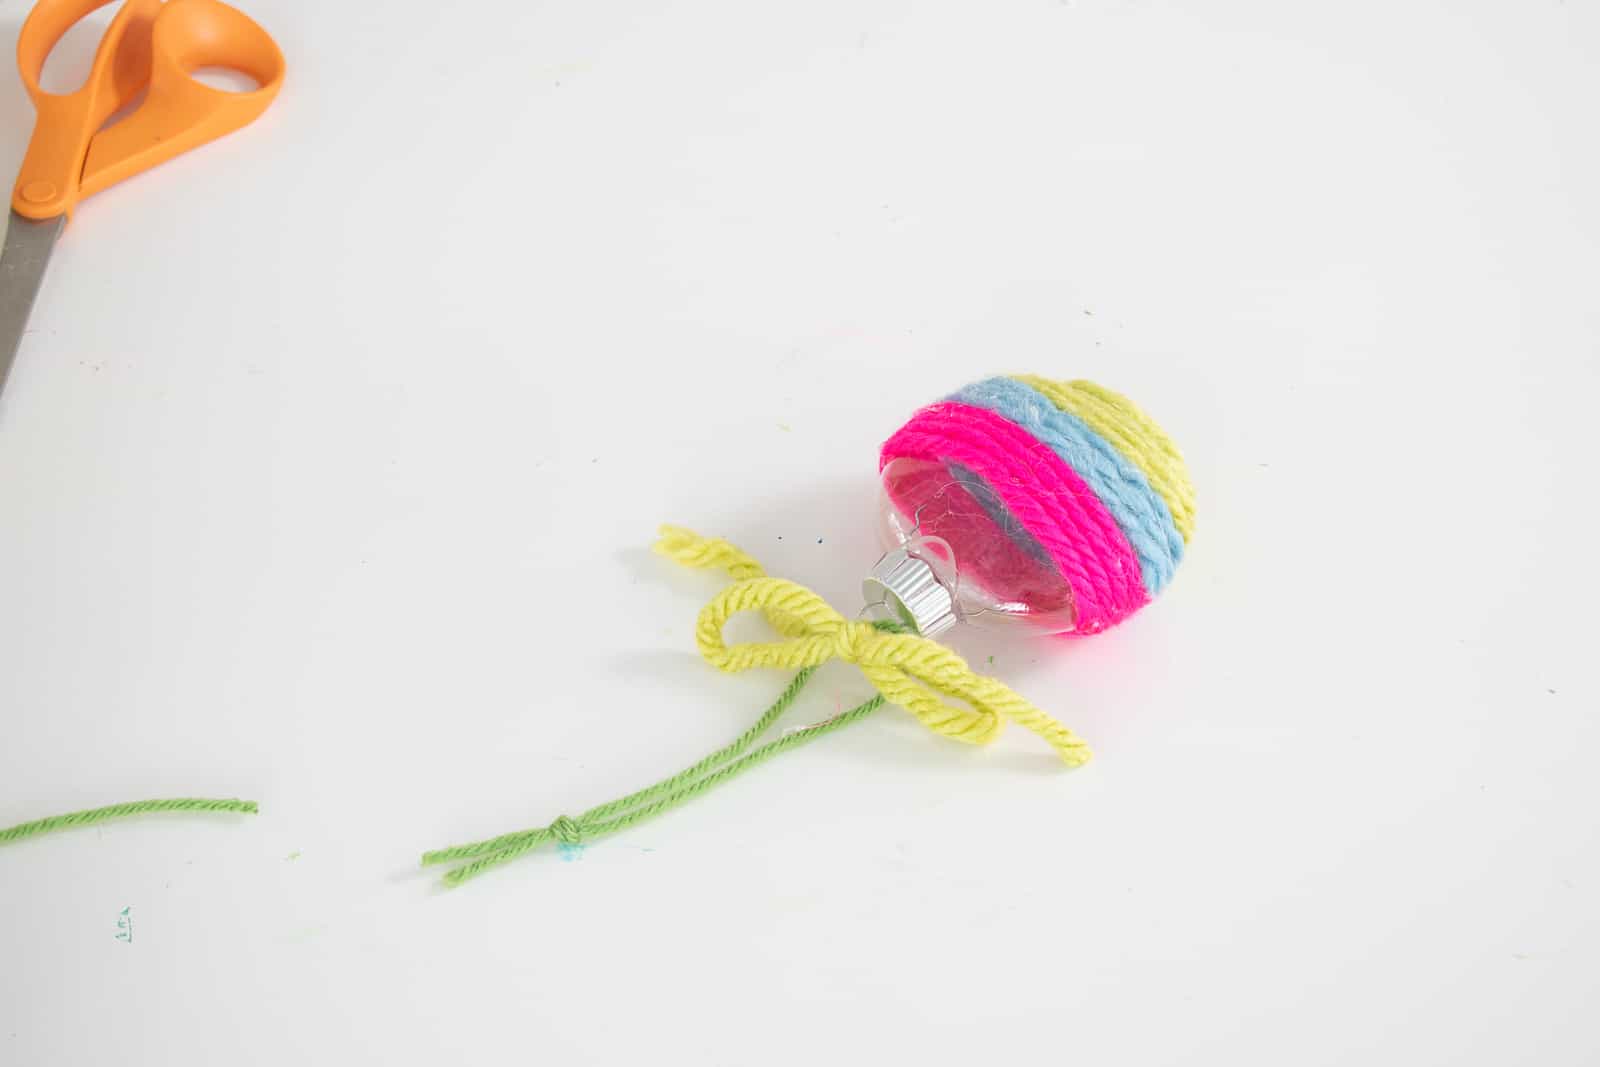
Step 3. Add a ribbon
I used the chunky yarn to add a bow to the top of the ornament, and then created the hanging loop with another strand of yarn and think these look adorable! Yes… you can totally buy these at the store, but… each one will cost between $3 and $10 and I was able to make these in 5 minutes for under a dollar so… worth it!
Materials for Yarn Wrapped Ornament
- Clear Plastic Ornaments (Note, these are the skinny ones…. not totally round. These will be cheaper at a local craft store, but I wanted to show you the ones I used.)
- Yarn


Don’t Miss Out
Become An Insider!
Signup for exclusive tips, and tricks from Charlotte’s House!
Let’s chat!
I love comments from you, so feel free to leave your thoughts and ideas below! And don’t forget to follow me on Instagram for even more!