Vertical Boot Storage Rack
Psssst… this post *might* contain affiliate links: see my disclosure here.
Vertical Boot Rack
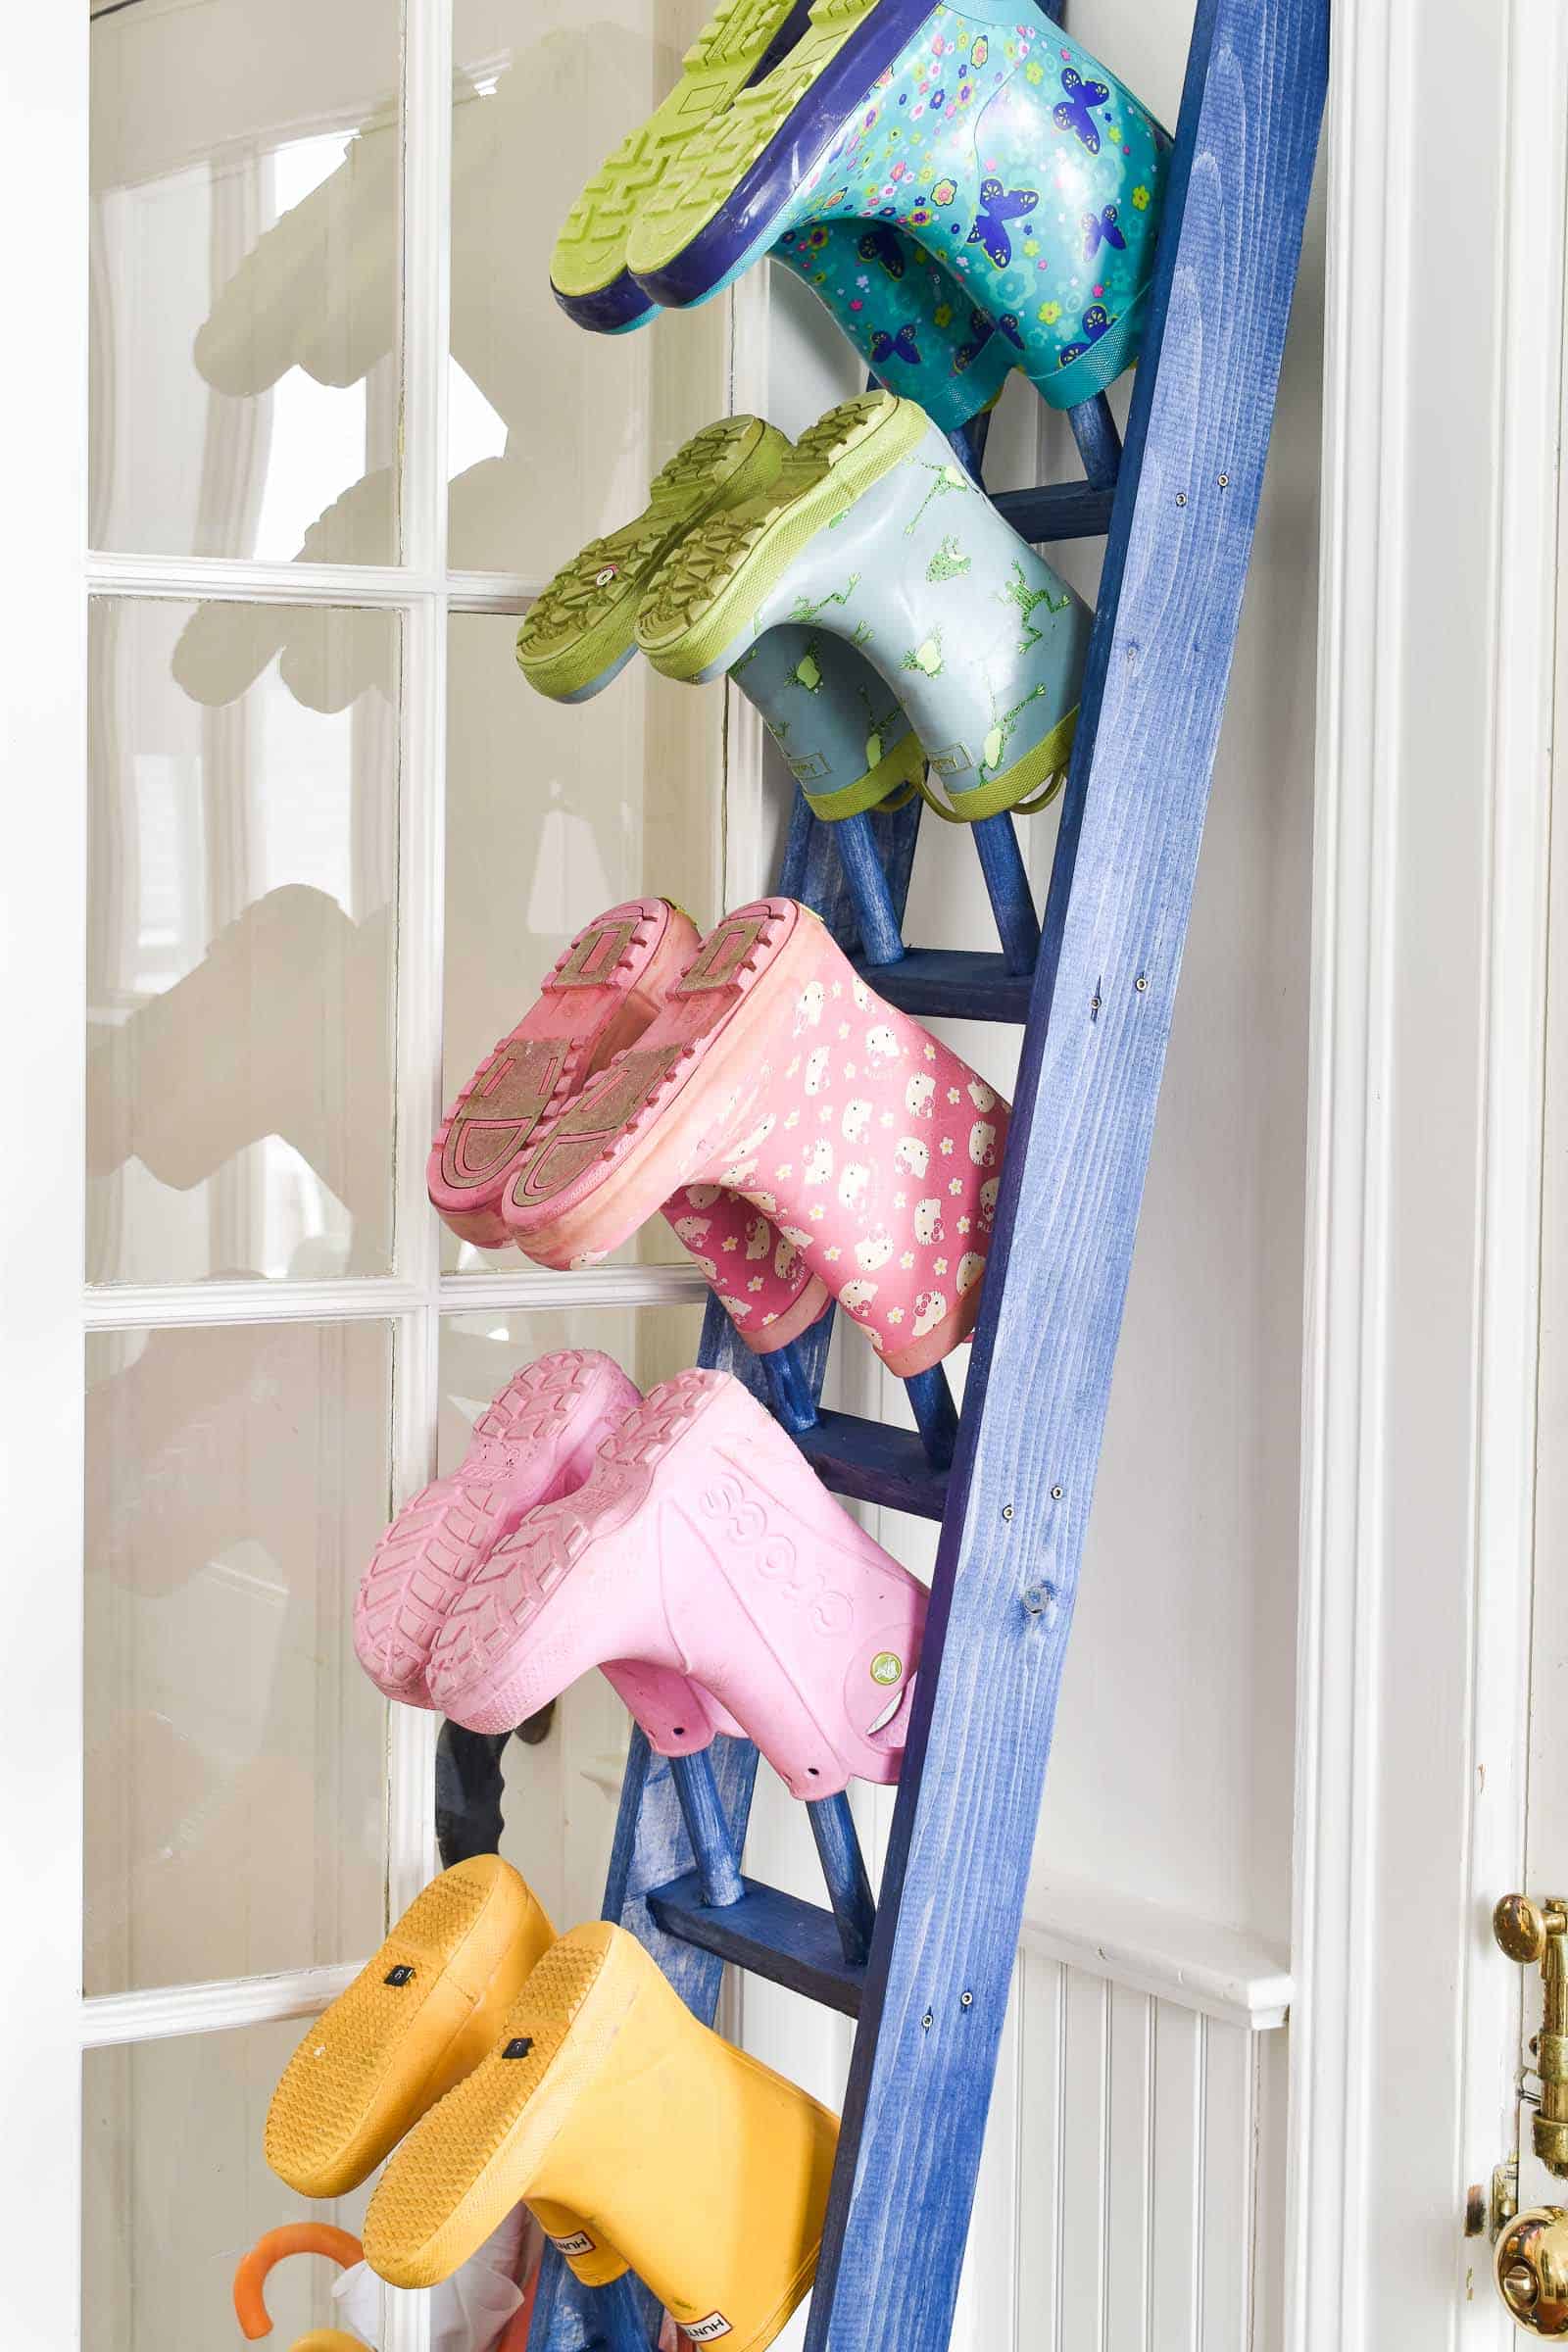
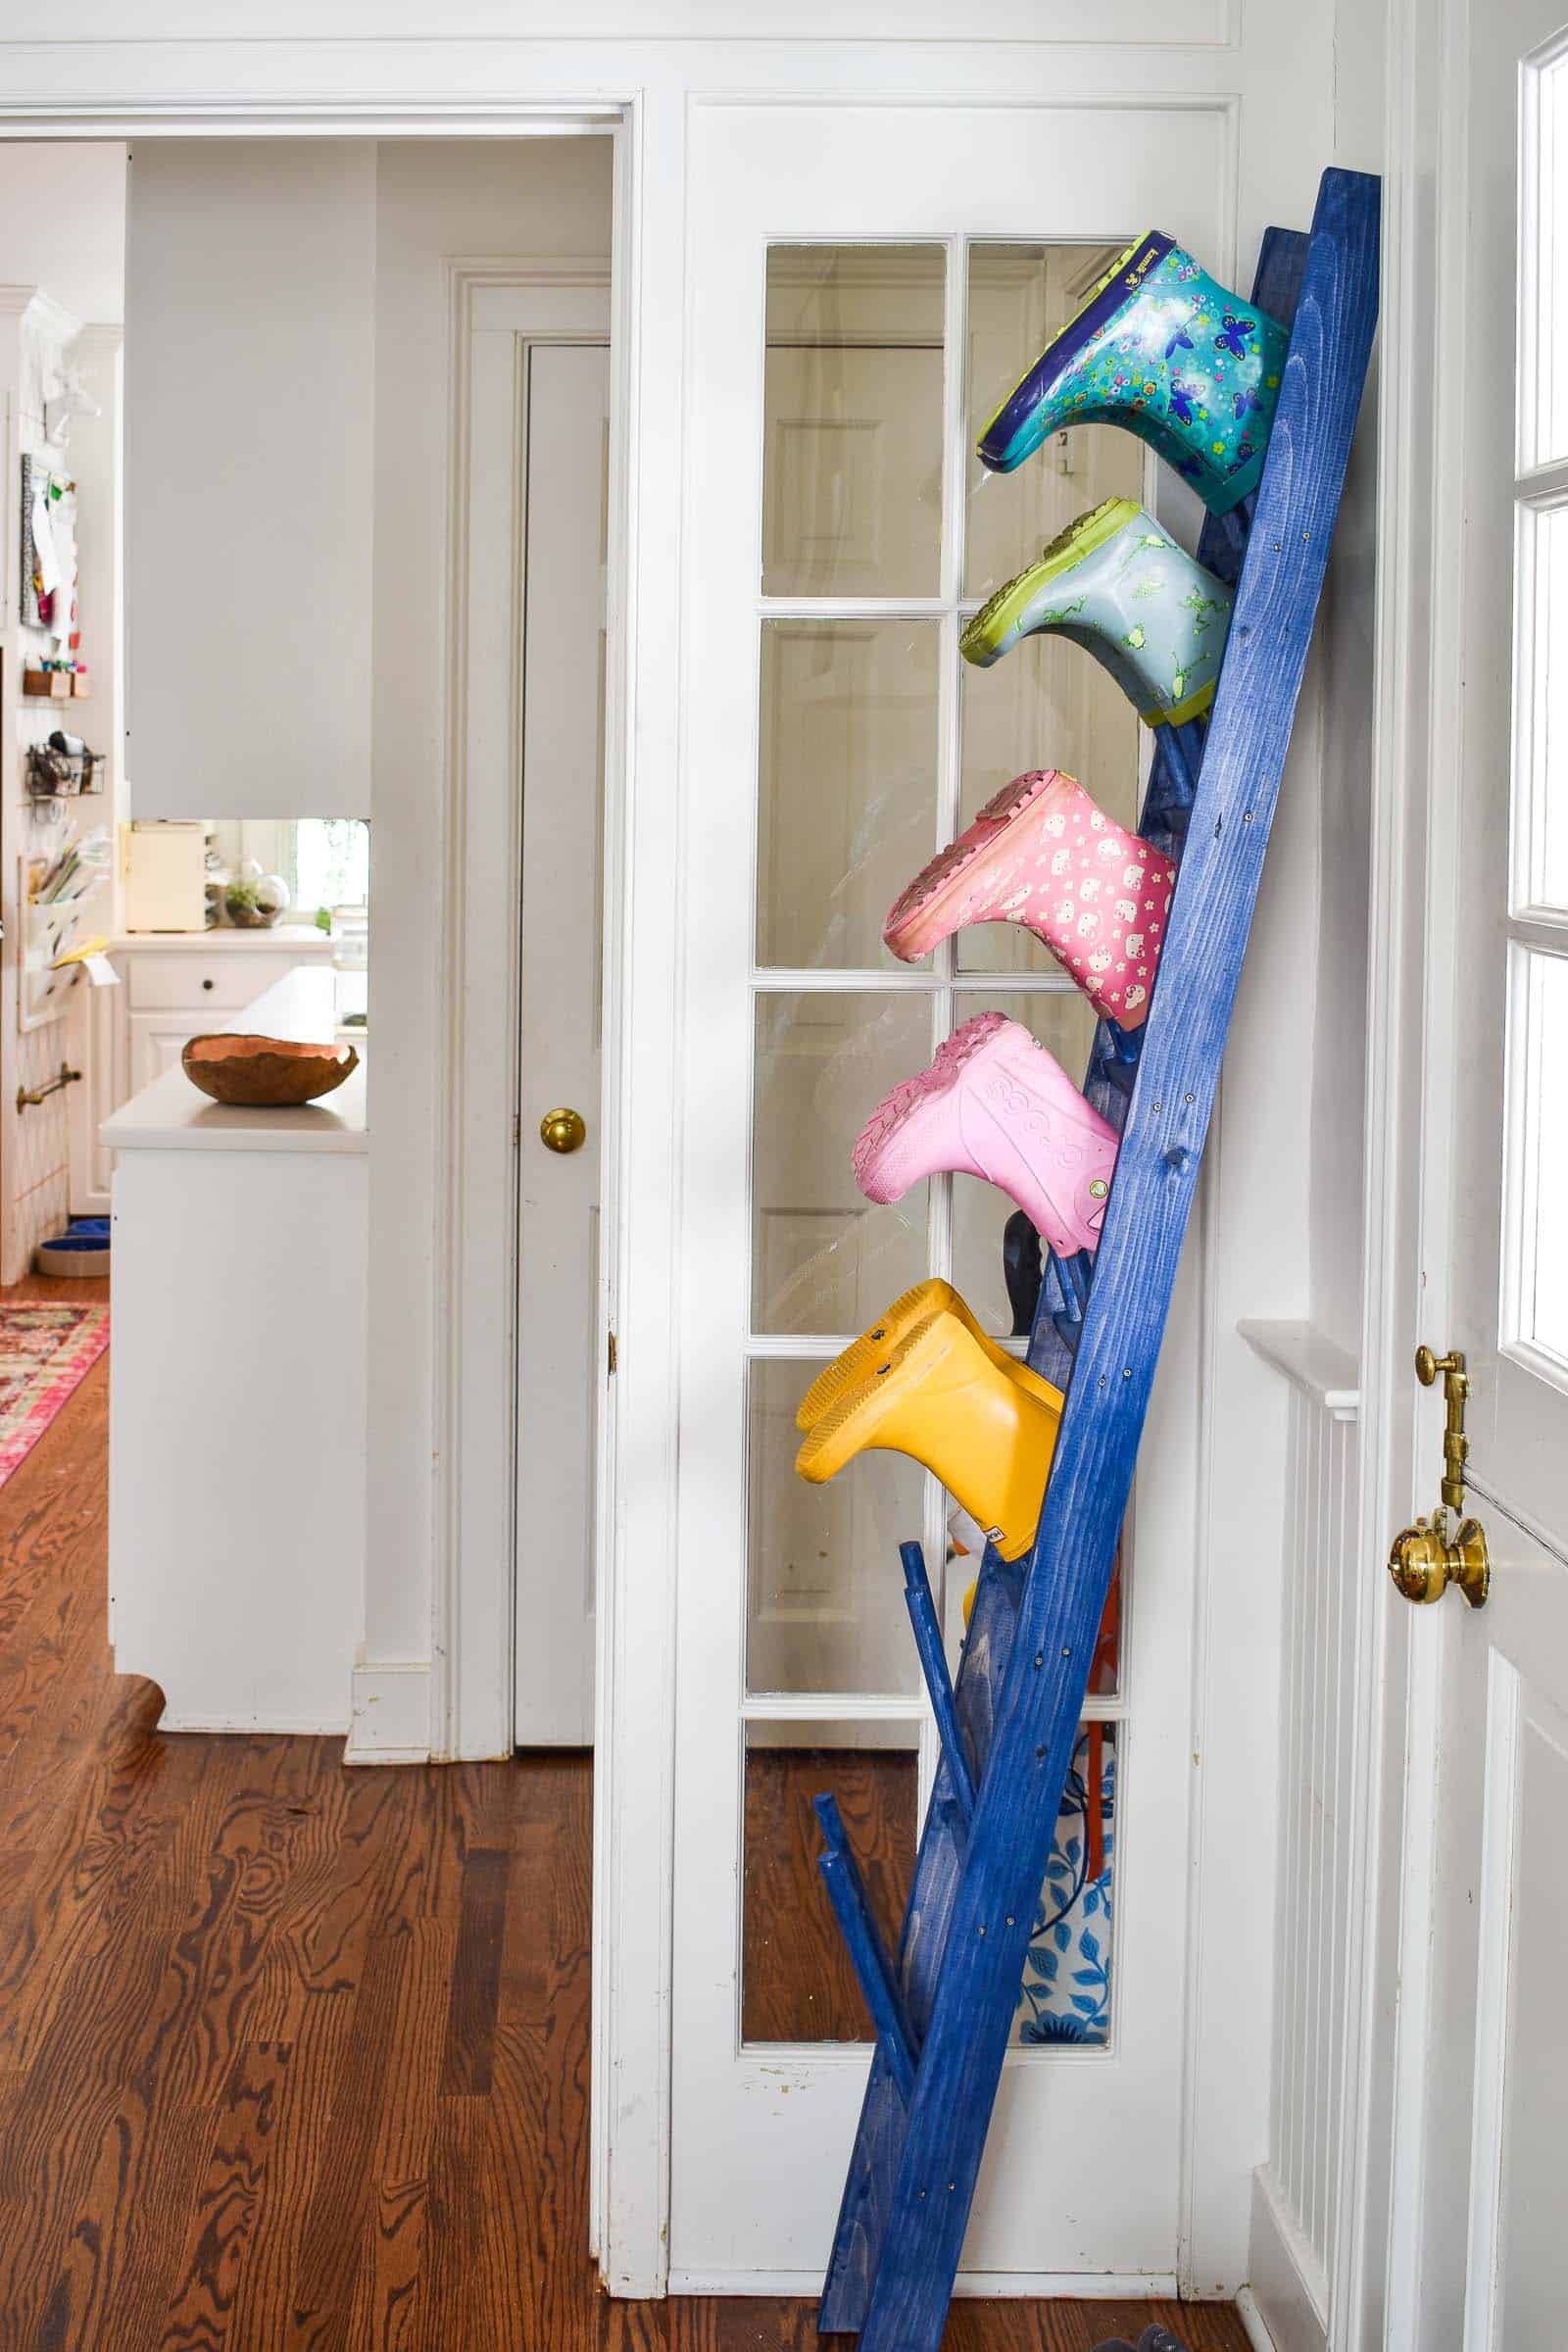
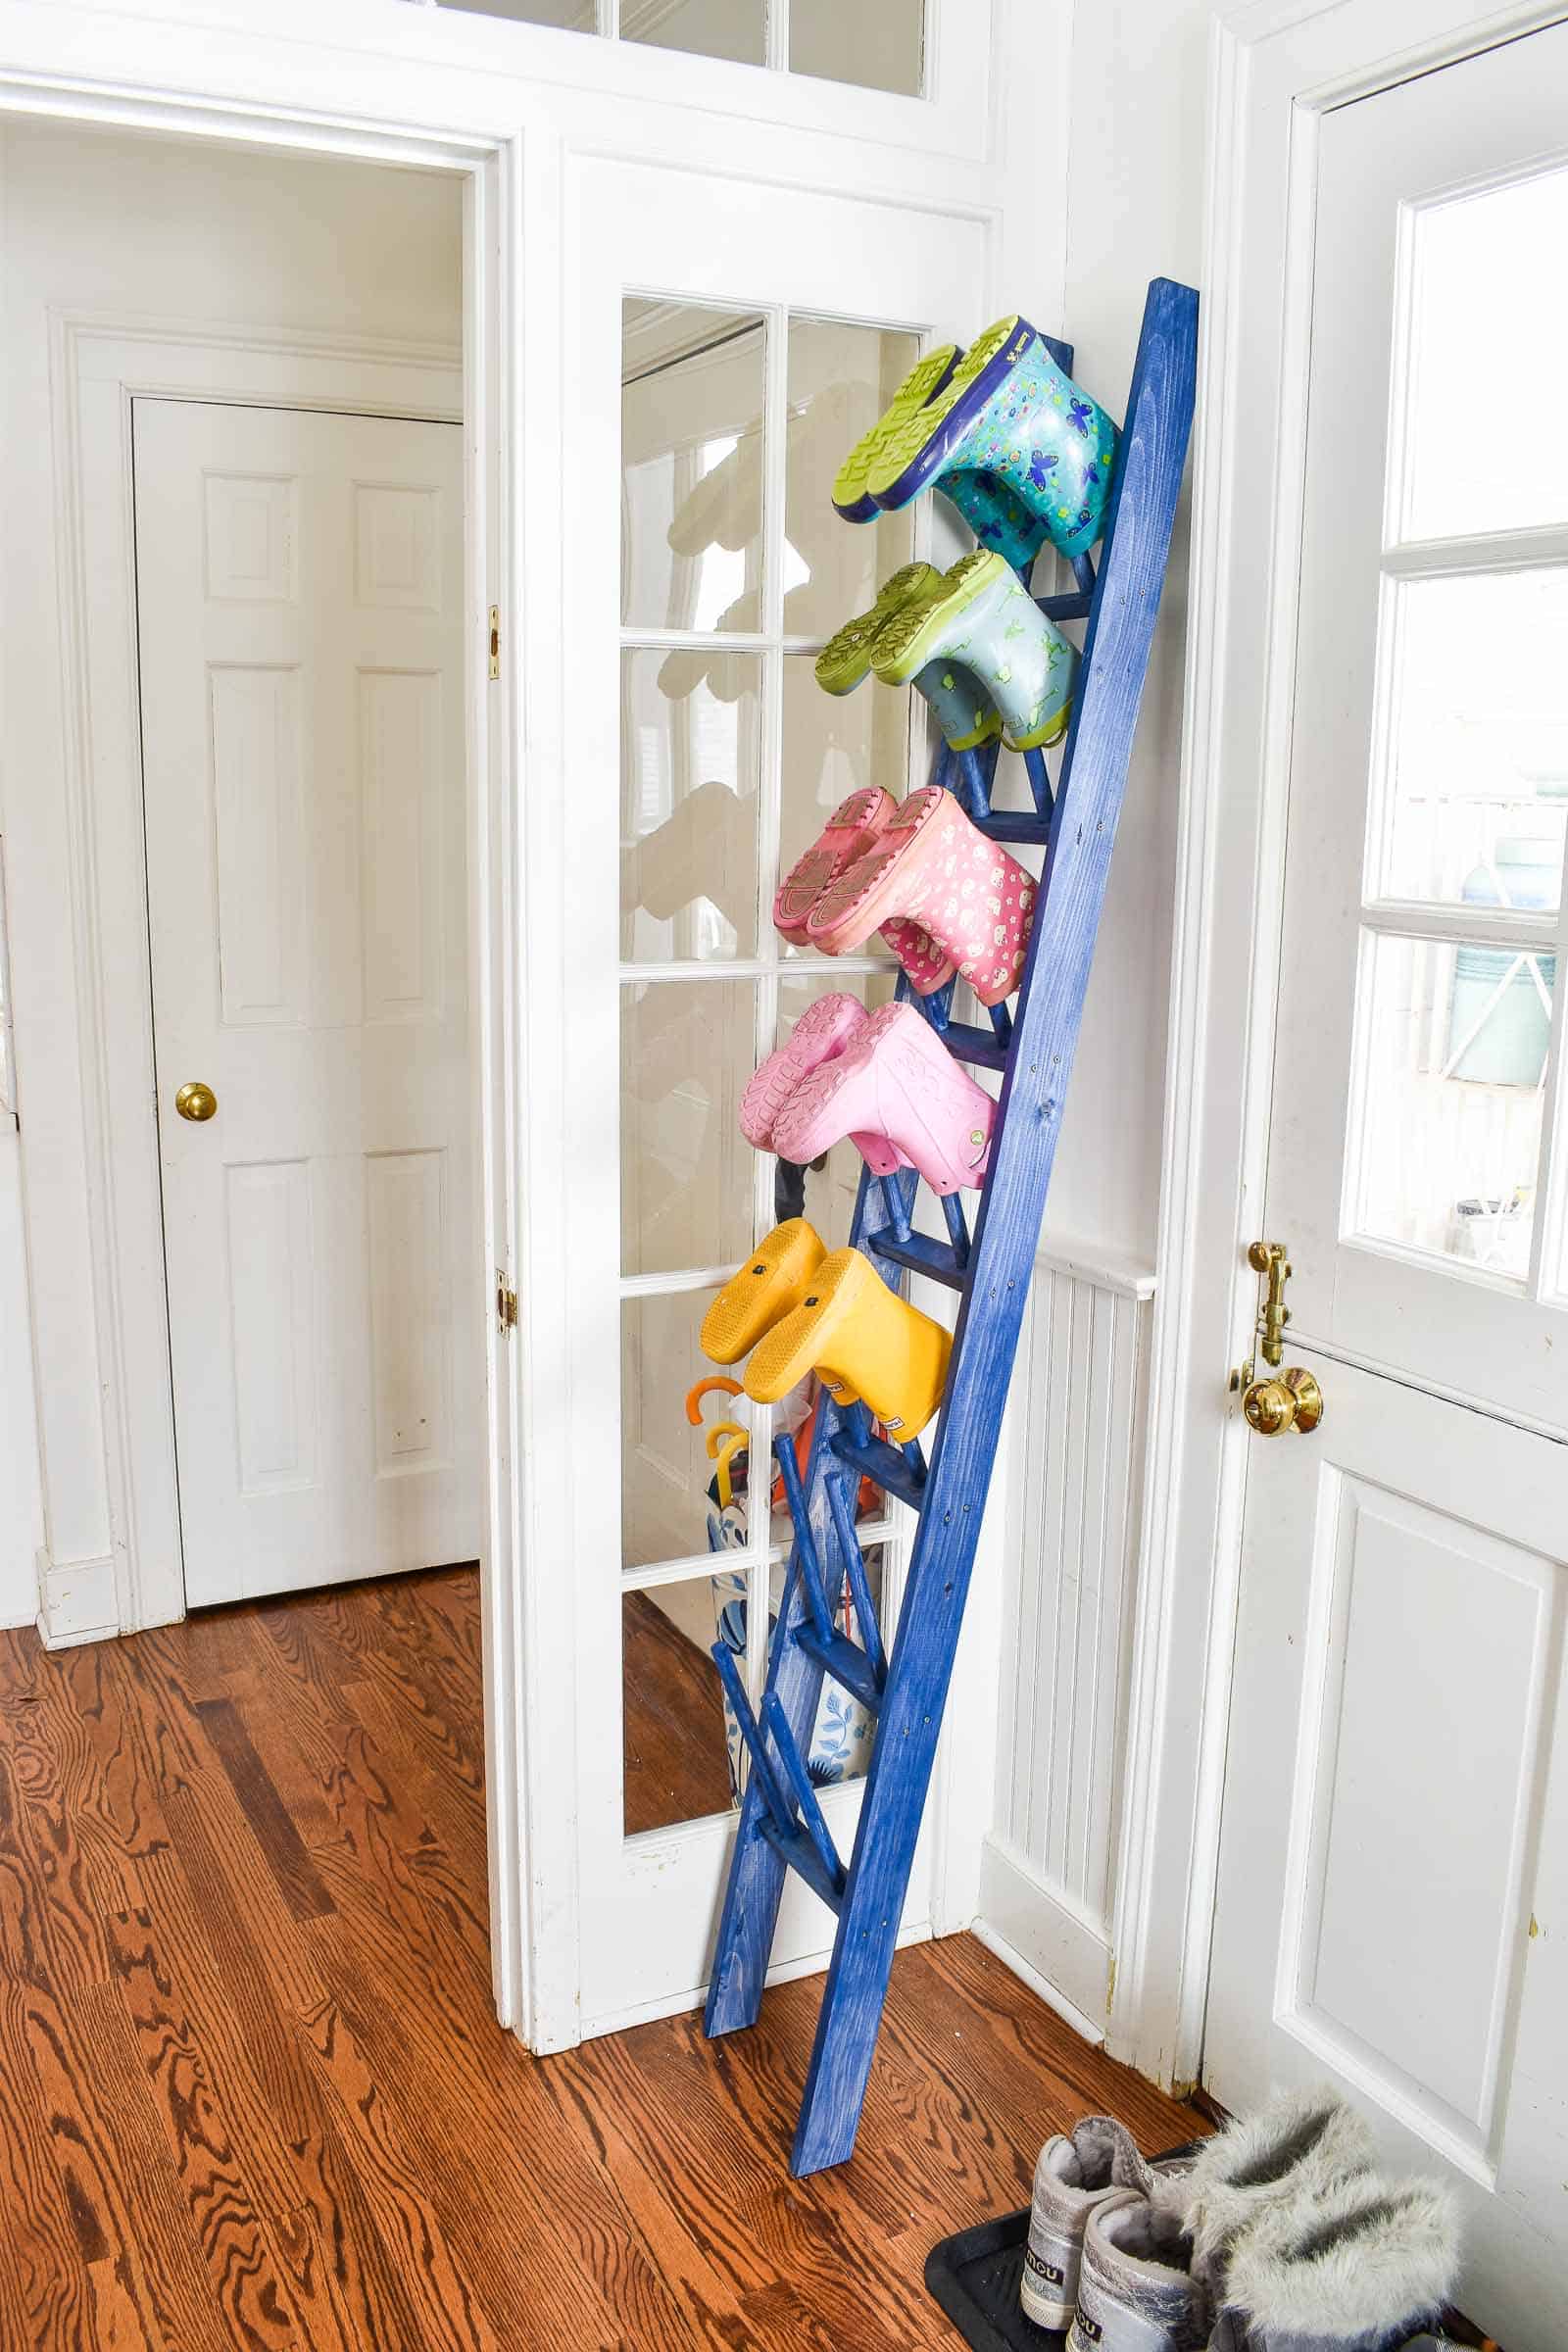
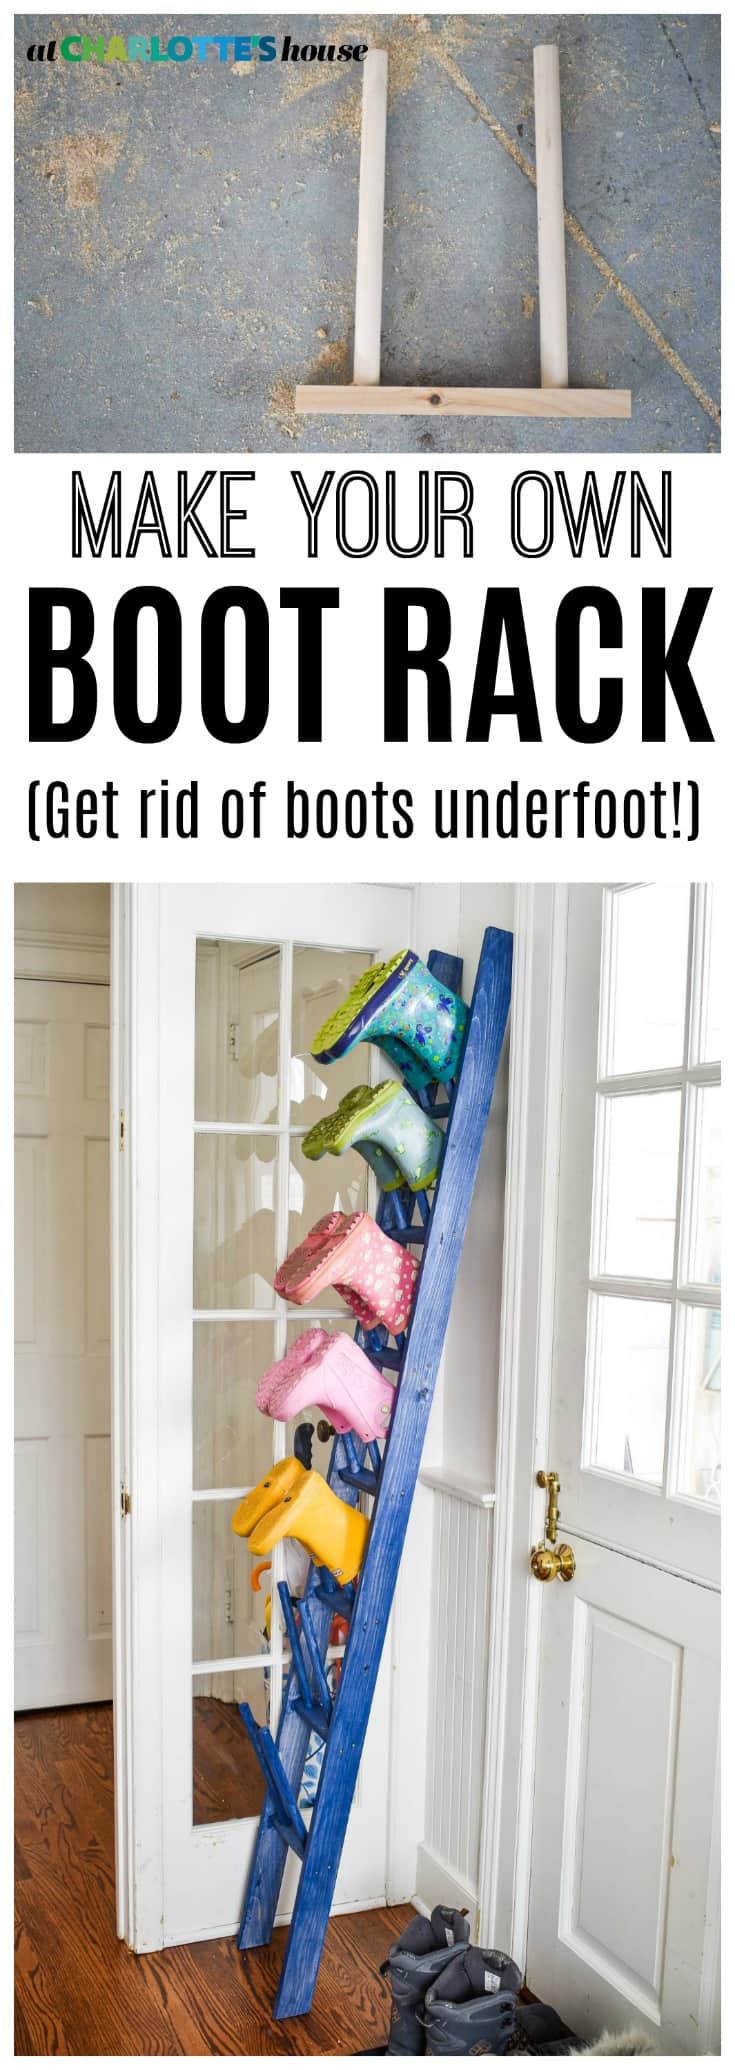
Boots. They were everywhere and taking over my mini-mudroom. At some point, each child has ended up with a pair of rain boots and a pair of snow boots. I LOVE the storage bench I made but two pairs of boots don’t exactly fit in each drawer so they were just scattered around taking up space and cluttering the little bit of room we have in there. A rule of thumb when trying to take advantage of small space organizing is to go vertical. Which is how I came to this idea for all our boots! This storage ladder is a game changer! Determine how wide and how high you want your ladder to be and then follow along below for the step by step instructions!
Shop my favorites!
Materials
(2) 1×3 common pine
(2) 1×2 common pine
(4) 3/4″ dowels
Trim head screws
Drill
3/4 paddle drill bit
Step 1. Cut Your Wood
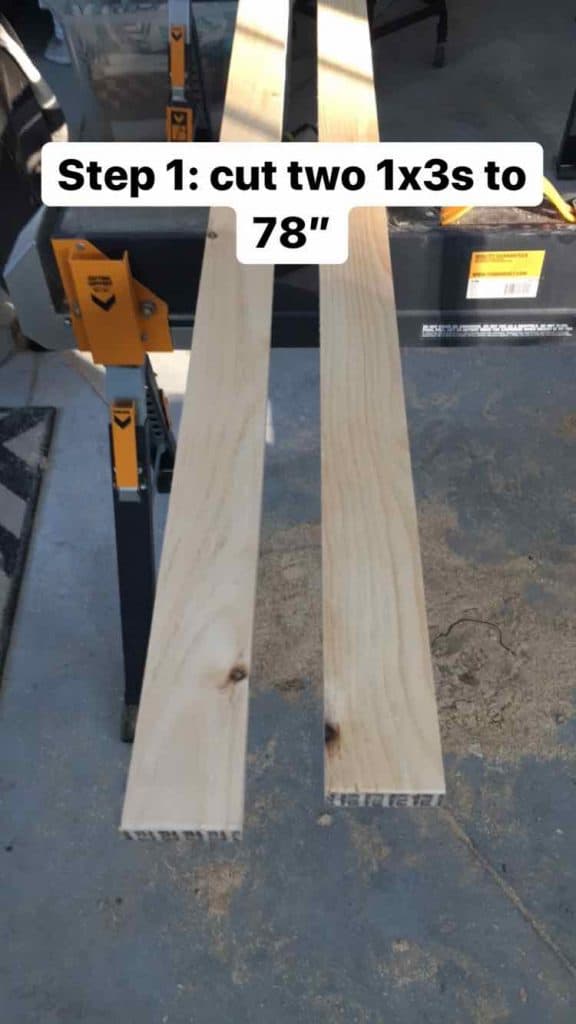
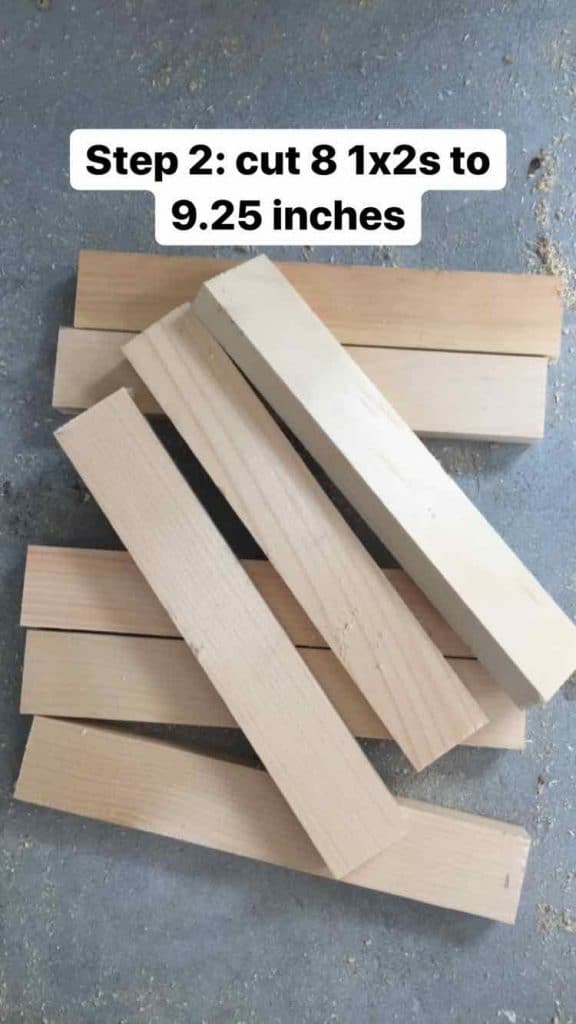
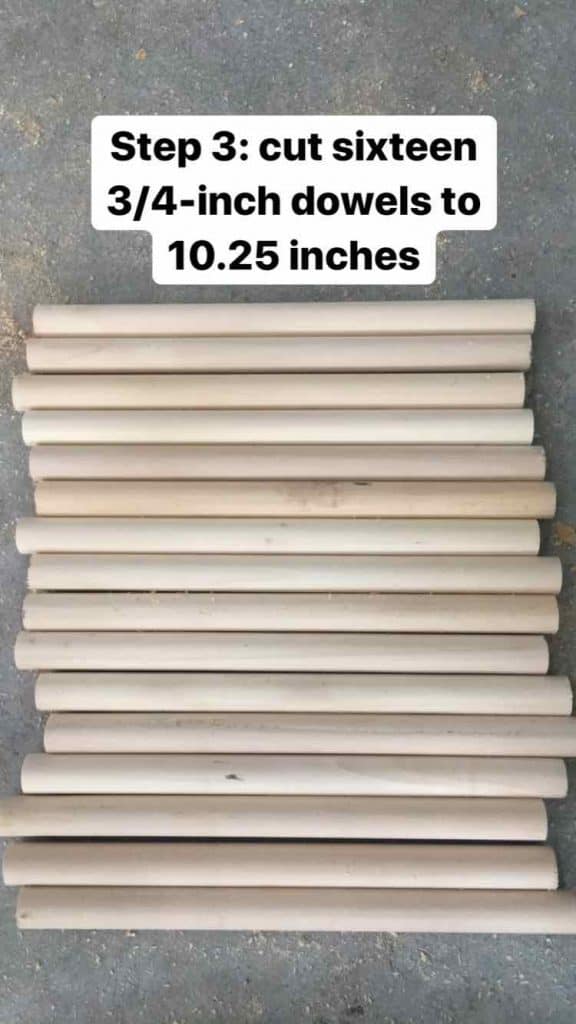
Decide what angle you’d like the ladder to sit against the wall and miter two ends of the 1x3s. Mine are about 10º cuts. The 1×2 ‘rungs’ of my ladder are about 10-inches wide but this will depend on your space and how wide you’d like the ladder. My dowels are also about 12-inches, but I based the length of these on most of the boots we had lying around.
Step 2. Build the “Rungs”
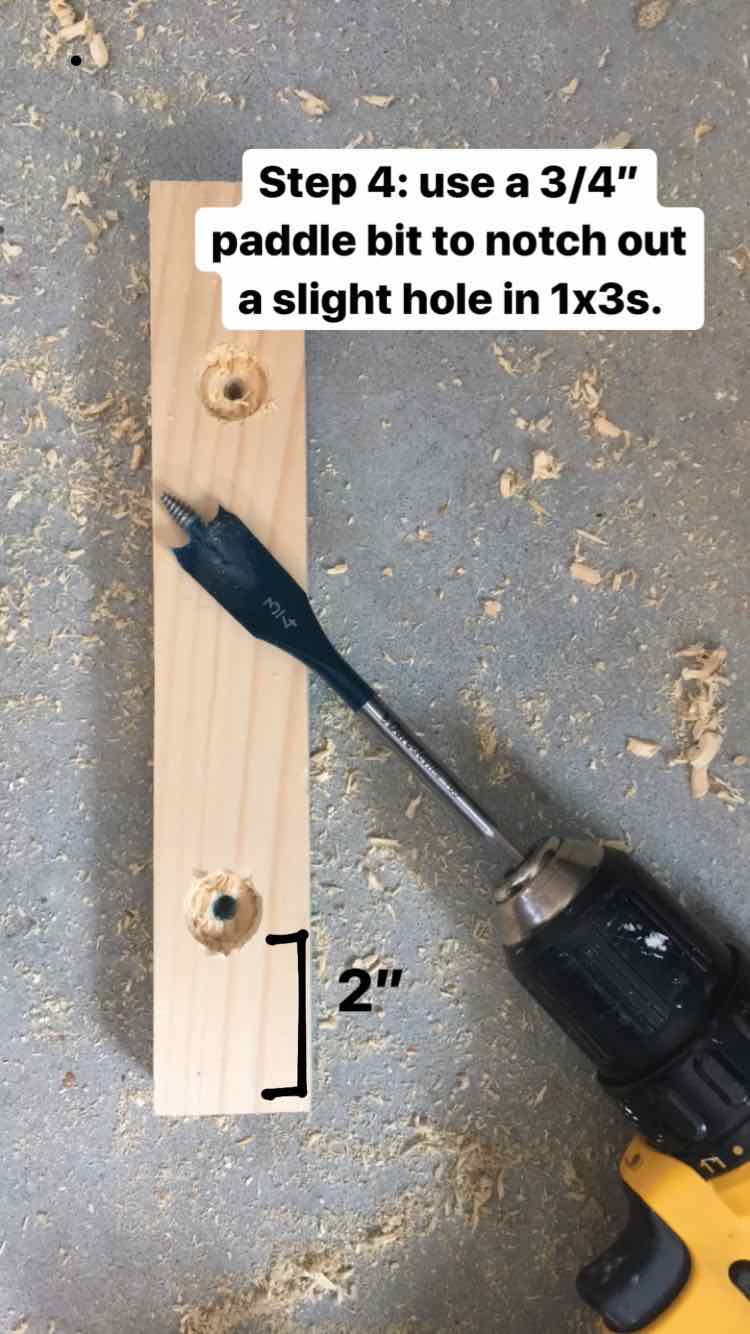
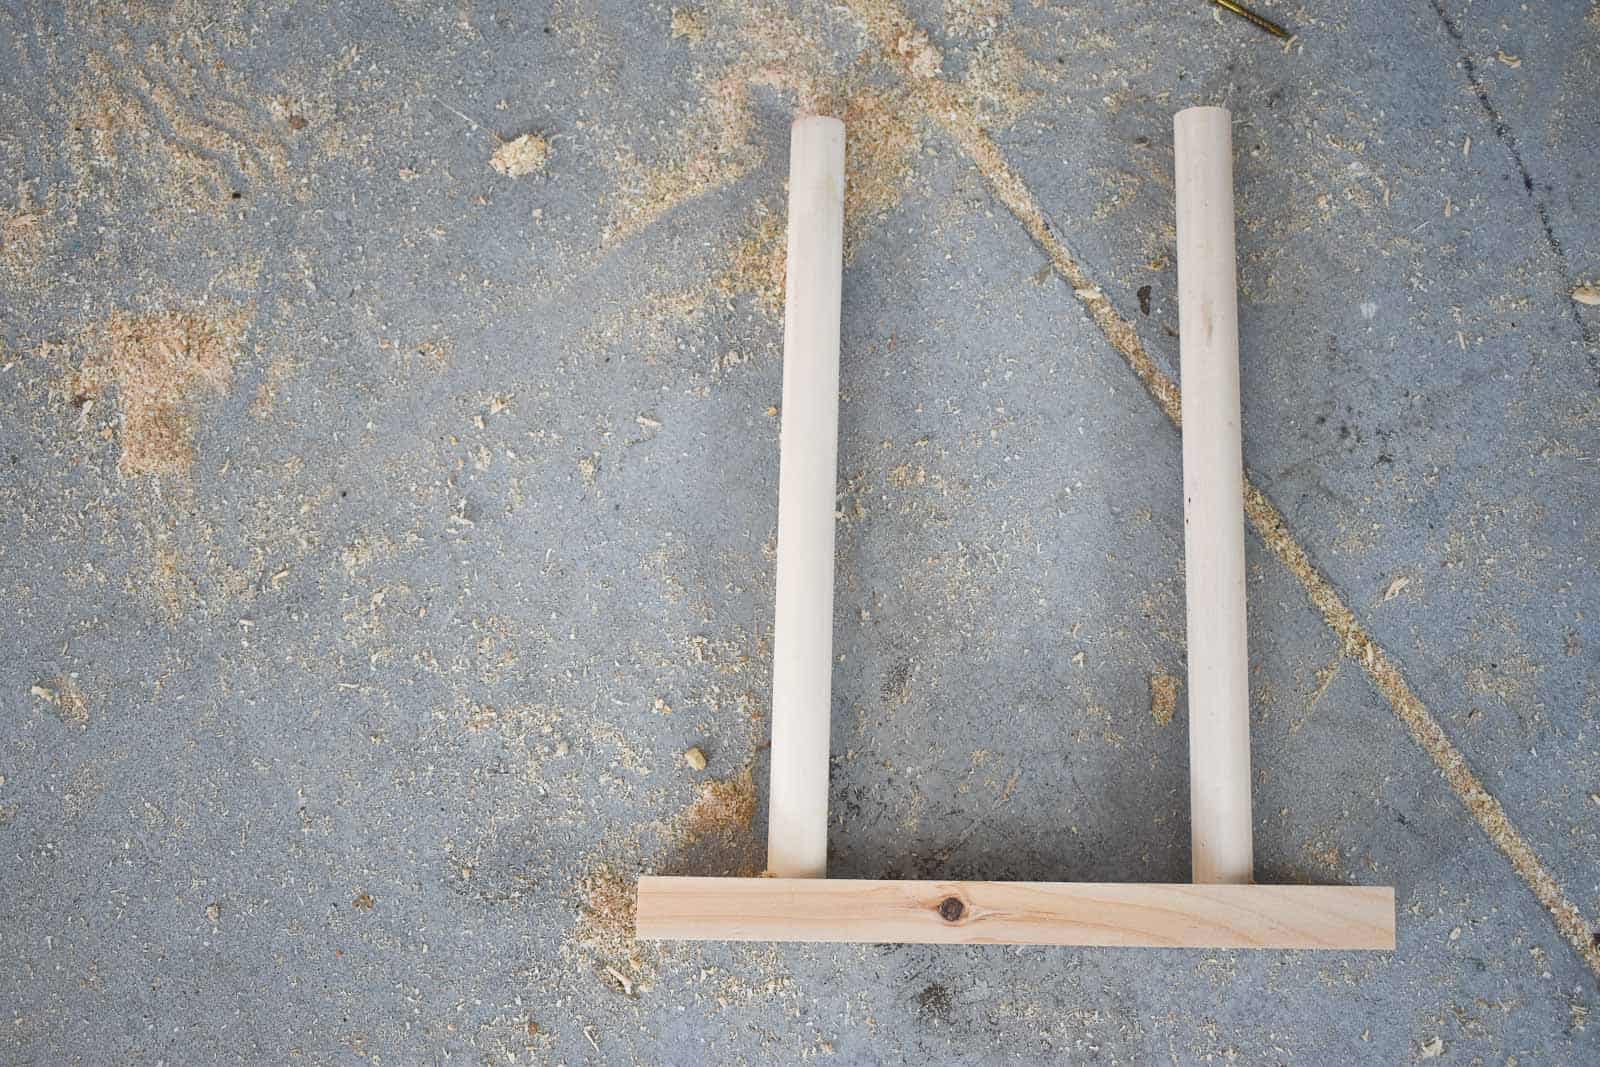
Using the 3/4-inch paddle bit, drill about 1/4″ into each 1×2. Center this hole on the width of the board, and space them out by 6-8 inches depending upon the size of your boots!
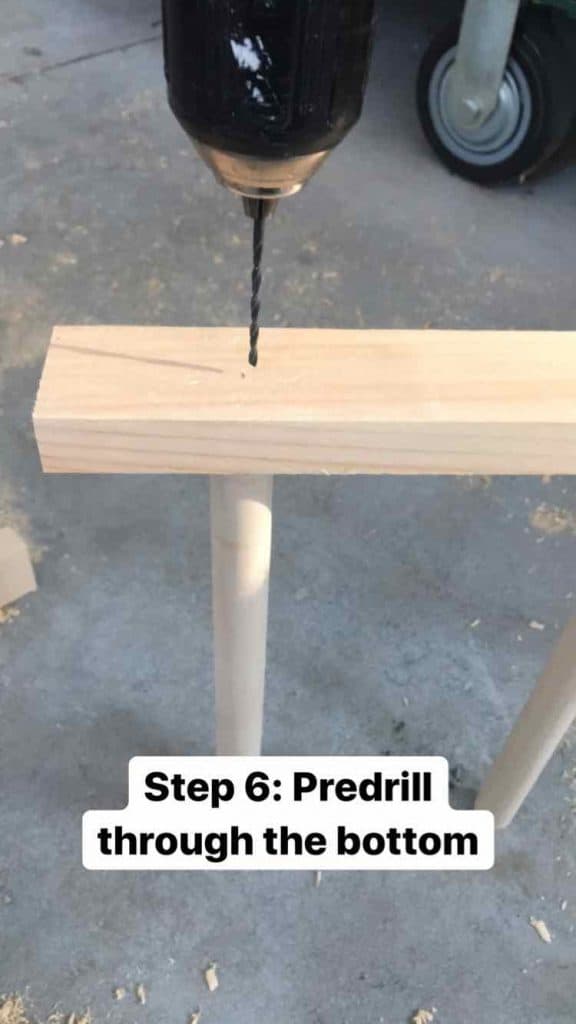
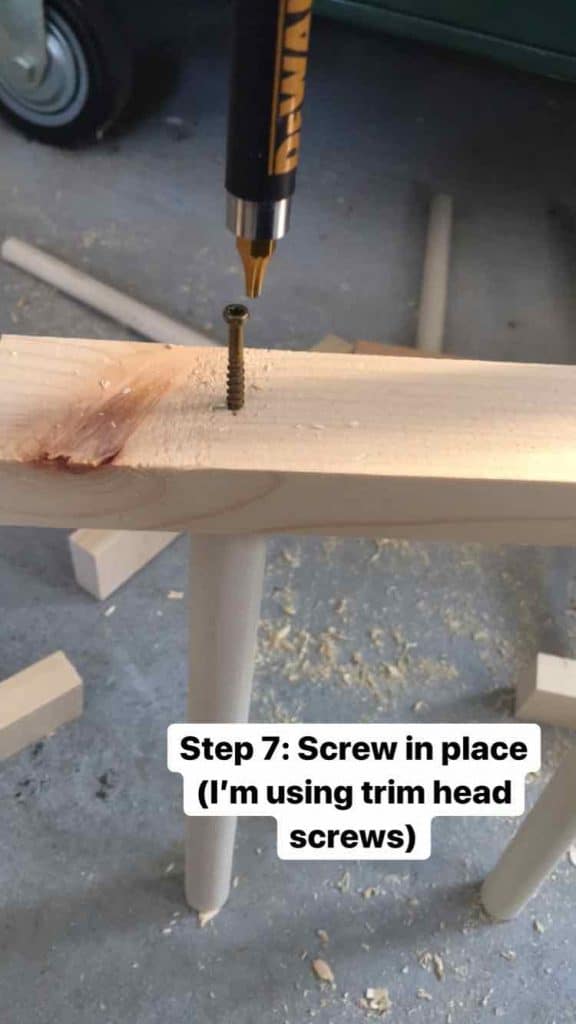
Hammer the dowels into the holes. Predrill from the back, through the 1×2 and into the dowel. Secure with a 2-inch trim head screw.
Repeat.
Step 3. Assemble Ladder
This was definitely the part of this project that I had to ponder for a bit. I started by determining how far apart I wanted the rungs and at what angle I wanted them to attach to the side rails. I obviously measured to make sure the rungs were all equally spaced, but I eyeballed how far apart they should be as well as what angle would work best.
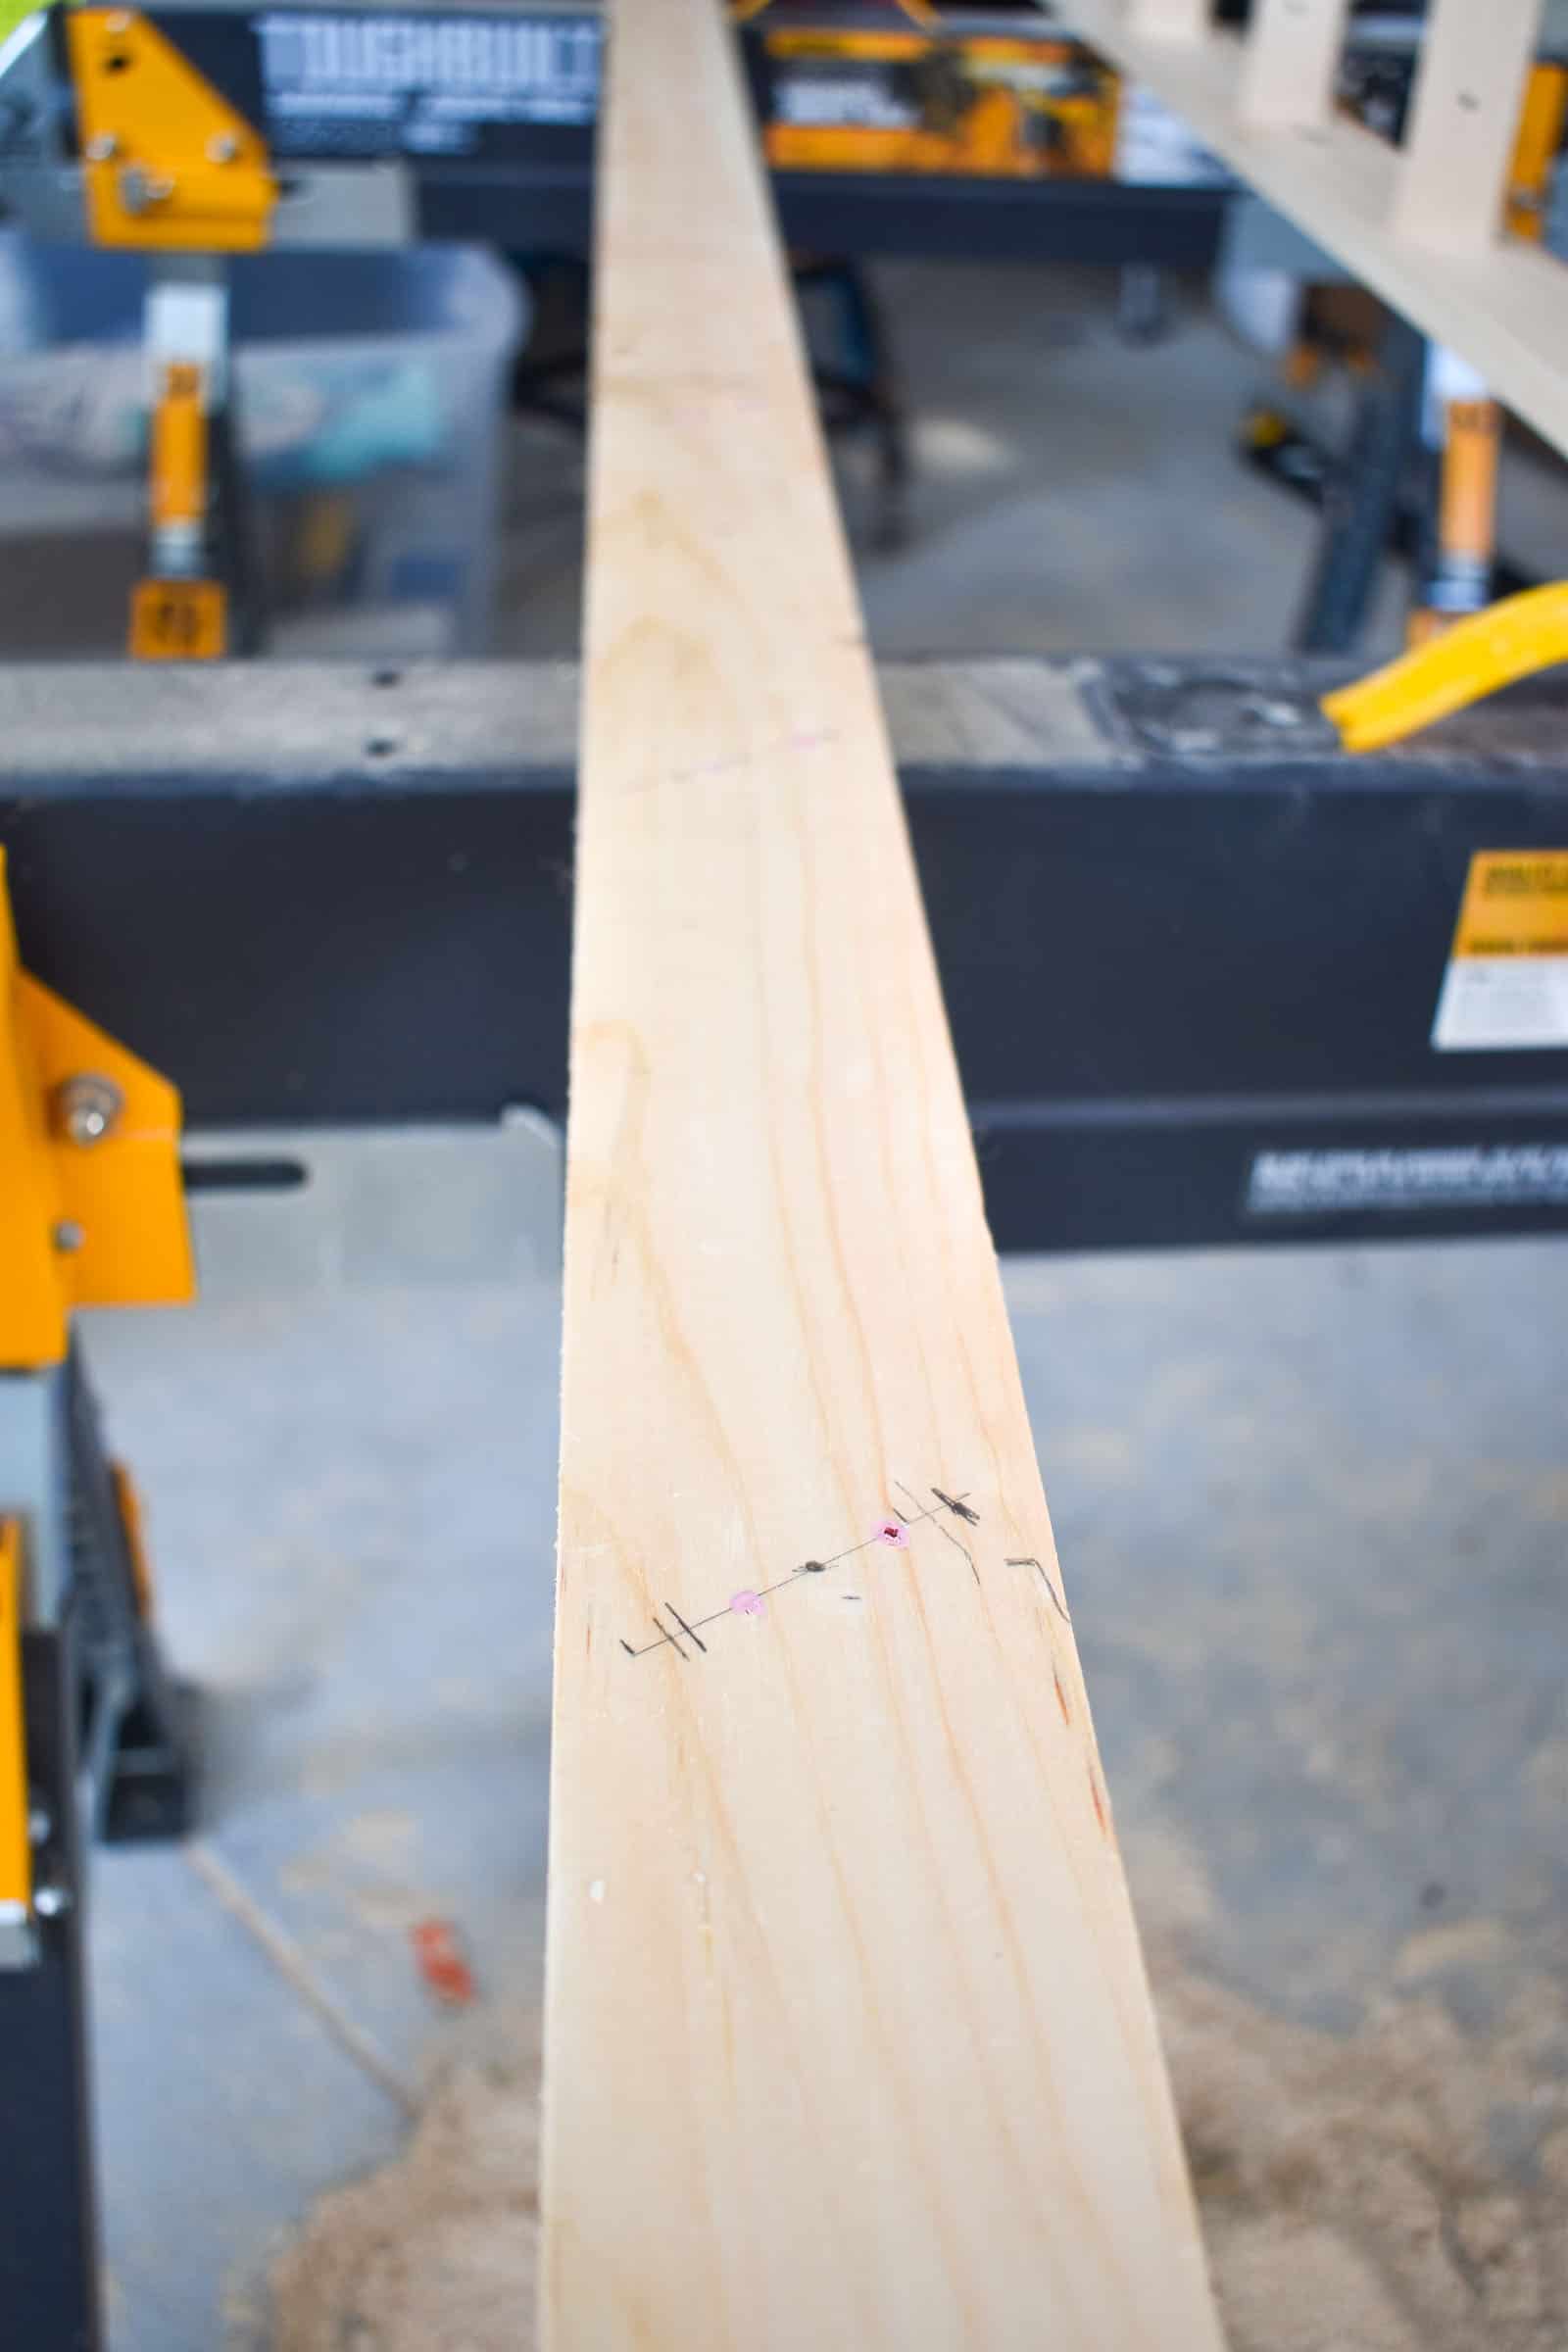
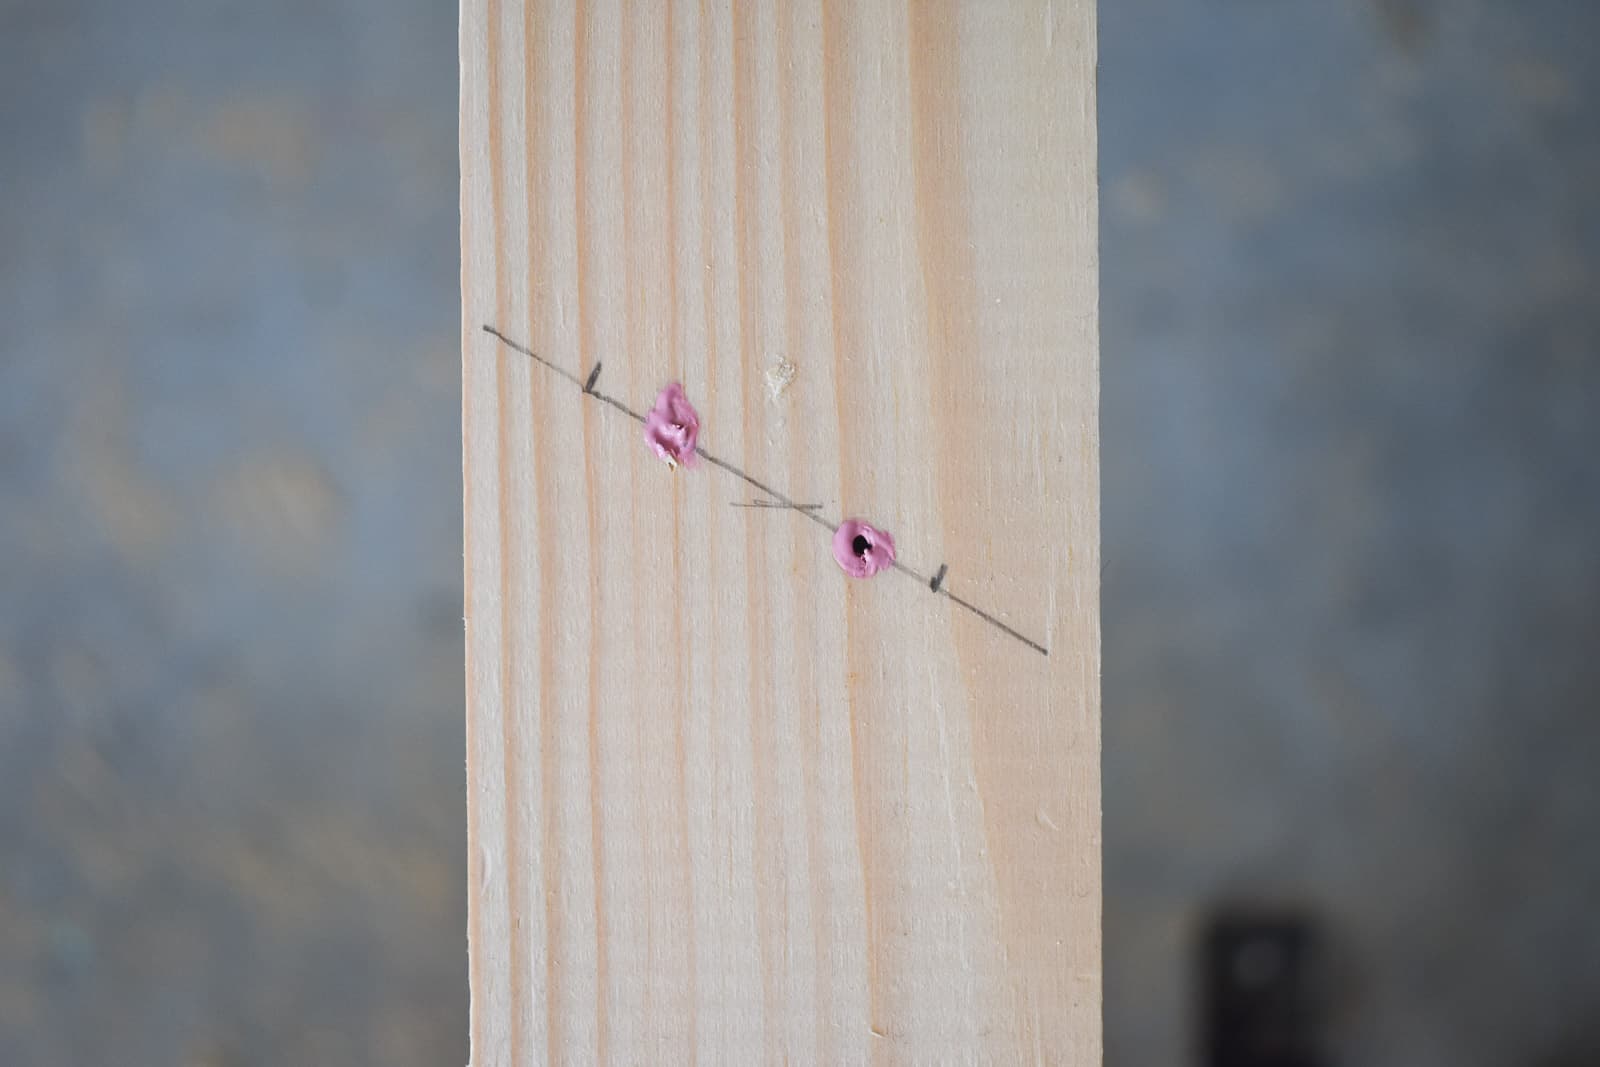
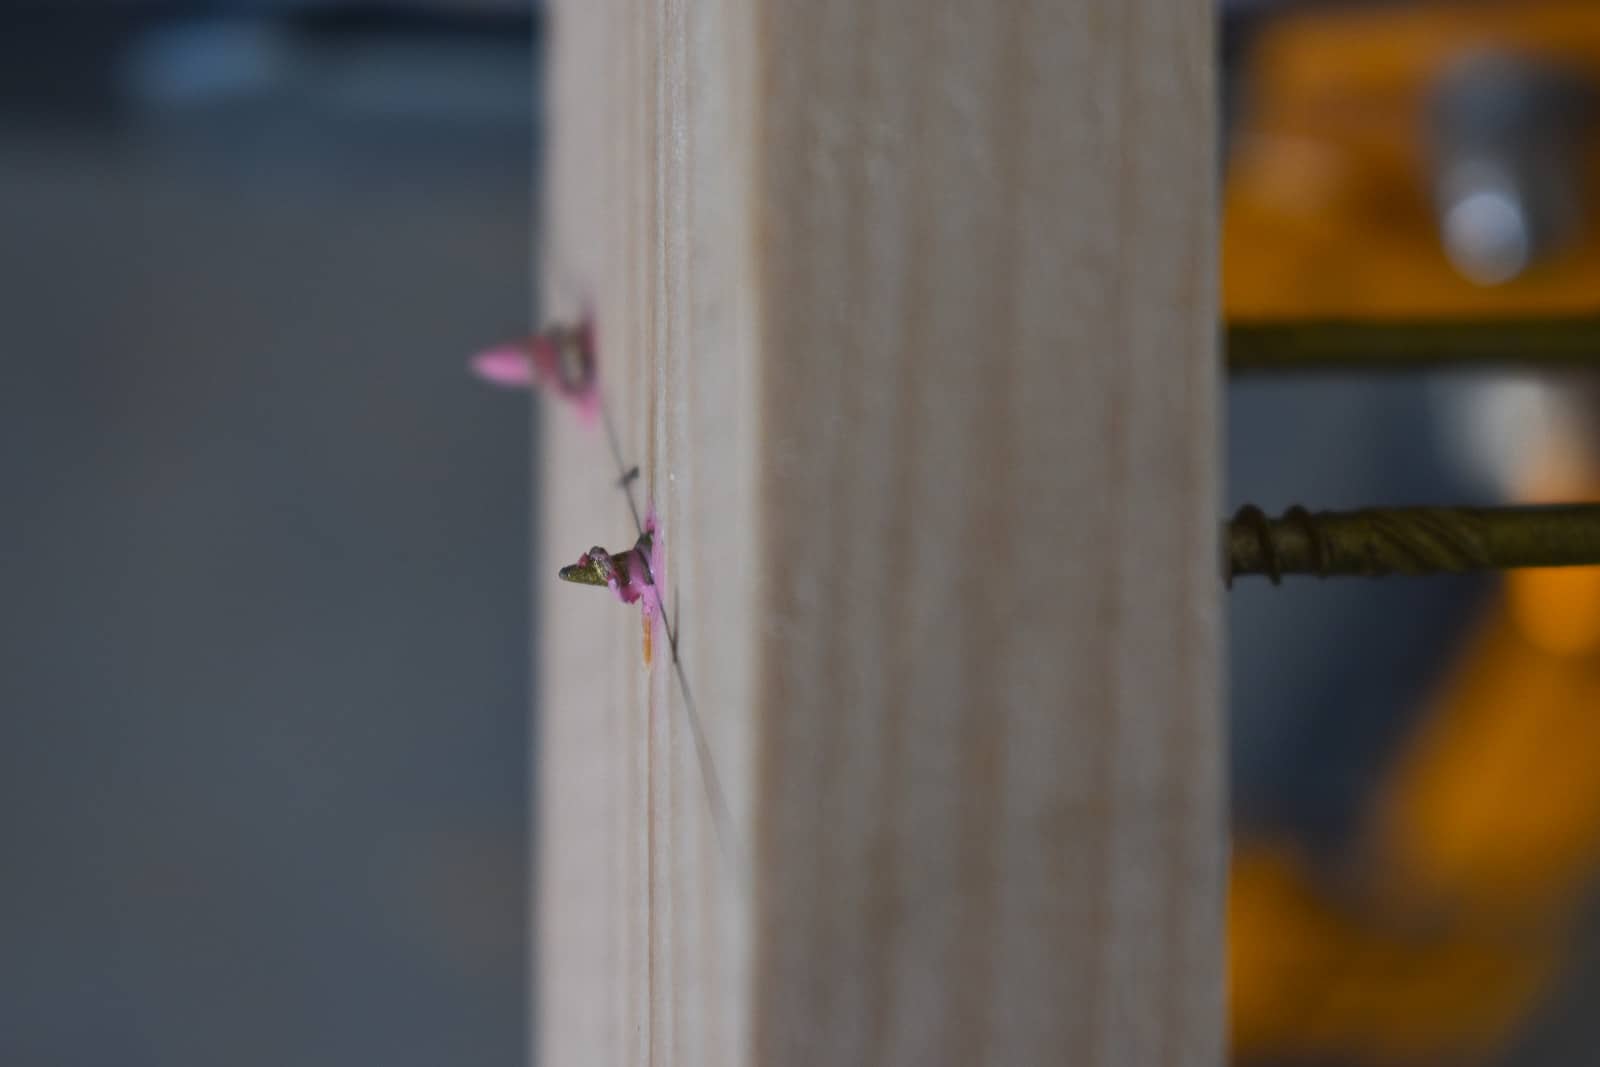
I centered and angled the rungs on the 1×3 siderail and marked their position. Then I predrilled the 1×3. because I needed to afix the rungs with a screw coming from the outside of the ladder, I wanted to prederill the sides of the rungs to prevent splitting.
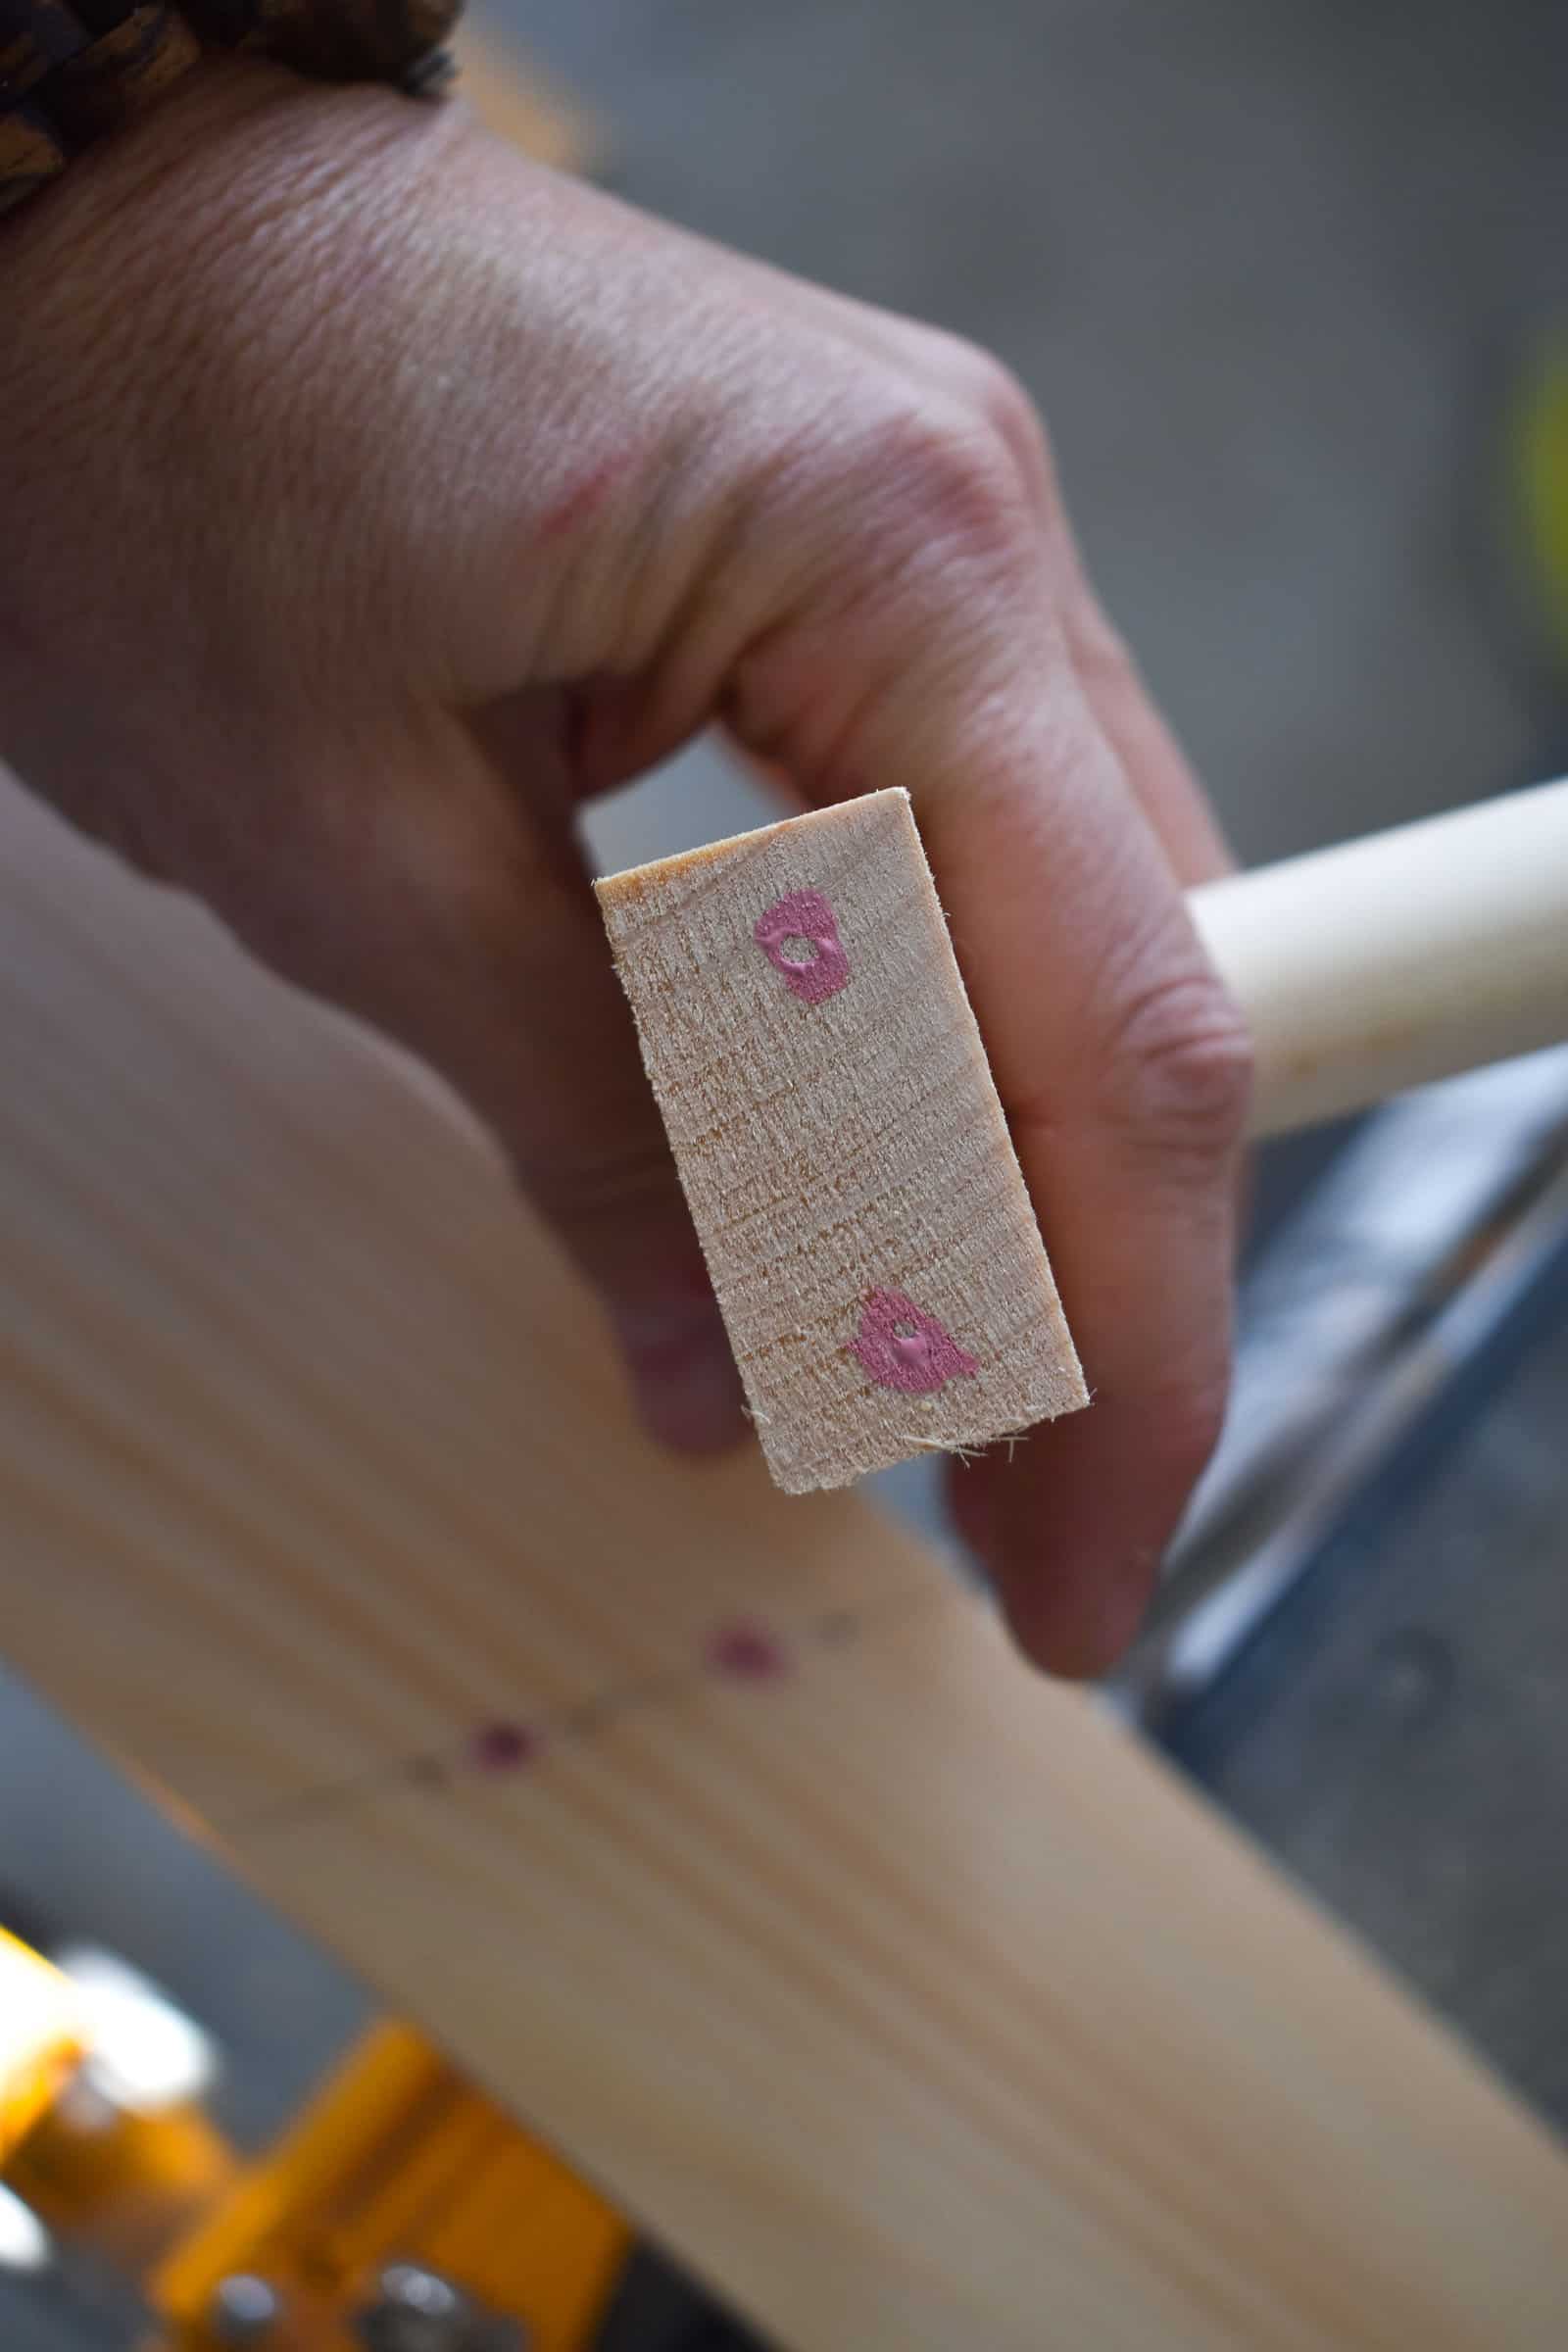
To figure out where to predrill, I marked the holes on the siderail with a dot of paint. When I placed the rungs into their position, the paint indicated where I needed to predill.
Once all my rungs were predrilled and marked, I began to assemble the ladder. Using the trim head screws, I was able to line up the rungs with the side rails and then screw them in place from the outside of the ladder.
I repeated this step to attach the second side rail. It was a little more challenging to line up the predrilled holes through the siderail with the predrilled holes in the rungs, but I was able to do it the same way.
I gave it one coat of this blue Americana Decor Color Stain (affiliate) to match the upholstery on the bench and it’s already made SUCH a difference to the clutter level in the space!
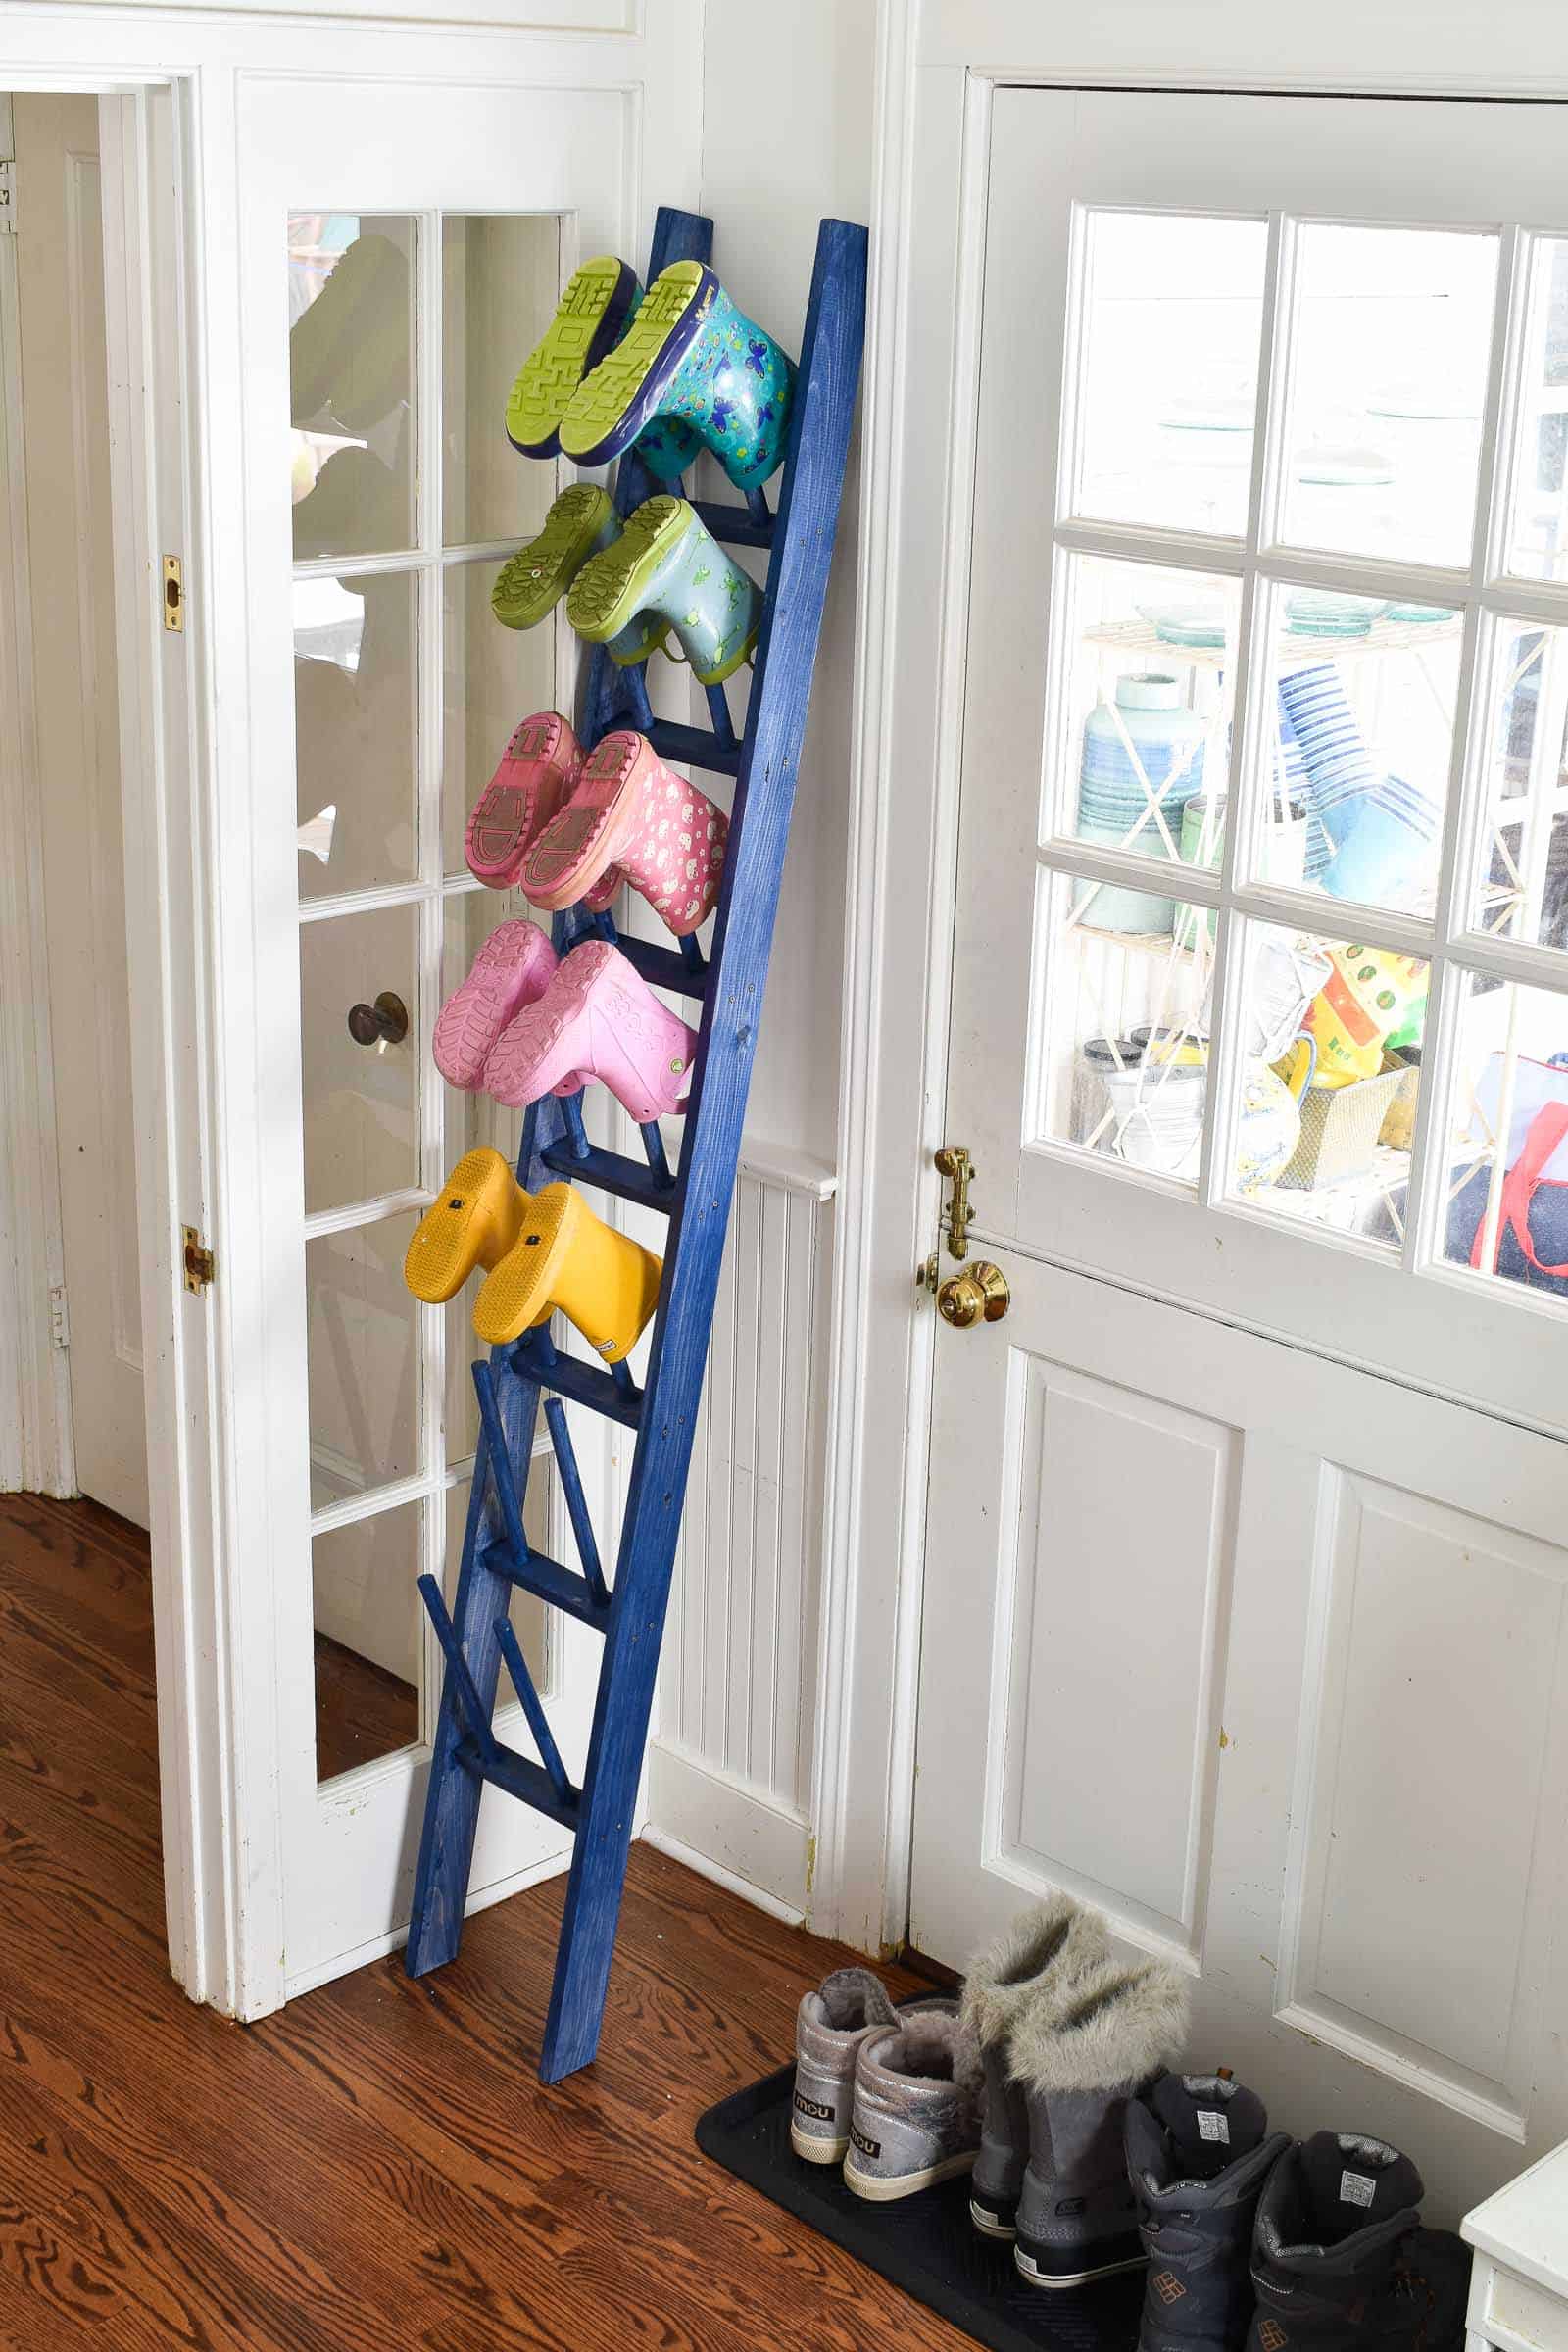
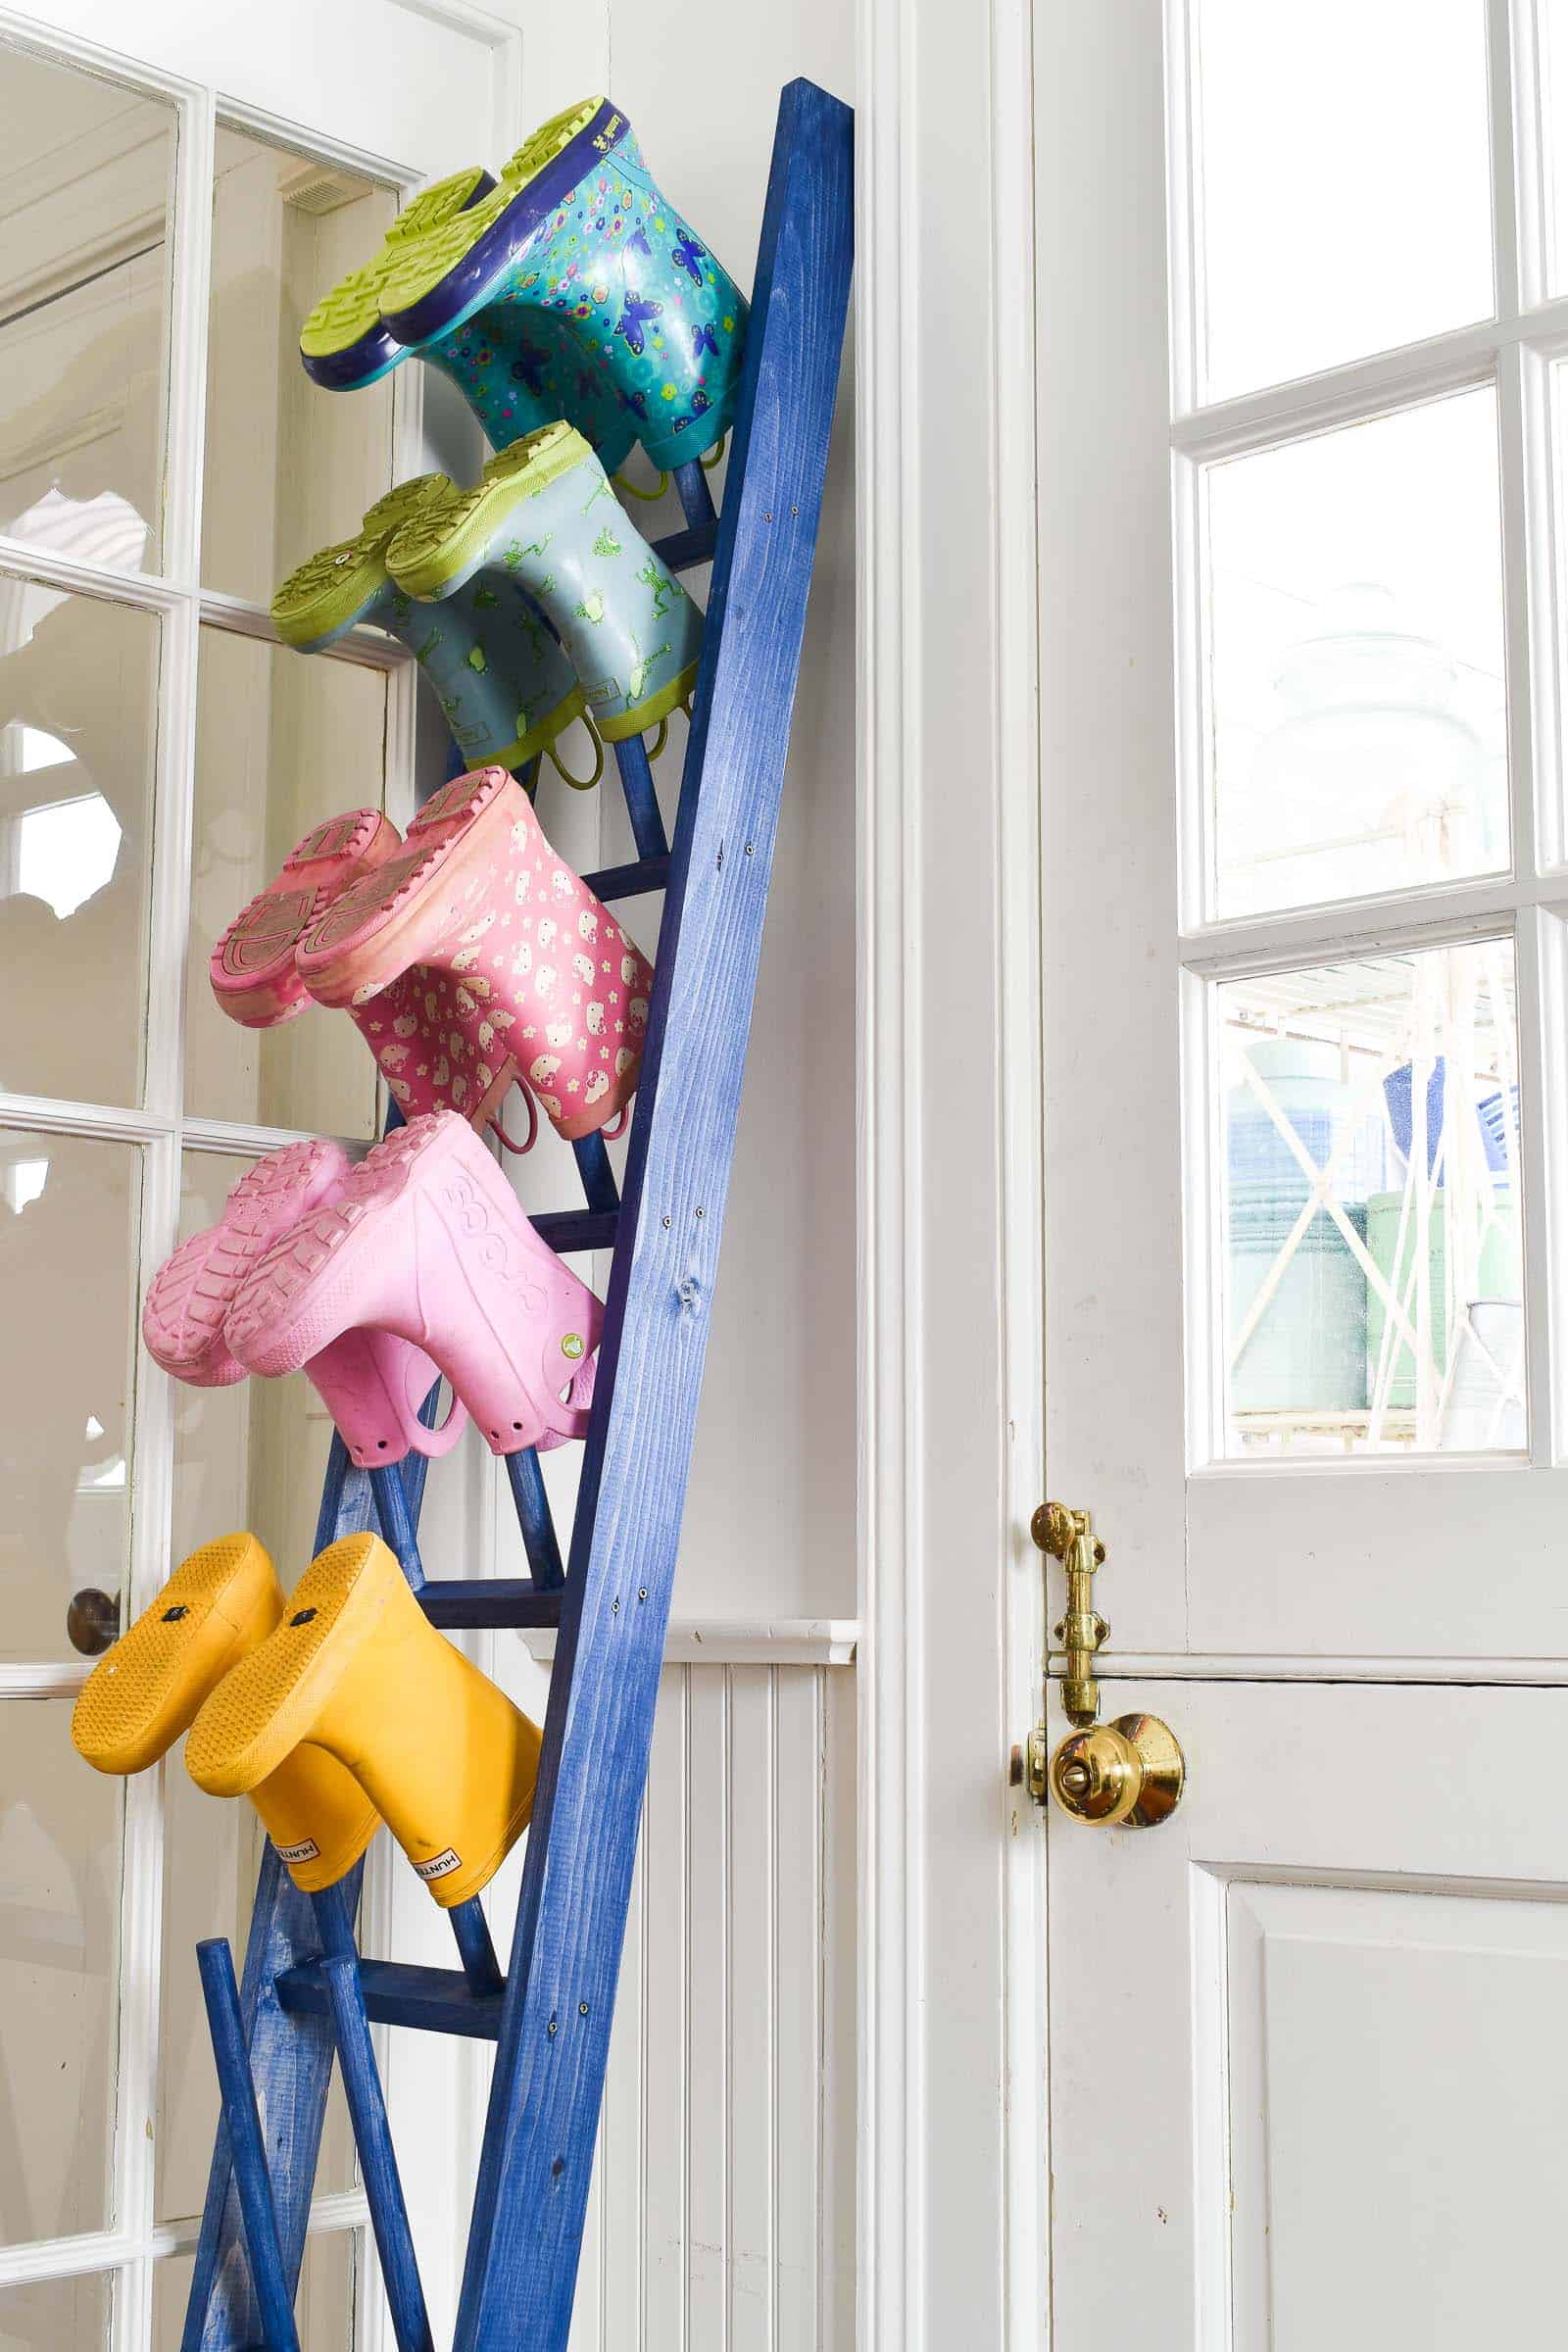
I just have this leaning up against the wall so if you have very small children around, it makes sense to anchor this somehow so they can’t tip it over. My kids are big enough to use it without knocking it over. I’m hoping these dowels will survive… one day I may shorten the dowels to make them a little less vulnerable, but I left them long to allow for larger/ higher ankled boots!
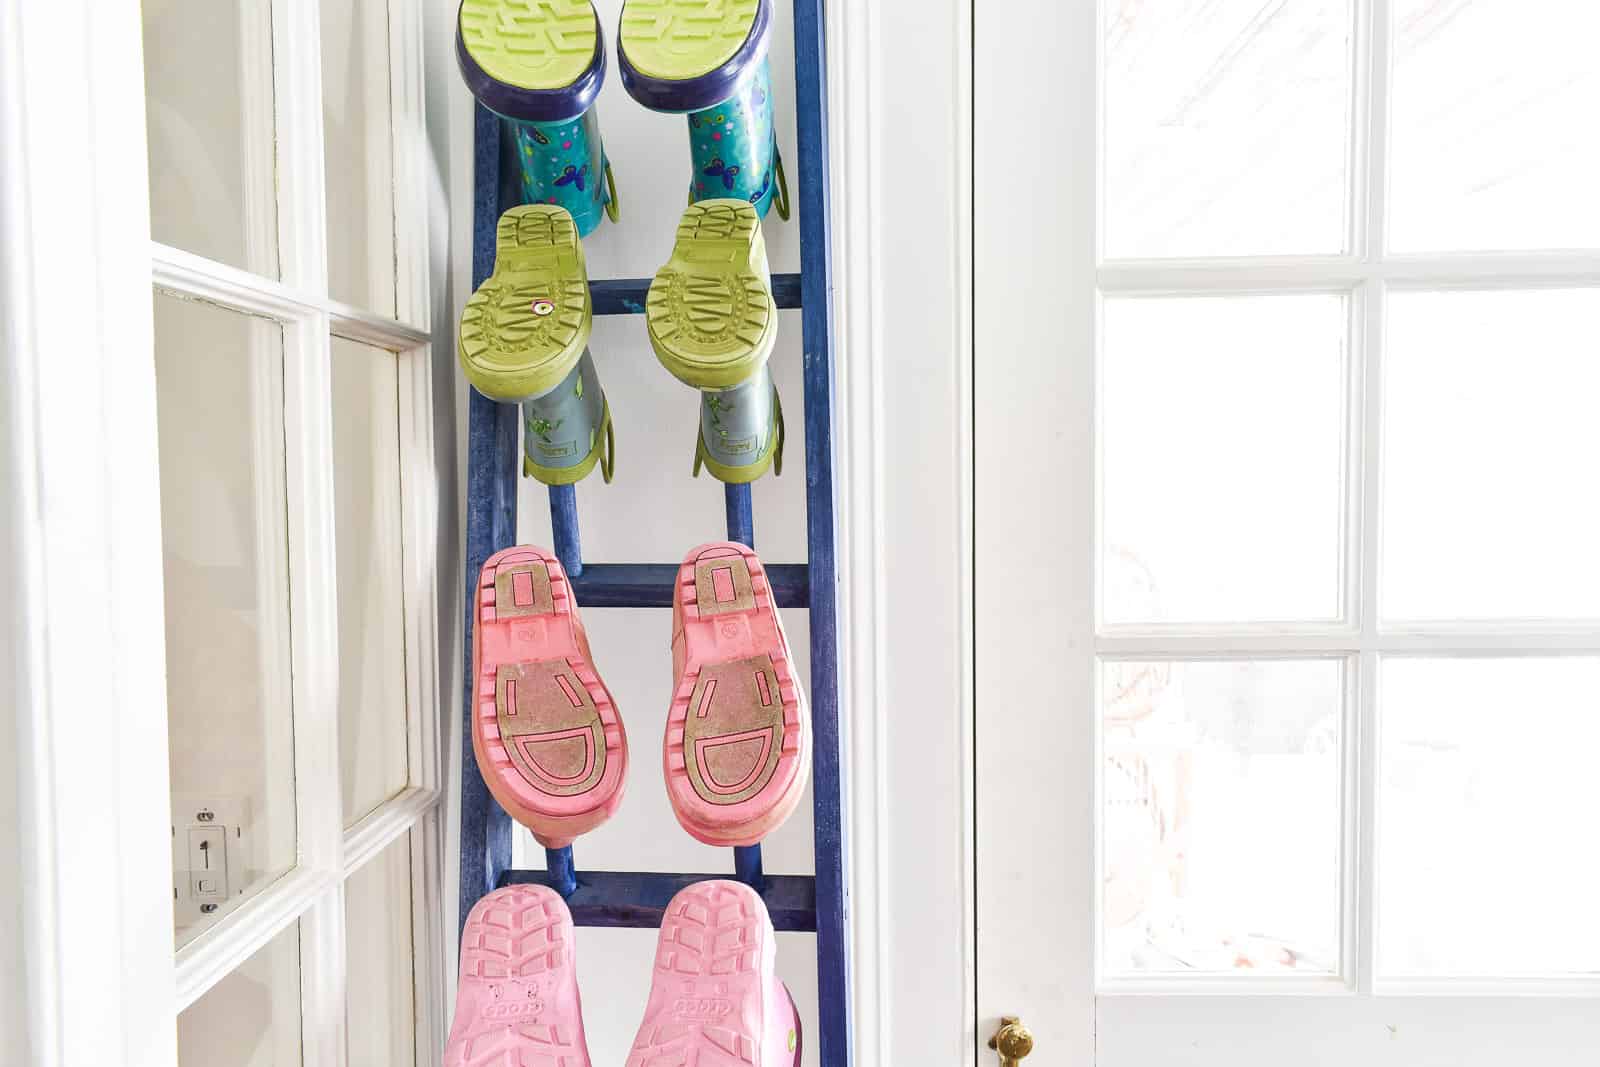
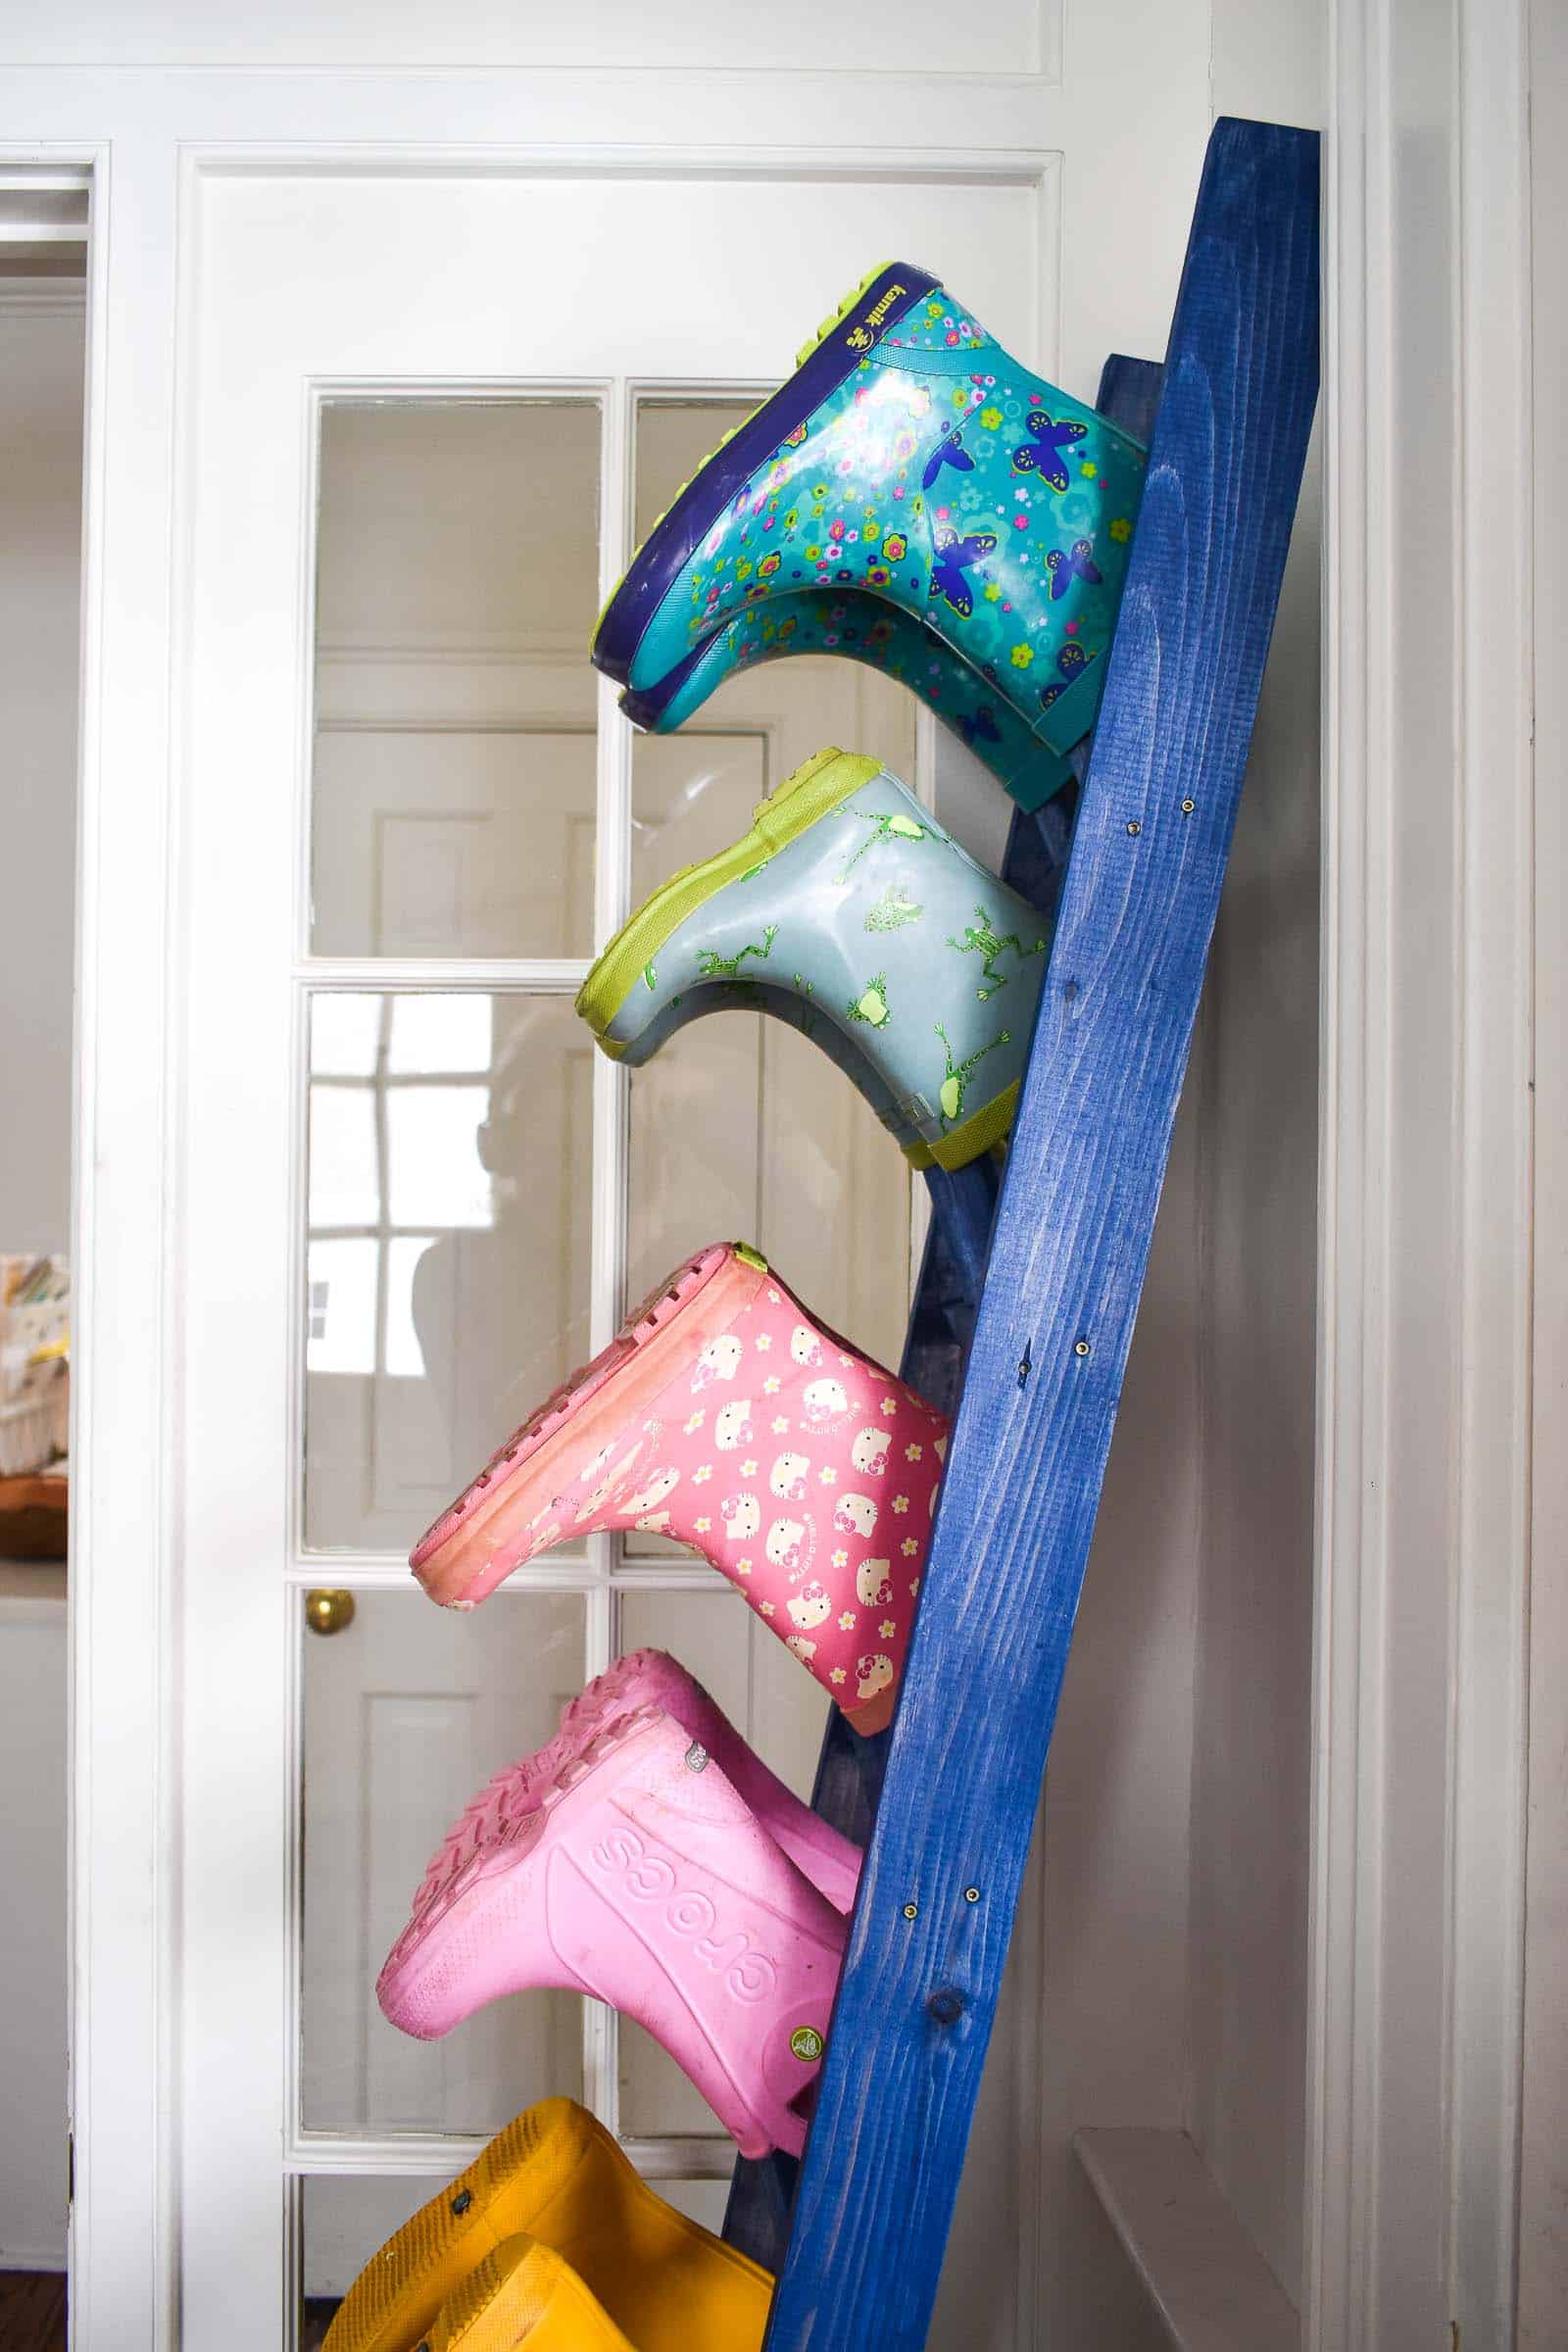



Very innovative! You are an outside the box “vertical” thinke??
🙂 When in doubt… go up! THanks!
Absolutely fabulous. Lovin it!