
Budget Floating Frames and Vintage Maps
Psssst… this post *might* contain affiliate links: see my disclosure here.
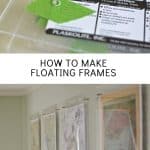
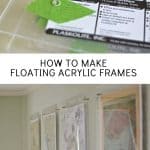
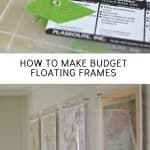
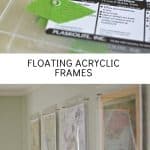
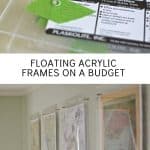
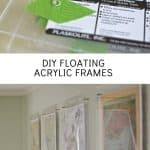
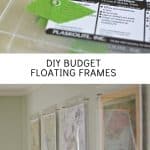
DIY Budget Floating Acrylic Frames
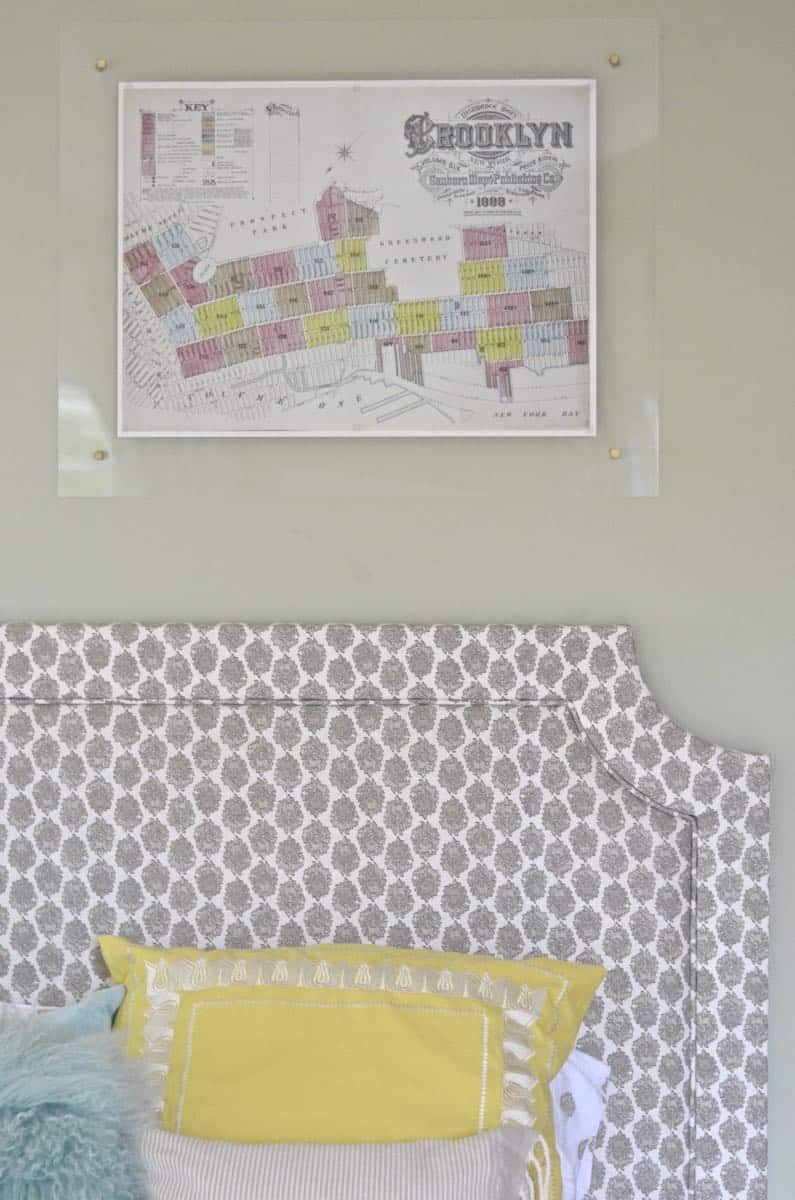
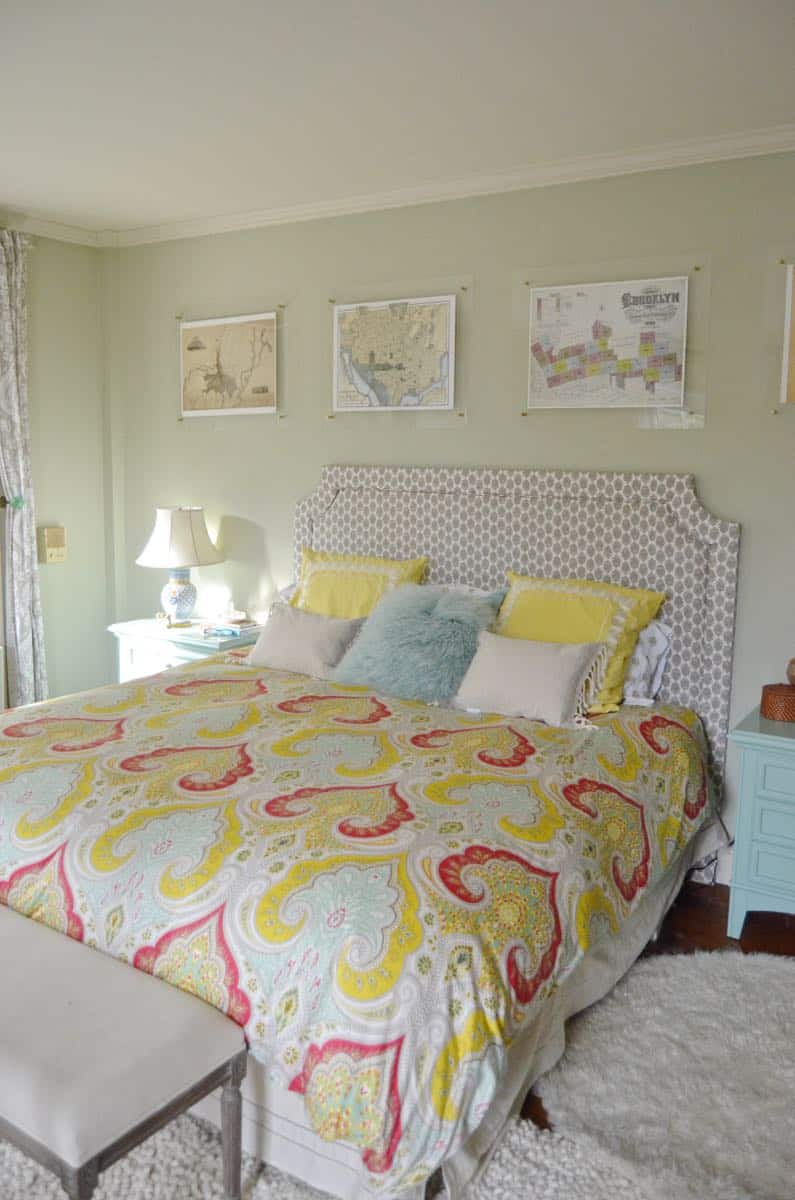
This budget acrylic frames were the perfect solution for the space over our bed… without breaking the bank!
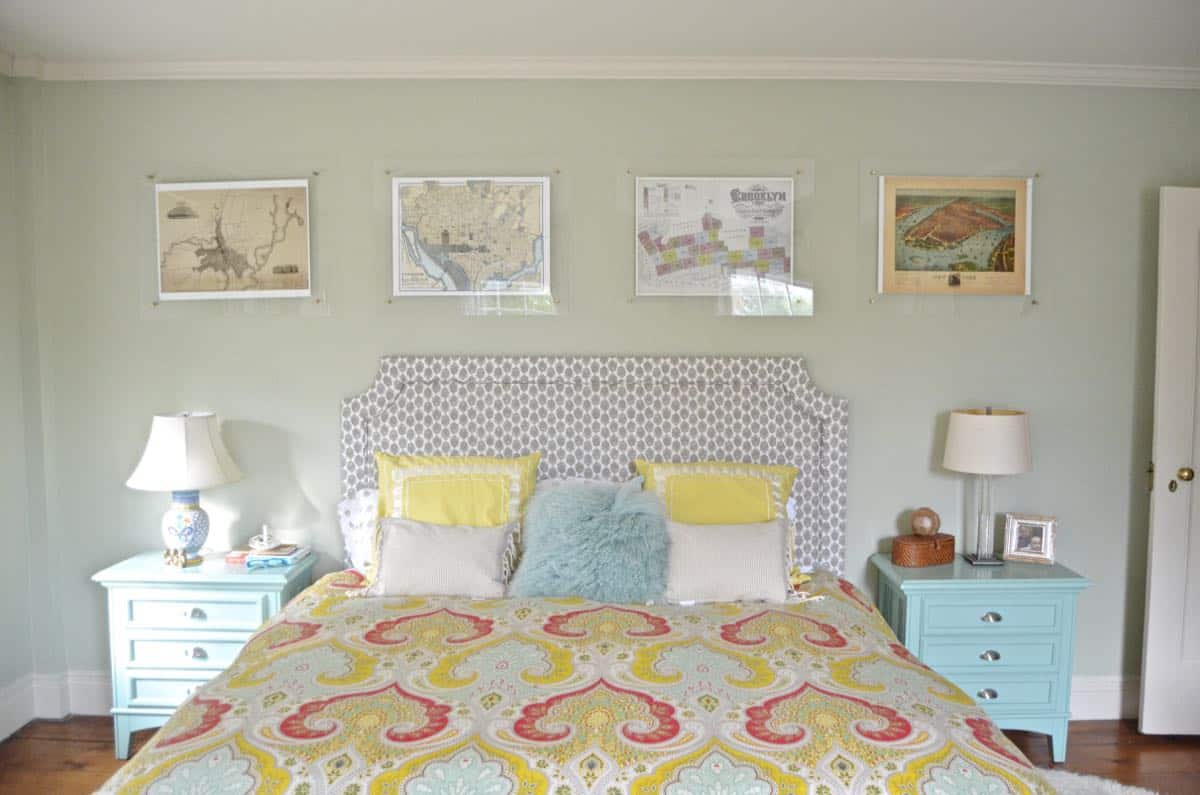
For a while now, I’ve been holding off on posting about our master bedroom because of two things: the curtains are too short so I need to sew a strip on the bottom of each one and… I didn’t know what to do with the wall above the bed. I’m still dragging my feet with the curtains (sewing’s haaaarrrrdddd), but… I worship the new-and-improved wall over the bed. I found those amazing vintage map prints and was so happy to hang them up!
Shop my favorites!
Floating Acrylic Frames on the Cheap
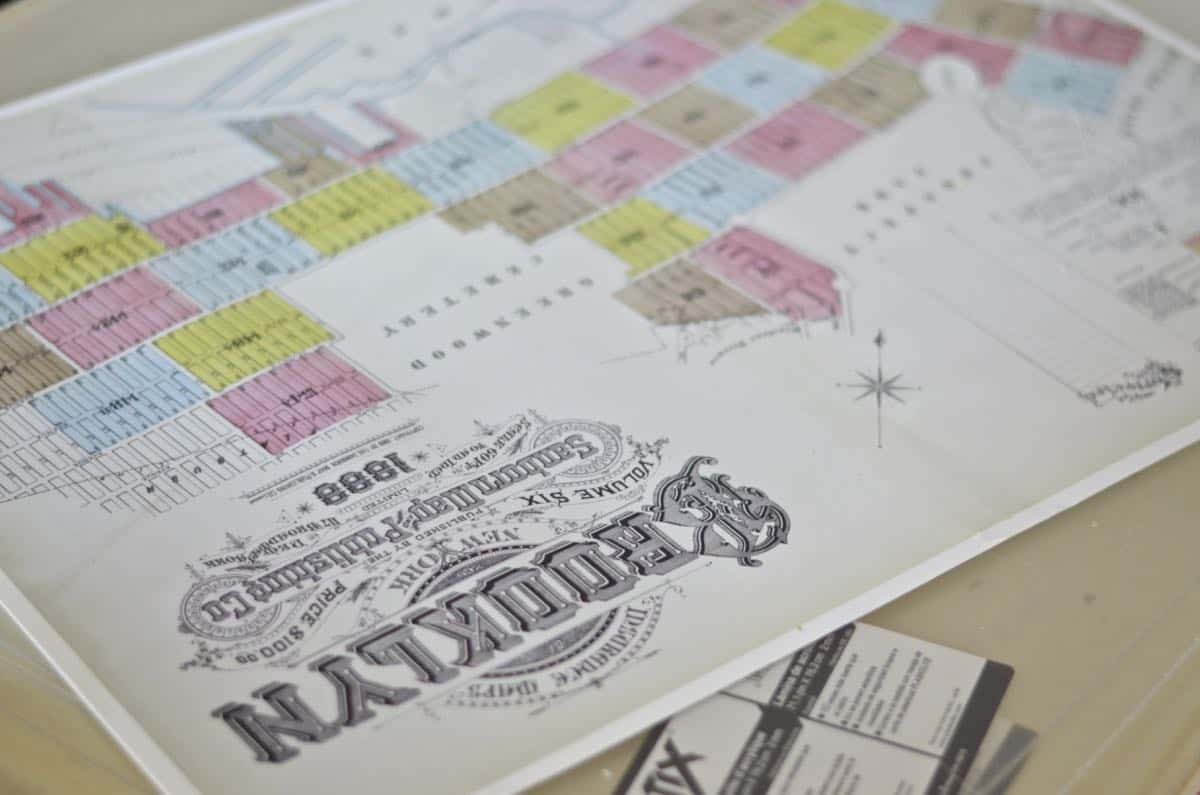
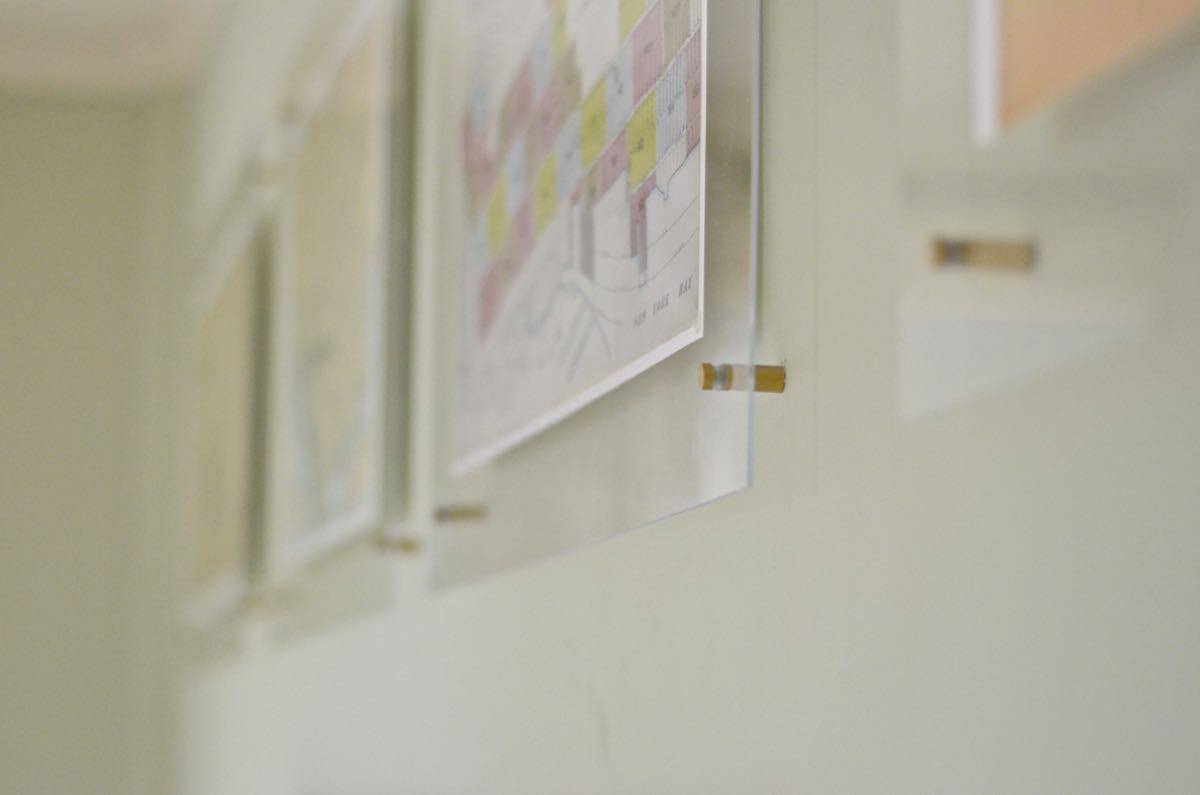
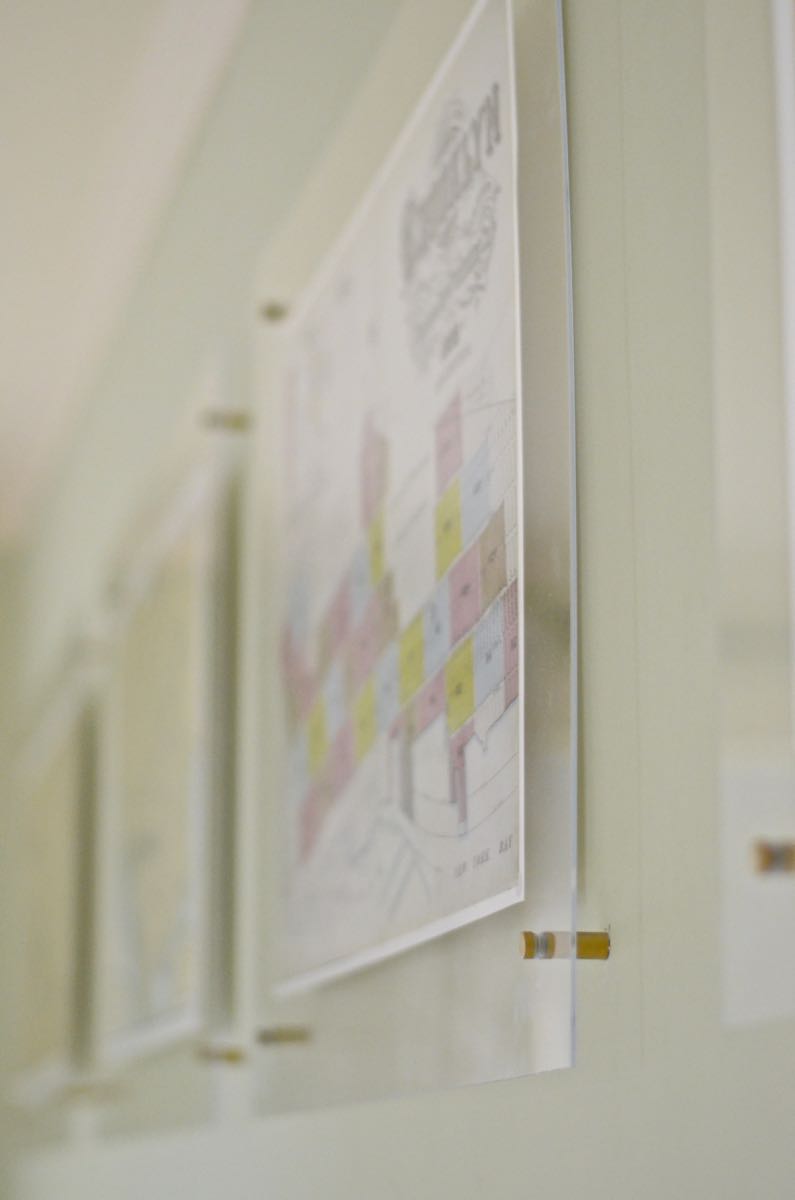
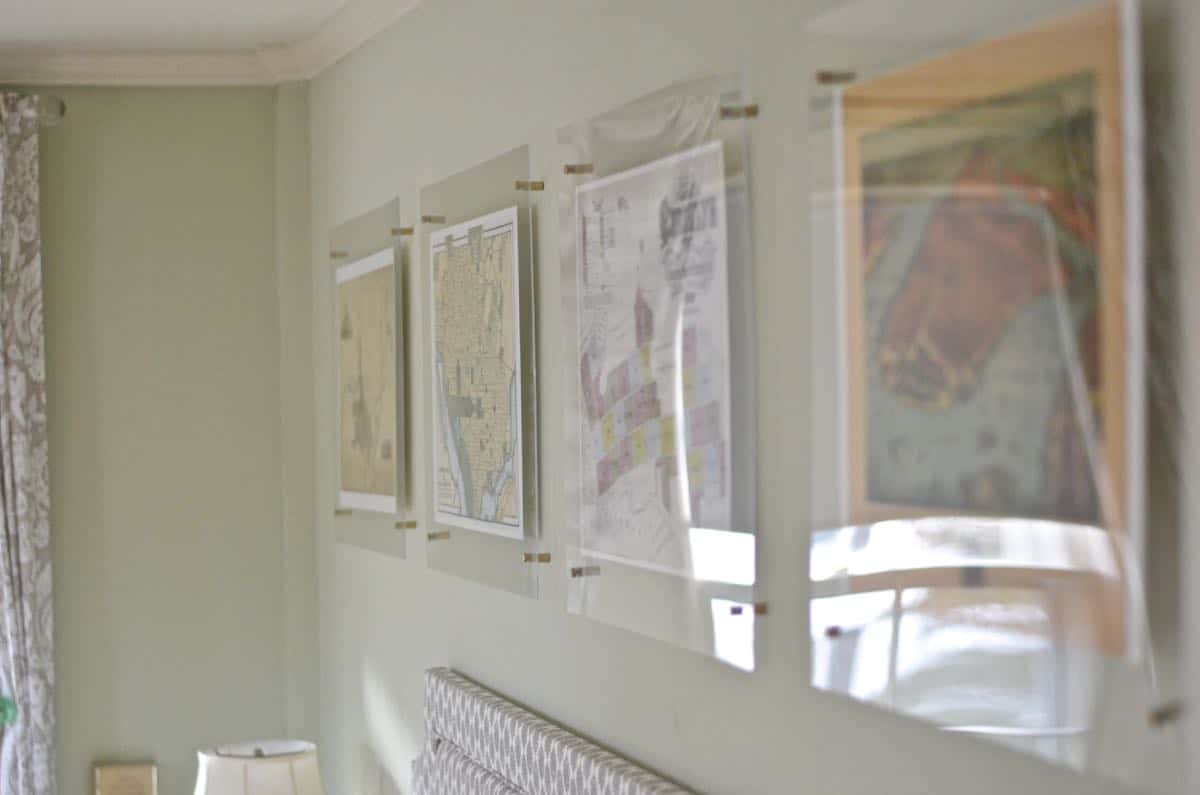
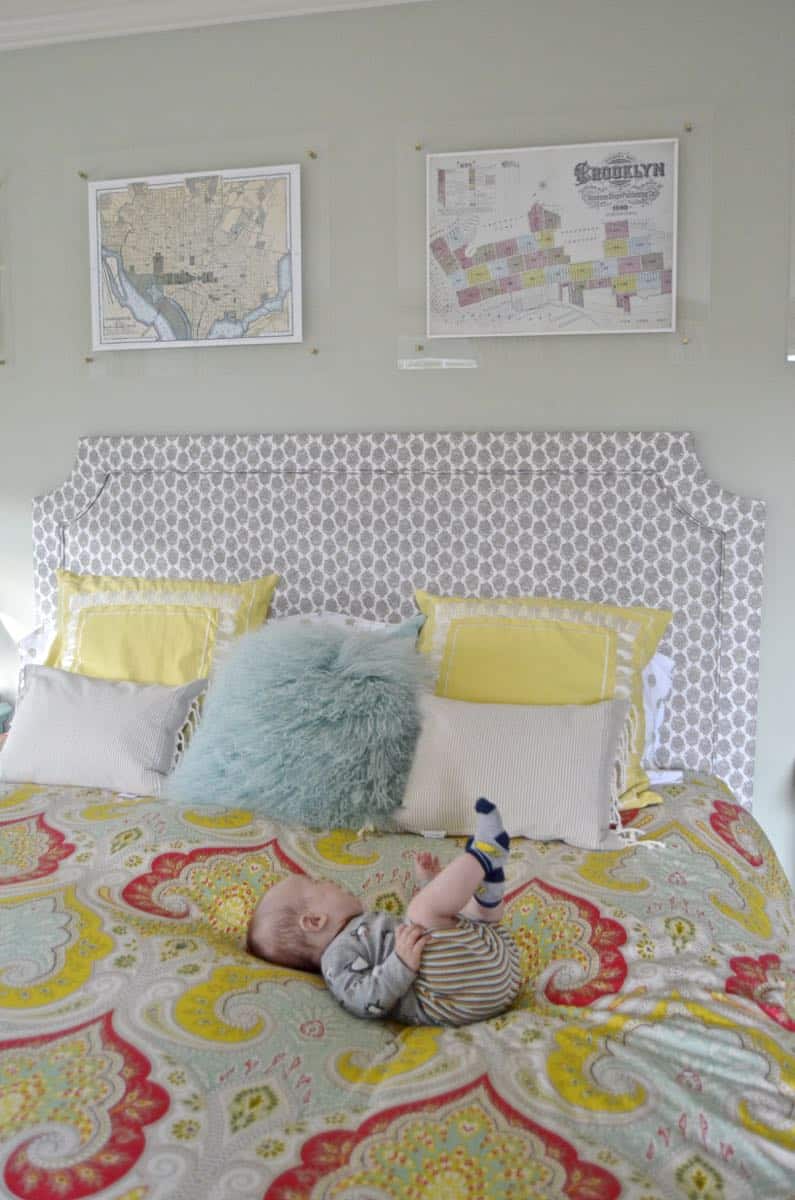
I grabbed four maps for the master bedroom: Washington, Providence, Brooklyn, and New York… four cities of importance to us! I didn’t want a solid frame to take away from the beauty of these maps so… I decided to take another stab at floating acrylic frames. On a budget.
Materials for Floating Frame
(affiliate links included for your convenience):
- standoff mounts

- optional: gold spray paint
- long #6 screws and anchors if necessary
- you’ll need a narrow and long drill bit to fit inside your standoff mount. I used this one from Home Depot
- Glue Dots
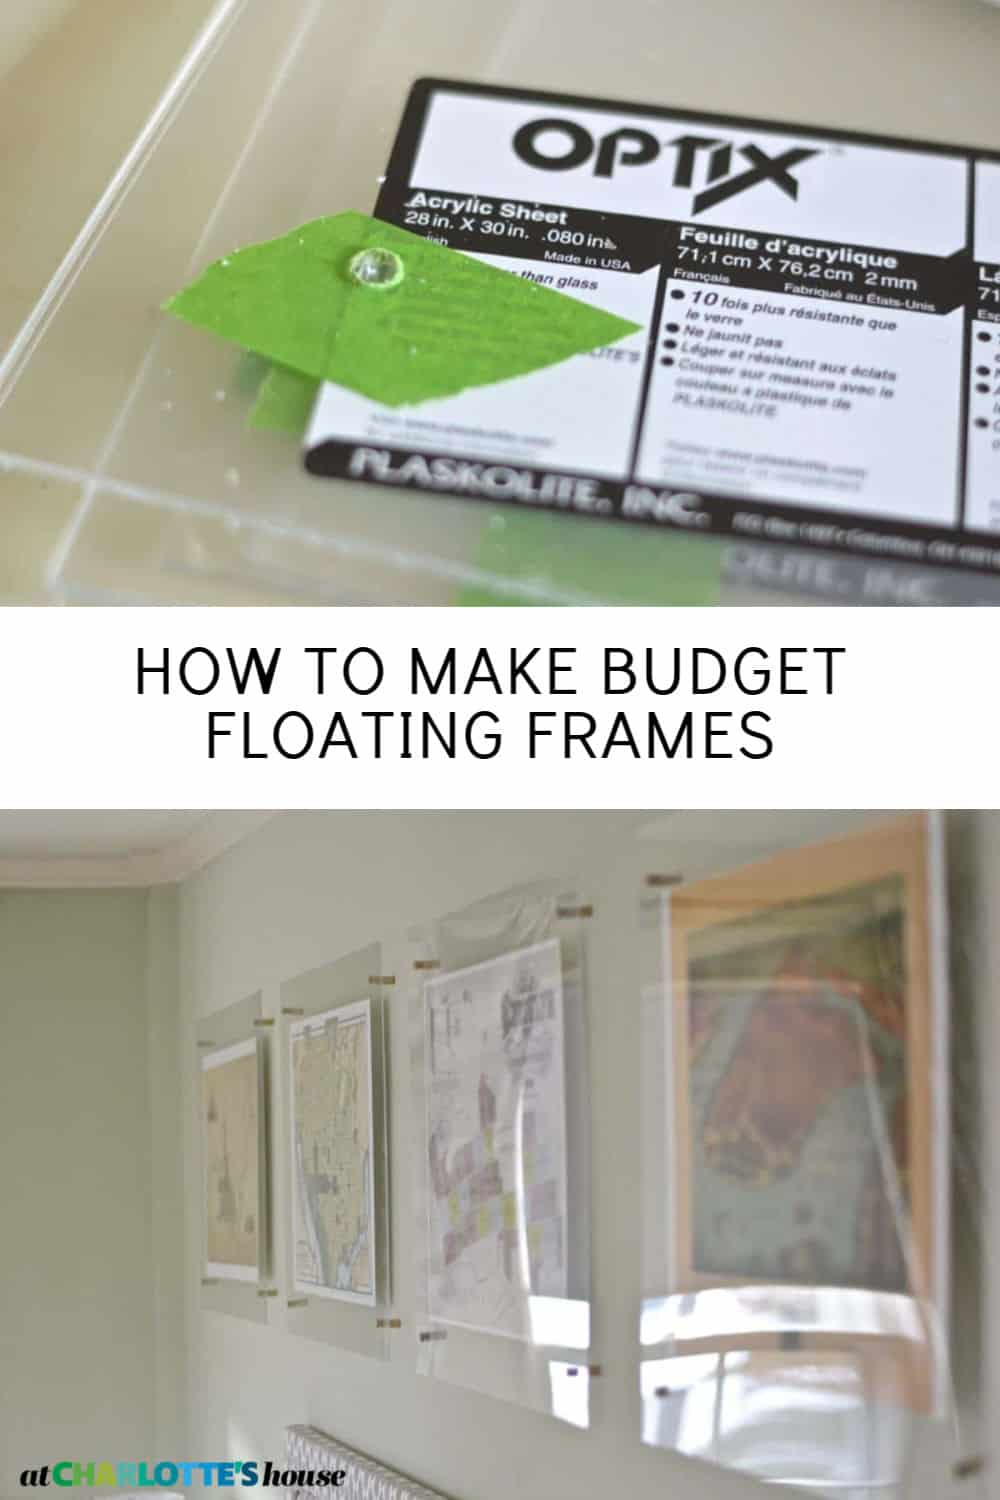
- Acrylic. Lowes will cut acrylic for you… I added 3 inches to each dimension so these 18 x 24 inch maps meant my acrylic was cut to 24 x 30. To cut costs, I used 4 sheets of acrylic and glued the artwork directly onto each sheet… obviously it will be a bit nicer to use one sheet of acrylic on either side of the artwork, but it will add another $50+ to the cost of this project.
- laser level
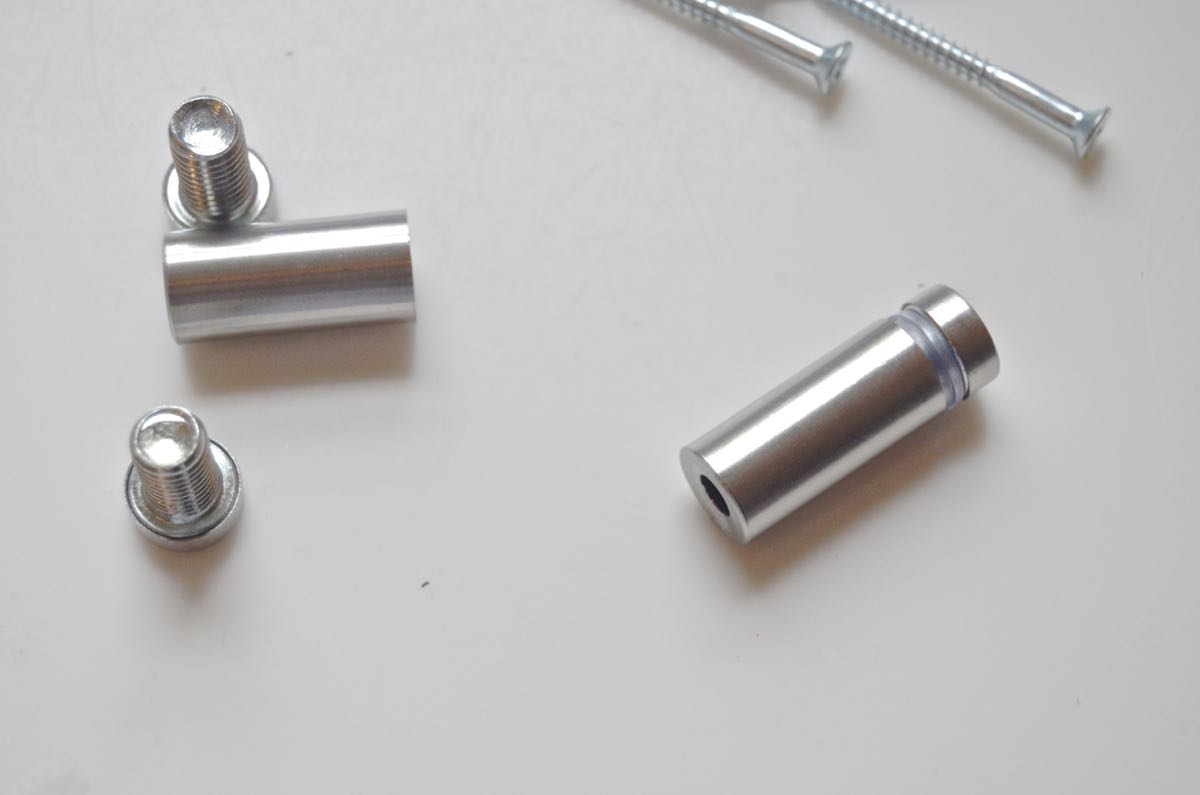
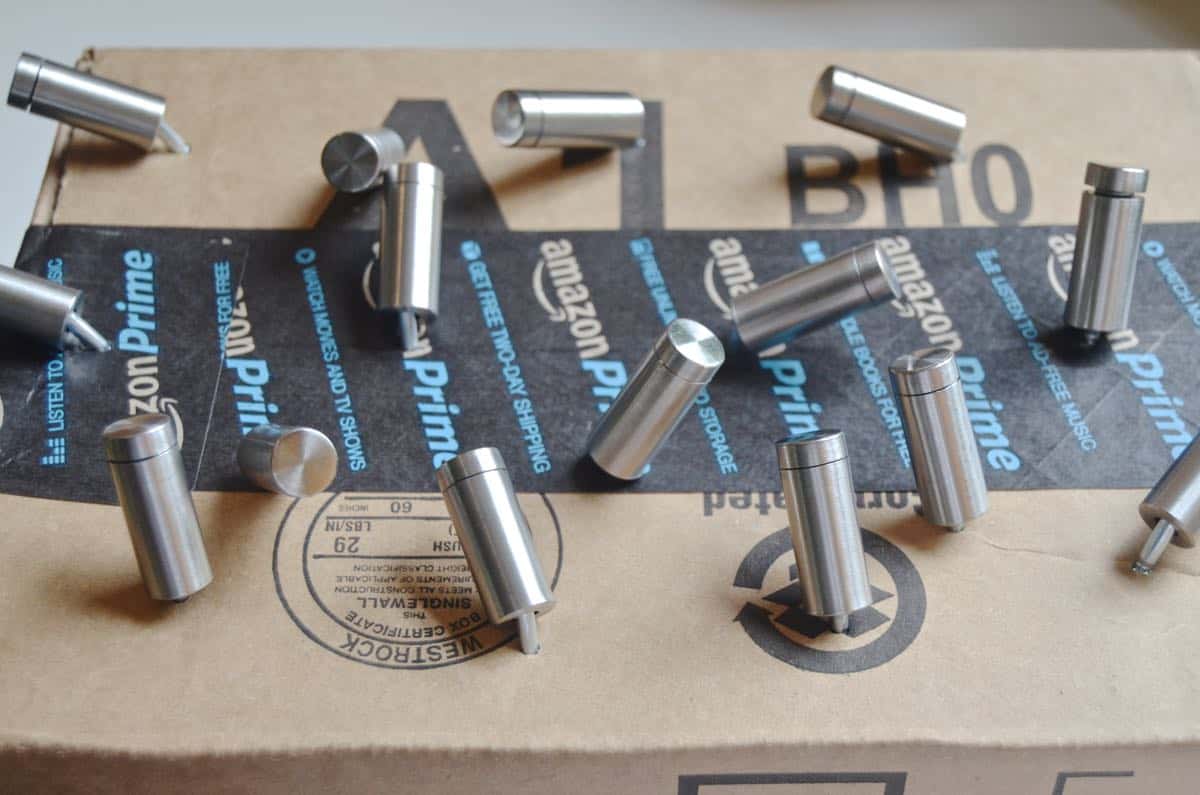
Step 1: Spray Paint Mounting Hardware
Spray paint your mounting hardware if you want it gold. (I mean… who doesn’t want it gold, right?!)
Tip: stick standoff mounts into an old cardboard box for easy spraying
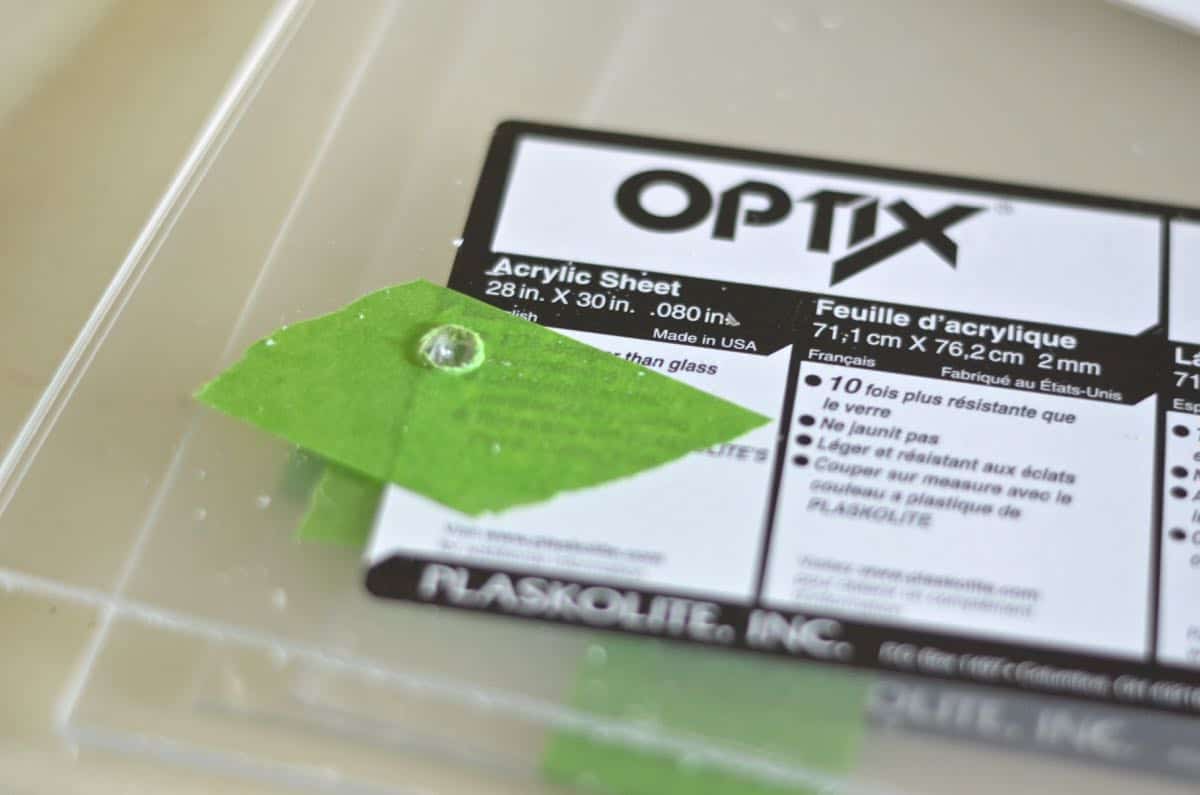
Step 2. Drill Holes in Acrylic
Drill holes in your acrylic at each corner. To drill through acrylic, use painters tape on each side of the acrylic to keep it from cracking. On a flat surface with a thin piece of wood or cardboard underneath, slowly apply increasing pressure to drill all the way through your acrylic. (Make sure you leave the protective sheet on the entire time… take it off just before hanging.)
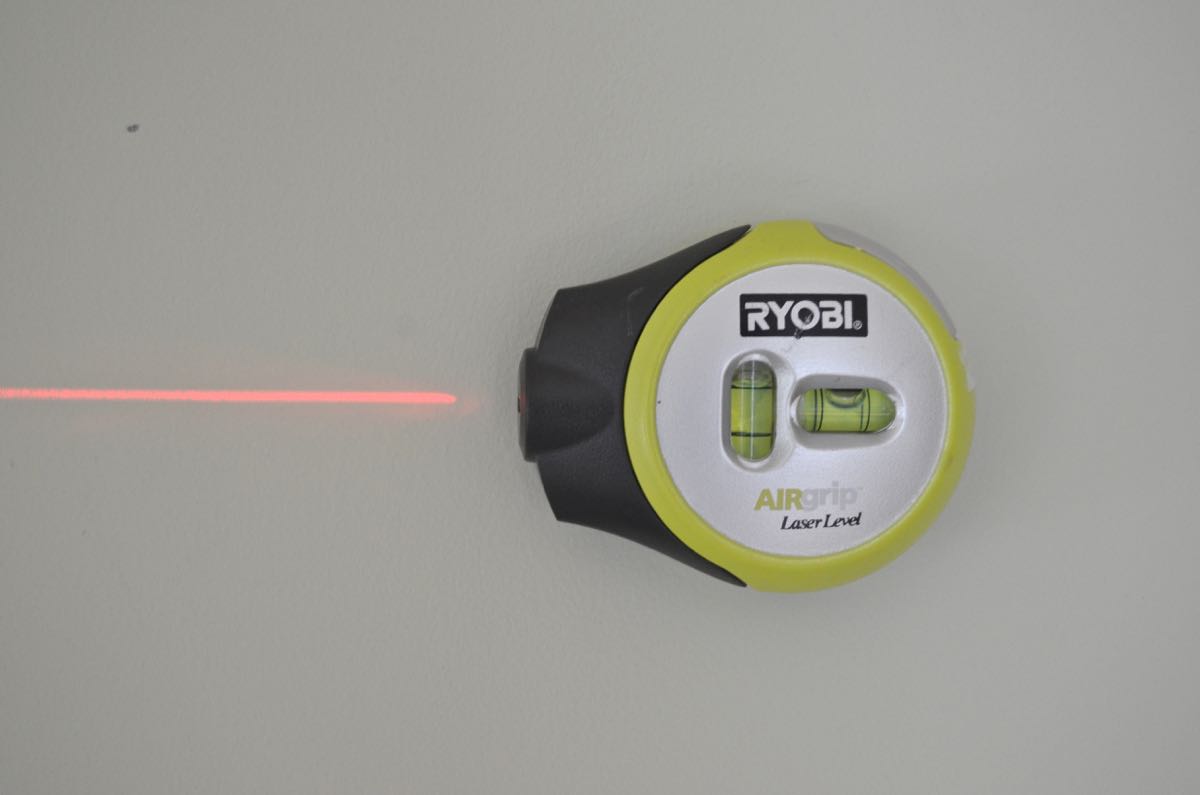
Step 3. Measure Your Frames
Measure and mark where you will need to screw in your standoff mounts. Use the laser level to make it easier. (Believe it or not, my frames are all level… we just live in a historic home without too many right angles!)
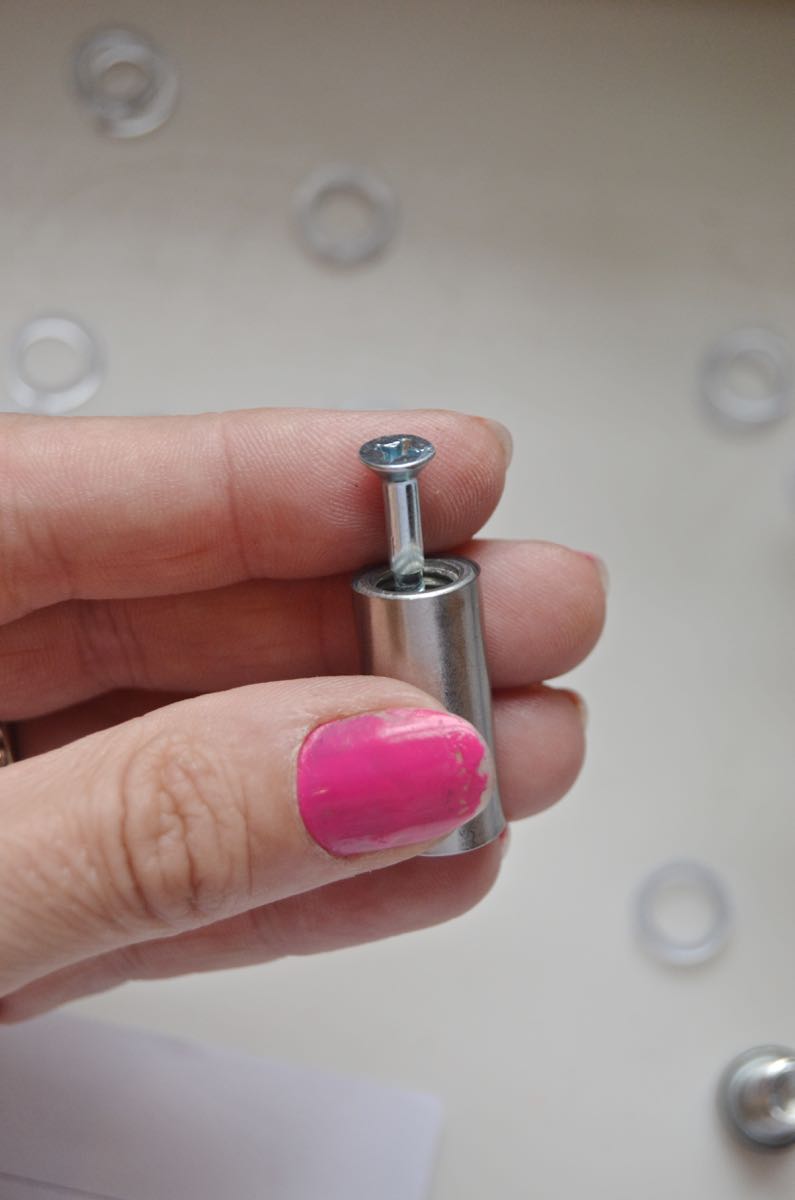
Step 4. Attach Acrylic Mounts to Wall
Attach the bottom of the standoff mounts. This is where you’ll need the special drill bit. The screw goes through the standoff mount into the wall so I needed a long skinny bit to reach through the standoff mount to screw it in. Later you’ll screw the cap on with the sheet of acrylic pinched between the cap the rest of the mount.
Step 5. Glue Artwork onto Acrylic
Glue artwork onto your acrylic. This is where I’m saving money by only using ONE sheet of acrylic. BUT….because I’m only using one sheet of acrylic, I needed to adhere my prints directly onto the acrylic. Keep this in mind when choosing your artwork… this technique may not be great for any artwork of value or importance. I used adhesive dots, but any type of glue or tape should work!

Step 6. Attach Artwork to Mounts
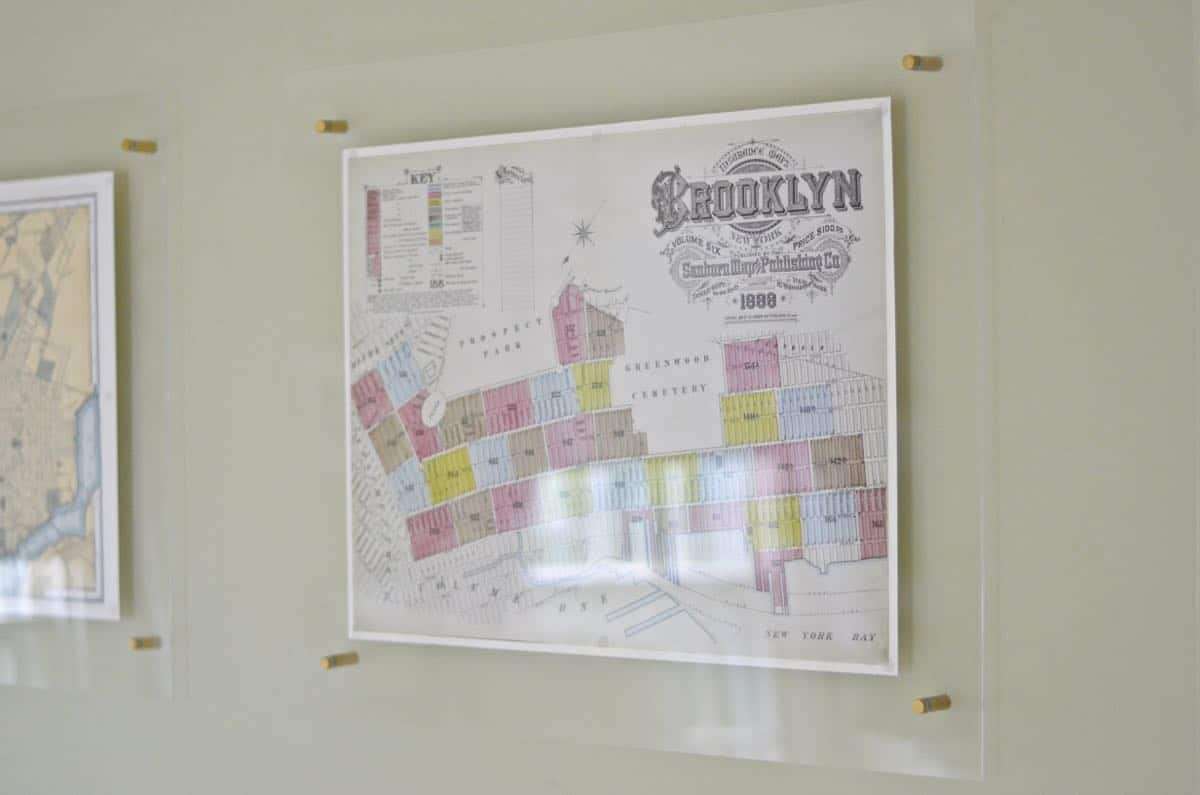
Screw the sheets of acrylic with maps adhered onto the standoff mounts.
 Congrats- you’re done!
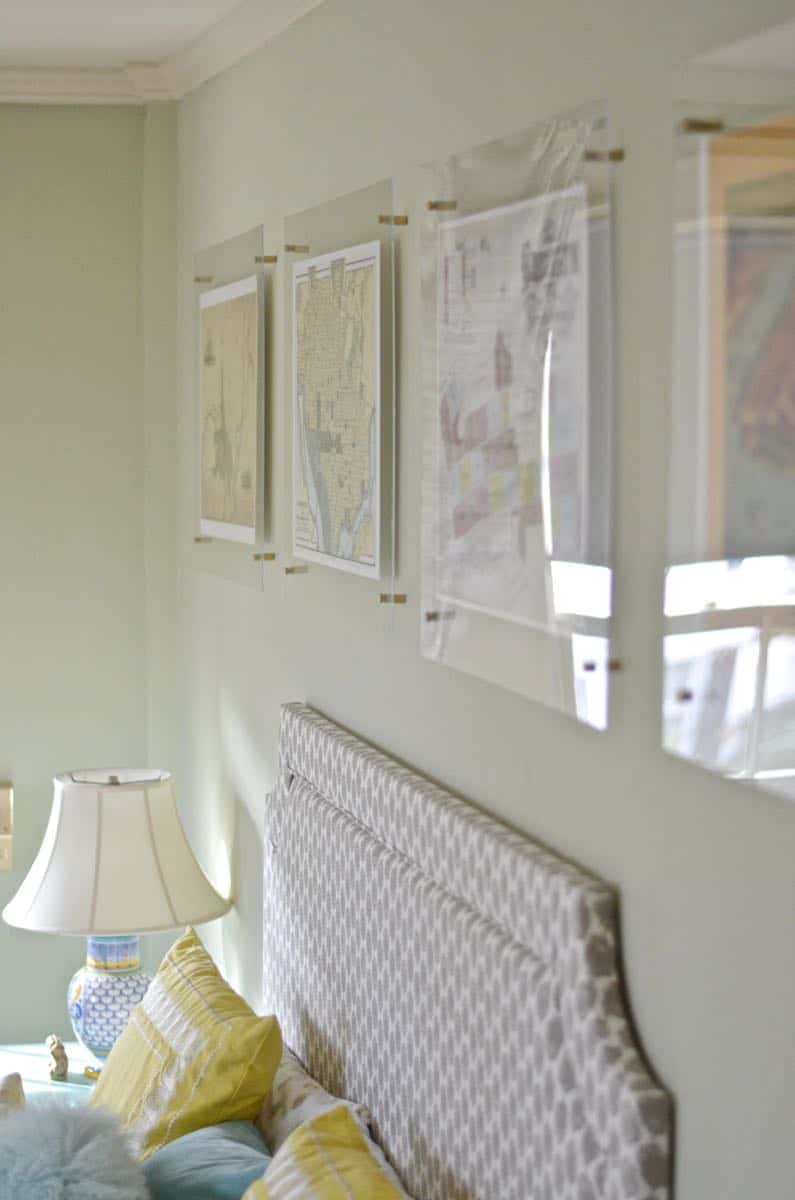
I love how clean and simple a floating acrylic frame is. I made one for the kids room in our old house, but DIYd the hardware. I’m thrilled by these standoff mounts and aside from the crooked ceiling, LOVE how these work over our bed. The maps make me happy (as evidenced by the maps I have hanging all over our home), but the floating acrylic frames fit the slightly more chic space that is coming together in our master bedroom. One step closer to showing you the whole room!!


They look fabulous!!!! Will check out the website for sure!!
You should! Could be adorable for the Schilb nursery!
I love old maps! I had big plans to do maps of all the places we’ve lived together in our bedroom, but then…somehow the walls got filled up with other stuff 🙂 Yours look great–the frames are perfect!
Cool! Pinned it! xo
Yer the best!! Thanks, girl!! xx
What was your budget for the 4 frames?
Hi Jeanne-Louise, Each sheet of acrylic was about $25 and the hardware was $10 or something. So… it’s still not super cheap, but a typical floating frame of this size would typically be $100+ in stores. This is a little better than that at least. 🙂
What size drill bit did you use? I’m struggling with the standoff mounts and not cracking the acrylic when I drill.
Hi Liz! Shoot… no idea, but It was BIG. You want the drill bit to be wide enough so the mounts basically slide right through the hole you drilled. Re. not cracking… I made a video on YouTube about how I do it… maybe it will help? https://youtu.be/4azn9iFacgA
Good luck!
The vidEo isnt there anymore….and our sheets cracked. Maybe too thin of aCrlic?
Oh no! Lemme look into the video, but my first thought is that yes… perhaps your sheets were too thin/ too big? After 2 years, I had a slight crack on one of my corners, but we don’t have air conditioning, so I attributed it to the draft coming through our bedroom this summer. If the crack occurred when you were drilling the hole, then I would suggest applying painter’s tape to the acrylic first, starting with a sharp blade and working slowly. GOOD LUCK!
Thank You for posting the link to where to buy the items Its so helpful,
Thank You.
My pleasure!
Love it! I have a 36×24 image I would love to do this with. Would you recommend I get my acrylic cut to 40×28 or would you say even larger like 42×30?
Hi there! I think it’s totally personal preference! Depending upon how thin the acrylic that you get is… a smaller size *might* be sturdier, but.. I also think a 3″ ‘frame’ around your image would look great! Why don’t you google floating acrylic frames and see which ones your eye prefers? Larger vs. smaller frame! Good luck!
What a lovely idea. I love, love, love the way you hung them. Thanks!
Happy holidays
So what adhesive are you using? I hate the idea of using anything that might damage the piece—but I love the idea.
I used those little glue dots… which will definitely stay behind so you’re right… it’s a consideration!
thank you for such a helpful informative easy to follow diy. Its by far the Best ive seen. We are Working on our new home and i have lots of wall sPace to decorate wanting to use a few of the floating acrylic frames. Using one sheet of acrylic per artwork is so smart as id not thought to do such. Much appreciation and best regards!
Thanks, Kimberly!
What thickness of acrylic sheets did you use? 0.08 in, 0.118 in, 0.22 in?
It’s been a while, but I *believe* I got the .118 inch… it wasn’t the thinnest one available, not does it feel as thick as the .22. I’ll measure in the morning and let you know if I’m wrong!
I love this system!! I want to frame children’s art work. If I use 2 pieces of acrylic will it be easy to change out the artwork?
Thanks
Patti
YES! Super duper easy! I’ve considered adding a second layer to mine as well!
Use magnets on either side of the single sheet of acrylic, very easy to change artwork and not damage the art
Good idea! Thanks!!
Hi Charlotte. I am going to try making a few of these. I live on an island – no place here to get sheet acrylic. I found a reasonable source for the acrylic – but the shipping is not inexpensive. Estreetplastics.com – much less than home depot. My question is,don’t the photo dots show? Even though they’re clear, it seems like you’d see them – especially if they’re in front of the art, IF YOU’RE using just one piece of acrylic. I did order the stand off mounts from your link. Thanks.
Hi Sallie! If you’re really looking for them, you can see them. I’ve always had them on fairly busy artwork so they blend in more than you’d think. No question, have two sheets of acrylic would be better, but it’s also double the cost! 🙂
Wow, this is great. I WAS JUST READING ABOUT CHRIS LOVES JULIA’S FRAMES AND THIS IS A MUCH MORE AFFORDABLE OPTION. THANKS.
Thanks! The only drawback to my system is that you do end up with glue on the actual image, so it wouldn’t work on an antique piece or anything! (Did you hear about Chris and Julia’s awful house fire? So so so sad. I feel terrible for them!)
Yes, so sad about the fire. She put so much work into it. It was almost finished. Saying prayers for her. She’s had some health issues and I’m sure the stress is not good. Remember to count your blessings every day.
Love this! Did you need to use wall anchors? Thanks!
Hi Danielle! Yes! Our walls were plaster though. The frame itself doesn’t weight a ton so you might be able to get away without them, but can’t hurt to use some small ones!
I want to do something like this but put dried flowers between two acrylic sheets. is there an adhesive you might recommend for this?
Hi! The flowers are so dainty I would imagine the acrylic would pinch it in place, but I’ve never worked with them so I don’t know for sure. I like clear glue dots for small items like this… maybe give that a try?