
Cheetos and Epoxy Tray
Psssst… this post *might* contain affiliate links: see my disclosure here.
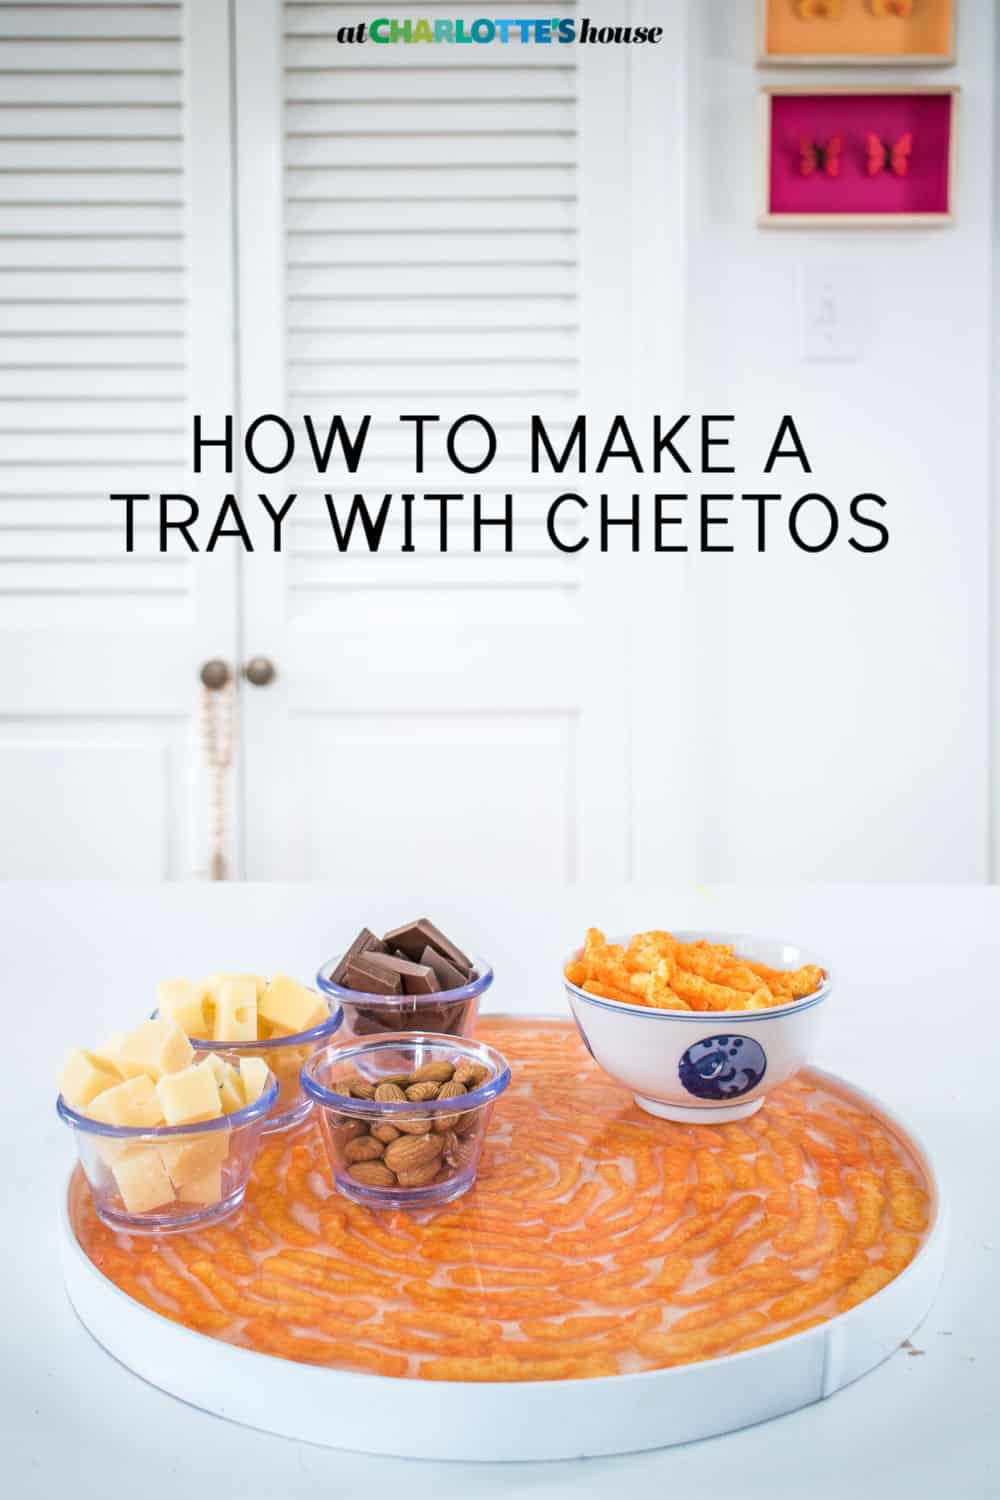
How to Make a Cheetos Serving Tray
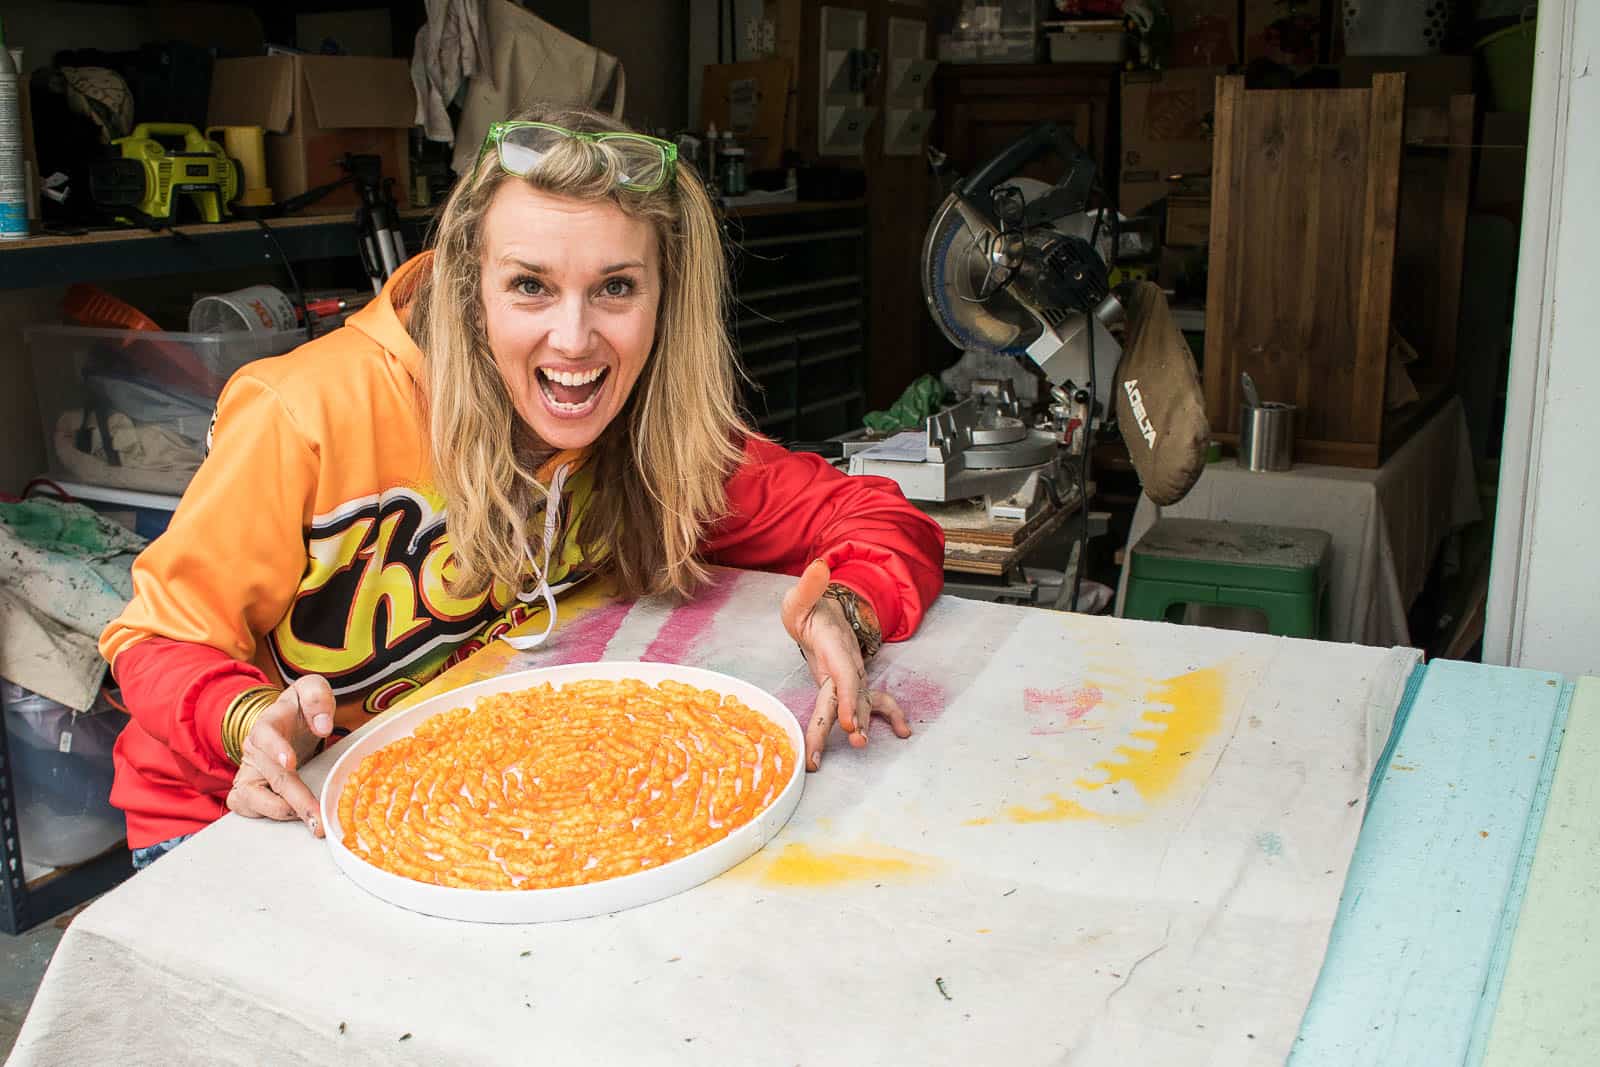
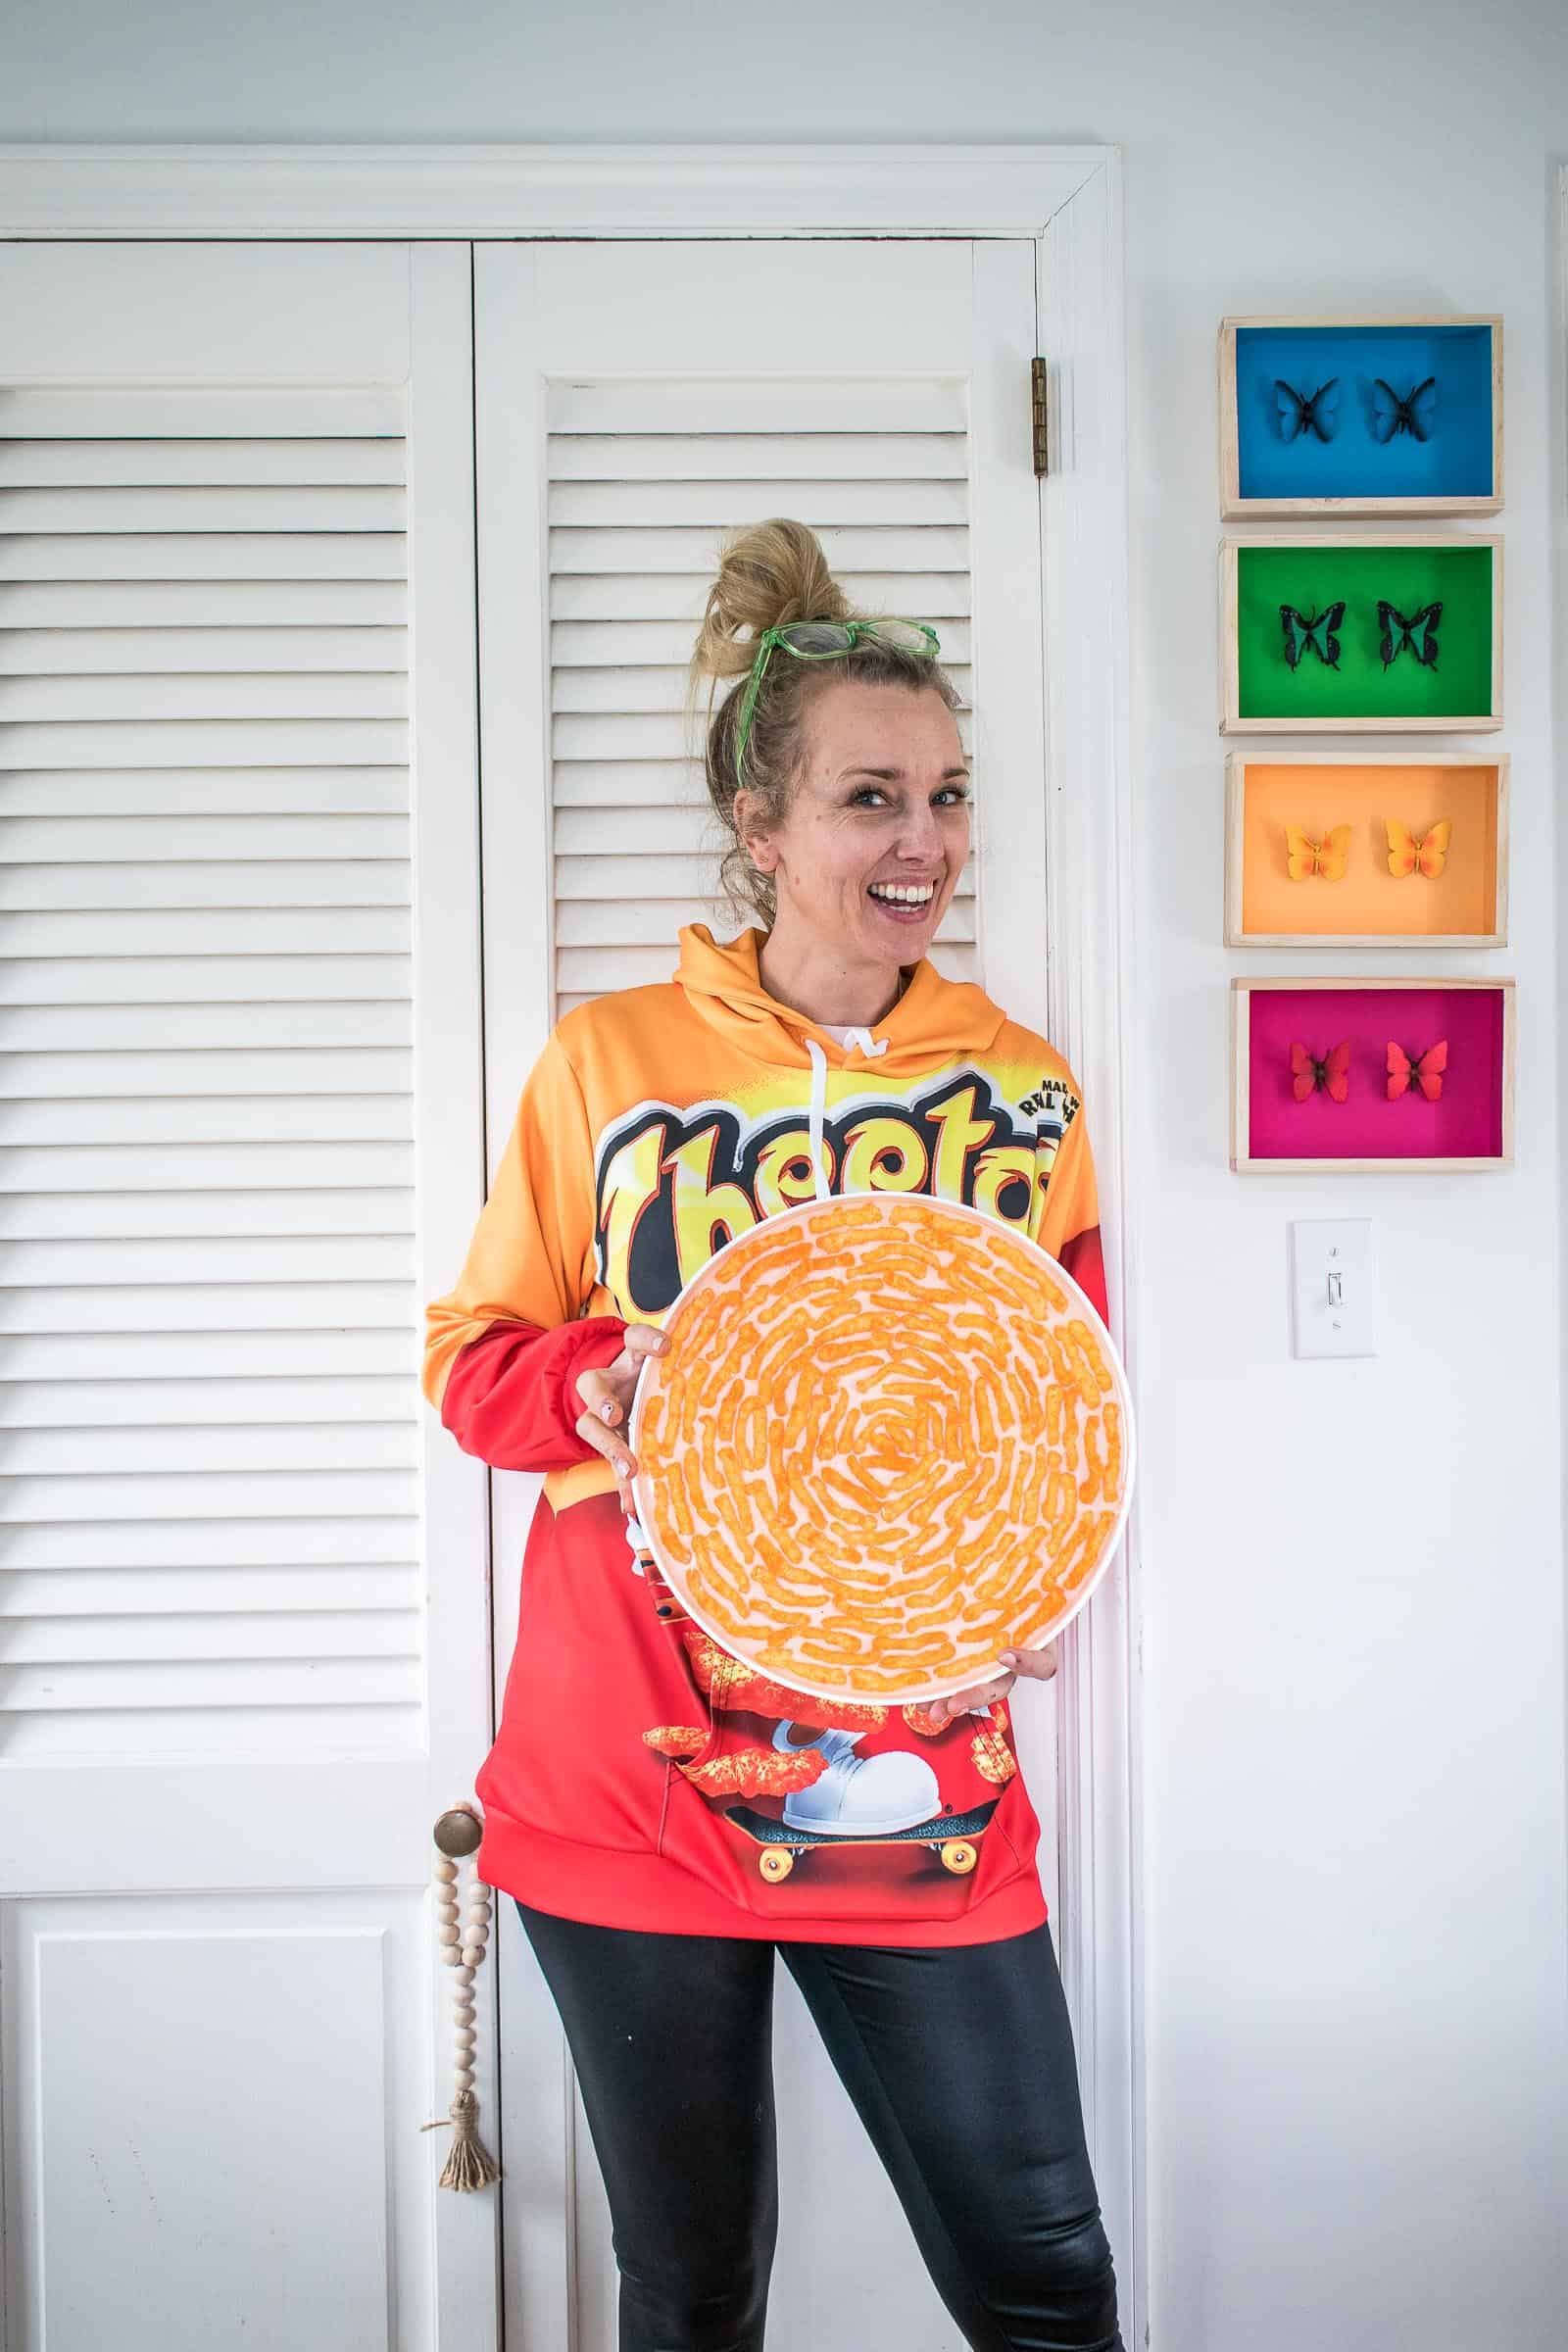
I wanted to make something fun with Cheetos… so I made an epoxy serving tray.
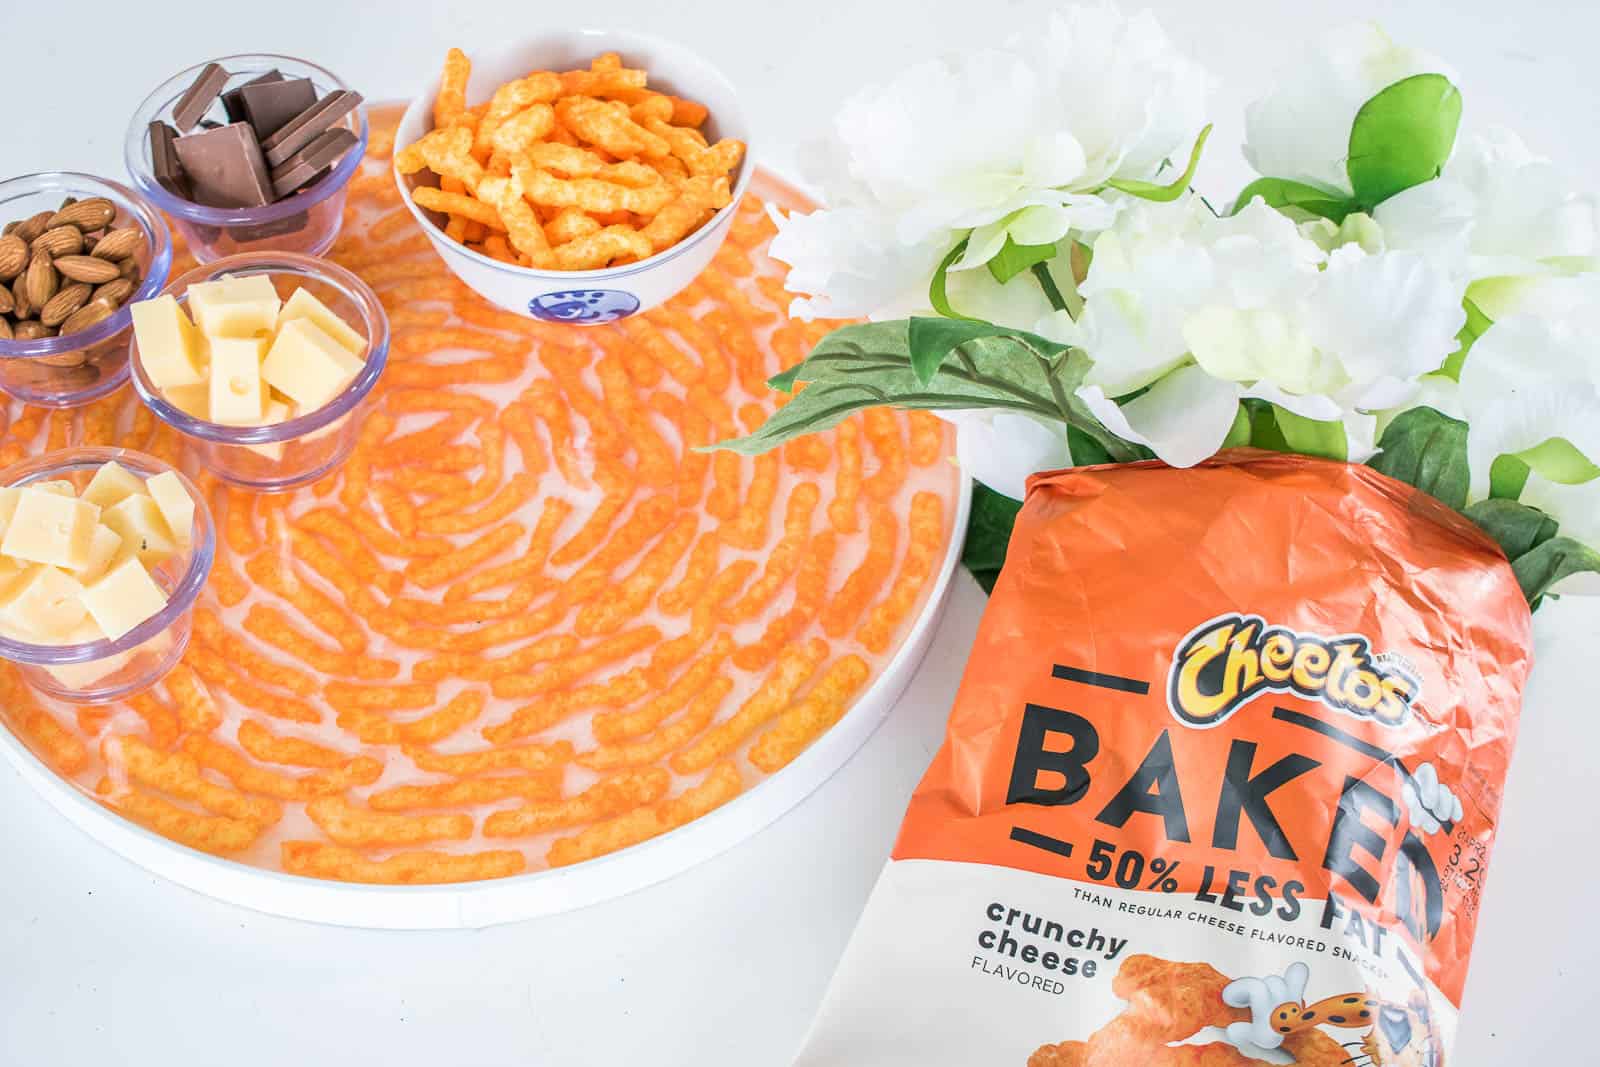
Sometimes you need to make something just because you had a bee in your bonnet and thought, ‘I wonder what would happen’ if I made a tray out of Cheetos and epoxy. Turns out… it’s amazing and will forever be the greatest addition to any snack table ever. On the offhand chance that you too want an inlay Cheetos snack tray, here’s how:
Shop my favorites!
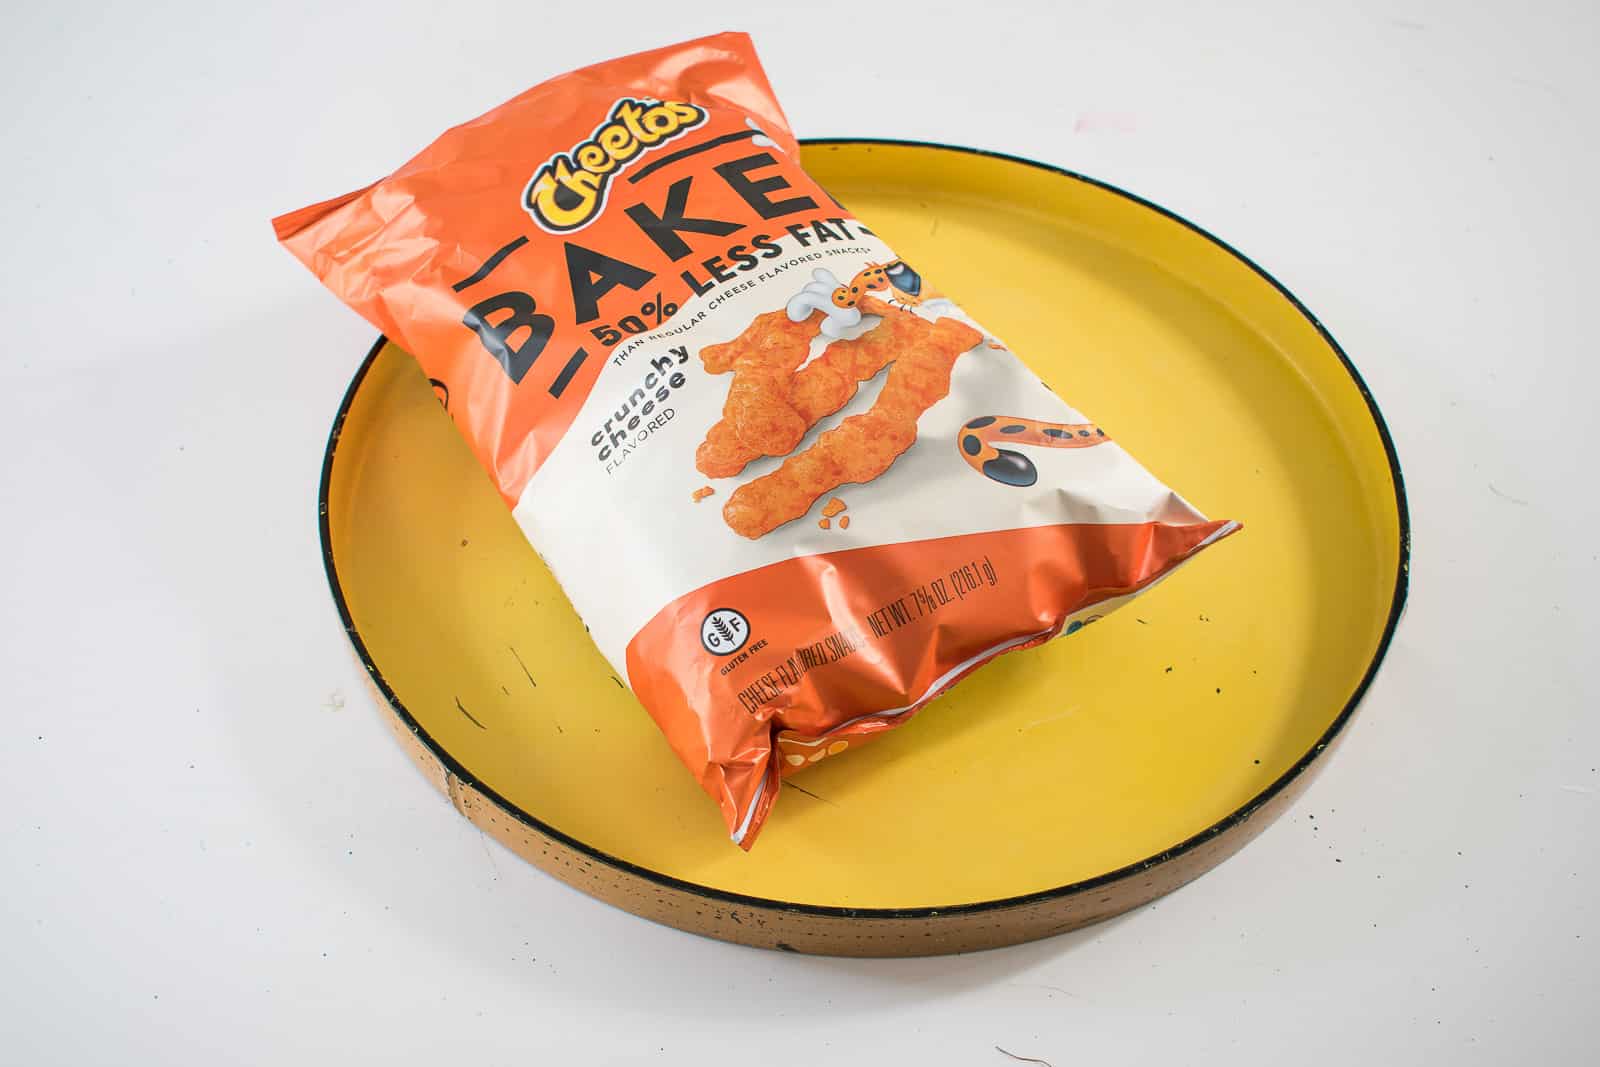
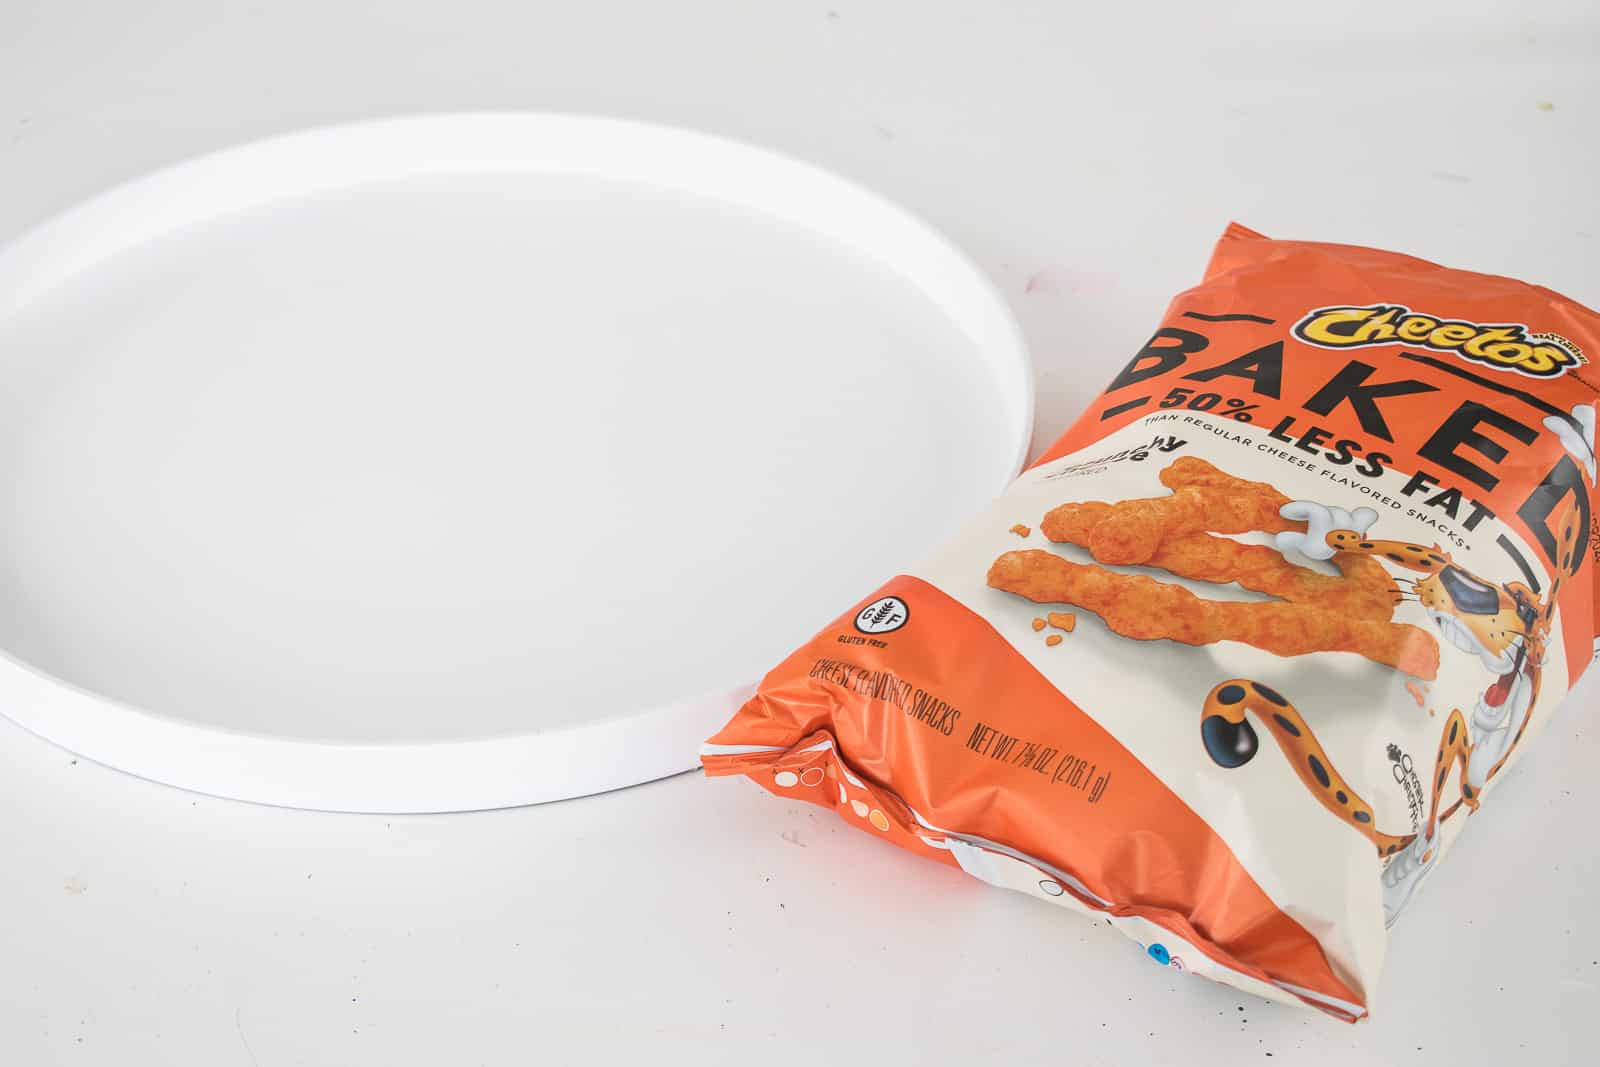
Step 1. Find a tray
I was lucky and snagged one at Goodwill for $3. The only consideration is whether the rim of the tray is higher than the average Cheeto. I didn’t like the color of my tray so I gave it a coat of white spray paint before I started.
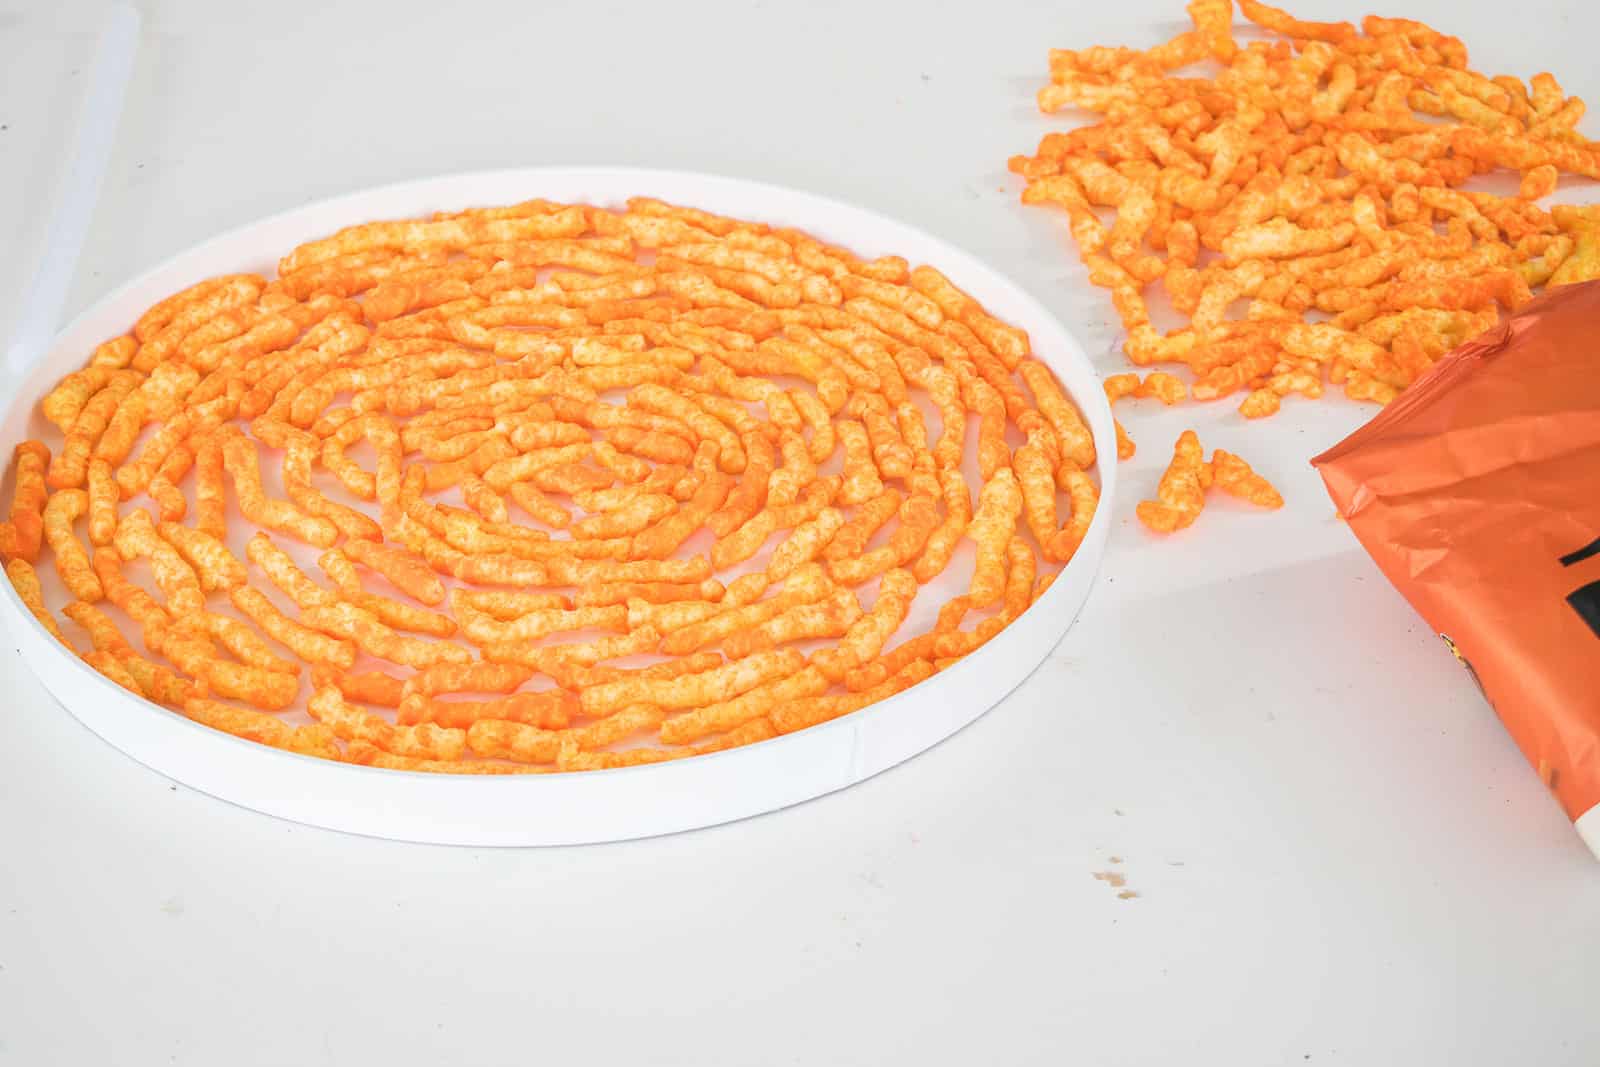
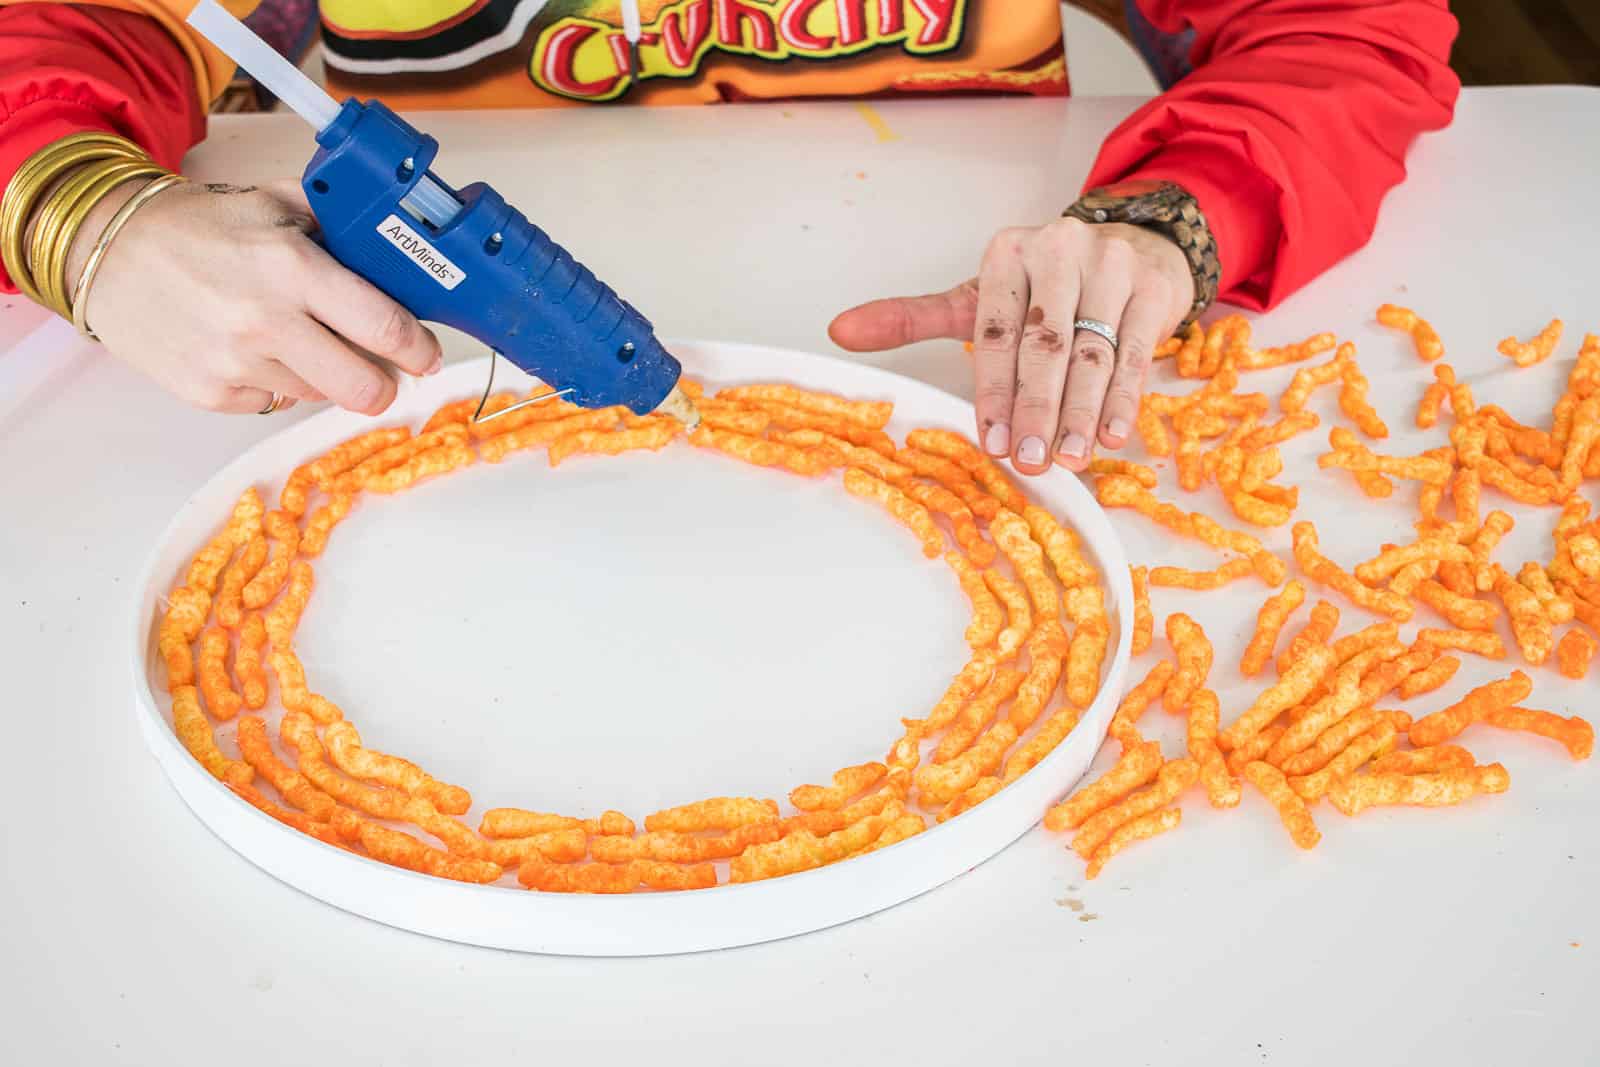
Step 2. Lay out your Cheetos
I’d love to see someone get all extra and make the Cheetos into a pattern… I followed the curves of the tray and mostly tried to find Cheetos that were all somewhat uniform in their size and shape. Feel free to snack on the outlying Cheetos that don’t fit.
Step 3. Glue the Cheetos onto the Tray
You have to glue the Cheetos in place or else they’ll float up when you pour the epoxy. I used a hot glue gun and it seemed to work just fine.
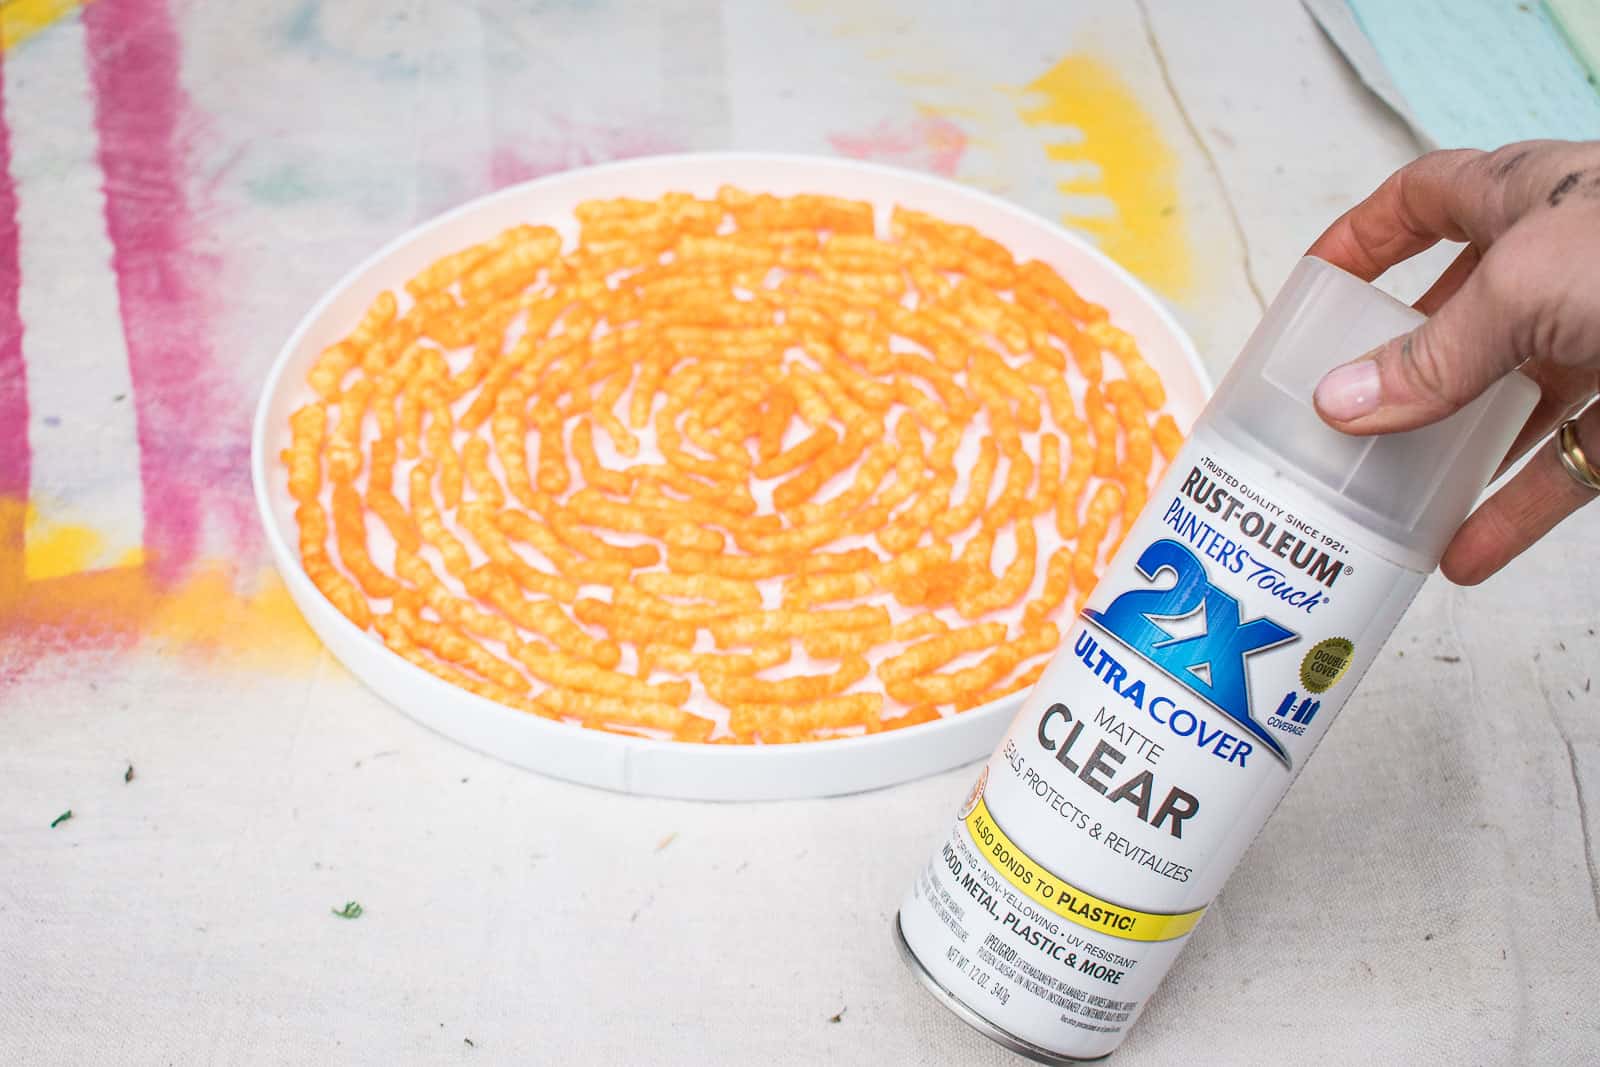
Step 4. Seal the Cheetos
The most delicious part of the Cheeto, as we all know, is the powdered orange “cheese”. But orange powder is not so great when it’s clouding your epoxy. So it’s important to seal the glued Cheetos with clear spray lacquer before pouring the epoxy.
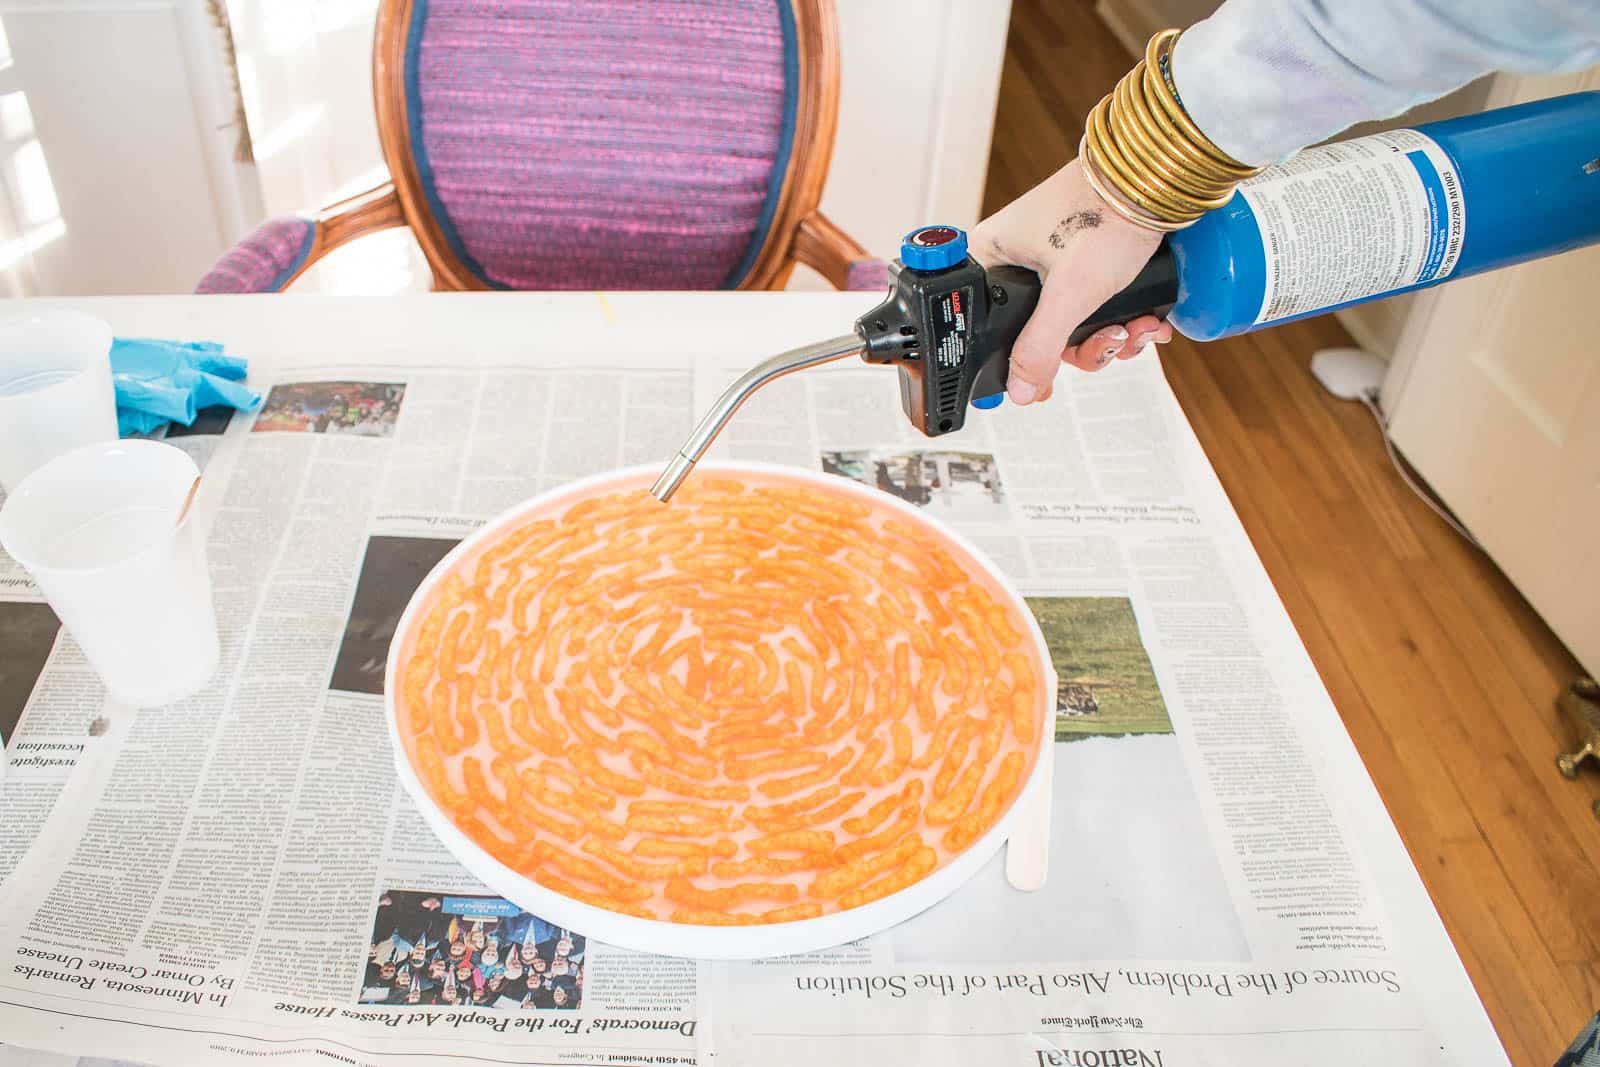
Step 5. Epoxy tray time
I use MAS Art Pro and have had great results. Mix the epoxy in a 1:1 hardener to resin ratio and stir for at least 2 minutes. Pour over the Cheetos and wait a few minutes before going over with a heat gun to remove any bubbles. Keep an eye on the tray for the next 45 minutes to an hour to continue going over with the heat gun just to be safe. I felt like there were more bubbles than usual when working with Cheetos.
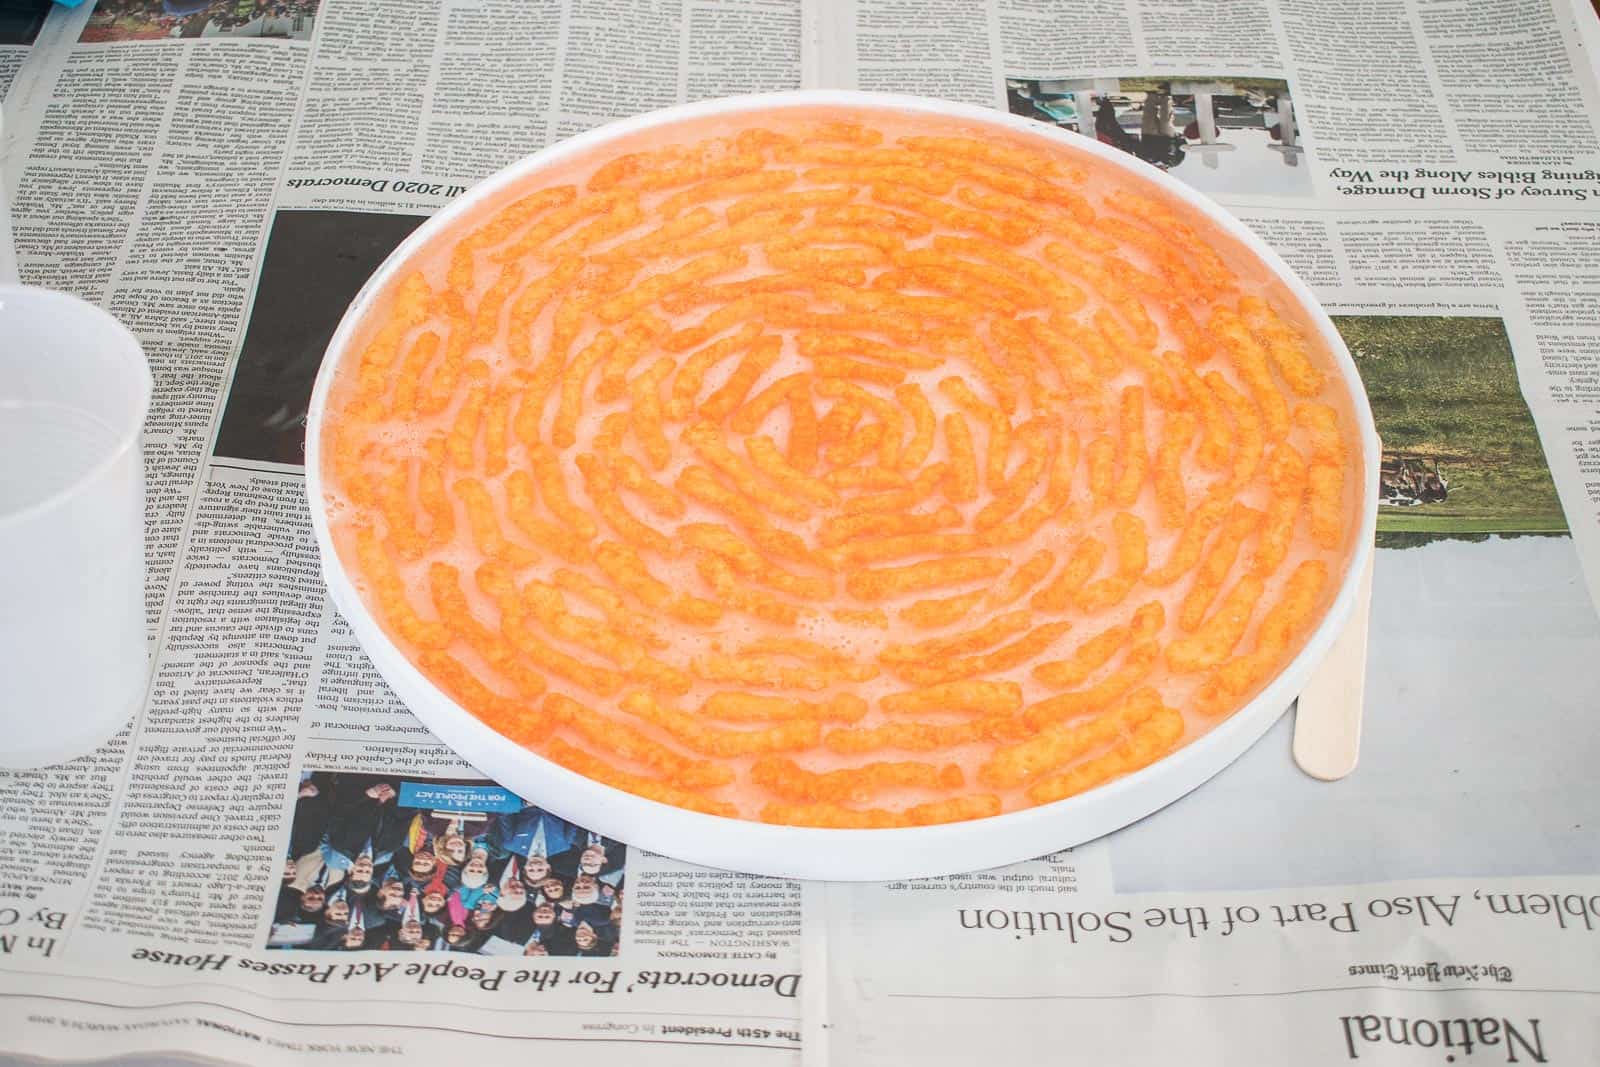
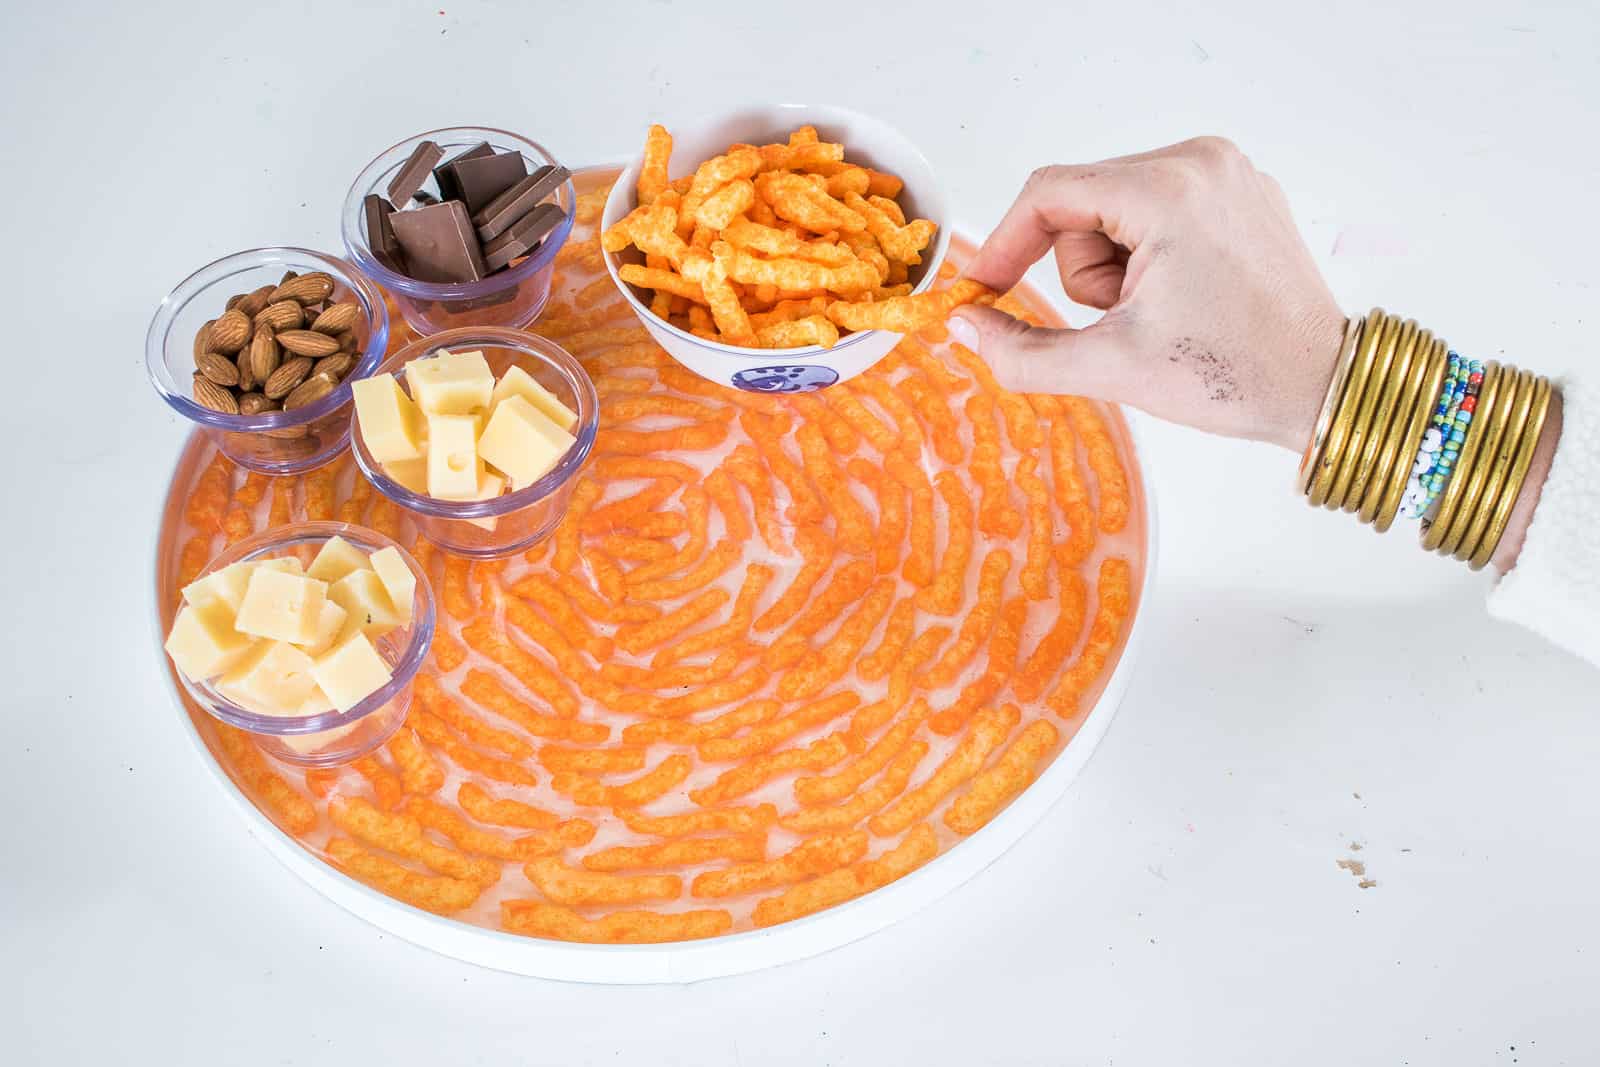
Let the epoxy cure for 24 hours and enjoy! A word about food safety when it comes to epoxy. Technically once epoxy is fully cured, it’s like any other plastic. I’ll leave it up to you whether you put food directly onto the surface of the tray… I wouldn’t CUT on the surface, but placing food briefly on the tray is your call.


OMG, best post EVer! I too share your love of cheetos…kinda BRILLIANT work lady.
Here to inspire and provide only the most useful of projects. 🙂 xx
Well now you’ve got me all hungry for cheetos! Love the hoodie too ?
Yes! Had to dress the theme! Thanks!
Oh my goodness, this is PRICLESS!!!!thank you for providing this entertainment, we all need it right Now!!! X
Haha! Completely essential crafting projects only. 🙂
wHAT A FUN PROJECT! YOU MADE ME BUY CHEETOS AT THE GROCERY TODAY! I WANT TO MAKE ABOUT 20 OF THESE TRAYS AS A “CORONA” PROJECT TO GIVE AS ADORABLE GIFTS THIS CHRISTMAS!! THE TORCH SORT OF SCARES ME A BIT, BUT MAYBE I’LL JUST GET BRAVE, HUH?
Hahaha! That’s hilarious! The torch is much less scary than it seems. You can also just exhale over the surface of the epoxy to release the bubbles, but the torch is faster!