
Colorful Propagation Tubes
Psssst… this post *might* contain affiliate links: see my disclosure here.
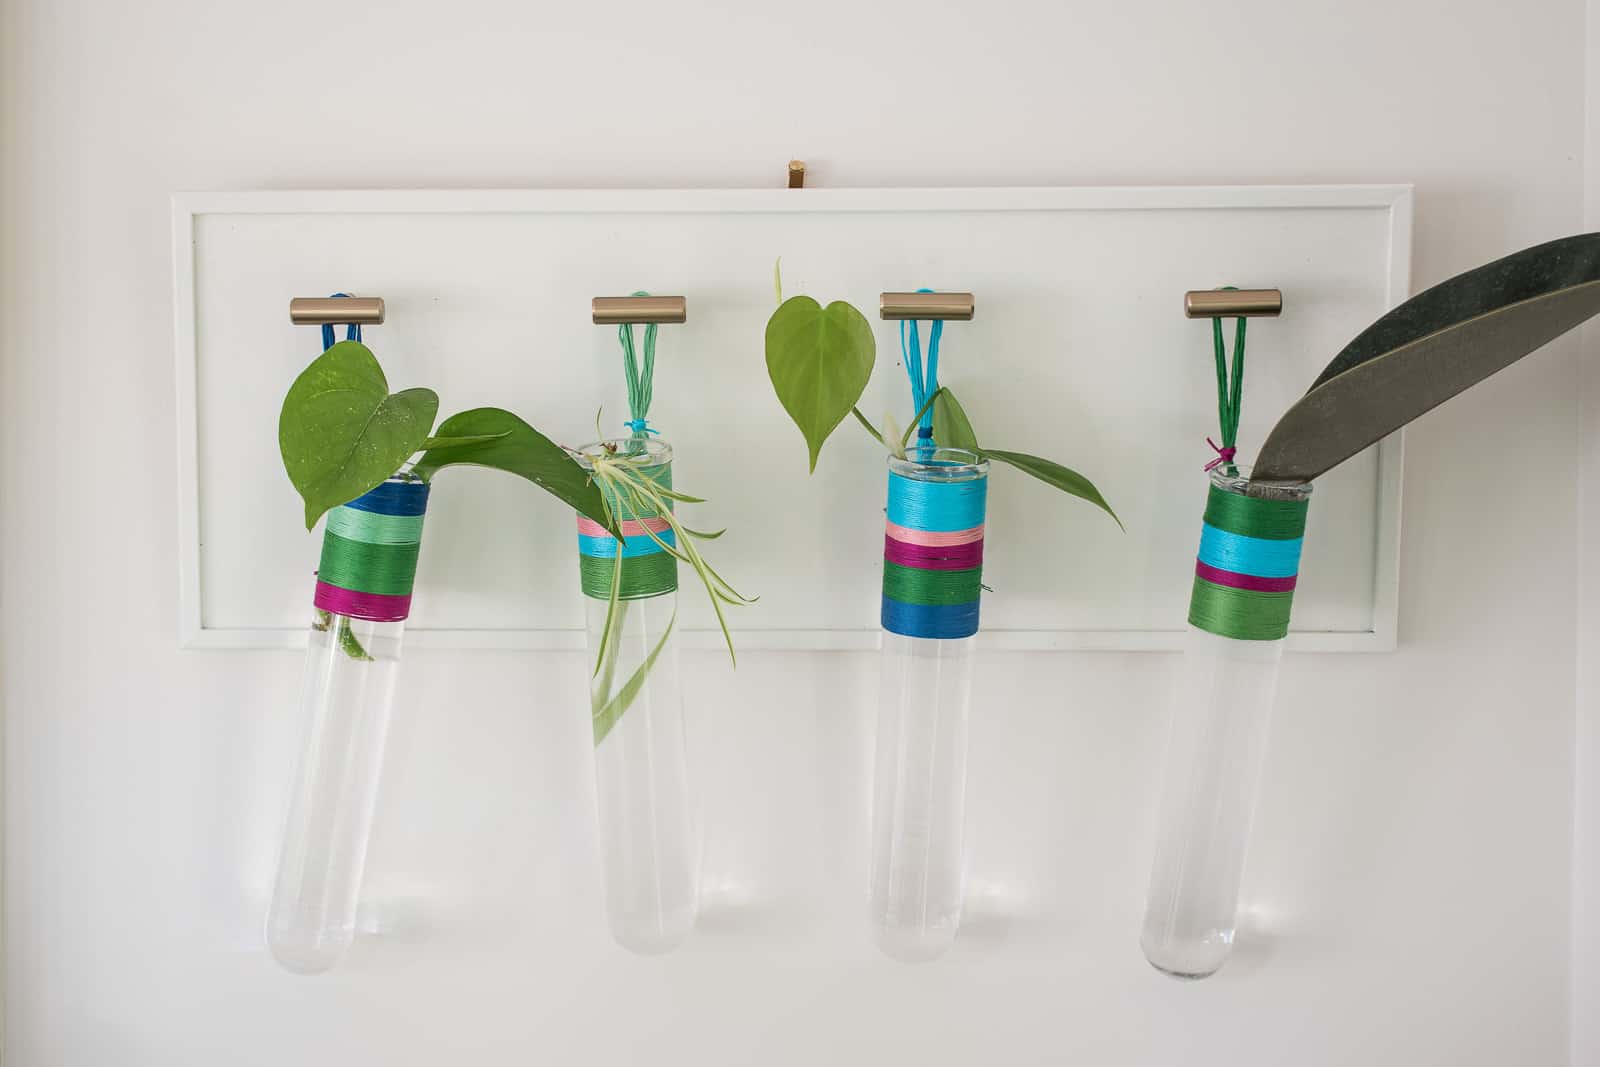
DIY Wrapped Propagation Tubes
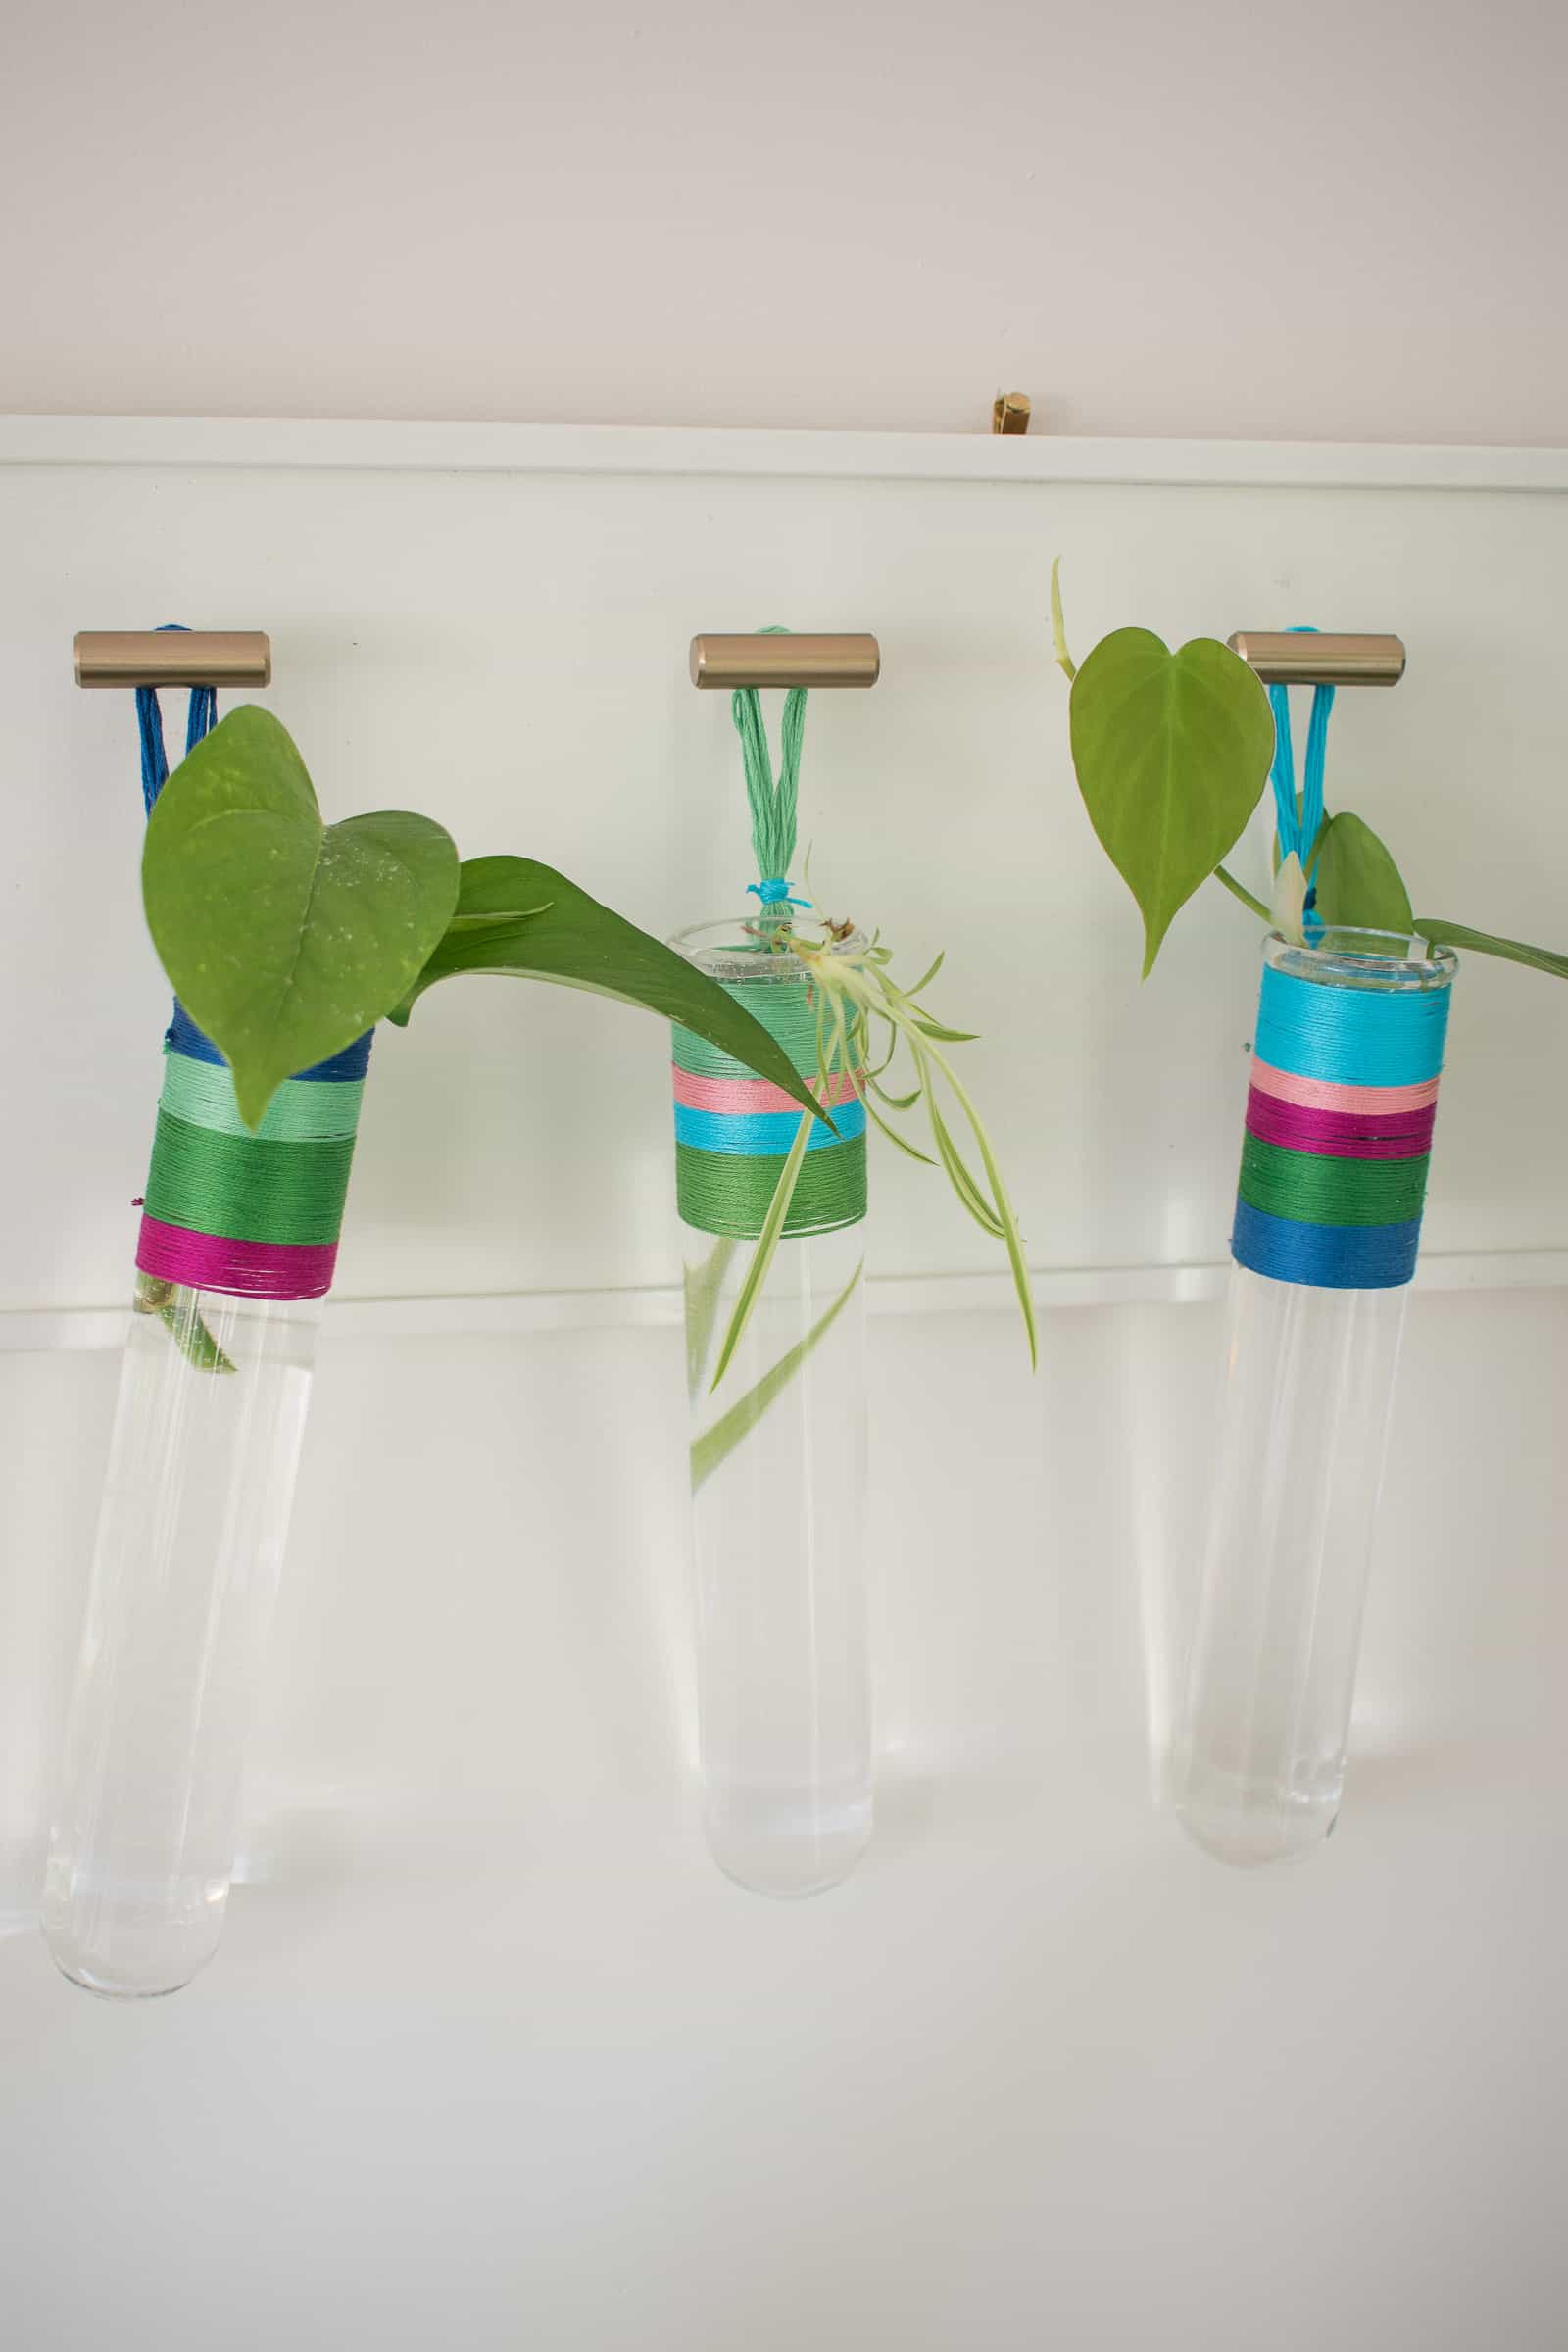
These cotton wrapped propagation tubes are a fun way to grow some new plants!
I am hardly a plant expert nor do I have ANYthing resembling a green thumb. But I happen to have a wonderfully sunny corner of a playroom in which my plants are very very happy. I’ve seen lots of folks using these large test tubes for plant propagation so I figured why not give it a try, add a little color and maybe… just maybe… I can grow some new plants! (Full materials list at the end of the post.)
Shop my favorites!
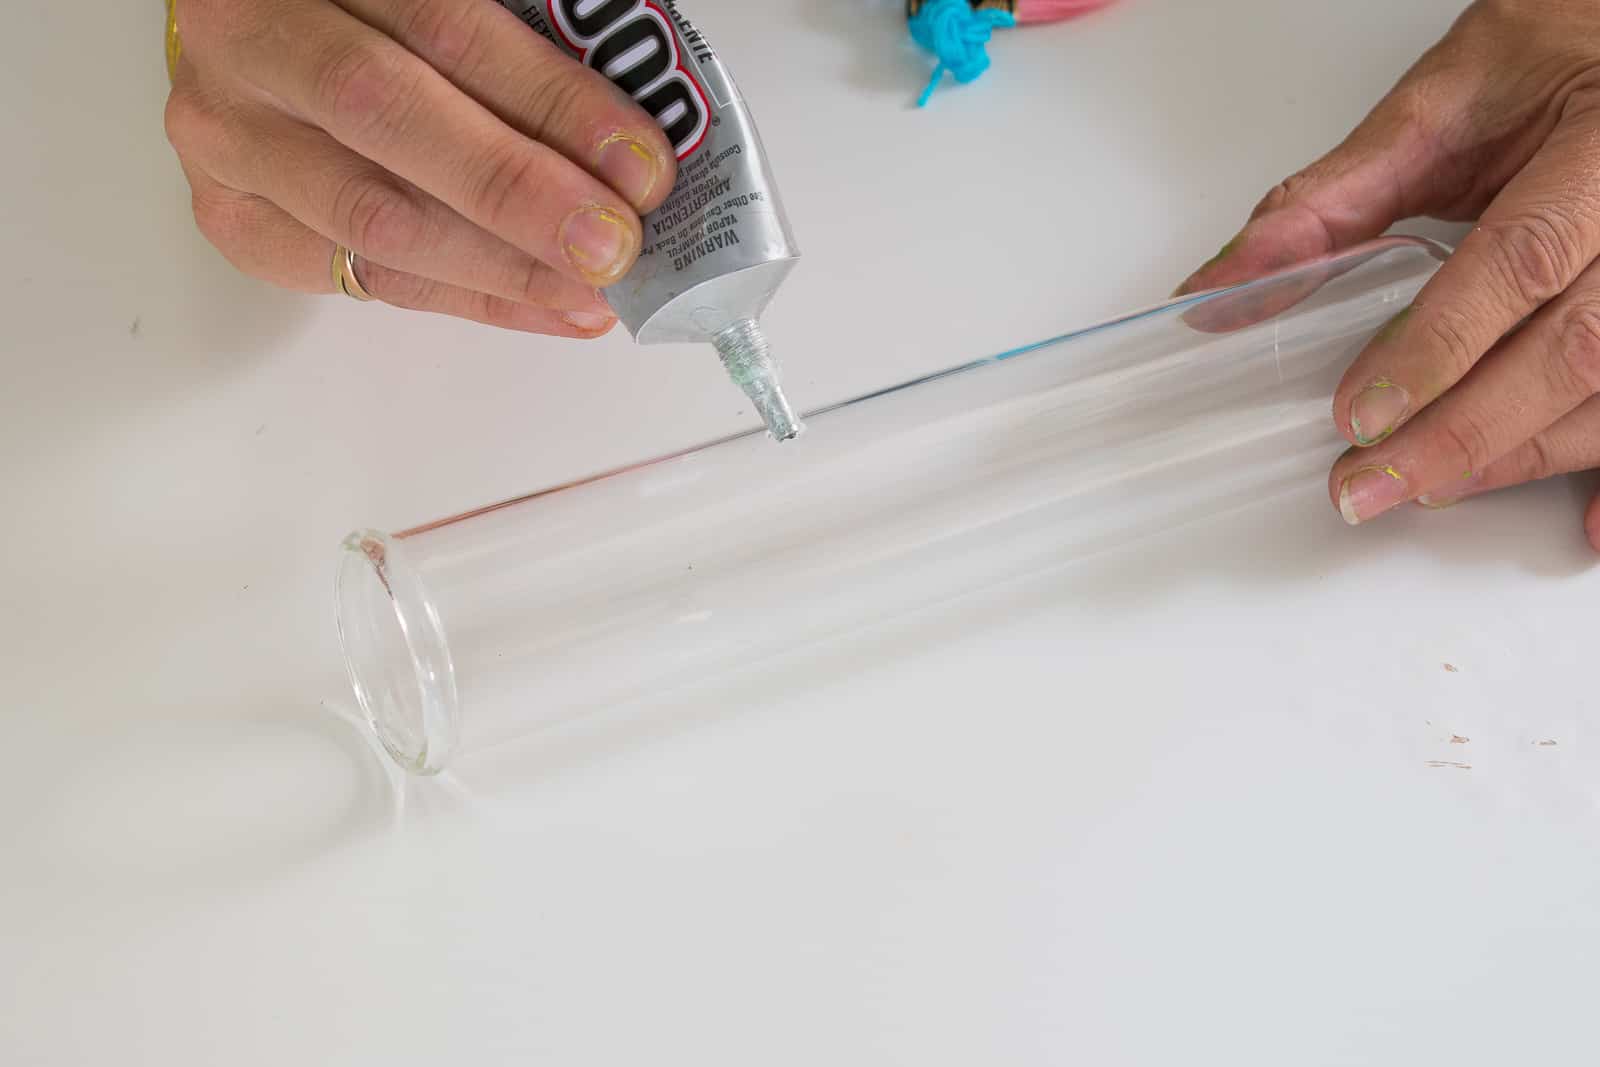
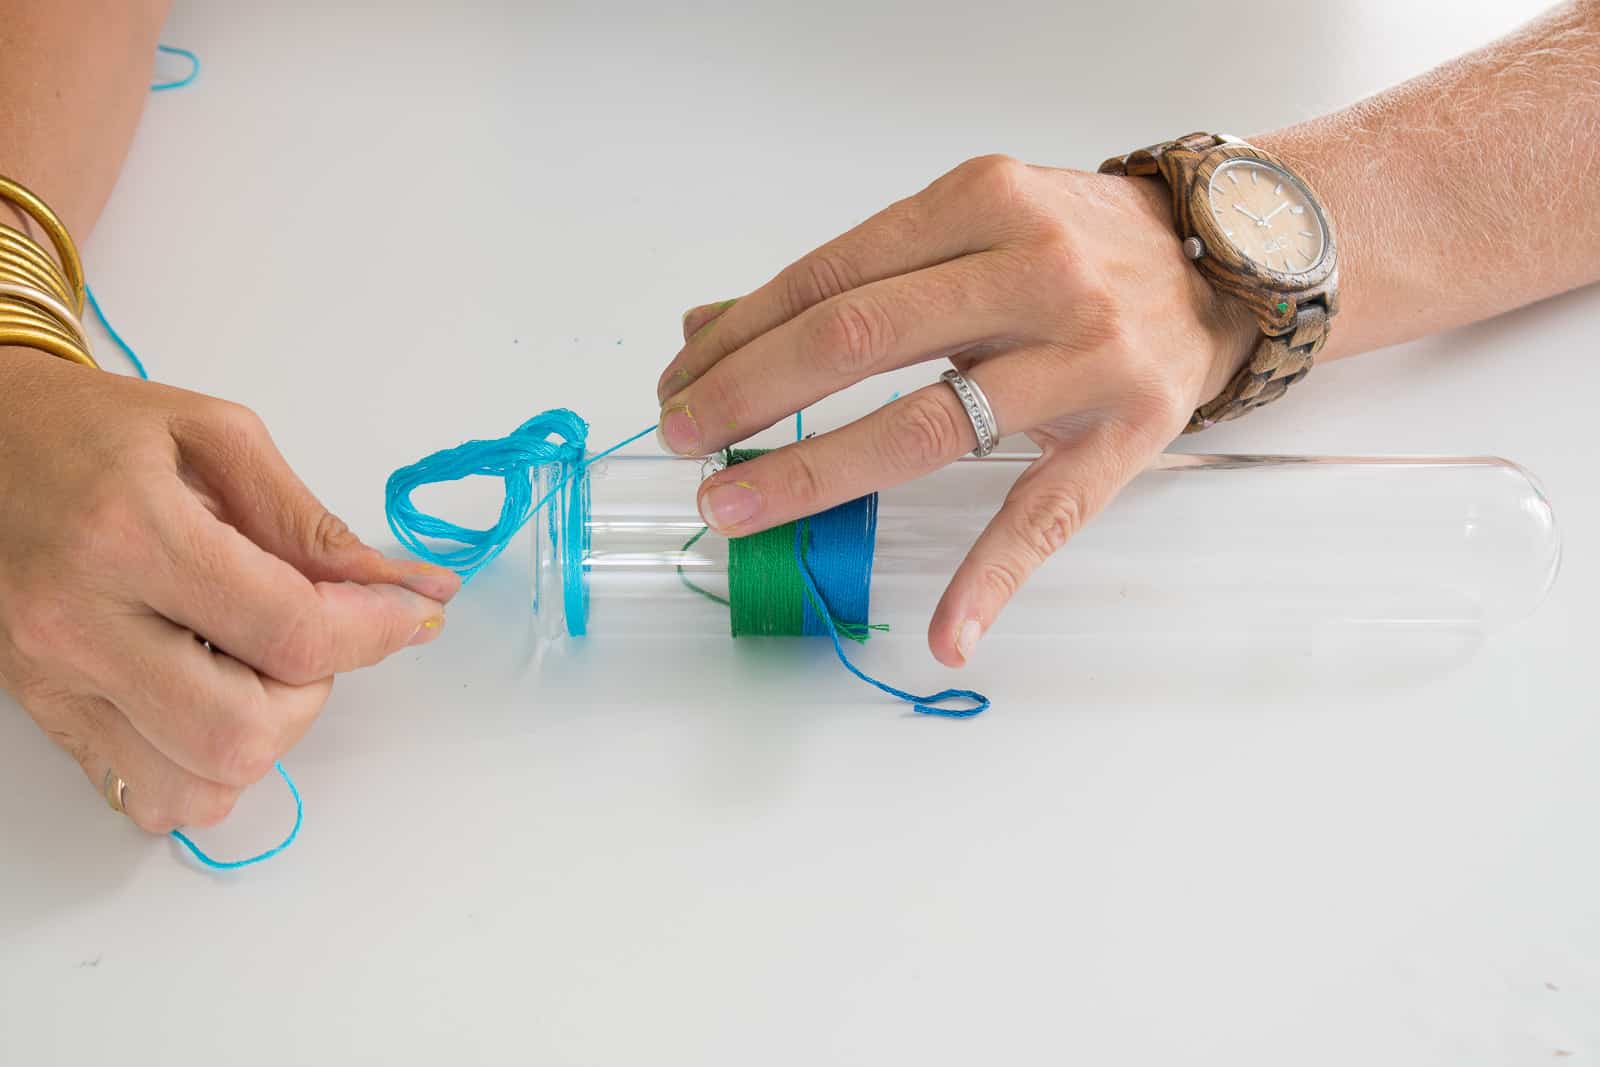
Step 1. Wrap and glue
I used a heavy duty glue because I wasn’t sure how the string would adhere to glass without it. I Leaving a tale of an inch or so, I glued one point of my yarn approximately 3 inches below the rim of the test tube . Working a few millimeters at a time, I squeezed glue onto the test tube and carefully wrapped the thread around. Make sure you keep your line of glue tidy so that it will run along the back of the test tube and it won’t be evident from the front. Change colors as you like!
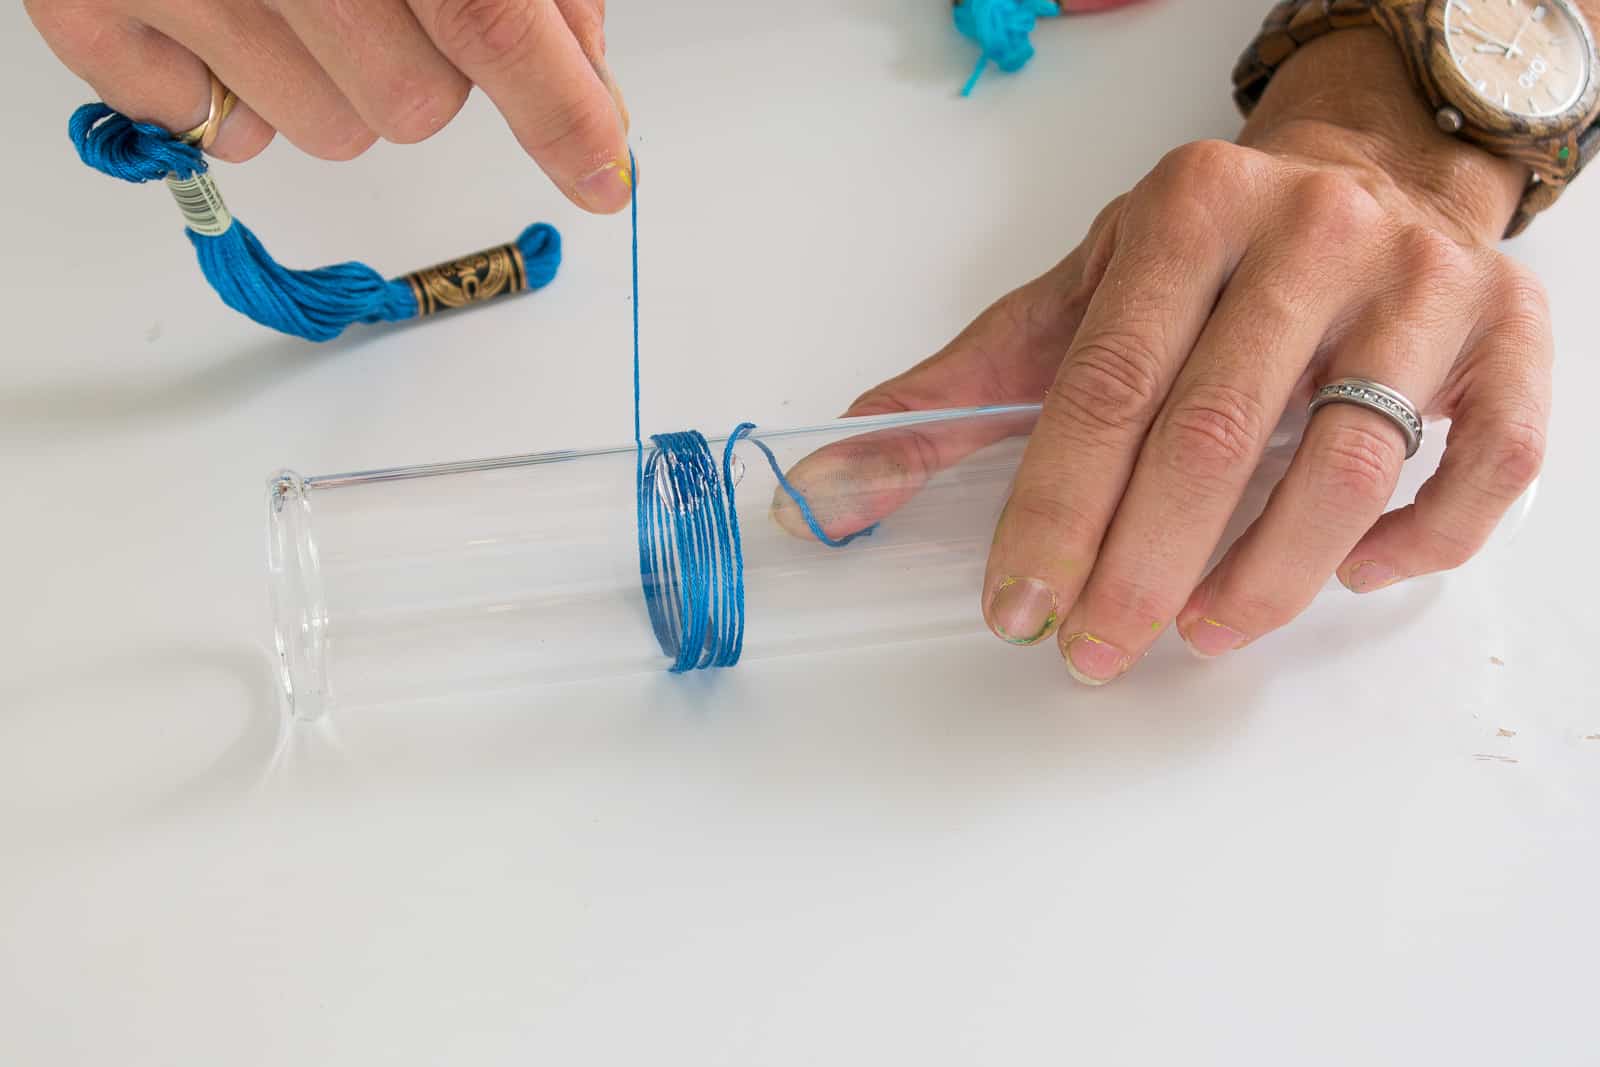
Once I’d wrapped about an inch, I used a sewing pin to make sure the thread was neat and tightly wound.
Step 2. Add a hanging loop
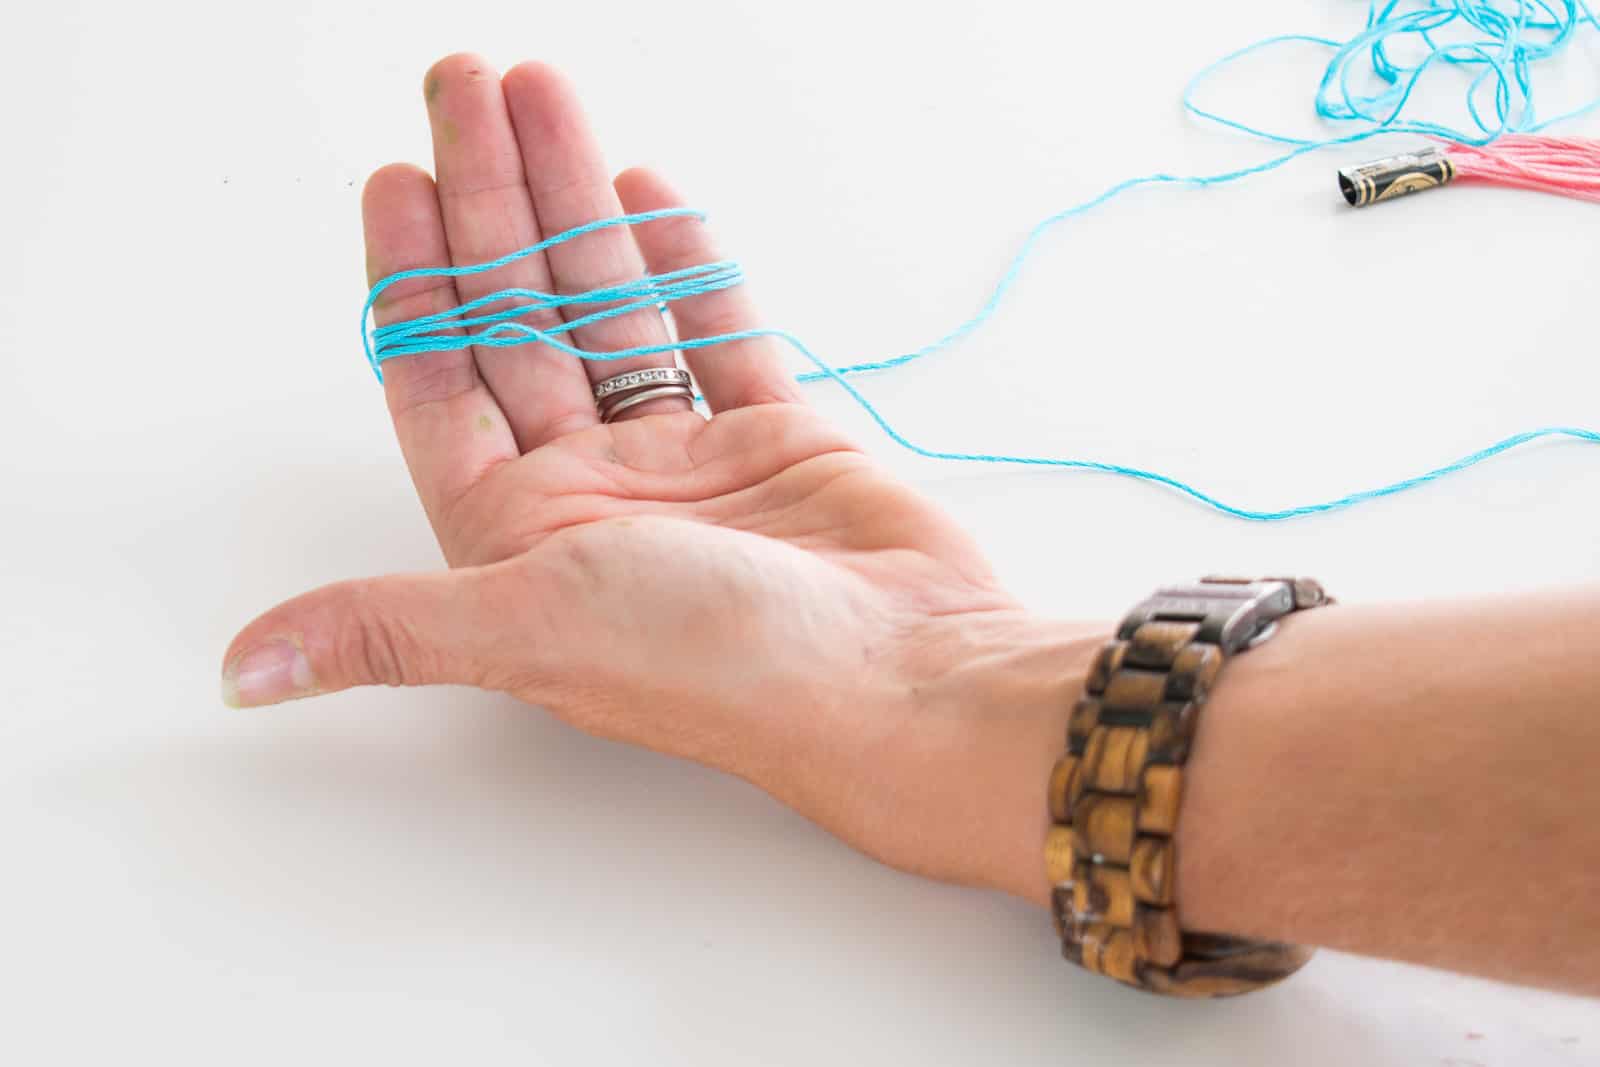
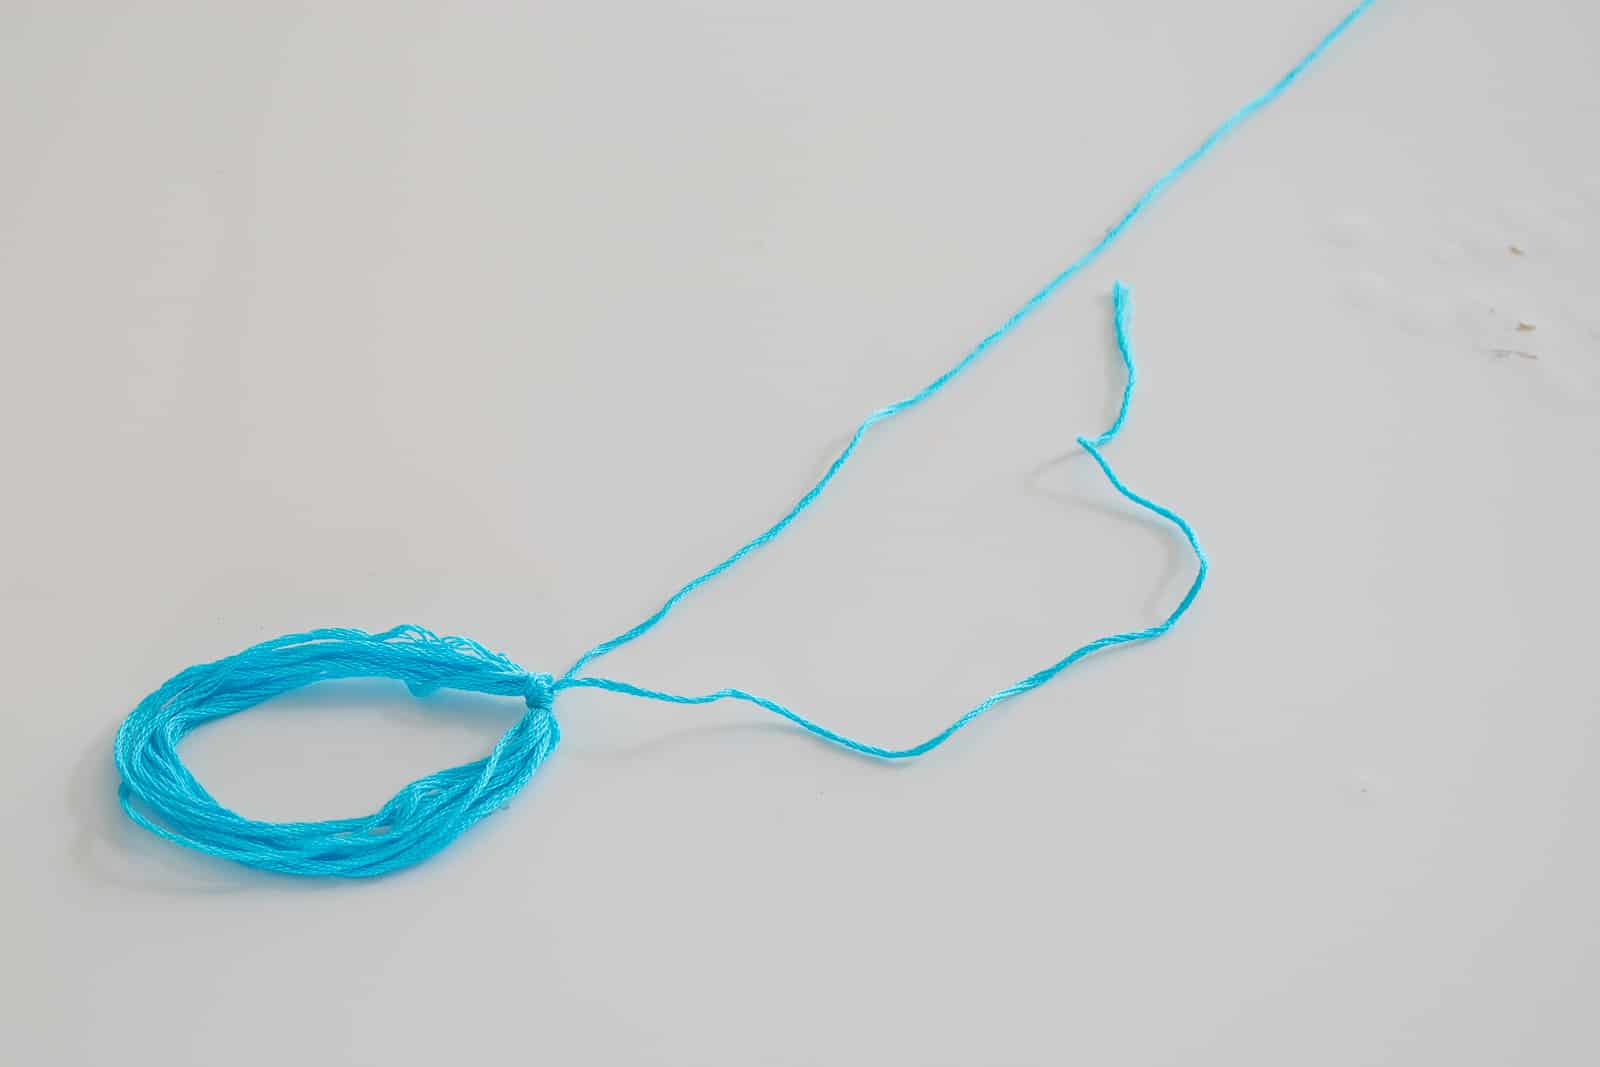
The test tubes I ordered had a little lip at the top, so I was able to create a loop of 4 or 5 threads to use as a hanging loop. Make sure you keep a few feet of string leftover once you’ve tied off your loop.
I wrapped the leftover end of string around the test tube to secure the hanging loop. Finish it off with the glue to hold in place.
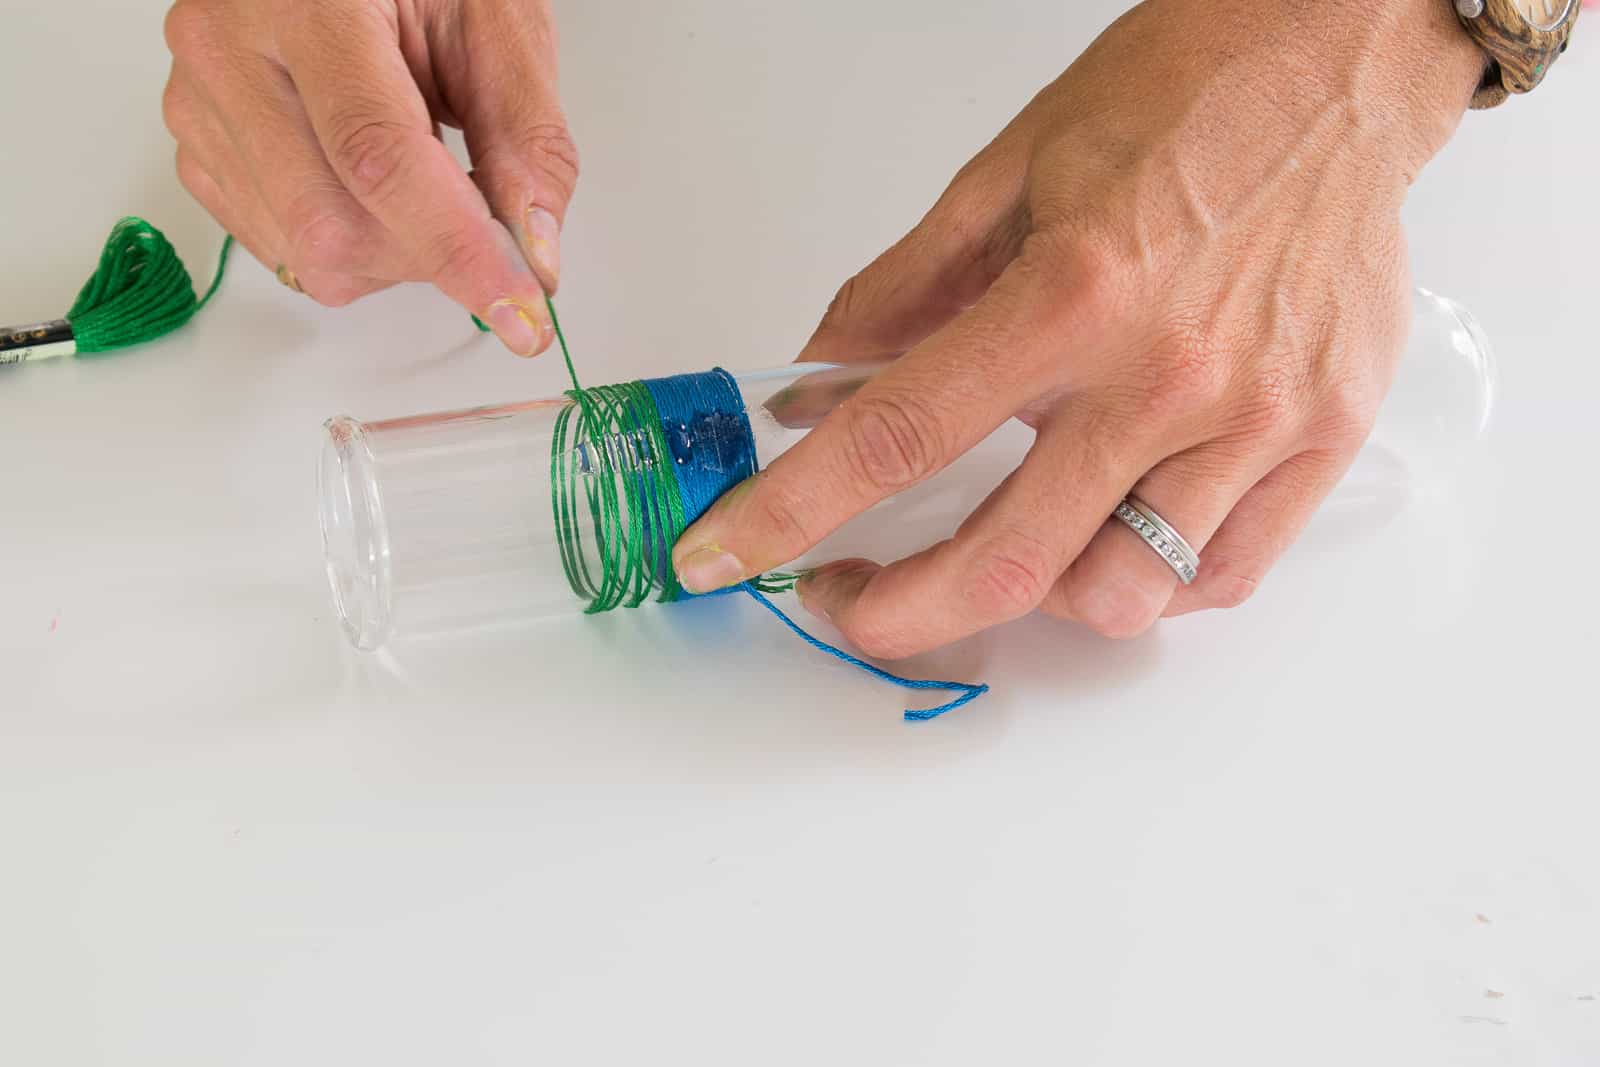
Step 3. Continue Wrapping from the top down
Once you’ve wrapped the hanging loop and secured it under the test tube lip, continue wrapping from the top edge down to where you’d wrapped earlier.
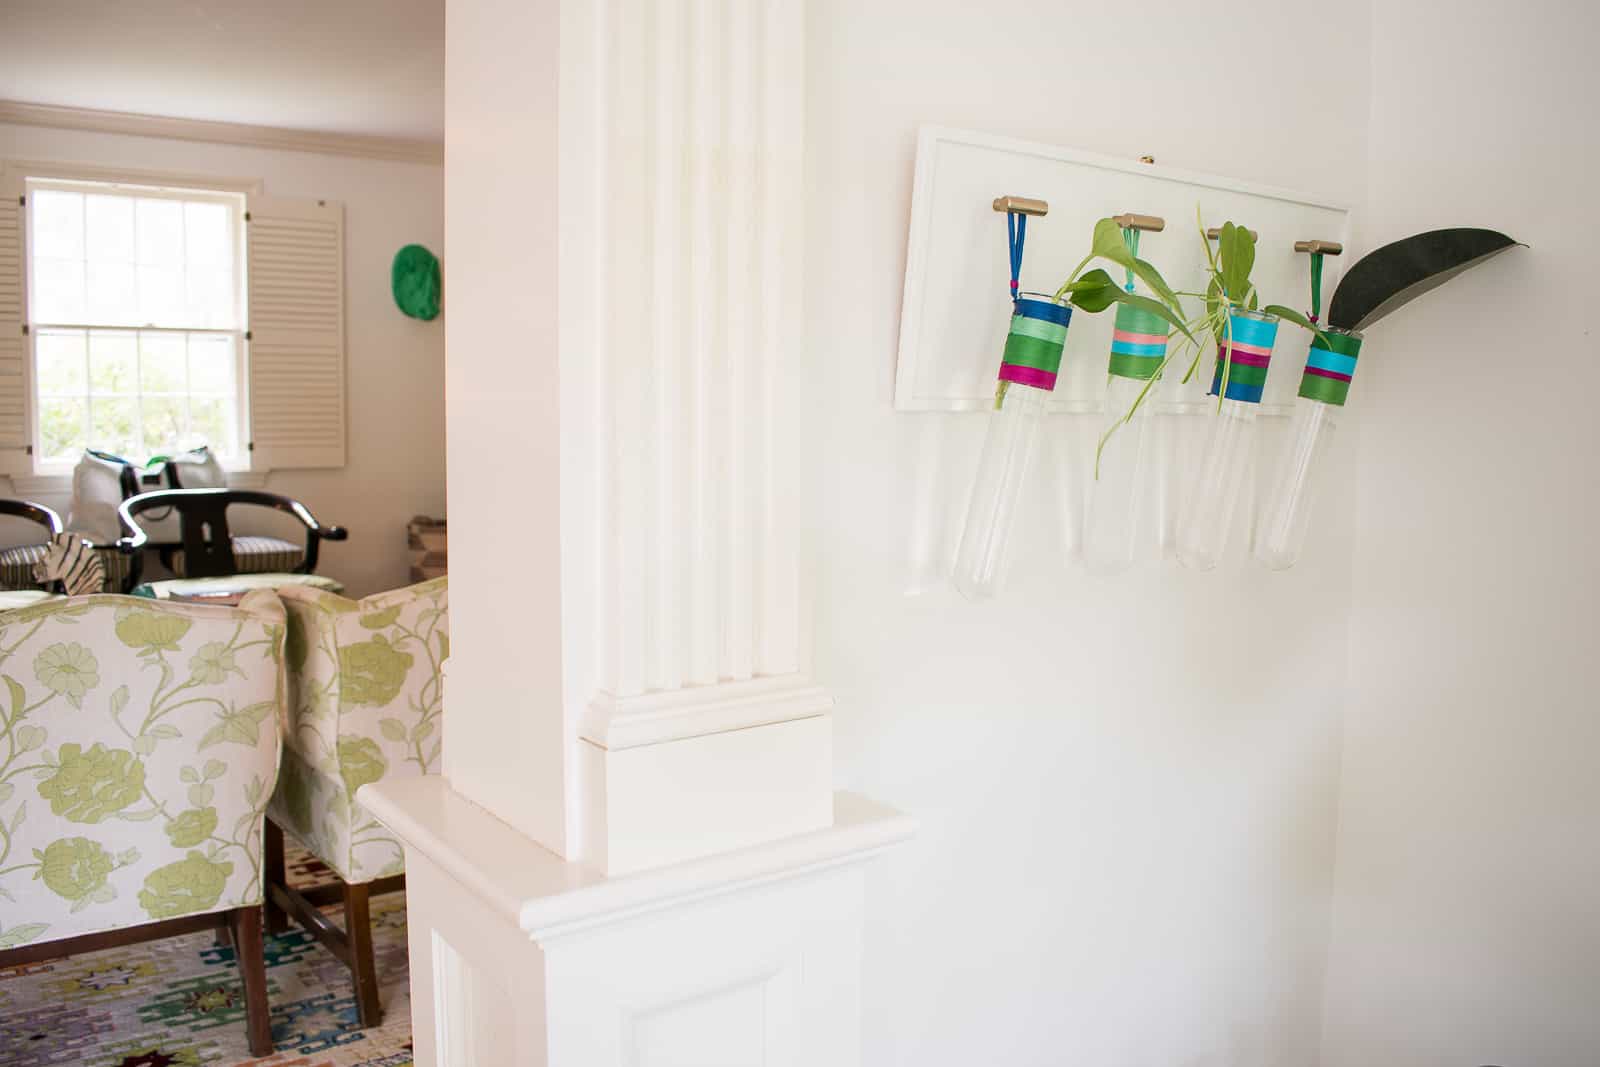
Step 4. Create a hanging base (optional)
Because we’re renting, I didn’t want to hammer in 4 nails for the 4 propagation tubes. So I quickly made a base using scrap wood. I added some leftover trip to the side and then screwed some cabinet knobs in place along the top. To hang it, I just added D rings and picture wire to the back.
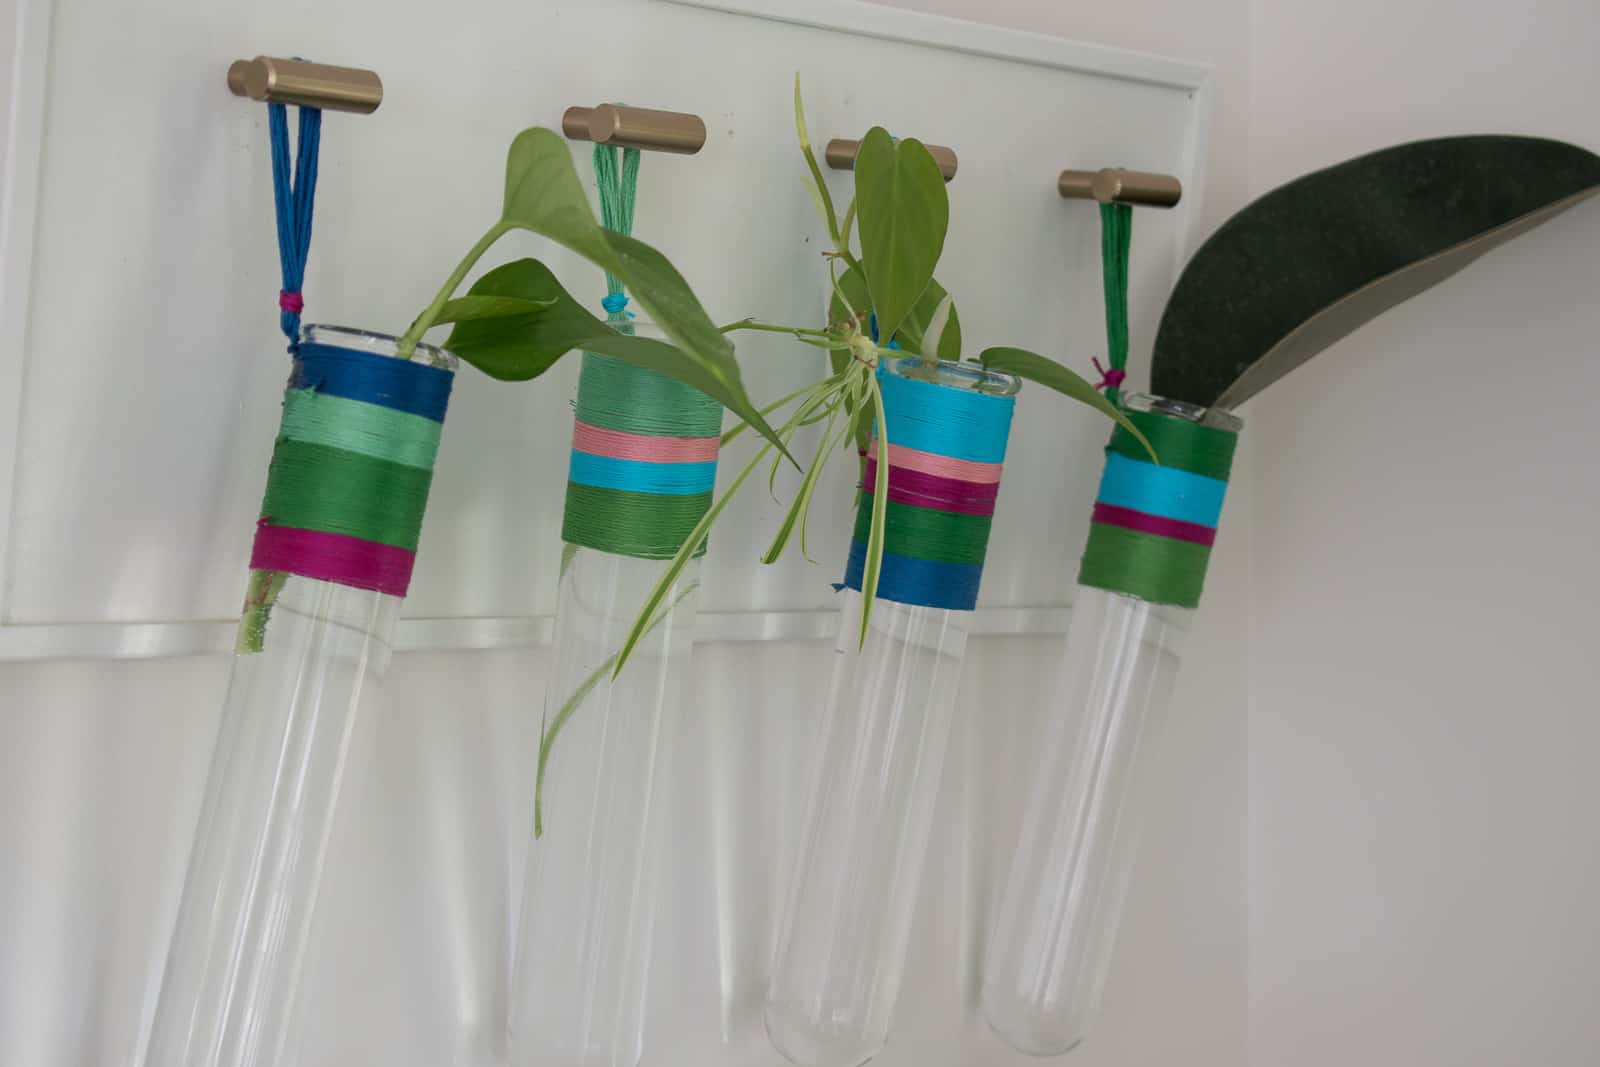
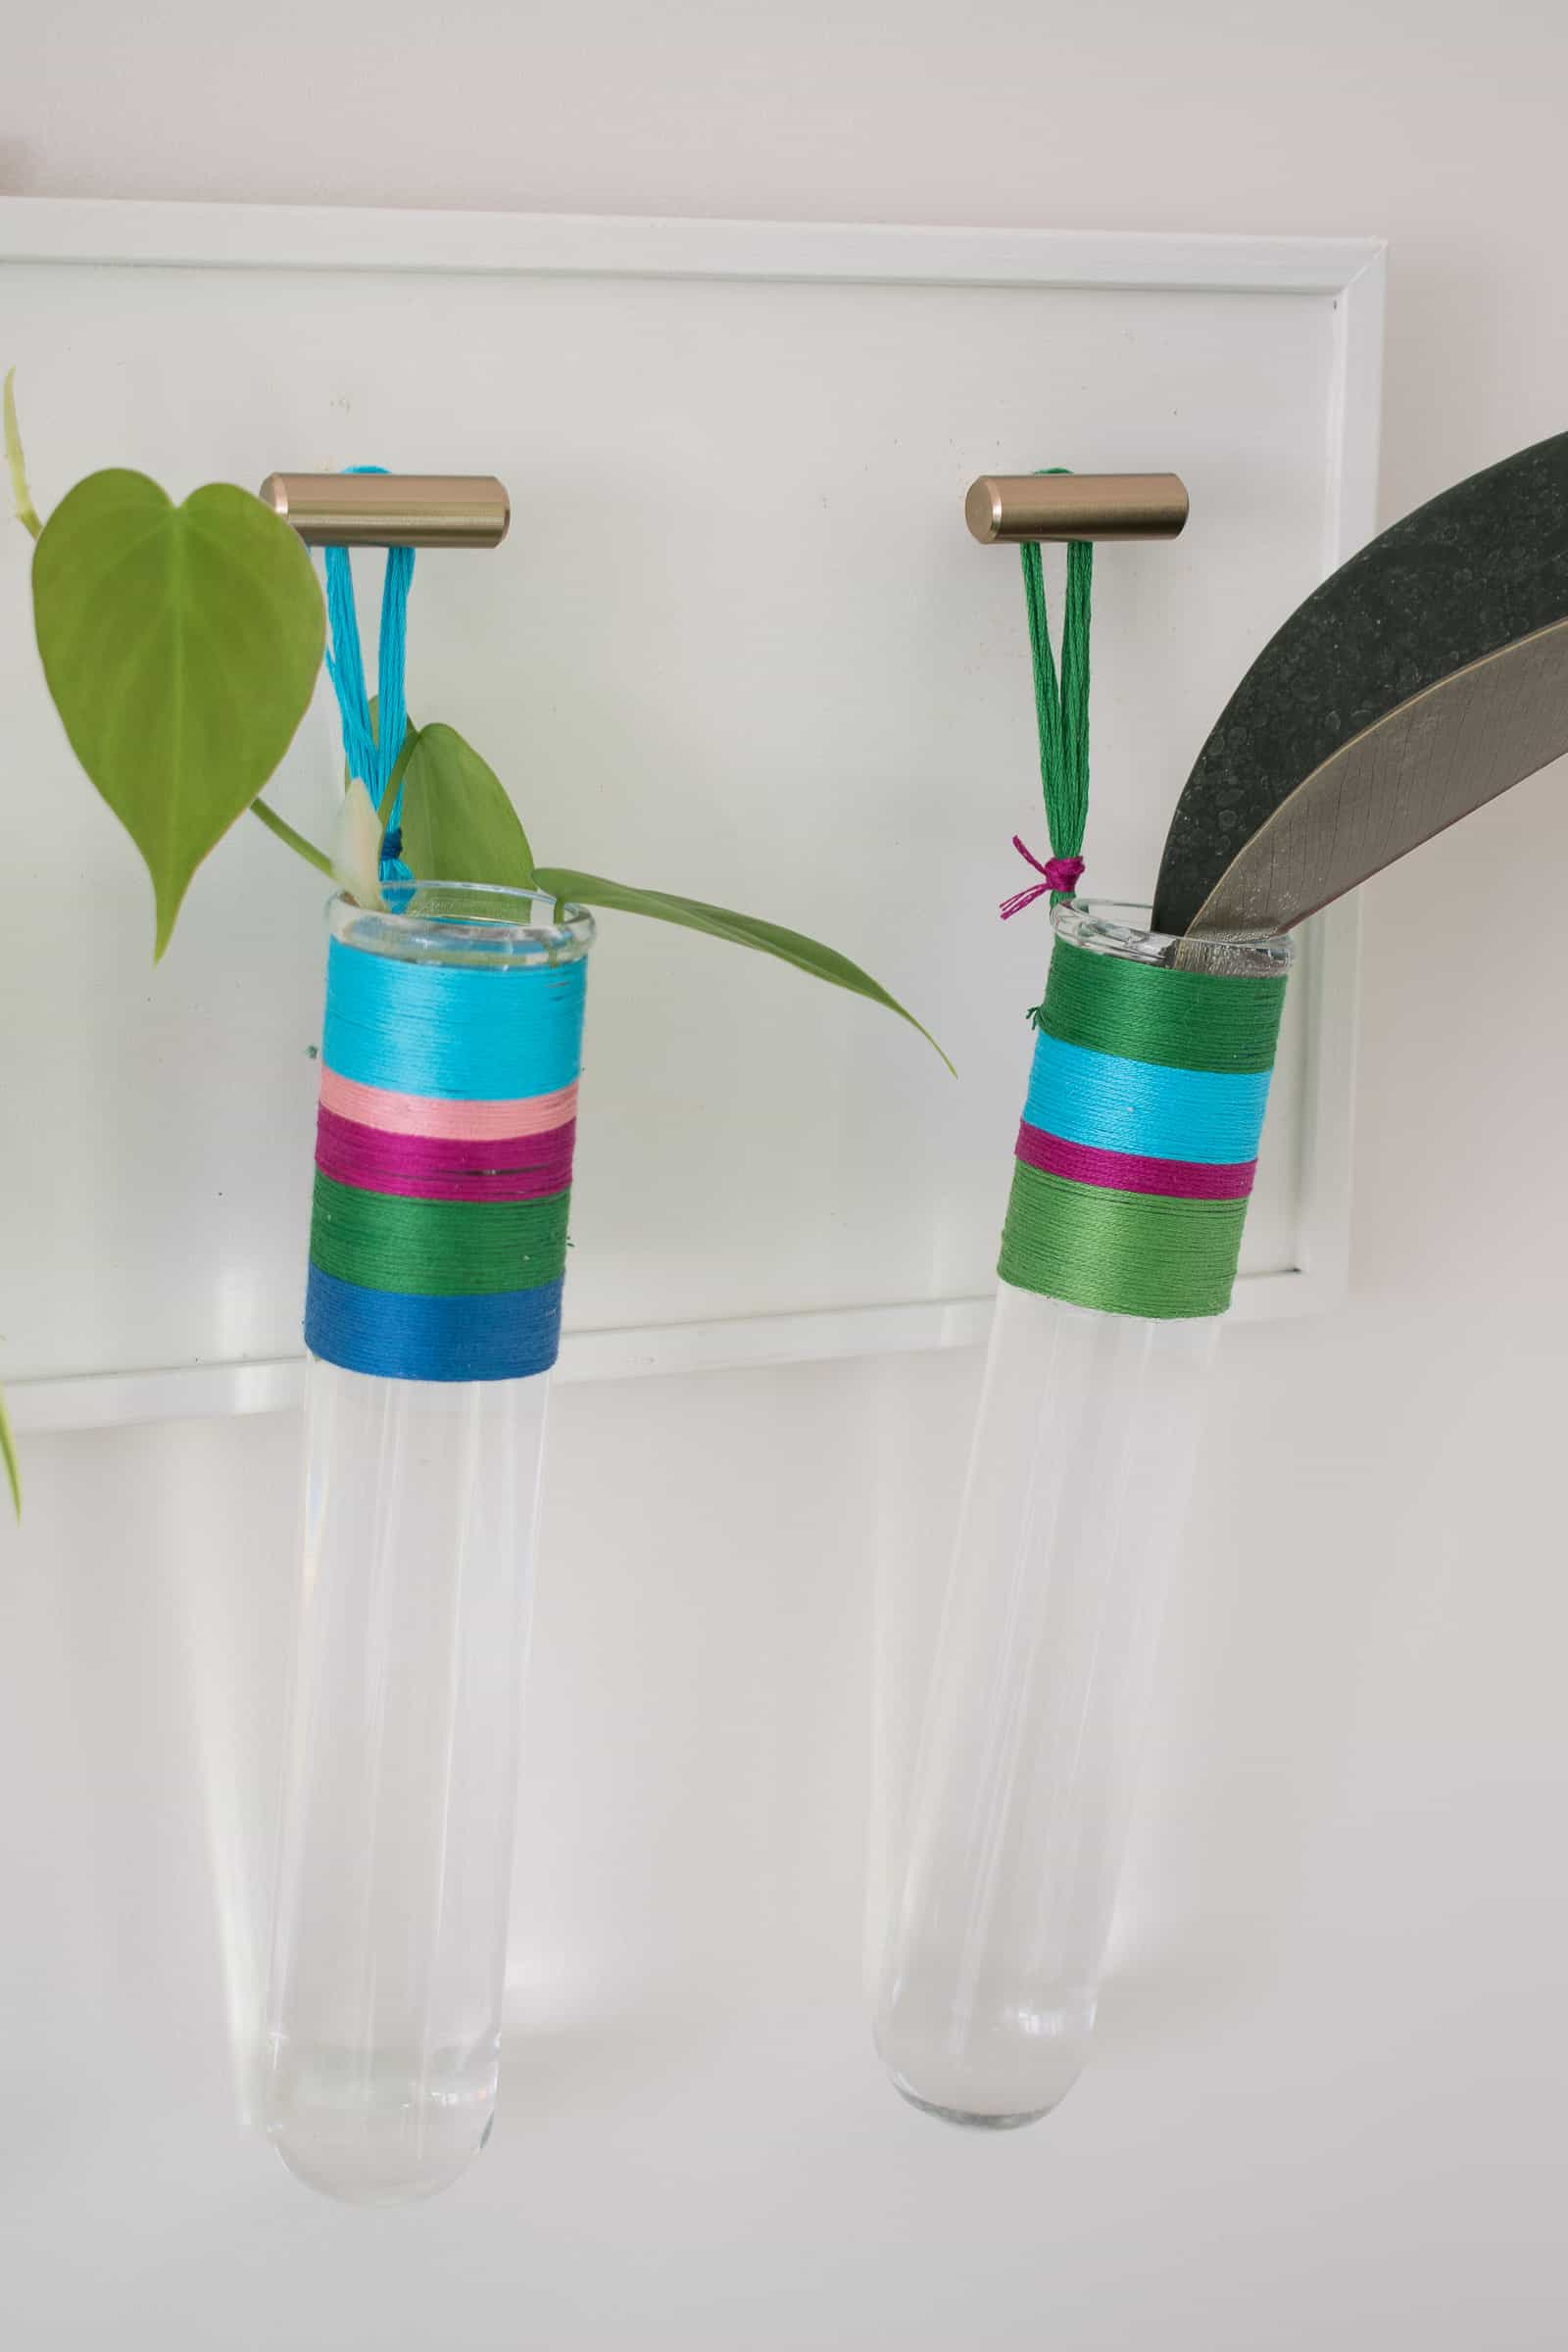
Step 5. Add plants
I filled up each tube with water and clipped a small cutting from a few of my plants. I’m not sure I chose plants that will grow roots, but it’s a fun (colorful!) experiment! What do I need to know to propagate? Is it really this simple?
Materials for Wrapped Propagation Tubes (affiliate links)
- Test Tubes
- Cotton thread
- Glue
- Knobs (optional)


Don’t Miss Out
Become An Insider!
Signup for exclusive tips, and tricks from Charlotte’s House!
Let’s chat!
I love comments from you, so feel free to leave your thoughts and ideas below! And don’t forget to follow me on Instagram for even more!