
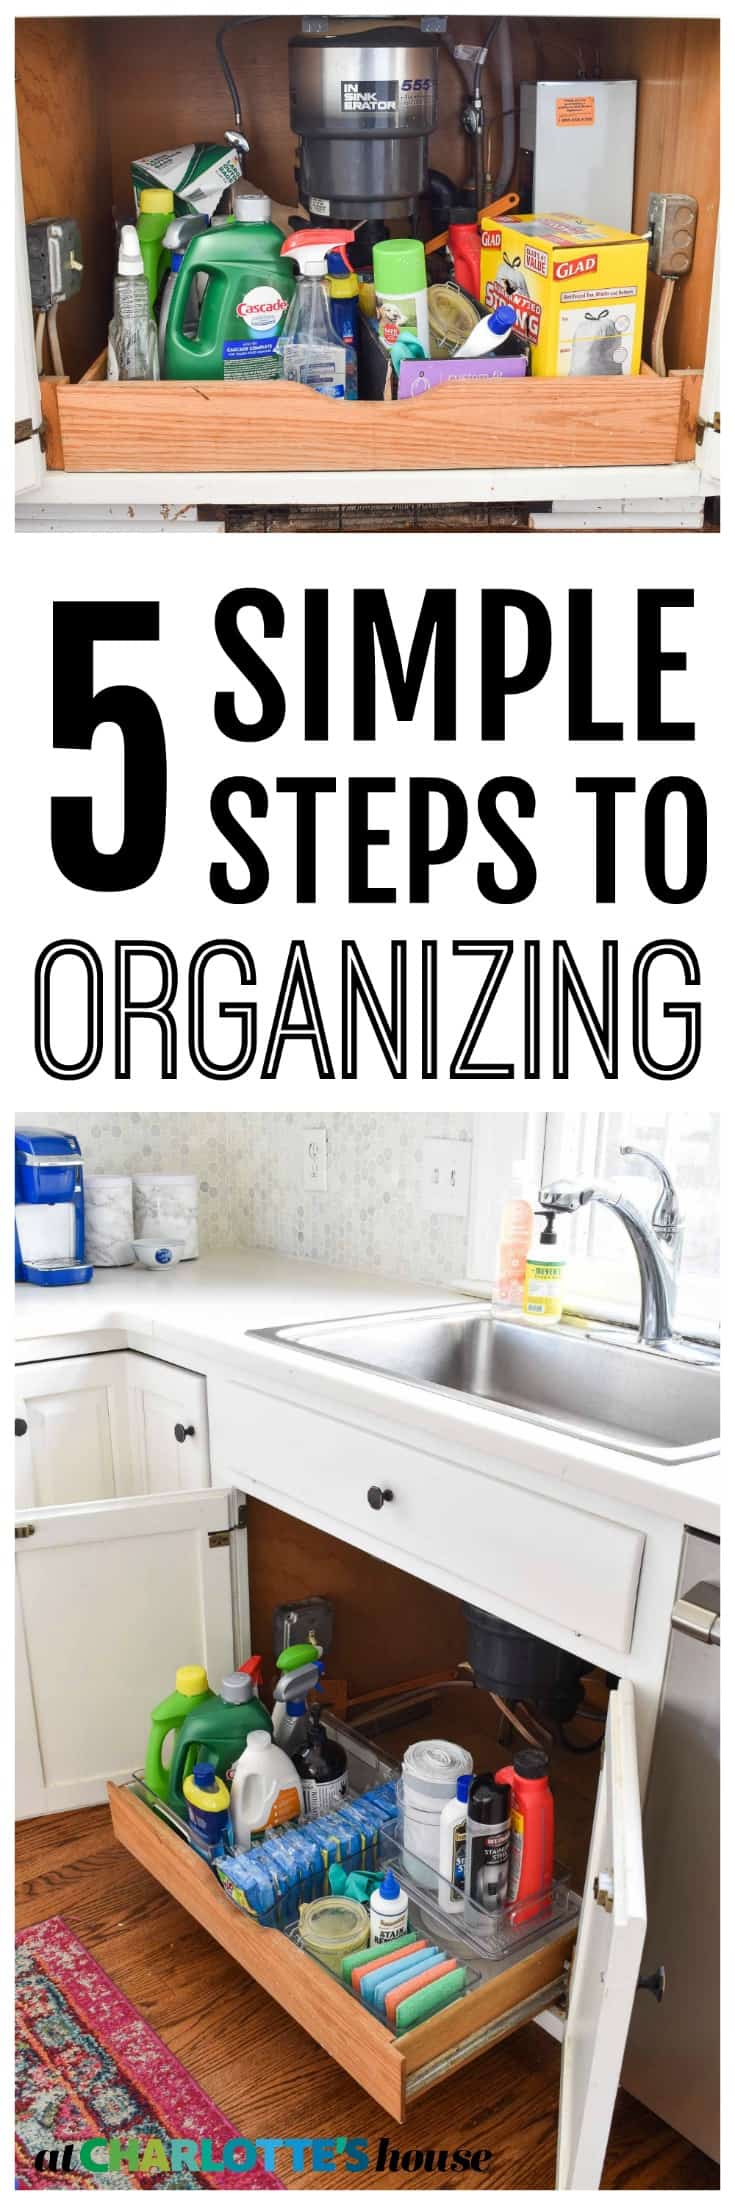
5 Steps to Staying Organized
Psssst… this post *might* contain affiliate links: see my disclosure here.
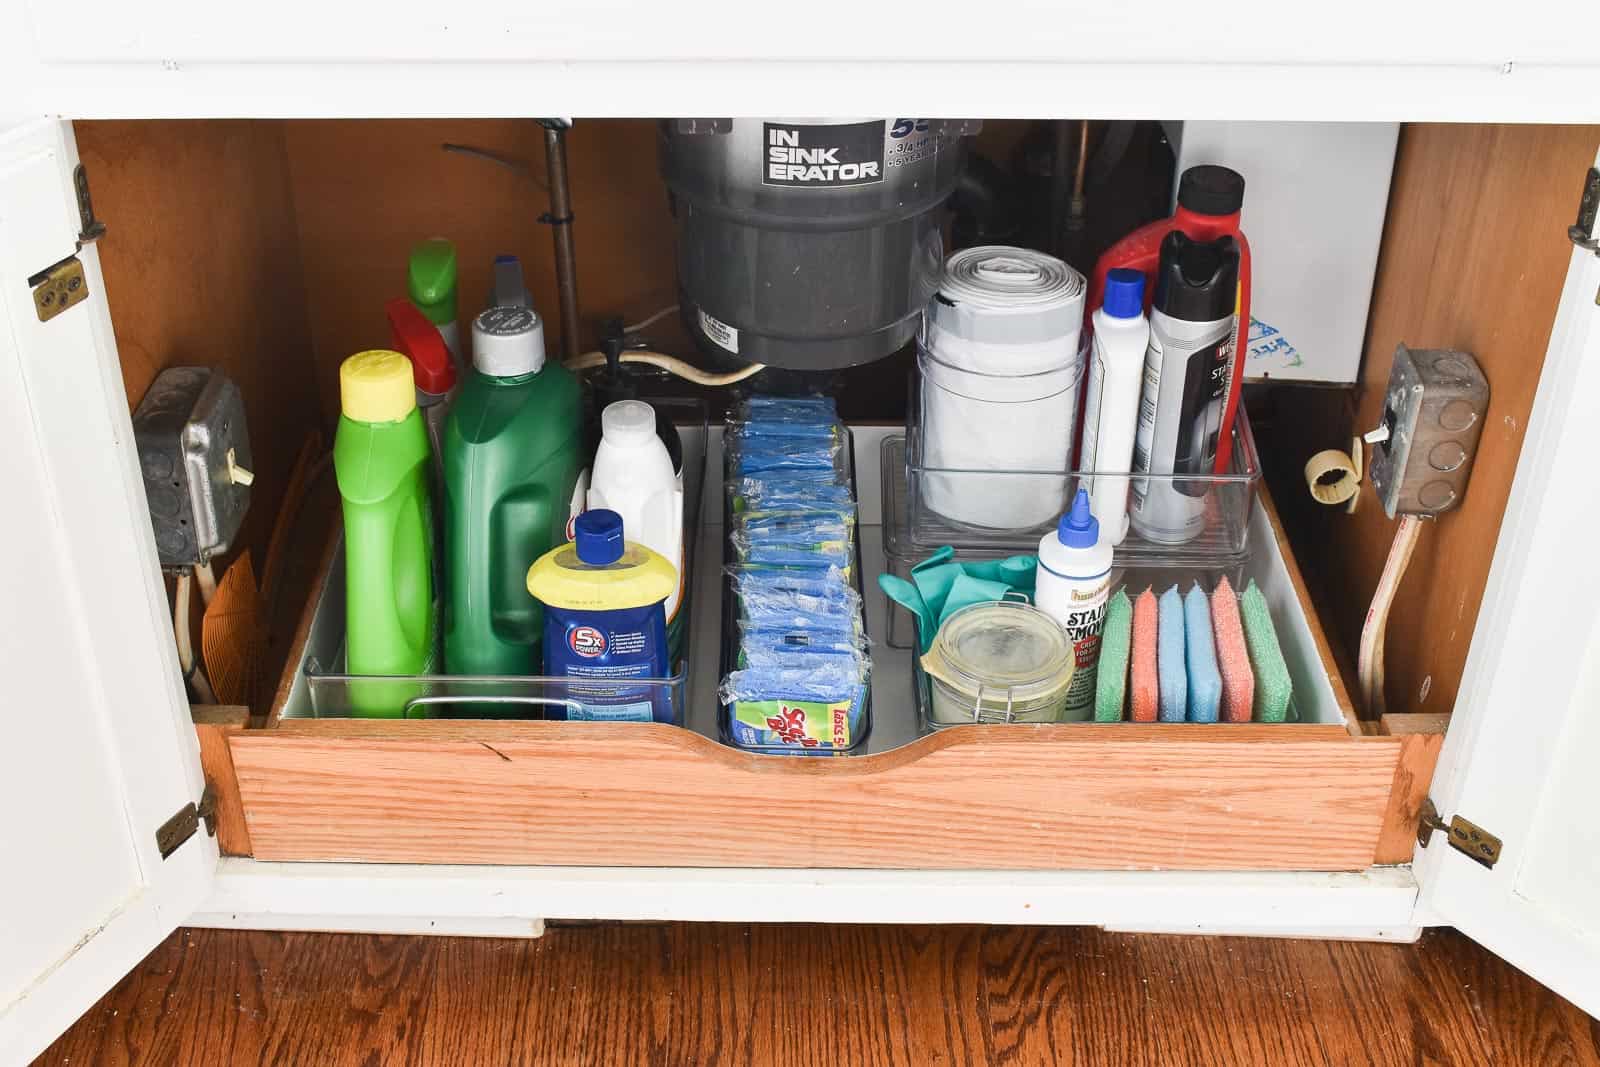
Clearing Out Under Our Sink

Signs you’re a grown up: organizing makes you very VERY happy! Last week, I saw my friend Mallory from Classy Clutter share how she’d tidied up under her sink and… I had to join in on the fun! I’d like to think that makes us both very VERY cool hip individuals… it does, right?
I am hardly an organizing ‘pro’ and there are many MANY people who make organizing look like an artform… but there are definitely some basic steps to take to get yourself in order.
Shop my favorites!
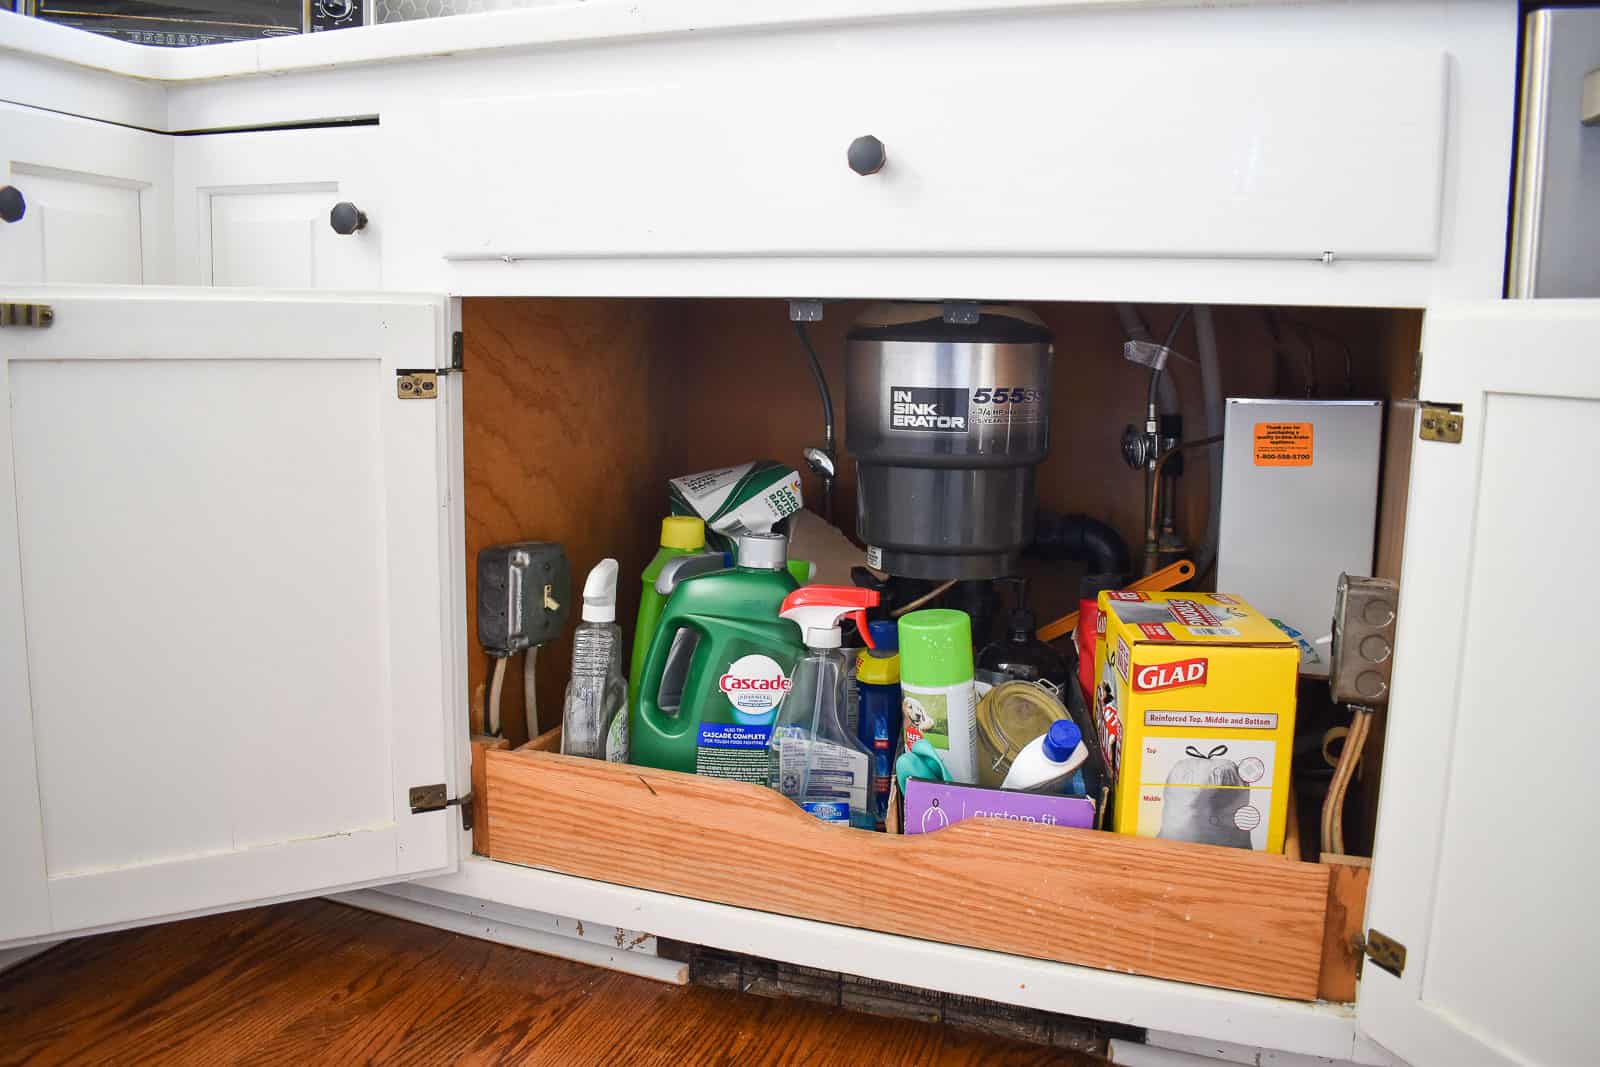
Step 1. Empty the space
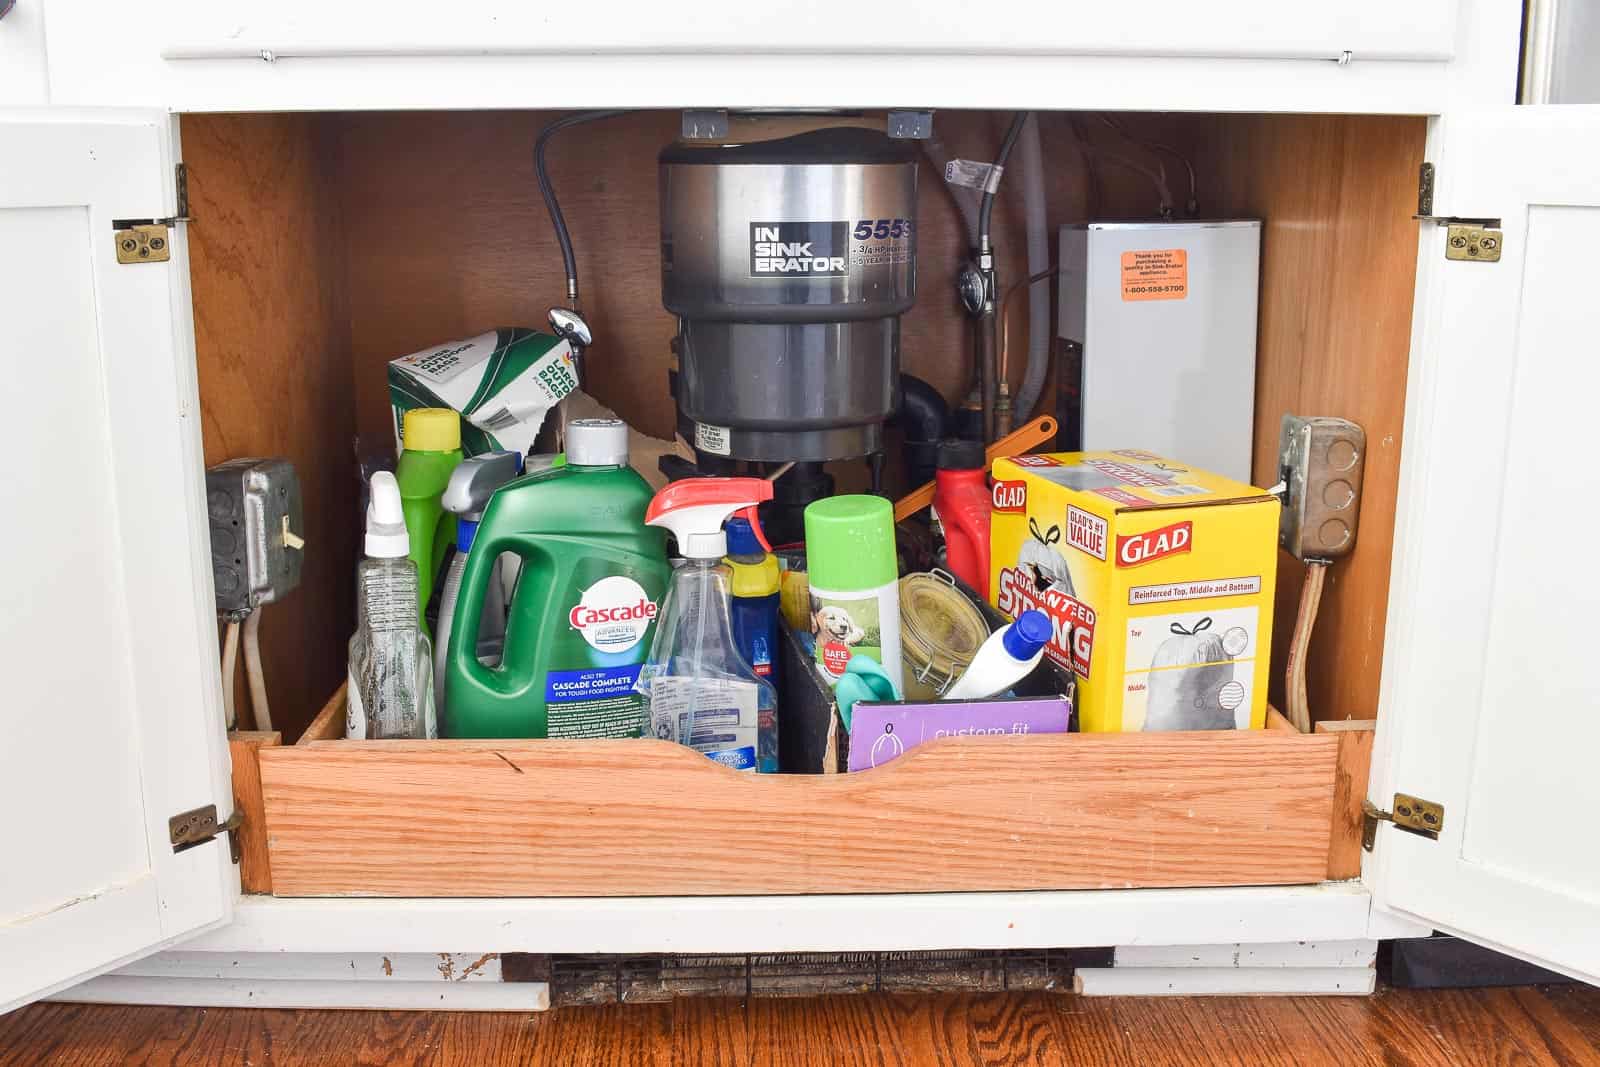
The first step to EVERY SINGLE organizing project is to take everything out. Every last thing. Bonus points for things removed from the 20th century.
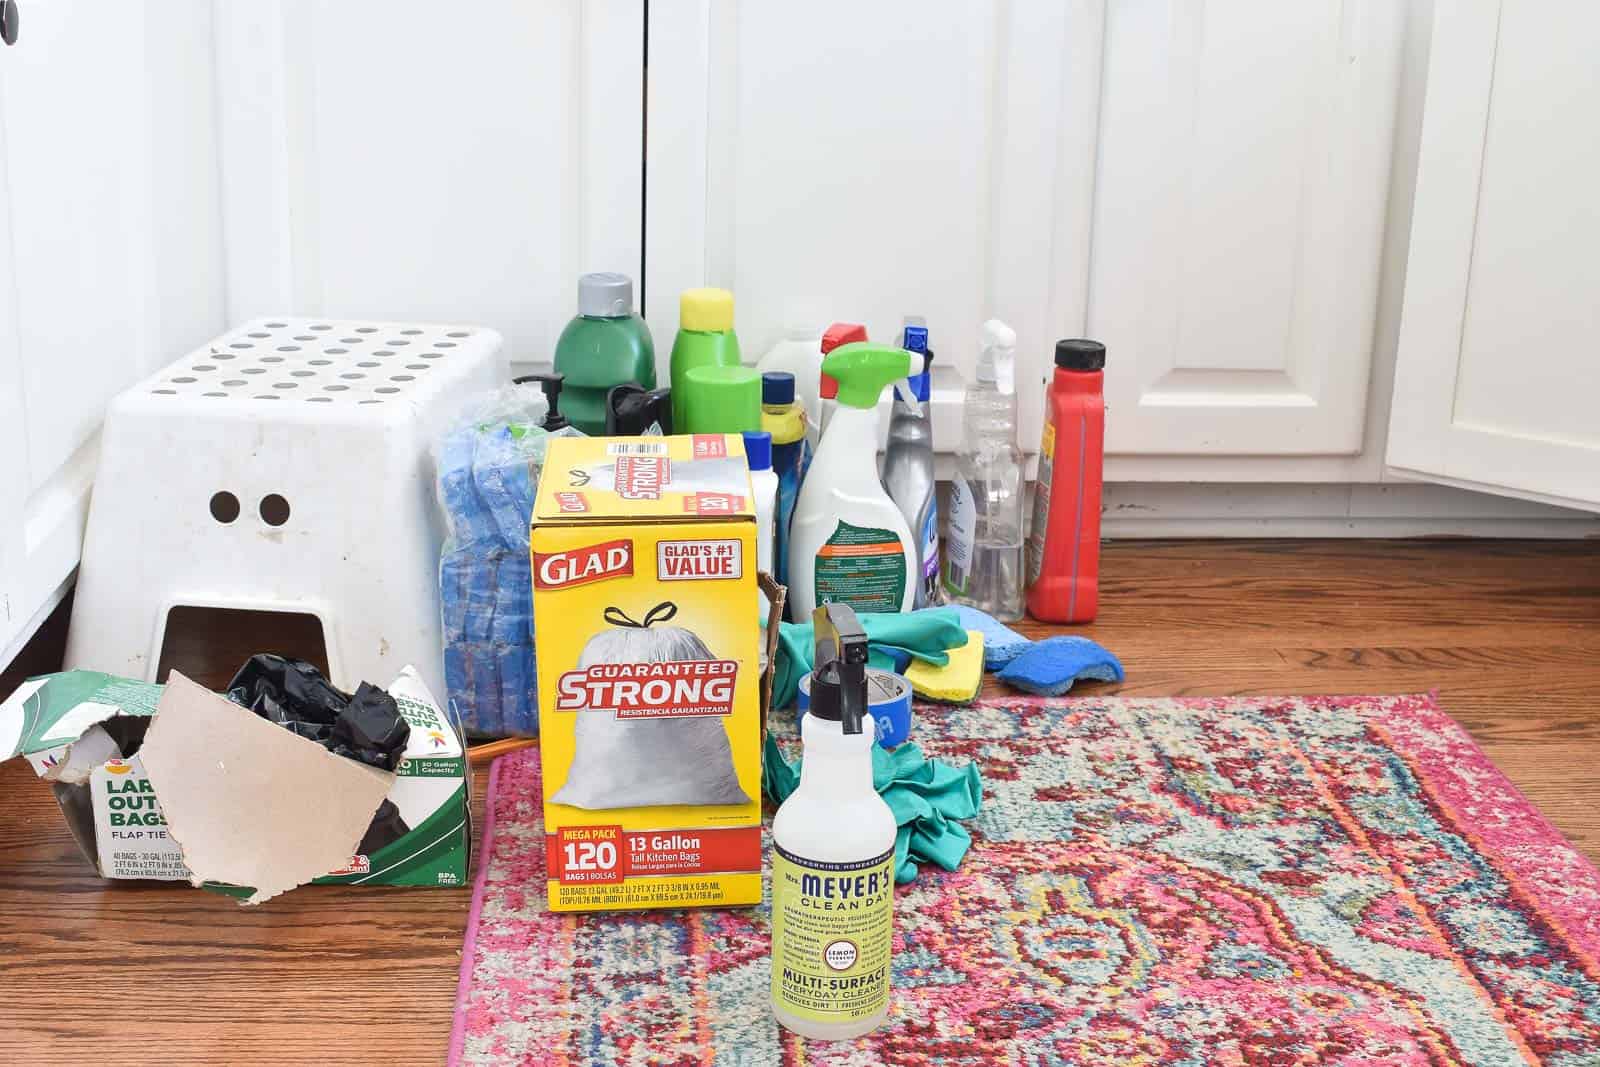
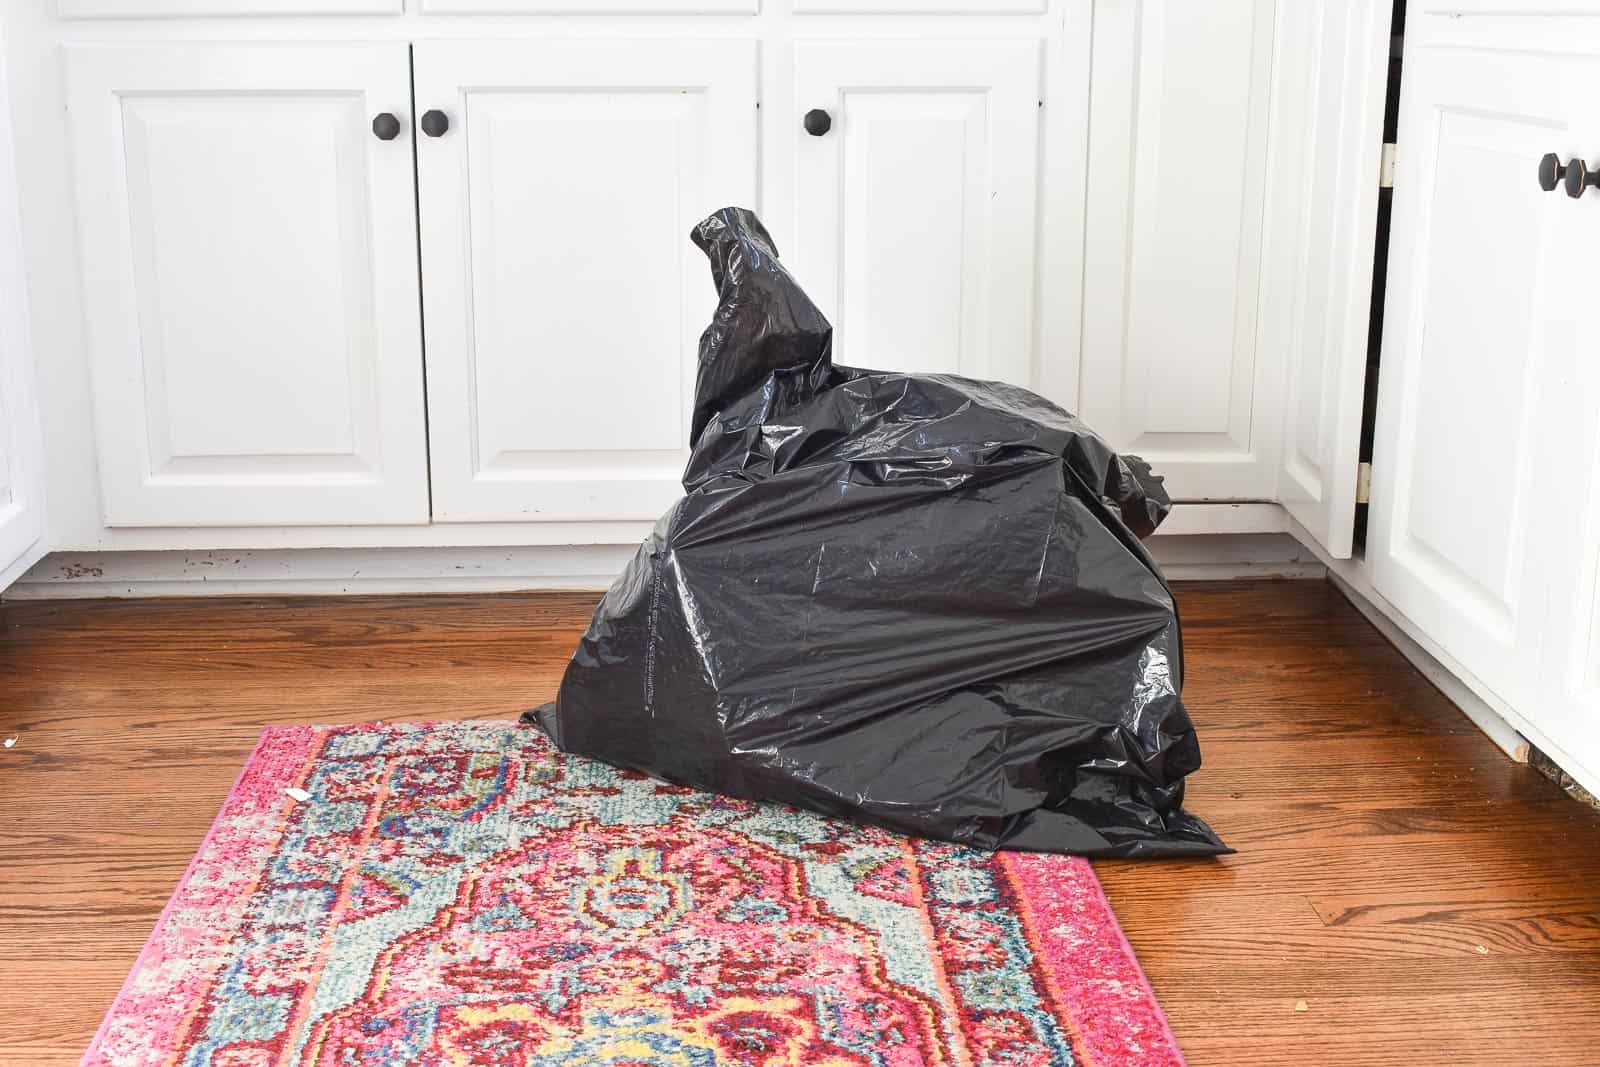
Step 2. Trash
Now that you have everything out in the open… go through and throw things out, set aside for donations, flag for resale. Obviously because I’m organizing under the sink… I just had a big ol’ bag of expired and empty containers.
Step 3. Sort
I always try to sort the items I’m left with. For the sink, I made piles of the items I use every day (dishwasher soap and surface cleaner), I made another pile of smaller items (sponges), another section of things I use often but not every day (abrasive sponges, salt scrub, rubber gloves), and the finally a pile of things I only reach for occasionally (Drano, trash bags, stainless steel cleaner).
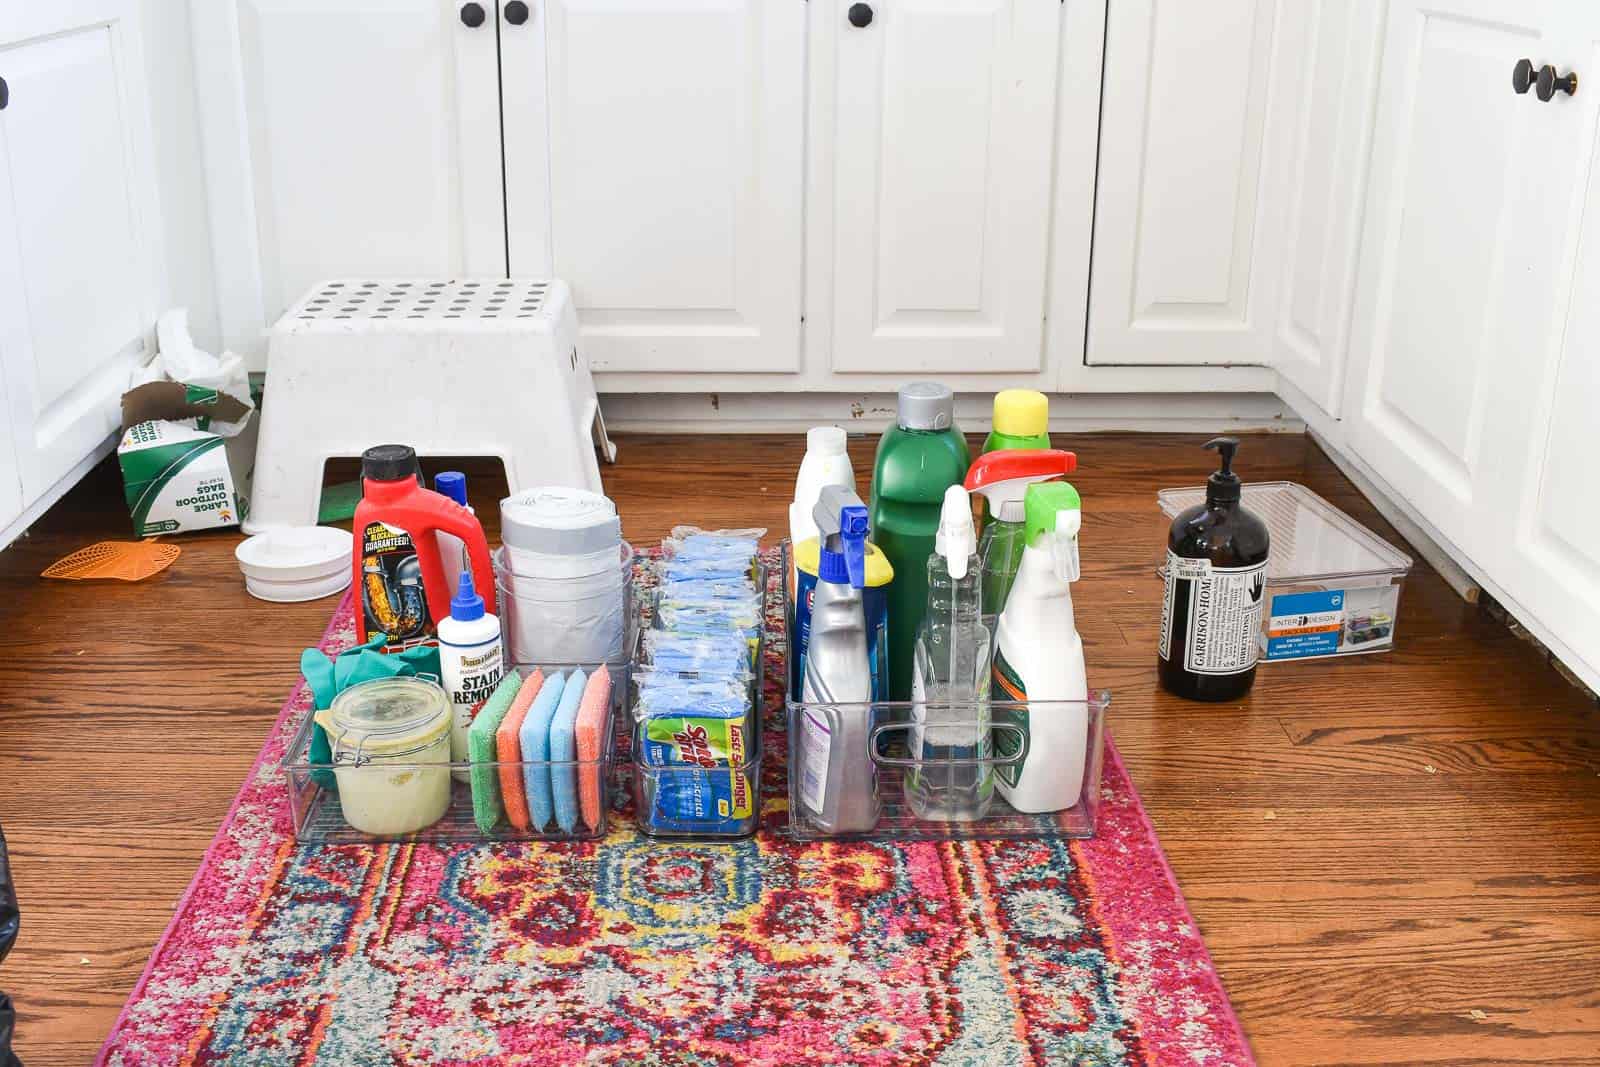
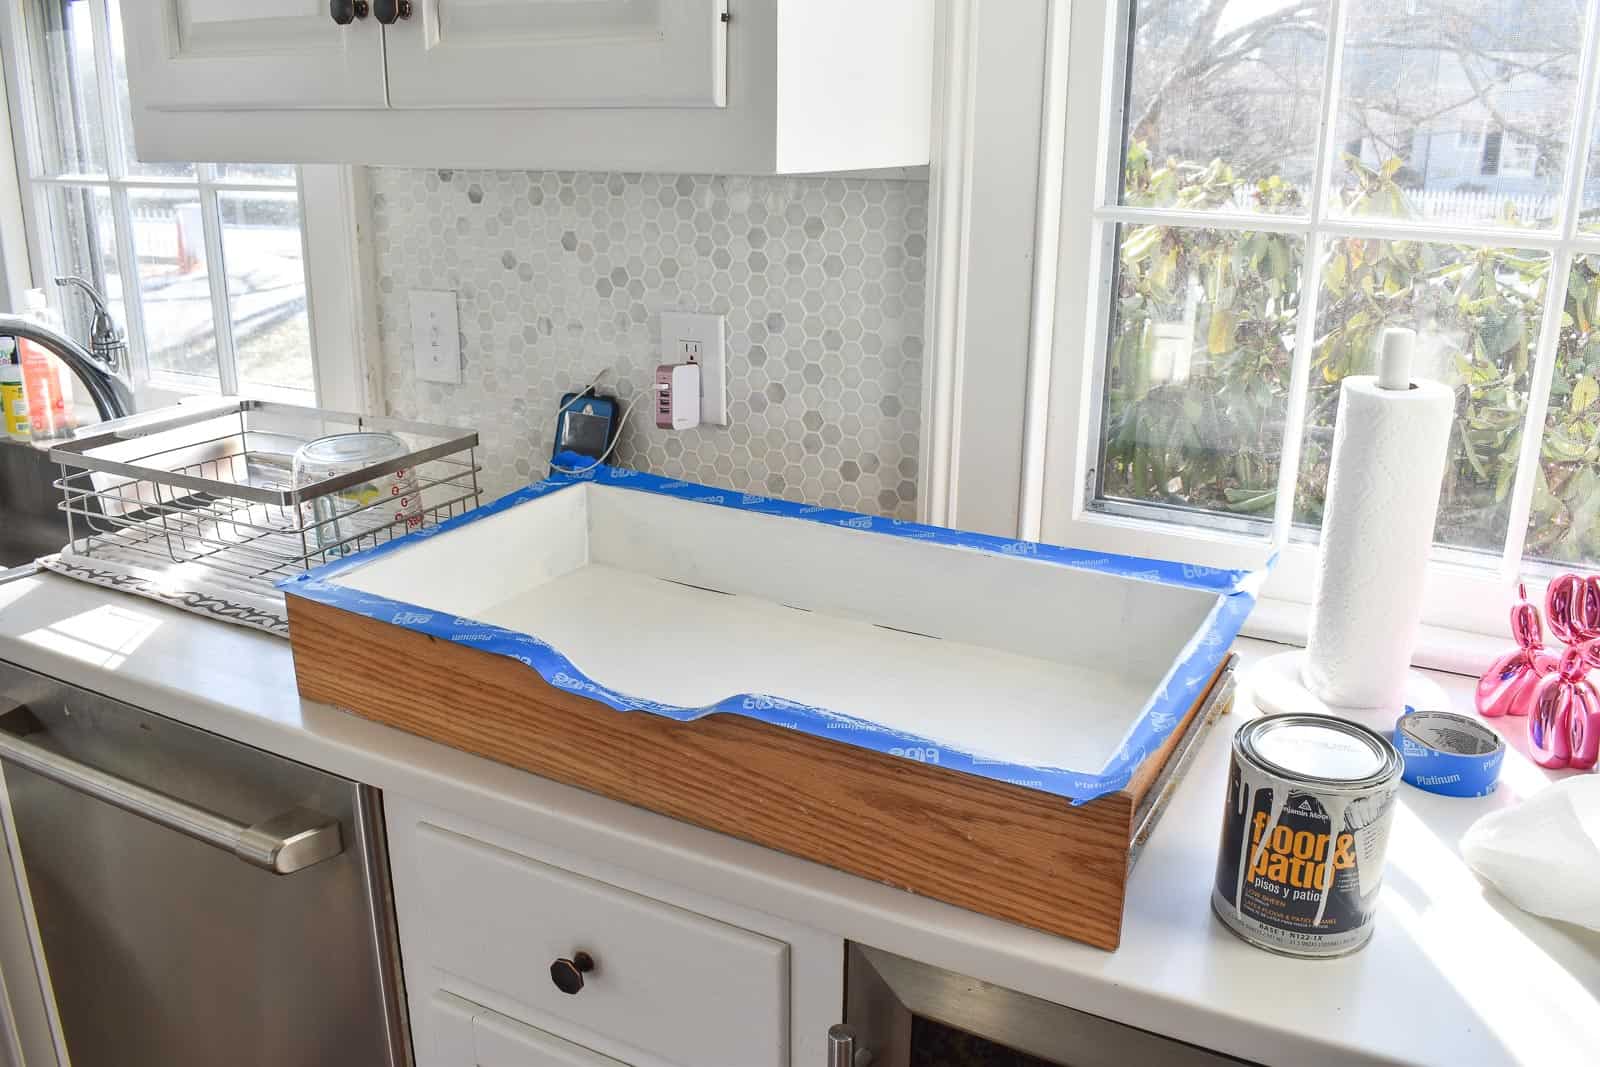
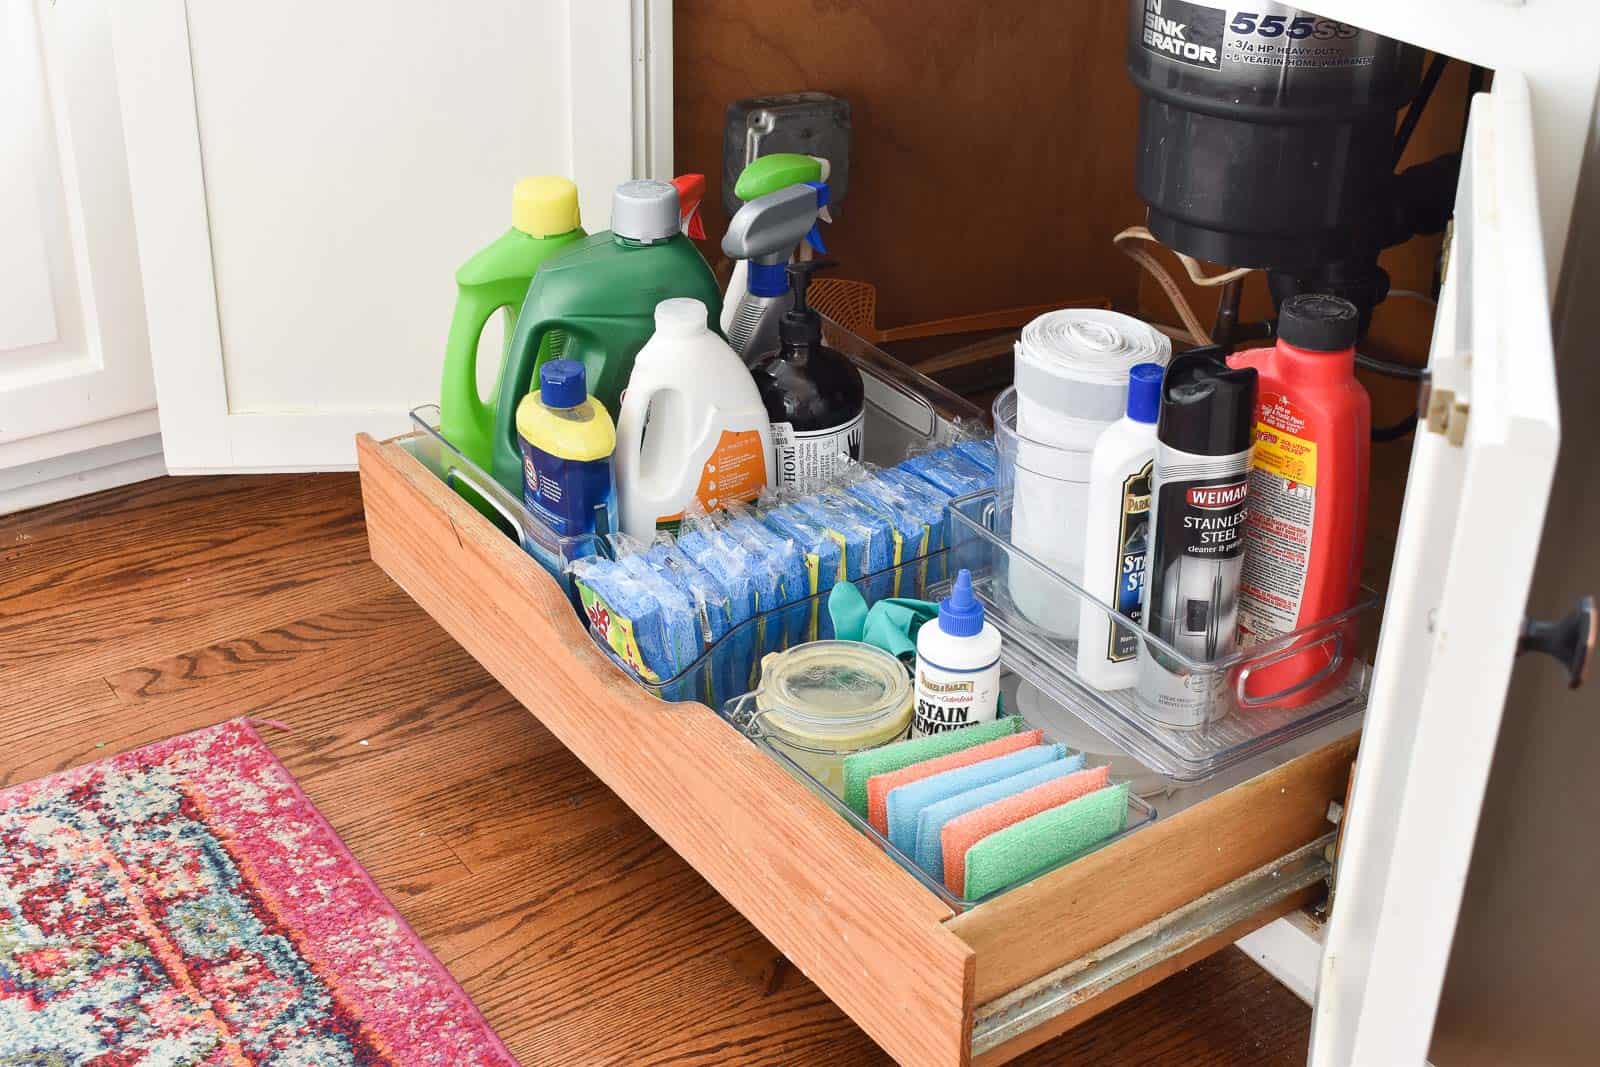
Step 4. Containers
Our sink has a built in drawer that already helps to keep things contained, but I wanted to take it one step further. I measured the drawer and went to Marshall’s for some clear storage bins. I also painted the inside of the drawer white to make the space feel a little bit cleaner and fresher.
Step 5. Load Everything Back In
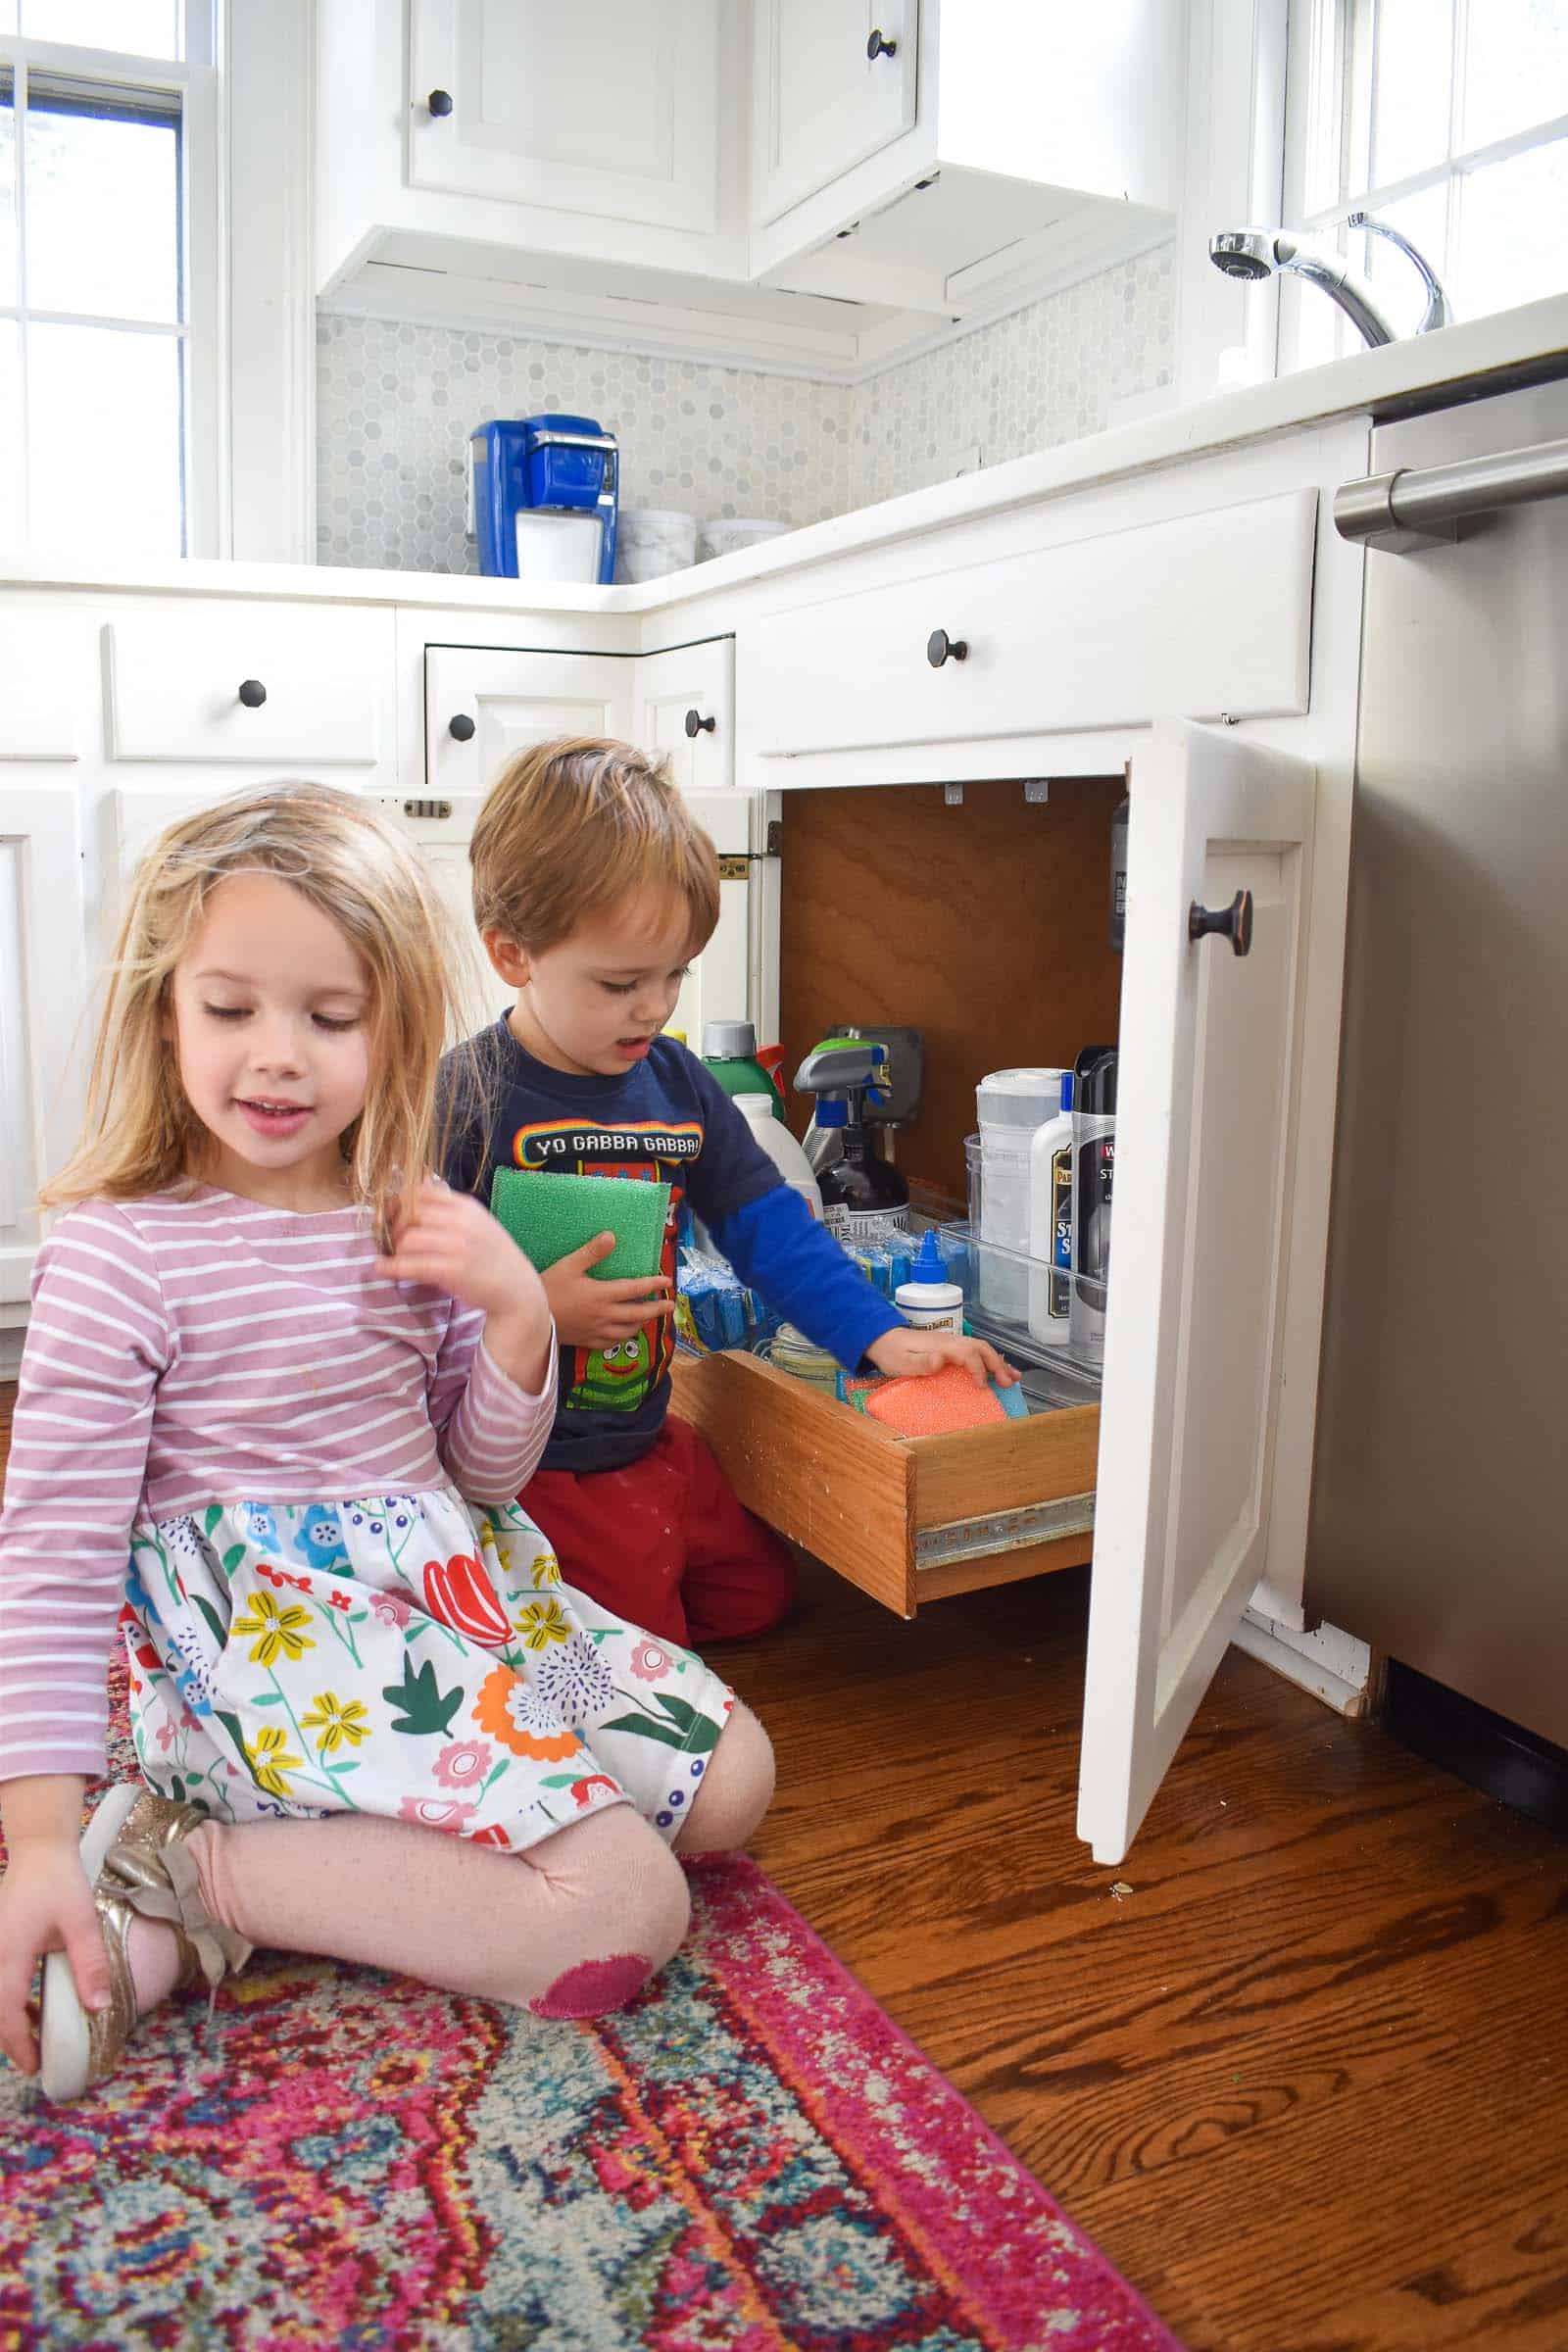
Load all the stuff back into the space, step back and sing the Hallelujah chorus. Doesn’t it look SO MUCH BETTER? Yes… I know the stuff under our sink actually doesn’t look that much better in photographs. I mean, a giant garbage disposal doesn’t lend itself to a Pinterest-worthy after shot… BUT, trust me. This space is night and day from when I started. The whole thing took 20 minutes. AND my kids like it too!
BEFORE
AFTER
What space in your house do YOU need to tackle?!


Don’t Miss Out
Become An Insider!
Signup for exclusive tips, and tricks from Charlotte’s House!
Let’s chat!
I love comments from you, so feel free to leave your thoughts and ideas below! And don’t forget to follow me on Instagram for even more!