
Cricut® Explore Air™ Holiday Gift Card Holders
Psssst… this post *might* contain affiliate links: see my disclosure here.
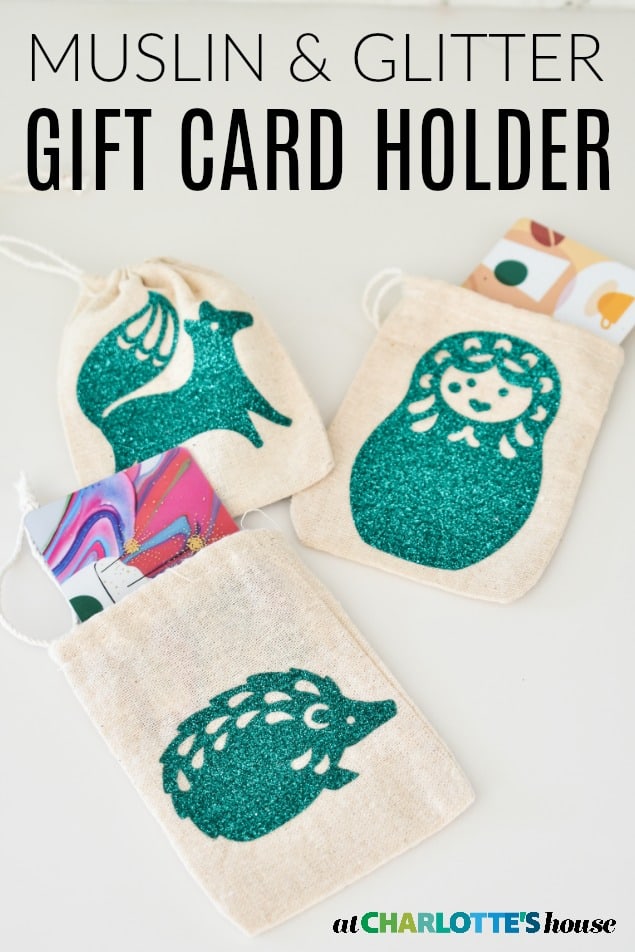
Iron-On Gift Card Pouches
Disclaimer: This is a sponsored conversation written by me on behalf of JOANN & Cricut. The opinions and text are all mine.
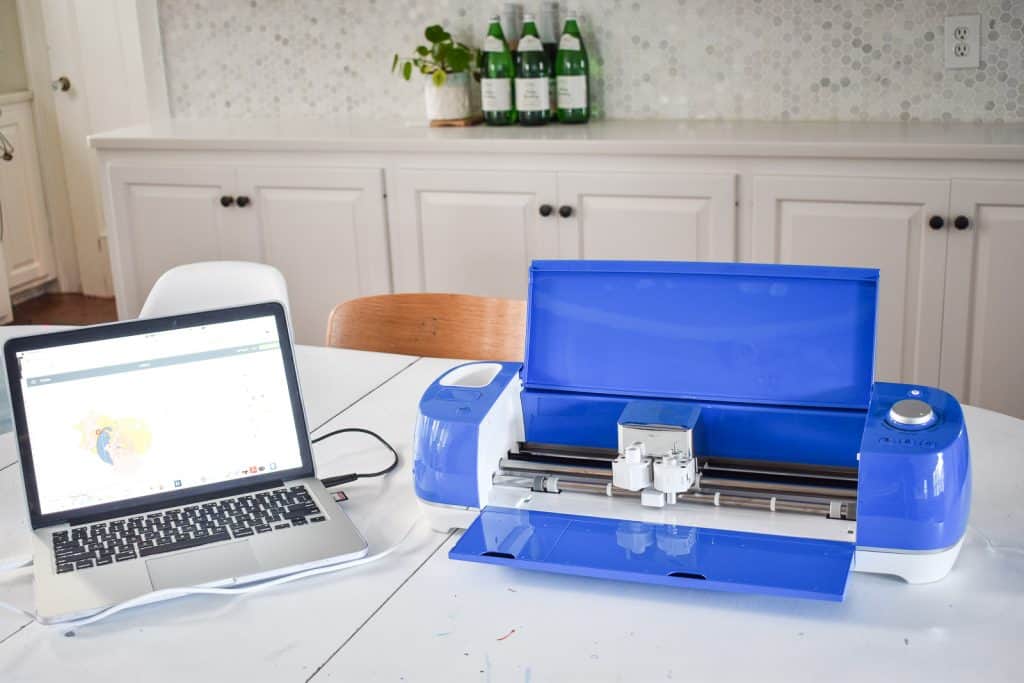
This season, I’ve fallen in love with my Cricut and have used it for lots of my 12 Days of ornaments. Imagine my elation when I found out that the Cricut® Explore Air™ 2 was exclusively available at JOANN in one of my FAVORITE COLORS: cobalt blue. I won’t make you guess… I was over the crafting moon. I wanted to show you how I made these adorable gift card holders in under and hour.
Shop my favorites!
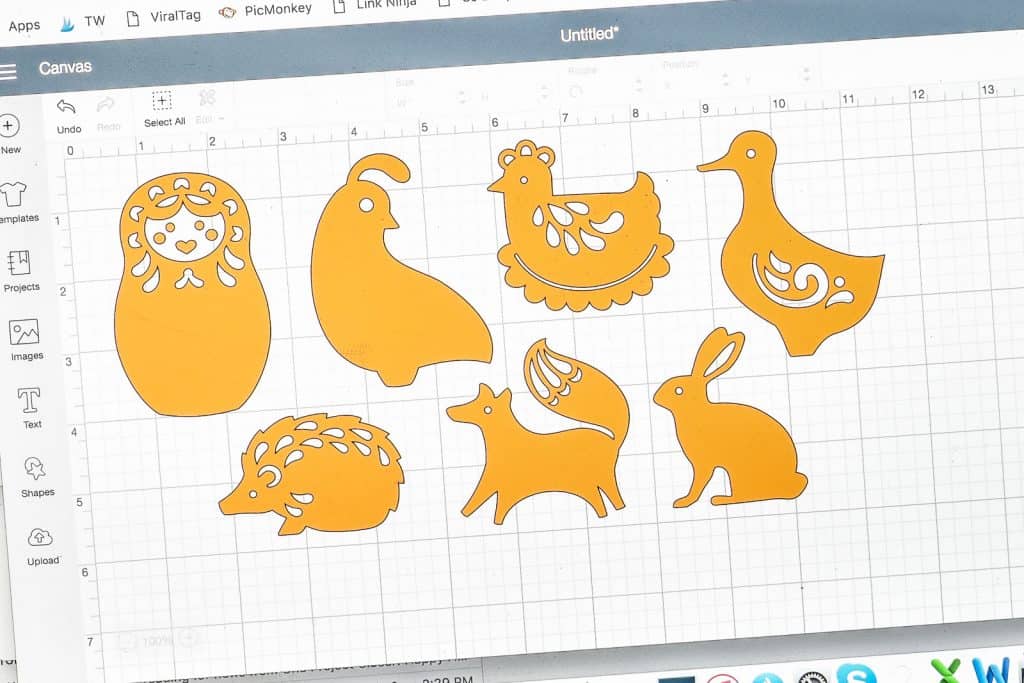
Step 1. Find your design
I poked around on the Cricut design space and found a handful of these adorable folk art animals. I’ve said it before, but it deserves repeating… I will spend a long time looking for cute designs that avoid weeding (removing the excess vinyl from within the pattern)… these animals fit my lazy bill.
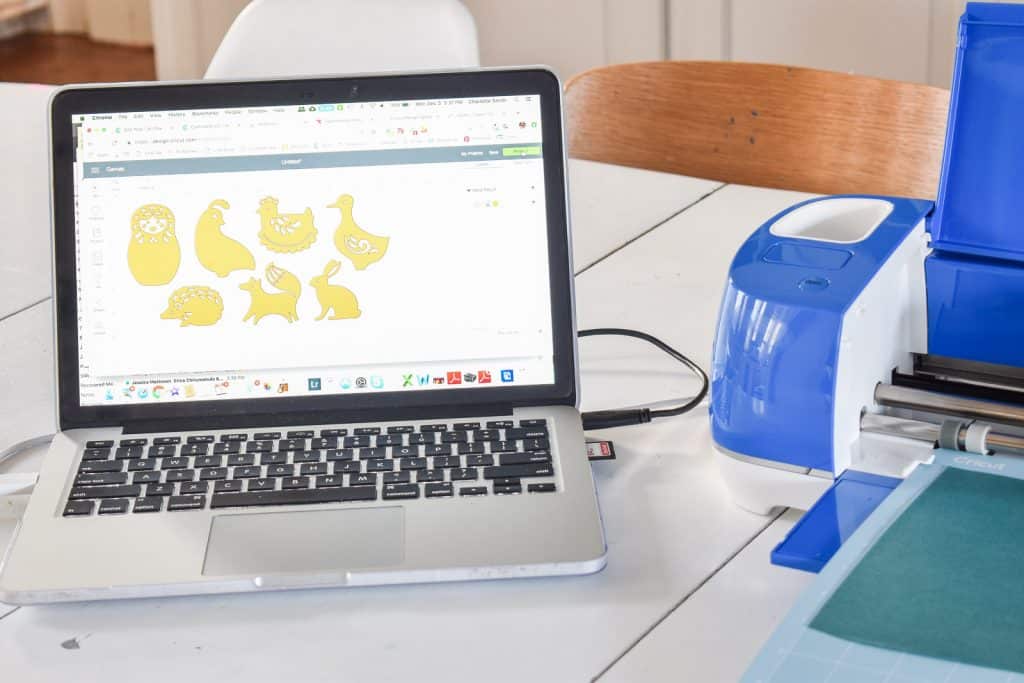
Step 2. Arrange your cuts
Making sure that each shape was the right size for the muslin envelopes I was going to use, I arranged them as compactly as I could on my design space in order to limit waisted material. I select all and then weld my layout before going on to the cut screen to preserve the spacing the way I want it.
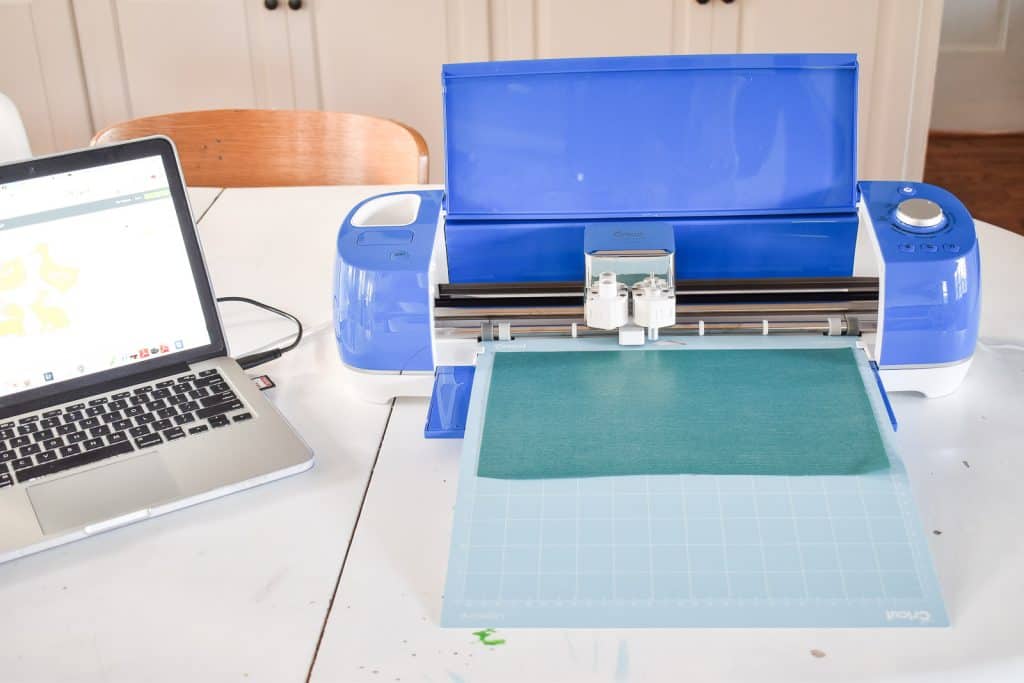
Step 3. Cut
The Cricut® Explore Air™ 2 makes it super easy to cut… all you have to do is select the material on the dial and then it does the rest. The Explore Air 2 cuts twice as fast as my older model which is SO useful when cutting out multiple shapes like this. I’m using this cheerful iron on green glitter vinyl and love it.
Step 4. Remove the excess vinyl
Here’s where the minimal weeding comes in handy… when I remove the background/ excess vinyl… I’m basically done. For these animals, I did have to go back in and remove a few little shapes and details here and there but nothing time consuming which is just the way I like it!

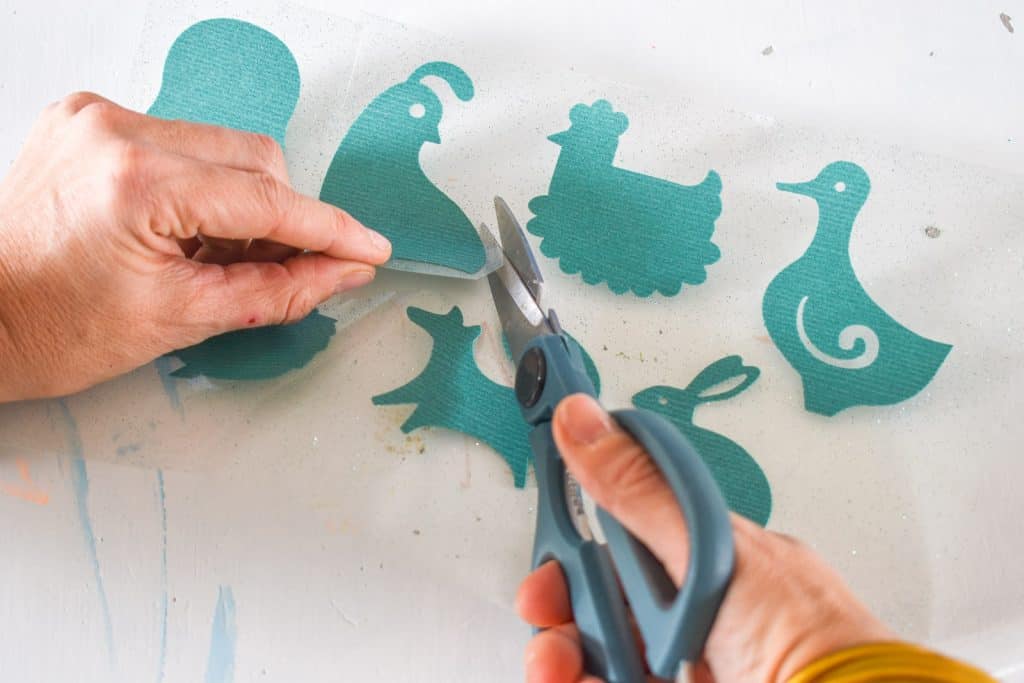
Step 5. Cut out shapes
Using regular scissors cut out each of your iron on shapes.
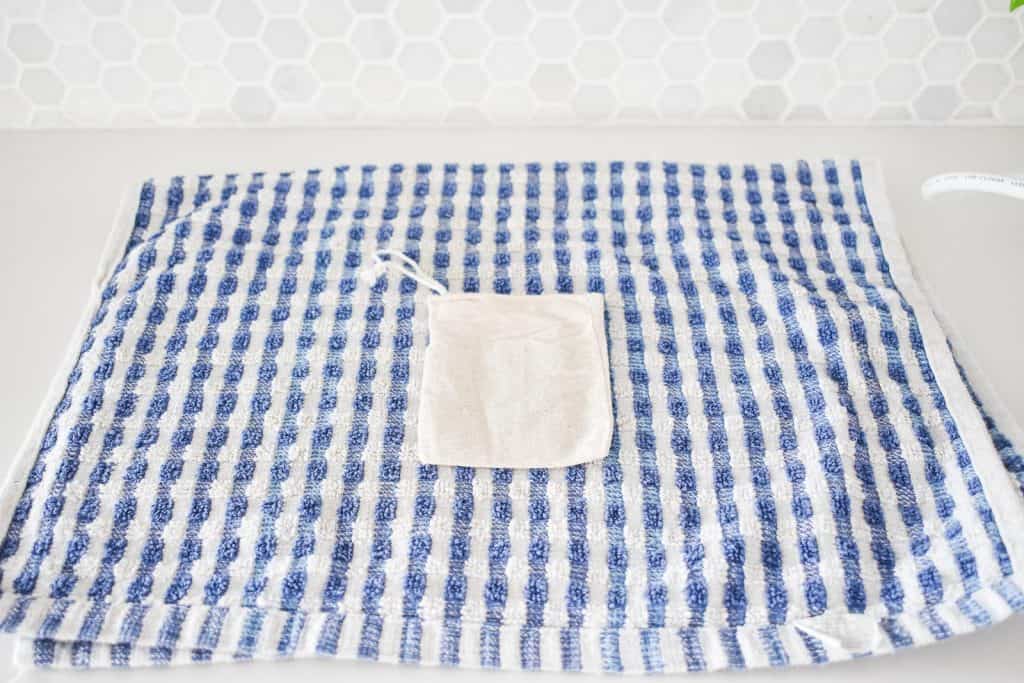
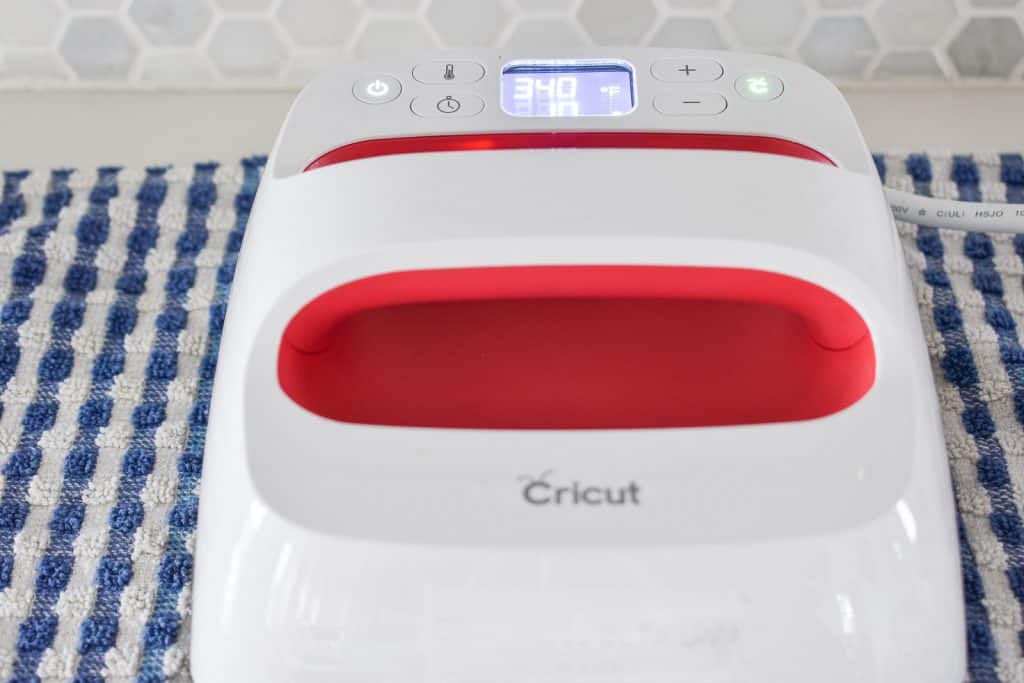
Step 6. Iron on your pattern
I was just given a Cricut easy press and I’m OBSESSED. In the past I used my clothes iron, but this project was even simpler with the easy press. I placed a towel on my work surface and then preheated the muslin bag for 5-10 seconds. Then I placed the iron on shape vinyl side down so that the clear backing was face up. The easy press does all the work, so you simply follow the guidelines for temperature and time and it will count down for you.
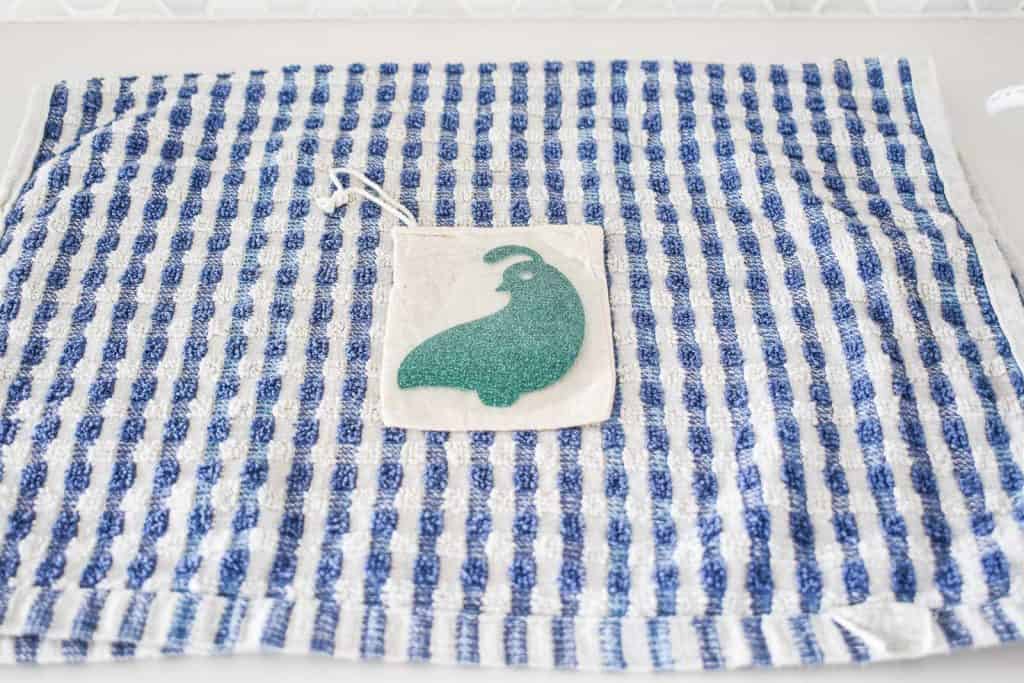
Let your iron on cool down and then you can remove the backing.
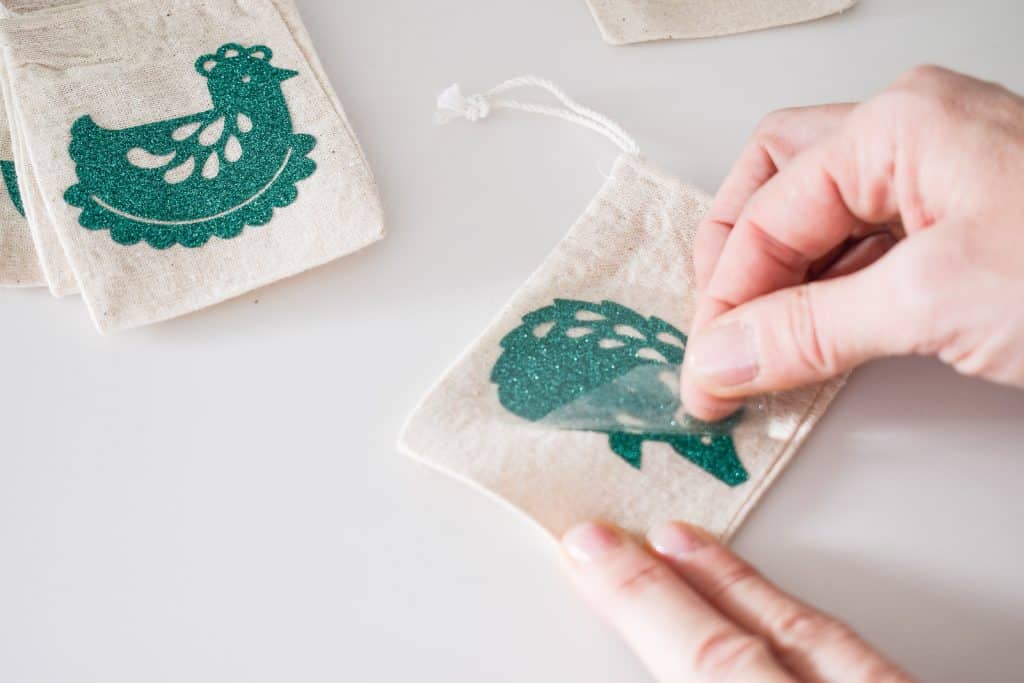
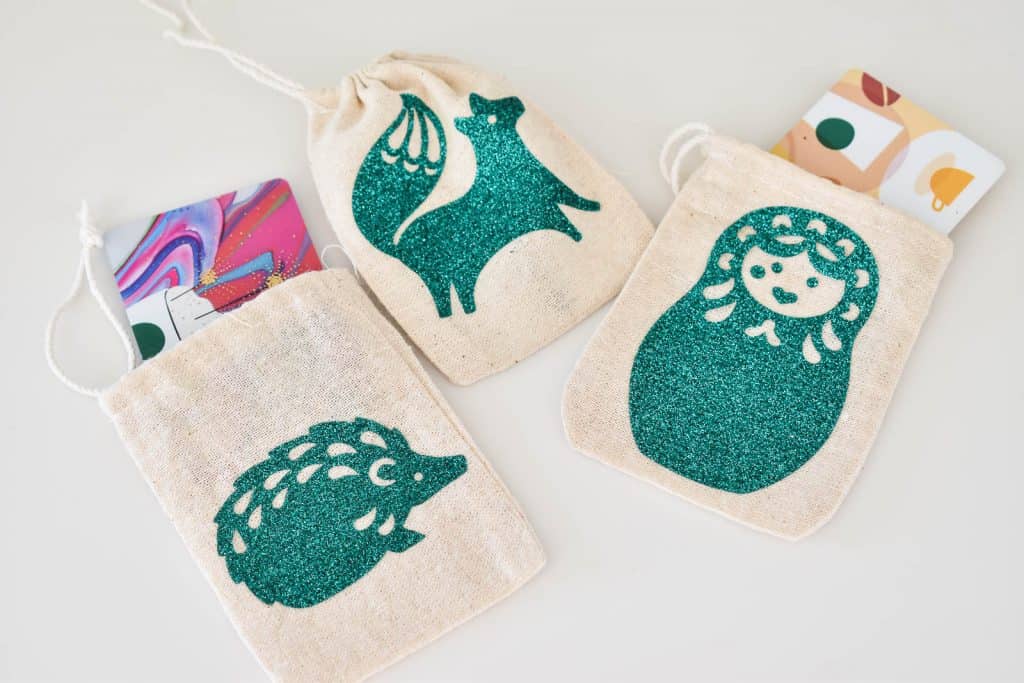
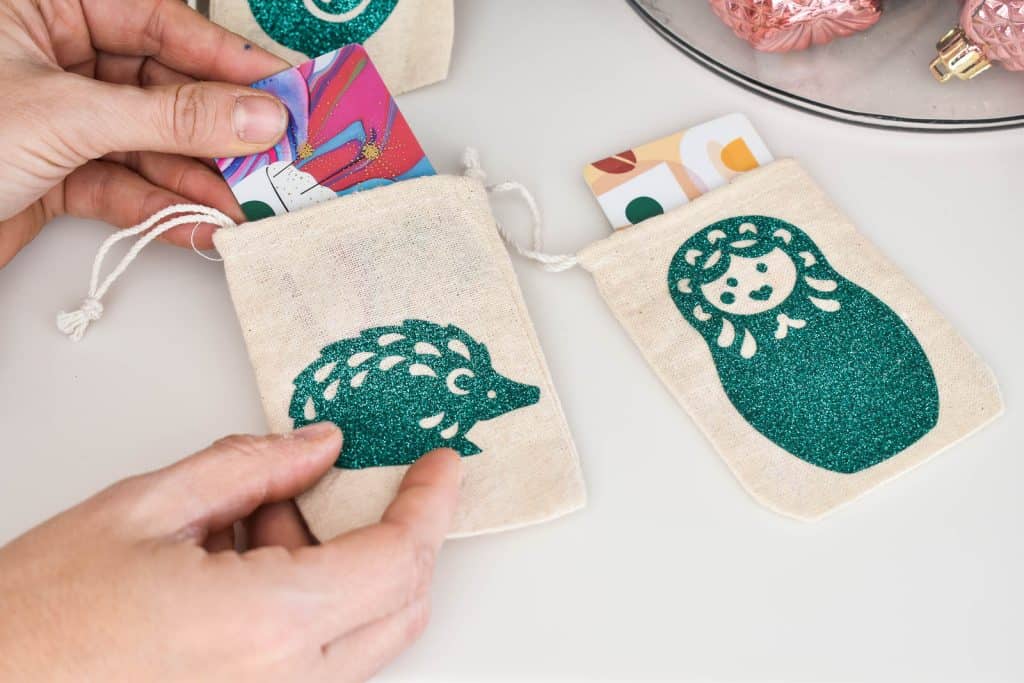
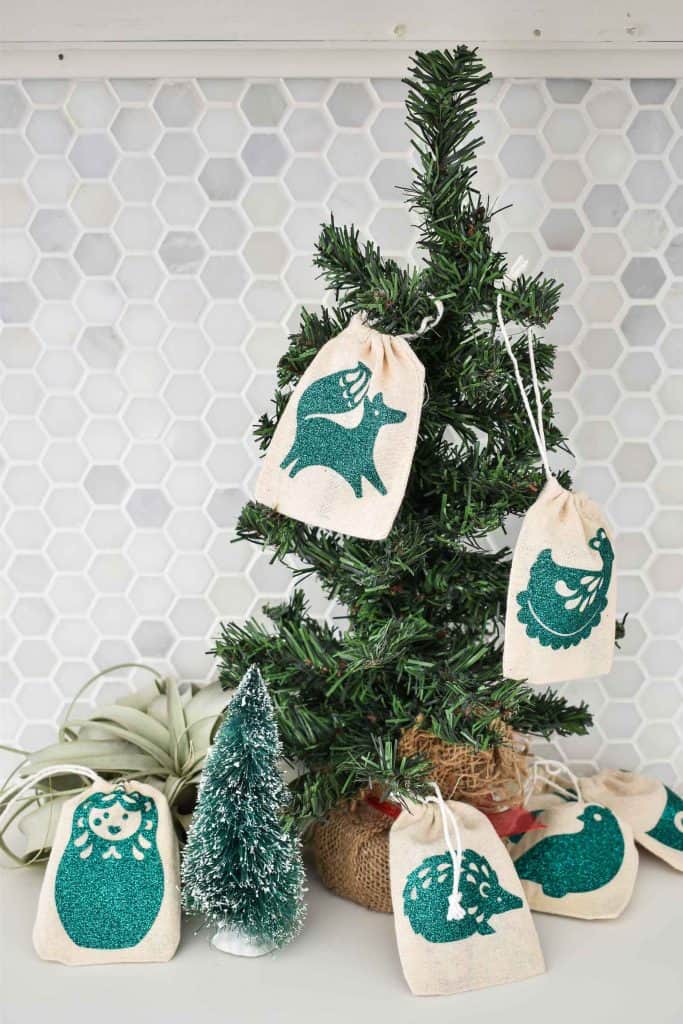
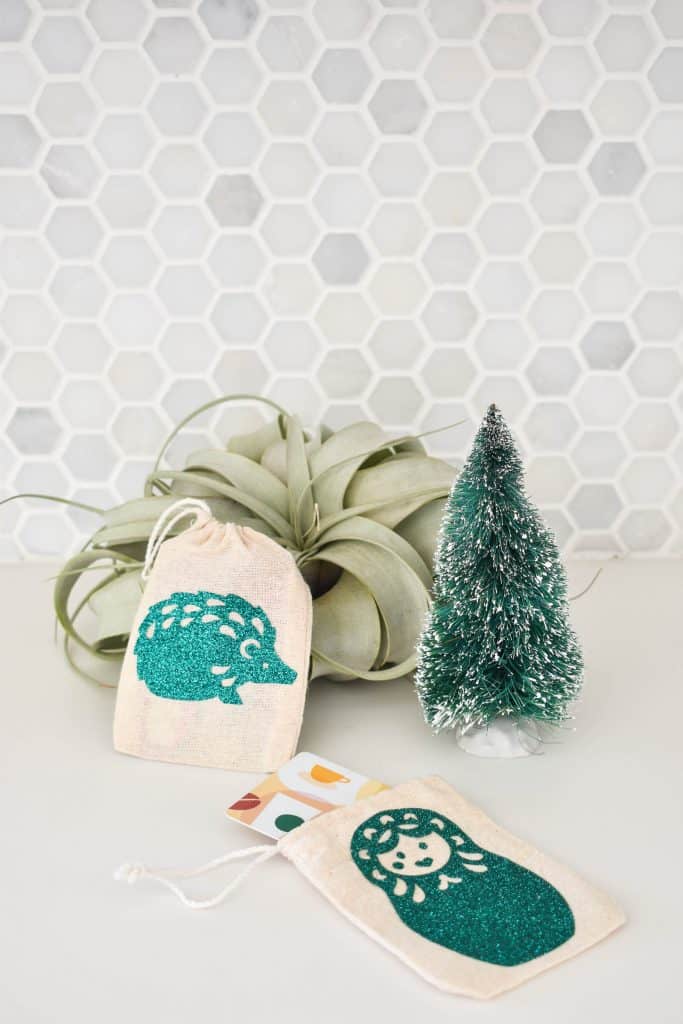
I LOVE how the bright green glitter stands out from the simple muslin bags. I plan to put gift cards in each one for teachers, bus drivers and our mail carriers. SUCH a simple DIY. These could also be adorable for an advent calendar or even as ornaments alone!
Needless to say, I LOVE having the Cricut® Explore Air™ 2 and because it’s such a bright and cheerful color I plan to keep it out all the time in my office in the new house so be prepared for more Cricut action in the new year! (You can grab your own Cricut® Explore Air™ 2 just in time for Christmas HERE.)

This is a sponsored conversation written by me on behalf of JOANN & Cricut. The opinions and text are all mine.

Don’t Miss Out
Become An Insider!
Signup for exclusive tips, and tricks from Charlotte’s House!
Let’s chat!
I love comments from you, so feel free to leave your thoughts and ideas below! And don’t forget to follow me on Instagram for even more!