
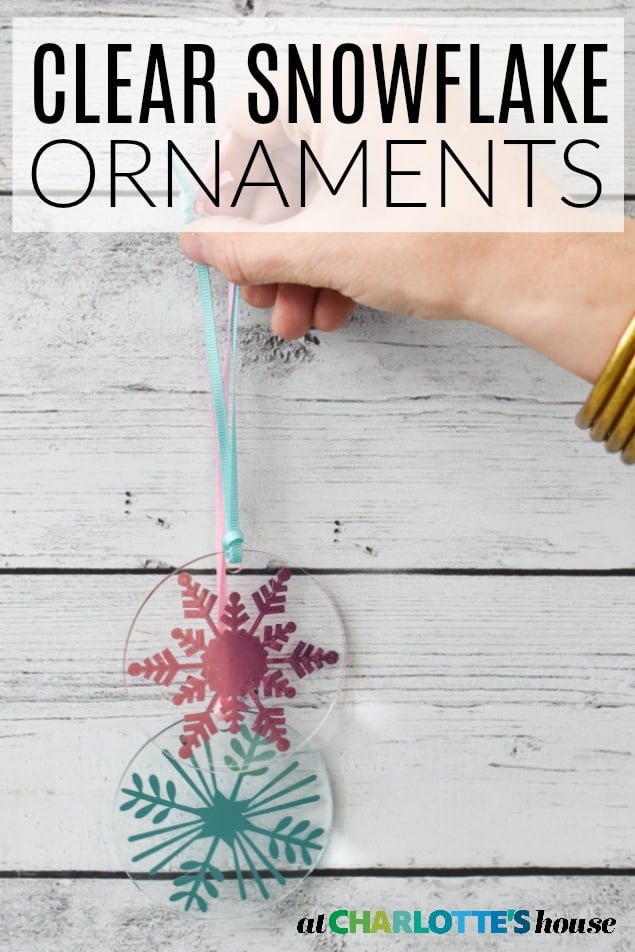
Day 8: Twelve Days of Ornaments- Clear Snowflake Ornaments
Psssst… this post *might* contain affiliate links: see my disclosure here.
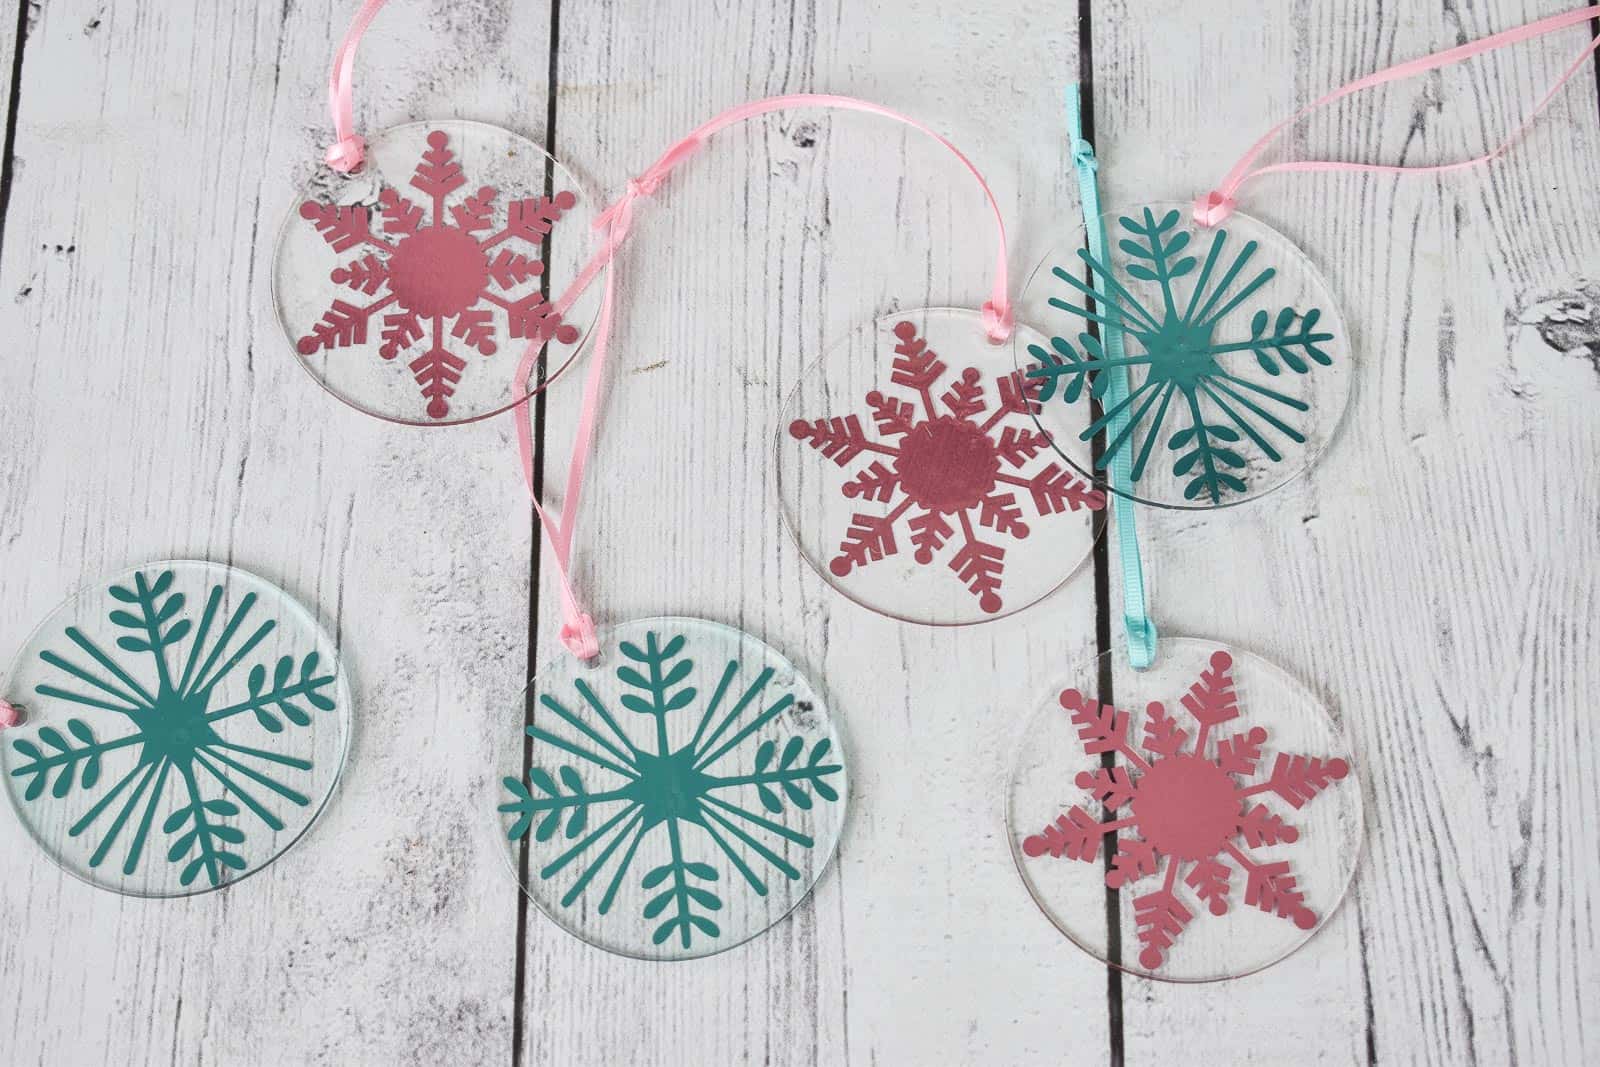
Simple Acrylic Snowflake Ornament
Welcome to Day 8 of 12 Days of Ornaments on the blog and my YouTube channel! You can follow along HERE in case you’ve missed anything!
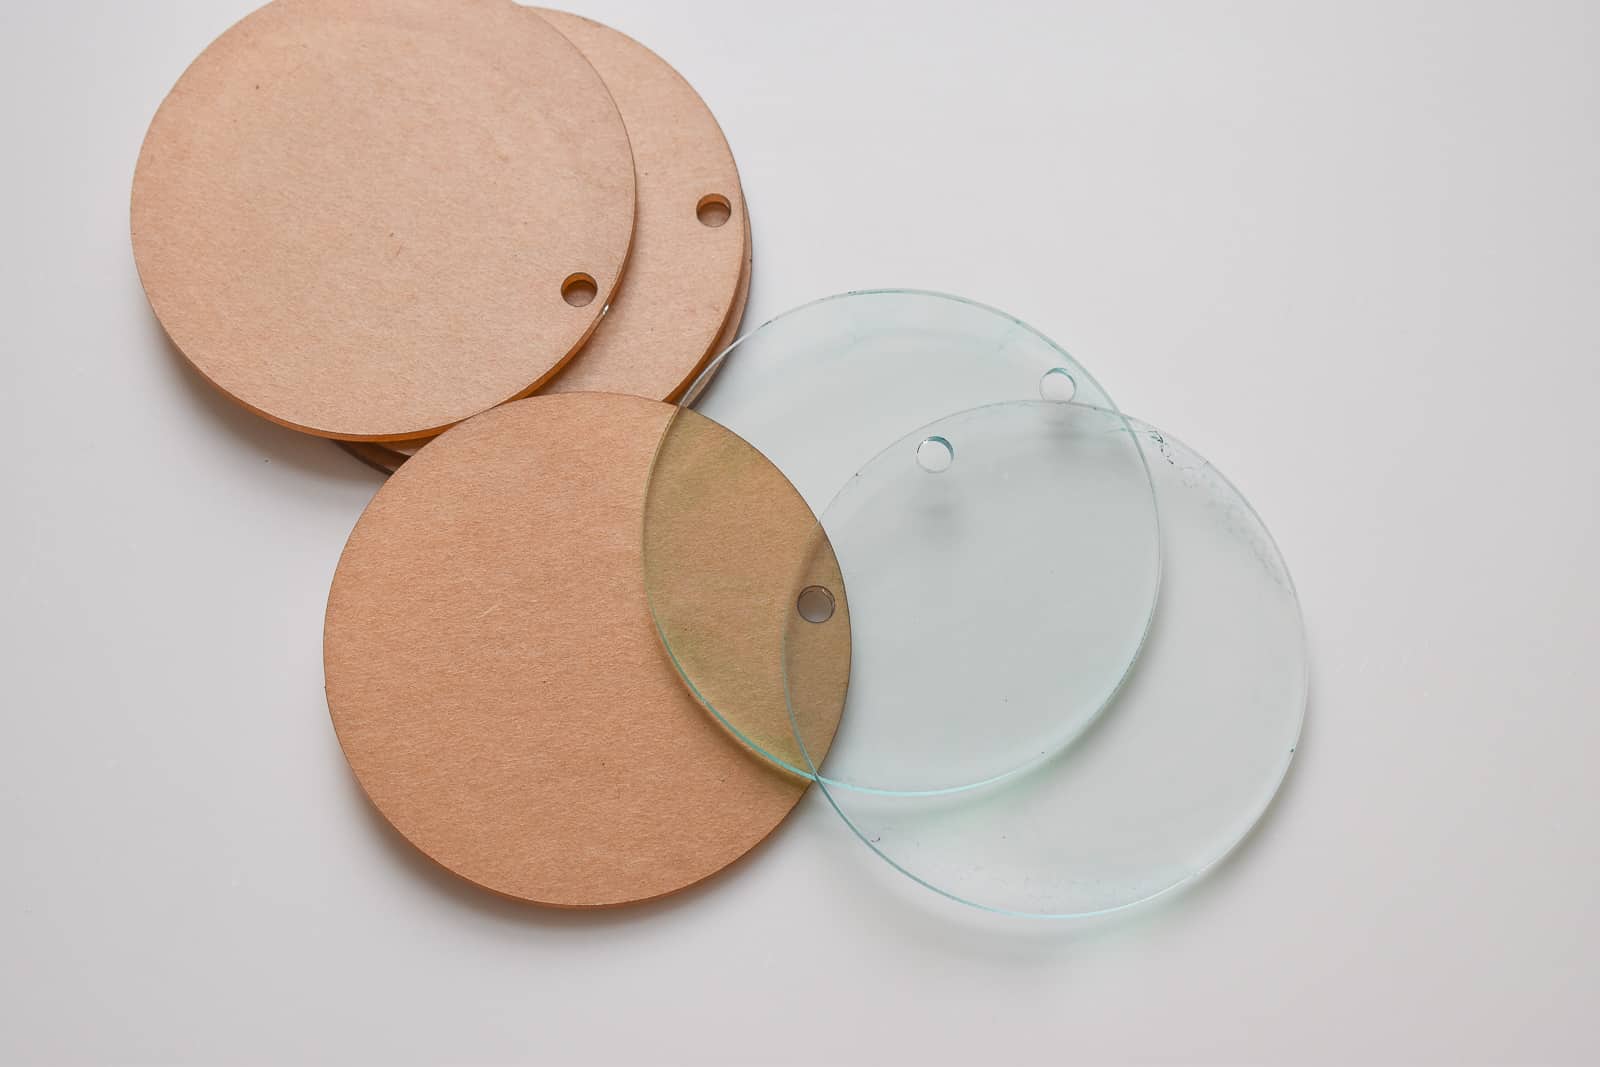
Granted, this ornament is NOT that complicated, but sometimes simple is best! When I found these clear acrylic circles online, I knew they’d be great for something but I wasn’t sure what. I experimented with some Sharpies and alcohol but the finished product was a little ‘meh’. I would have tried marbling some clear paint somehow, but I’d already done this ornament and I was worried it would seem very very similar.
Shop my favorites!
So I busted out my Cricut and came up with these and I love them! If you don’t have a Cricut, scroll to the end of the post… I have some suggestions for ways you can get a similar look without one! But put one on your Christmas list just in case.
Step 1. Find your Cricut design
I looked for snowflakes that were simple WITHOUT WEEDING. I knew I’d be making 12-24 of these ornaments so weeding… no thank you. I was able to find a few that I really liked.
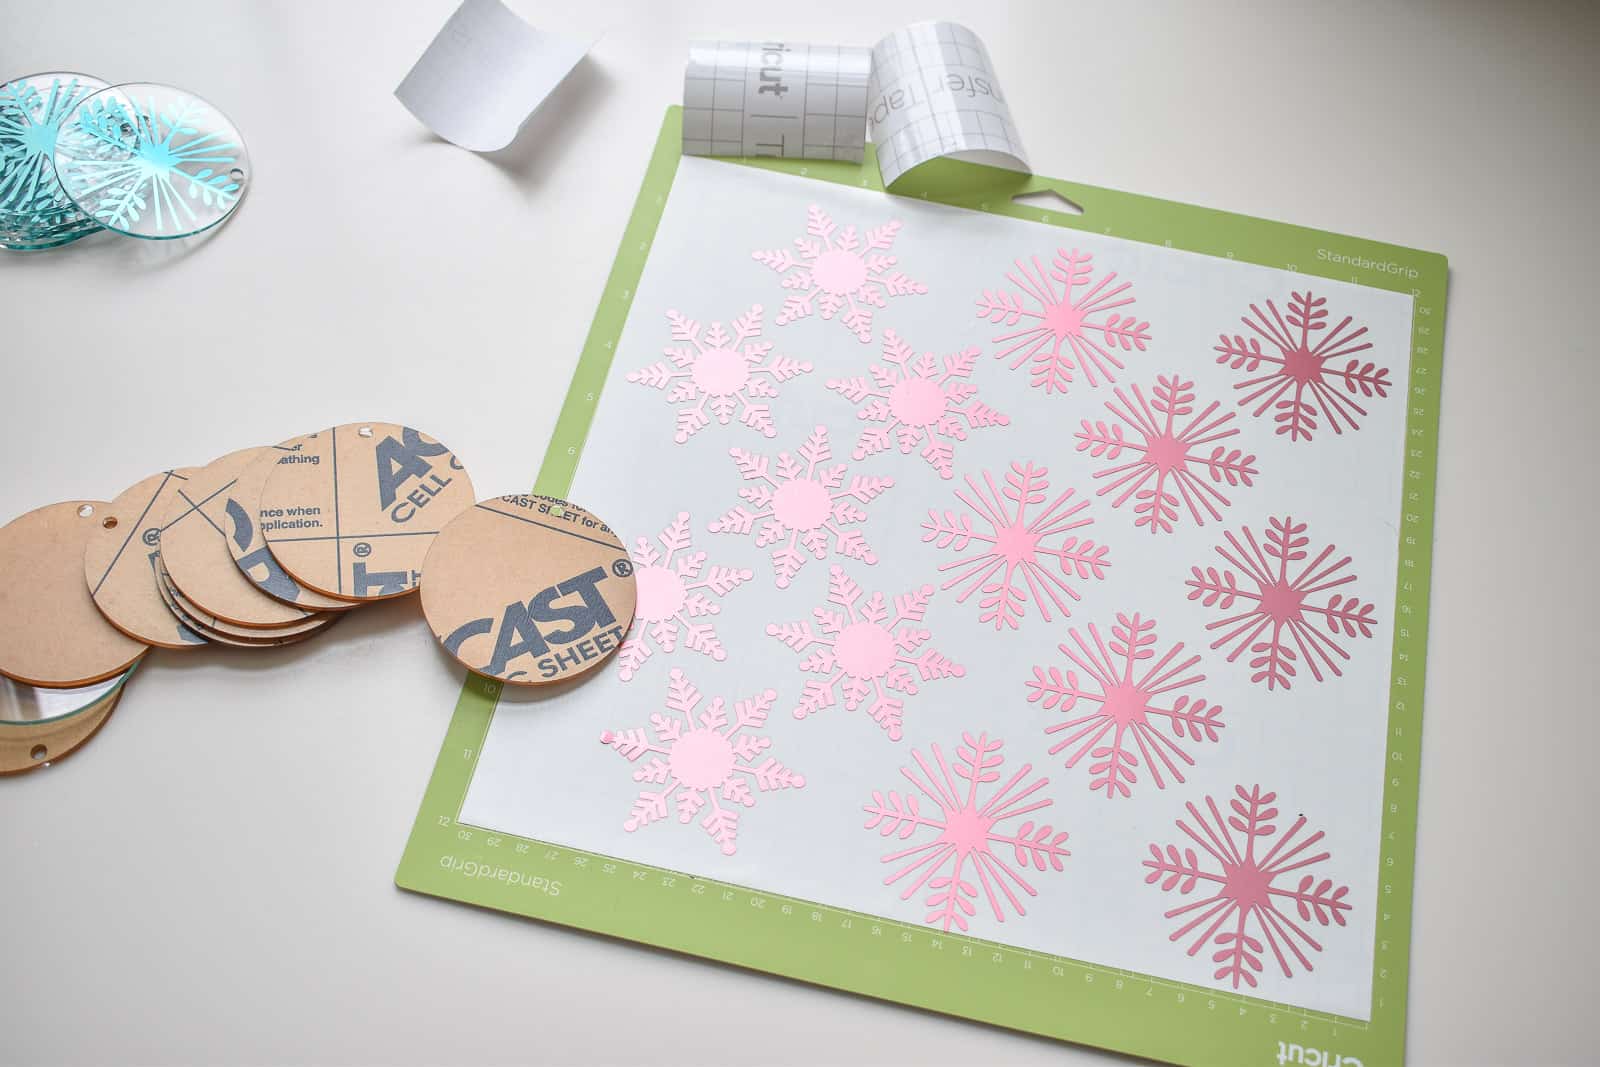
Step 2. Arrange and set up Cricut cut
I tried to squeeze as many of these snowflakes into one 12×12 piece of vinyl. And I may be the last person to know this, but I always make sure to follow the next 2 steps when cutting a bunch of shapes like this. First, select all. Then, I go down and click weld. That way, when I go onto the next screen to set up my cut, it won’t rearrange everything on me.
Step 3. Cut.
Nothing to say here, but it’s an important step. Ha!
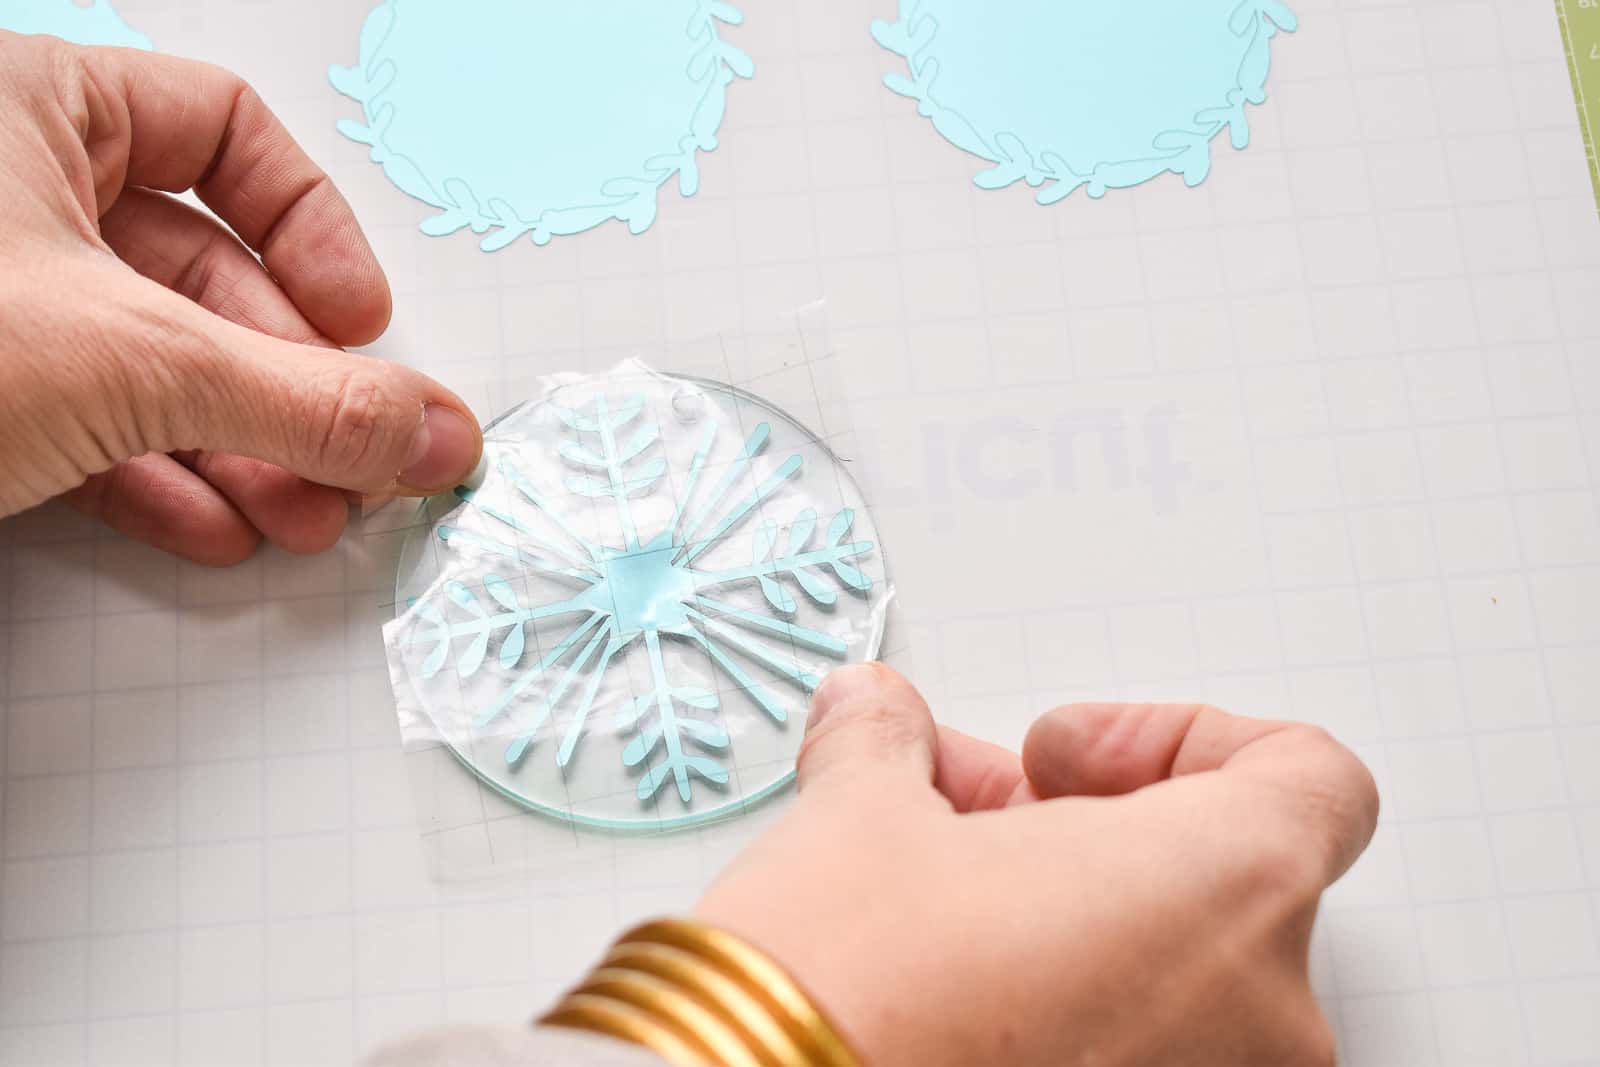
Step 4. Transfer your snowflakes.
I’d love anyone with Cricut expertise to weigh in here… my clear transfer paper didn’t work for diddly with this metallic vinyl. I ended up applying the clear tape and then using a sharp knife to gently pry off the snowflake from backing. The clear tape kept it from getting all tangled, but I needed to loosen it off from the backing. I’m guessing there may be a strong transfer paper out there? My way definitely worked, but felt like I was missing something.
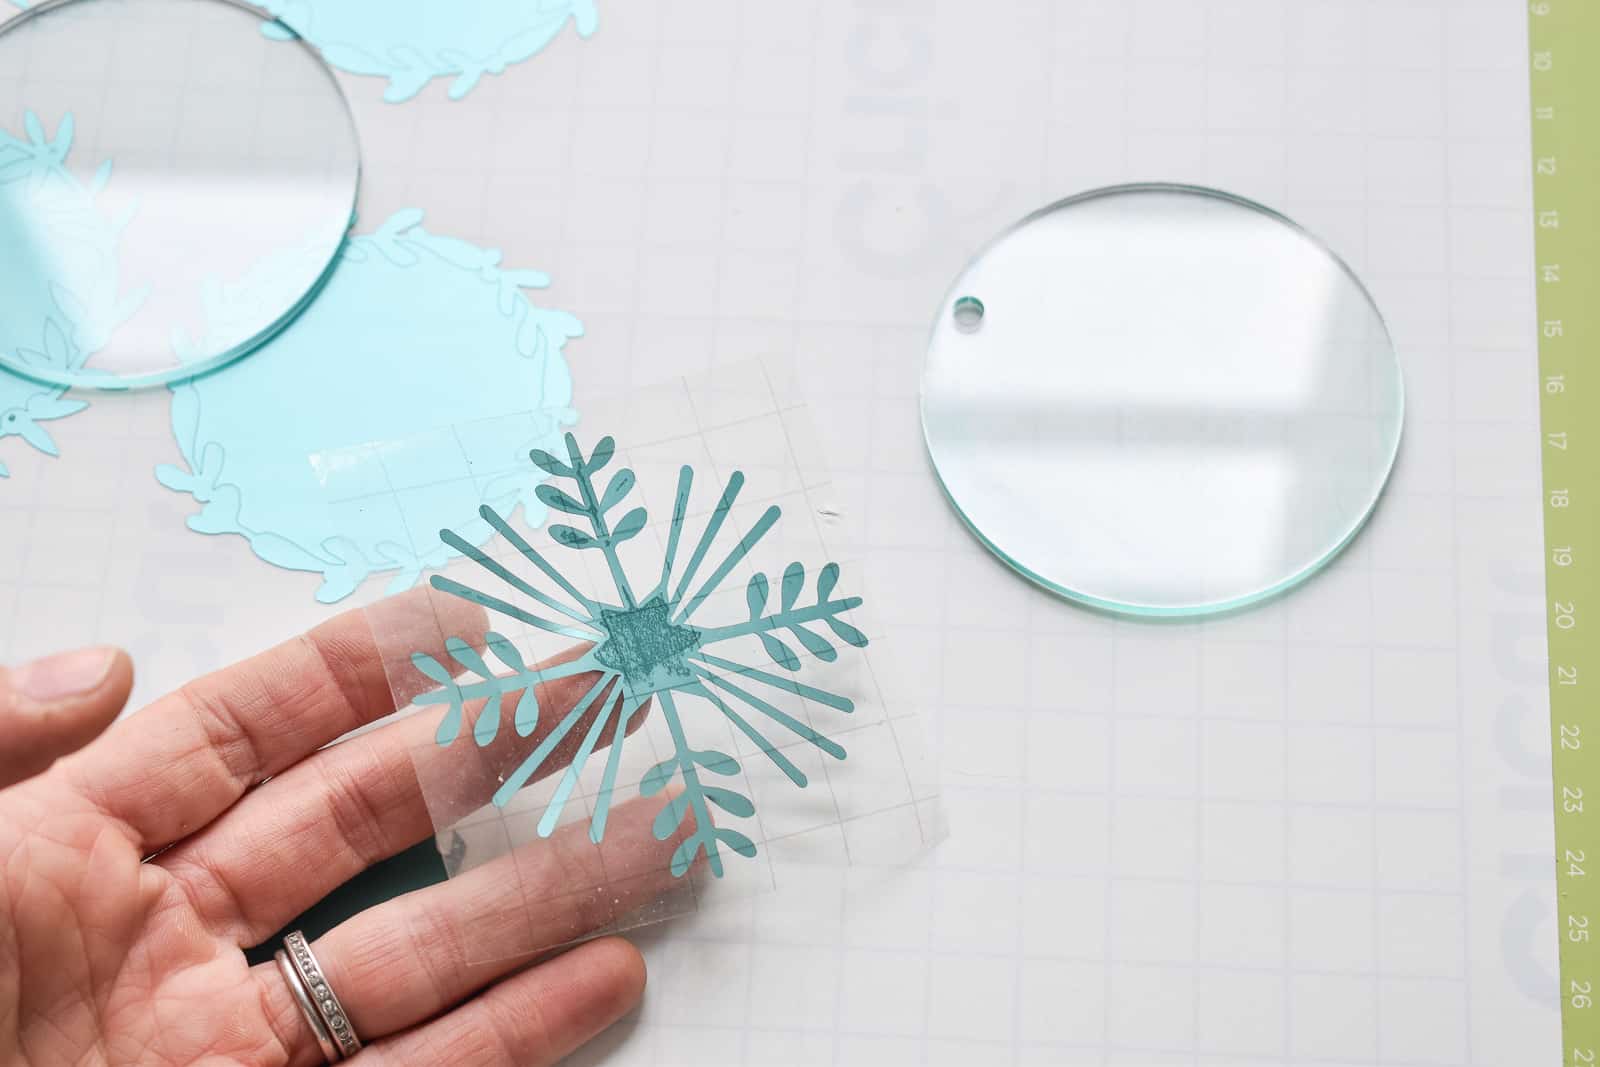
Once the snowflake was on the transfer tape, it adhered to the acrylic ornament easily.
Step 5. Attach a ribbon and hang
Aaaaand, scene. So easy, right?

OK, let’s chat about ways you could do this WITHOUT a Cricut. First thing that comes to mind is just using an x-Acto knife. It would be much more cumbersome and you’d have to find a snowflake pattern that was simpler, but it could work. The second thing that comes to mind is using scissors and cutting out snowflake from paper the old fashioned way. You could attach this to the ornament with clear mod podge or spray adhesive! The final thought I had was finding stickers you like… Specifically looking for cute holiday metallic ones so they would look nice from both sides of the clear ornament.

Or just ask Santa for a Cricut. I use mine all the time and love it!
Be sure to check back to see what other ornaments I’ll be sharing in my 12 Days of Ornaments series!


Don’t Miss Out
Become An Insider!
Signup for exclusive tips, and tricks from Charlotte’s House!
Let’s chat!
I love comments from you, so feel free to leave your thoughts and ideas below! And don’t forget to follow me on Instagram for even more!