
Day 7: Twelve Days of Ornaments- Rustic Twig Star Ornaments
Psssst… this post *might* contain affiliate links: see my disclosure here.
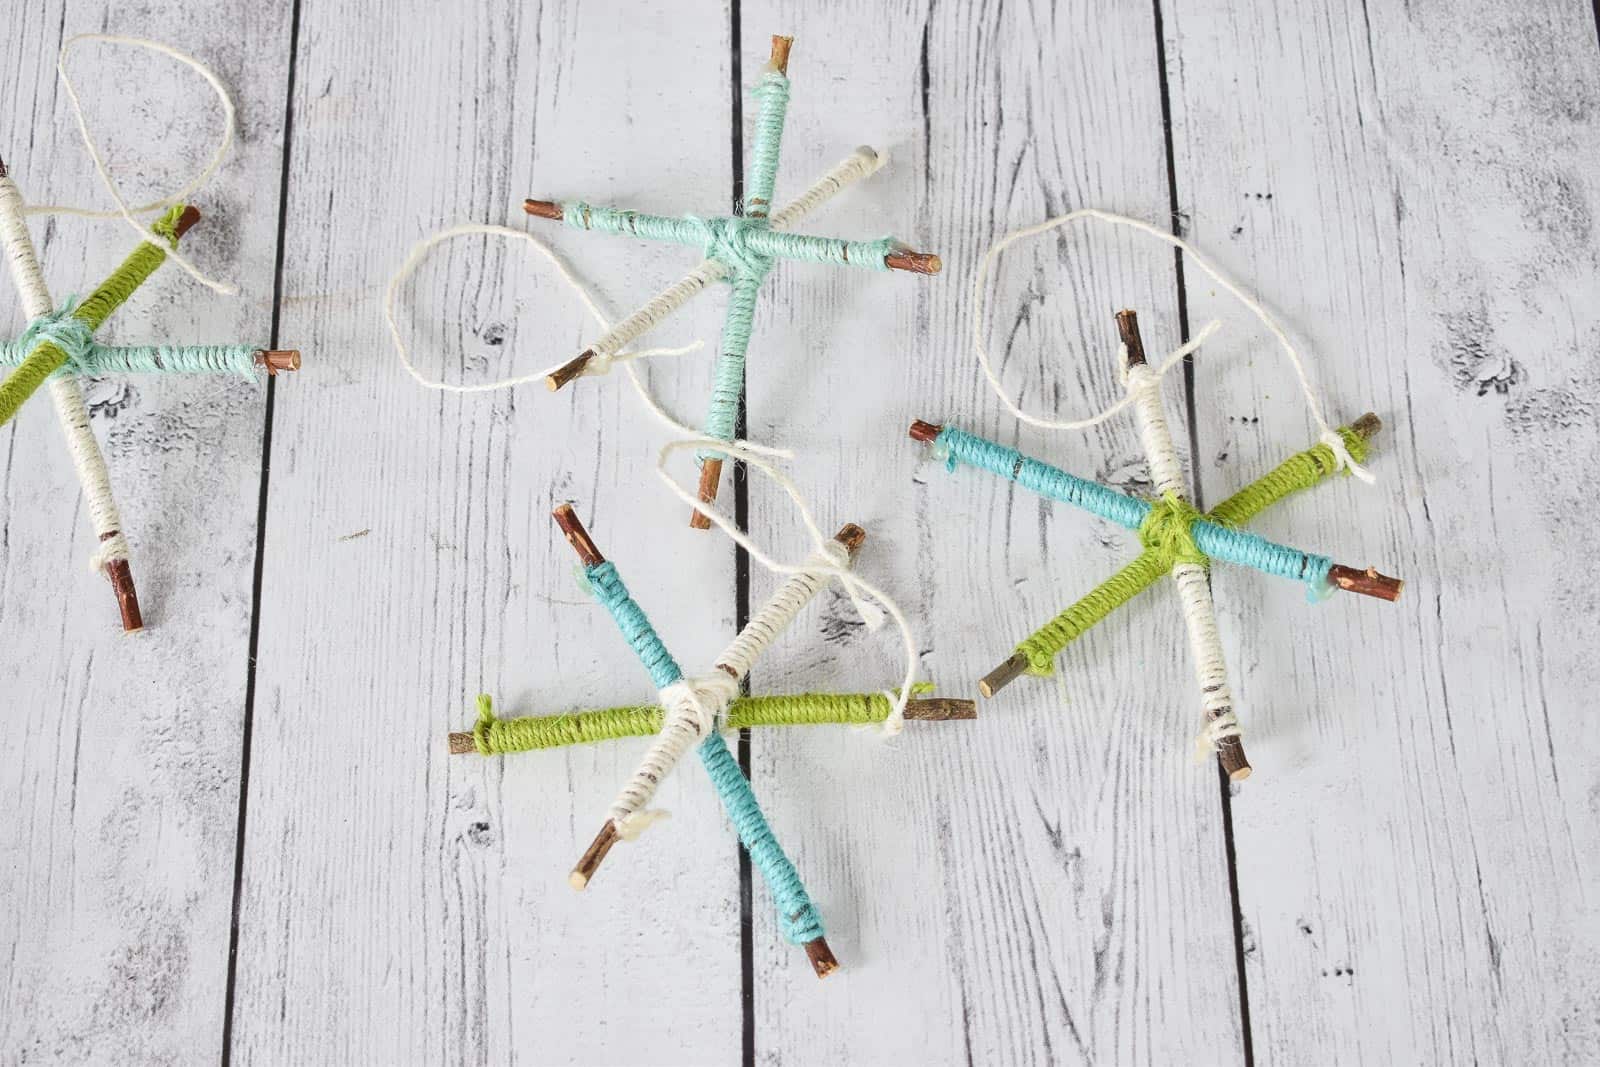
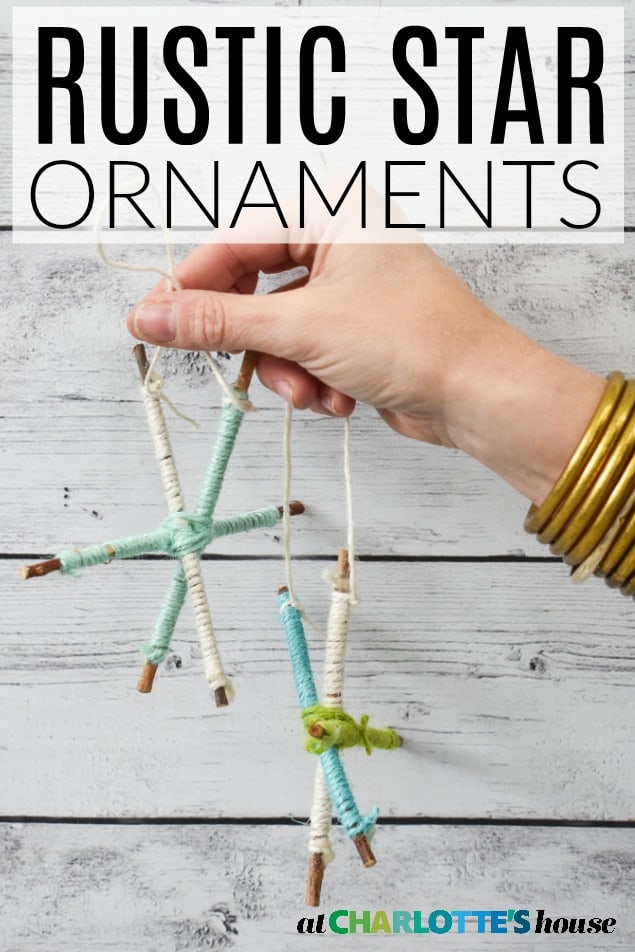
Colorful Rustic Twig Stars for Christmas
Welcome to Day 7 of 12 Days of Ornaments on the blog and my YouTube channel! You can follow along HERE in case you’ve missed anything!
If I can make something that’s essentially free… that’s a win. These sweet rustic ornaments have two material: twigs and twine/ yarn. Since most folks have access to twigs and *probably* have twine or yarn on hand, this is a craft project for you! (Confession: I bought both my twigs and my twine online, so scroll down to see the full source list!)
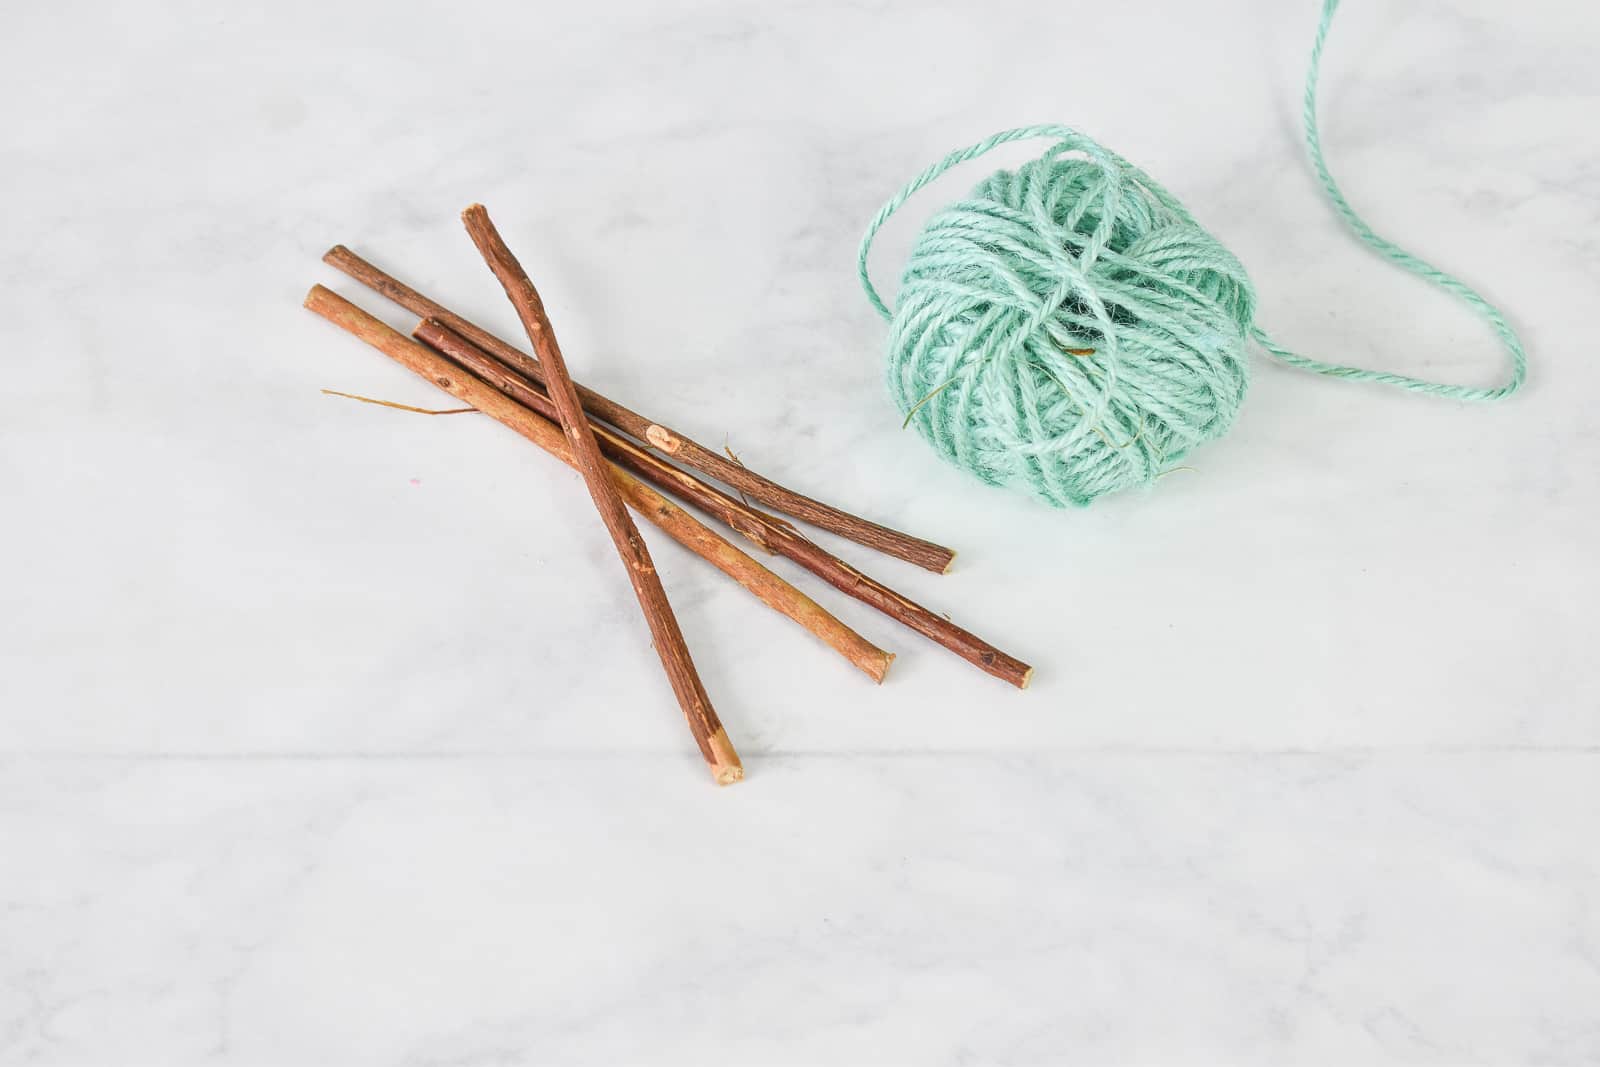
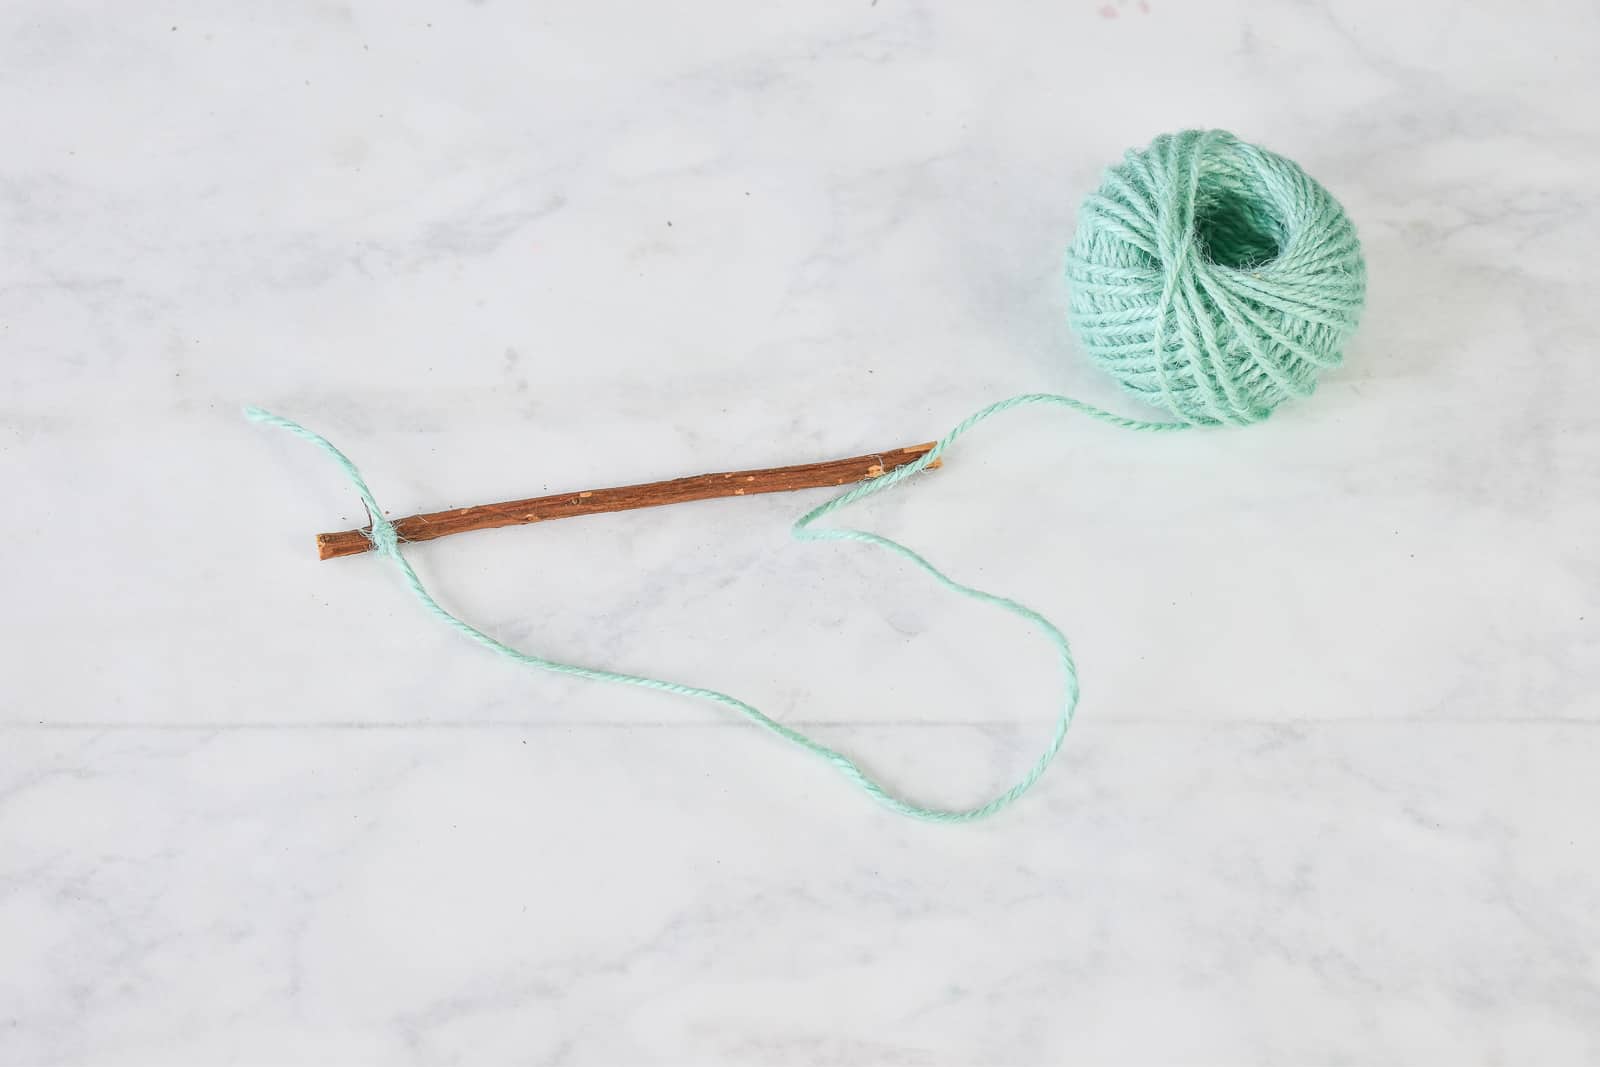
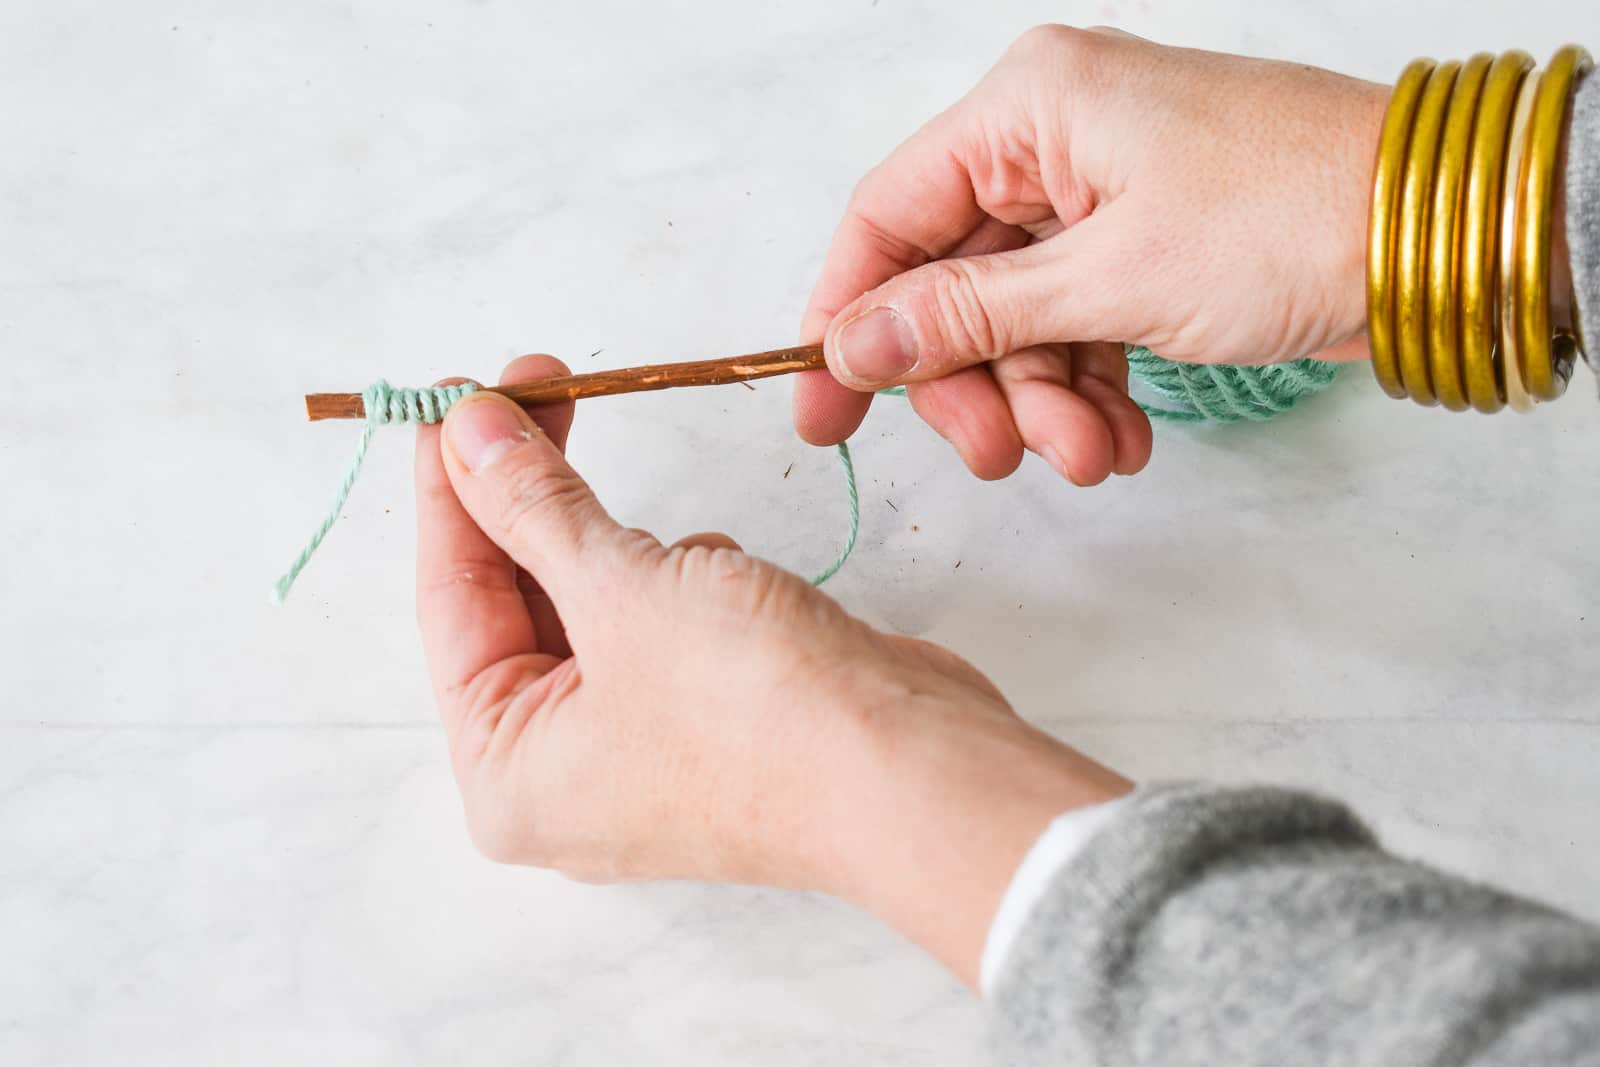
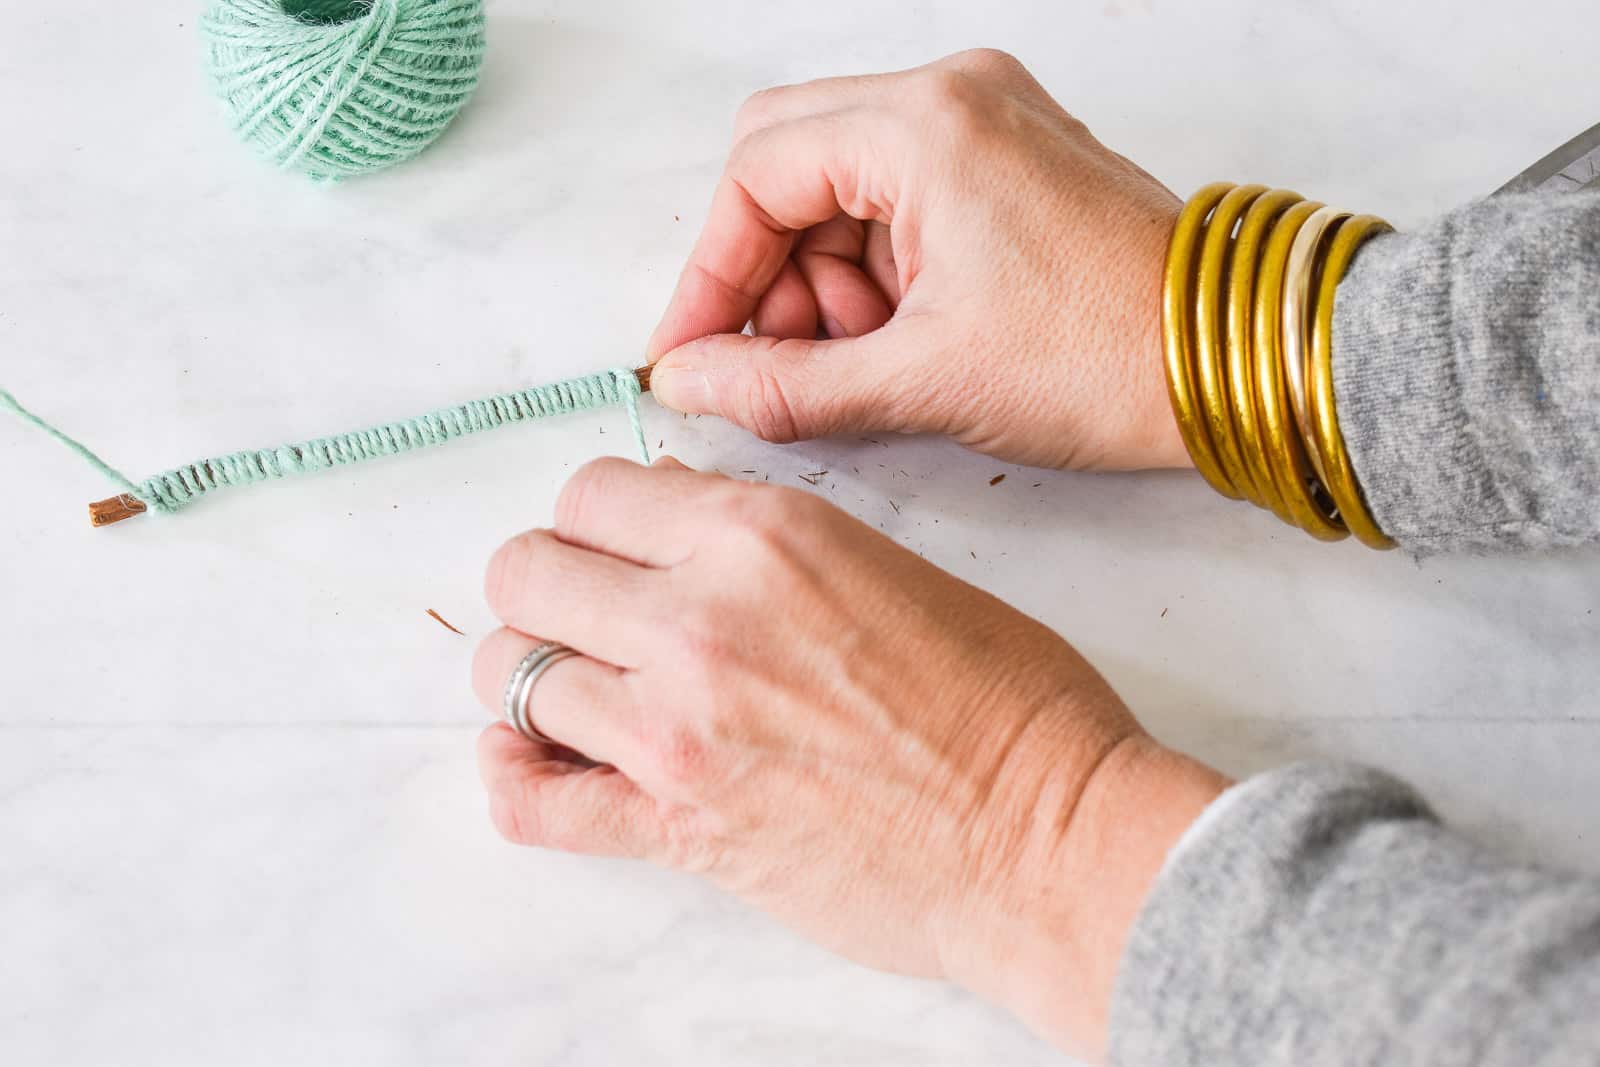
Step 1. Wrap the twigs with twine
I chose twine because the rougher texture meant it was easier to tie off without it coming undone. I tied a tight knot a few millimeters from the end of the twig.
Shop my favorites!
To wrap the twine, I used my right hand to twist the twig and then guided the twine around the twig with the other! Obviously, anyway you want to wrap totally works, but this was how I was able to work fastest!
When I reached the end of the twig, I tried to tie the end off as best I could. To finish off each stick, I gave the two knots a dab of hot glue to hold them in place and then trimmed off the excess twine.
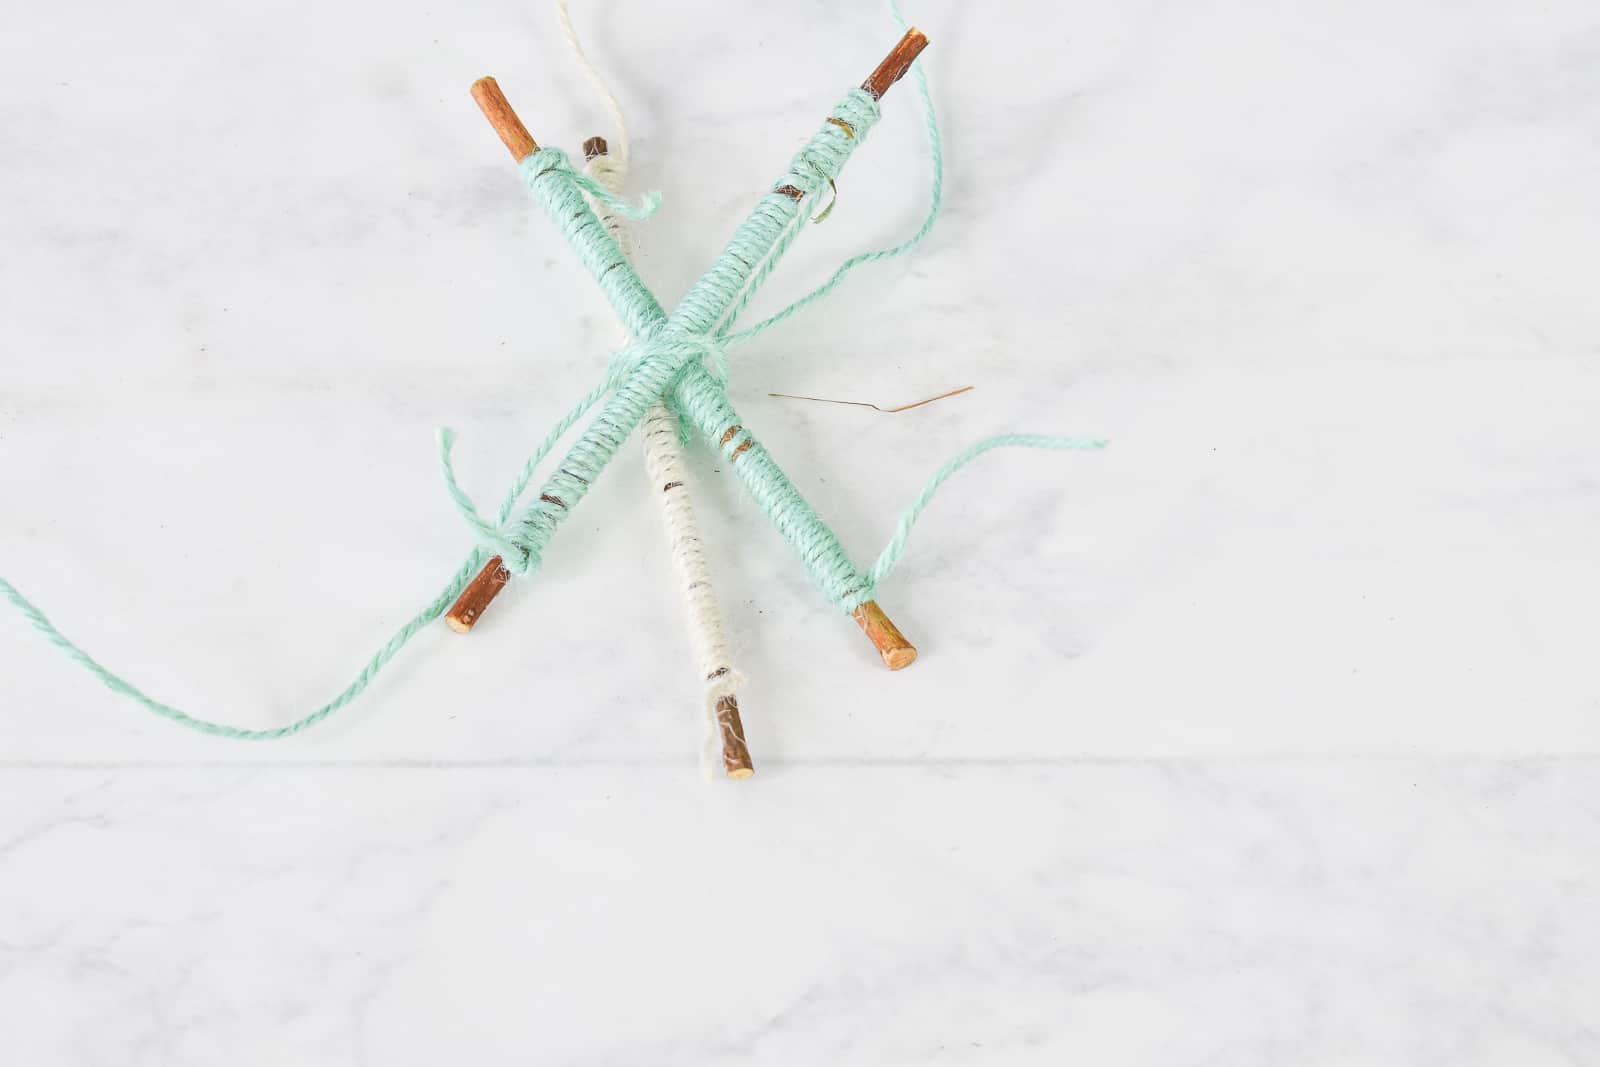
Step 2. Build the stars
To assemble the stars, I was expecting to use hot glue, but I was able to actually wrap the twine around all of the sticks to hold them in place in a star shape just like I wanted. Cut 18-24 inches of twine and lay it on your work surface. I started by laying one stick vertically on the twine, then I made an “x” across that stick with the other two.
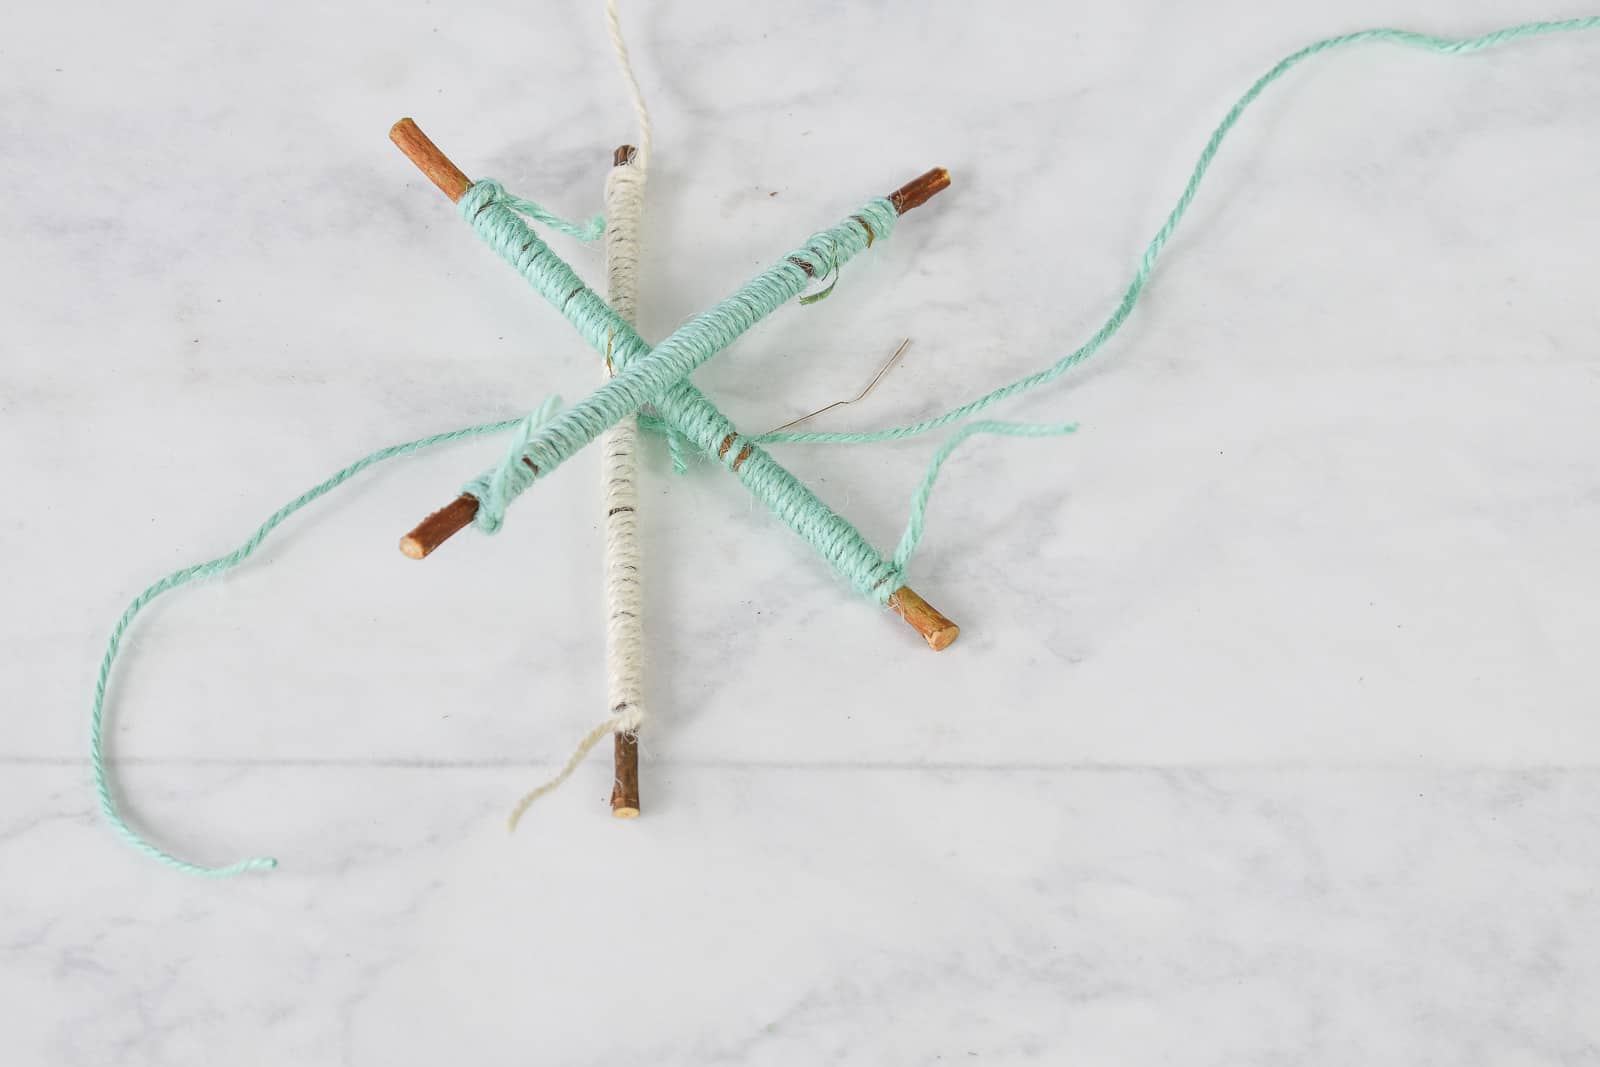
Lightly tie the twine from the work surface around the intersection of the sticks to hold them in place. Then take the longer end and wrap it around the sticks alternating around different center points to ultimately wrap all six sticks in different directions.

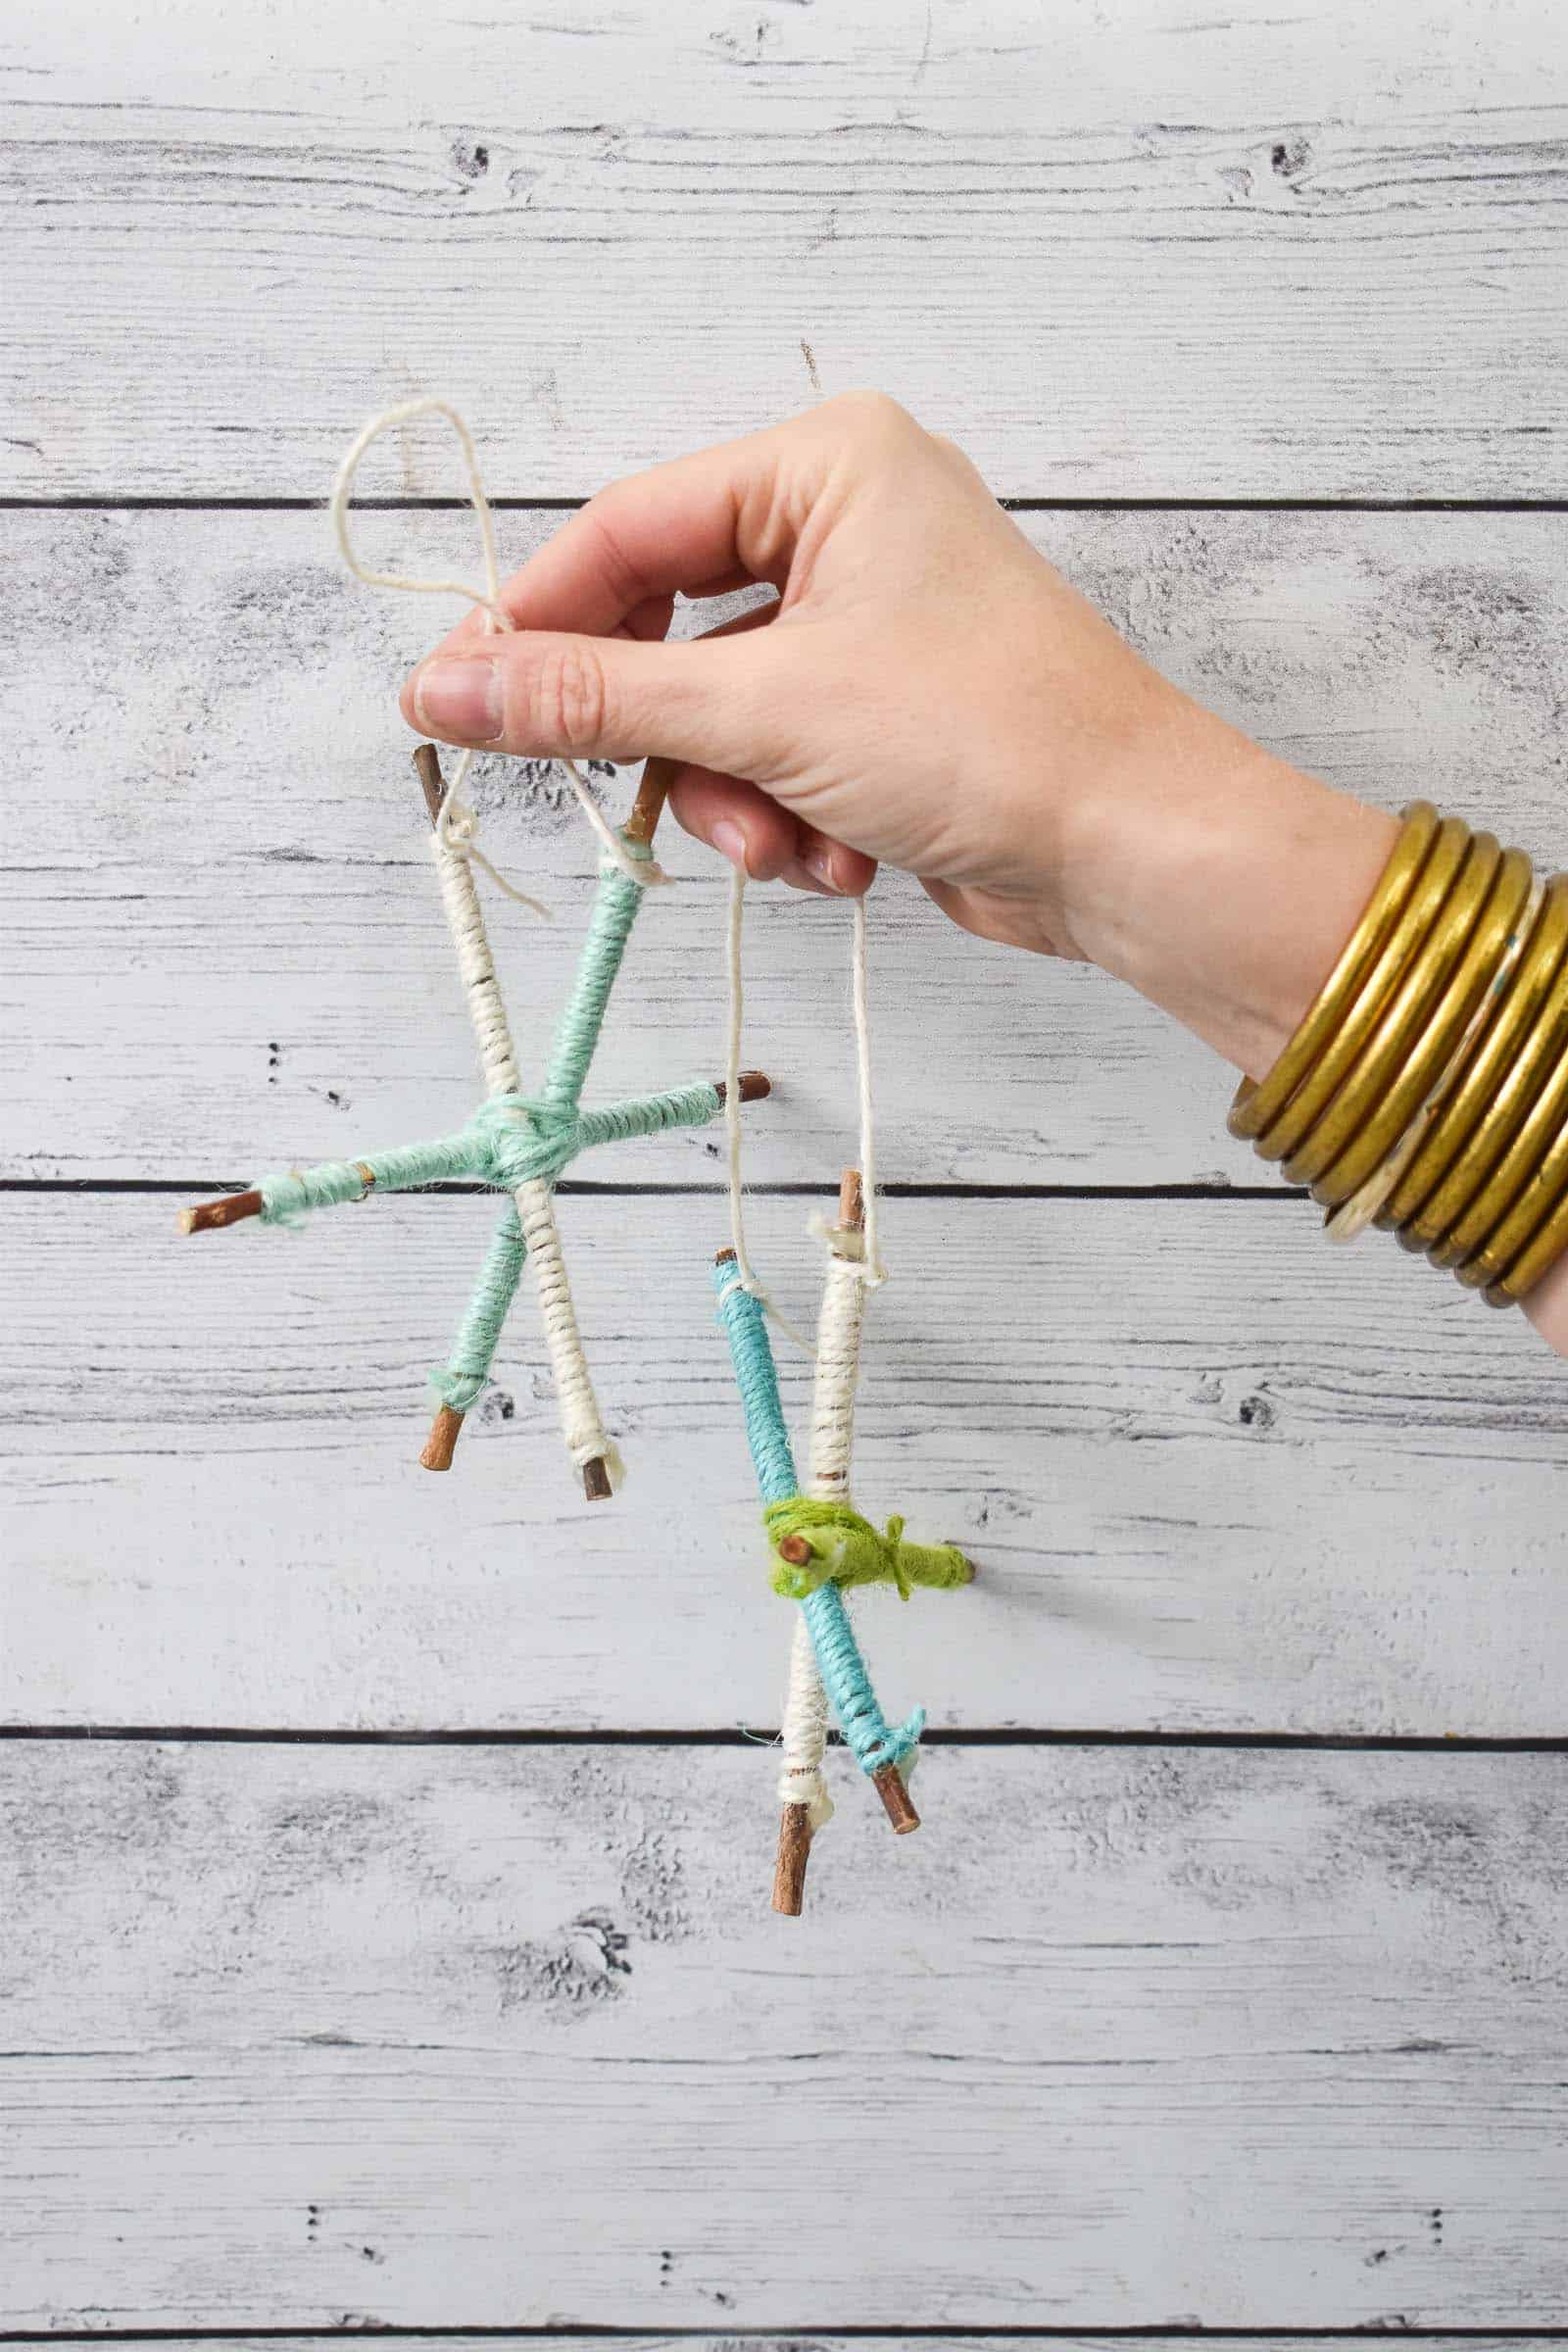
Step 3. Add loops for hanging
I originally thought I was going to tie one length of twine to one stick, but ended up tying it between two sticks. Again, it makes NO difference how you choose to do it so, bring in ribbon, leave the hangers off and just stick the stars into your tree… all would look great!
Rustic Star Materials:
Be sure to check back to see what other ornaments I’ll be sharing in my 12 Days of Ornaments series!


Don’t Miss Out
Become An Insider!
Signup for exclusive tips, and tricks from Charlotte’s House!
Let’s chat!
I love comments from you, so feel free to leave your thoughts and ideas below! And don’t forget to follow me on Instagram for even more!