DIY Budget Concrete Planters
Psssst… this post *might* contain affiliate links: see my disclosure here.
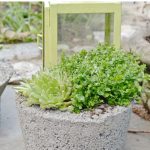
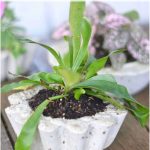
How to Make Concrete Planters
I’m a blogging loser and am sharing one of my favorite projects again with you here. Before you go thinking I’m just recycling content (which I am…), know this: I am WILDLY better at this whole blogging racket now than I was three years ago. And by wildly, I mean ‘occasionally.’ Also? These are TRULY one of my favorite projects so I made them again, took some more pictures AND added a video. Yep… a video tutorial alllll for you!
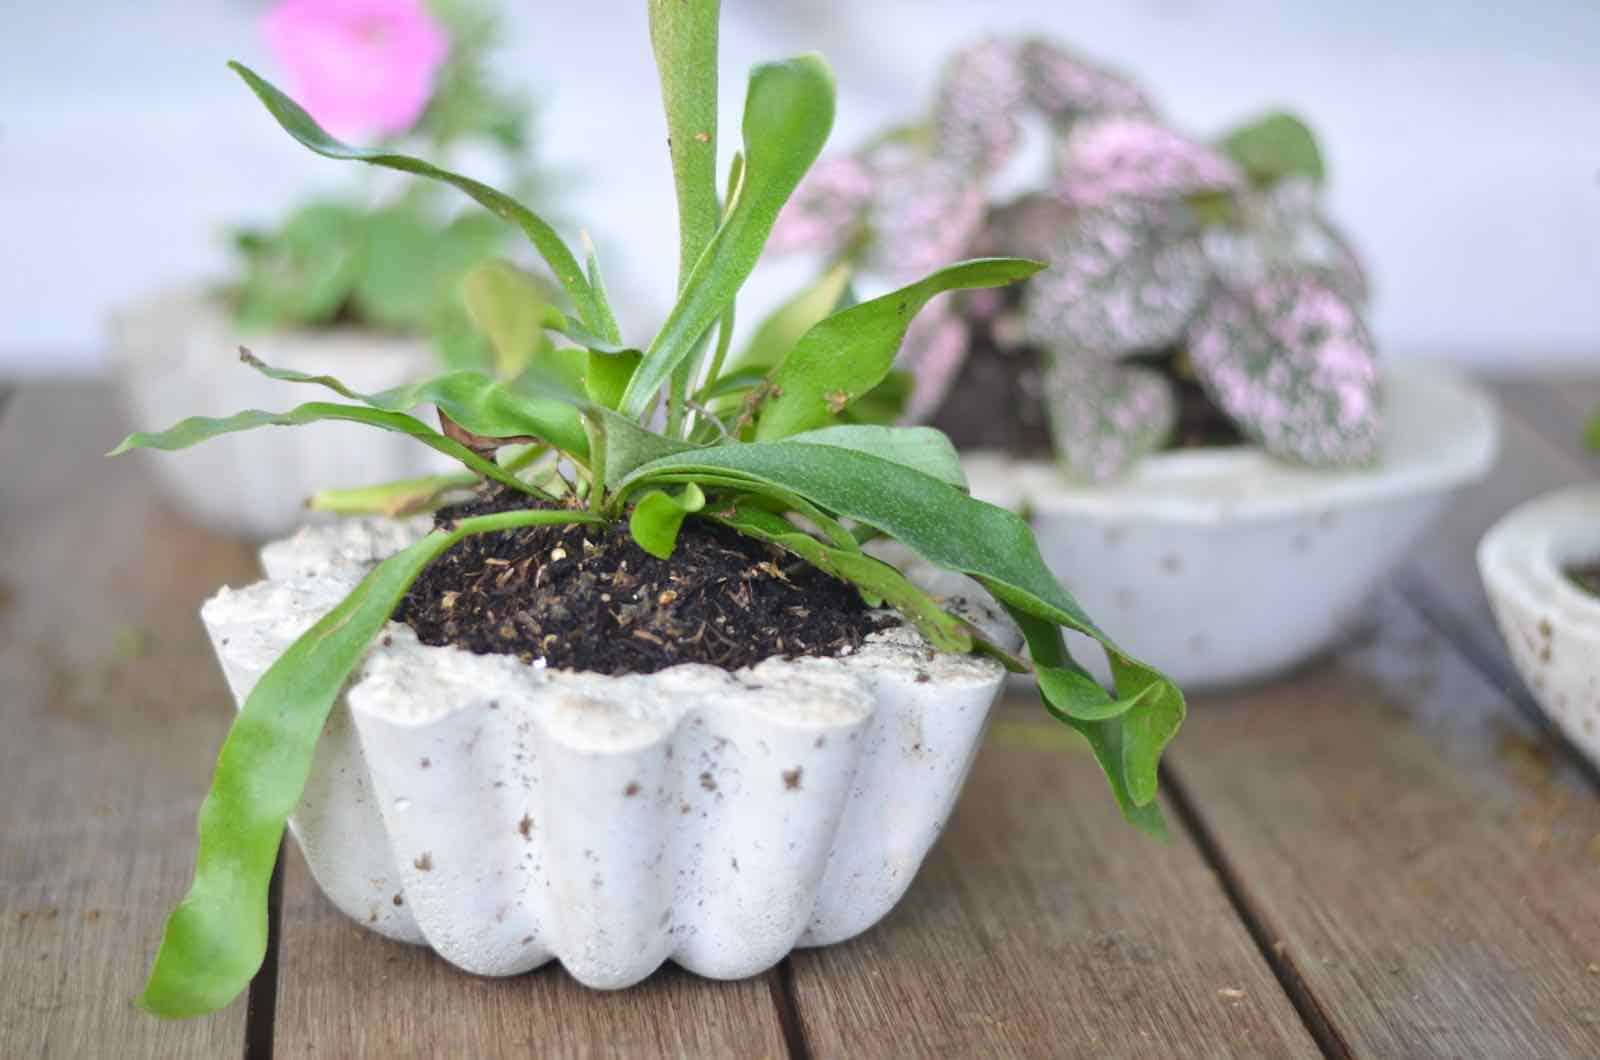
DIY Concrete Planters
I actually DID give a pretty thorough step by step in my first tutorial, so head over there for the real 411. Rest assured, though, that I’ll also give you some details here too!
Shop my favorites!
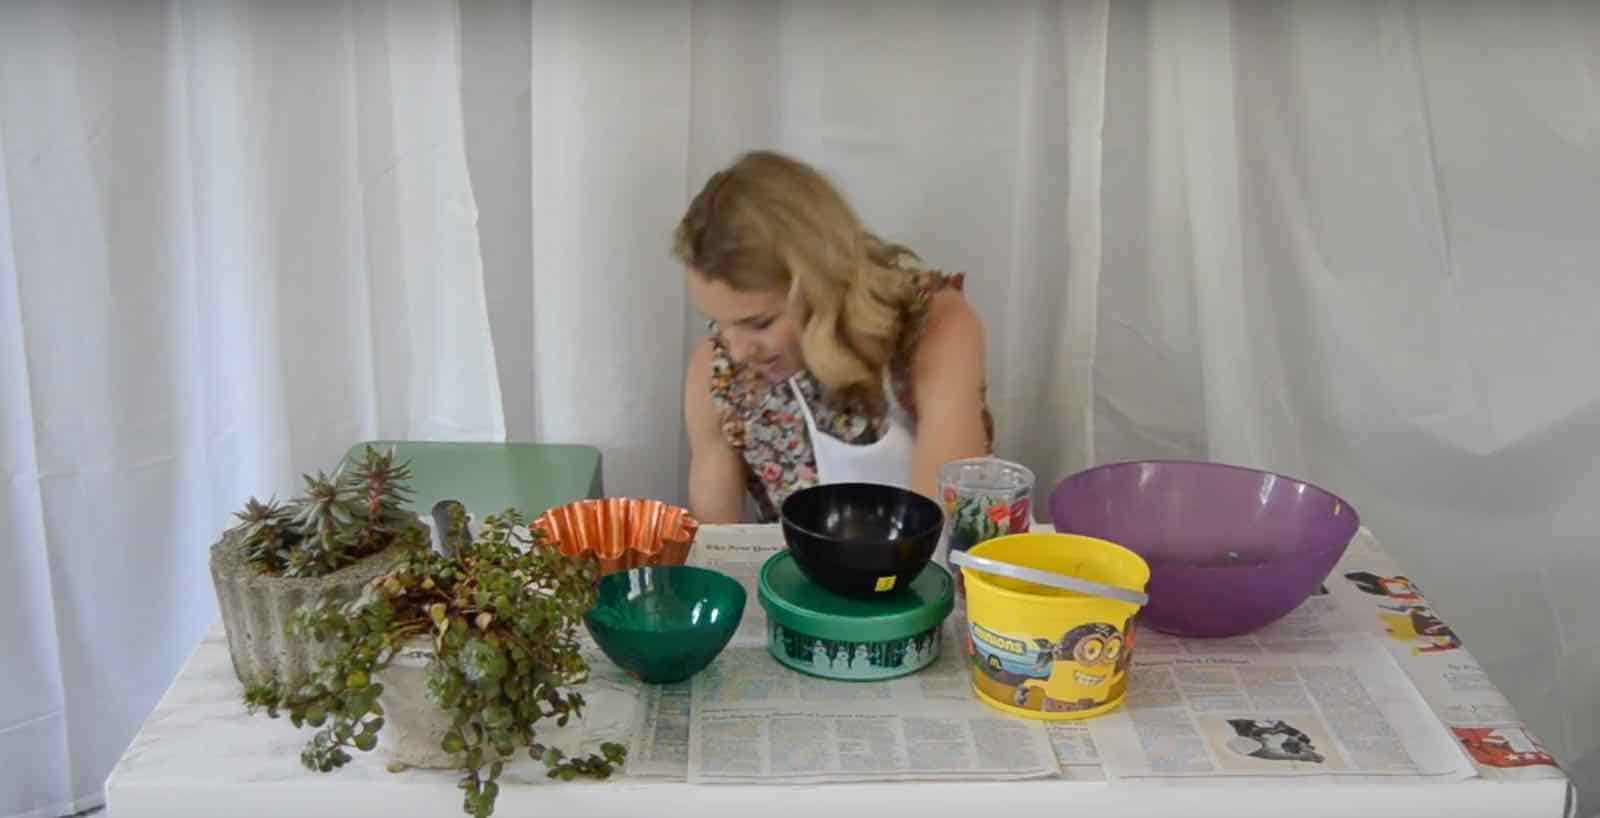
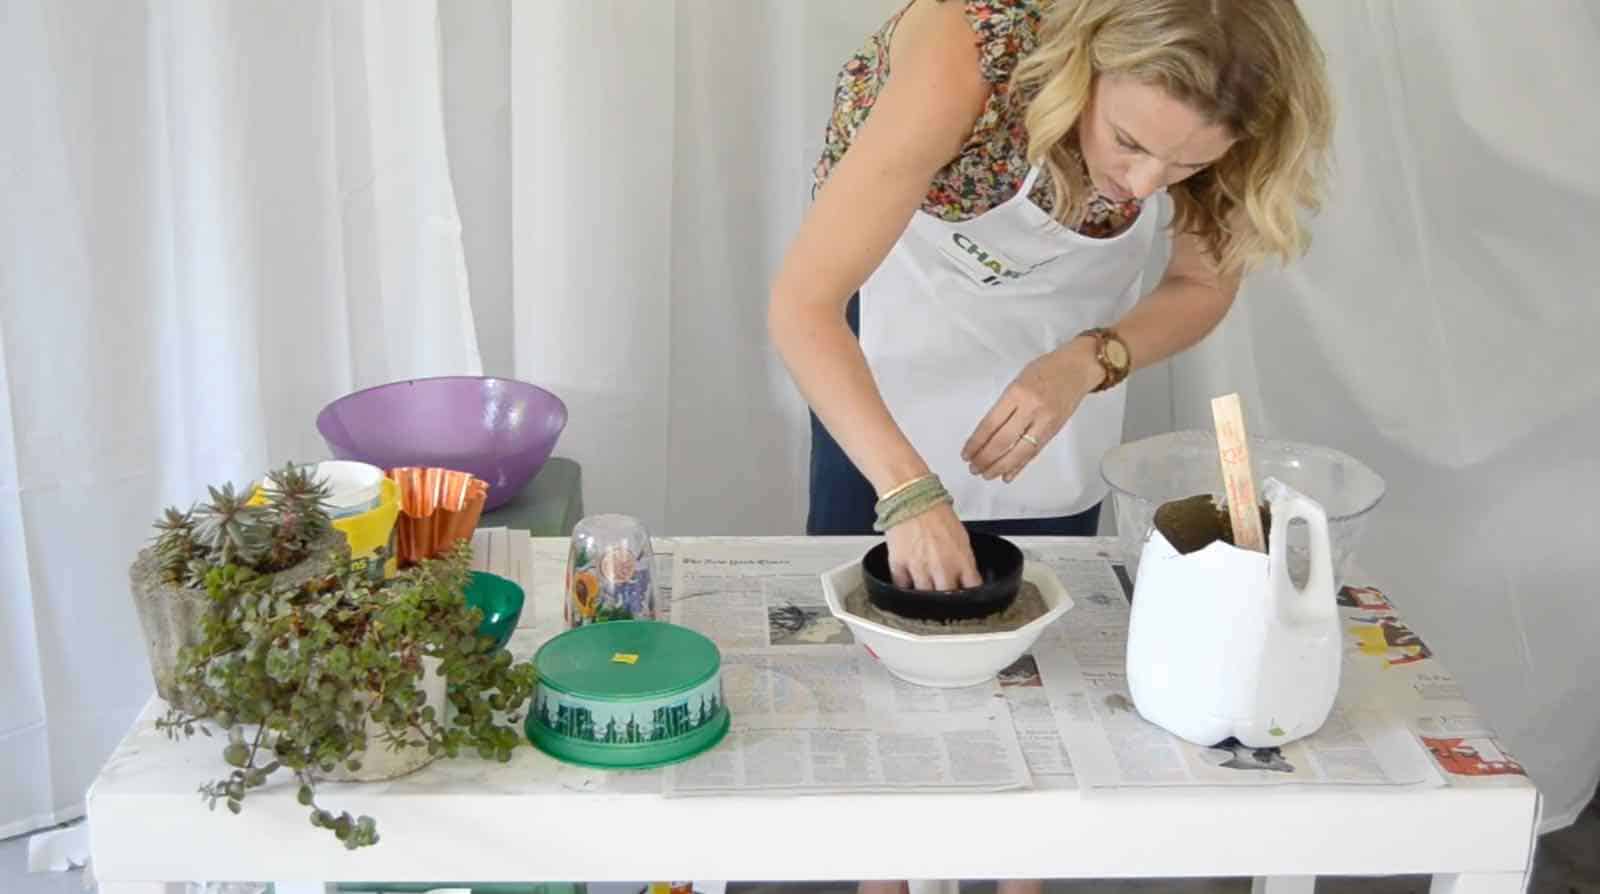
Step 1. Pick your molds
I go to Goodwill and grab anything and everything that’s shiny, smooth and in the shape of a planter. It ends up being plastic tupperware containers, metal mixing bowls… that sort of thing.
Step 2. Mix your concrete
There are a few different types of concrete… smooth, rough, quick setting… depending upon what you want, it will be a different price point. For a super smooth quick drying concrete, that will cost around $25 for a box. For a more rustic construction type concrete... you can get a 60-lb bag for as little as $4. See what I mean?
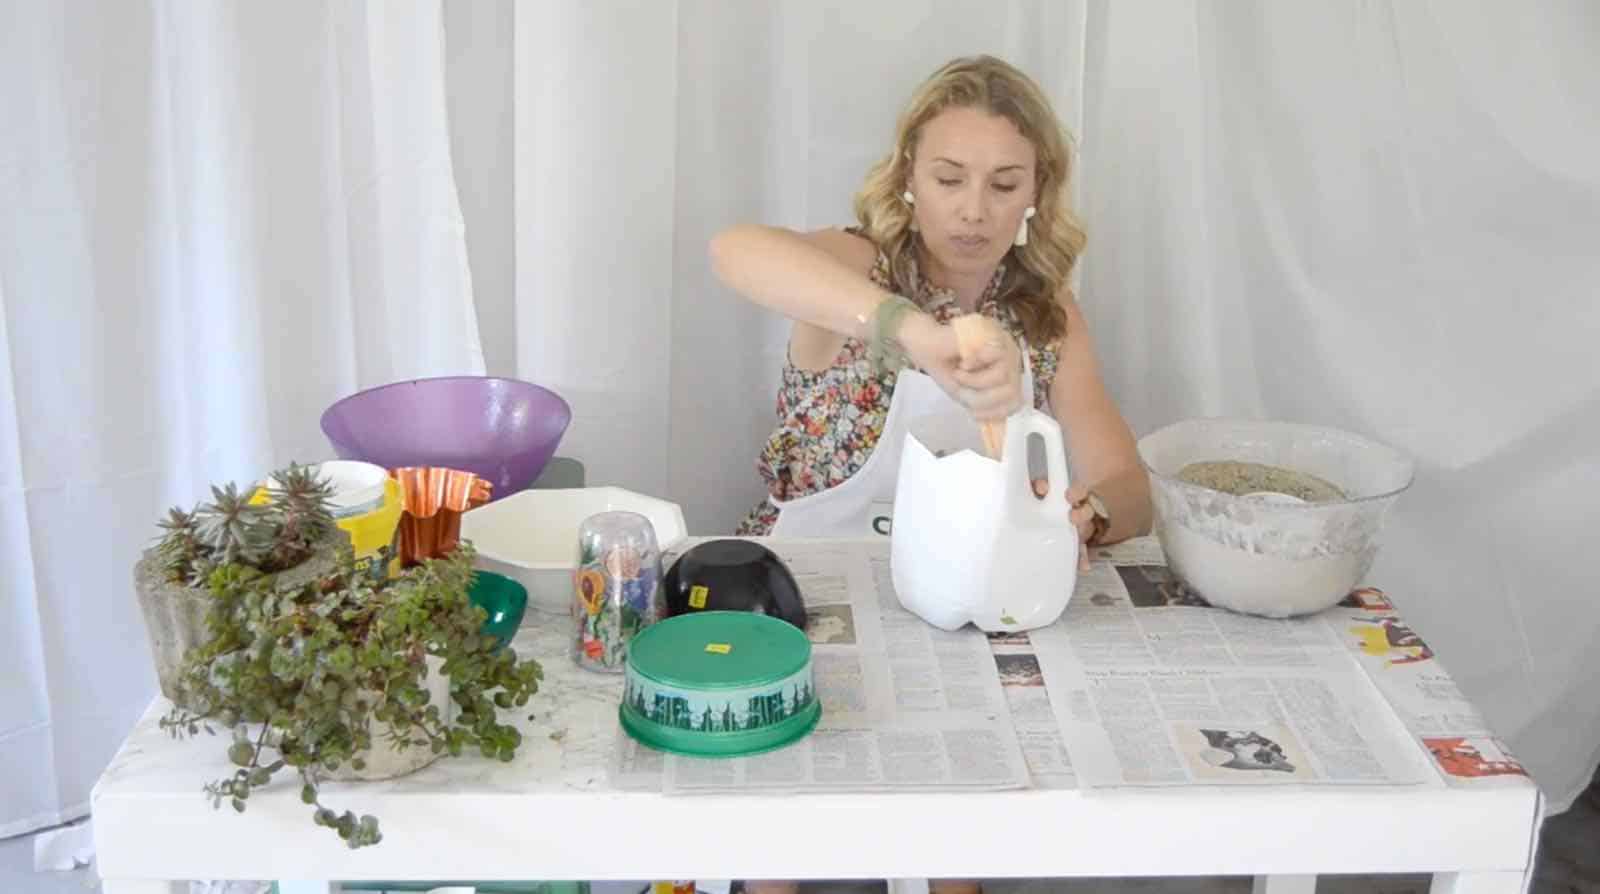
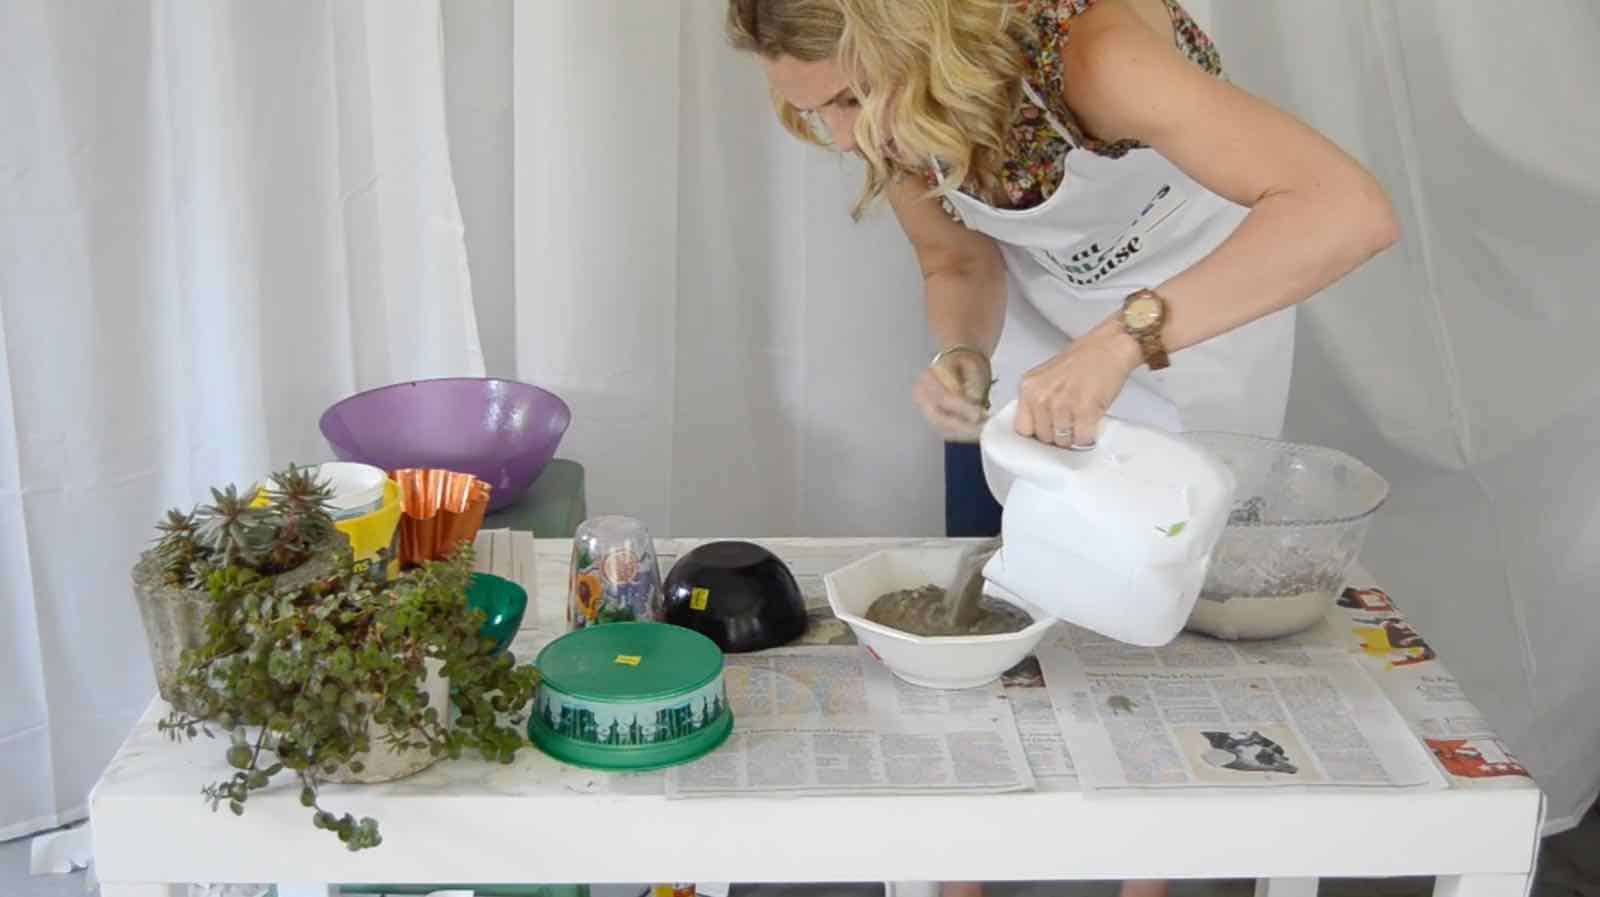
The mixing directions on the package are usually for the entire bag which isn’t all that helpful in my opinion. So… here’s what I do. I start with a few cups of water in a disposable container. (Disposable is key… you will never remember to clean things in time.) One cup at time, add the concrete powder to the water and mix. I use a paint stirrer because it’s free. When you get the consistency of pudding or cake batter… you’re set!
Step 3. Pour your planters
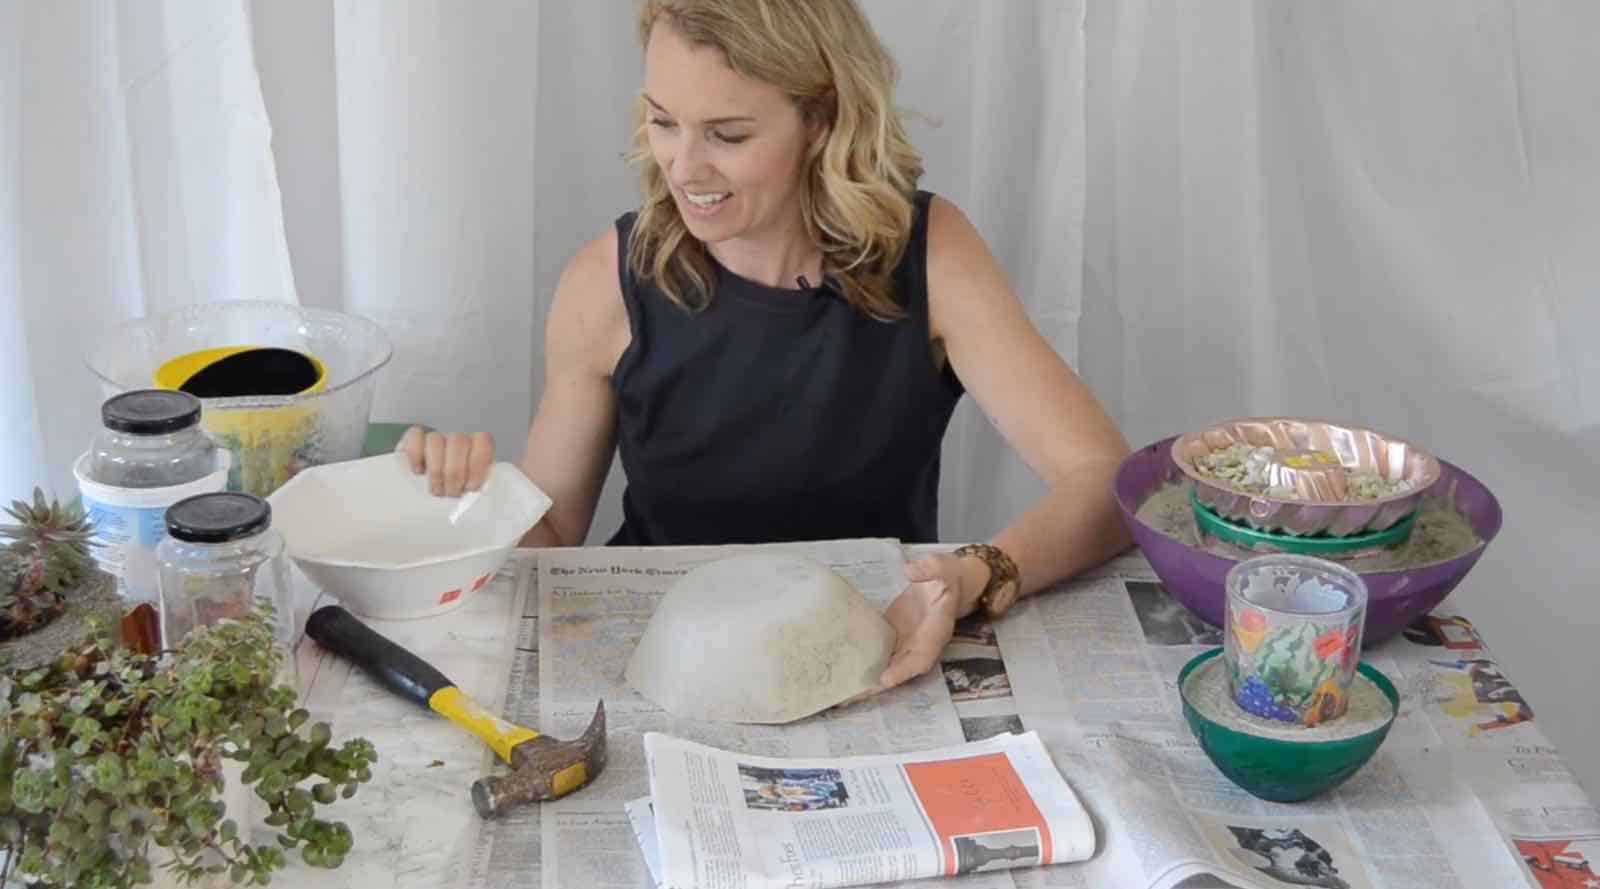
Decide which container will be your outside mold and which container will be your inside mold for each planter. I spray with cooking spray because… can’t hurt, right? Fill the outer container about 1/4 of the way with concrete and place the inner container. Fill around the inner container and tap both containers to get out any air bubbles. You’ll probably need to place a few rocks or a small weight onto the inner container to keep it from floating up on you.
Step 4. Release your planters and drill drainage holes
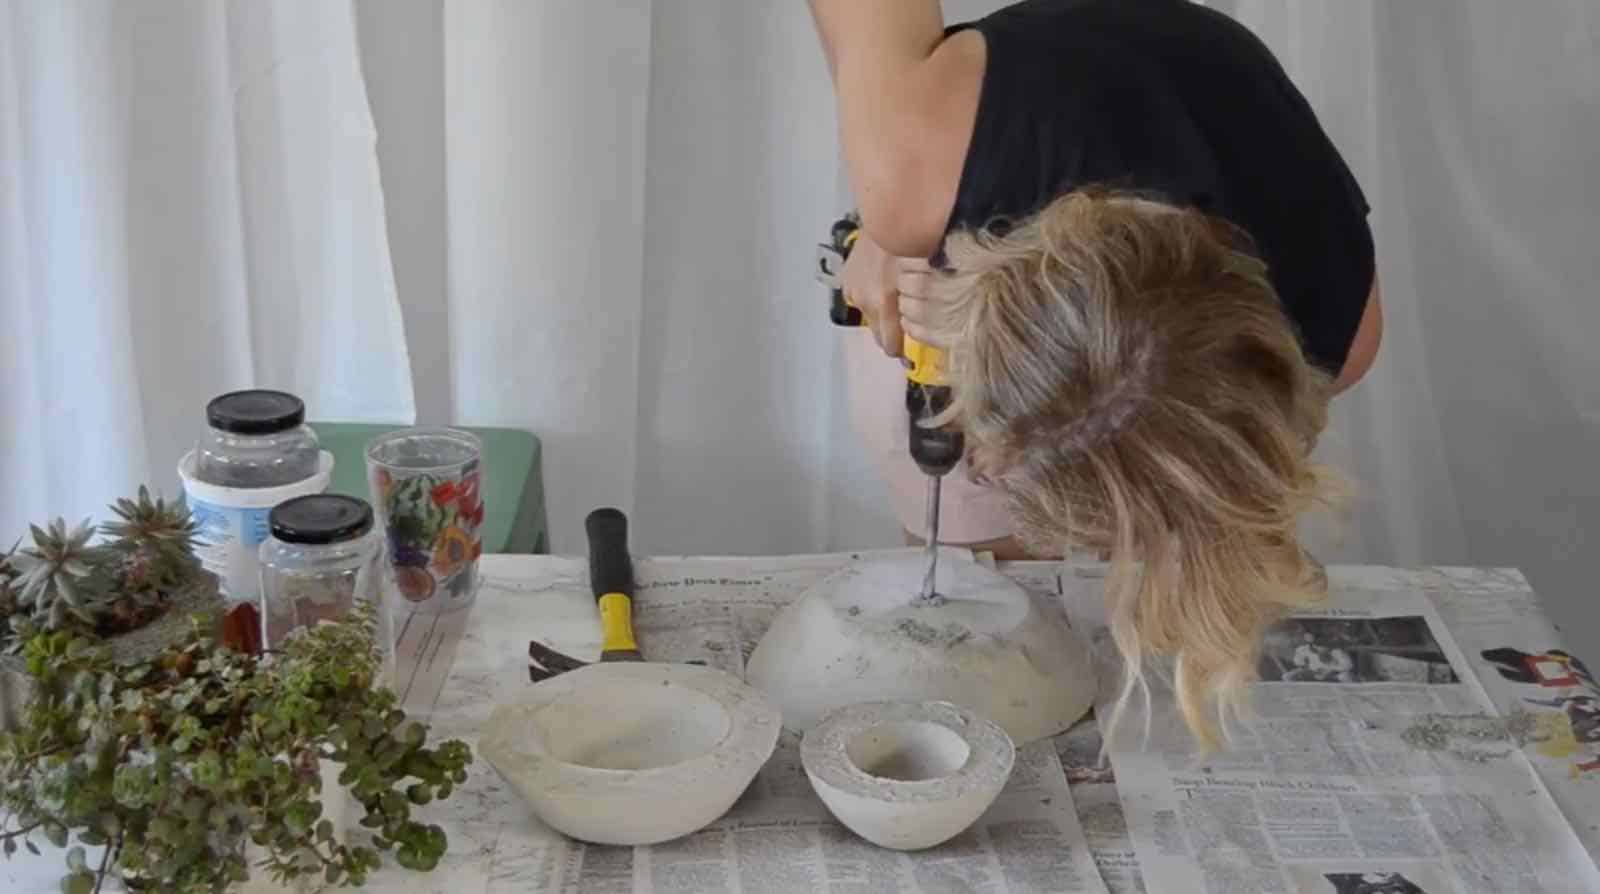
If your molds are really smooth, they should all pop right out from the concrete. Occasionally you’ll have to give one of them a little tap with a rubber mallet, but in general they release really easily. I finished my containers by drilling a small 1/4″ hole through the bottom.
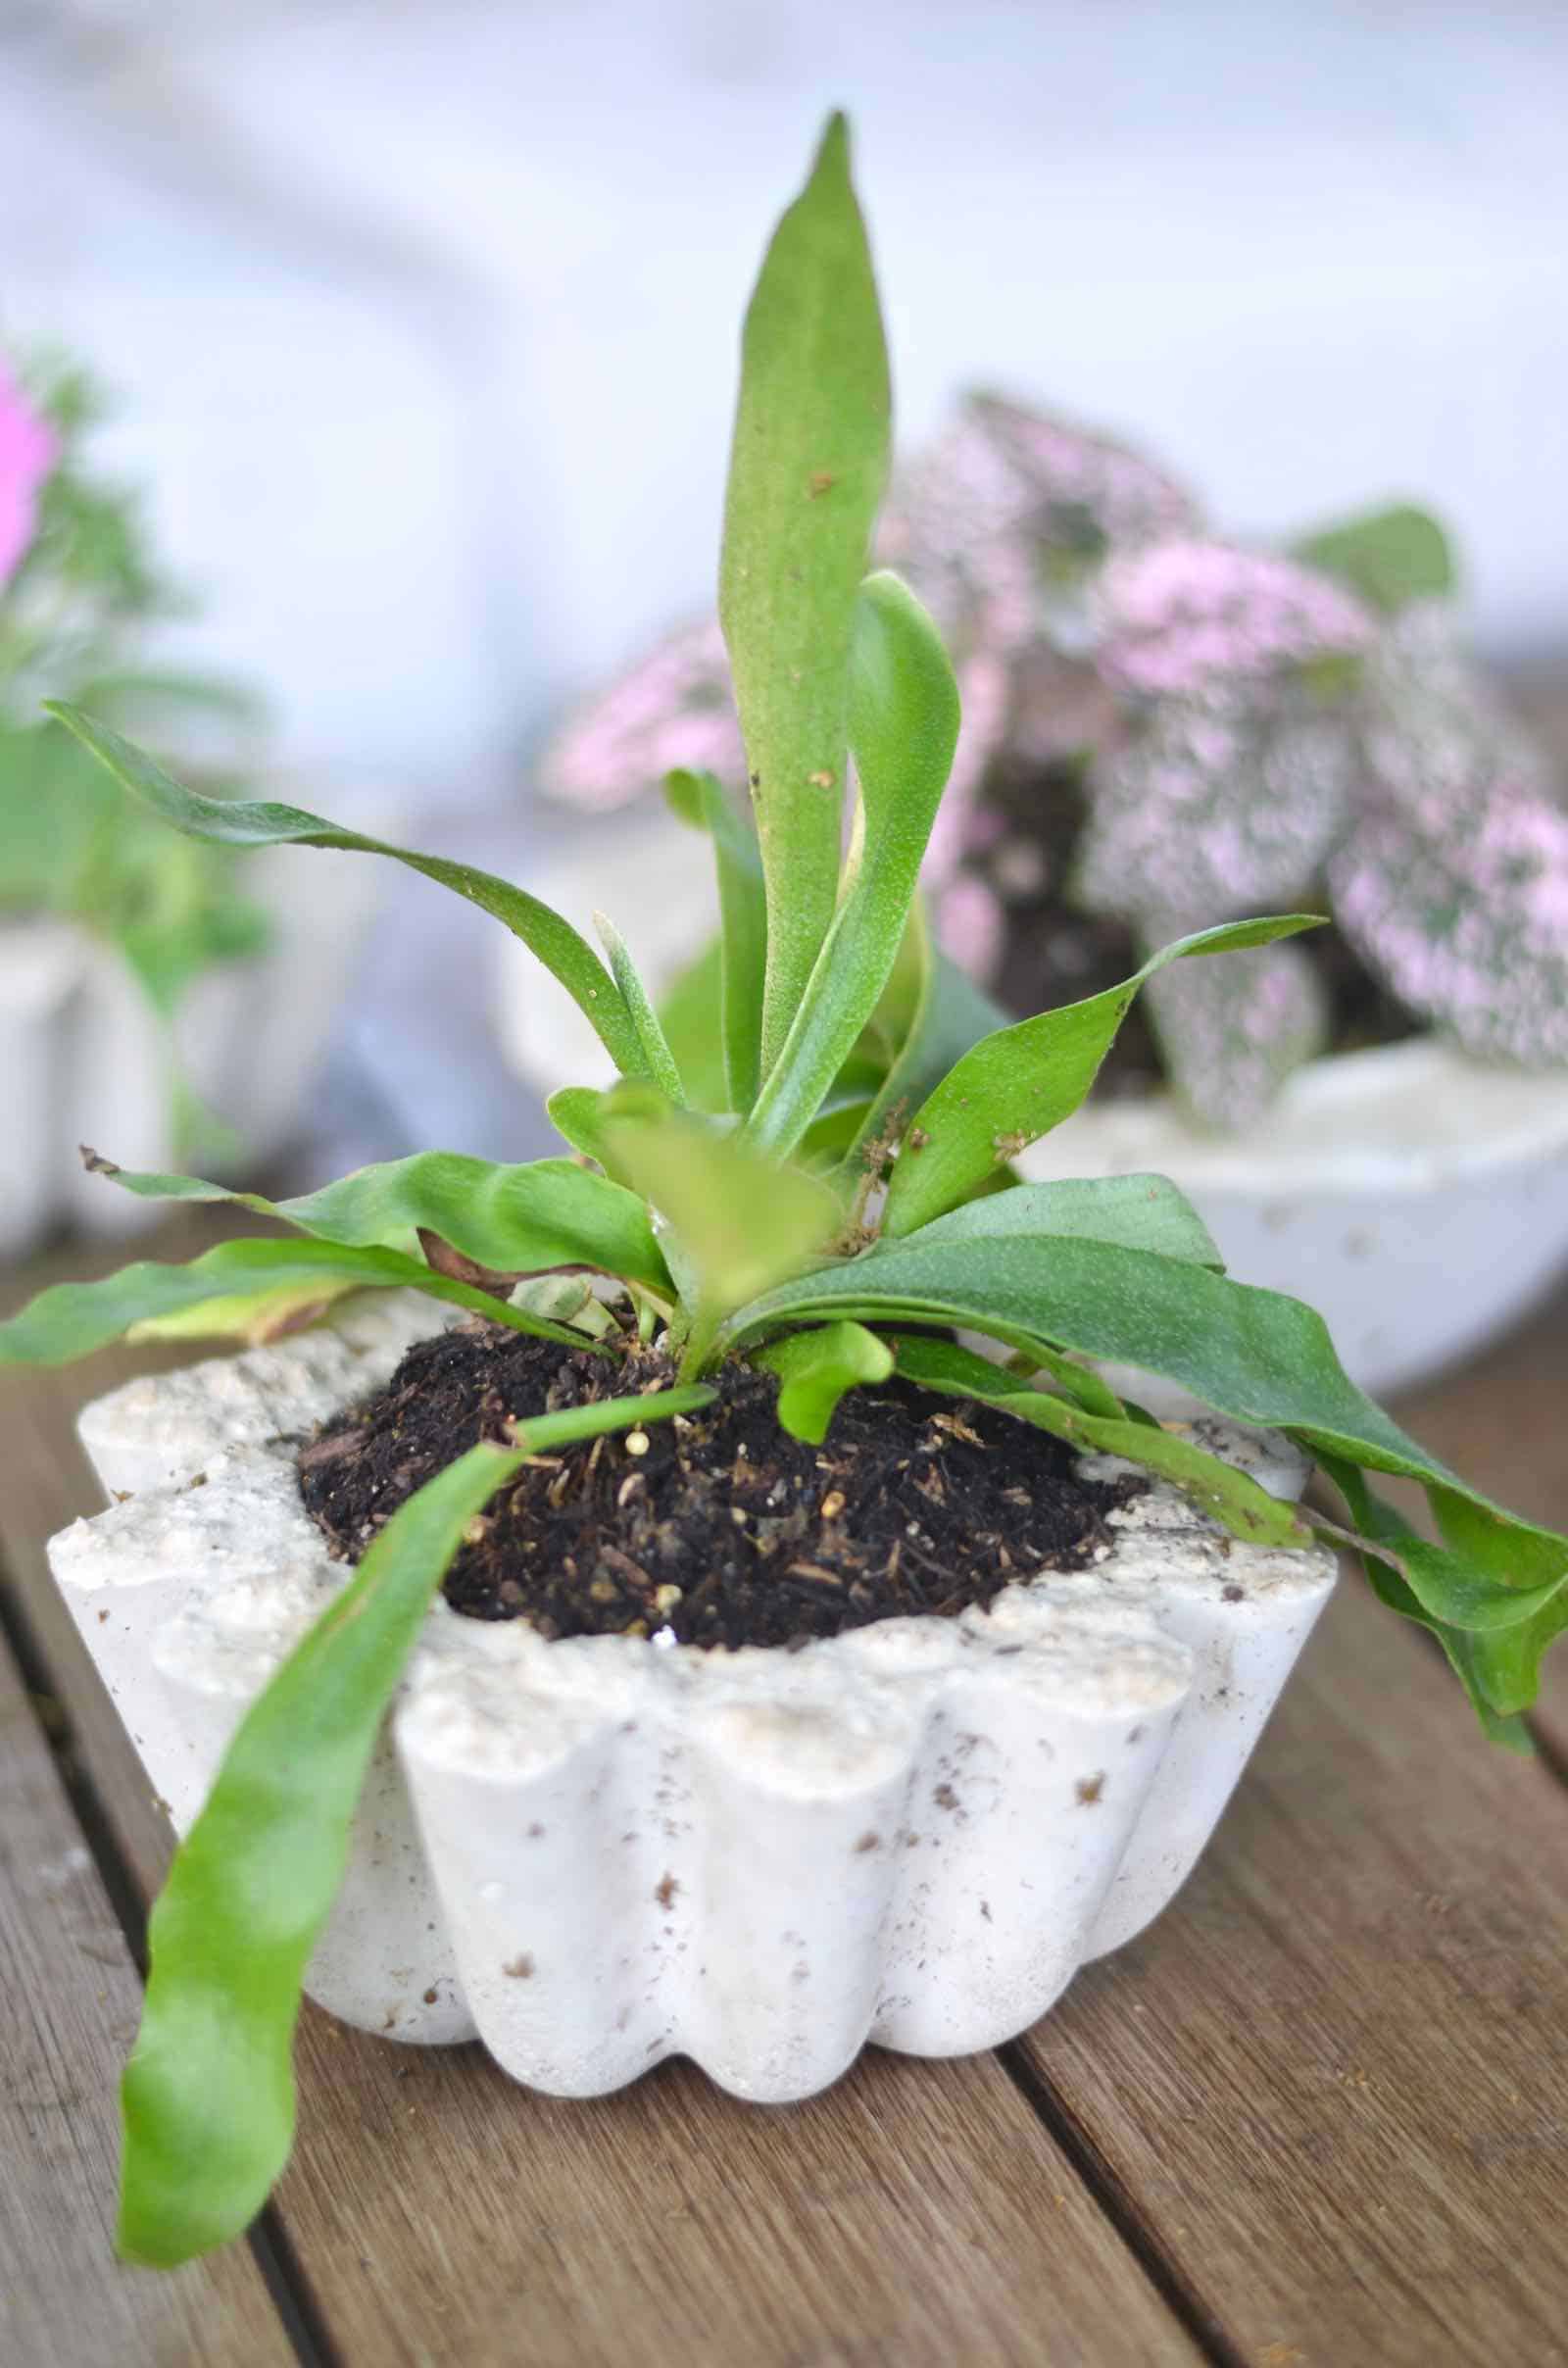
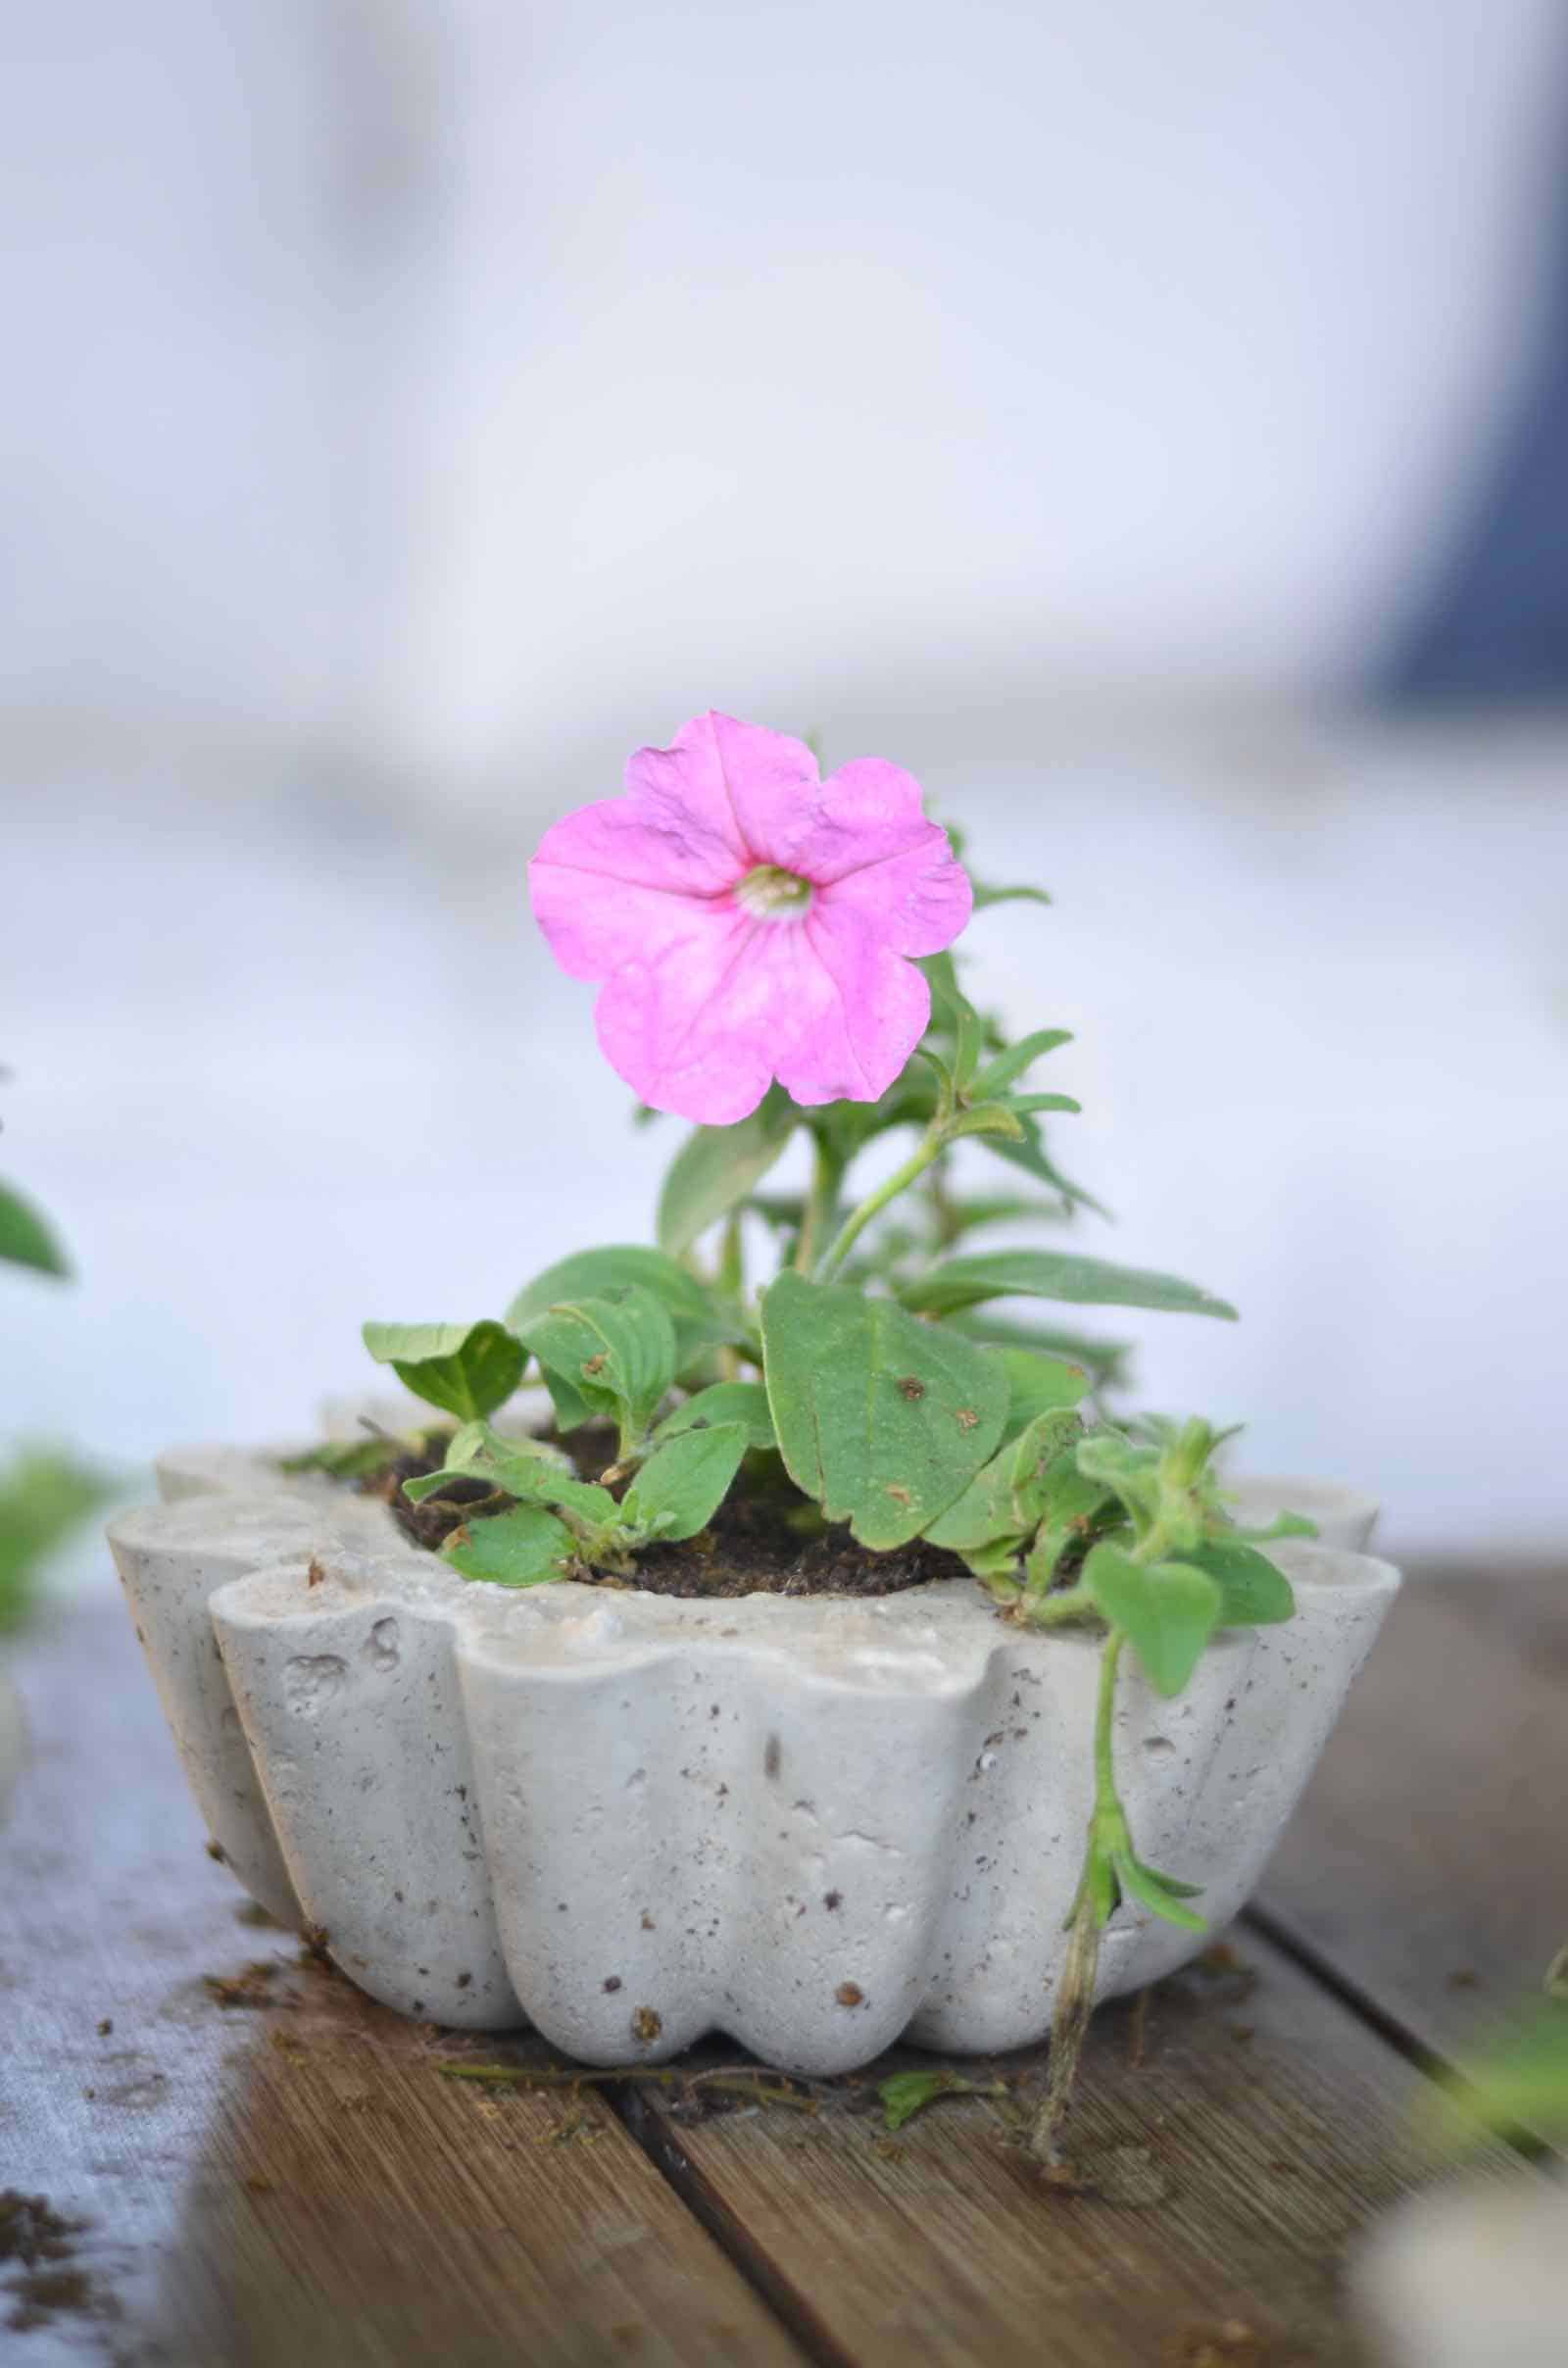
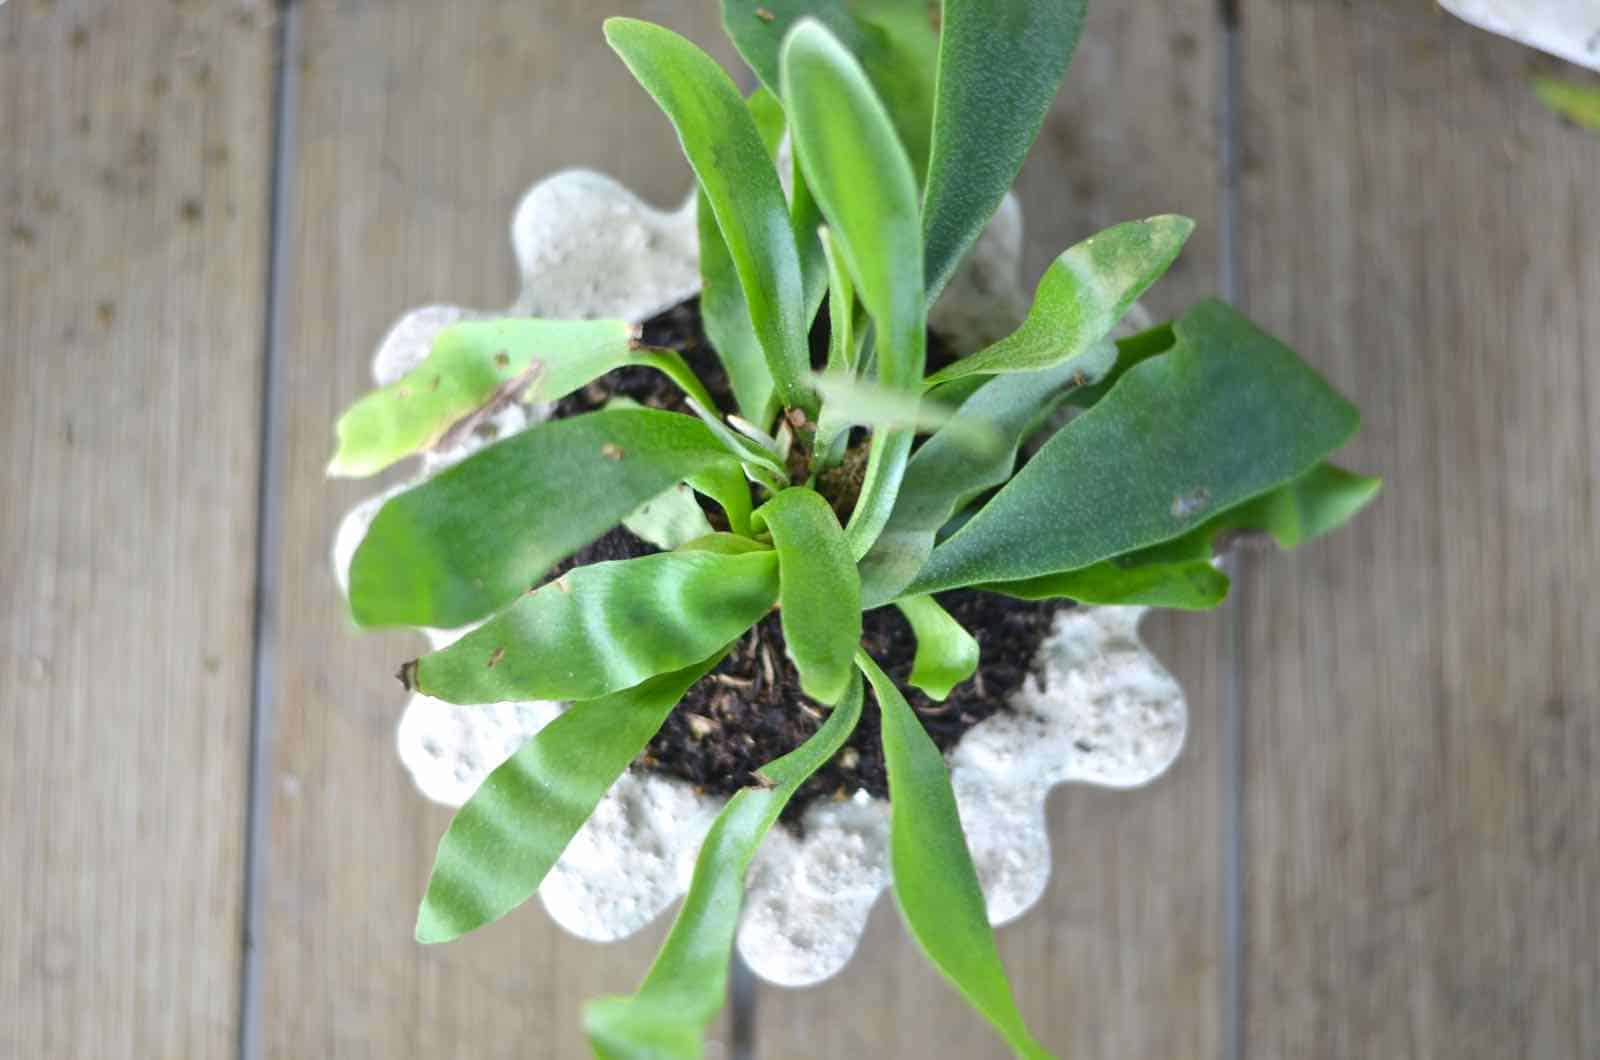
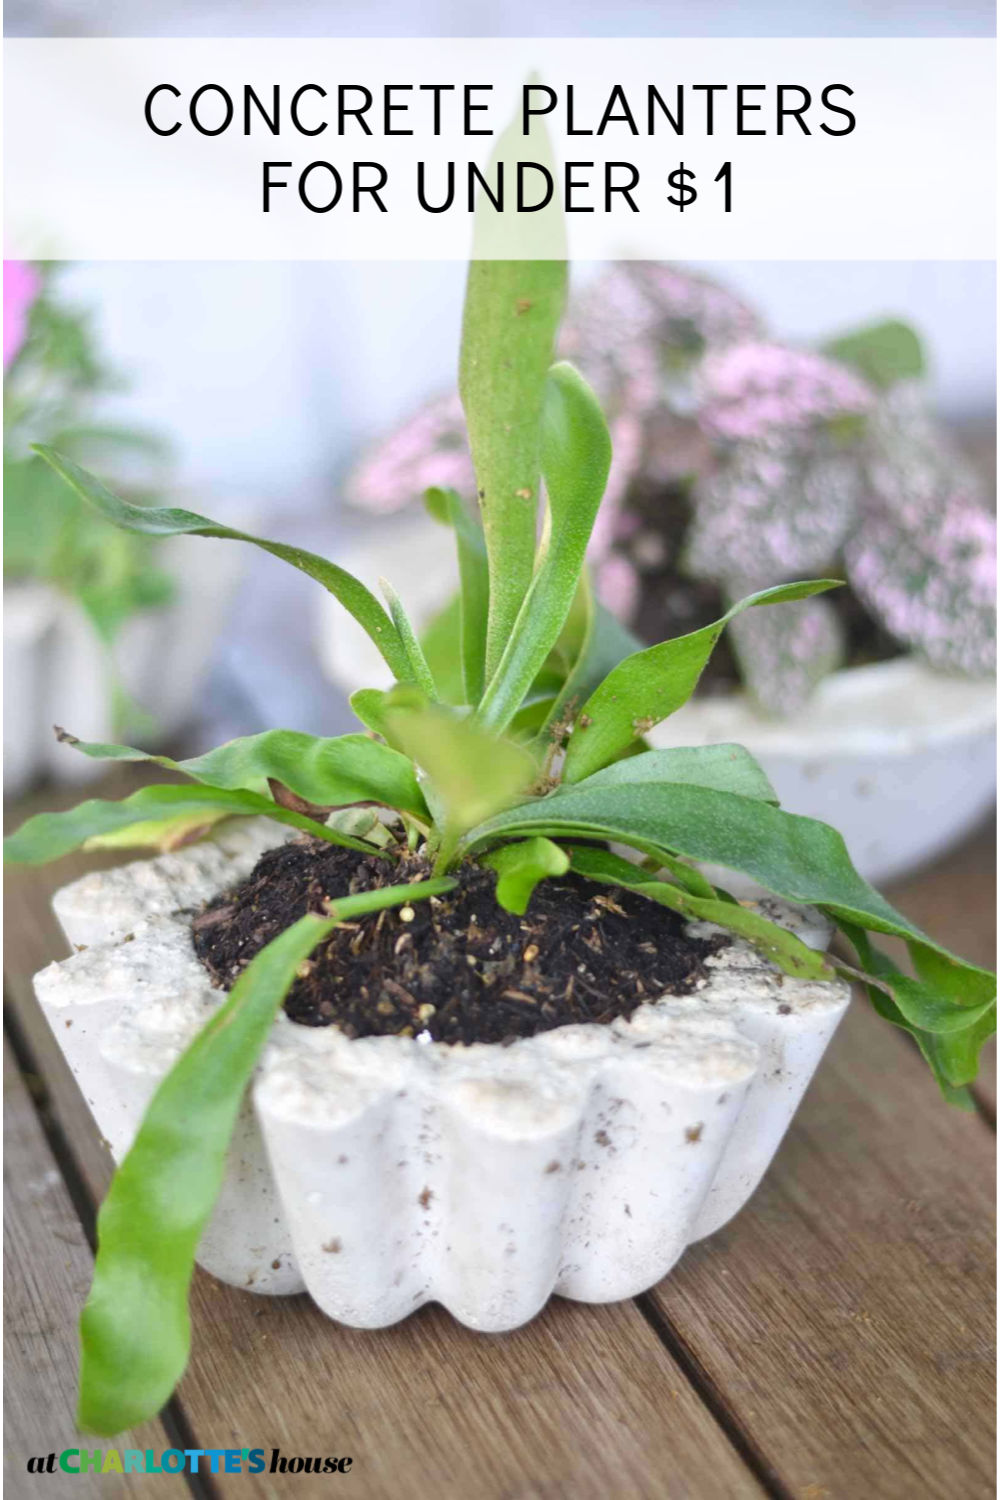
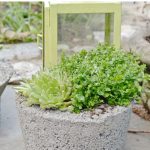
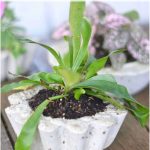
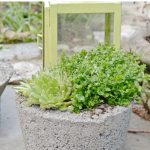
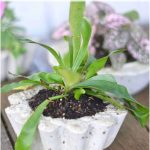
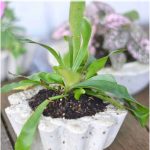
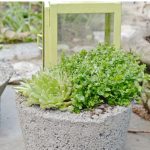
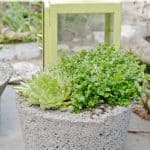
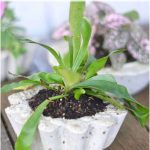
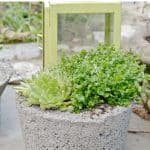
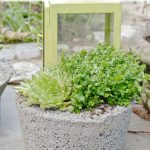
That’s it. Serrriously. The quick set concrete is ready to go in a few hours and they are SO pretty scattered on the patio table or tucked in the corner.
And now… what you’ve been waiting for. The VIDEO tutorial! If you watch, make sure you click the subscribe button on my YouTube channel- hopefully I can impress my kids one day with my massive YouTube followers.




Hi, wILL THE QUIKCRETE PLANTERS WINTER IN COLD CLIMATES? i MAKE hYPERTUFA WITH CEMENT-PERLITE& PEATMOSS. mY PLANTERS WINTER IN VERY COLD EASTERN OREGON. tHANKS, DEB
Mine have! We live in Connecticut and I never do anything to them over the winter!
This fountain looks fancy, but you can make it yourself using cheap items from a thrift shop. Depending on what found items you use, your fountain will have its own unique look.