
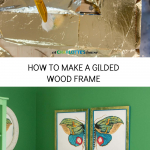
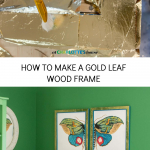
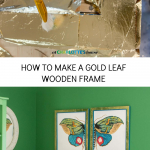
DIY Gold Leaf Wooden Frame
Psssst… this post *might* contain affiliate links: see my disclosure here.
DIY Gilded Wood Frame
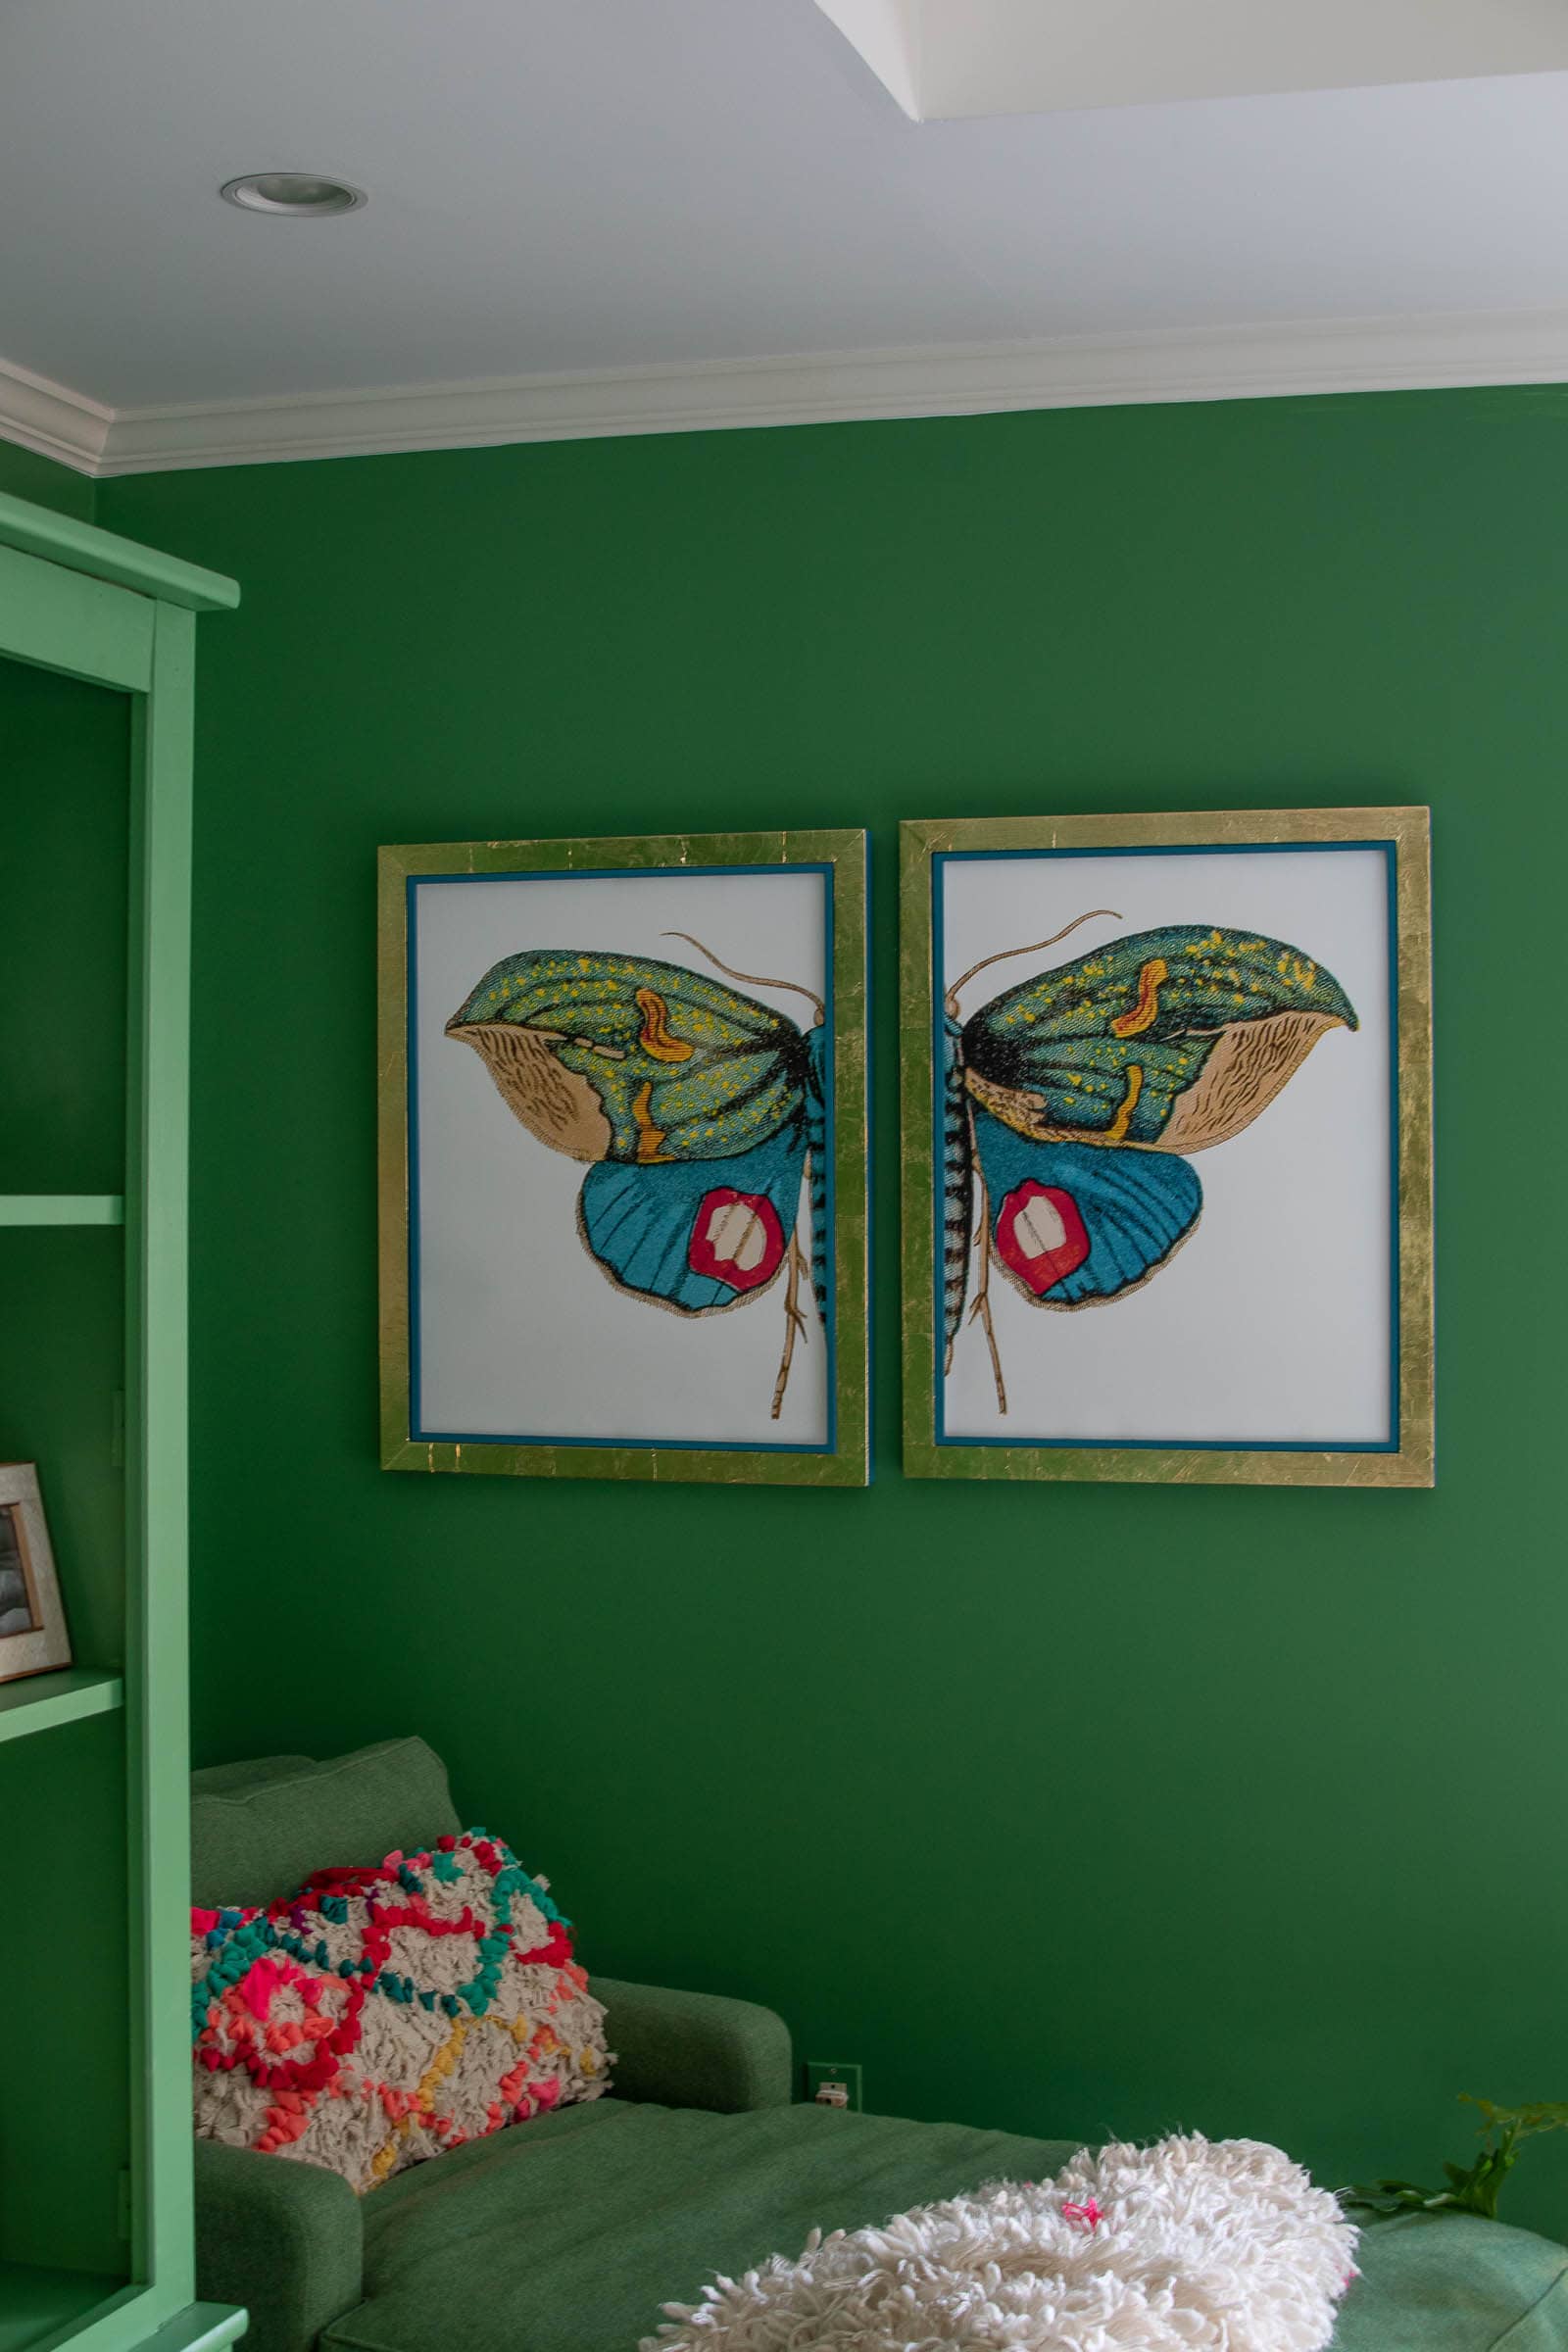
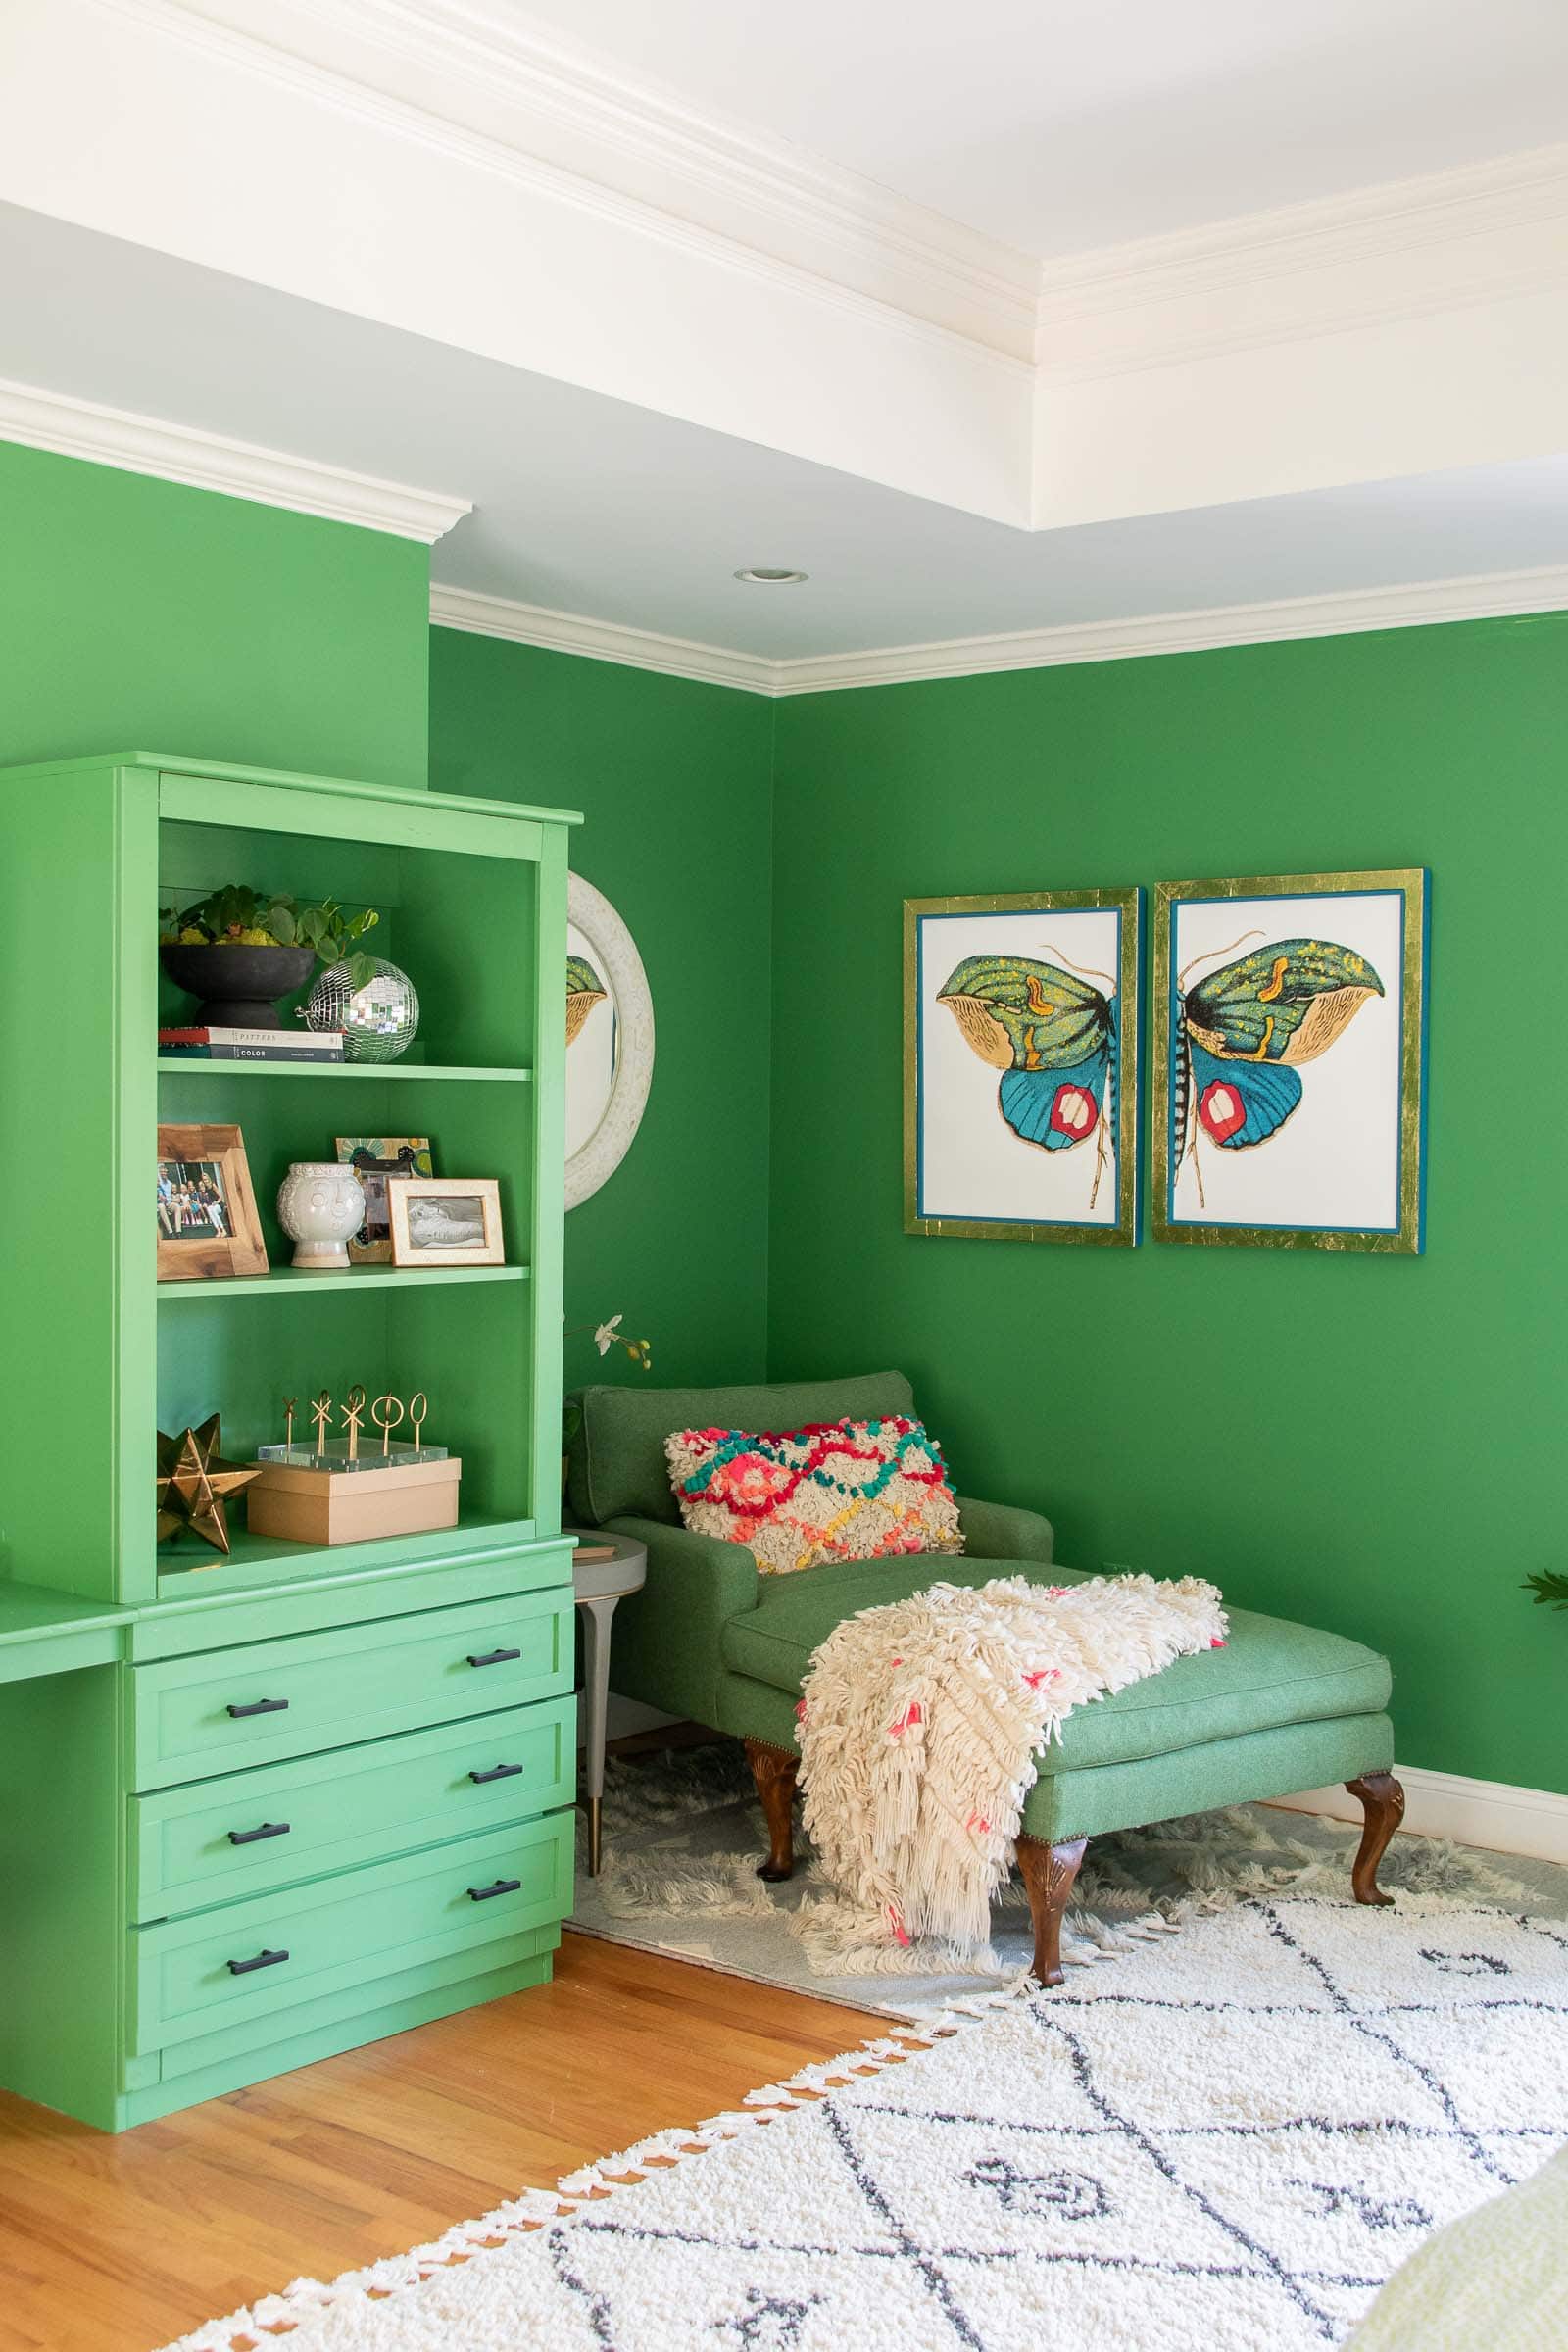
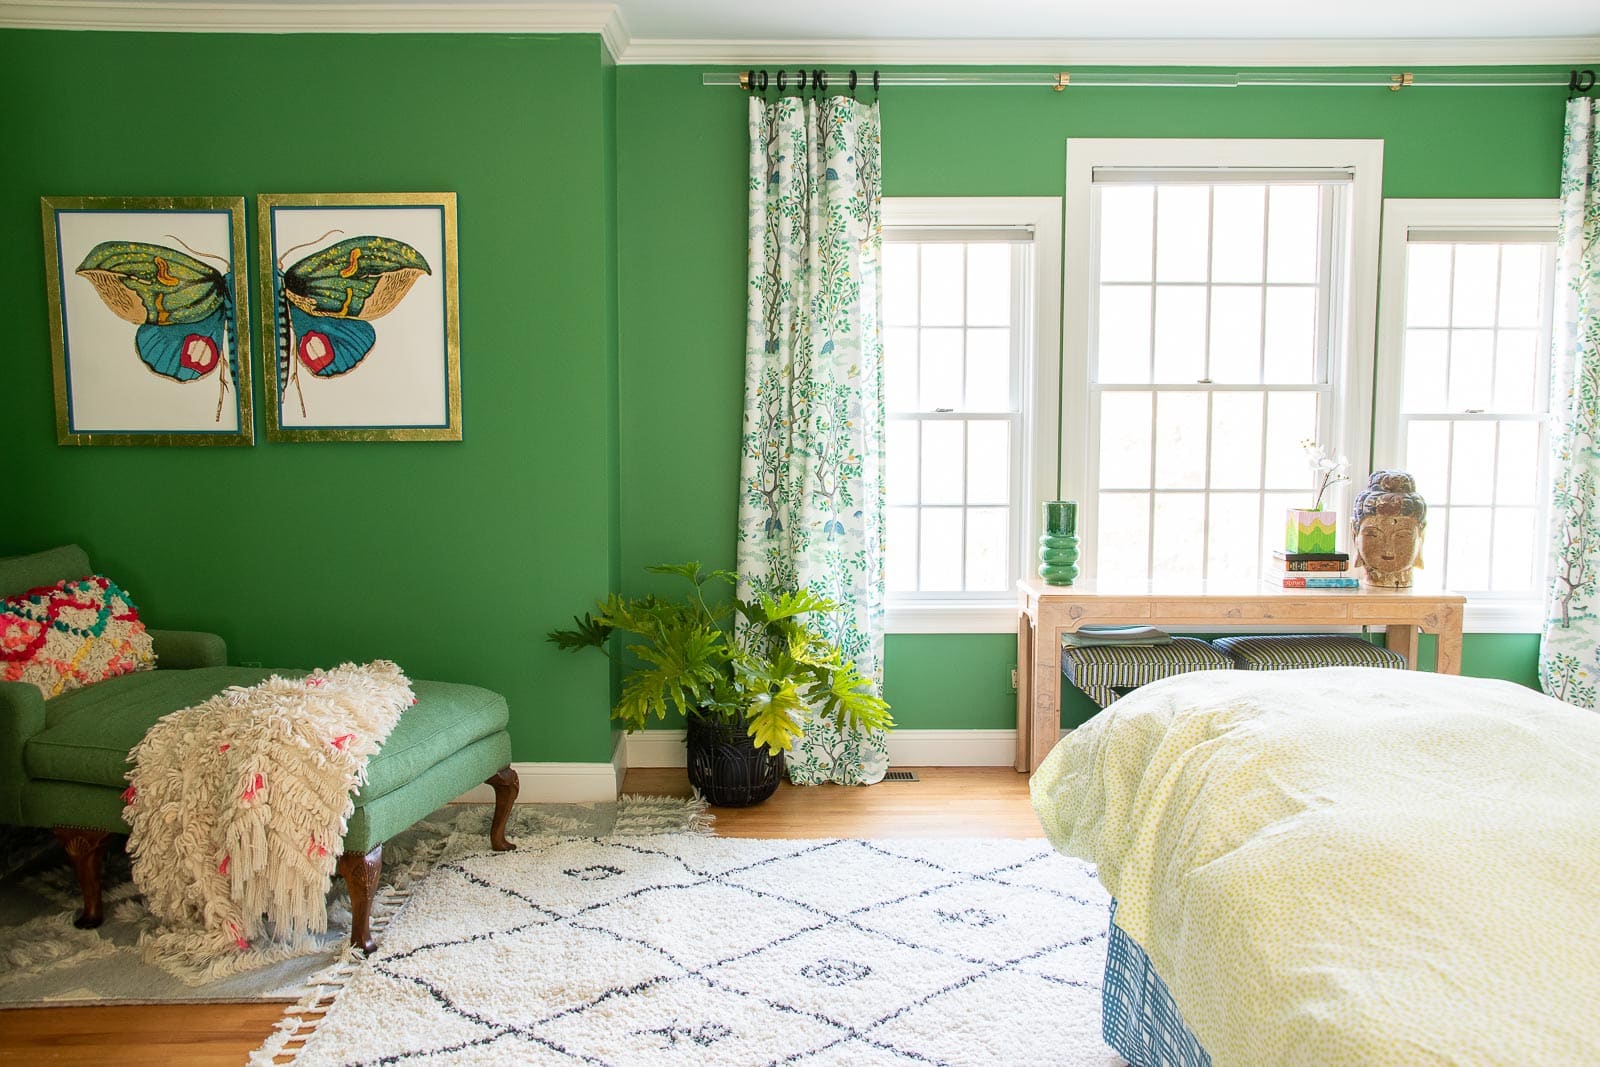
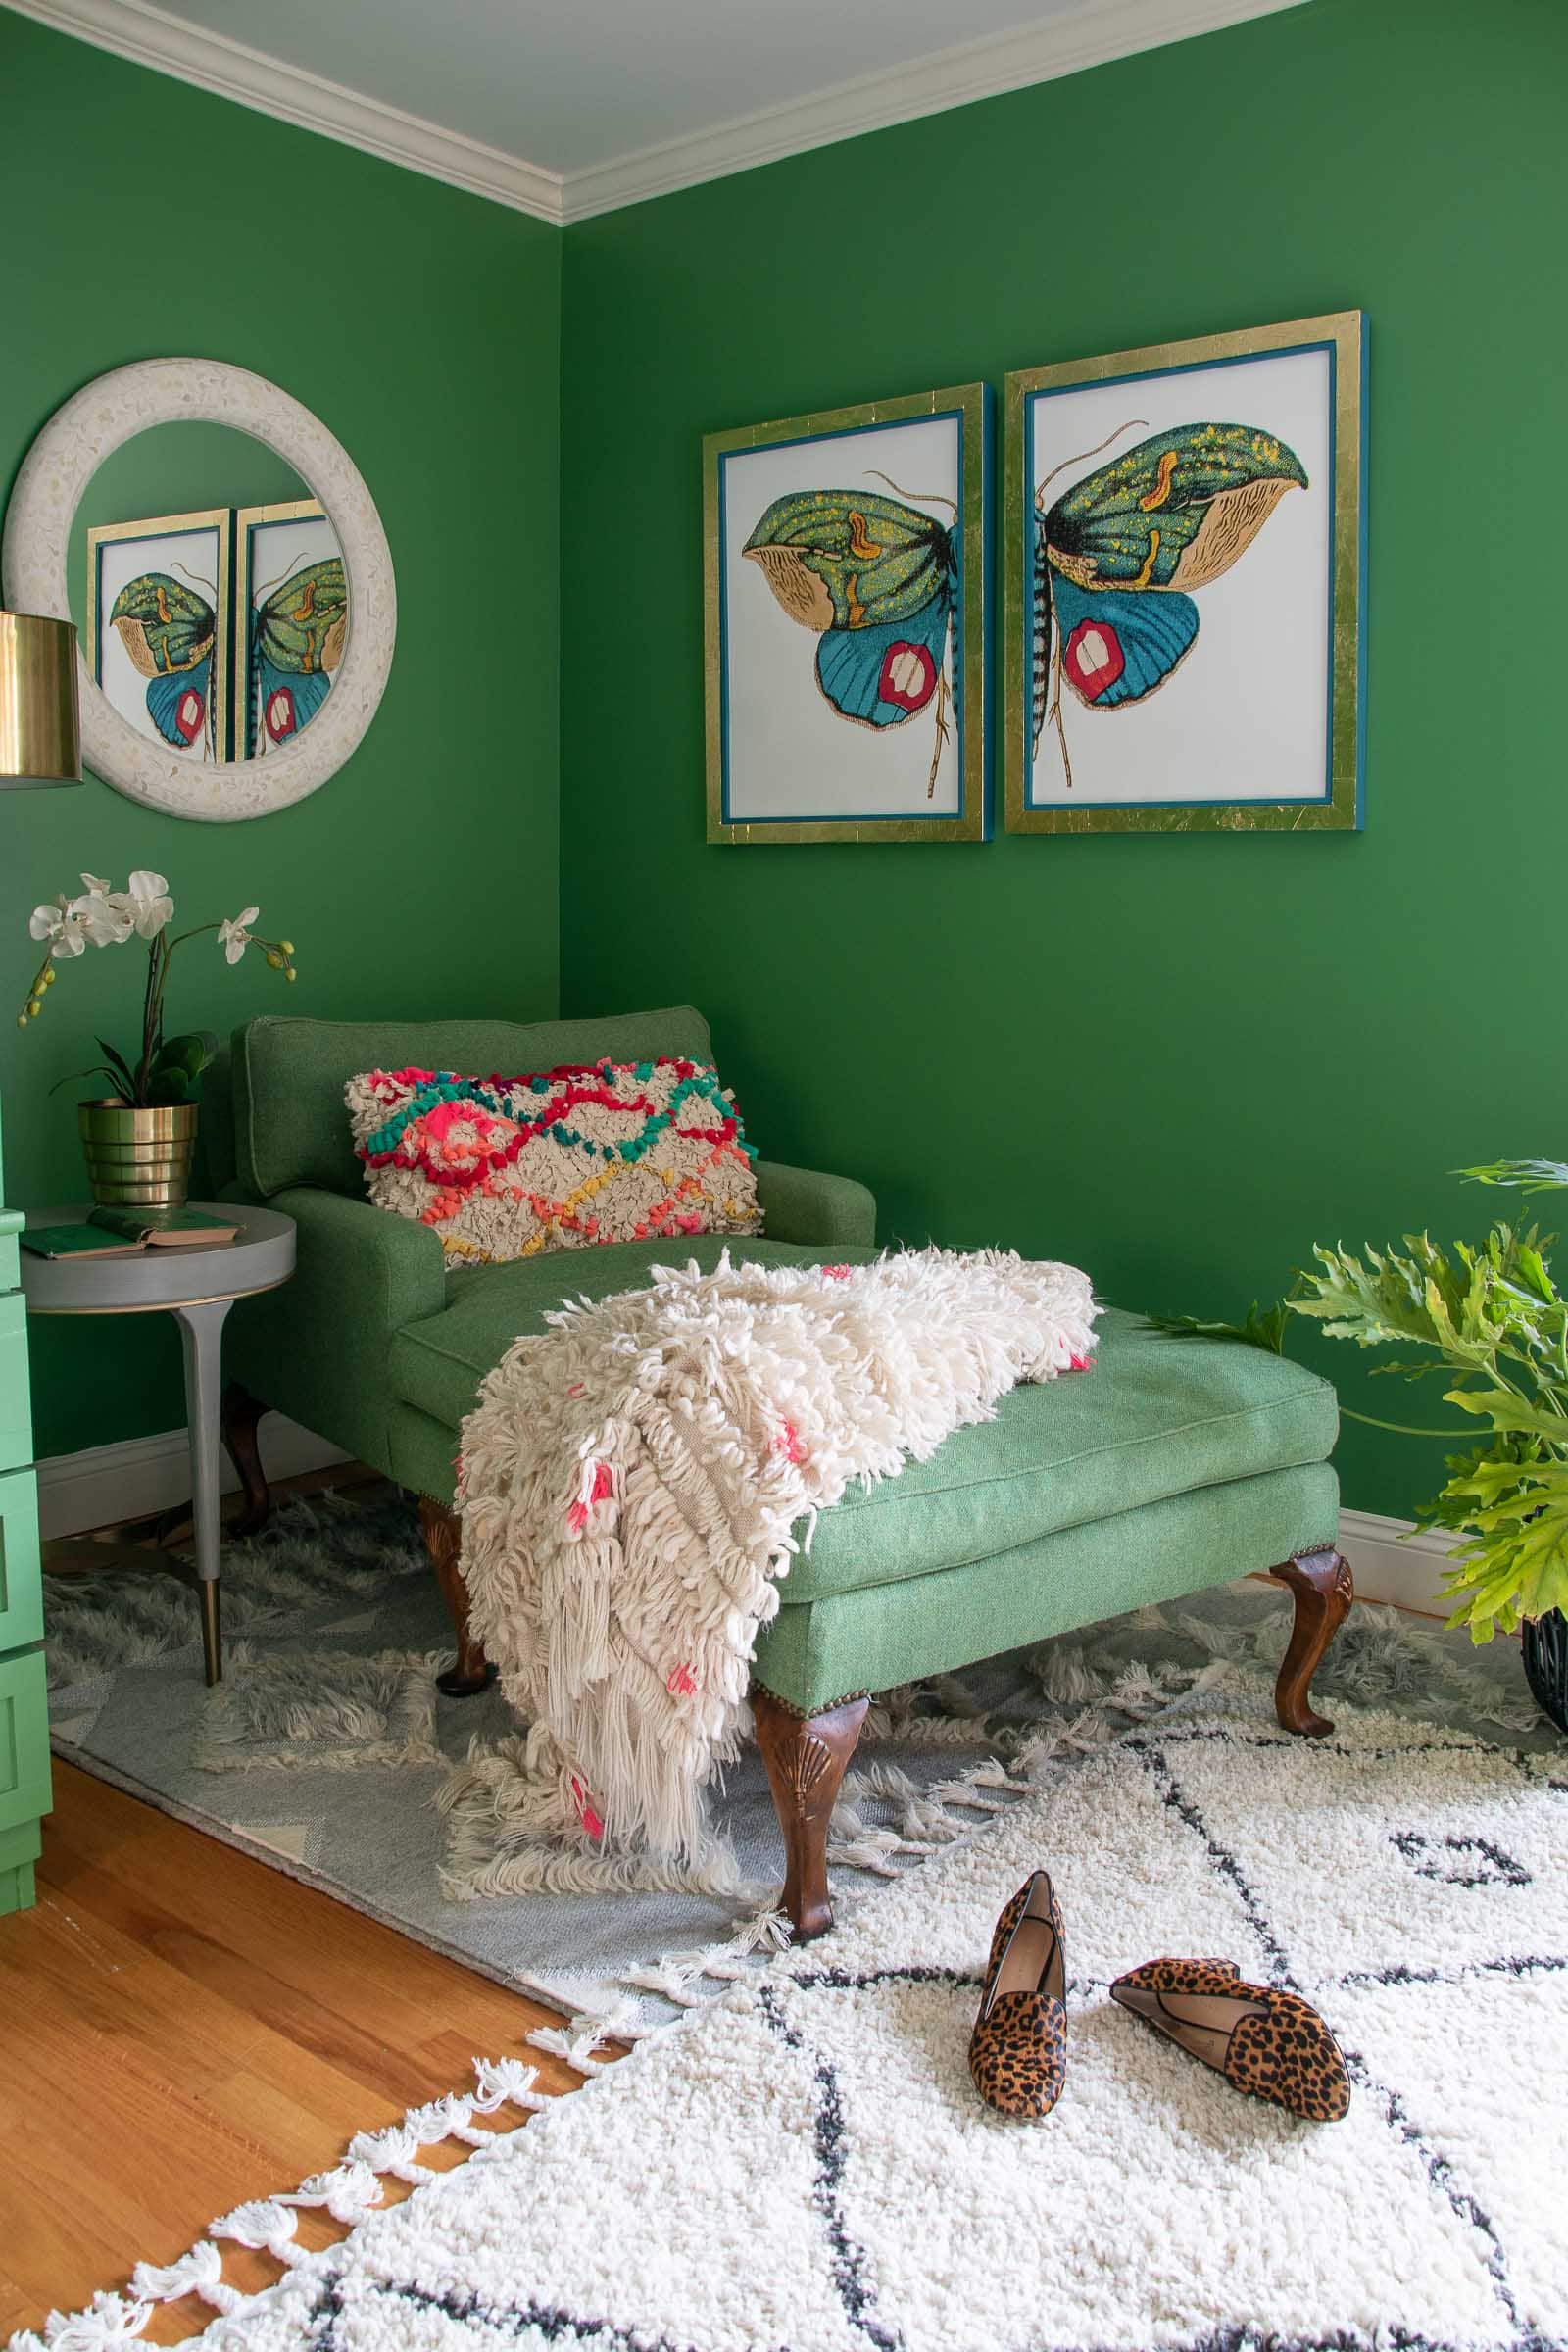
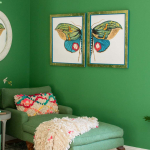
I made my own wooden frame for these forest moth prints and added gold leaf for a finishing touch.
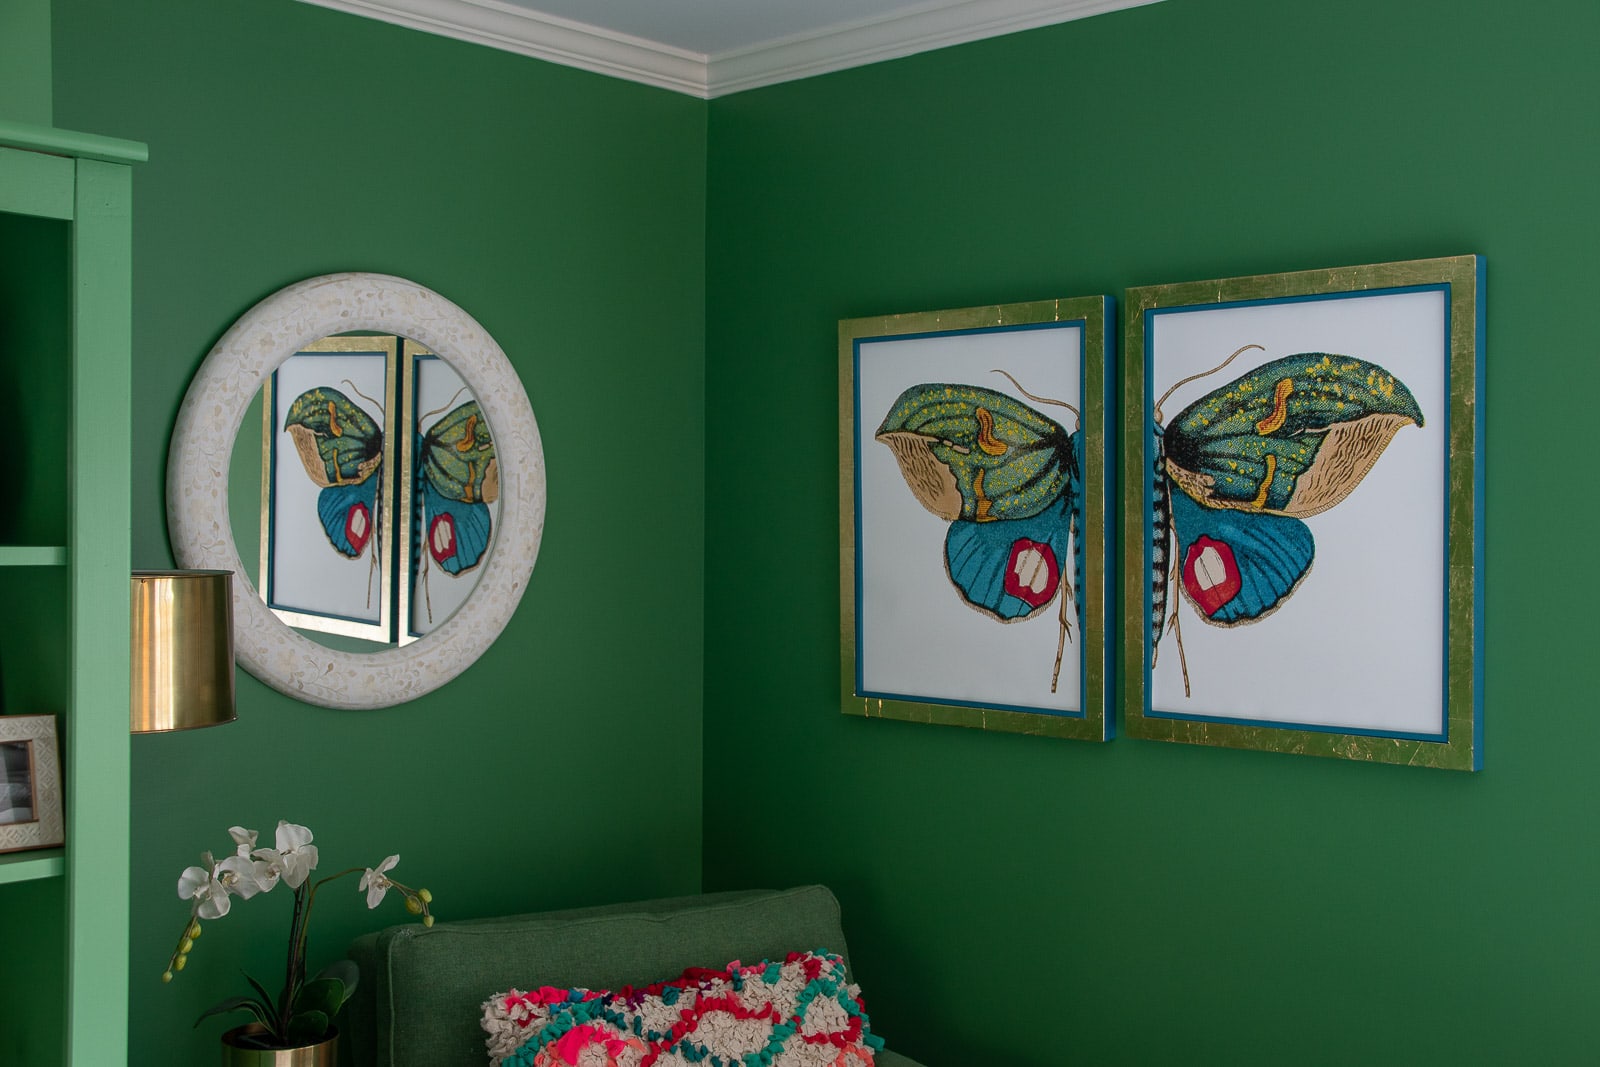
I’ve been eyeing one of these amazing diptychs from Urban Garden Prints for ages. I loved the color and the design of two frames for one image and when I redid the bedroom, I finally had the right wall. The website sells frames, but I wanted something a bit bulkier for our bedroom so I decided to challenge myself and try to figure out a DIY version. My two parameters was that the frame was the right proportion, so a little chunky, but I also wanted one that would allow me to preserve the prints… i.e. I didn’t want to just GLUE the prints onto a piece of hard board or something. I feel like I raced through this project a bit down in my garage so apologies if the step out photos are confusing… leave me a comment if you have any questions.
Shop my favorites!
Step 1. Build a basic base
I used 1x3s to build the base of the frame. I didn’t bother to miter the corners because you won’t see them, but I made sure this frame was about 2-inches wider on both dimensions than the moth print. Because the corners weren’t mitered, it was easy to use pocket holes and a bit of wood glue to assemble. Sand smooth.
Step 2. Add a frame to the base
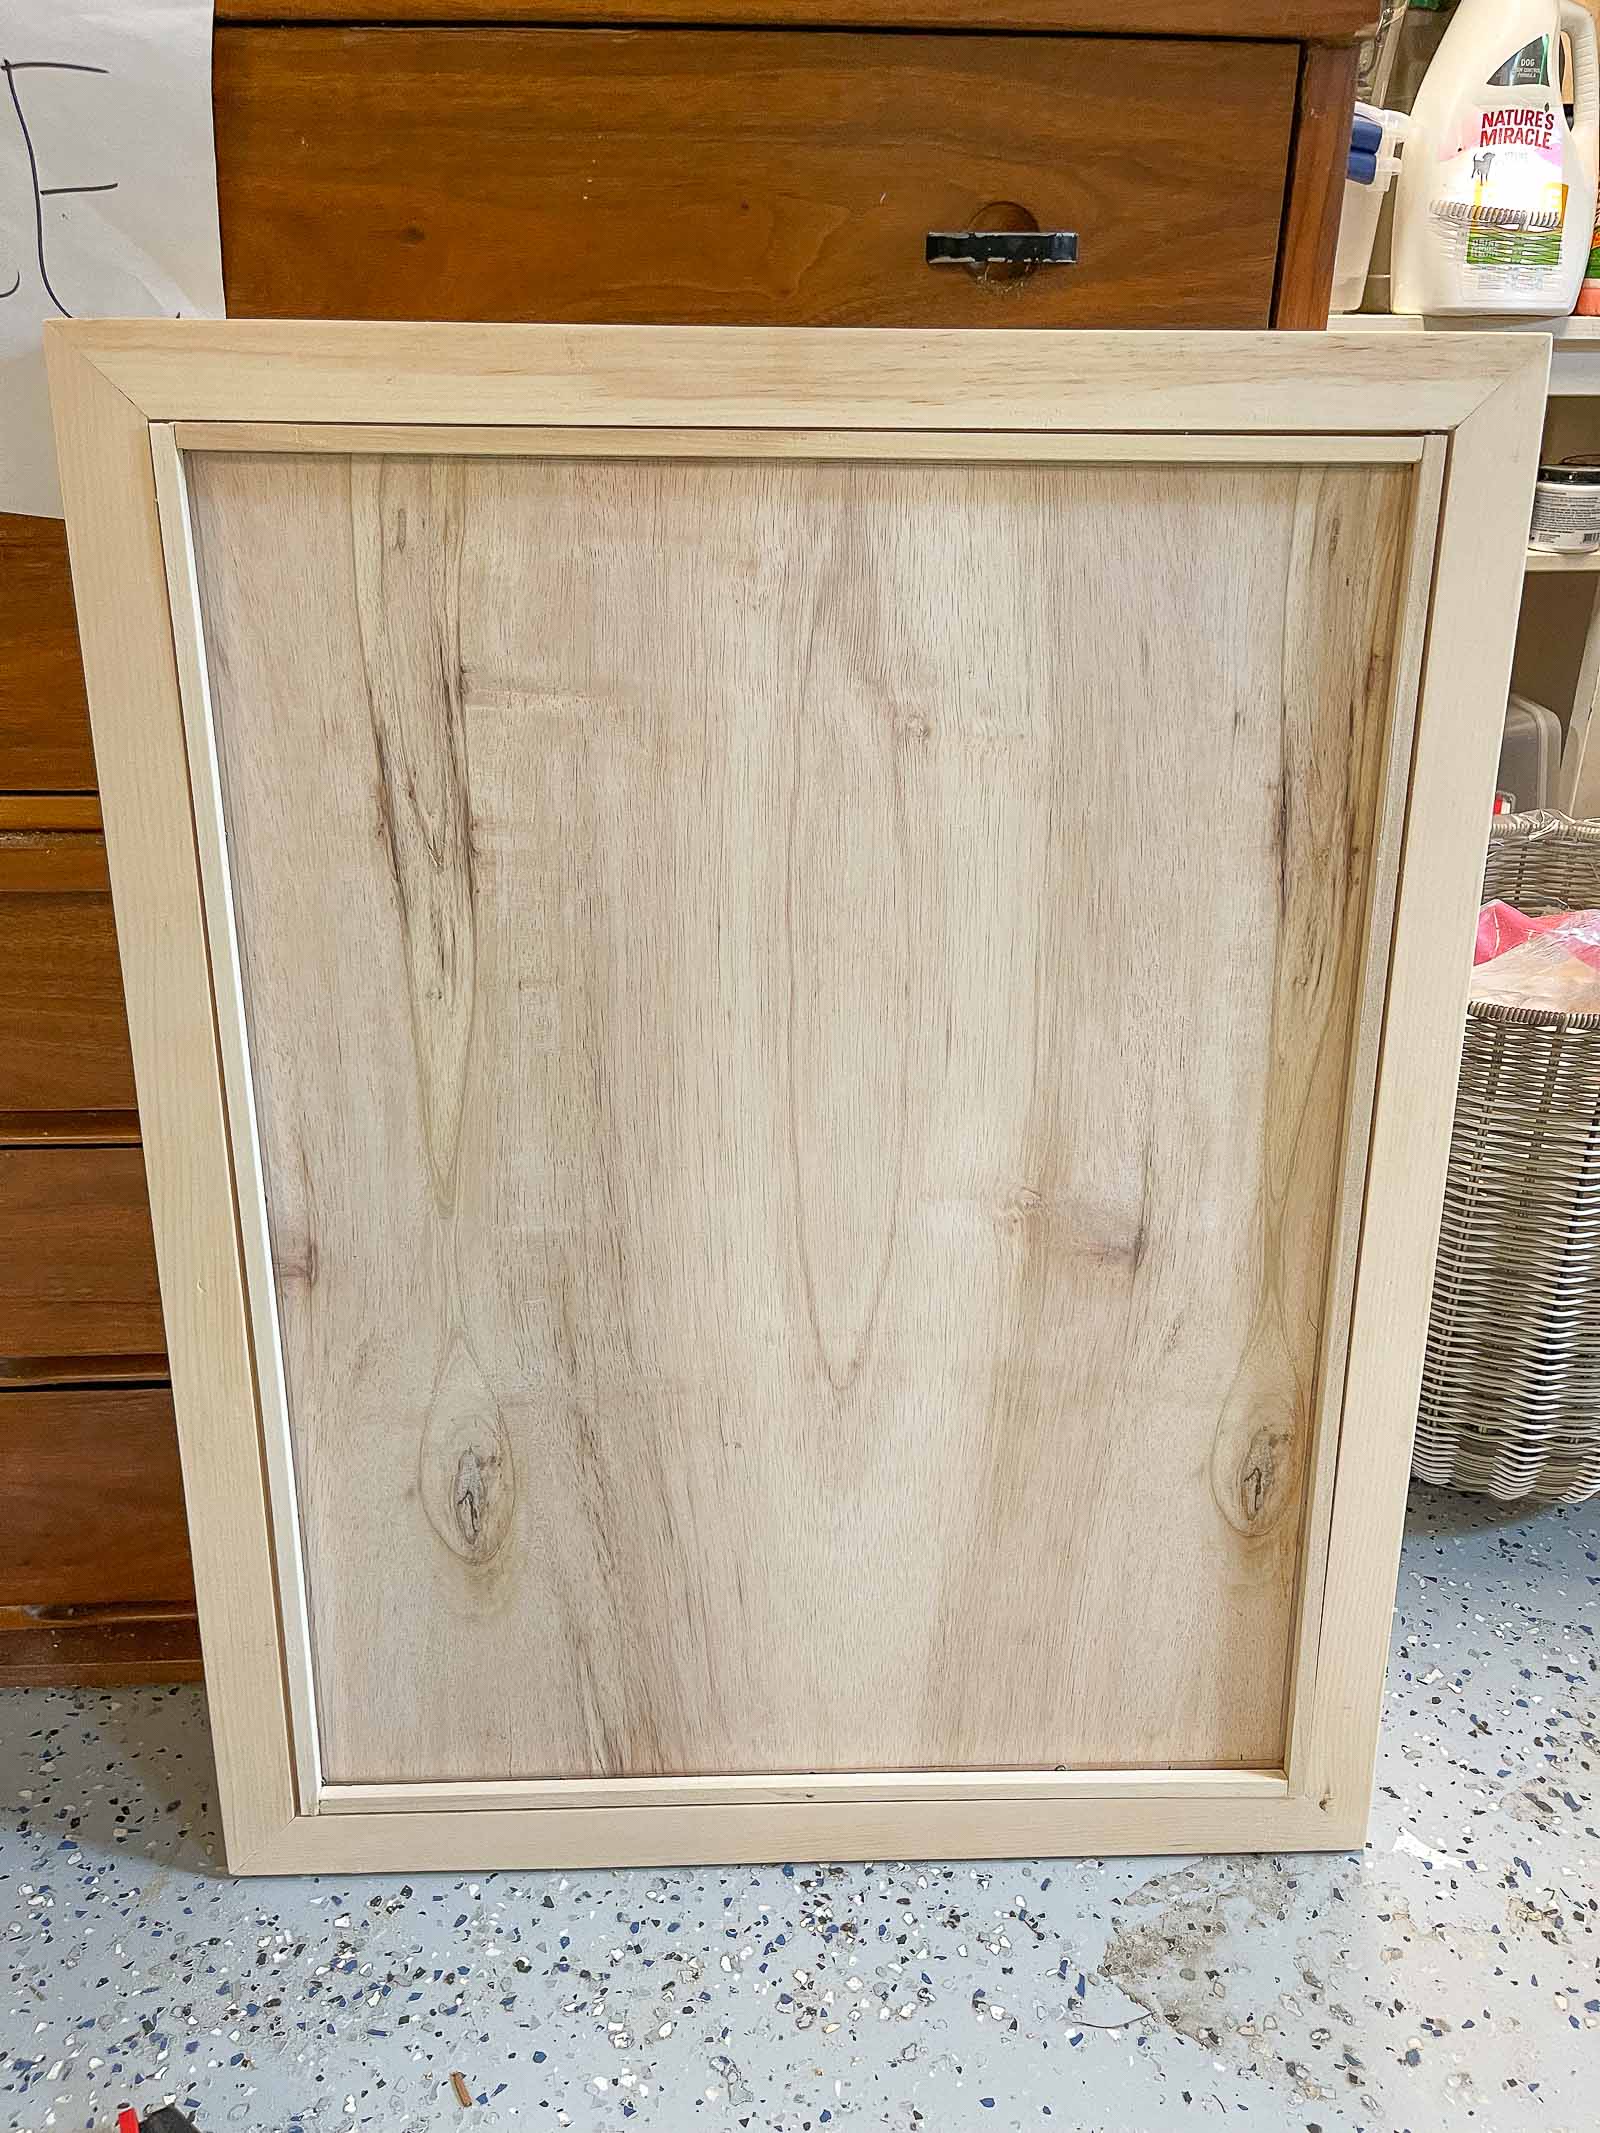
Next was to add the actual frame to the front. I used 1x2s for this and I DID miter the corners. I kept it simple and used wood glue/ clamps to attach the frame. Make sure you line up the outer edges perfectly. Again, sand smooth.
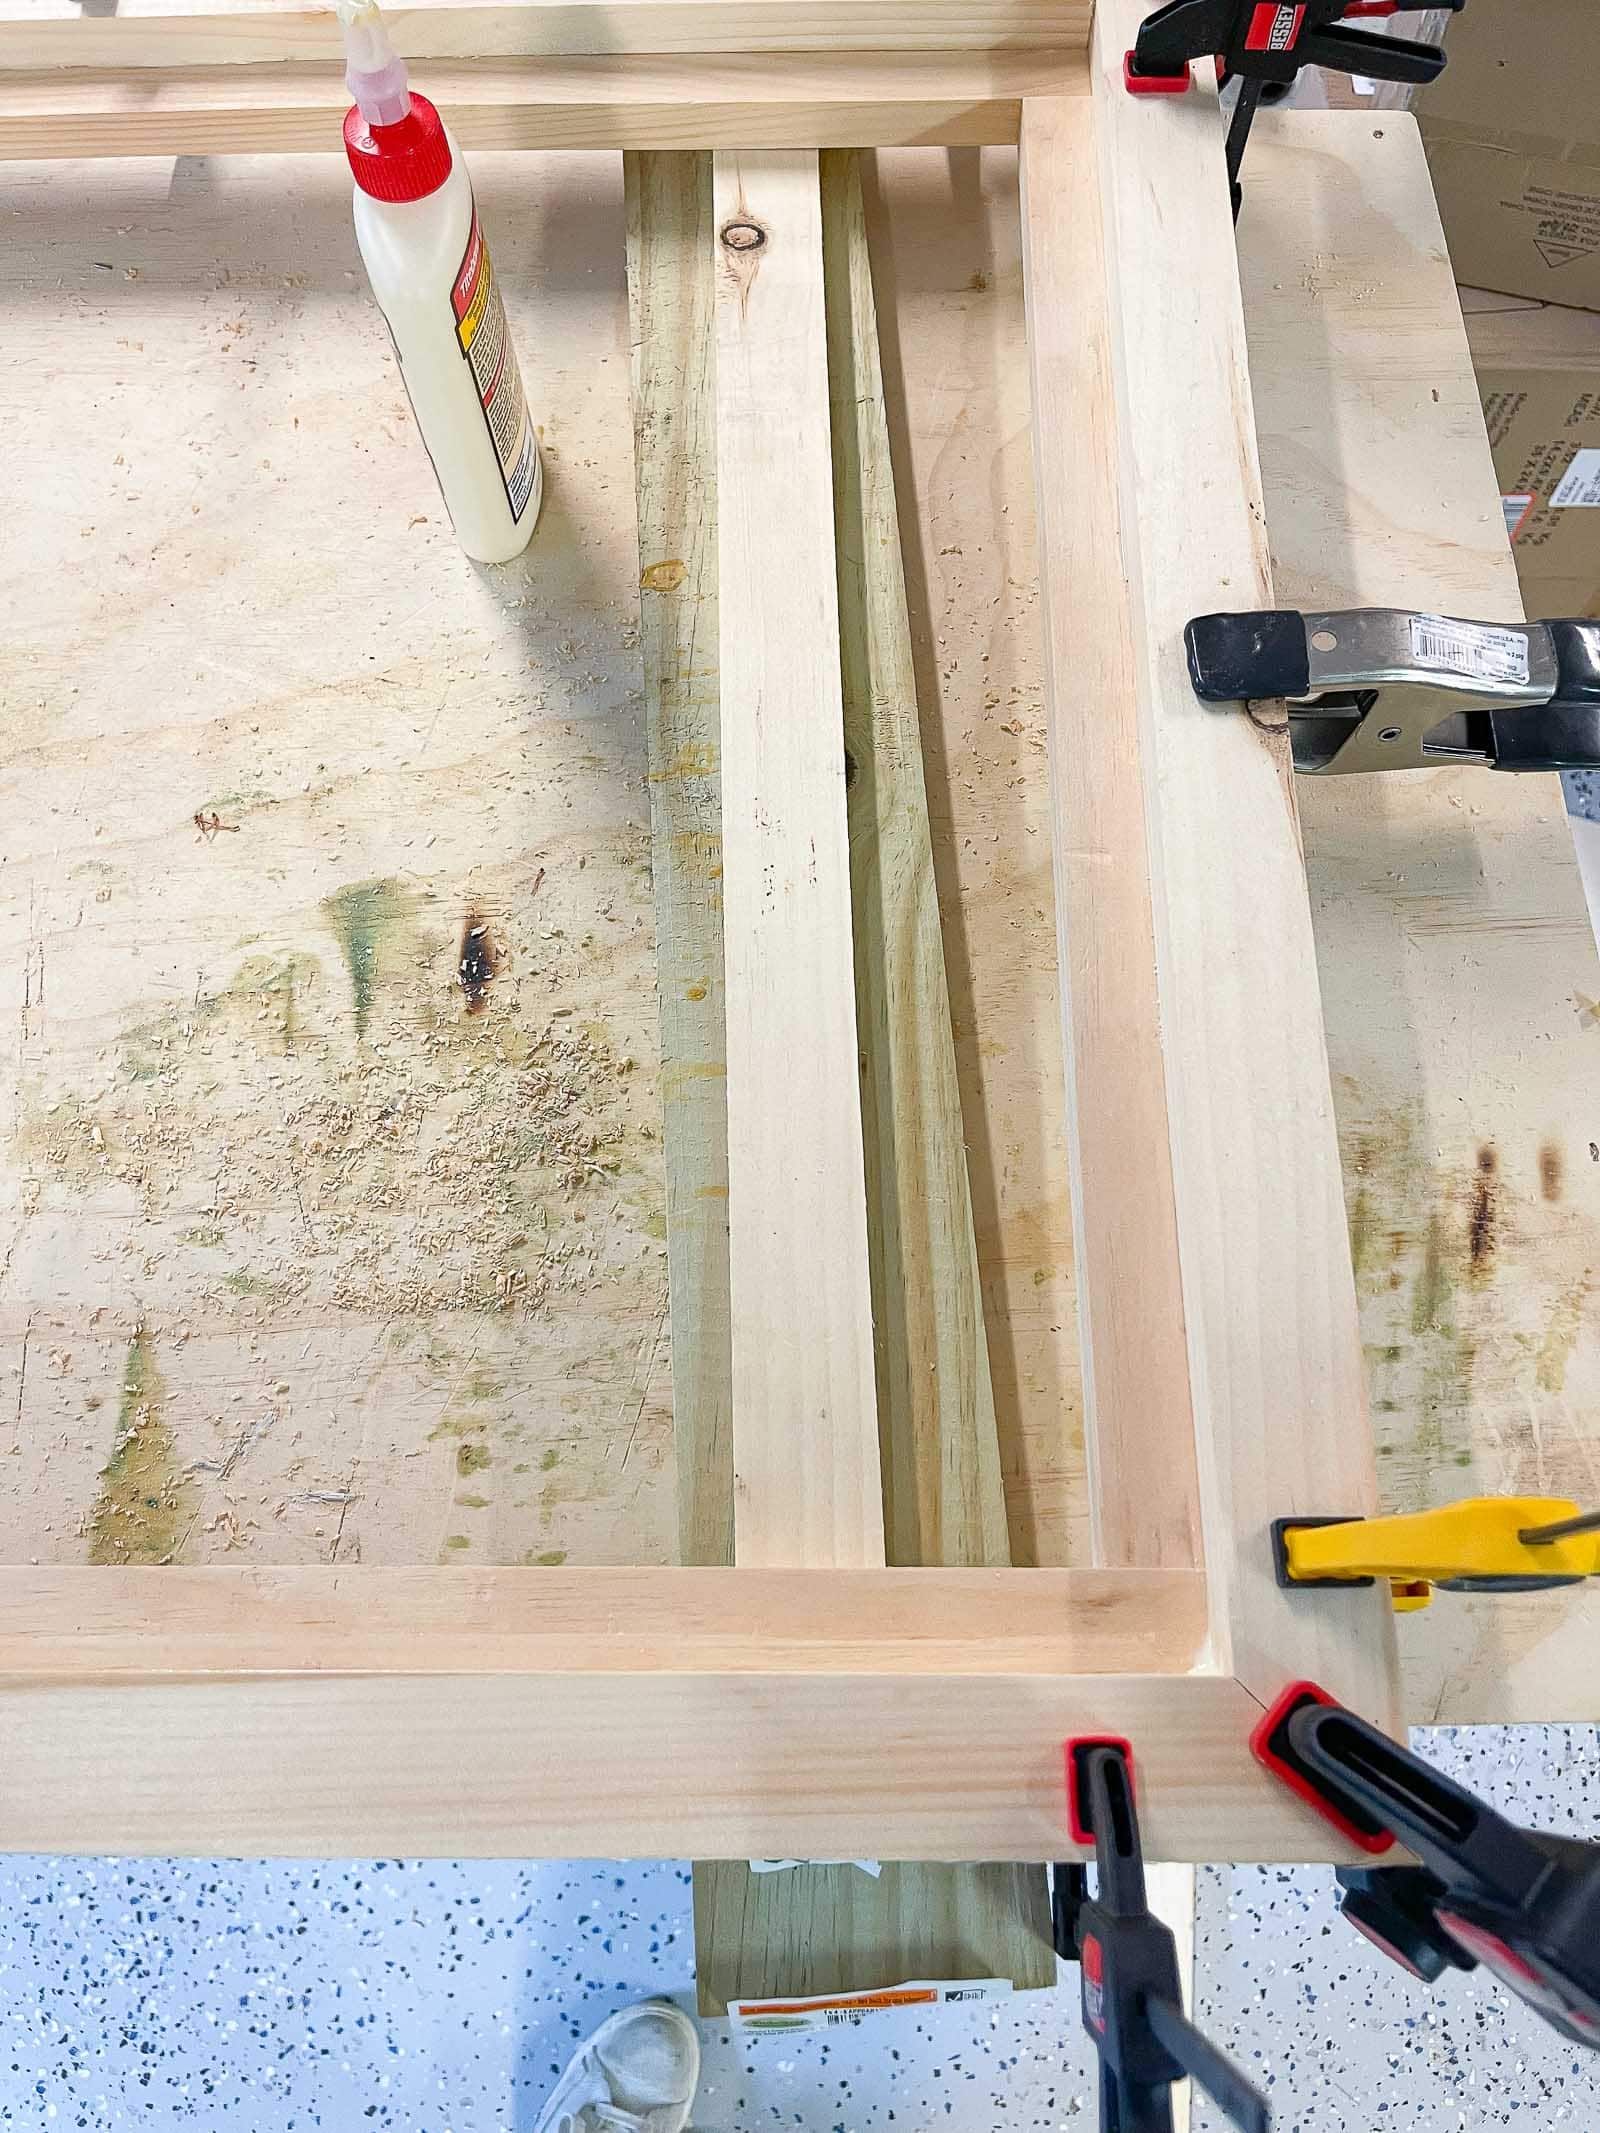

Step 3. Attach the backer board
I needed something rigid to support the print, so I cut a piece of underlayment I had on hand (hardboard would work just as well!). I tried to cut it so fit as snug as possible inside the mitered frame. I used wood glue and my brad nailed to hold the backer board in place. (The magnetic frame described below is already in place here because I forgot to take a picture without it!)
Step 3. Build the Magnetic Frame
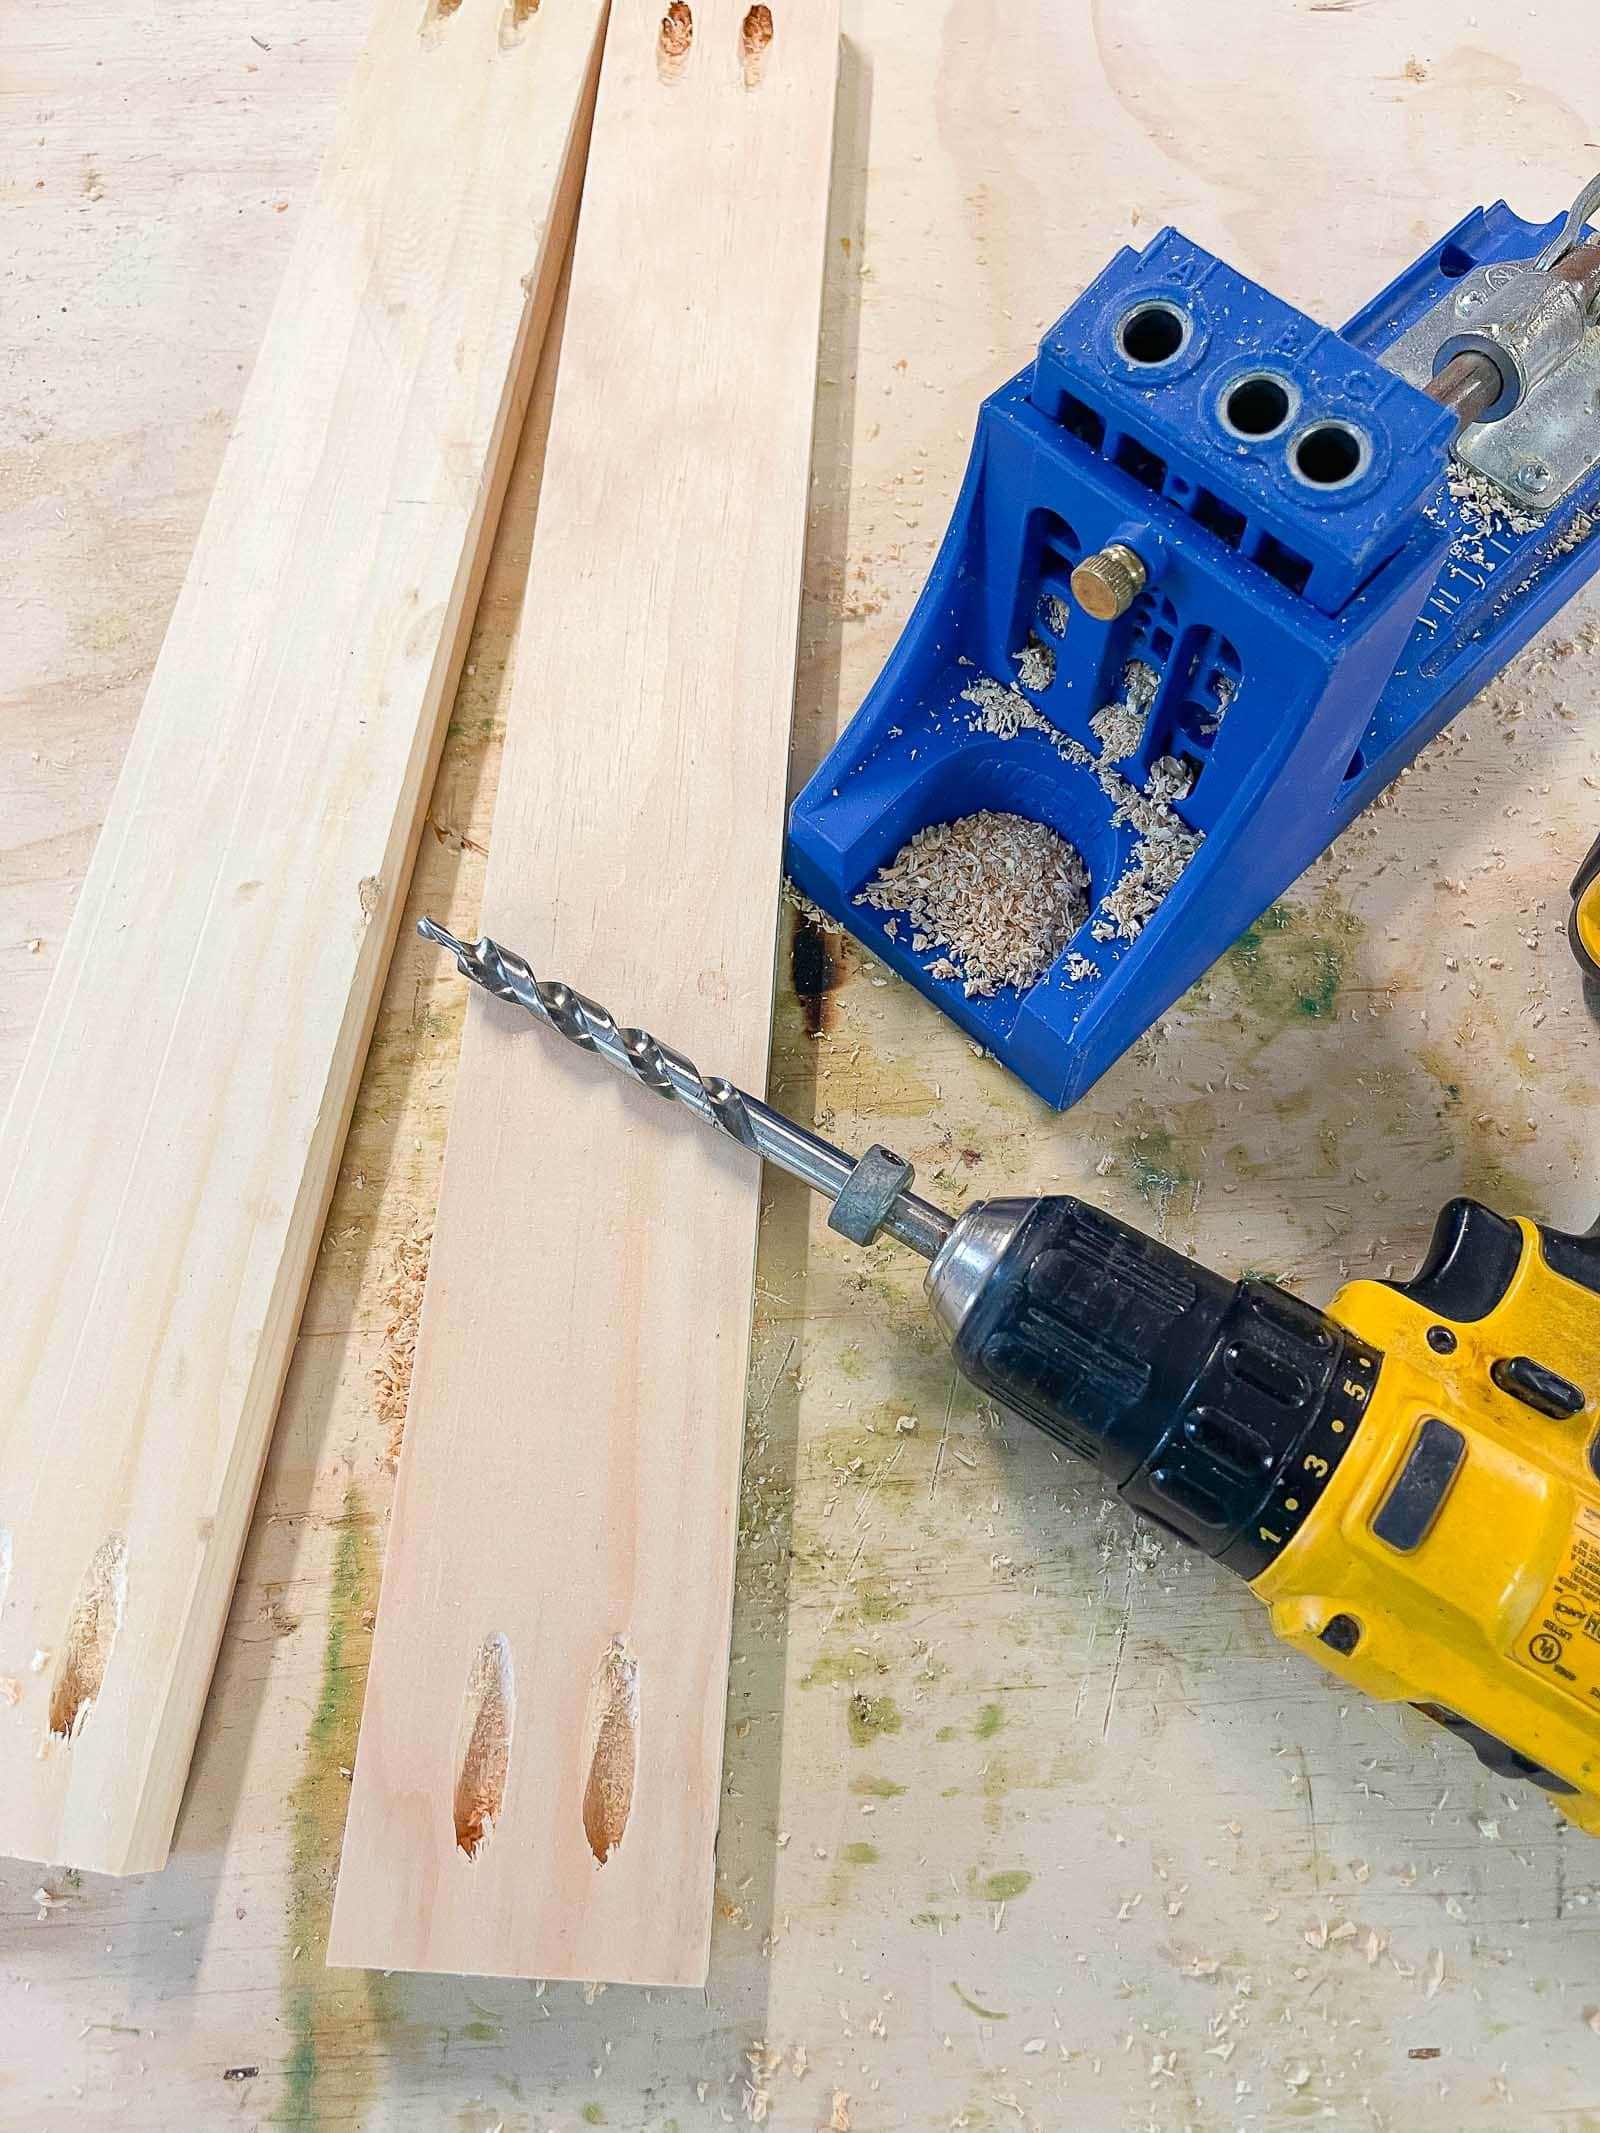
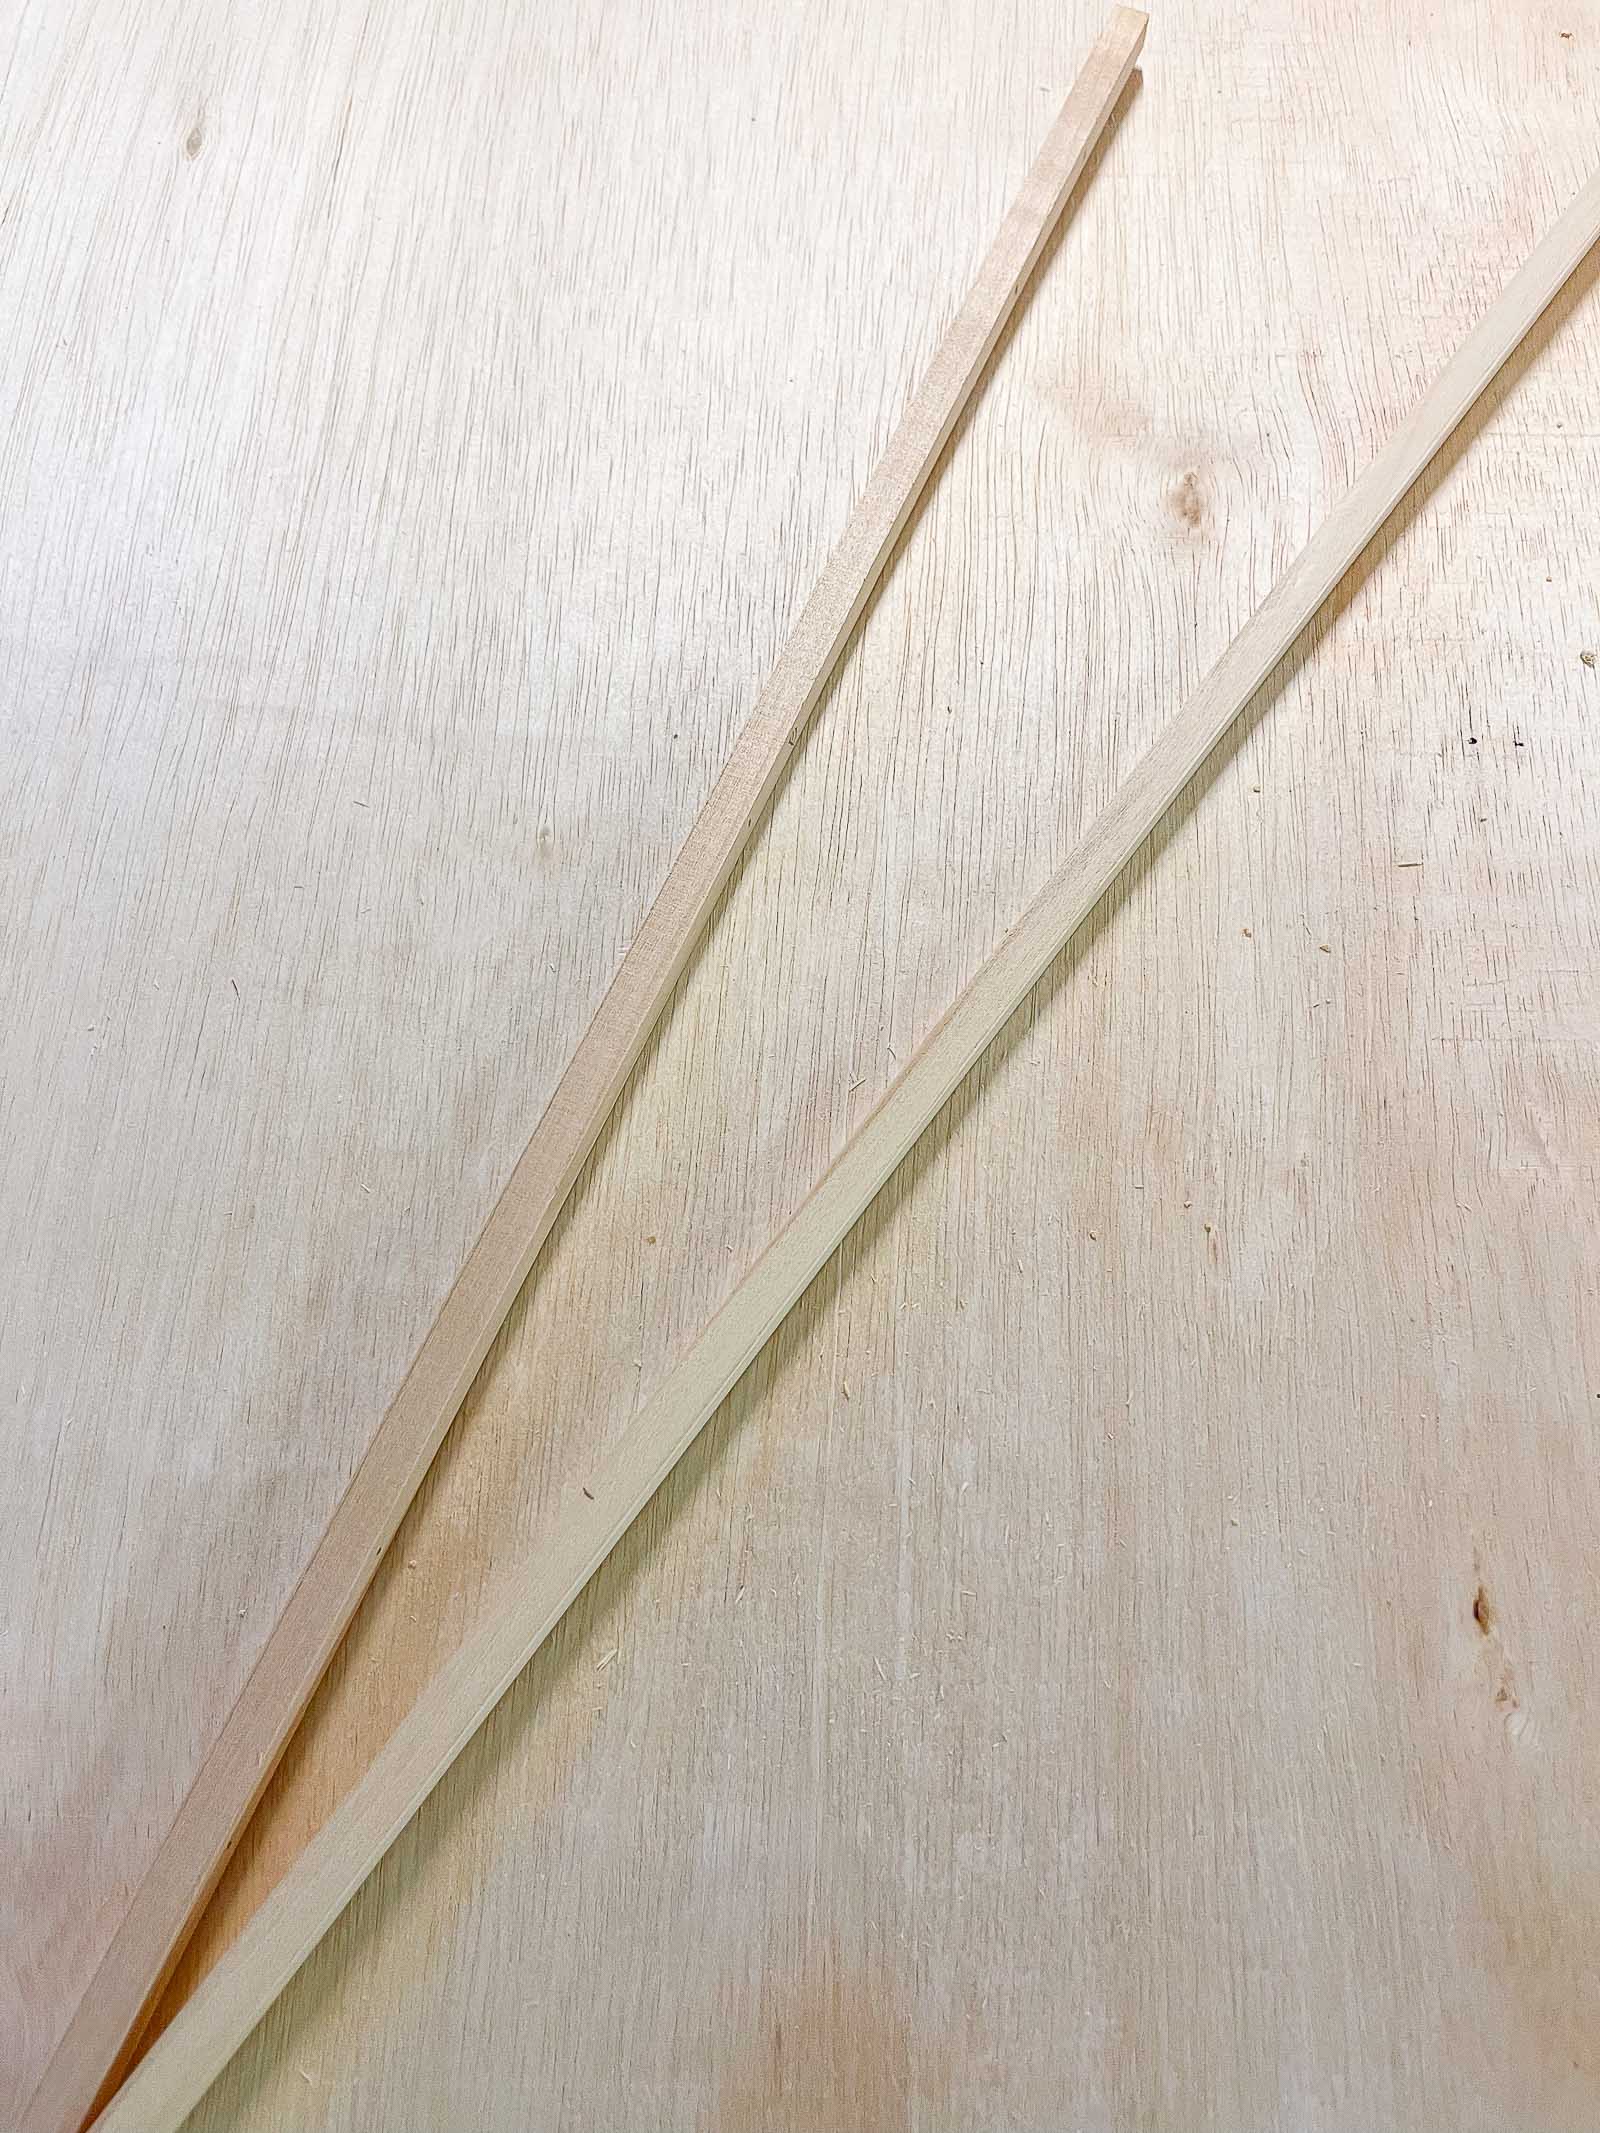
This step is what makes this frame unique… I wanted a way to easily display art without having to glue the art in place OR use glass/ acrylic which would have raised the cost quite a bit. I wanted to built a small piece of trim that would magnetically hold my print in place. This meant figuring out a way to add a magnet to the frame BEHIND the print as well a onto the small trim that would then sit on TOP of the print. I’m using these square dowels so first thing to do was to cut them to size so they would fit tight inside the outer frame. I measured along the edge of the dowels and marked every 6 inches or so. This next step is VERY important… mark the underlayment/ backerboard on the frame at exactly the same spot as your dowel marks. I didn’t glue my dowels into a frame right away but dry fit them to help make sure your’e marking the dowels and the backerboard identically.
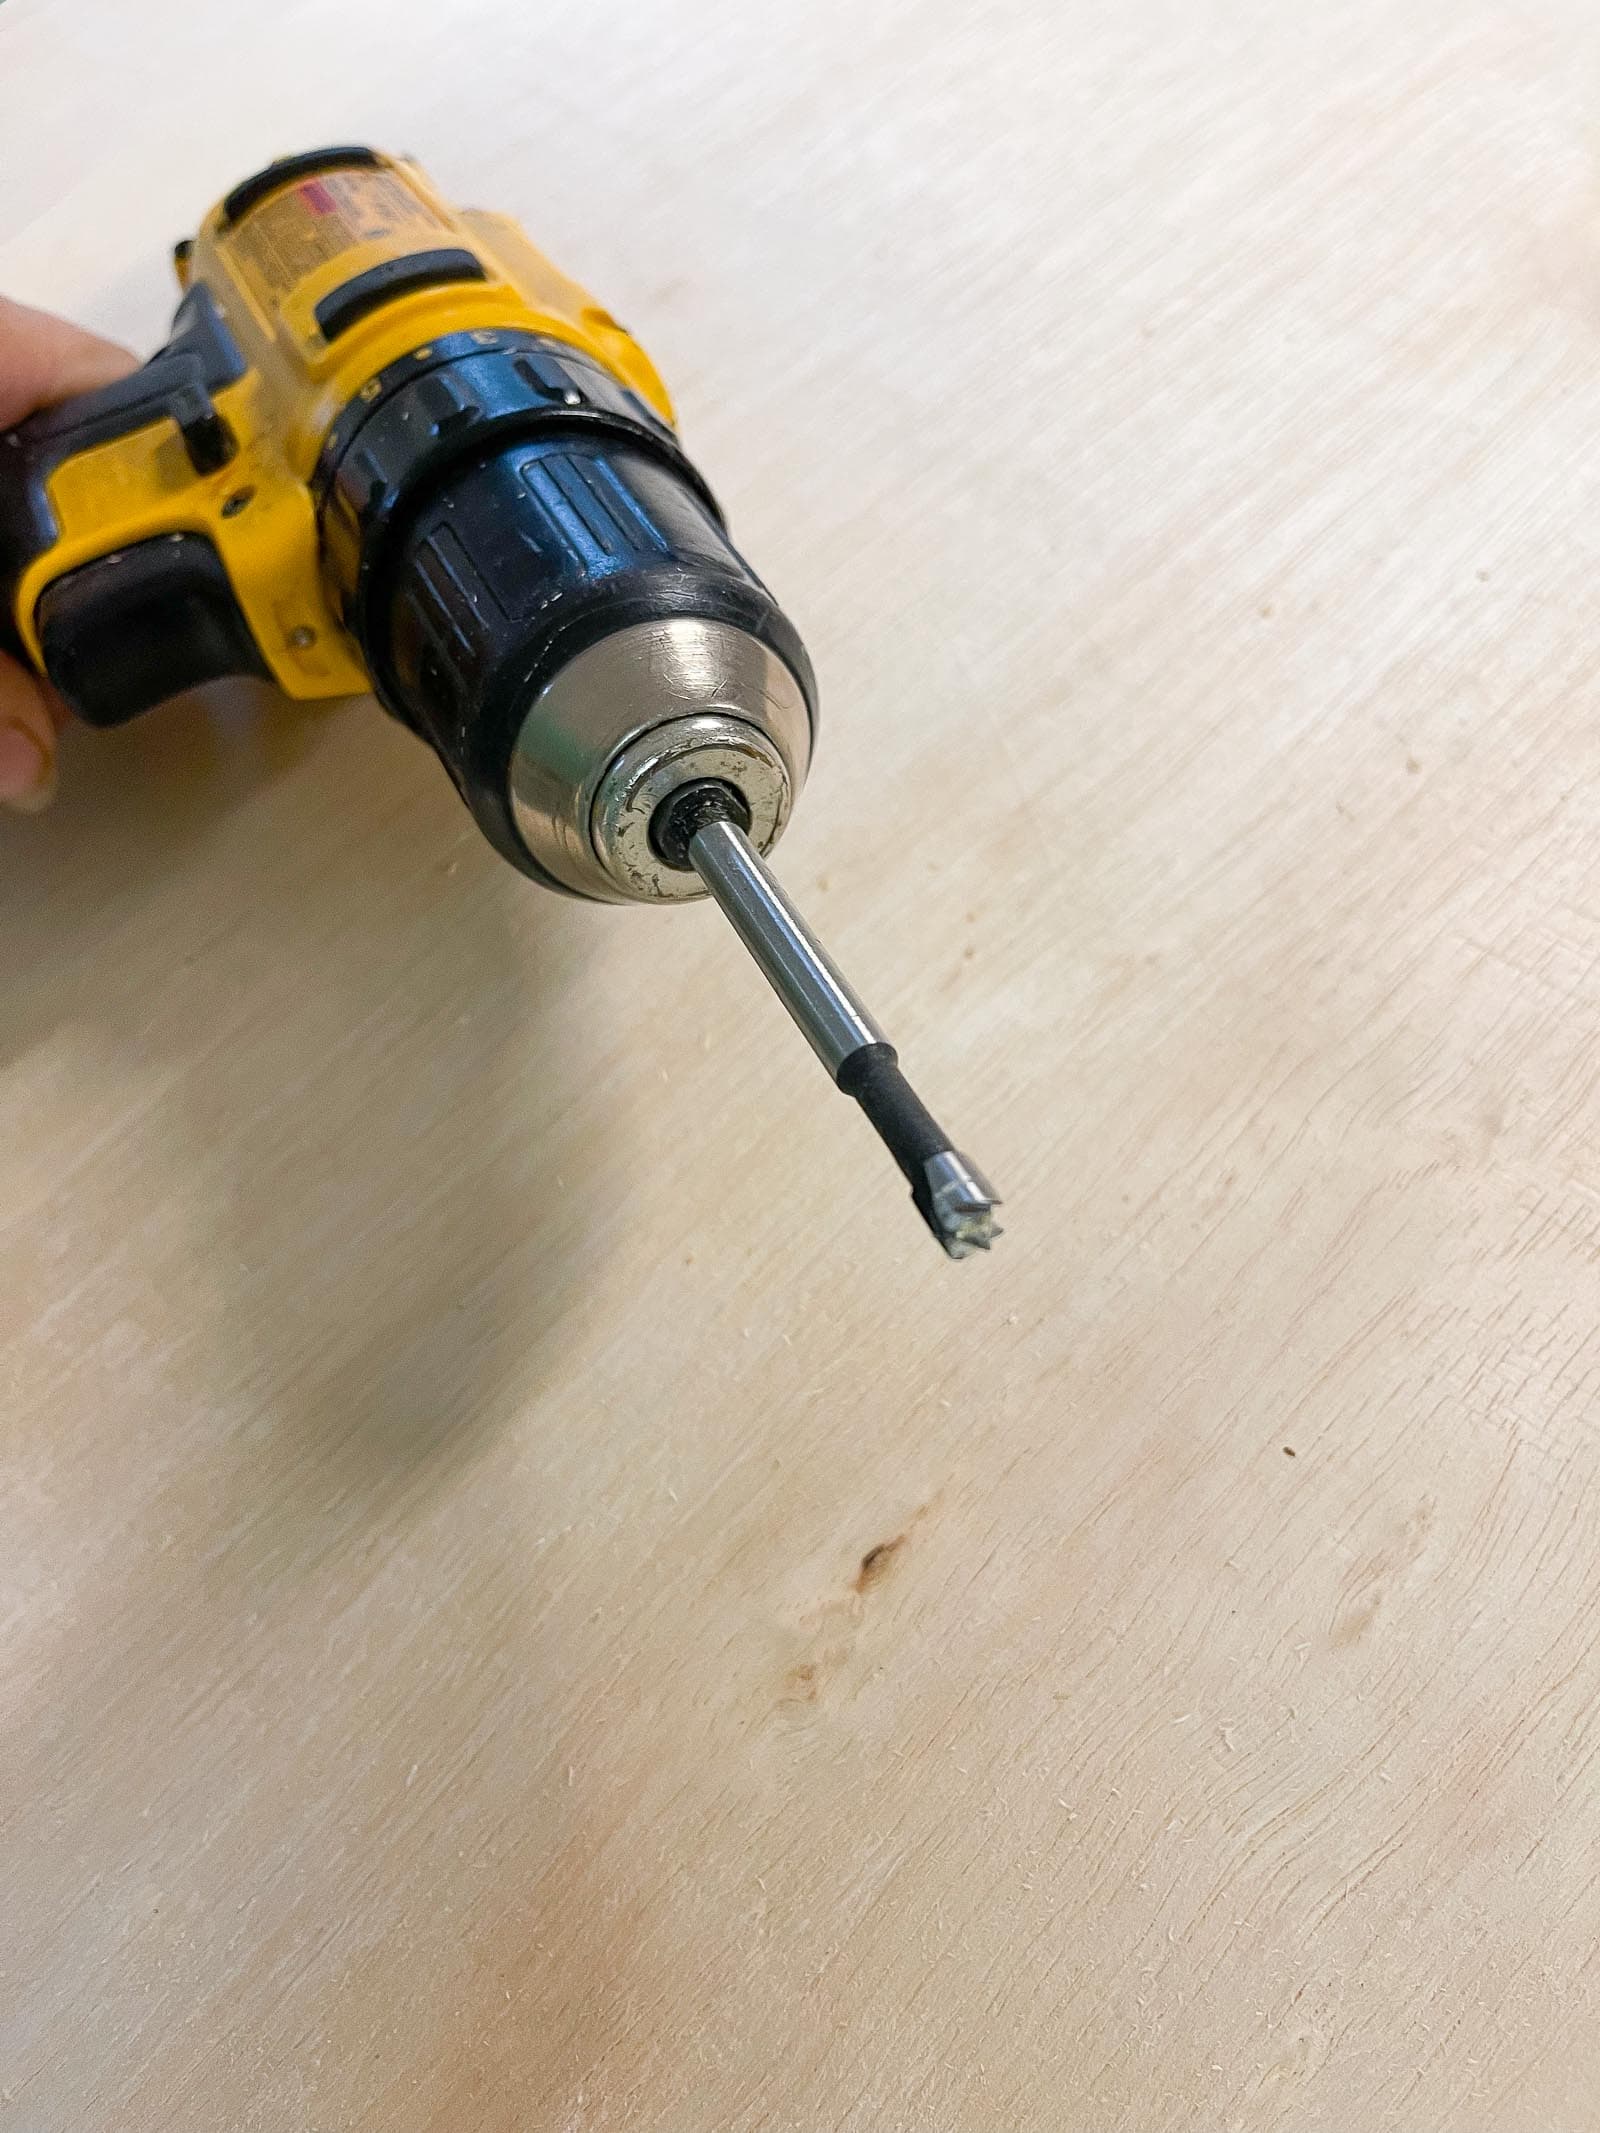
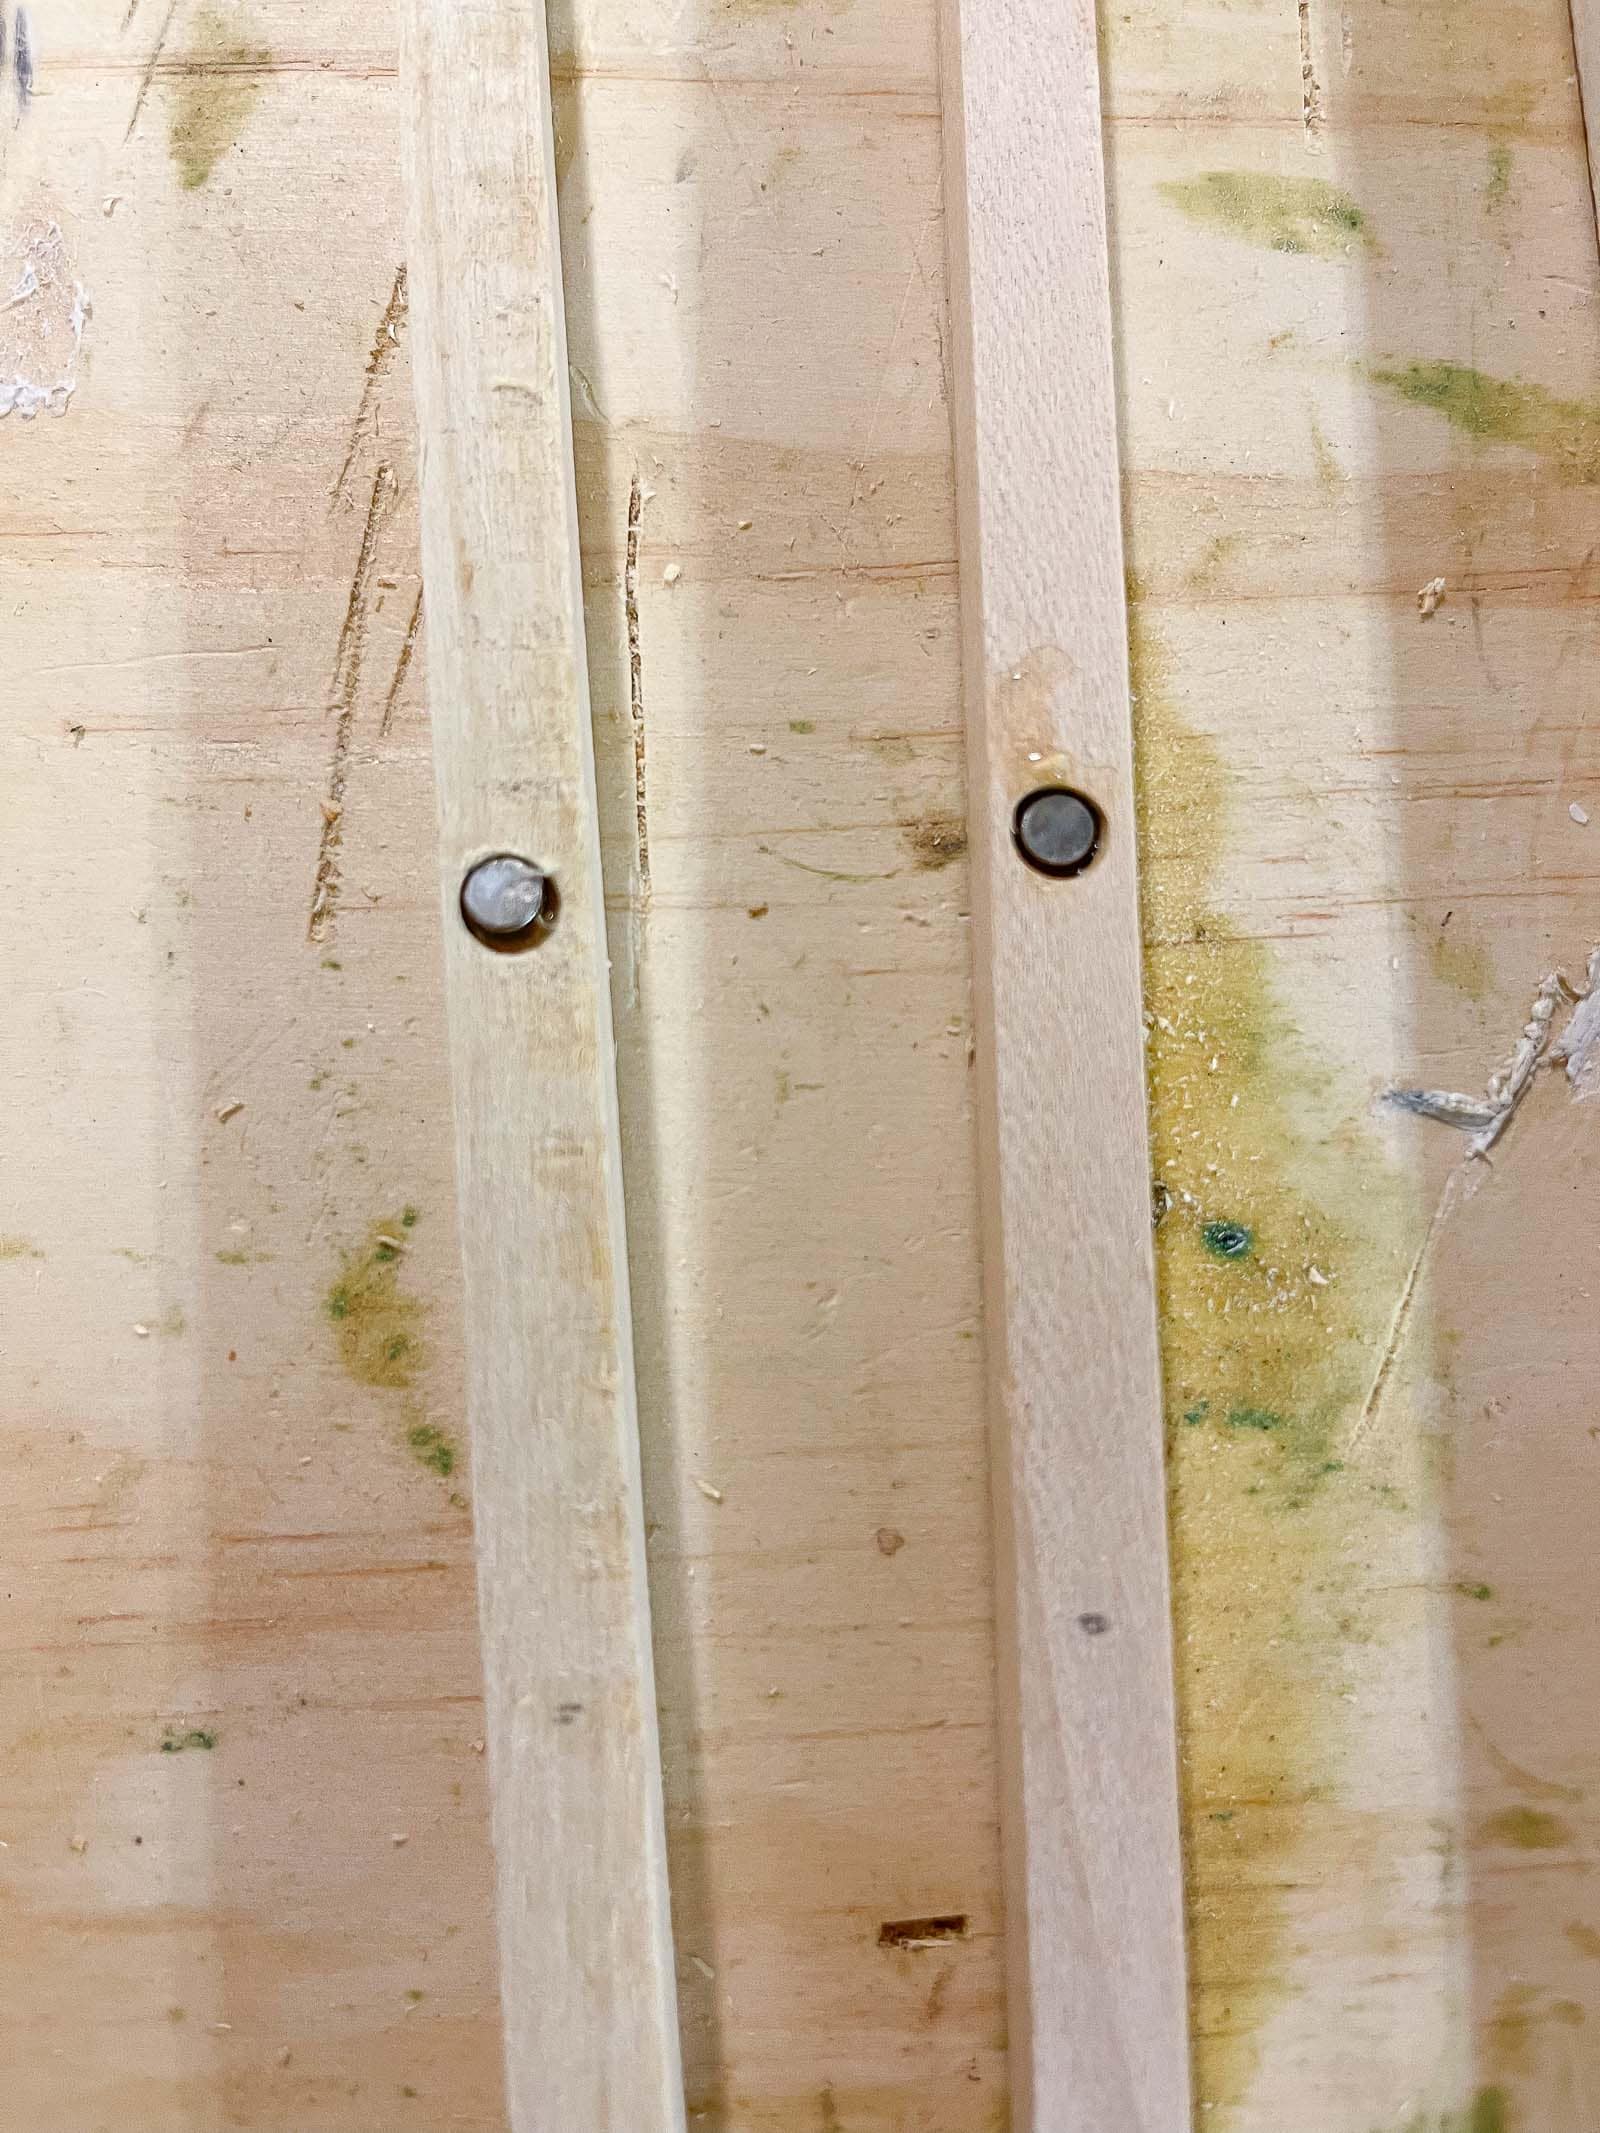
I ordered these tiny magnets from Amazon and used a forstner bit slightly larger than these magnets. For the first frame I didn’t drill quite low enough so the second frame was a little more precise and cleaner. To adhere the magnets, I just used some super glue. When the magnet glue was dry, I used a bit more super glue and a carefully placed brad nail to hold them together on each end. It’s not super sturdy, but it only needs to hold together enough to put it into the frame so it works totally fine.
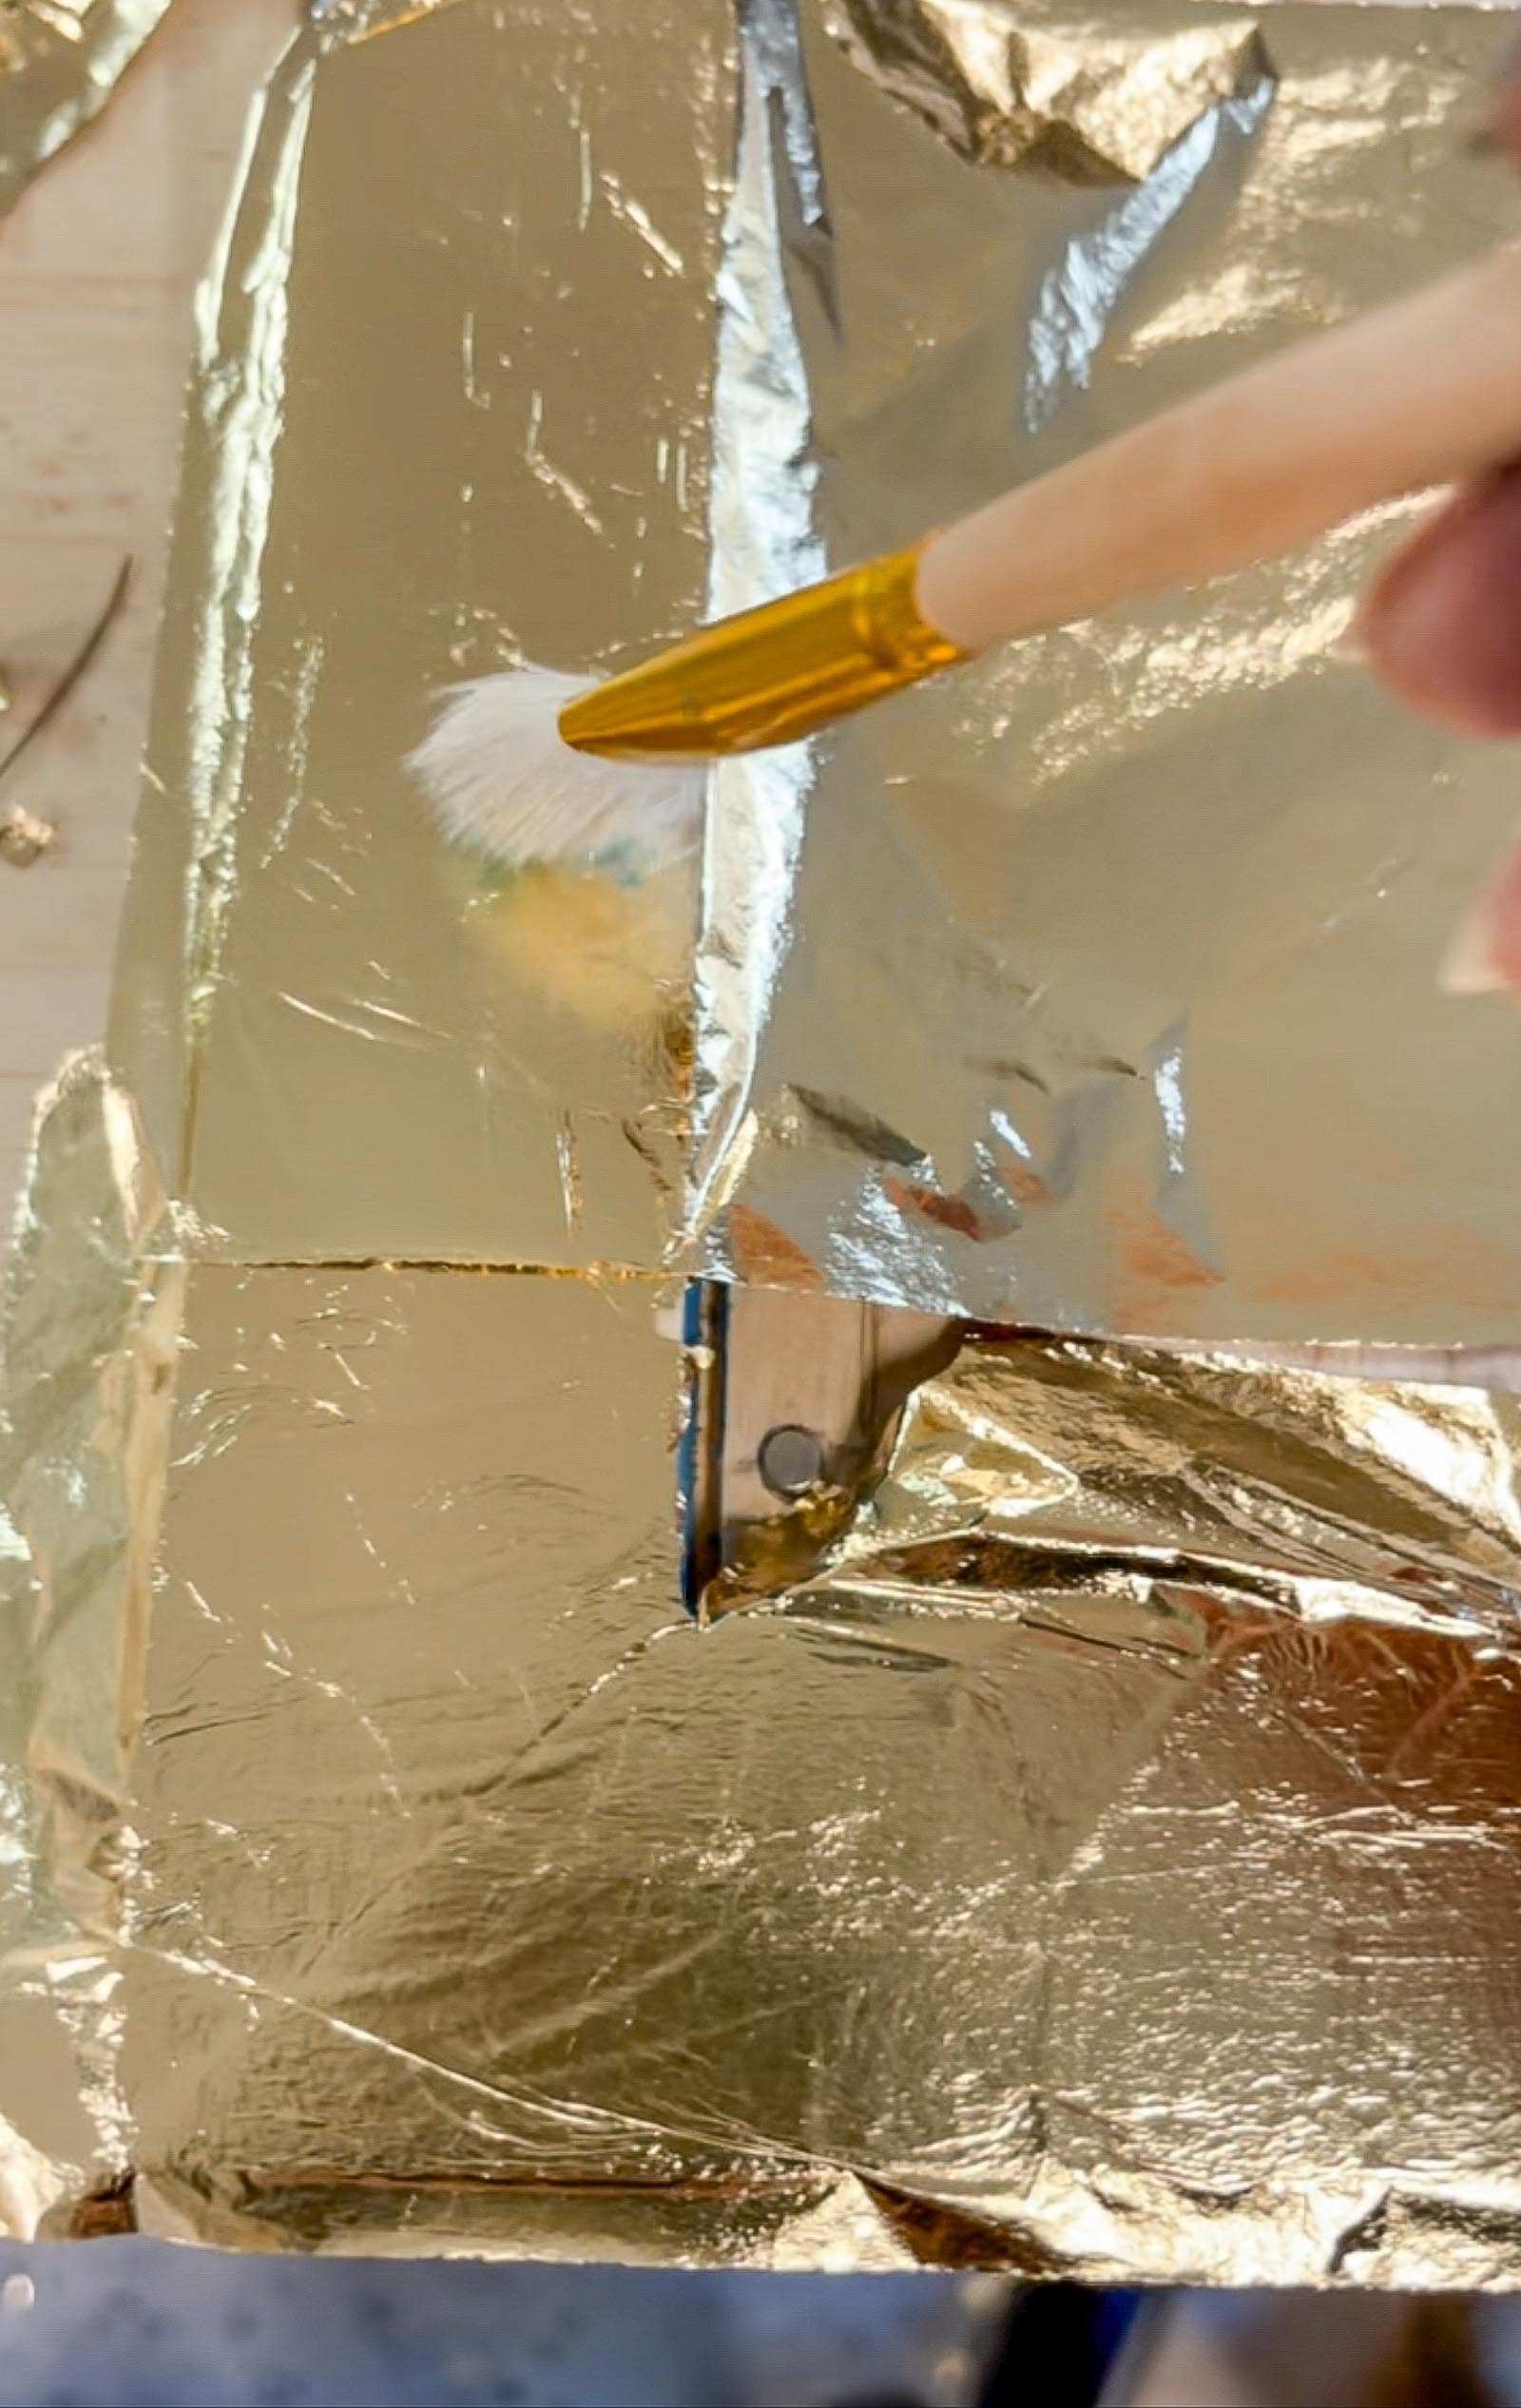
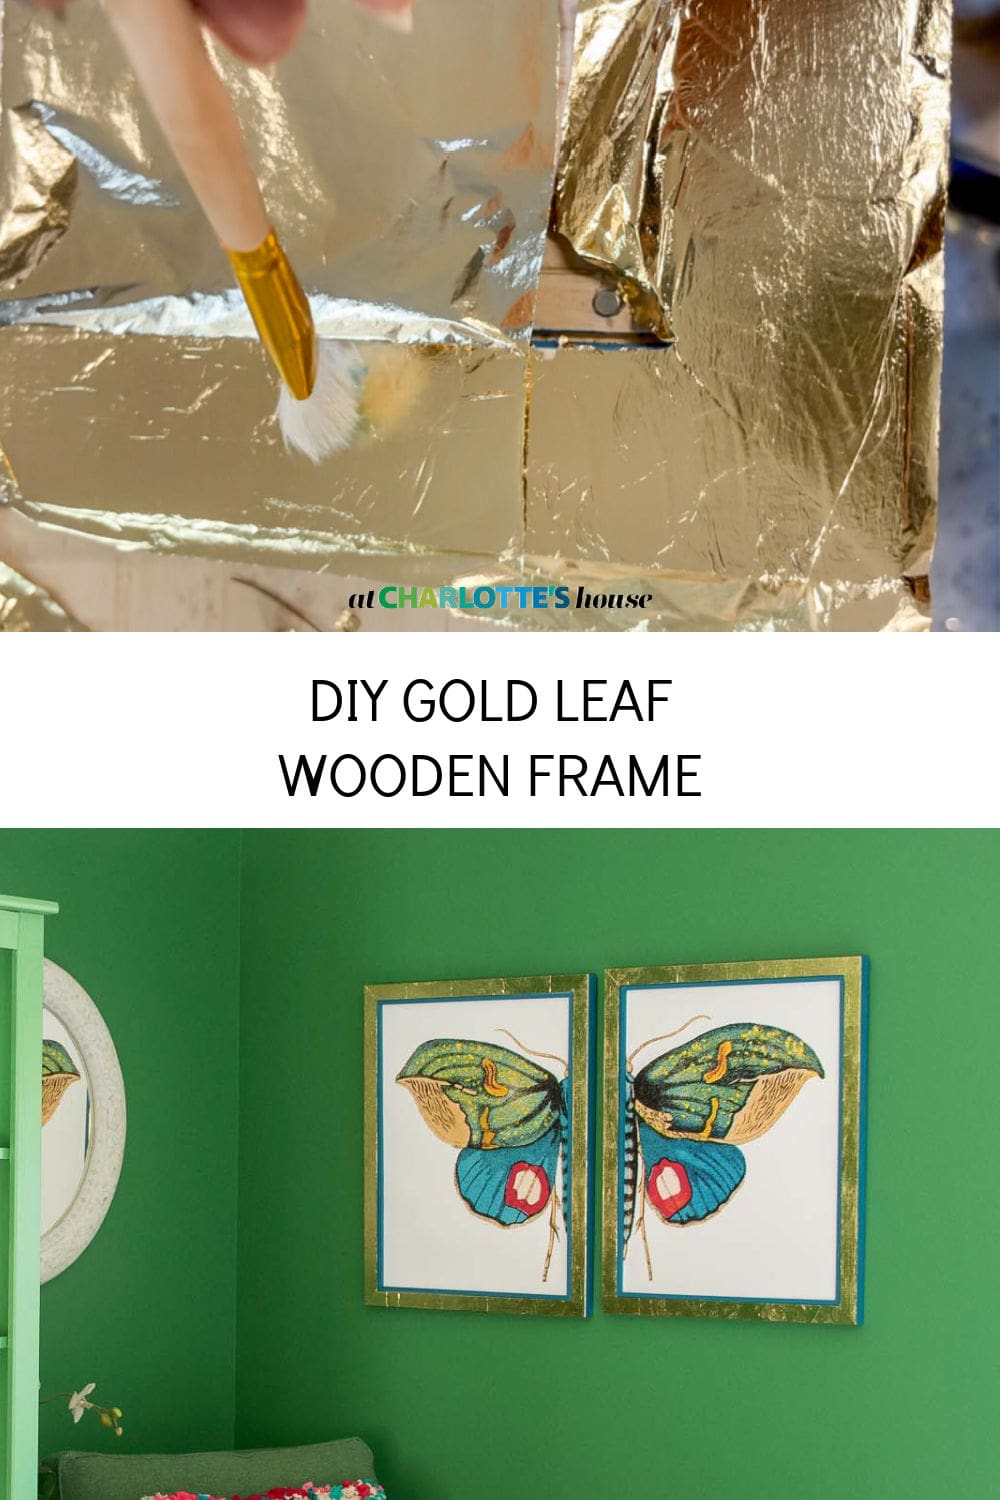
Step 4. Gilding
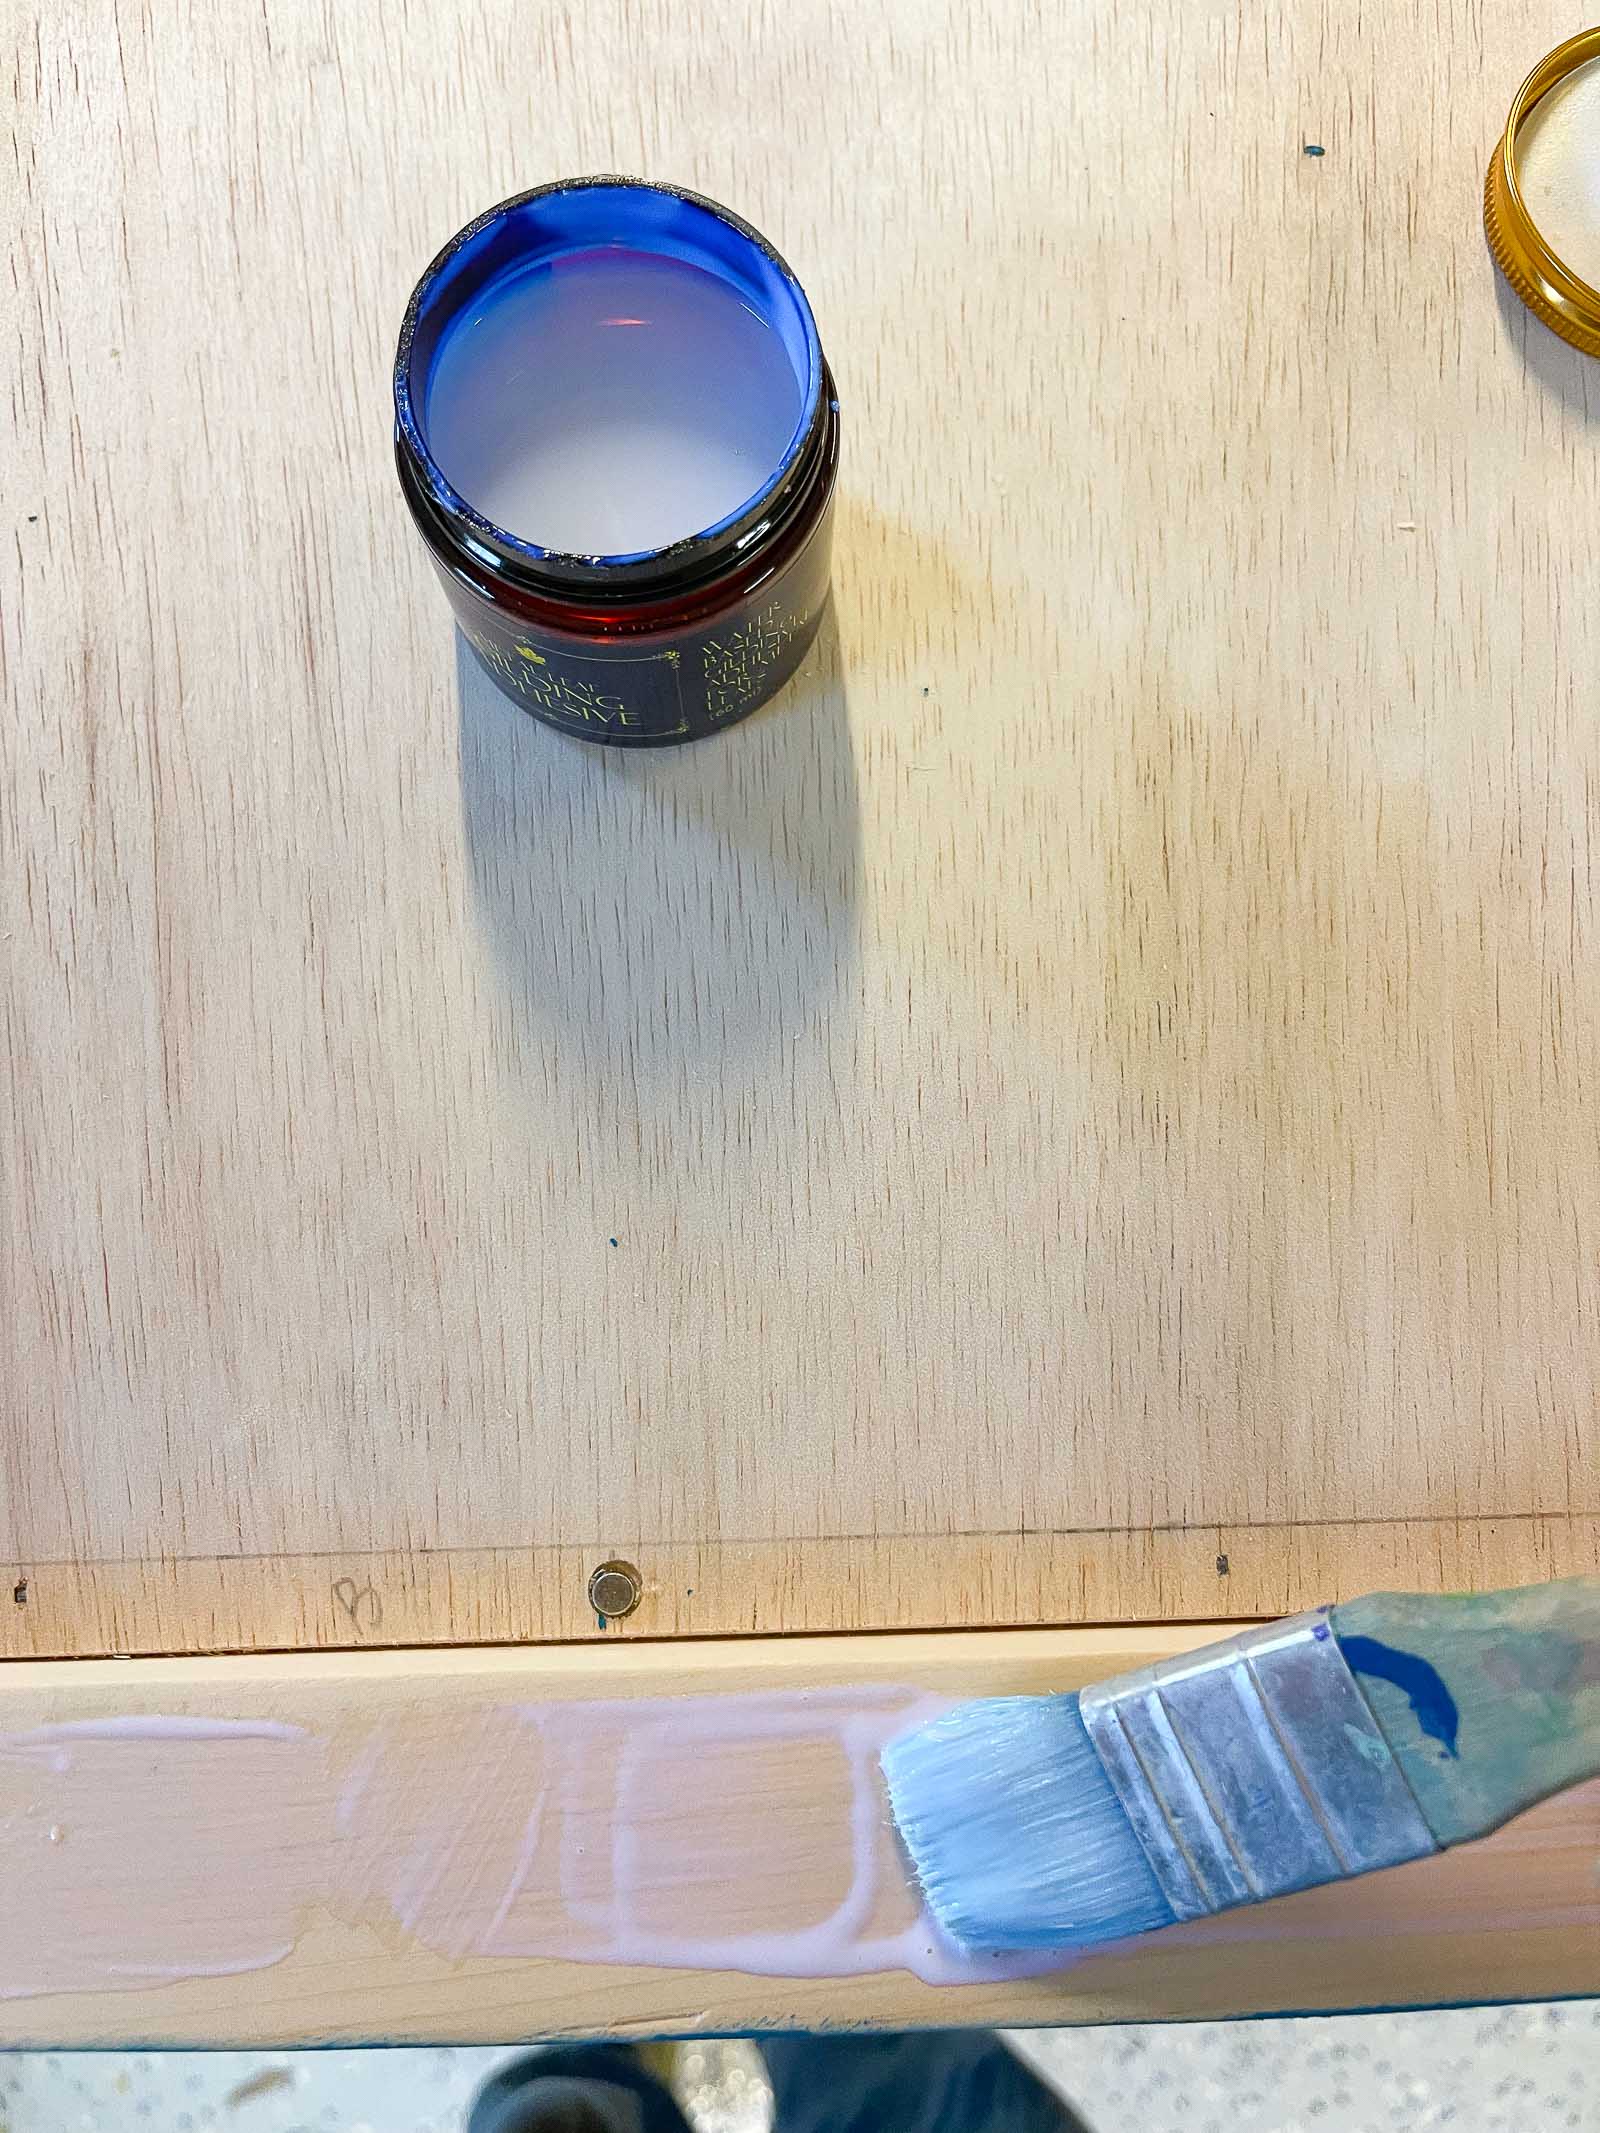
Originally I was just going the leave the frame plain wood but the tone wasn’t quite right so… I painted it with the same blue from the table across the room. But to add a little ‘how do you do’ I wanted to bring in some shiny shiny GOLD! Have you ever gold leafed? It’s super fun and easy. I painted this gold leaf adhesive onto the frame and let it dry for 20 minutes per the package directions. I wanted the glue to be tacky but not wet. Once the glue was ready, I simply placed the gold leaf on top. It’s so thin that it will rip away where it’s not adhered. Use a gold leaf brush to smooth it out and repeat! Any places where the gold doesn’t stuck, just repeat the process with more glue and another round of gold leaf. It’s a bit messy so have a dust buster ready… but there’s no way to really screw it up and I love the effect. I find gold leaf to be a bit more realistic than gold spray paint so it’s worth it for certain projects like this!
Install hanging hardware to the back of the frame and then lay flat to put the print in place. The thin magnetic trim should fit on top and hold the print in place!


I am so going to copy you! Please come to fort worth and decorate my house (maybe if i ask you enough it will happen?)!
HAHAHA! I dream of being able to do that!