
How to Build a Box for Deliveries and Packages
Psssst… this post *might* contain affiliate links: see my disclosure here.
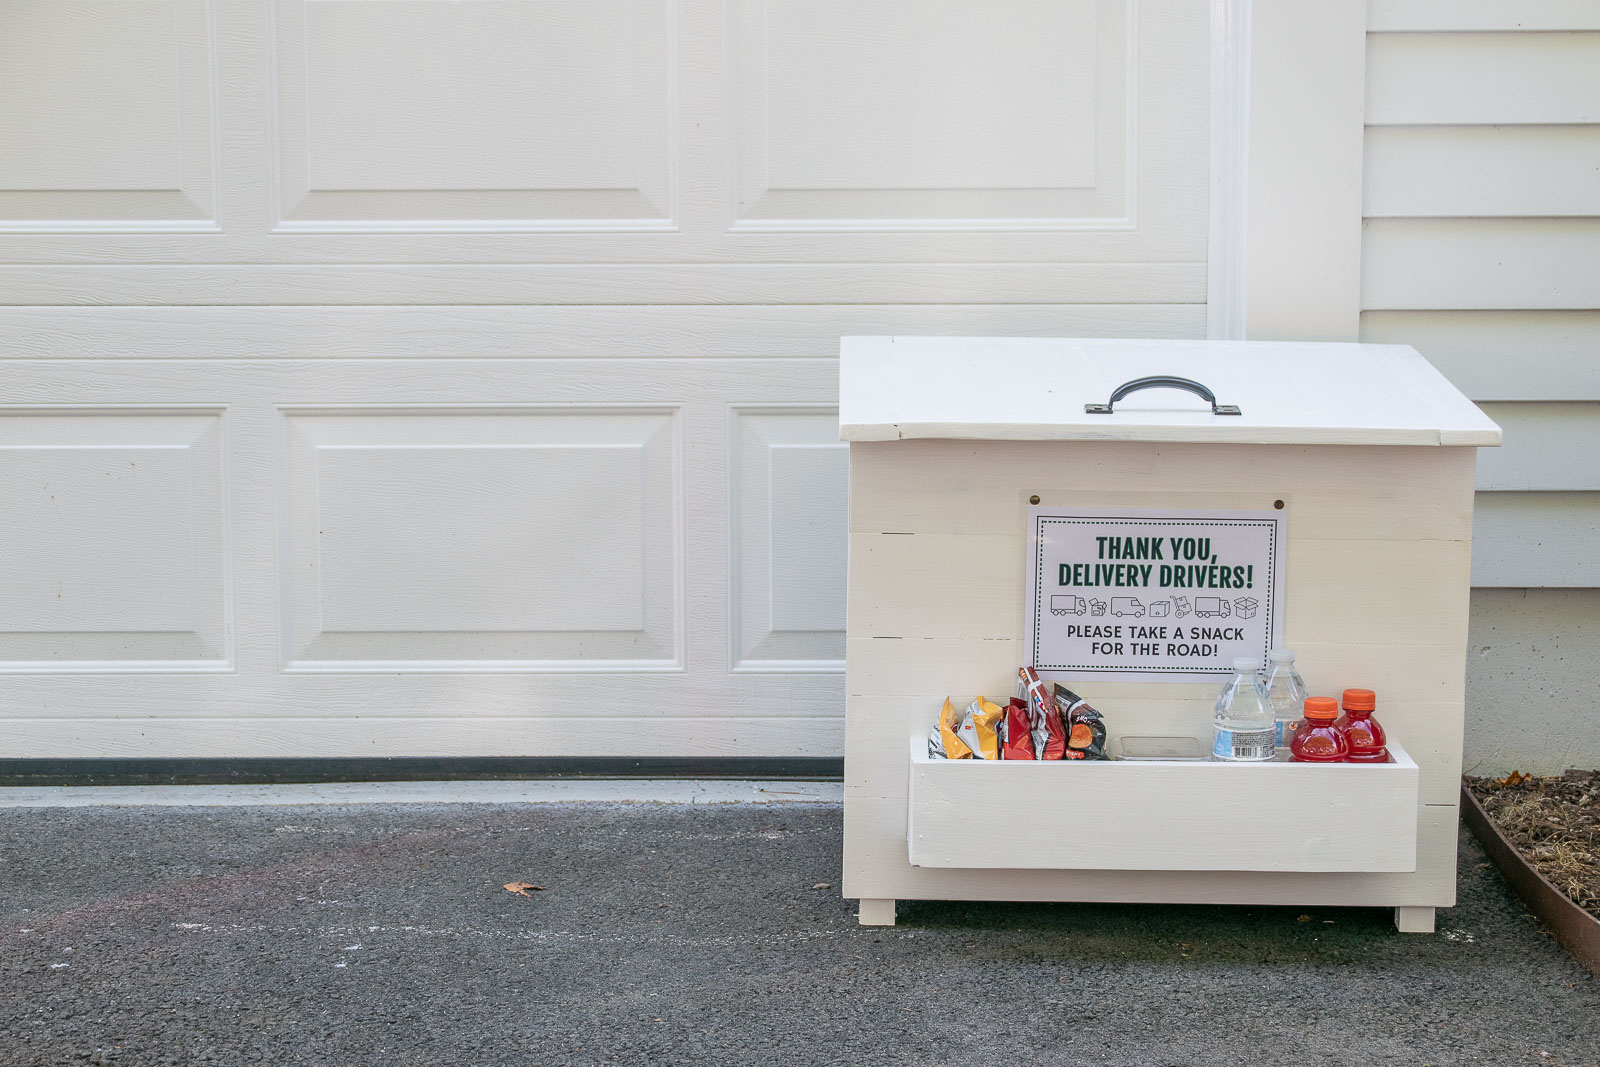
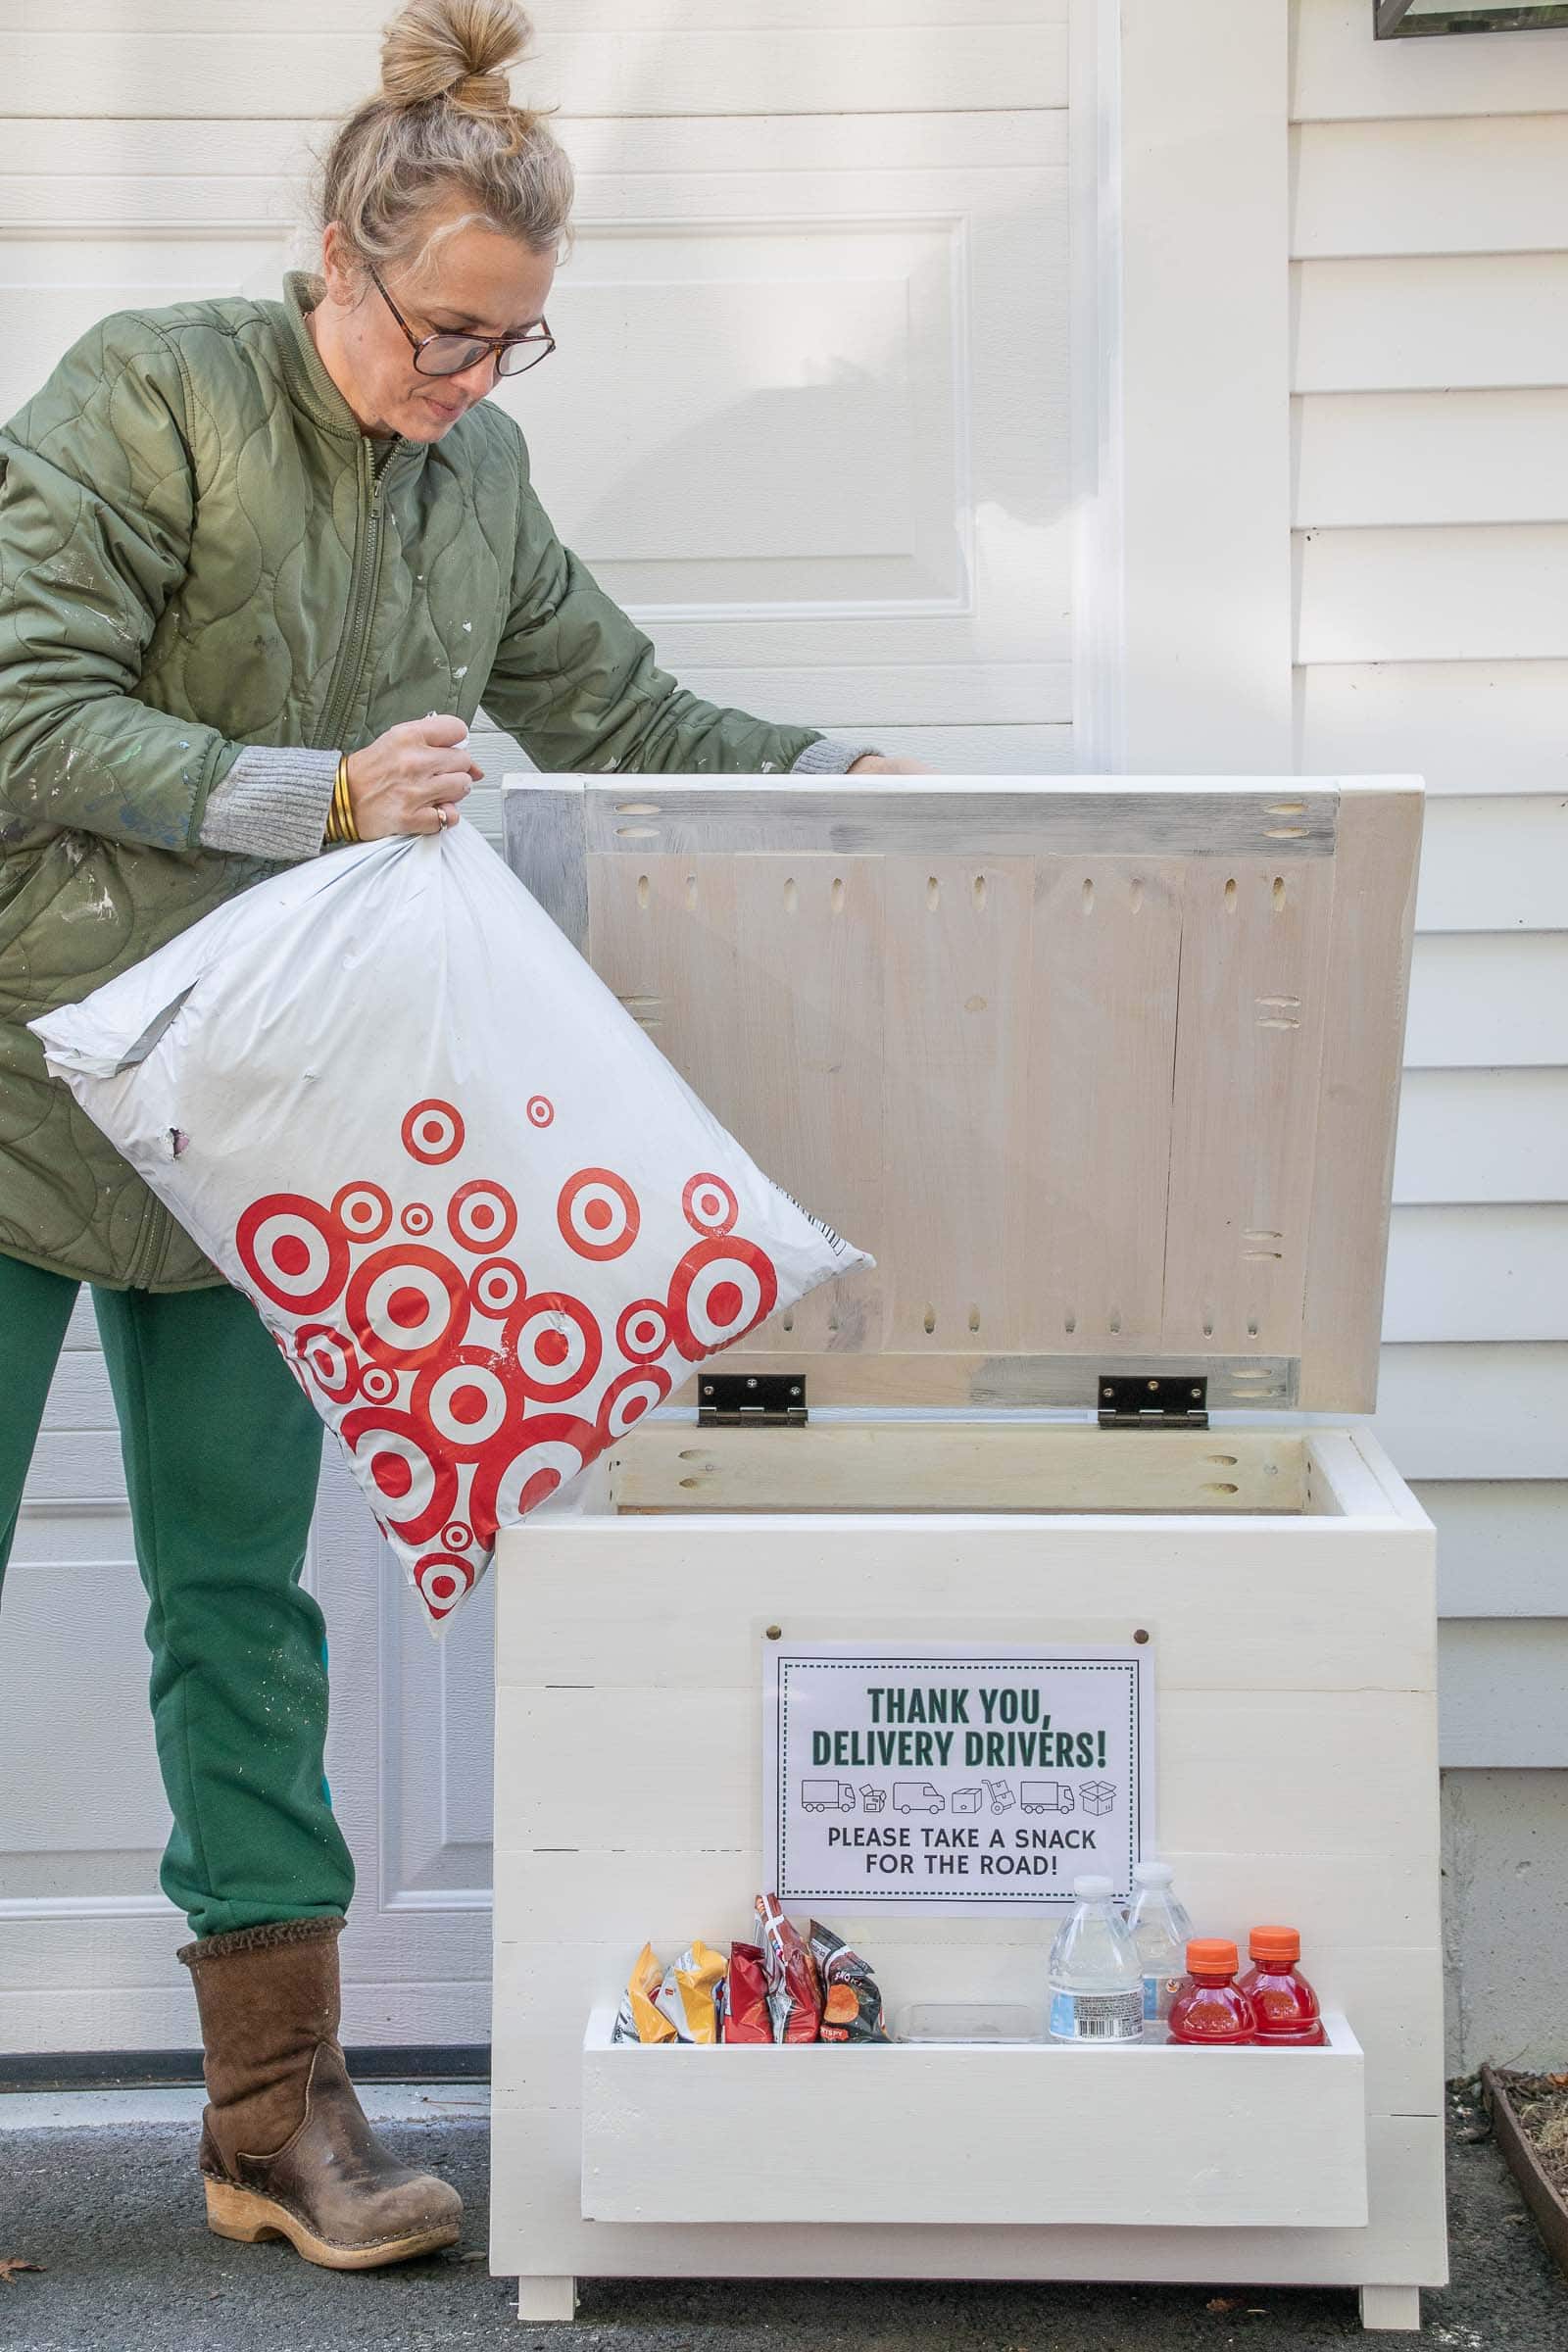
DIY Lidded Box for Packages and Deliveries
I made a box with a hinged lid so that our delivery people have somewhere to leave our packages.
Disclosure: I partnered with Kreg and their incomparable pocket hole jig for this post. I couldn’t live without mine!
Shop my favorites!
I wanted to find something to build that would be useful but would also take pocket holes to assemble. This lidded box for any mail or deliveries was a long time coming and the perfect excuse to try out my new Kreg Pocket Hole 720 Pro! (Check out my saved Instagram highlights for a look at the jig itself and the overall plans for this project.) I’ve worked with earlier iterations of the Kreg pocket hole jig, but this new one has some great features that I’ll mention as I go! (Full materials list at the end of the post.)
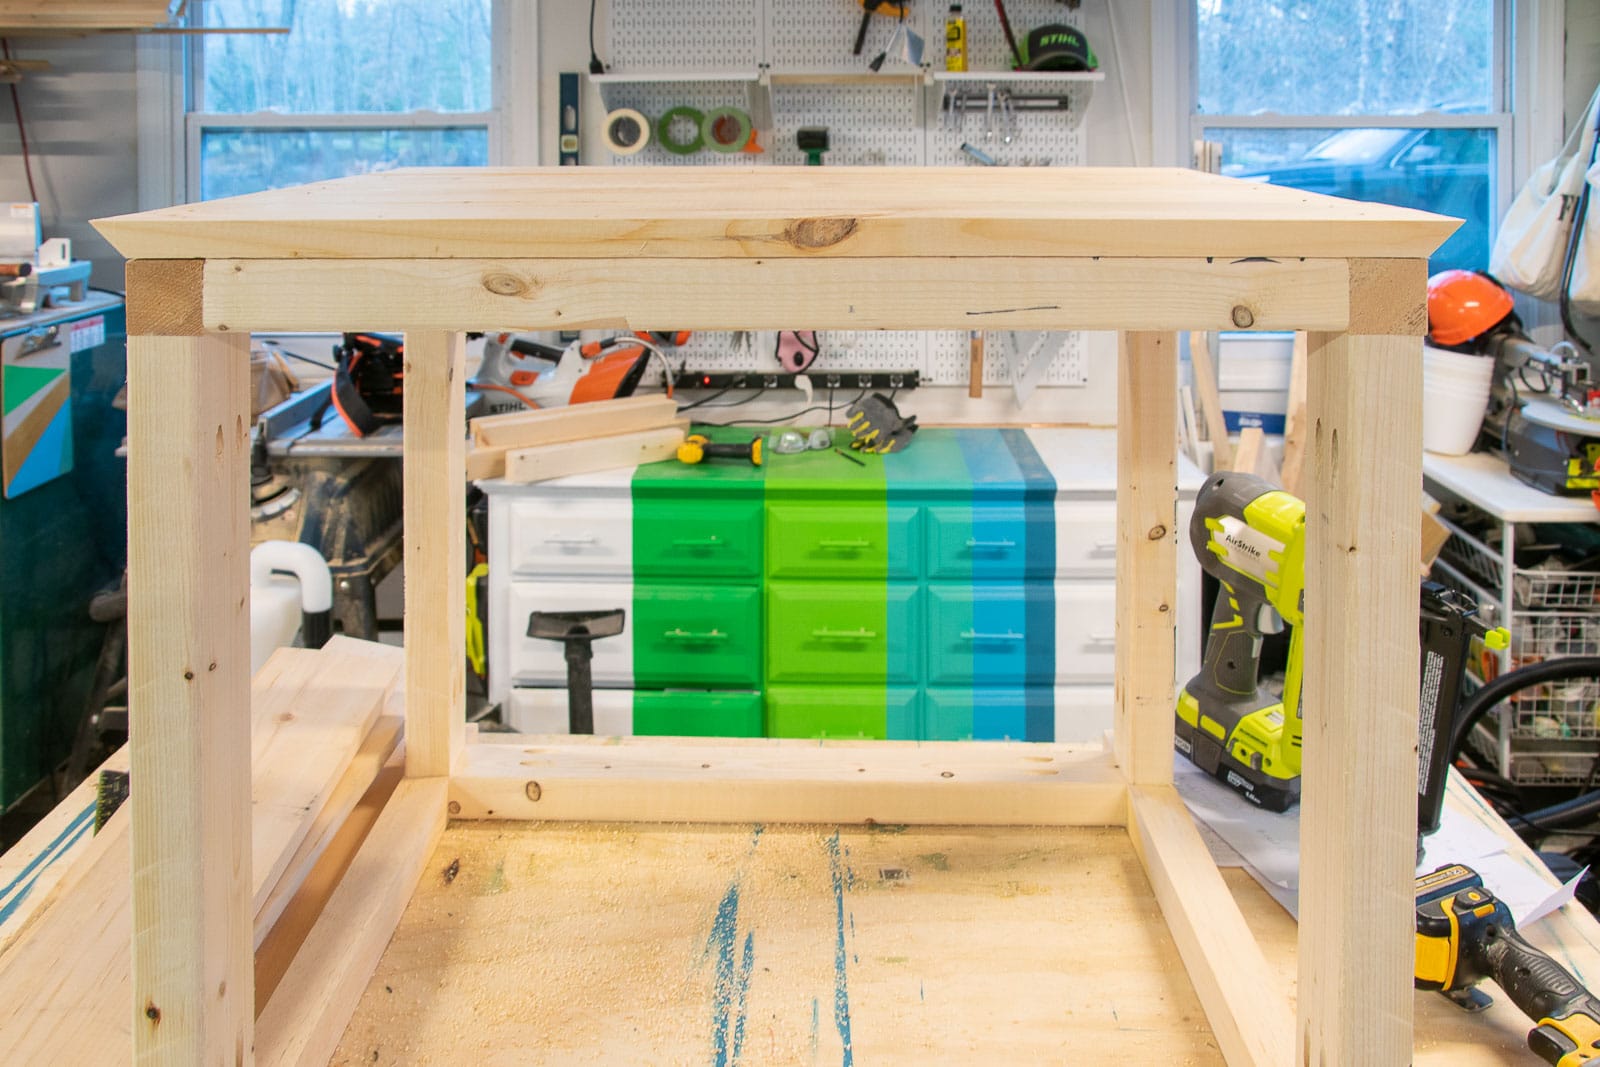
Step 1. Build the Frame for the Box
I’m working with pine which I should mention is NOT ideal for anything that will live outside. That said… it’s the most affordable and, once painted, it holds up pretty well! I’ve made other things from pine that are outside and still going strong, so for something like a casual box like this, I opted for pine again.
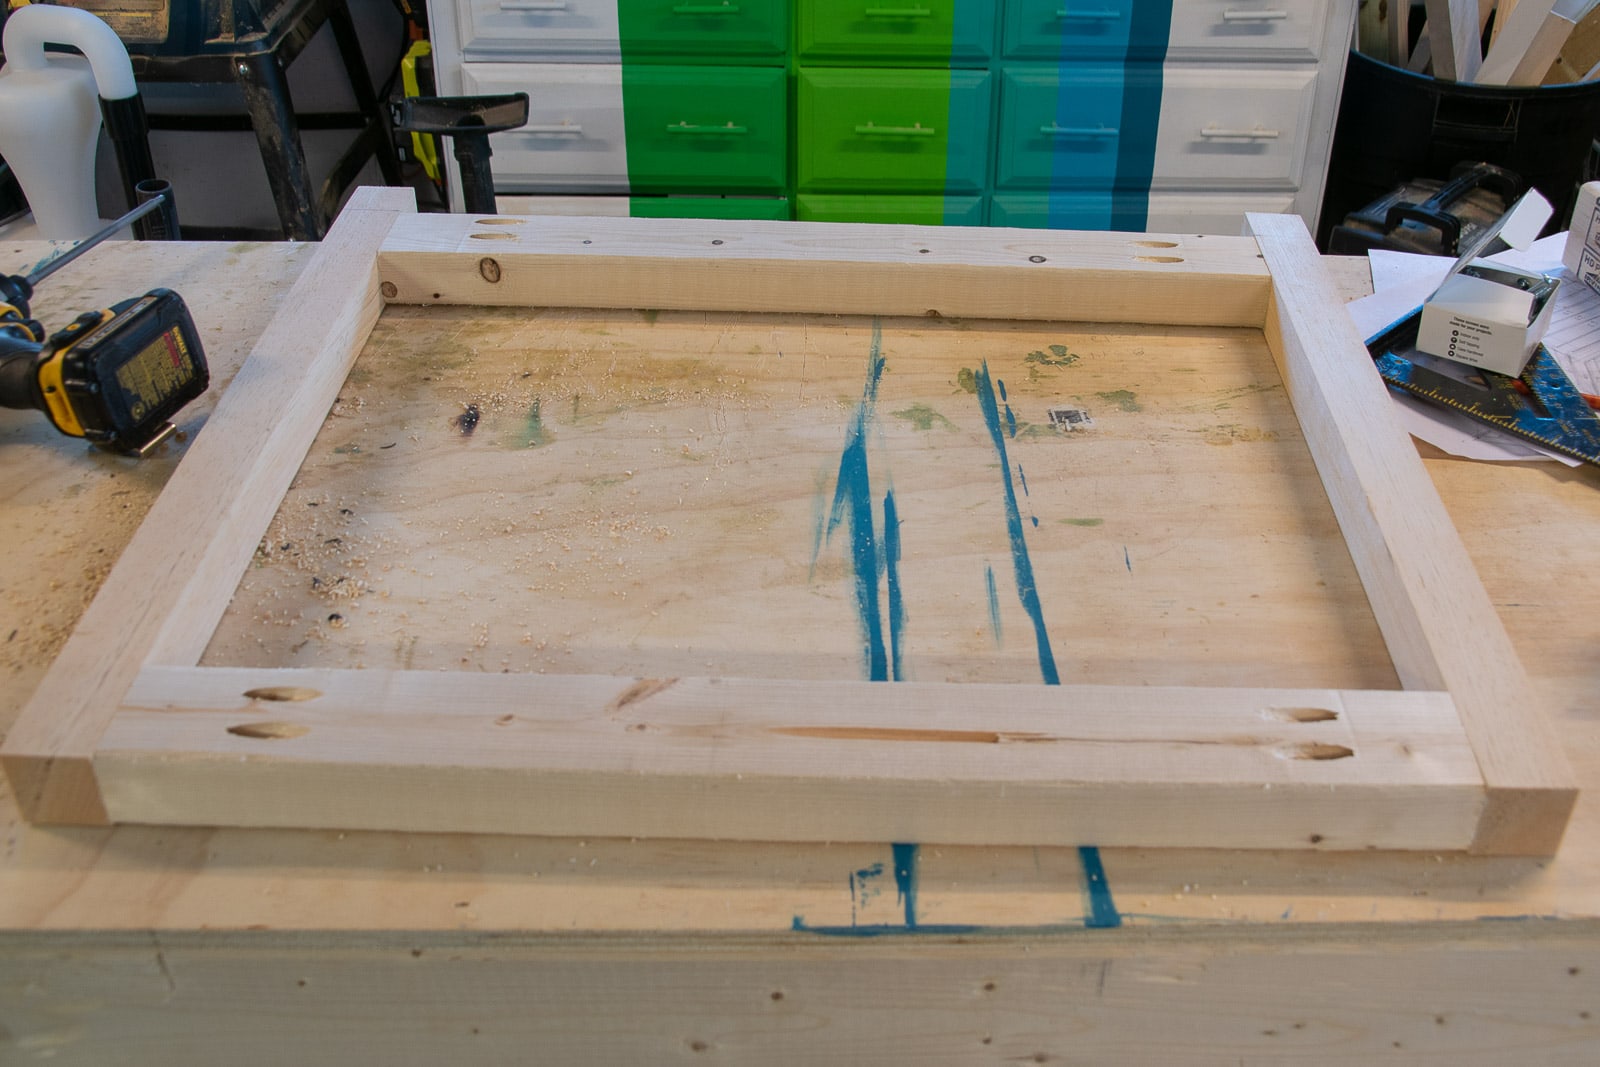
Kreg Tip 1: Set the drill to the thickness of your material with the provided allen wrench. (My material for the box frame is a 2×3 (actual measurements 1.5″ x 2.5″) so I set the collar on the Kreg drill bit to 1.5″
The new pocket hole pro series does NOT require you to adjust anything else when drilling the pocket holes. When you clamp the board, the setting for depth is automatic so all you have to do is clamp and drill! I drilled two pocket holes in either end of my 2x3s. To elevate the box an inch or so off the ground to prevent wood decay and rot, I’m using 2×2 dowels (actual measurement 1.5″ x 1.5″) for the legs/ vertical sides of the box.
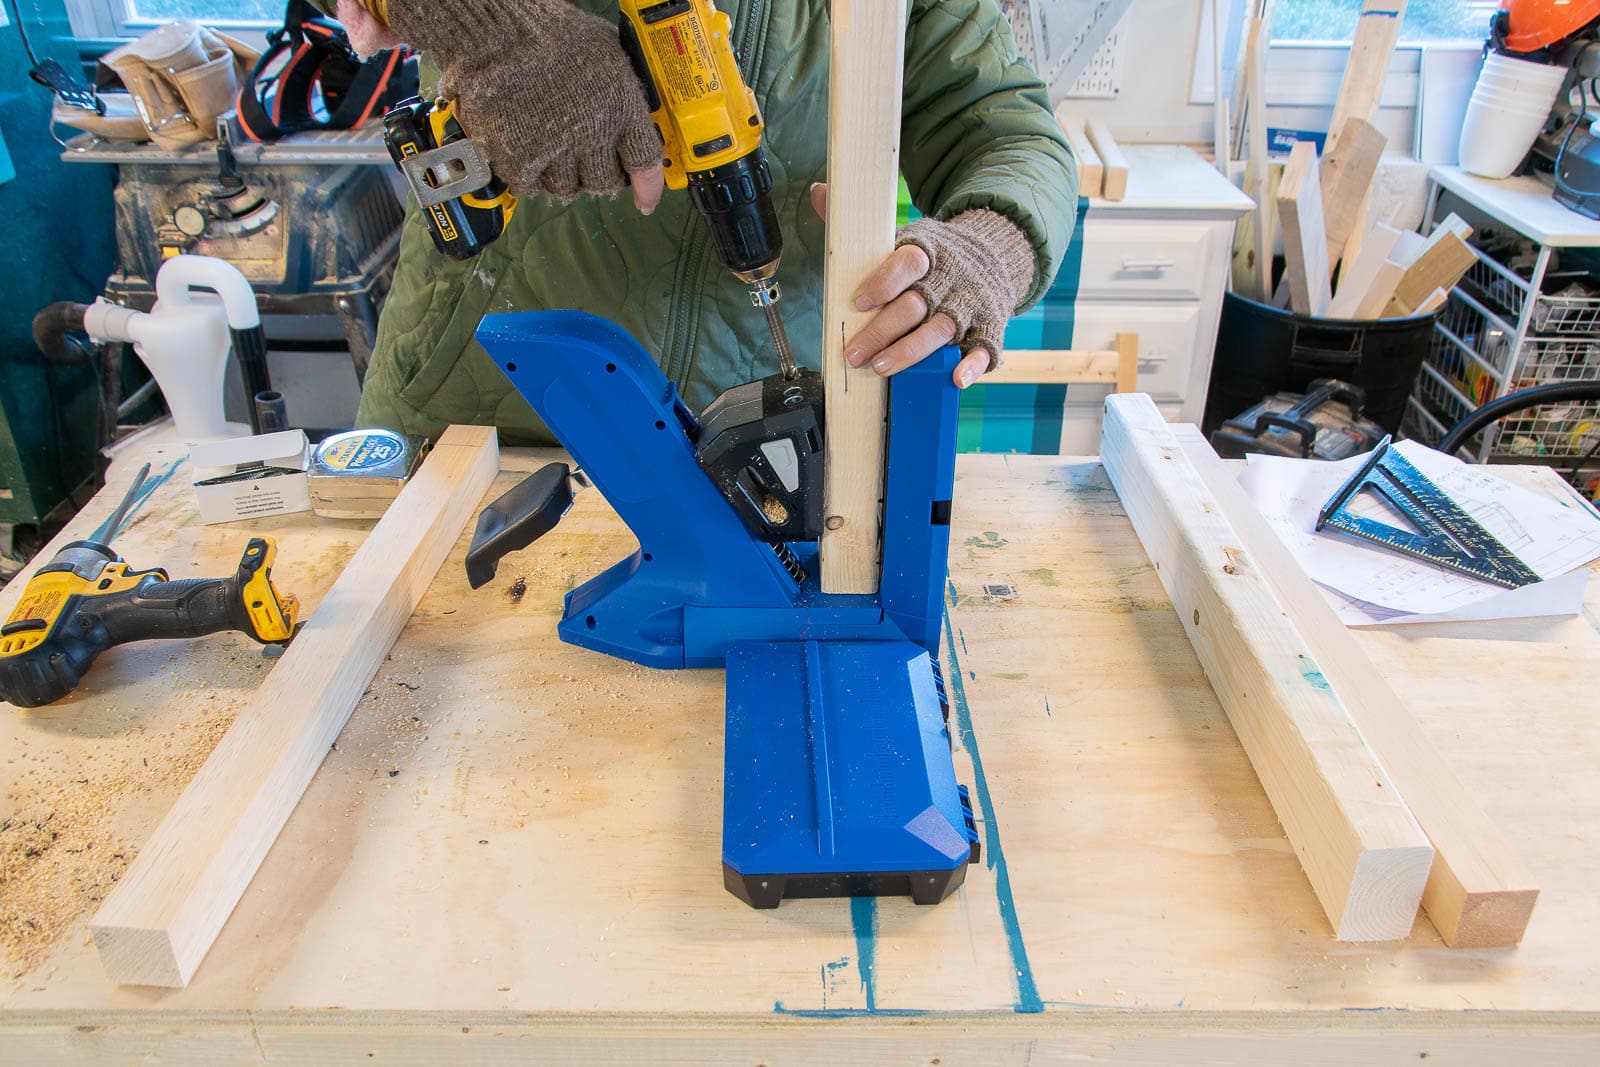
Kreg Tip 2: When choosing screws, look to the Kreg box for a table. Choose a screw based on the depth of the material *into which* you’re screwing. I’m screwing into the 2×2 dowel so I chose the right screw for a 1.5″ material= 1.25″
All the Kreg accessories can store under the pro series jig, so I grabbed the square bit to get ready to screw together the frame for this box. If possible, I always try to clamp my materials when using pocket holes because they can shift a bit as you screw things together.
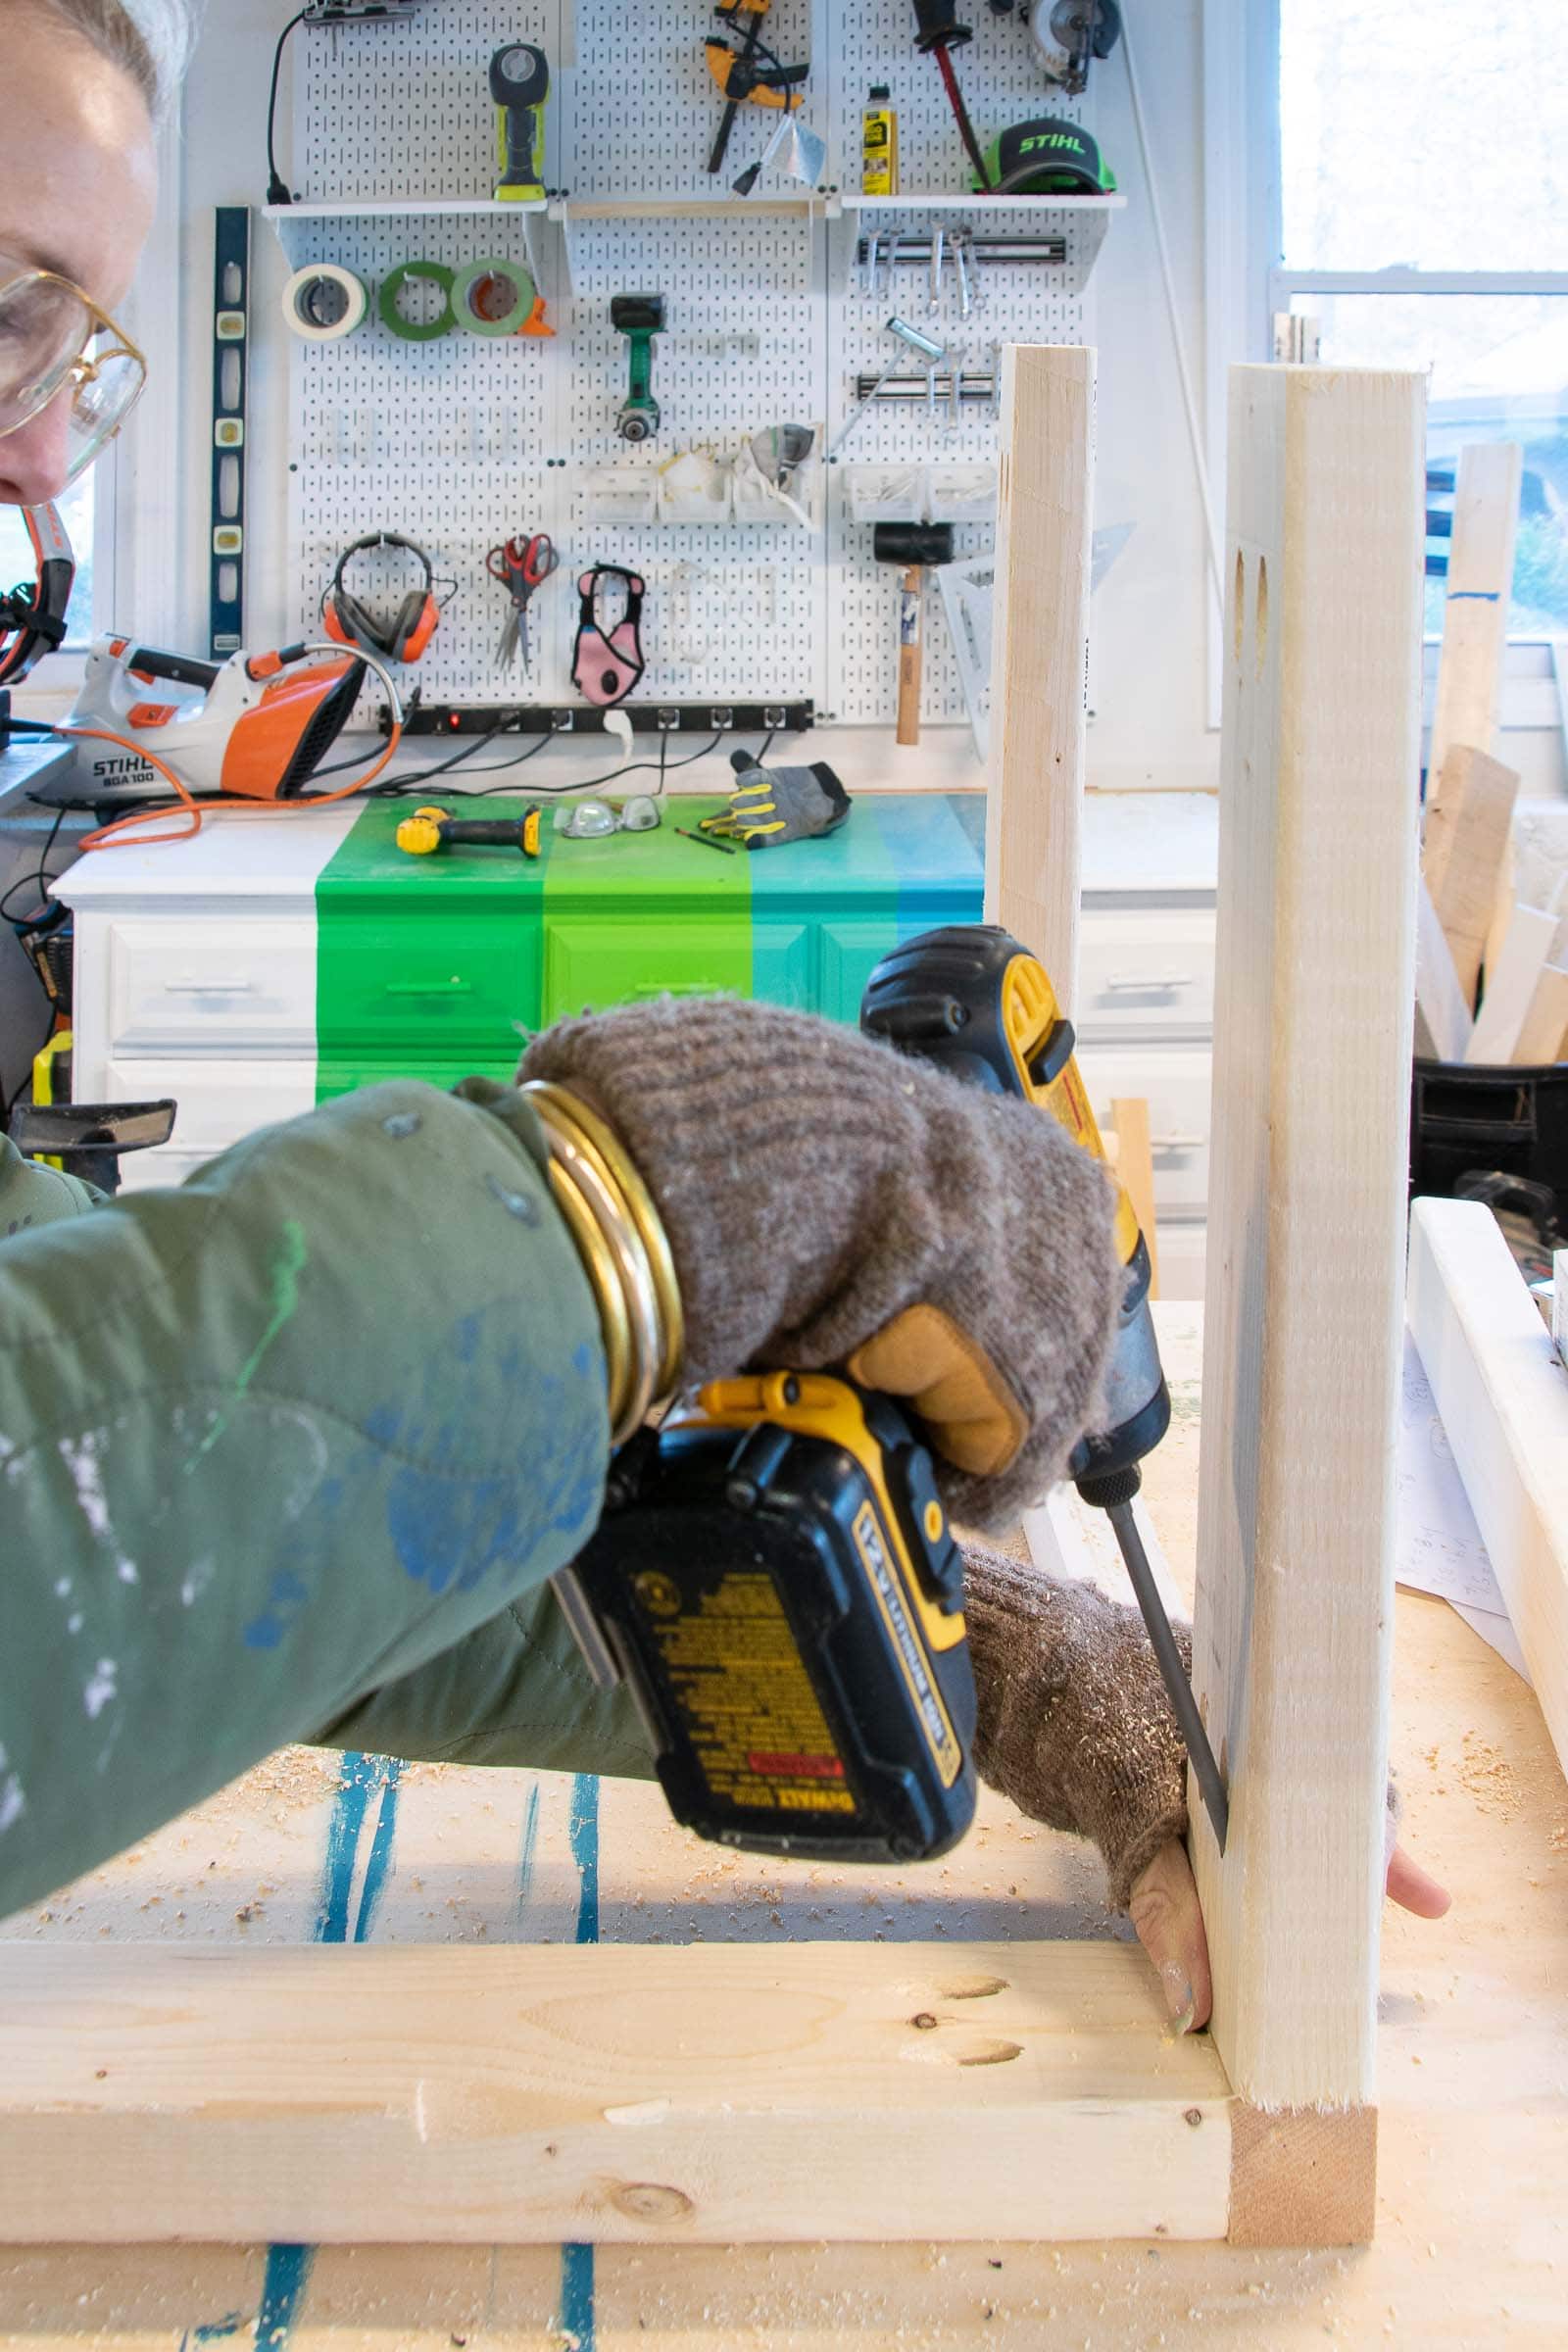
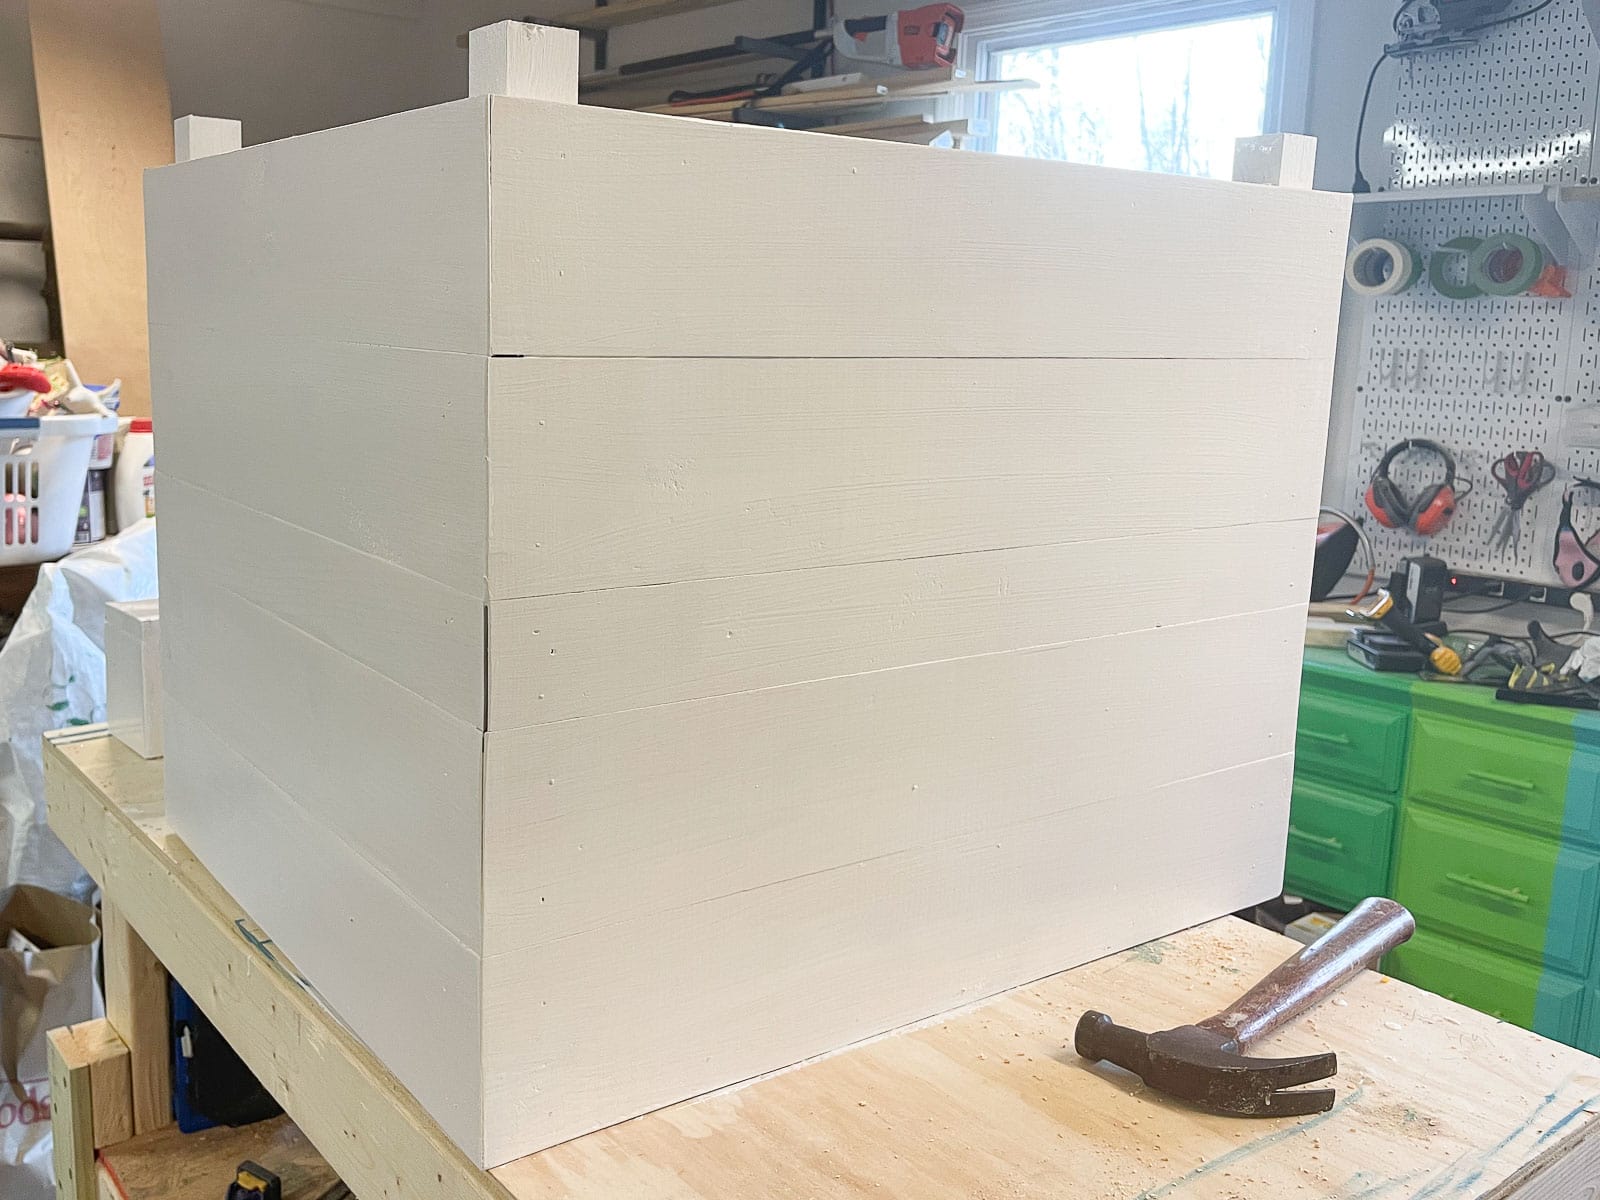
Step 2. Add the sides to the box
For the sides, I’m using 1×5 pine with one stripe of 1×4 pine along the middle. I decided to miter the ends of my 1x5s so that they would meet at a point but you can make this box without doing this for sure. Just have the flat ends of your 1x5s overlap on the corners. To attach these slats, I used wood glue and my brad nailer to attach all the slats around the box.
Step 3. Add a base to the box
There’s no magic here… grab any leftover boards you have and glue/ nail them in place on the inside of your box.
Step 4. Building the lid
Honestly… I wasn’t sure how I was going to make a lid. I wanted to make use of the materials I had on hand so I found a bunch of 1×4 pine and decided to lay them all out with a frame and slats in the middle. Originally, I was going to have the lid overhang my surprise snack tray completely, but I didn’t have quite enough wood so I made the lid overhang the box as much as I could. I laid out my boards and decided to start by adding pocket holes to either end of all the shorter pieces to assemble. If that didn’t feel secure enough, I could add some additional bracing. Clamps and wood glue were necessary to build the lid as sturdy as possible.

Step 5. Build the Treat Tray
This treat tray was an easy but fun finishing touch… it’s like a window box for snacks. It won’t do any heavy lifting so wood glue and brad nails were all I used.
Step 6. Sand and Paint
To preserve this box and protect it from the elements I sanded it smooth with 240 grit paper and painted it first with primer and then with a semi gloss exterior paint. I was racing the clock so I skipped the step where I used wood fill in the nail holes and corner joints, but that would be smart if you’re making something similar at home.
Step 7. Attach the lid, handle and the Snack Tray
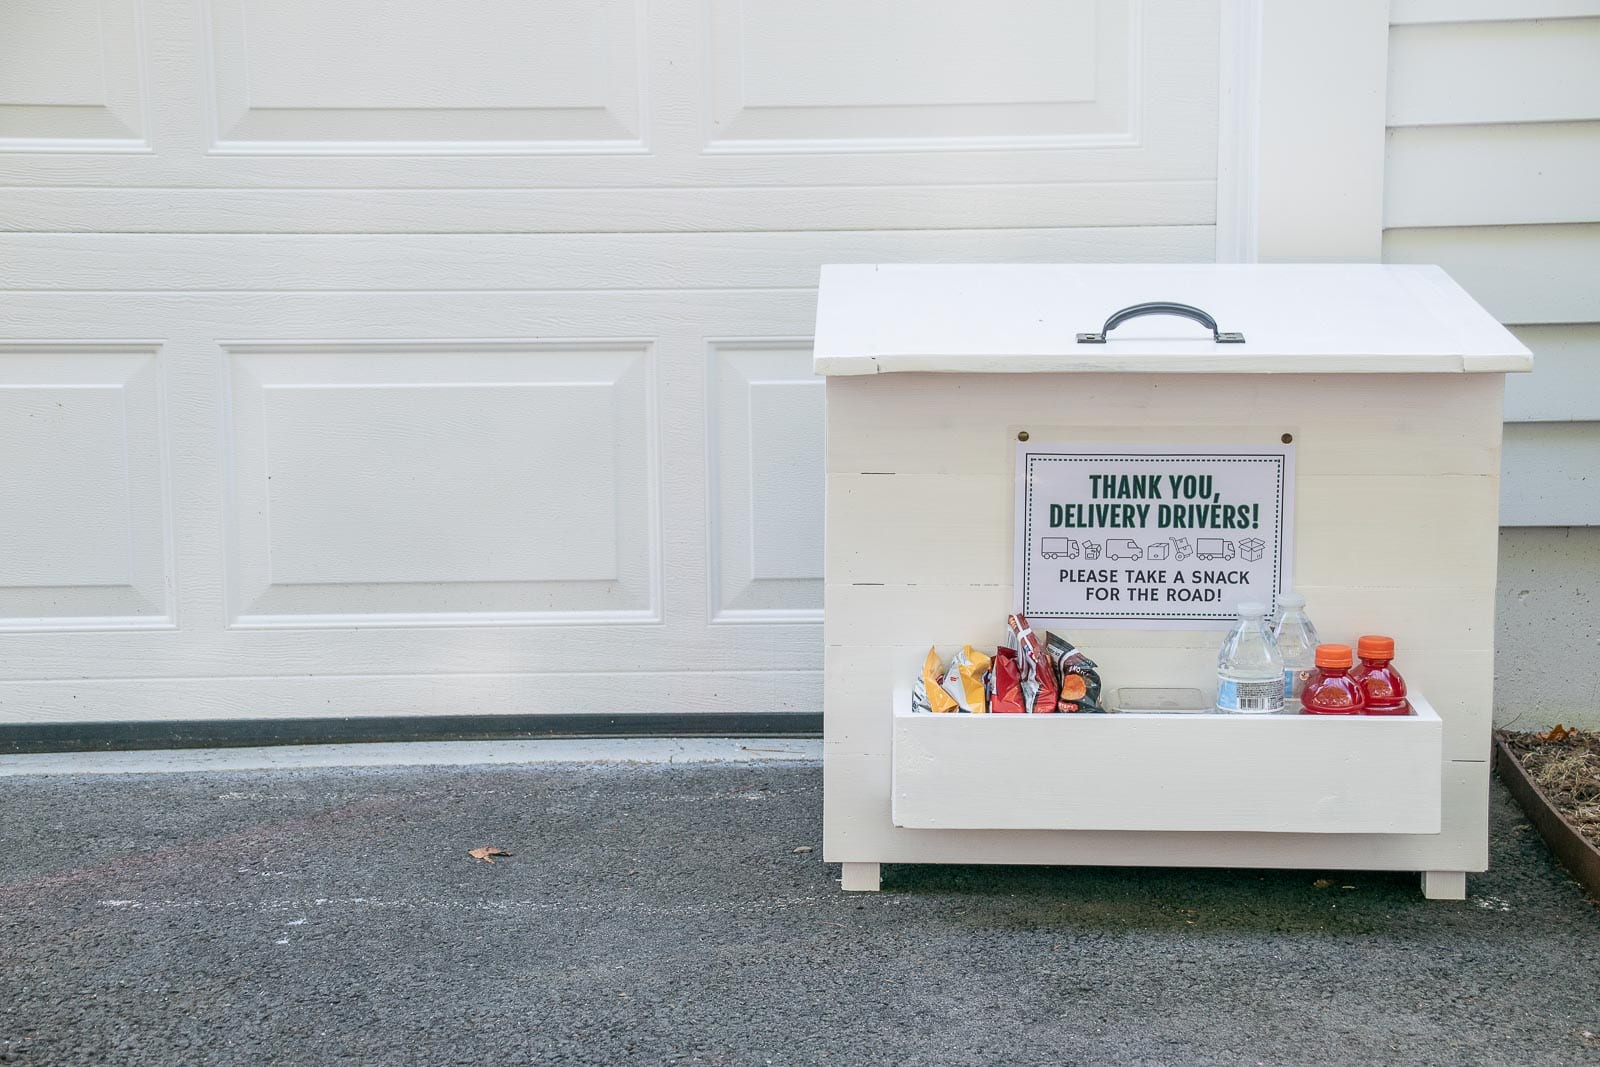
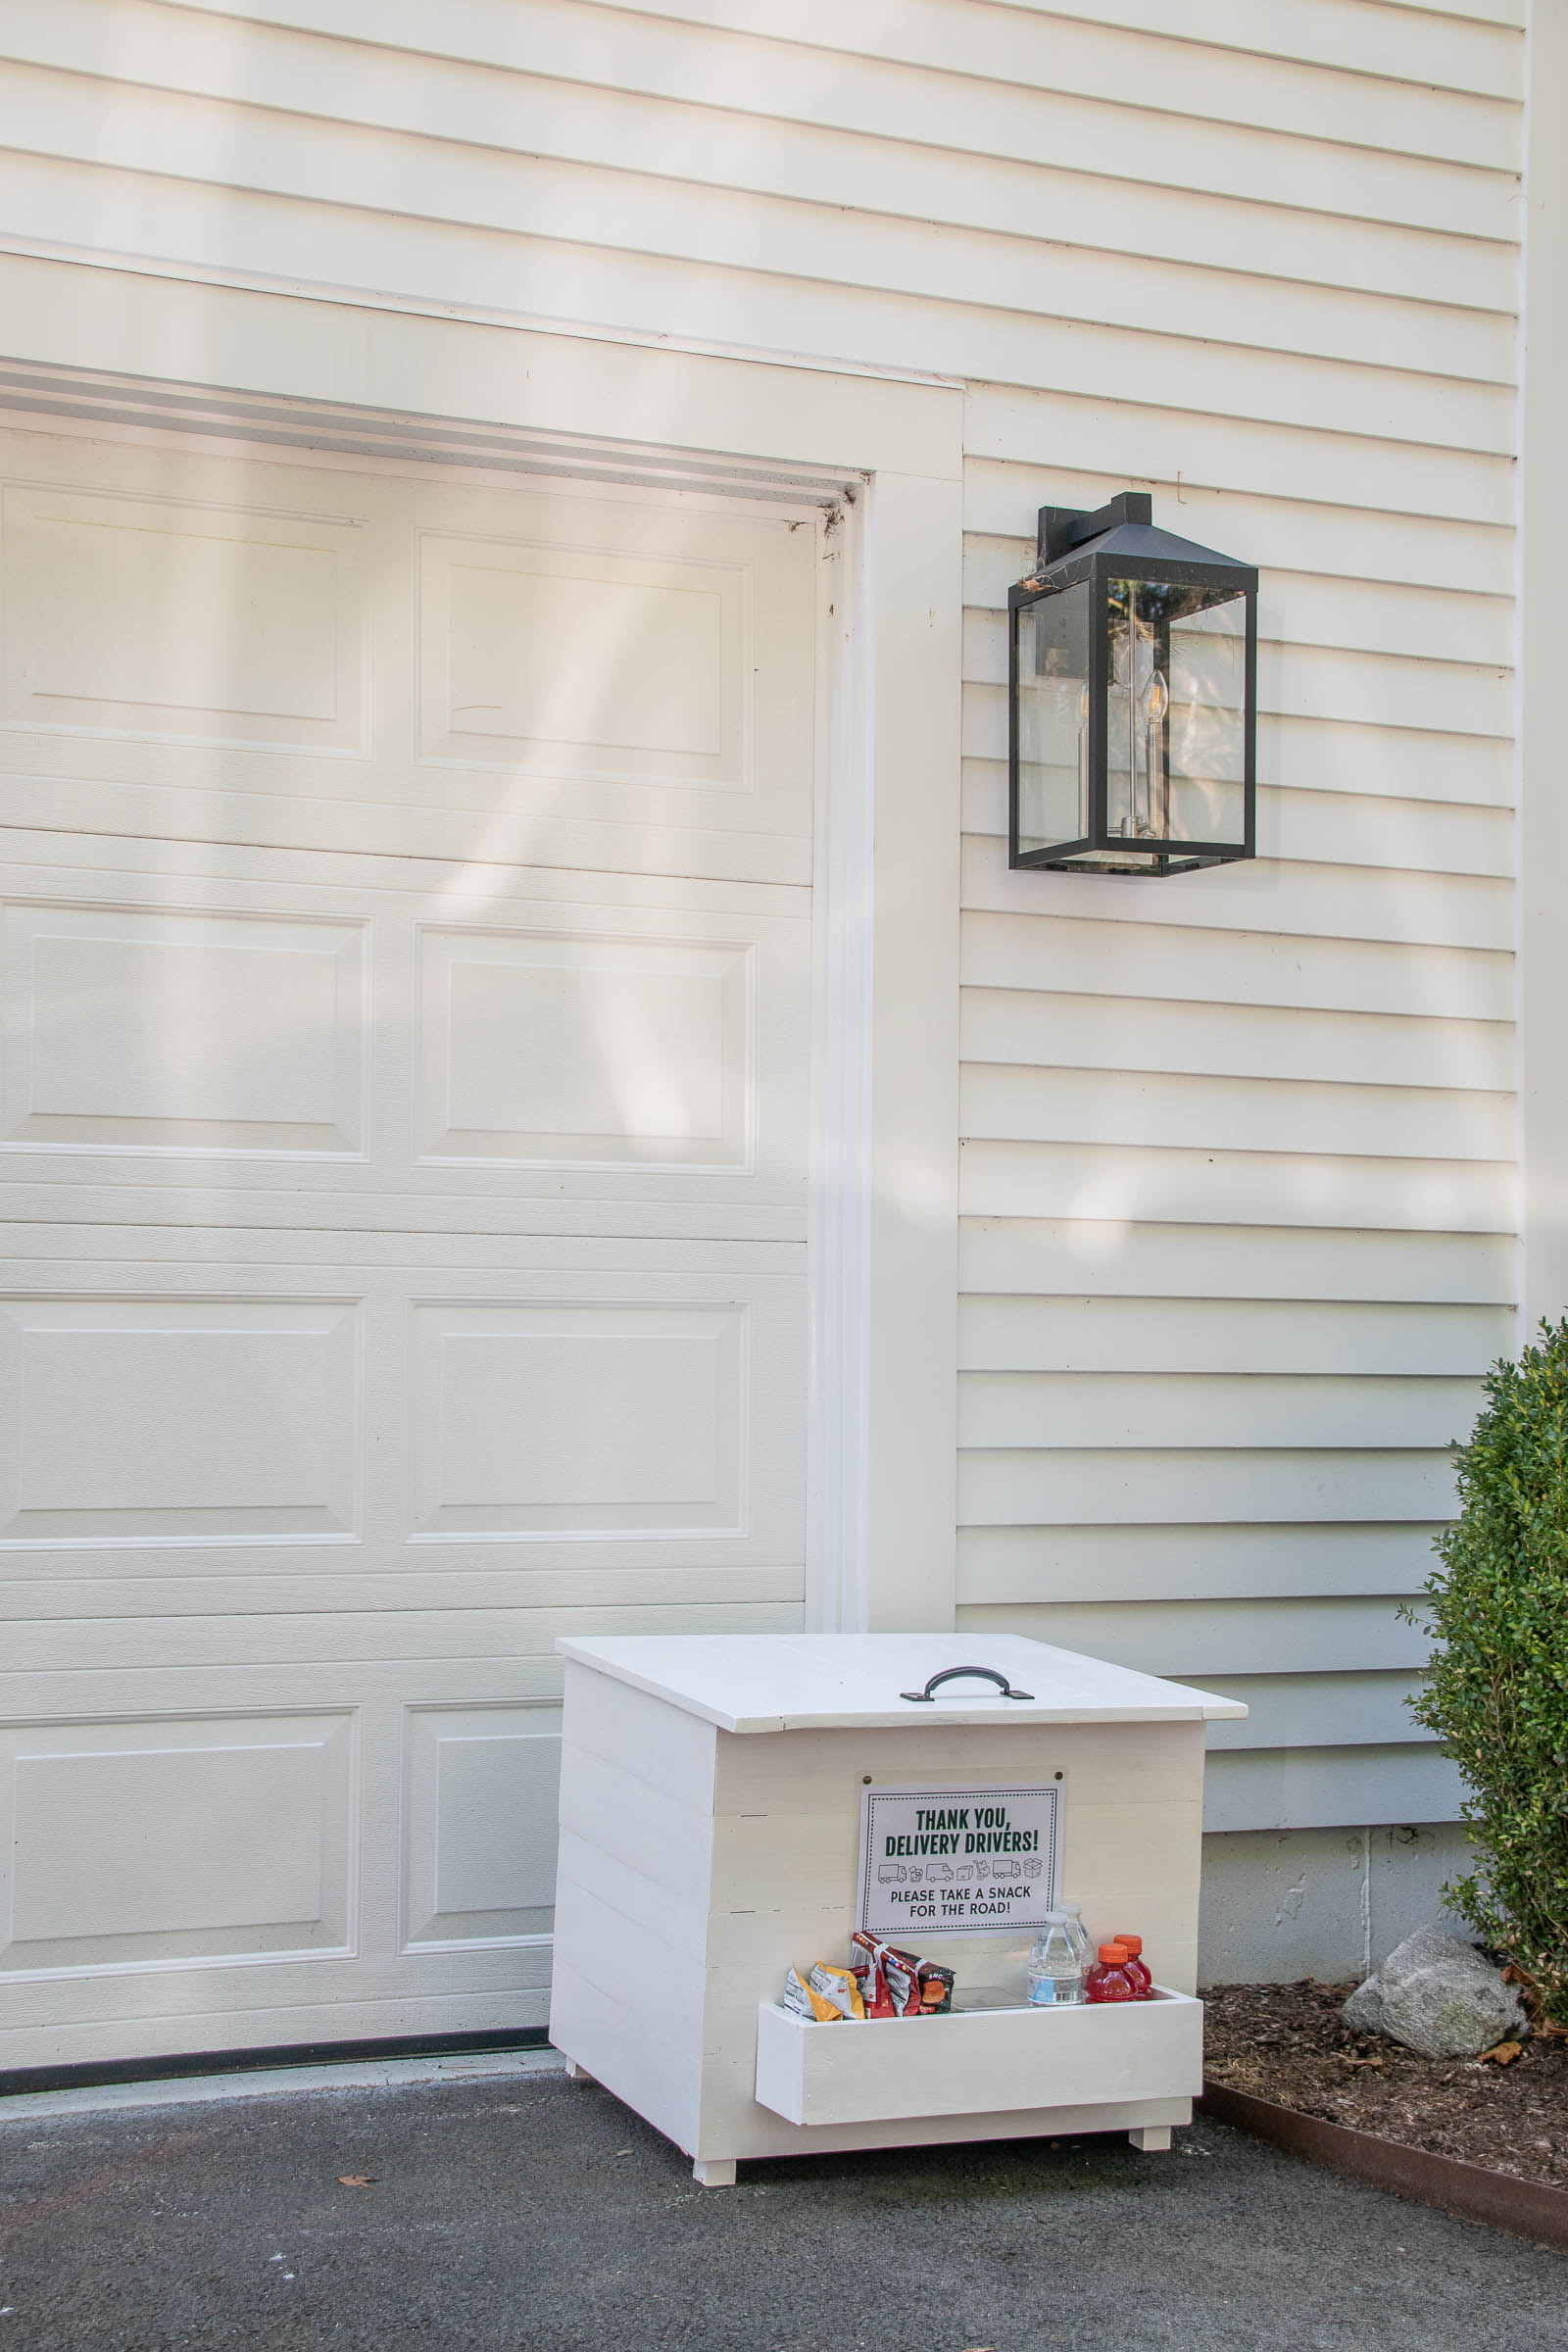
I used basic black hinges to attach the lid to the box. I had to substitute shorter screws than the ones provided with the hinges so that they wouldn’t come through on the underside of the lid. For the snack tray, I used some L brackets to hold it in place and support the bottom of the tray, but I also added 2 skinny finishing screws through the top of the box through the inside of the box. I screwed in a handle and… the box was done!

I filled the snack tray with chips, drinks and some candy… and I’ve obsessively checked our Ring cameras to see which delivery folks grab something! I have lots of extras in the garage so I can keep the snack replenished and I also feel better about having a place for our packages so they’re not just sitting on the ground in front of our garage! Win-win!
Materials for Delivery Box:
- Kreg Pocket Hole Jig 720-pro
- Kreg exterior screws
- drill
- 2×3 pine stud
- 1×5 pine common board
- 1×4 pine common board
- brad nailer
- miter saw
- wood glue
- optional and helpful: clamps
- hinges
- handle
- primer
- paint
- sander
- wood fill

As a delivery driver myself, it warms my heart to see this project! Not only have you created a dry safe place for your deliveries, but you have put thought into the folks making the deliveries! There are days when those little acts of kindness really pull me through an otherwise long and difficult day! Bless you!
I love this! If only I could keep my kids from sneaking the chips whenever I restock…