
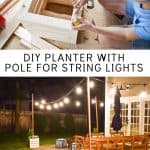
DIY Planter with Pole for String Lights
Psssst… this post *might* contain affiliate links: see my disclosure here.
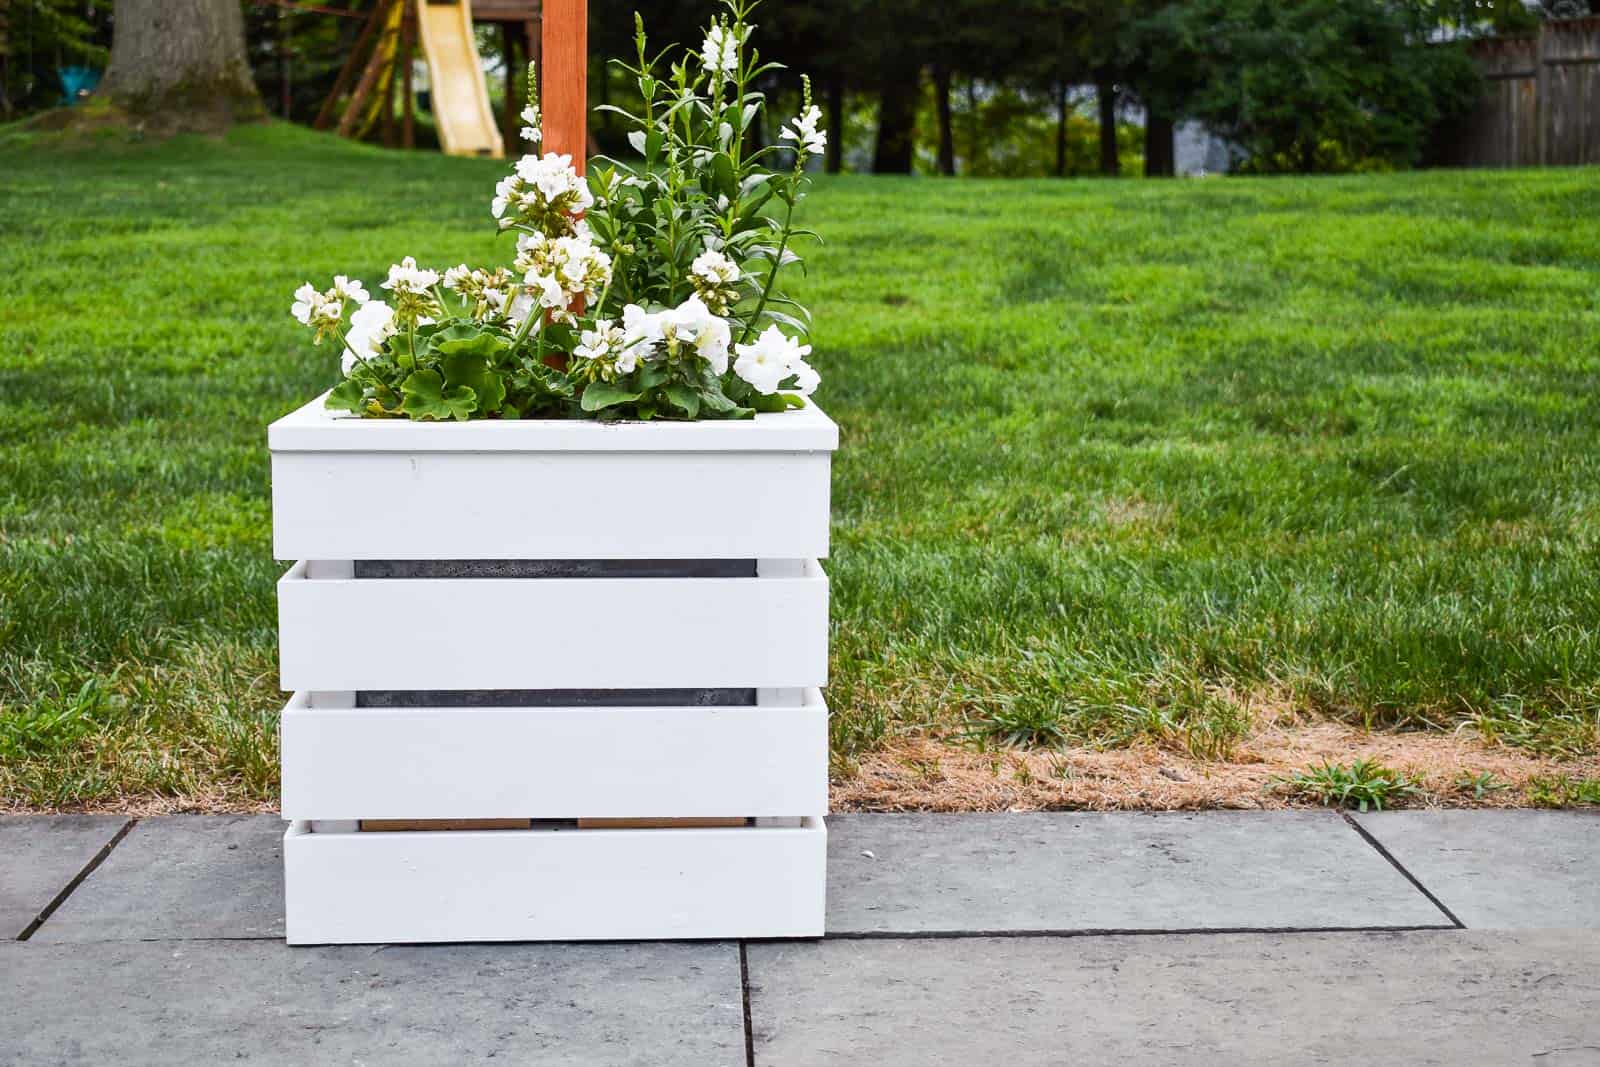
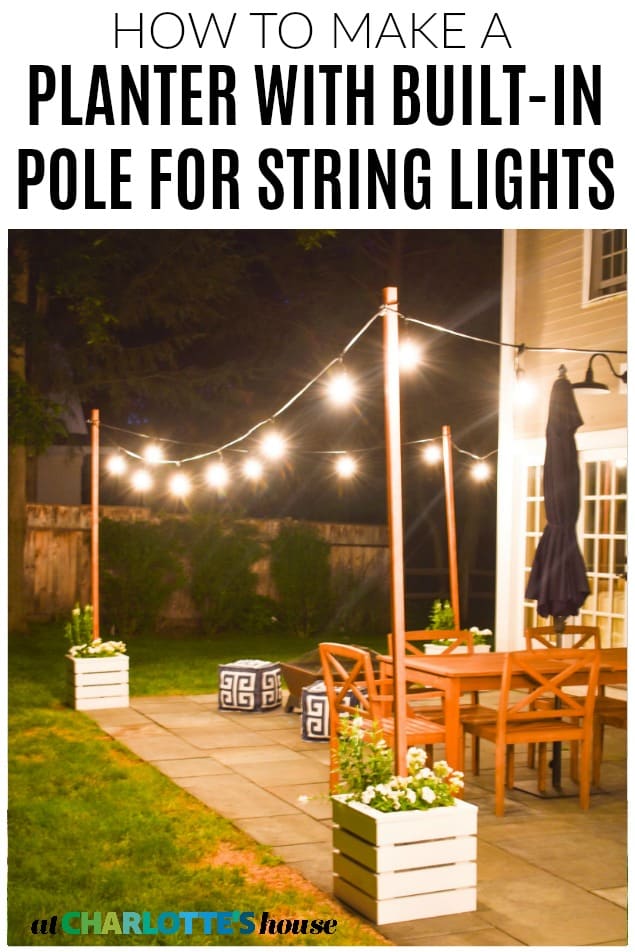
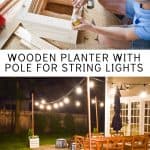
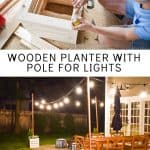
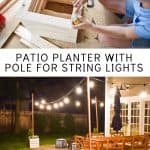
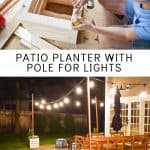
Wooden Planters with Built-In Posts for Hanging String Lights
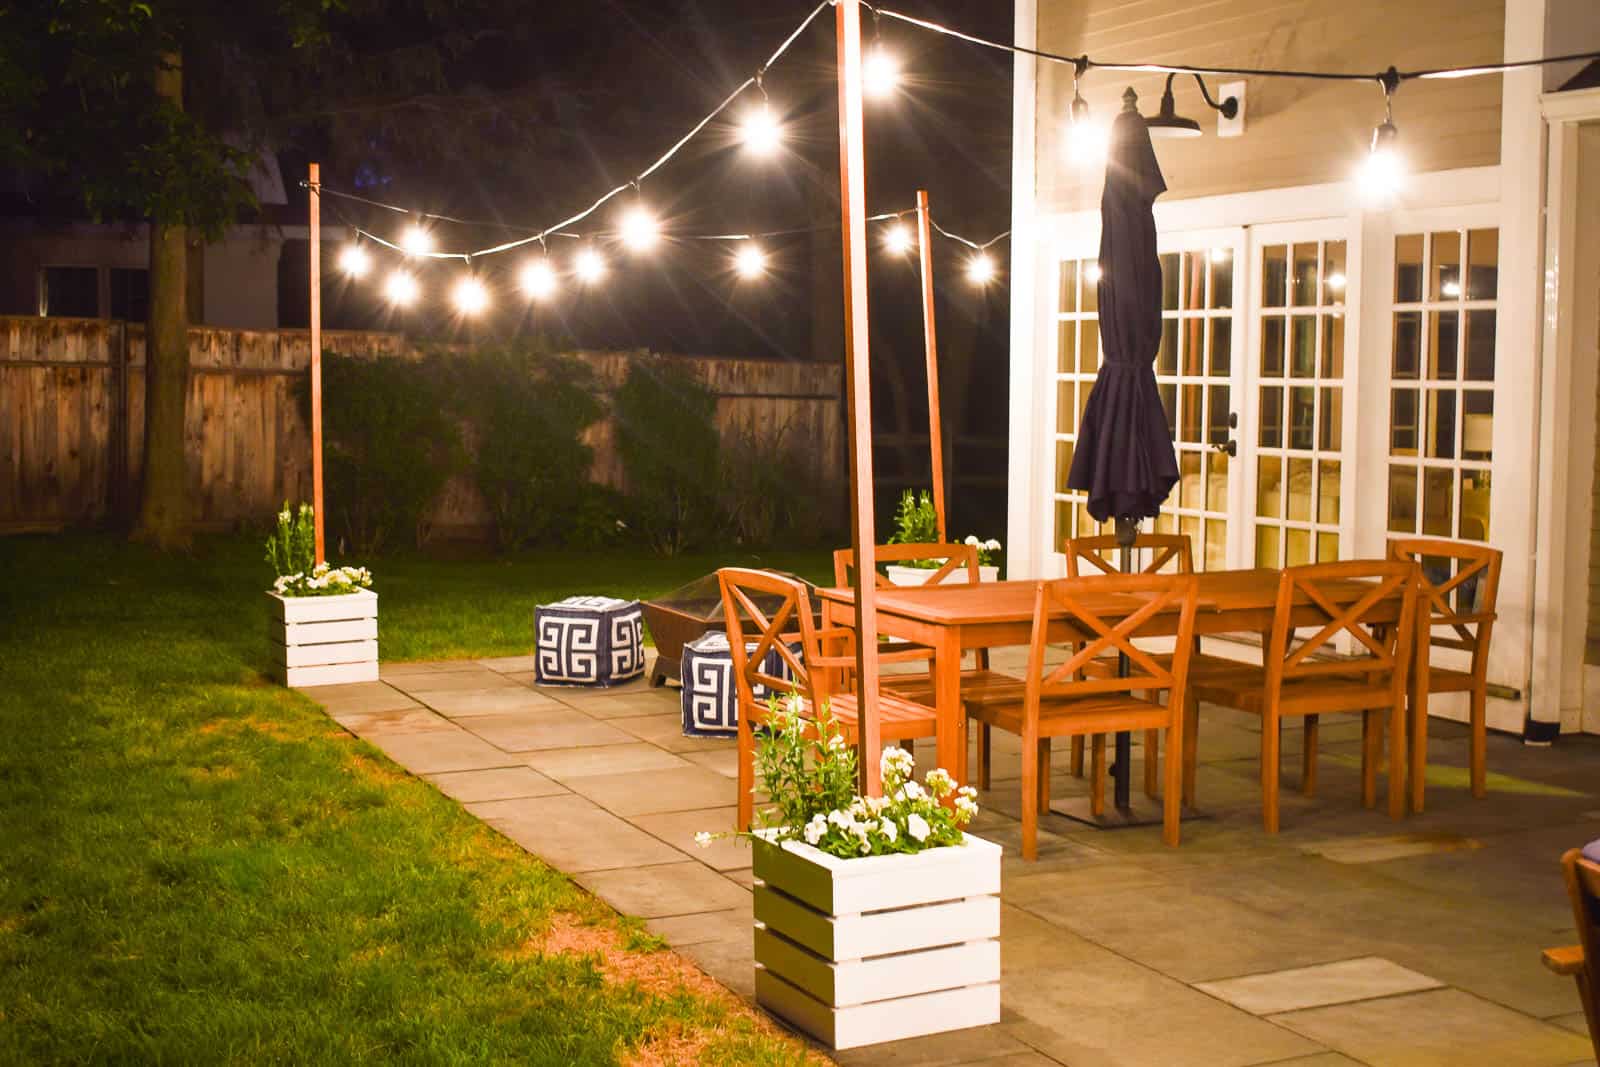
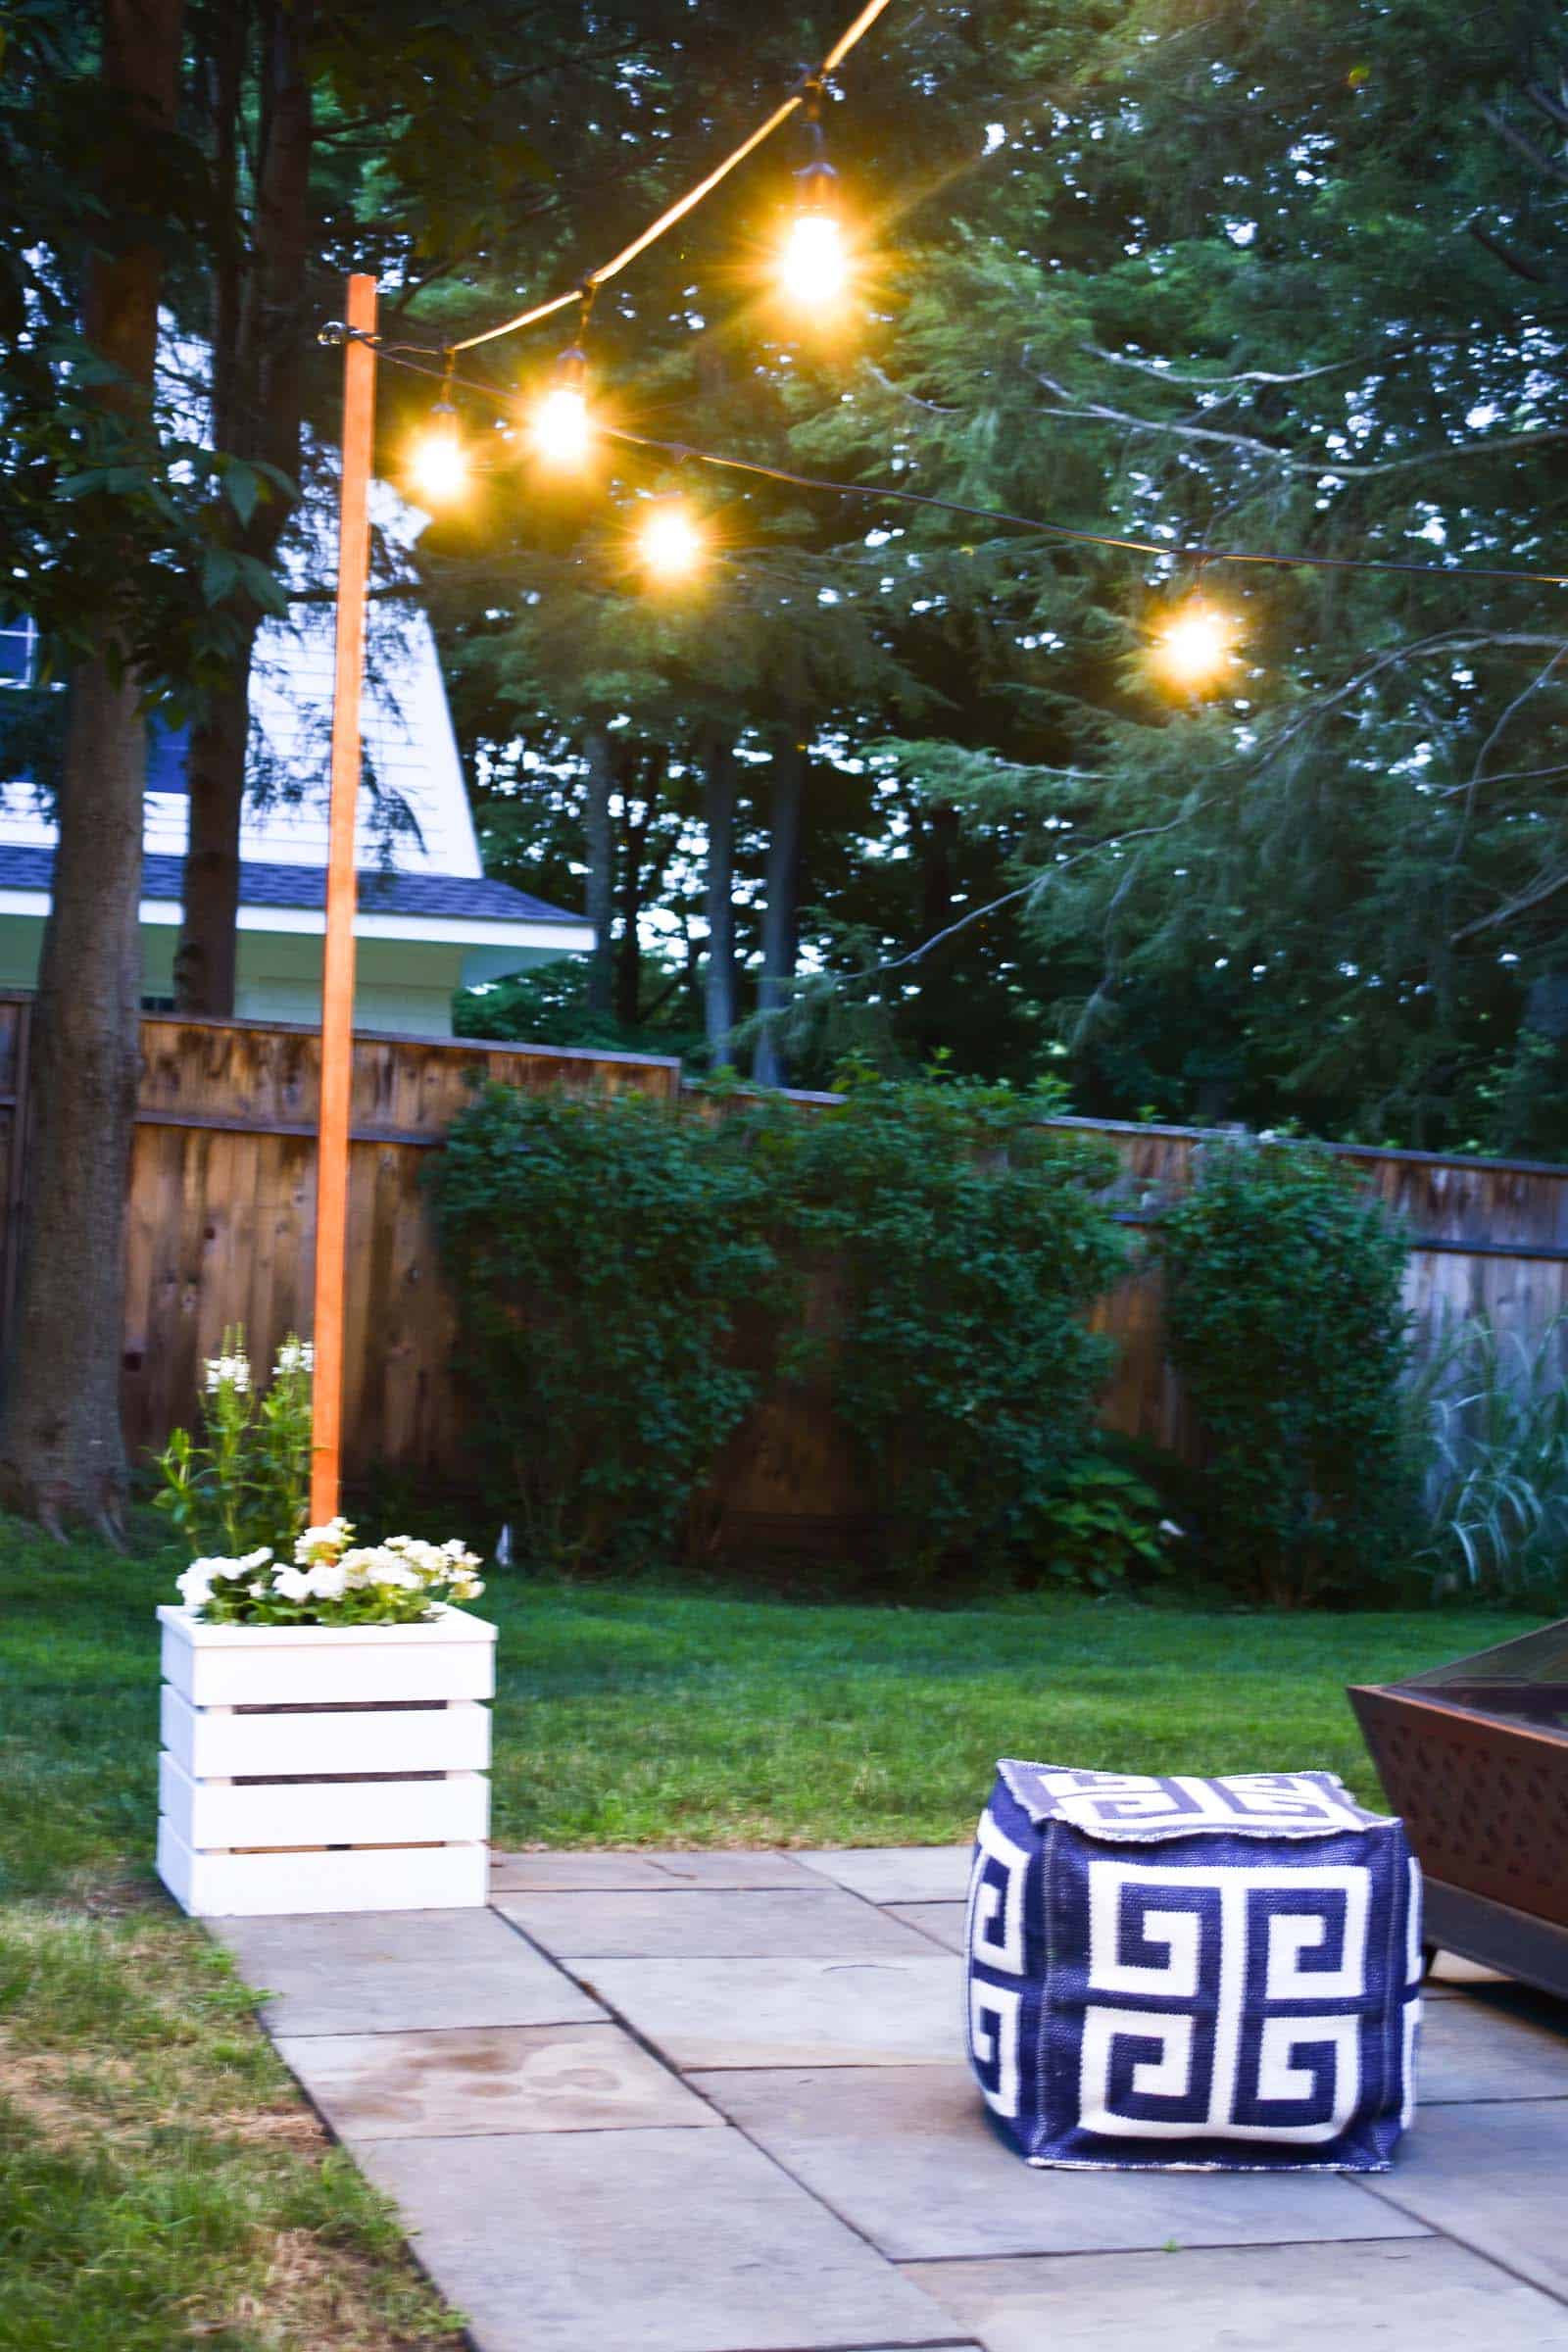
I love how these planters have built in poles for string lights: we can plant them with summer flowers and enjoy the ambiance of string lights at night!
Earlier in the summer, one of my friends asked whether I’d ever used concrete to make a planter with a pole for holding up string lights. My answer was nope, but… I offered to make one out of wood so it would be a little more stylish and a little less heavy. Thanks so much to those of you asking about the instructions… hopefully these make sense, but leave a comment with ANY questions! Unfortunately when I build I kind of make it up as I go so it’s not always so easy to write up when all’s said and done.
Shop my favorites!
Materials for 16x16x16 Planter
• 2×3 for the underlying frame
• 1×4 for the side slats
• 2×2 for the center pole
• 1×2 to support the pole inside the planter
• 1×3 for the top rim
• Simpson Strong Tie Right Angle
• Eye hook
• Quick link
• Paint/ Stain
• Caulk/ Wood fill
• Wood Glue
• (Optional) Plastic/ staple gun
• Drill
• Kreg Pocket Hole system
• Brad nailer
• Also shown: Ryobi Pressure Washer
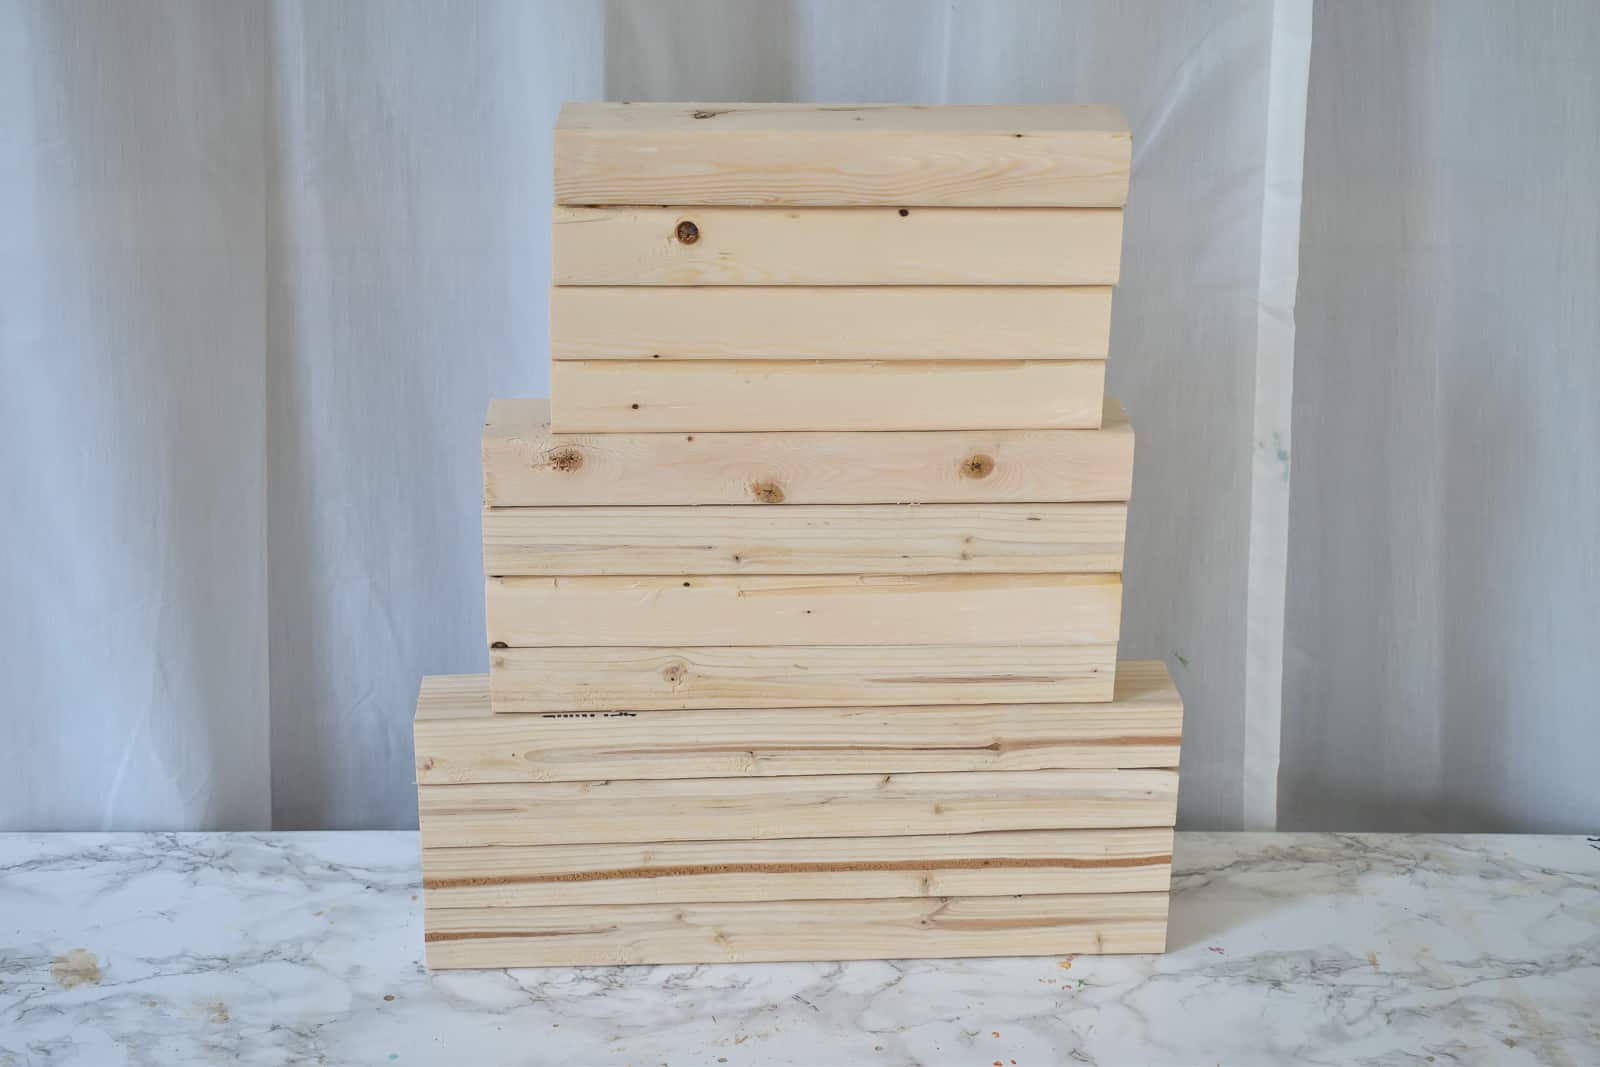
Essentially, I made a box out of the 2x3s and then covered them with 1×4 slats. The planter I made was 16 x 16 x 16 so I started by cutting the 2x3s as follows:
(4) 11-inch lengths
(4) 13-inch lengths
(4) 16-inch lengths
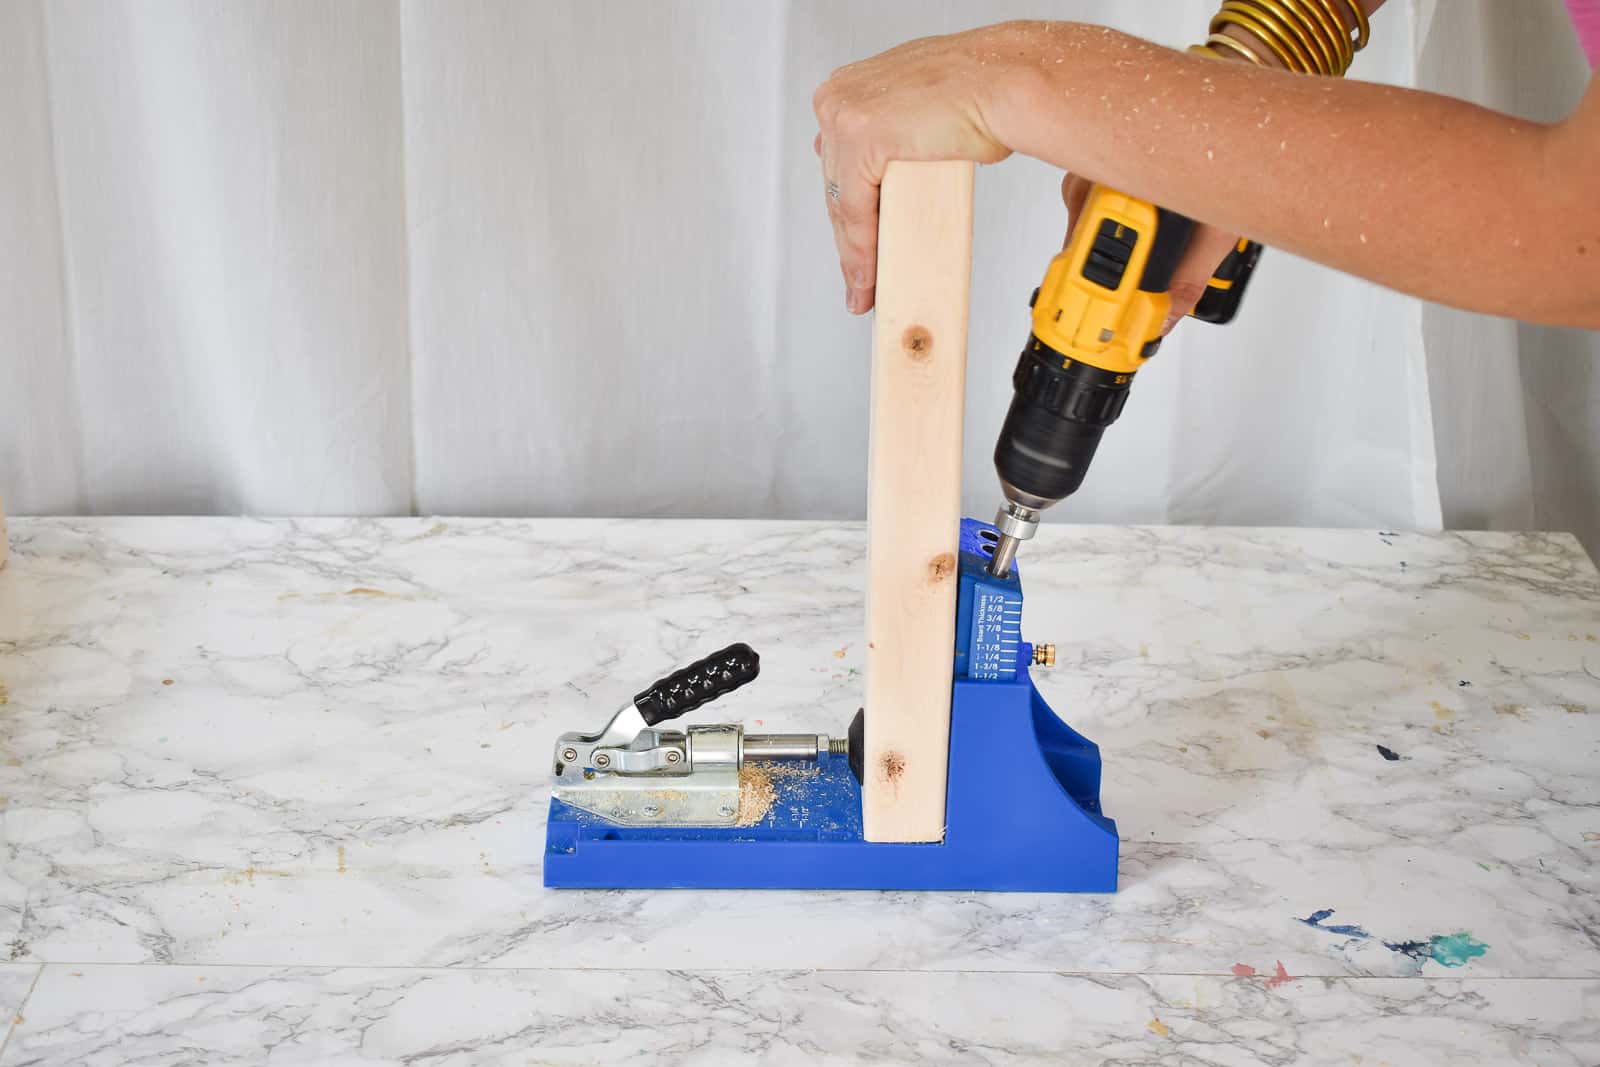
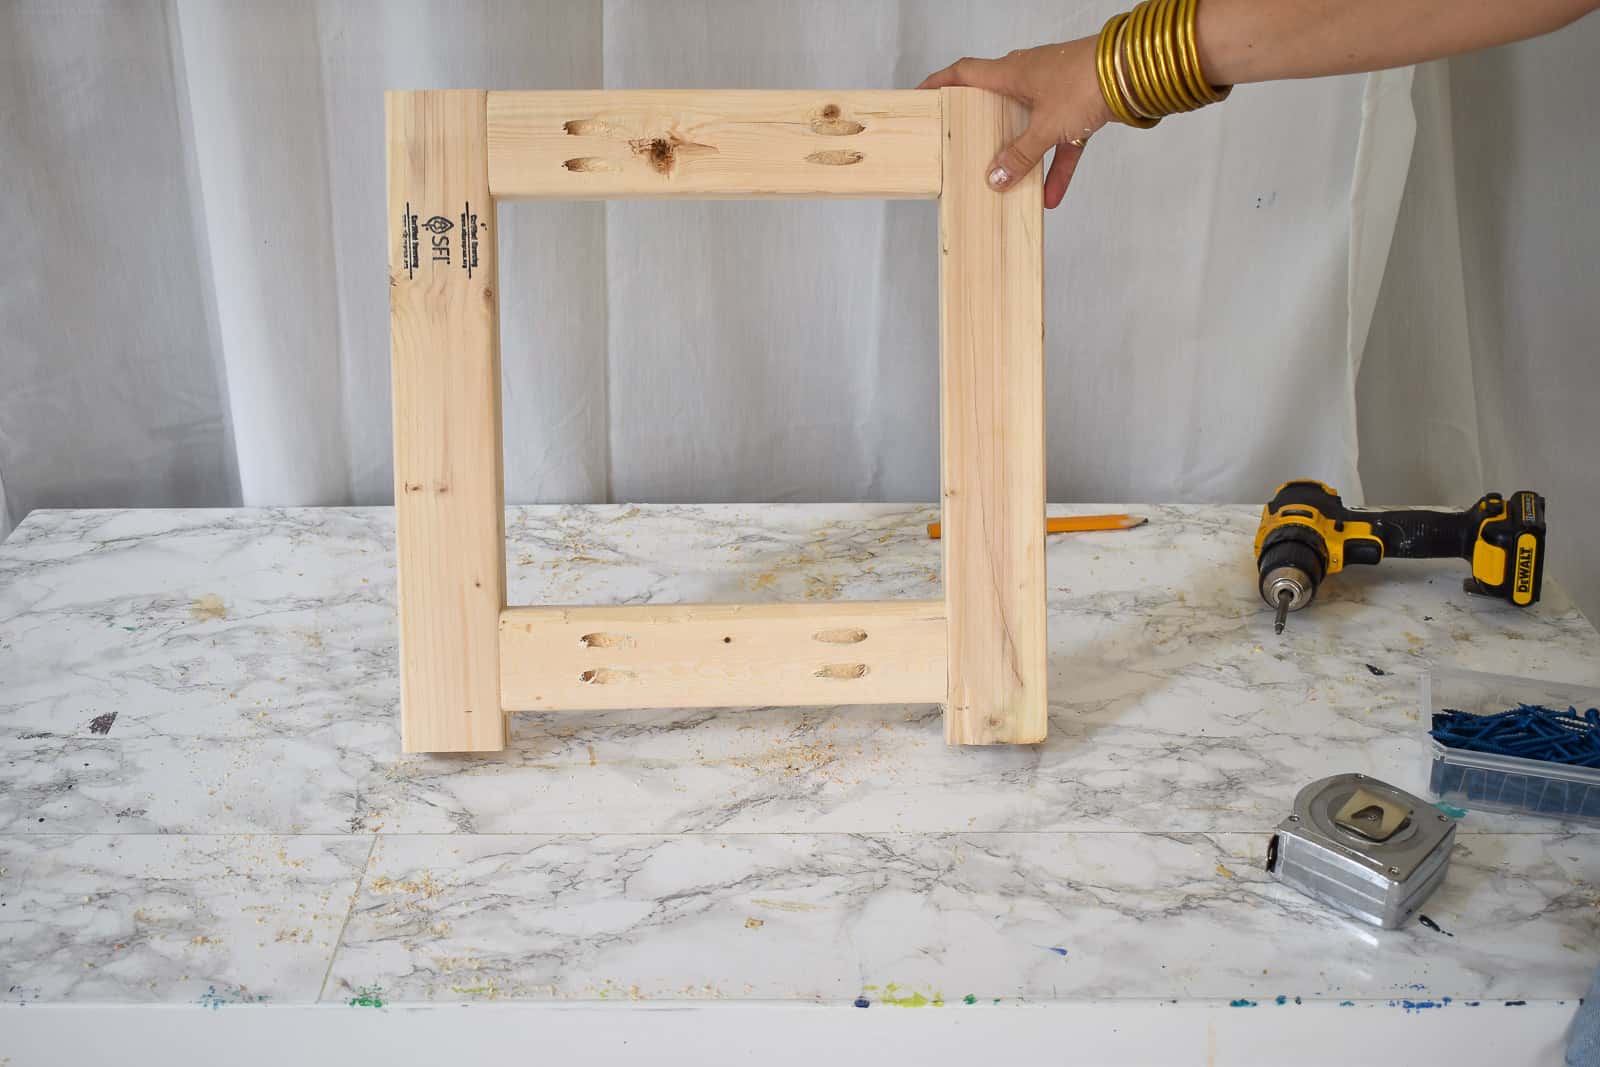
Step 1: Build the Planter Frame
To build the planter frame, I used my Kreg jig and made a pair of pocket holes in either end of the 11-inch pieces AND either end of the 13-inch pieces.
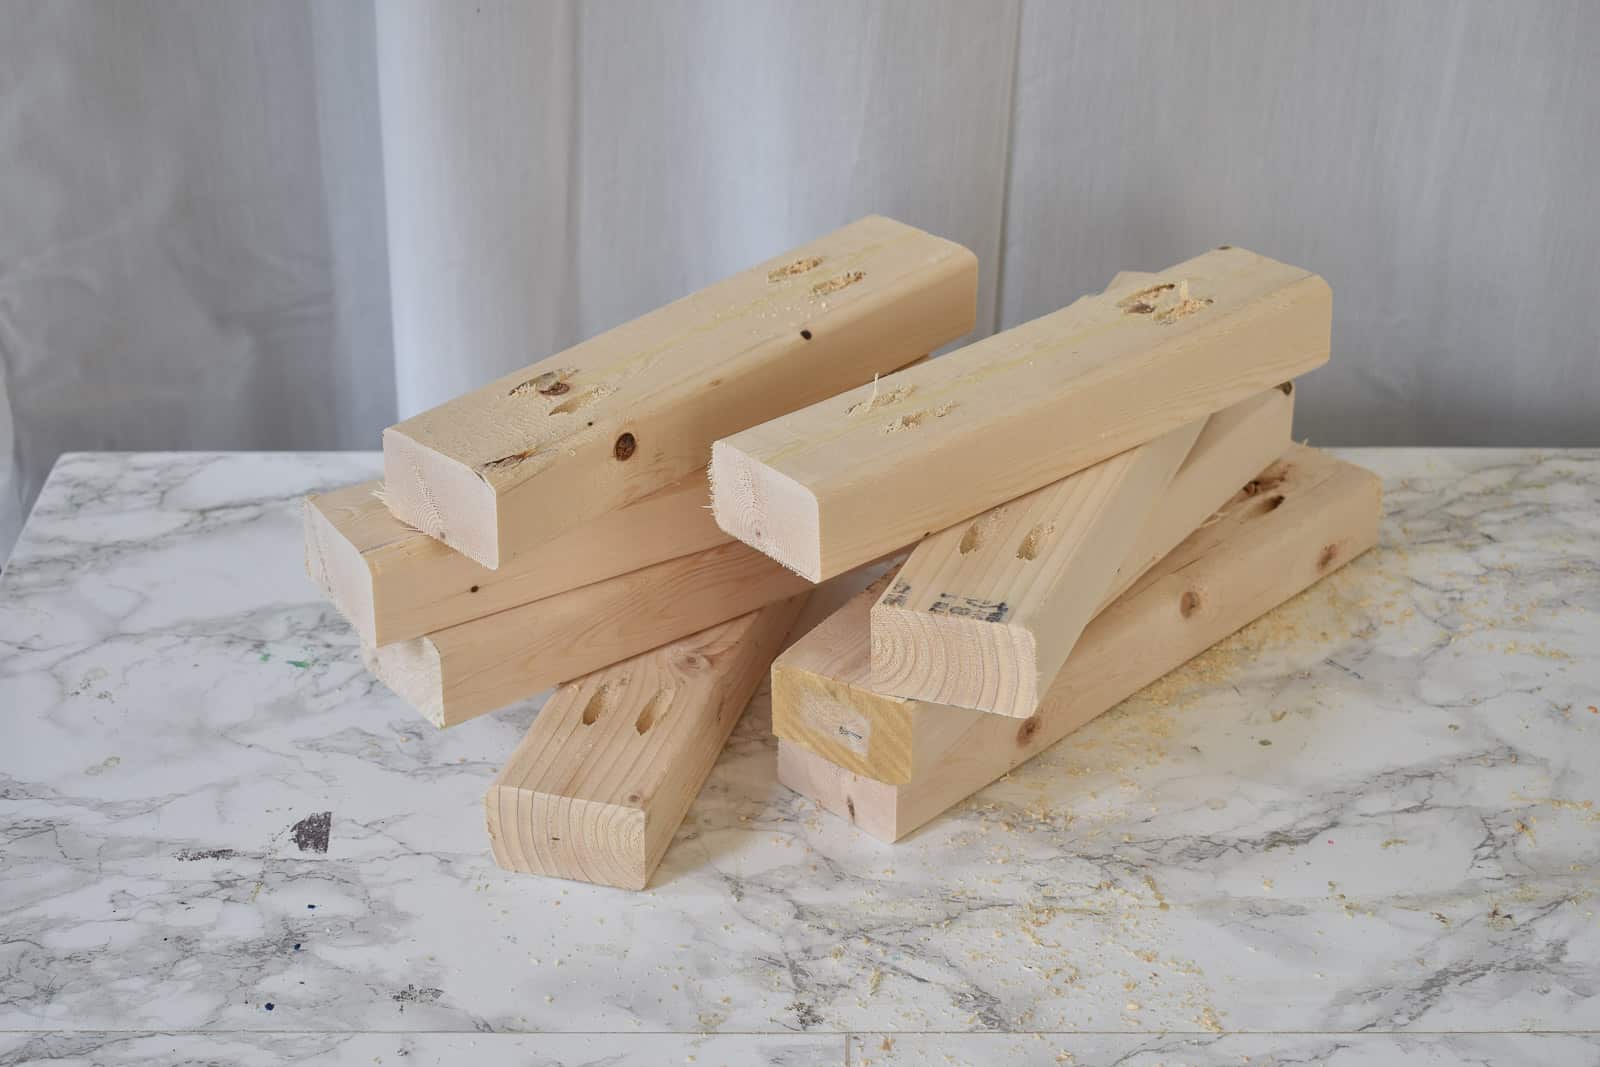
I assembled the two planter ends first as shown using the 16″ lengths and the 11″ lengths. Note that I attached the lower edge of the planter about one inch high up the sides to protect it a bit from moisture on the ground. Essentially, I gave my planters little ‘feet’.
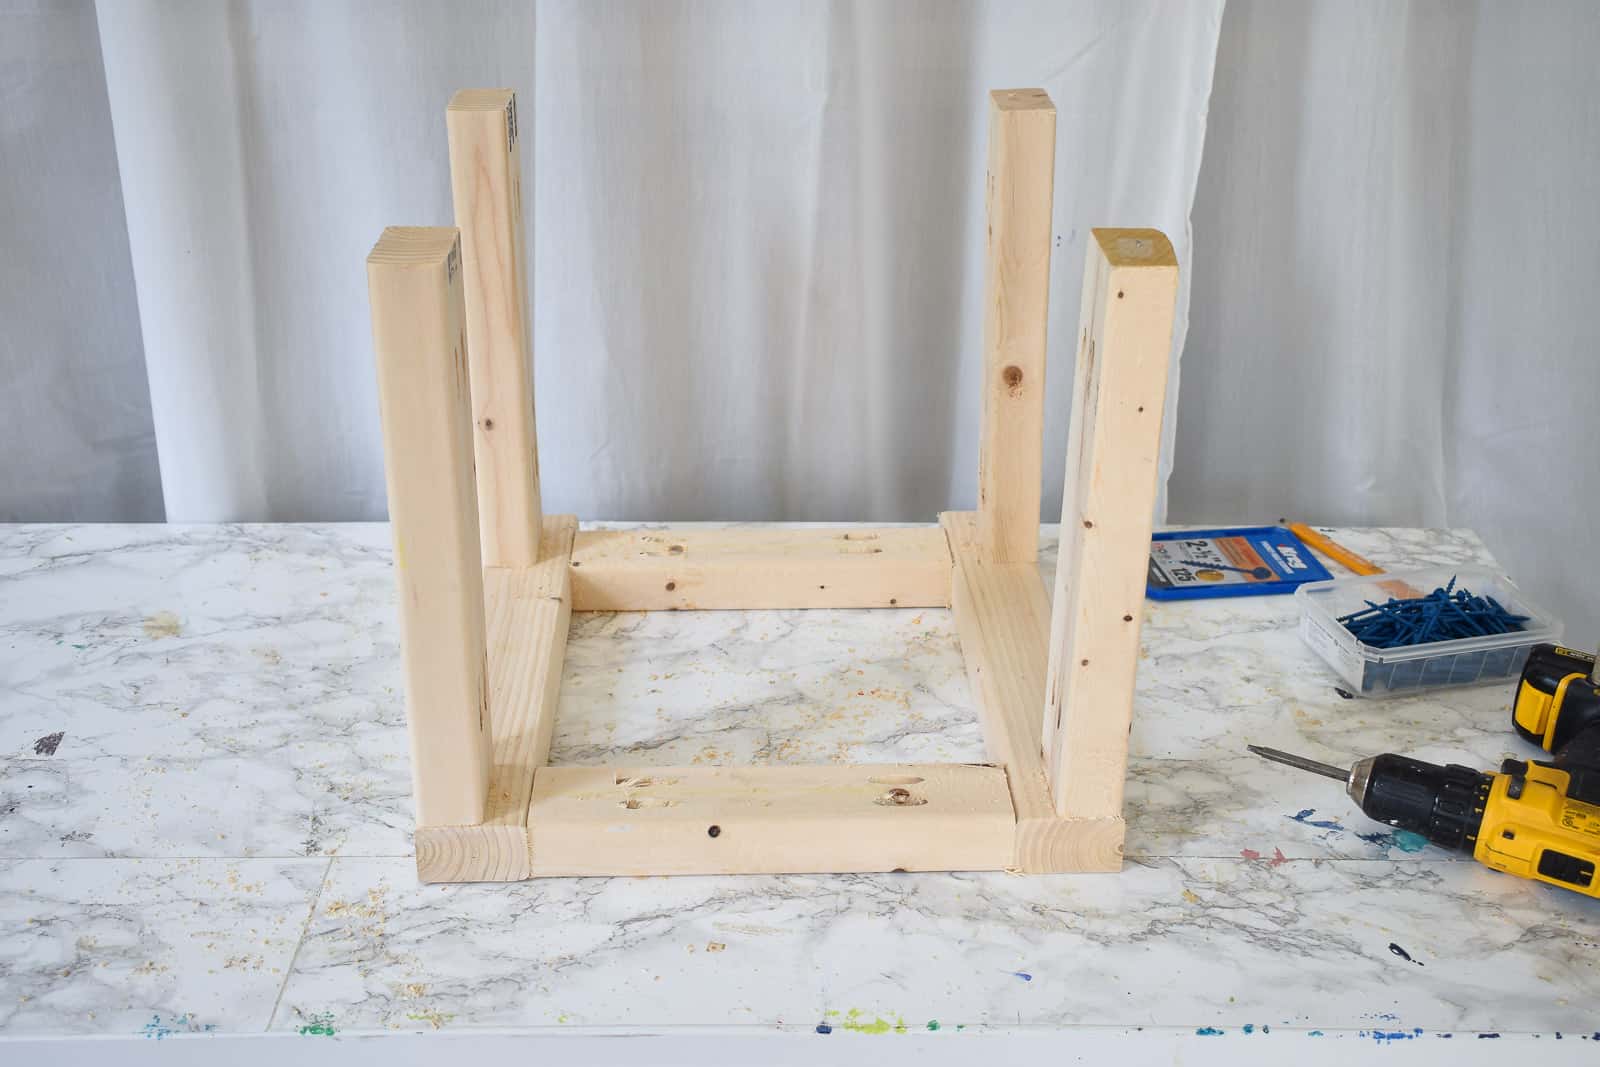
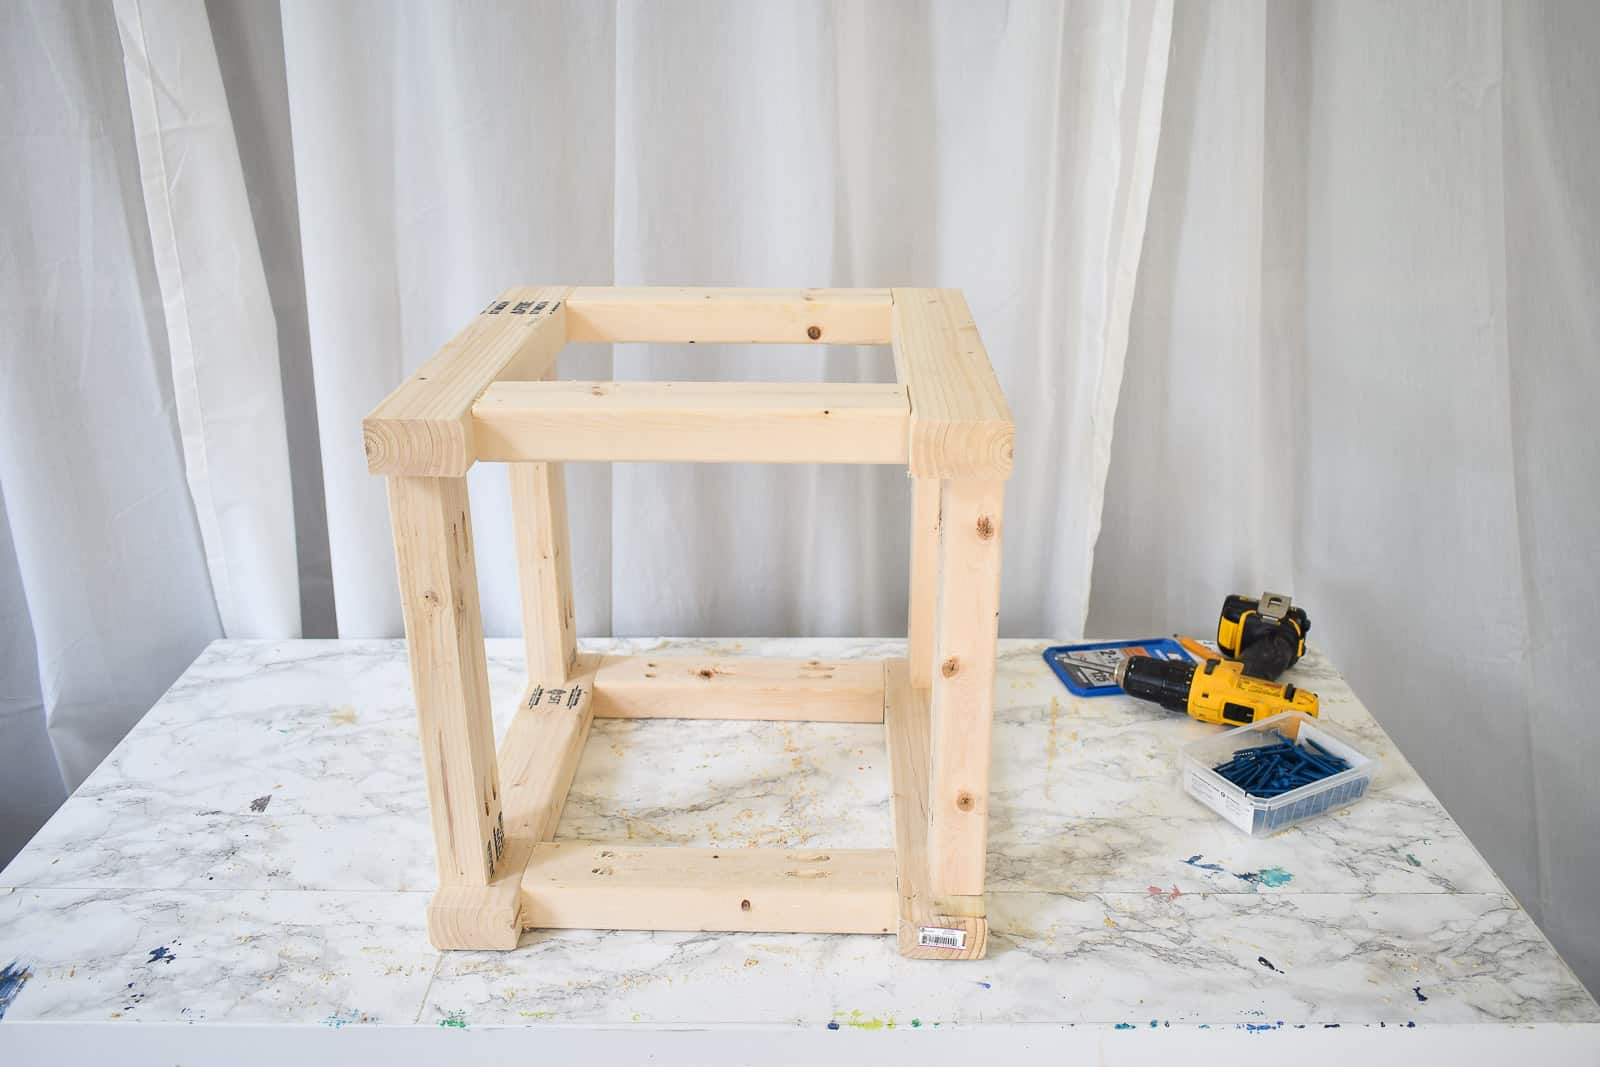
Once either end was assembled, I attached the four 13-inch lengths to each corner. I get a little lazy when screwing together my Kreg joints so I don’t clamp as often as I should. I used my body weight so I drill down into the material on the table. In other words, I screwed the four 13-inch lengths down into one end of the planter, then I inverted this entire thing on top of the other end. (It looked like a table was resting on top of the second end of the planter.)
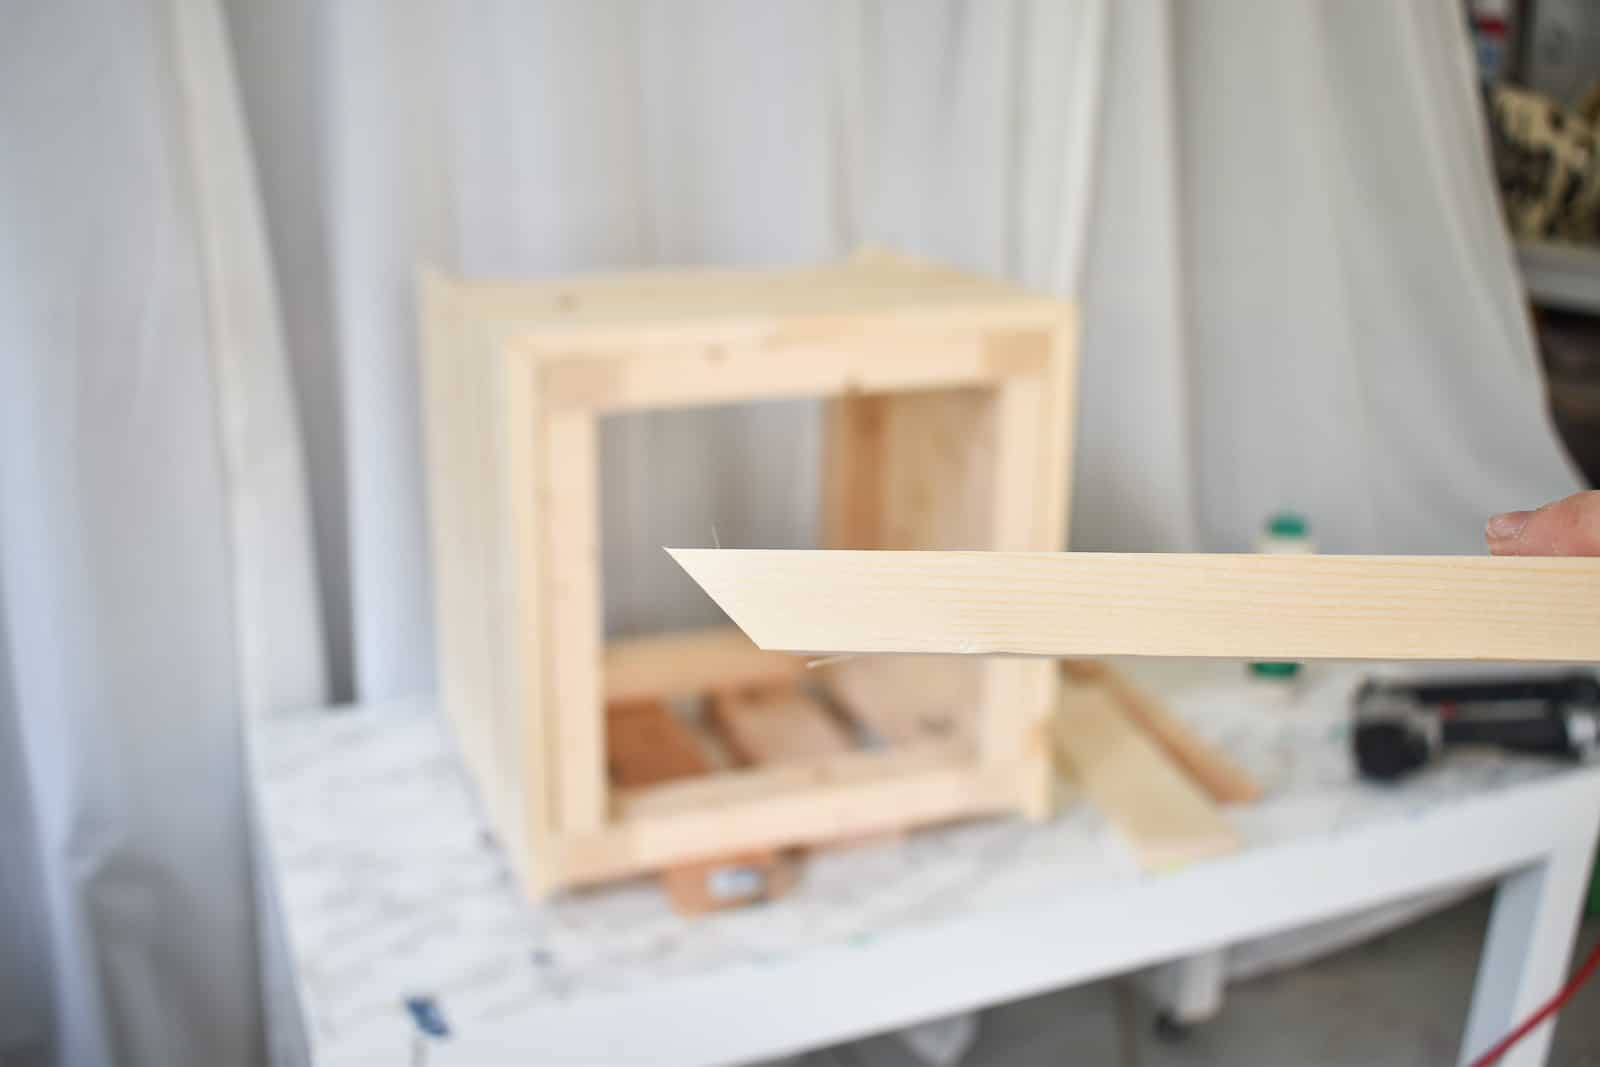
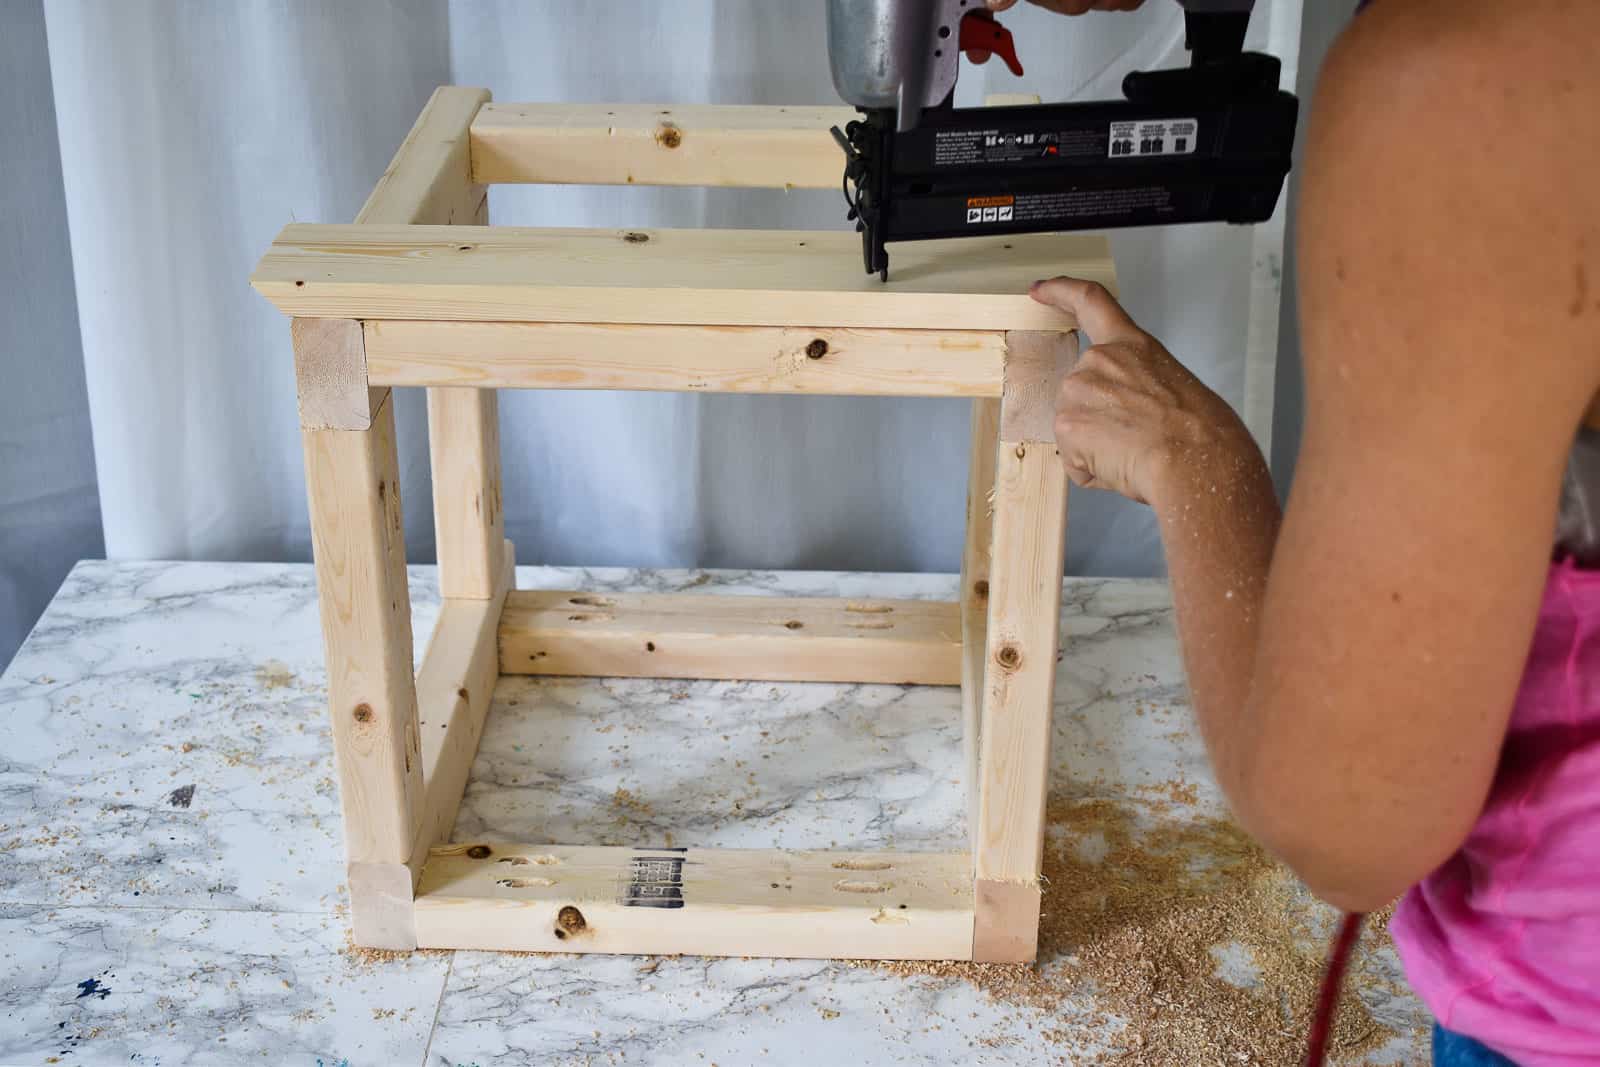
Step 2: Add slats
For the slats, I set my miter saw to 45 degrees and started by measuring the width of the planter and cutting the shortest side of the mitered slat to this length… but I found that it was ultimately easier just to mark the boards to fit and cut each one accordingly.
To attach the slats, I applied wood glue and then used my pneumatic brad nailer. I used a piece of scrap wood as a spacer, but there’s no reason you can’t just use a ruler if scrap wood doesn’t provide the right spacing to fit your planter.
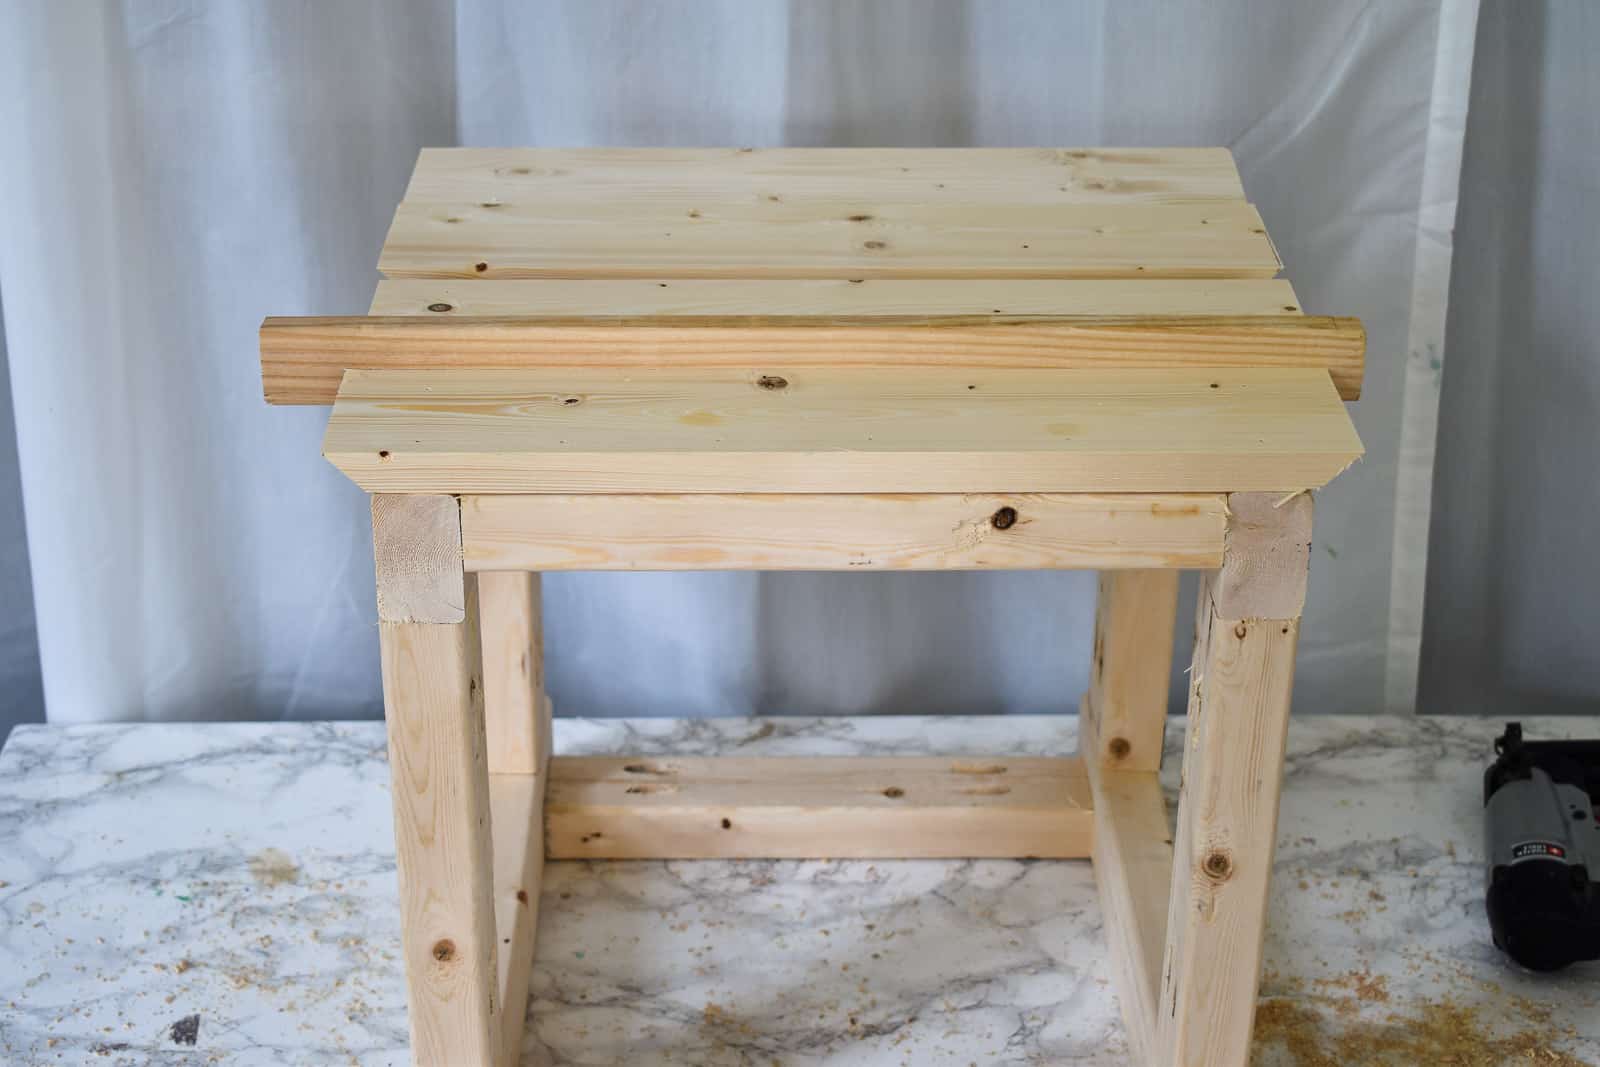
Step 3. Add Top Edge
With all the slats attached, I realized that the top edge of the planter looked a little sloppy. A 1×3 was essentially the perfect size for a top edge, so back to The Home Depot I went and grabbed two 1x3s. Again, I mitered the edges and dry fit the boards, then went back over with wood glue and my brad nailer.
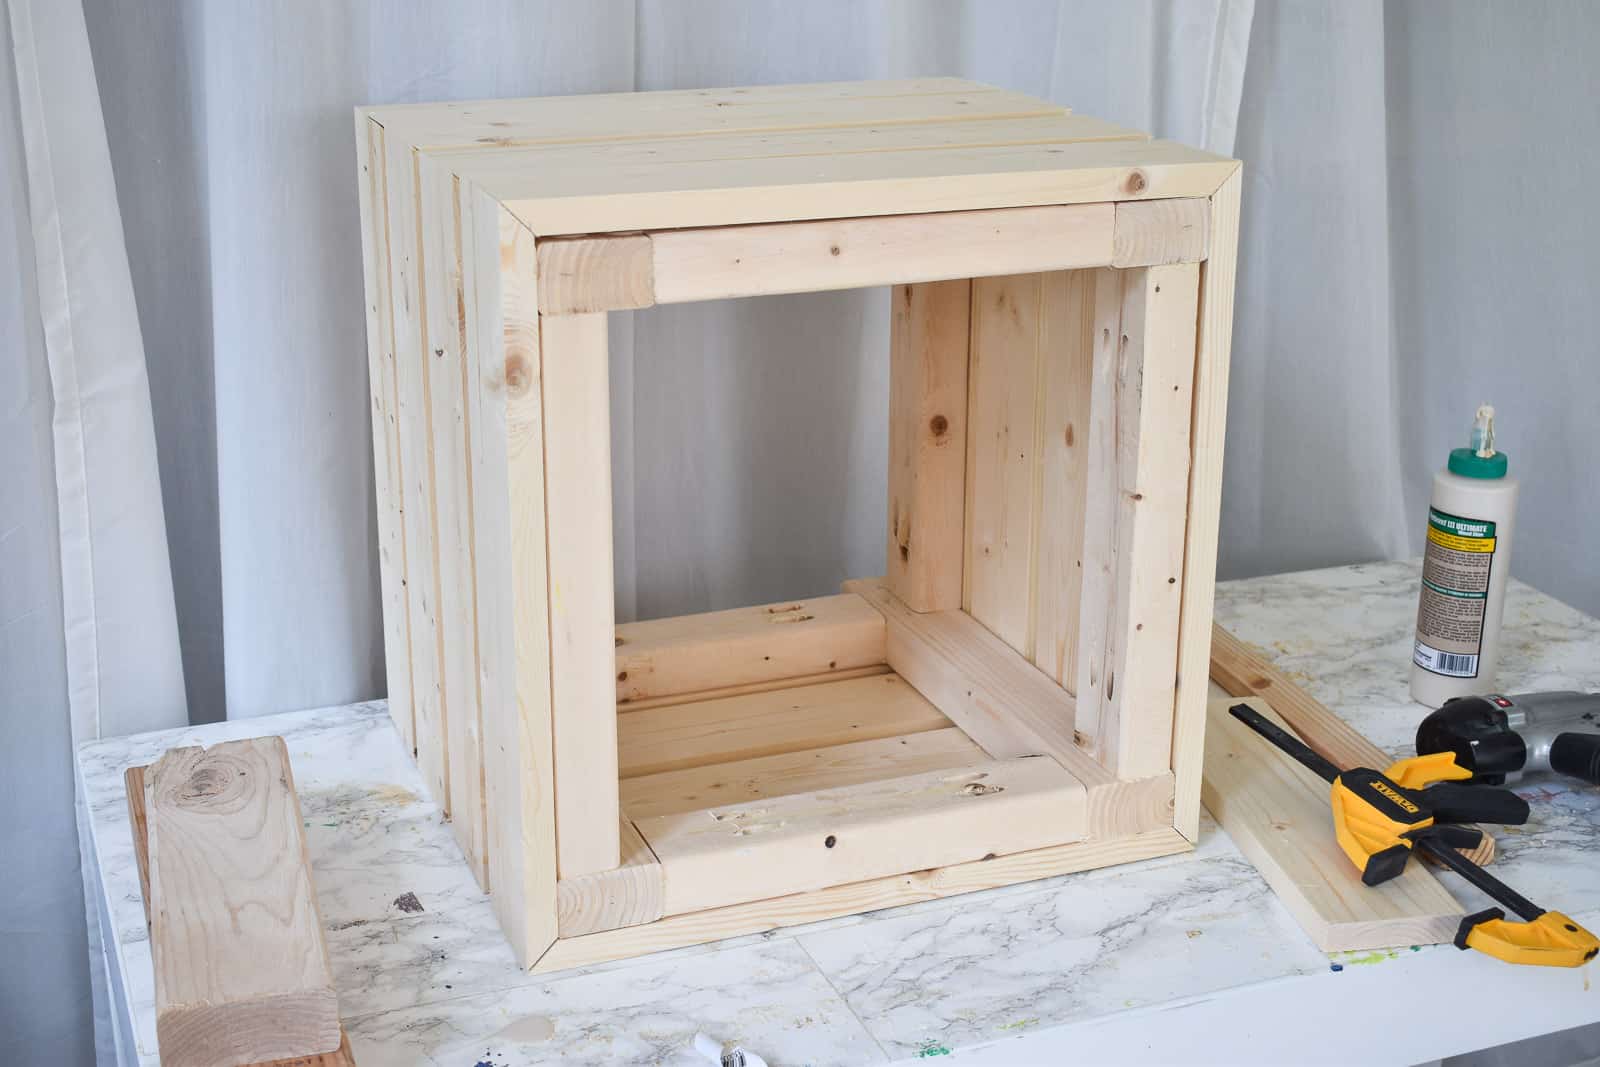
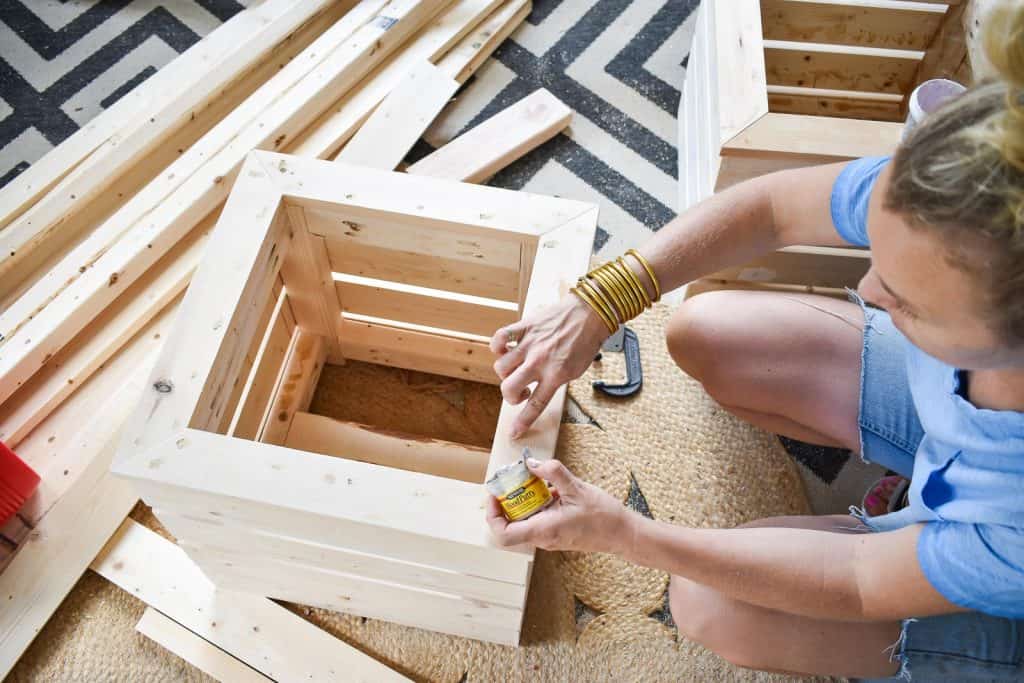
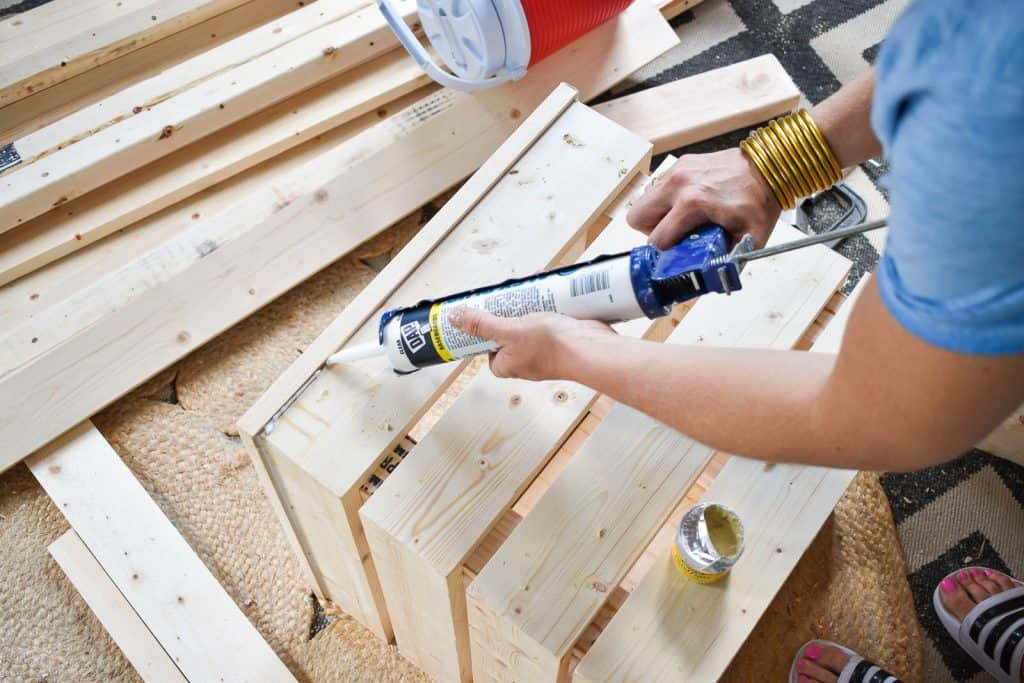
Step 4. Fill in wood holes and seams
Keeping the planter as water tight as possible was a goal of mine to prevent wood rod, so I was careful to fill in all the wood holes and caulk any exposed seams. (I used this caulk.)
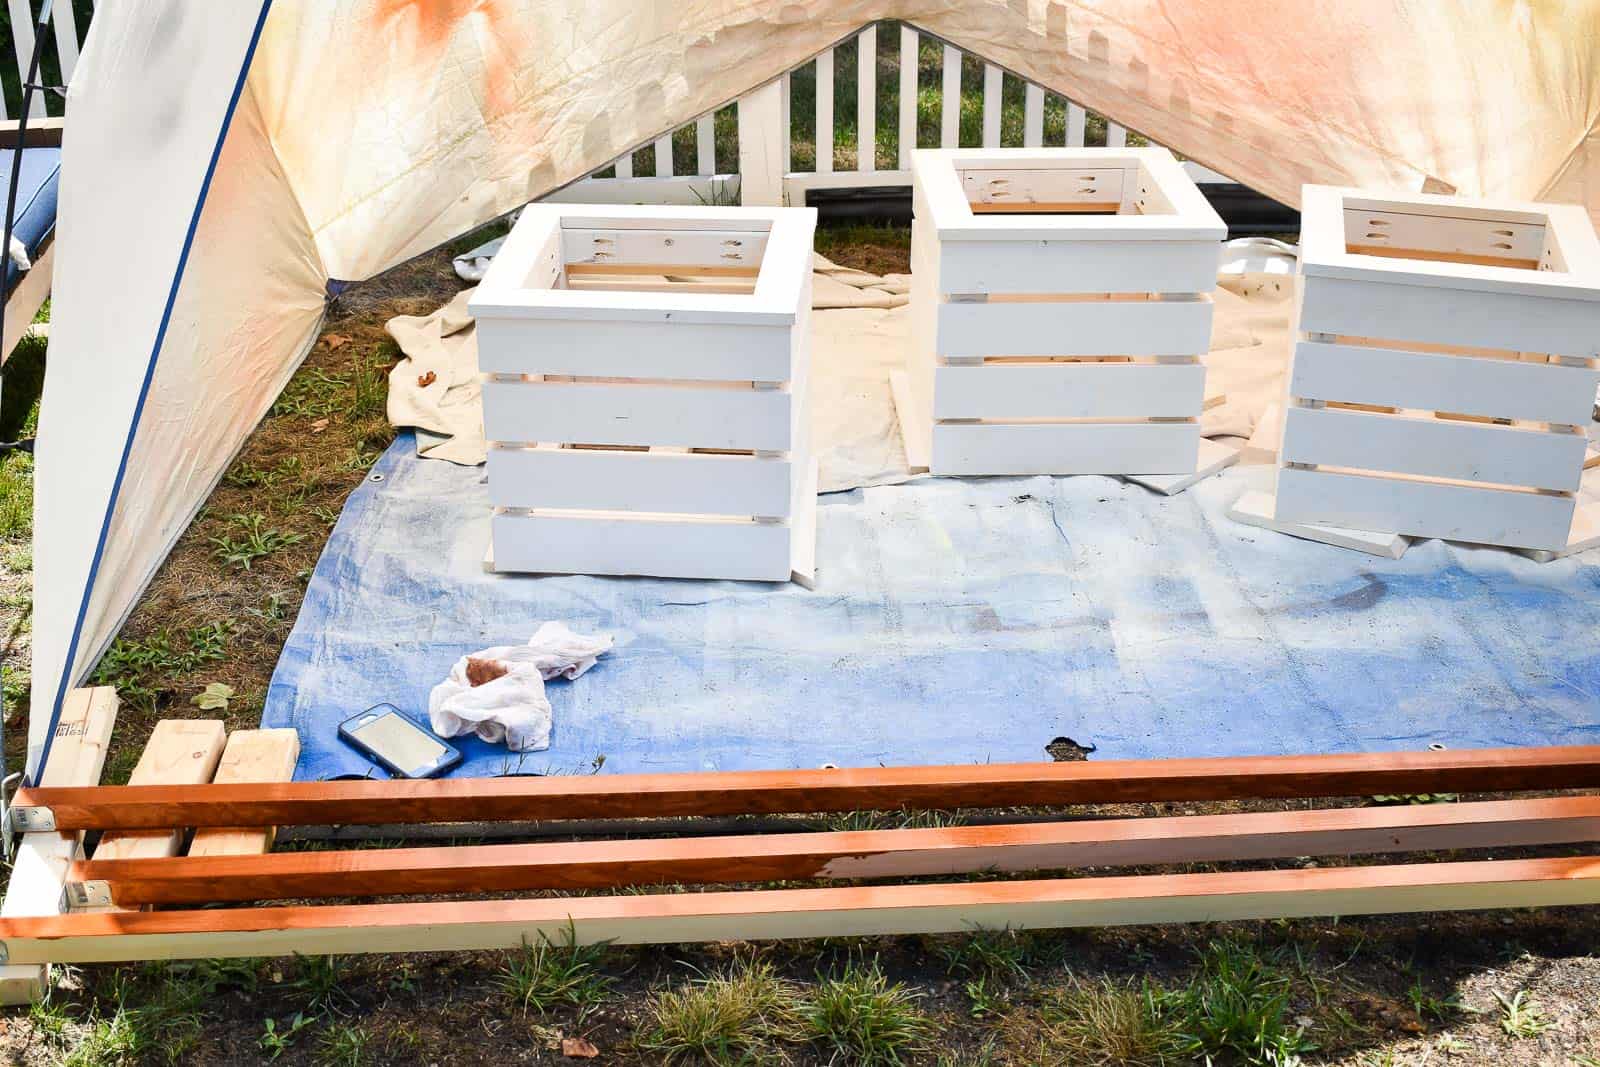
Step 5. Paint the Planters
My friend wanted them painted white so that was an added layer of protection from the elements. I set up my Homeright Spray Tent and painted the planters with this, and then stained the posts to match her existing patio furniture.
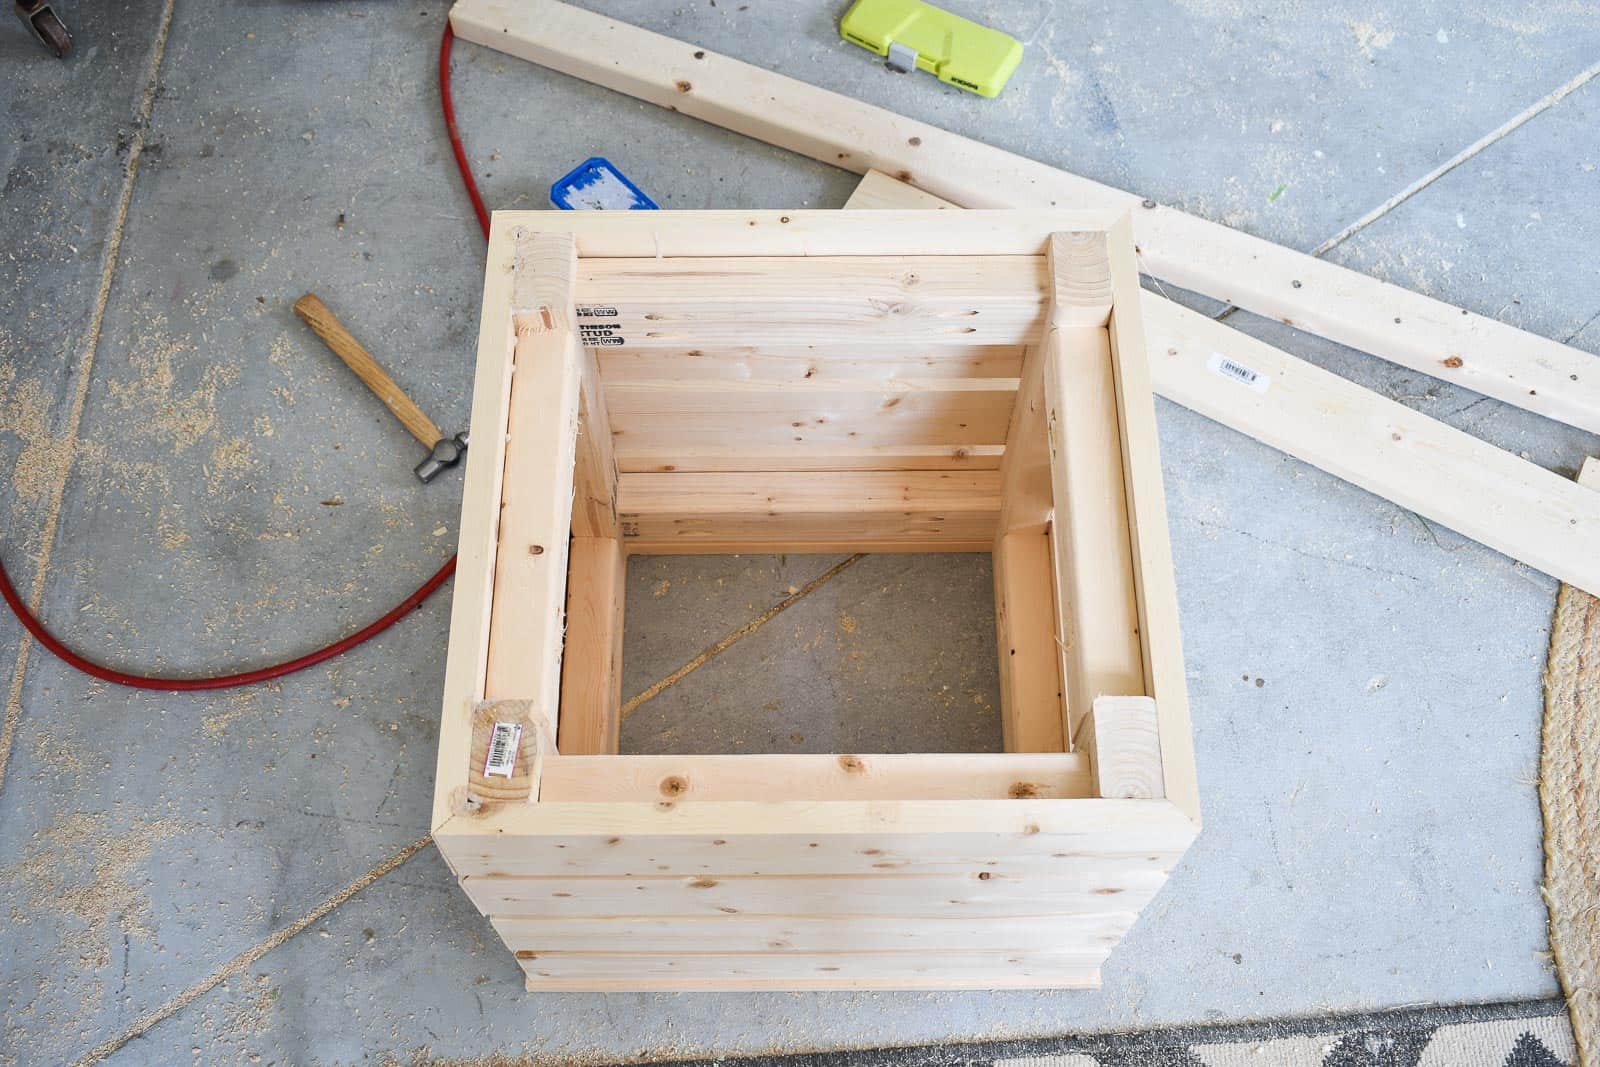
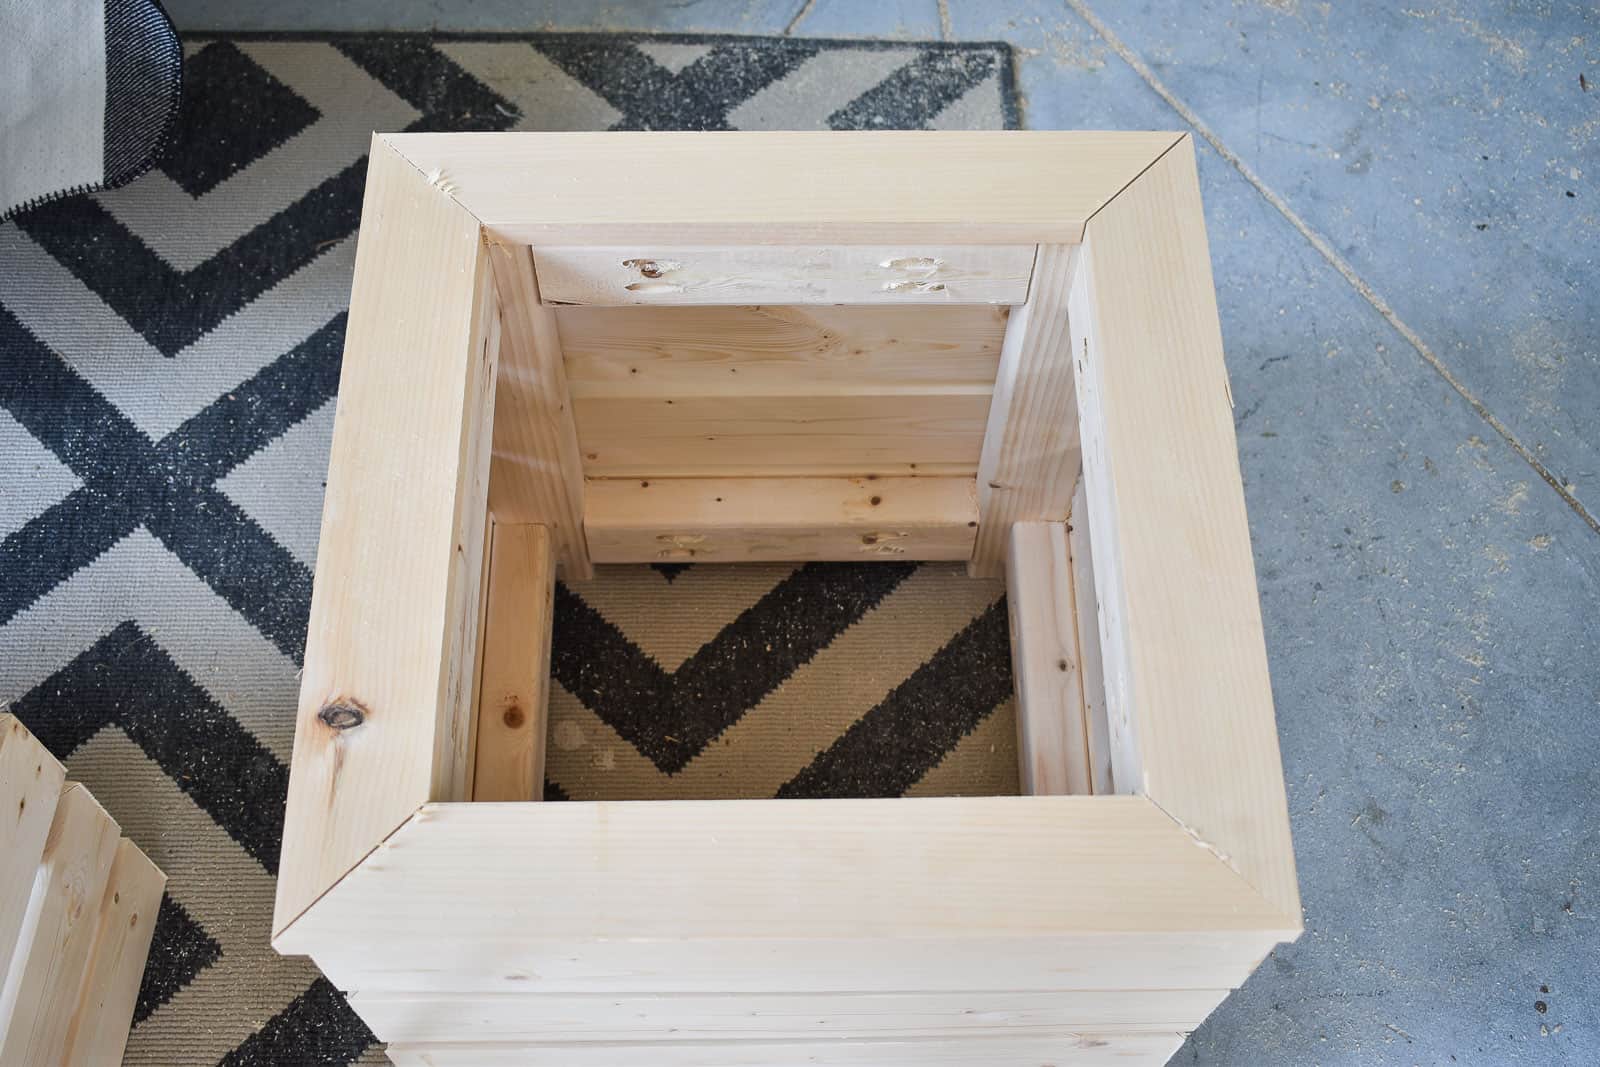
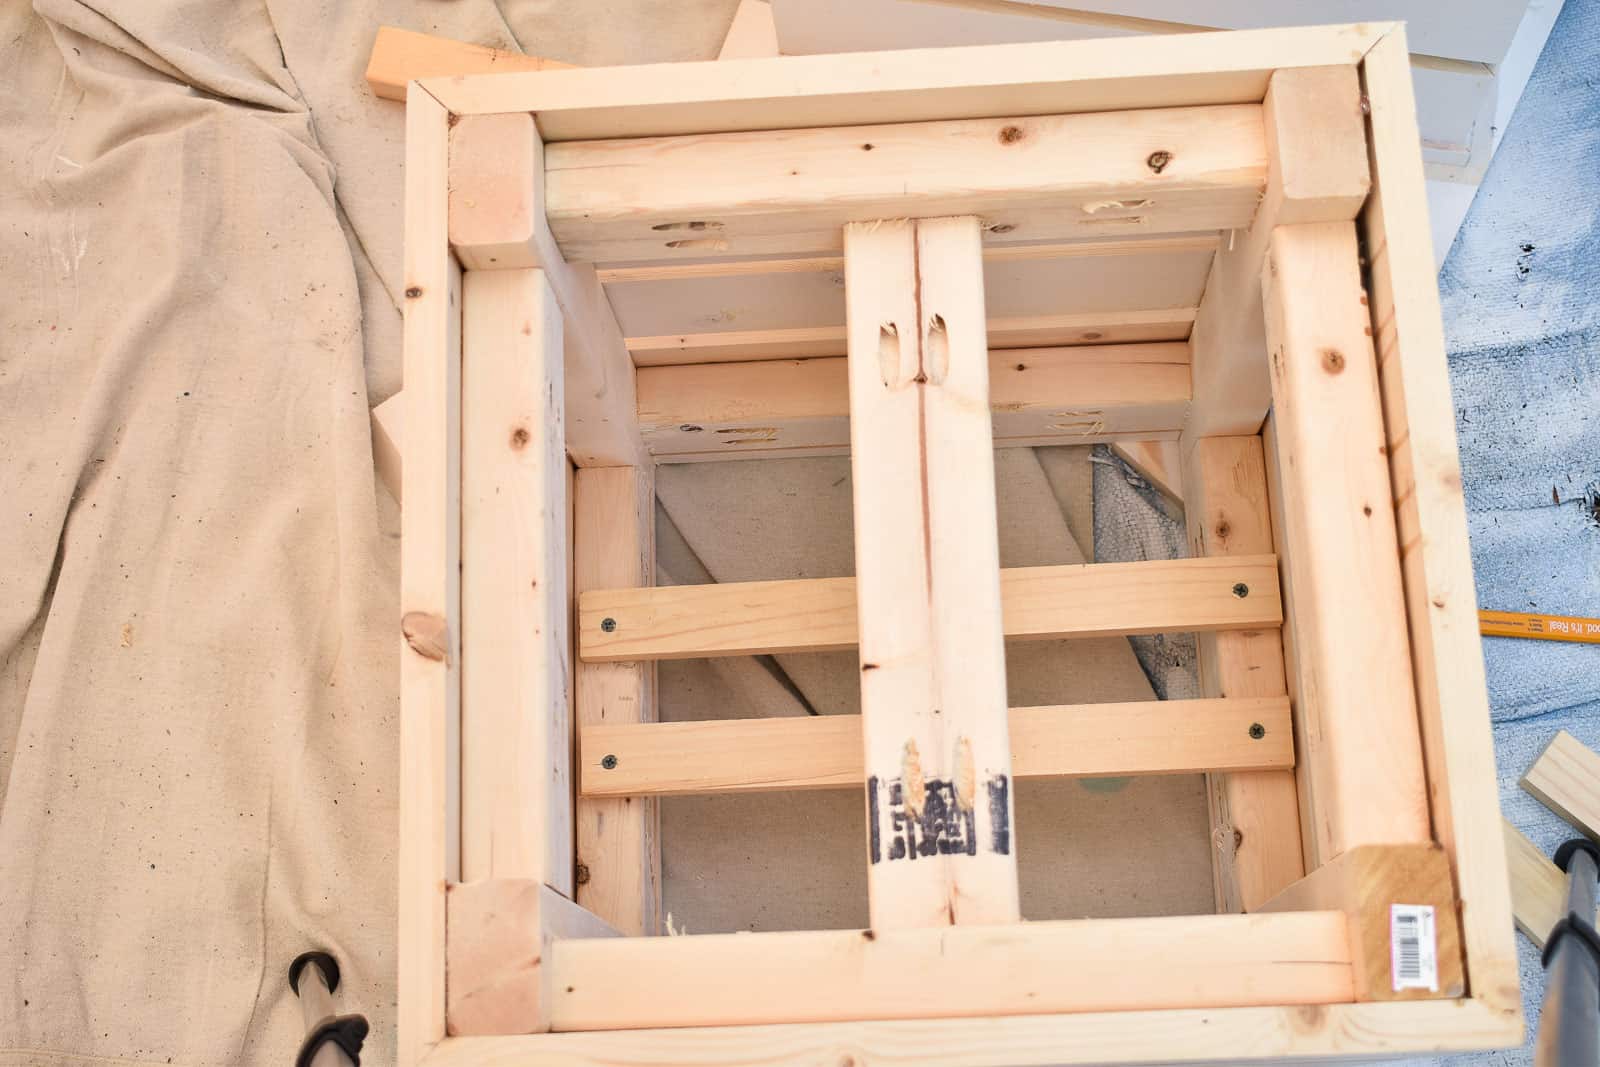
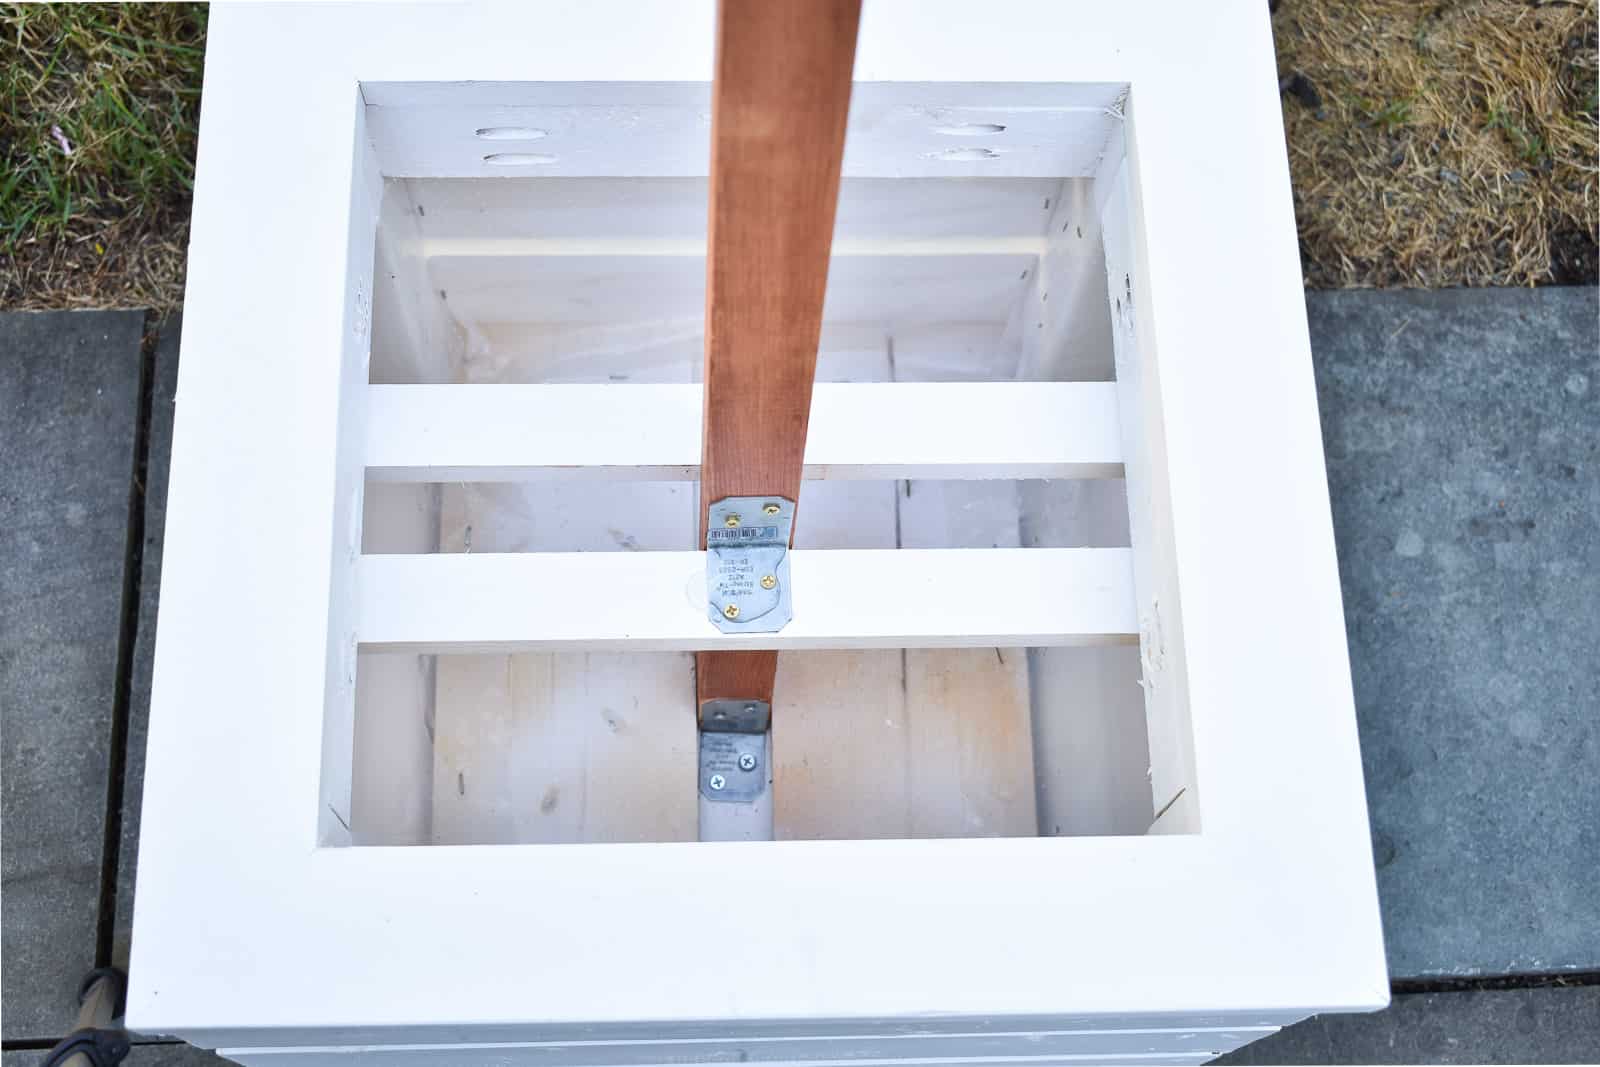
Step 6. Secure the Light Pole
This is the point of the planter build that I had to figure out how I was going to secure the light pole. The poles were 8-feet long so I new they had the potential to be really tippy… I wanted to secure them well in two spots on the planter to help disperse the weight. I had some Simpson strong tie right angle brackets that fit the pole perfectly. For the first point of attachment, I added a 2×3 with pocket holes to the bottom of the planter (pictured below… the planter is upside down in this photo). For the second point of attachment, I screwed a pair of 1x2s along the underside of the top edge. Make sure that the pole is centered not only along the bottom 2×3, but also that it’s pinched securely between the centered 1x2s as well.
The last thing I did, which is hard to see in these pictures, is I added some scrap lumber (a 1×5 I believe)to the bottom of the planter to help keep the soil/ plants in place. Also, because my friend wanted to plant directly into the planter (vs. just placing potted plants inside), I stapled some heavy duty plastic around the inside perimeter to keep the dirt from falling out between the slats. It also keeps the wet dirt from sitting right up against the wood which would increase the likelihood of rot.
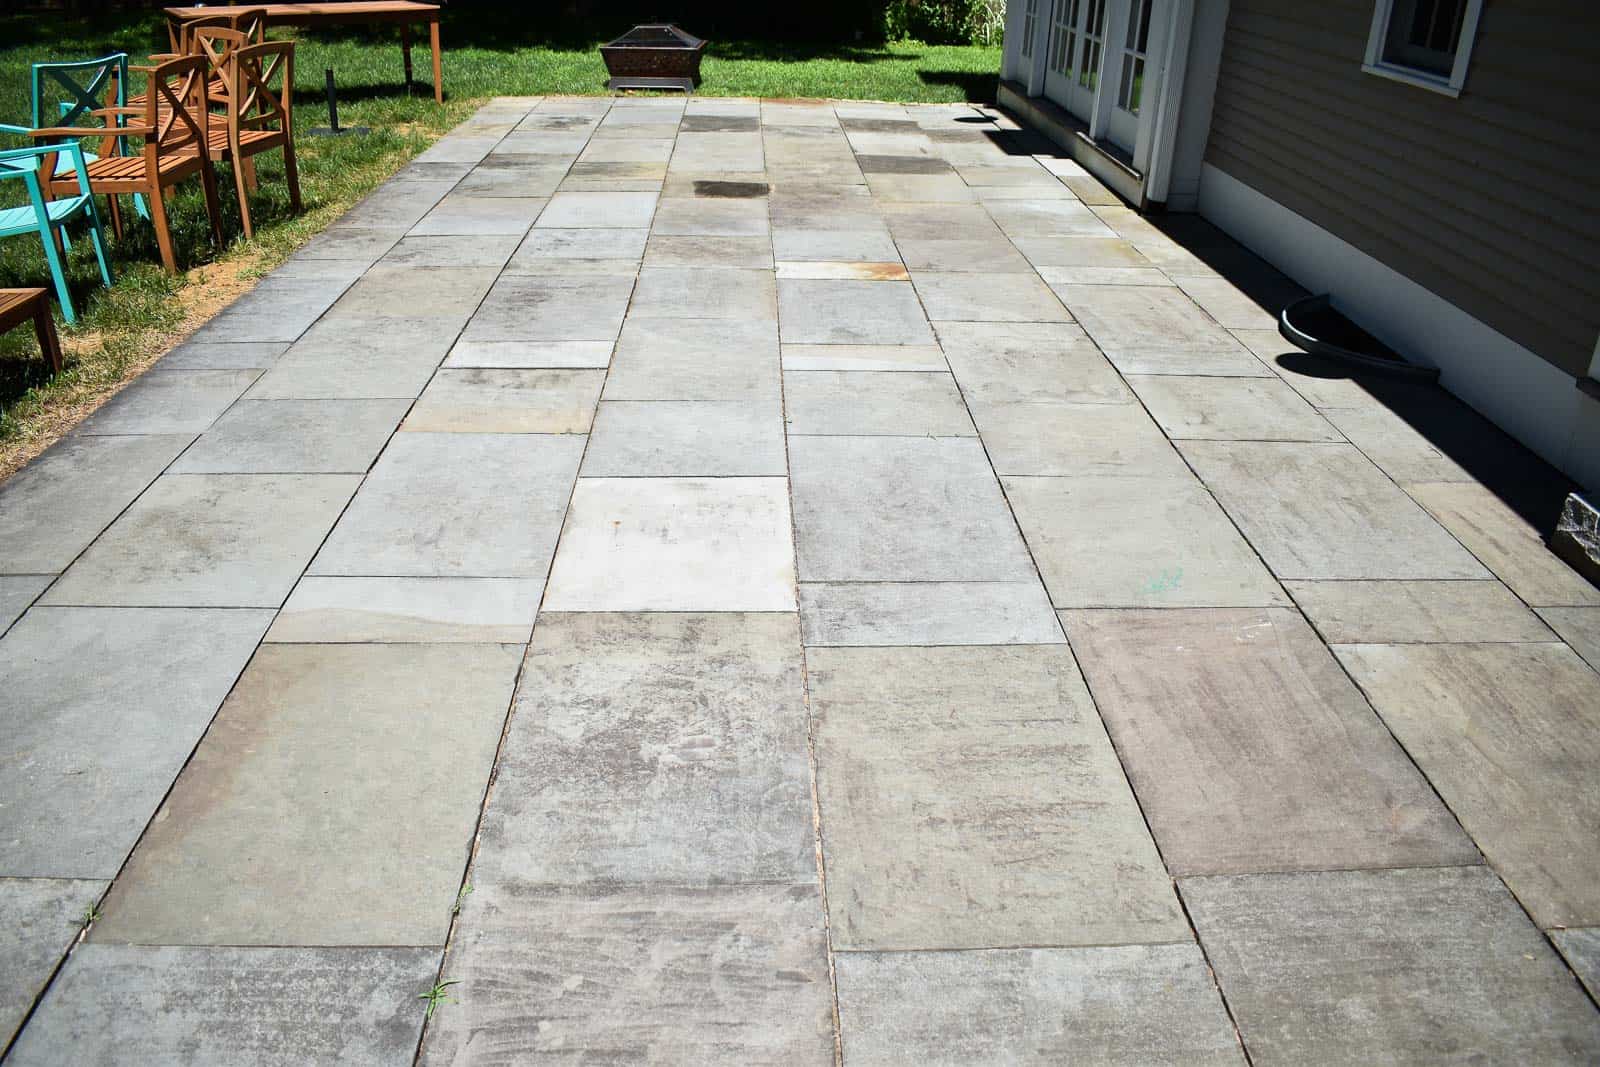
You can attach your string lights anyway you like. For this planter, we used an eye hook and these quick links. Before we set up the planters, I wanted to clean off the patio a bit, so I pulled out my most favorite of outdoor tools… my power washer! This one by Ryobi is SO easy to use and it just plugs in to an outlet, connects to the garden hose and… voila. The before and after is SO worth it!
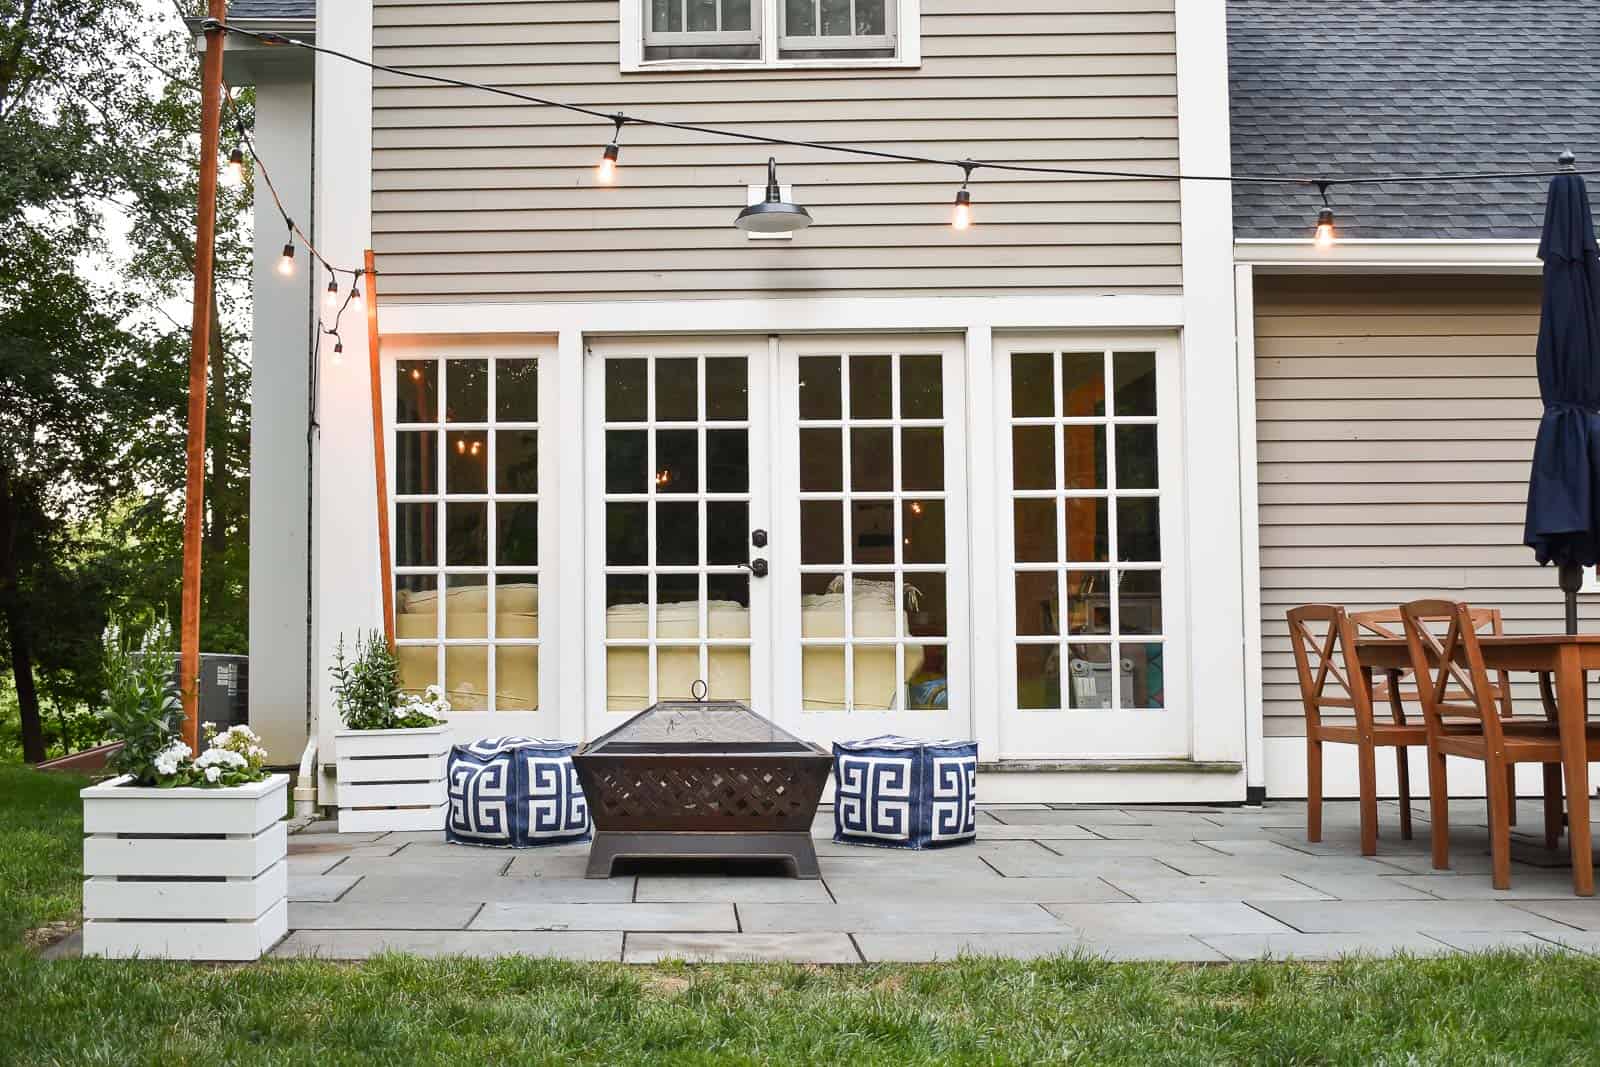
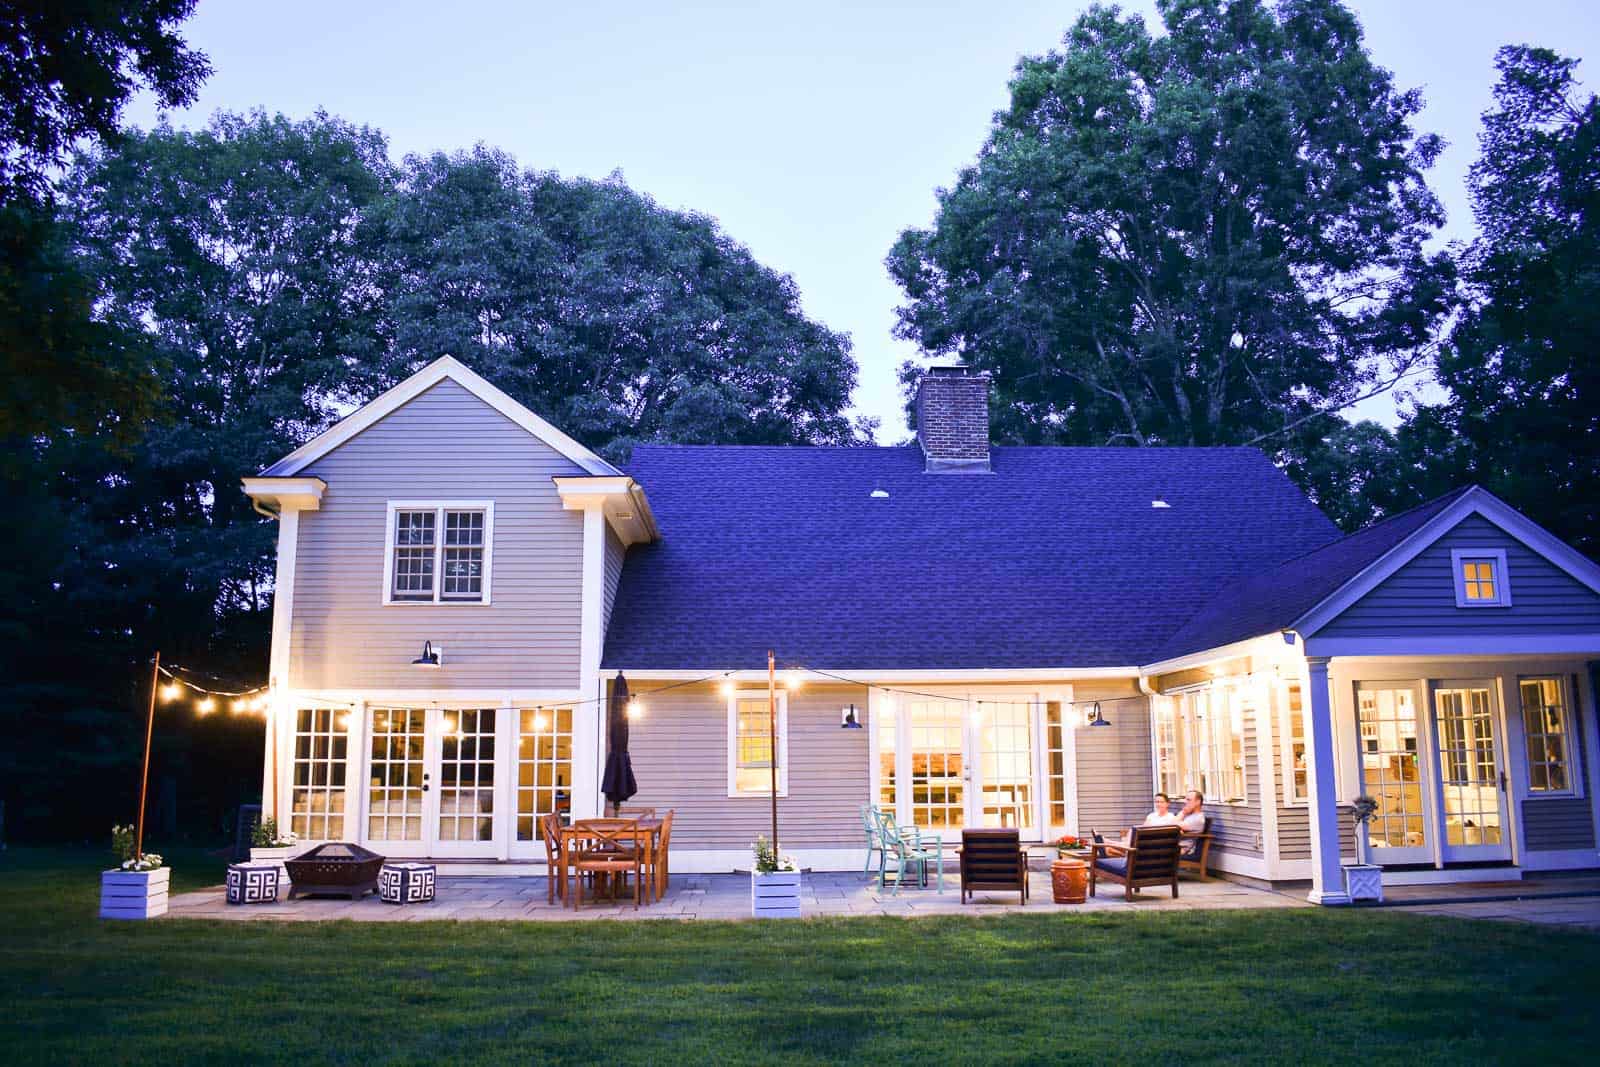
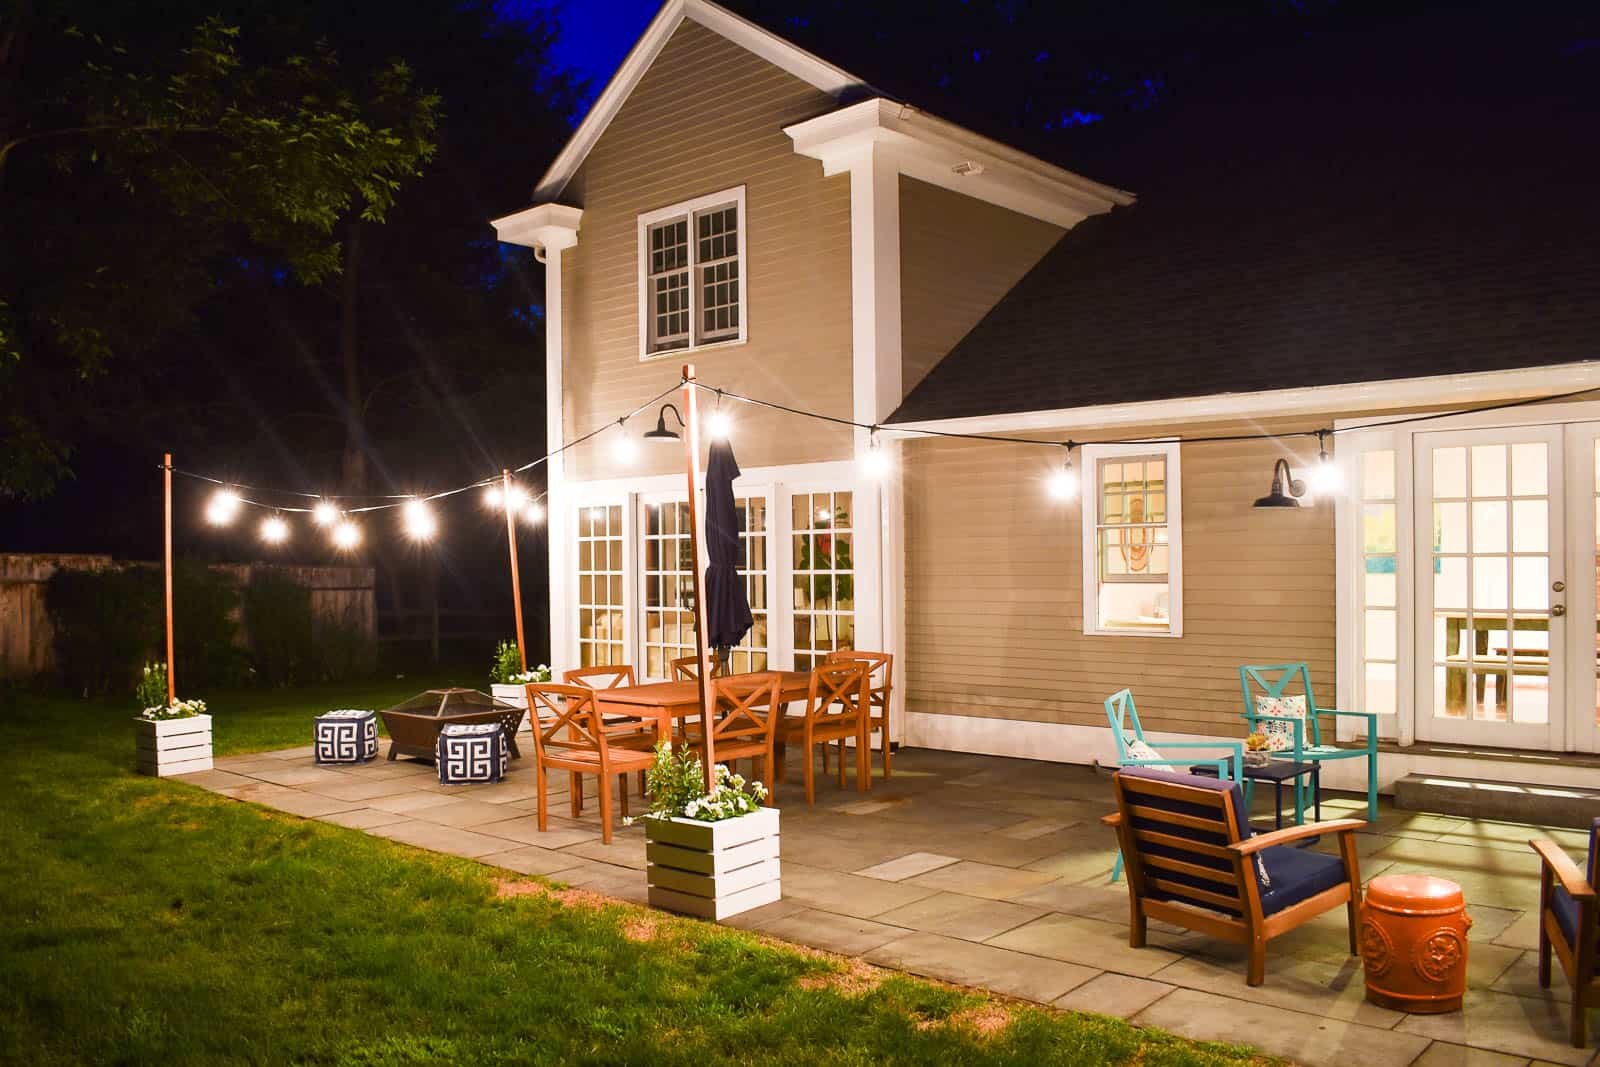
I LOVE the way these planters turned out! They’re a great portable way to hang string lights AND decorate the patio. This design could be easily modified to a different size planter depending upon the size of your space. One of the added benefits to this design is that the planters looks just as nice during the day as it does when it’s illuminated at night!

Shop My Favorite Patio Items


Wow, that looks awesome!
Nicely done.
So, the soil is enough of a weight to stop it from toppling?
The planters themselves are hefty also. The 2x3s aren’t super heavy, but it’s not exactly light either!
It really looks nice, good place for a night party.
Yes! It’s so cozy!!
Hi CHarollete
Where are the plans for this? I’d love to make this!!
Hi Rachel! There aren’t plans but I tried to document the steps of the build pretty carefully… read over my tutorial and let me know if you have questions!
Hi, Charlotte! I was on Pinterest looking for some good ideas for sprucing up our patio/deck as a surprise for my Mom’s 5oth!! thanks for this great idea with the planter and lights! I just had to read your story because you sounded like a kindred spirit…thank you for sharing and I hope you and your adorable family are doing well! God bless!
Hi Jeanette! What a sweet comment! THank you so much for taking the time to hop over! Love to you! xx
What a great idea. I have a large patio with no place to string lanterns and i’m not ready to commit to a pergola yet. I stumbled on your blog through pinterest. very nice!!!
Thanks, Leigh! They’re a little fussy to assemble but work great!
About how much did you spend making these?
Hi! I ended up using up quite a bit of my scrap lumber but I’d say each one is less than $100! If I recall, the bigger expense is the square post!
HI, I was wonder how high are the squa post?? 7 feet or more? Thanks
Hi Melanie! These came in 8 foot lengths but that’s totally personal preference!
Sorry, but Super complicated instructions.
No wAy anyone can actually follow them.
Thanks for feedback. Sounds like this isn’t the project for you!
I was actually able to follow them quite easily. I made my wife 3 of them for our back patio. Thanks CHarLotte! My wife & I love you! God bless.
THanks, Chris! This is so sweet!! I appreciate it! xx
We did this and it wAsnt bad tho i do have to say not sure i coukd of fine without hubbie..Hardest part was getting out side dlats perfect, but once we got going it was fine
Oh great! Glad you figured it out!
Looks great! Definitely want to do this for my backyard. What stain did you use for thE light pole?
Hi! This one might be Early American (Minwax)… honestly I used what I had! 🙂
Maybe i missed it.but wHat did you use for the center post? Size? Looks like wood but wanted to me sure or would that bend. Is it a pipe? Thanks for the inspiration!!
Hi there! This is wood… our Home Depot has these in the trim aisle… it may be cedar but honestly I don’t remember… It’s a 2×2 post which means it’s actually more like 1.5 inches on each side. Good luck!
Hi there, quick question about your LOVELY planters! I am making planters similar to these and my husband is getting FINICKY about the center pole and it warping. I know you made these for someone but have they reported any warping of the center poles with the lights?
My biggest challenge right now is finding the right length. I would prefer 10-12ft center poles but havent had much luck finding anything other than 8′!
Hi! Sorry for the delay… we lost our internet for a couple days! I asked my friend and it has NOT warped but I splurged on a pole made out of the good lumber. (Cedar would be ideal.) Speak to a lumber yard… they may be able to custom order some for you?
Good luck!
Hi charlotte!
Im about to start this project now! thanks so much for simple step by sTep Pics/instructions!!
Do you recall what size pocket hOle screws you used? How have the poles held up in the elements?
Thanks again!
Hi Kristen! I don’t remember exactly, but the screws correspond to the width of the material, so depending on which lumber you choose, that would determine the size of the pocket holes. I think 1 1/4″ might be what I used for the 3/4 width lumber. Seems to be holding up fine!
For 1.5″ thick wood, you would use the 1&1/2″ setting on your Kreg jig, and 2&1/2″ pocket hole screws (for outdoors, i highly Recommend using the blue / coated screws!).
Looks quite nice, but I’m more interested in the lights. I’m trying to find some that are battery/solar operated that give off a decent amount of light. thank you.
Hi Chris! I’m not sure where the lights are from. Sorry!
Hi Charlotte, the light posts look great and am hoping to replicate but two thingS i noticed that would help future IMITATORS are:
1. Missing quantities of the lumber RequIred
2. The 1×3’s (2) that you used for the top of the box don’t make aN appearance in your materials list.
Other than that, great post!
Thanks for this! I’m usually winging it when I build so my plans are always a little shaky! 🙂
Love the idEa. Is there a printable version of your instructions?
Hi! I’m so sorry, but no… I build things a little hap hazardly, but need to be better at the plans aspect of it all!
Hi charlotte, these planters look great! My fiance Wants me to make some for our patio. I jUst had a quick question If You would be so kind. I was wondering what kind of plastic you stapled to the inside to hold in the dirt? Do you happen to know the Name of the product. Thanks so much!
Hi! No worries… I grabbed the roll of clear plastic from the painting section near the drop cloths! Good luck!
How heavy were the String ligHts you attached?
My friends installed the string lights, but I believe they’re standard exterior string lights! The poles are pretty sturdy.
Charlotte –
Thank you for your ingenuity and great report. We are picky about the poles being straight and I saw a couple of comments on the matter. My question is when I look at a few of the completed pictures, the pole closest to the house on the far corner appears to tilt significantly to the left. Is that an optical Illusion? warp in the original piece? just some looseness in the pole given how it is connected to the box?
Thank you!
Hi there! That was installation error! I installed it and forgot to measure for vertical on all axes. It’s not nearly as crooked as it appears in photos, but you’re correct… it’s off by a few degrees! The posts themselves appear to still be straight!
THe materials listed, is that what you used for one box?
Thanks!
YES! Exactly.
What SUGGESTIONS do you have for paint? I dont have a sprayer,, wouLd actuAl spray Paint work?
Yes! It should. You could also just use a brush and exterior latex paint! Spray paint would work too but it might take a few cans to get the right coverage!
i sold 4 planters I build to a customer and they tripped across your light setup. Sooo I have to modify theirs to hang lights now. Thanks for the idea.
Ha! Thanks and good luck!
the outside of the planter is built and looks great (what a nice design)! Two questions:
1) where did you place the cross 2×3 against the inside bottom frame? Did you just center it in the box and center it on the sid 2×3 (PICTURES SEEMS TO INDICATE THAT)?
2) the scrap lumber you used for the bottom: were they just laid on top of the extra 2×3 you installed in the end? If attached how and where did you do that?
Thank you!!!!!!!!!
Hi there!
For the 2×3 on the bottom, yes… I centered it and used pocked holes to attach it to either side of the frame. The scrap lumber just sits on top of the bottom 2×3 frame. There’s a lip there… I just used wood glue and my nail gun.
Hope this helps!
Thanks!
Hi charlOtte, thanks fOr thr grEat ideas. I have done Something simIlar With 2×2 wood poles but after a year they warPed. Have you exPerienced that? Any way to prevent? Was going to change and use 4×4 but afraid they may Look too bulky. Thoughts?
We haven’t! These were a prime lumber treated with an exterior stain which might have helped. I agree that a 4×4 seems like it might be too bulky…
gREAT POST. alTHOUGH i’M TRYING TO BUILD THESE WITH REGULAR 2X4’S BECAUSE MY HOME DEPOT DOES NOT CARRY 2X3
Good luck! Those should work! You can always rip them down if you have a table saw also.
Hi Charlotte, I love your work. You make it sound easy. I was wondering how is the post doing with the dirt and water? I want to make sure it lasts and does not ROT within a couple months.
Thanks 😊
Hi Cris! Thanks so much! The paint and caulk has really helped to weather proof it! These actually live at our friends house, but they used them again last summer and don’t bring them in over the winter so they’ve been going strong for a few years!
Hi Charlotte! This is a cool design and idea. I was wondering, do you think these would be heavy enough to hold up a shade cover ? And lights ?
Hi there! Hard to say… I don’t have much experience with the shade covers sadly. I will say… these *would* be very easy to either add more weight too OR brace to the ground somehow to have more support. Good luck!
Can you send me how much total material you used for one box. Going to make some for my daughter getting married this summer.
Thanks
Sorry… this was done years ago so I have no idea.