DIY Trundle Bed
Psssst… this post *might* contain affiliate links: see my disclosure here.
I am the worst.
When it comes to building things, I LOVE it. Roaming the wood aisle, sketching out my plans, getting all my pocket holes drilled… but I am crap when it comes to giving you all the plans! So I’m going to share Oliver’s new trundle bed, but you’ll have to wing it a little bit when it comes to making it. M’kay?
Shop my favorites!
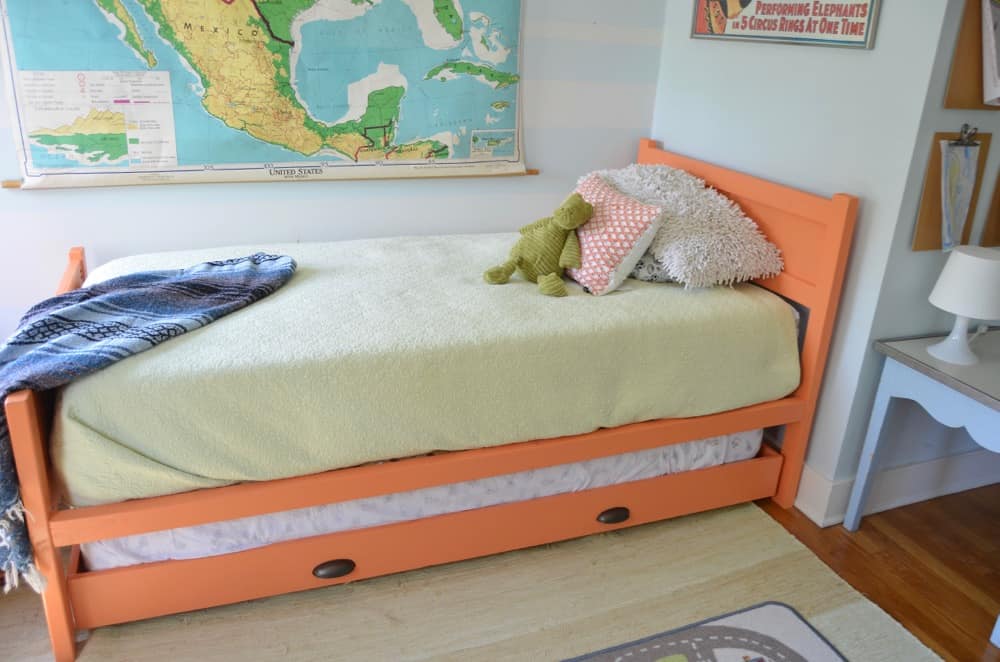
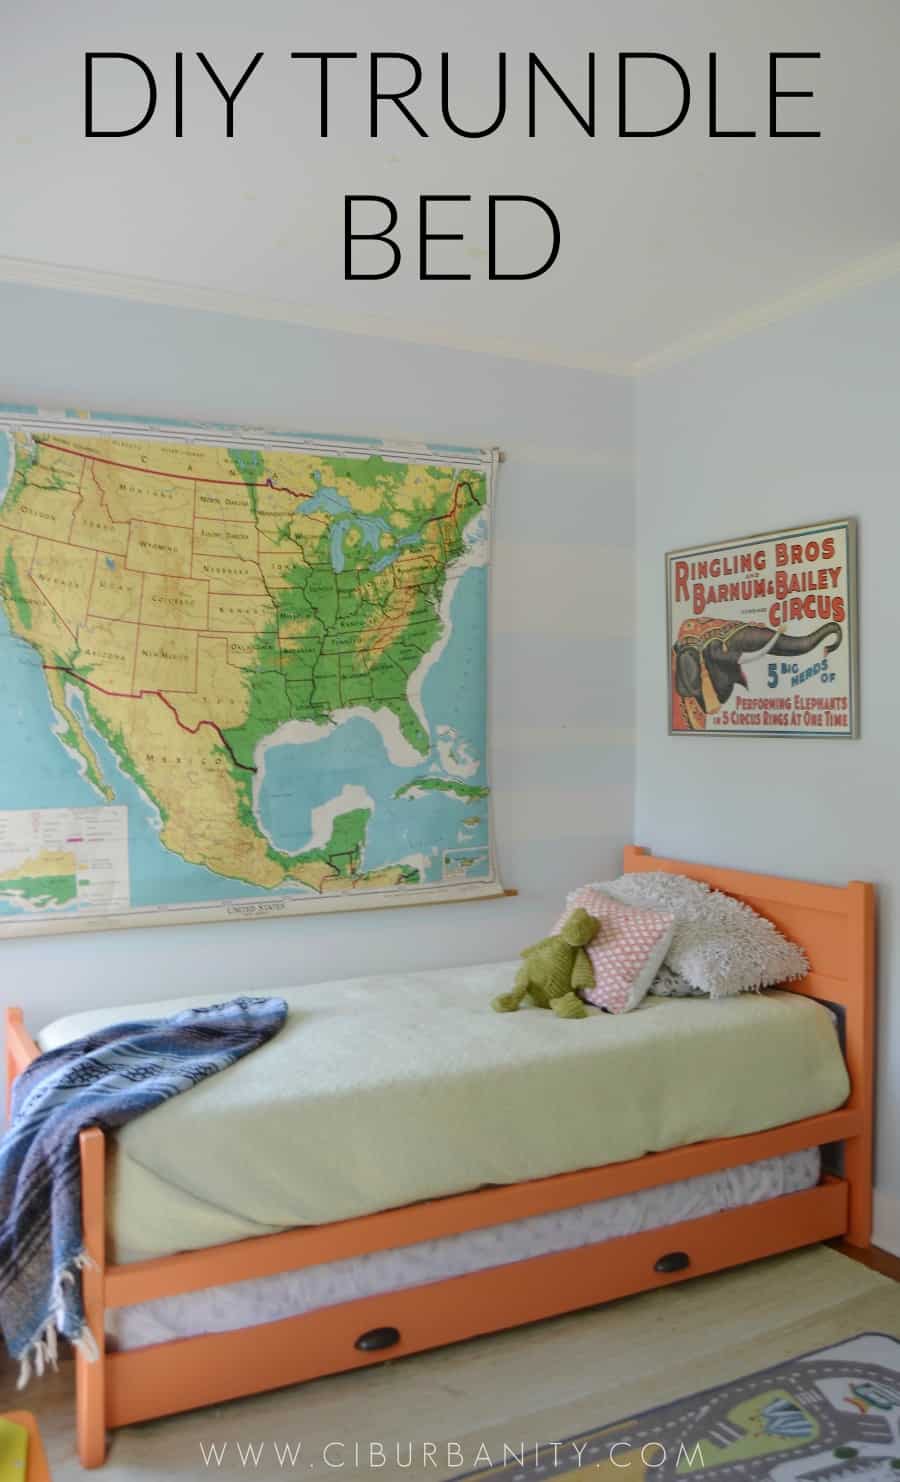
DIY Trundle Bed
I have some pictures, but… I’ve lost the measurements I used. Probably because I make them on the back of scrap paper and hammer them onto the shed wall while I’m working. I’ll do better. Promise. (If you *need* any measurements… just comment and I’ll go measure!).
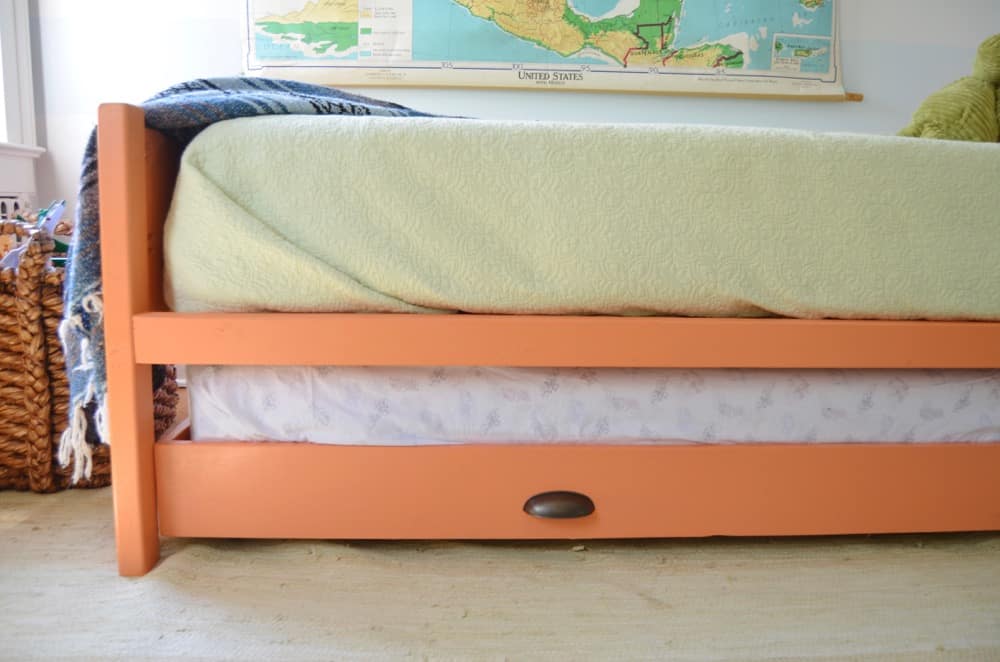
Now that I got the disclaimer about the lack of any useful tutorial out of the way, I’m going to talk at you a bit. I’ve wanted to make a trundle bed for a while. They’re super easy and super useful. (As I type, Eleanor’s having another sleepover in Oliver’s room.) The only dilemma is that a regular mattress won’t fit under a standard metal bed frame. So… I had to build a bed. See above for explanation for why you have no pictures of said bed creation.
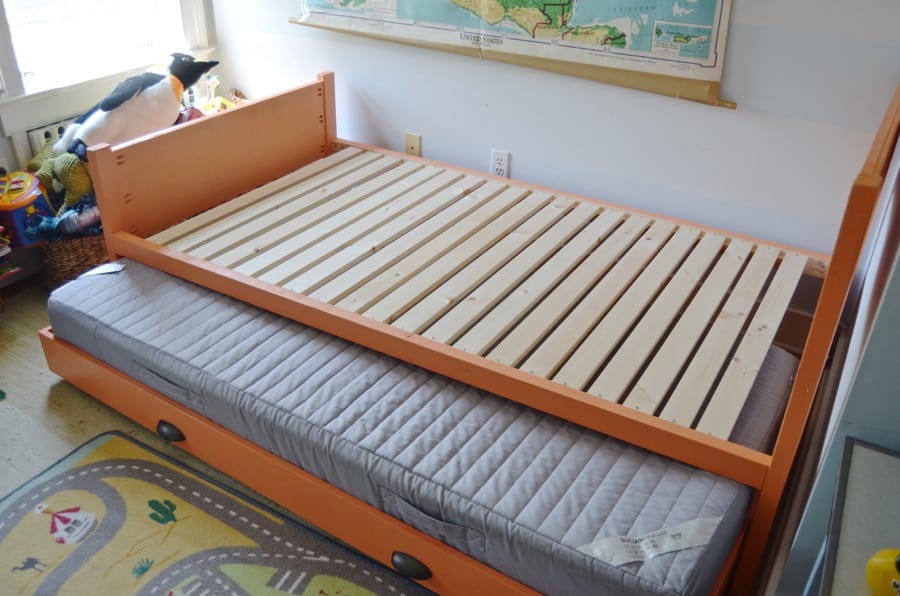
I roughly followed Ana White’s plans loosely (realllll loosely), but worked with my own style and some scrap wood I had on hand. In general, it’s 2x3s, plywood, and some 1x3s for the framework. I was using his old Ikea mattress for the trundle since it’s nice and low and that’s basically the measurement where I started. Once I knew the width, depth and height of that… I could plan the trundle and then plan a bed that would fit over it!
If you prefer to watch the project go down in under a minute… clickety click here!
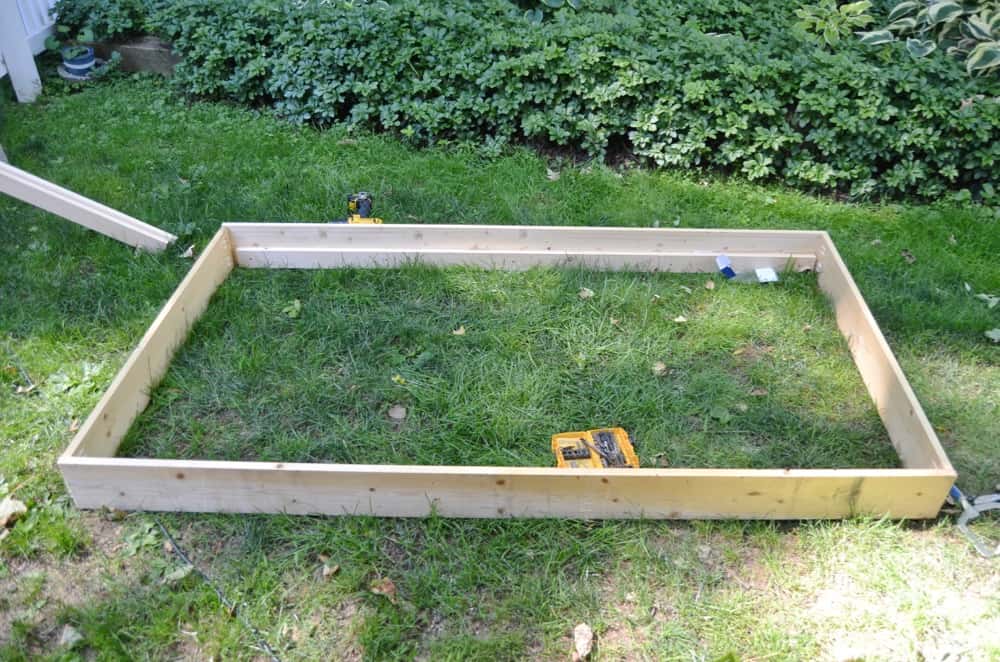
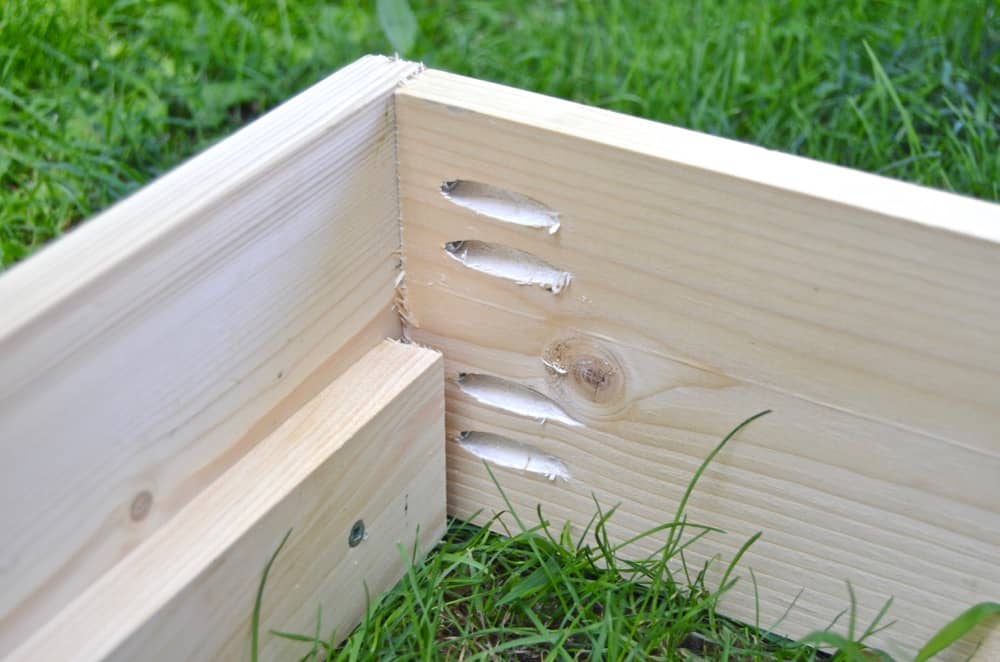
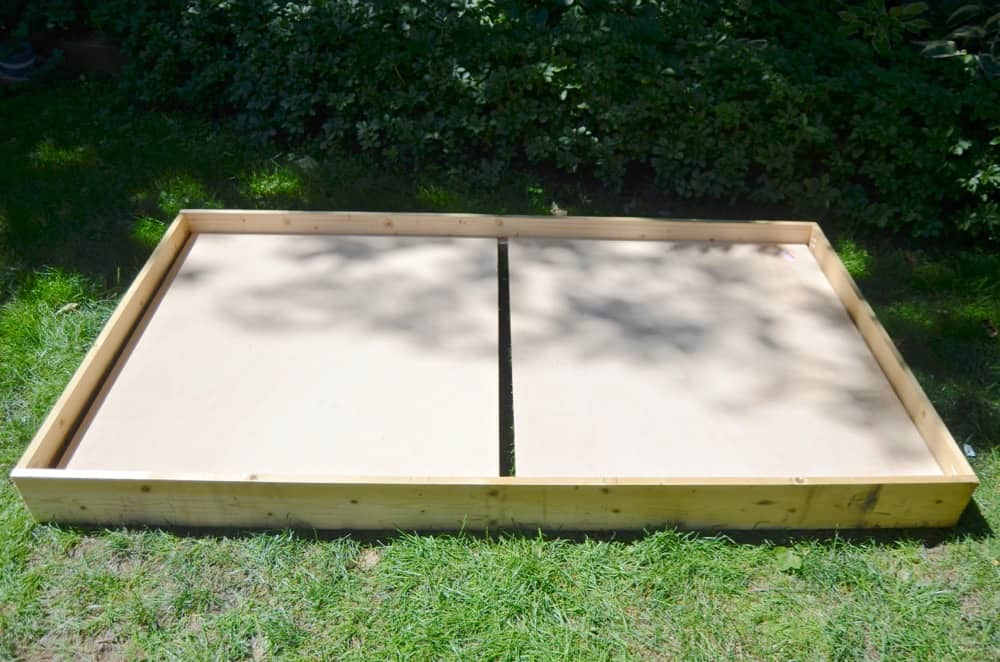
The trundle was super easy. For reals. Start by making a wood frame (I used 1x8s) with the corners connected using pocket holes. Again.. this is basically the same dimension as Oliver’s old mattress. Notice I screwed two 1x3s onto the inside edge of the frame. These will support the plywood that will hold up the mattress.
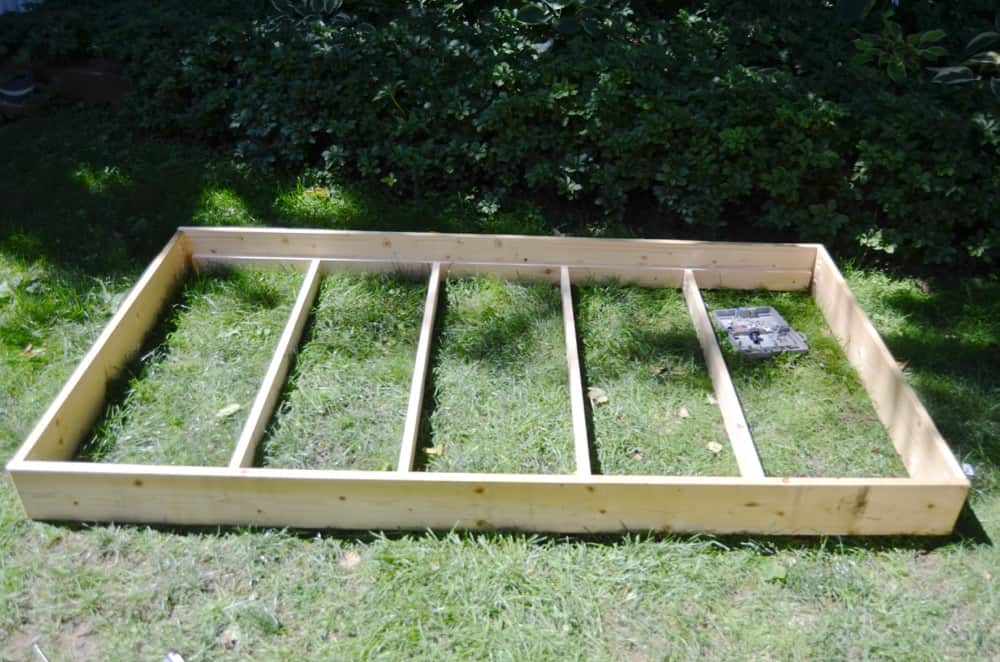
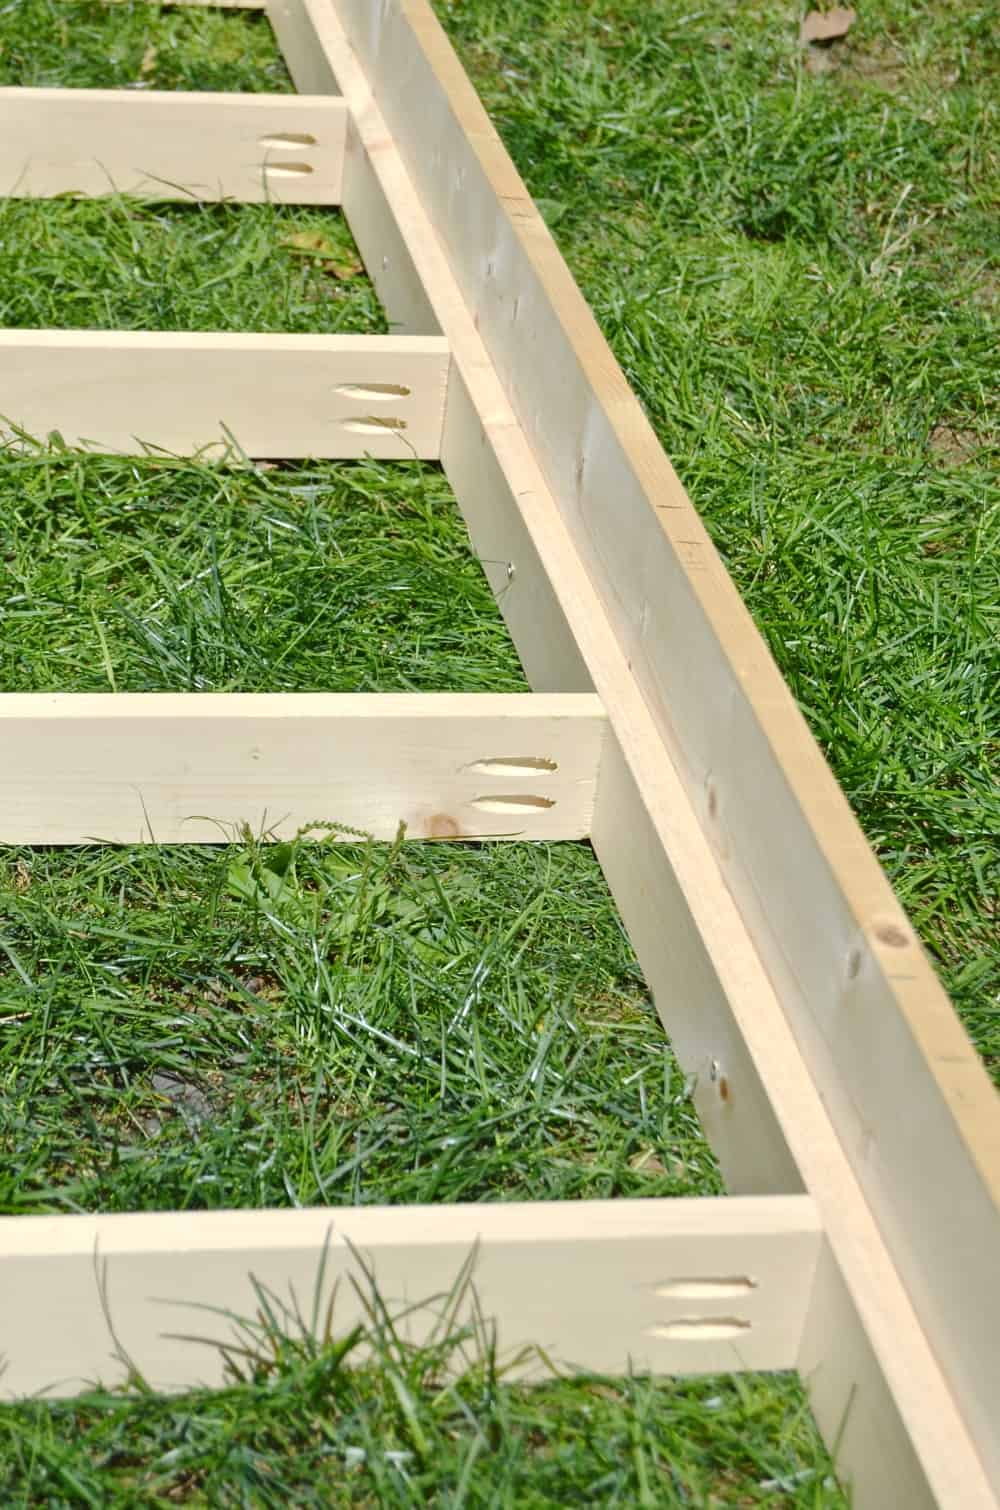
Even with the plywood in place, the frame felt a little shifty. I was super careful to mark each corner at a tight angle and then I attached these 1×3 cross beams with pocket holes to keep the trundle aligned and sturdy.
I had Home Depot cut the plywood to the right size and then cut it in half so it was a little easier to fit in my car.
Once this was screwed in place, I flipped the trundle over and attached my two handles and my casters. Make sure your casters are just big enough to stick out from below the trundle. I think mine may have been 3-inch casters? (If they’re too small, you can always use some scrap wood to make up the difference.)

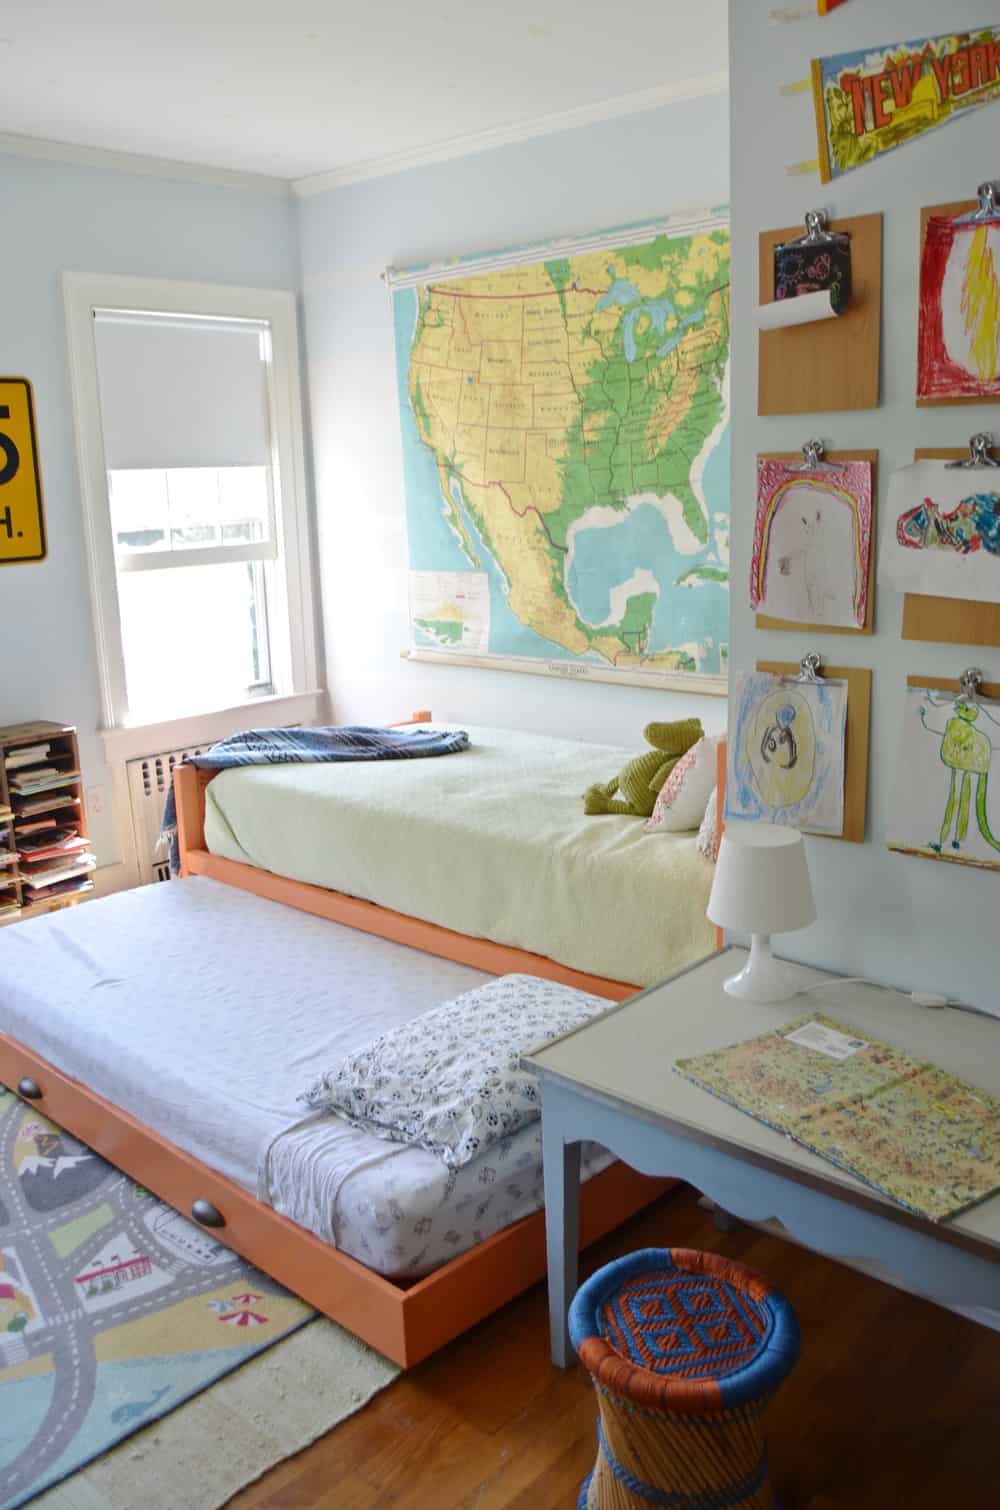
The bed got painted with my good ol’ HomeRight paint sprayer (affiliate), but the kids helped me paint the trundle. Again… NO idea why I have no pictures of this step. Imagine lots of orange and lots of drips.
Because of the cross beams, this bed is super sturdy and would definitely support any adult. I’d told the kids not to jump on it so I can’t give you any feedback on that. Yet.
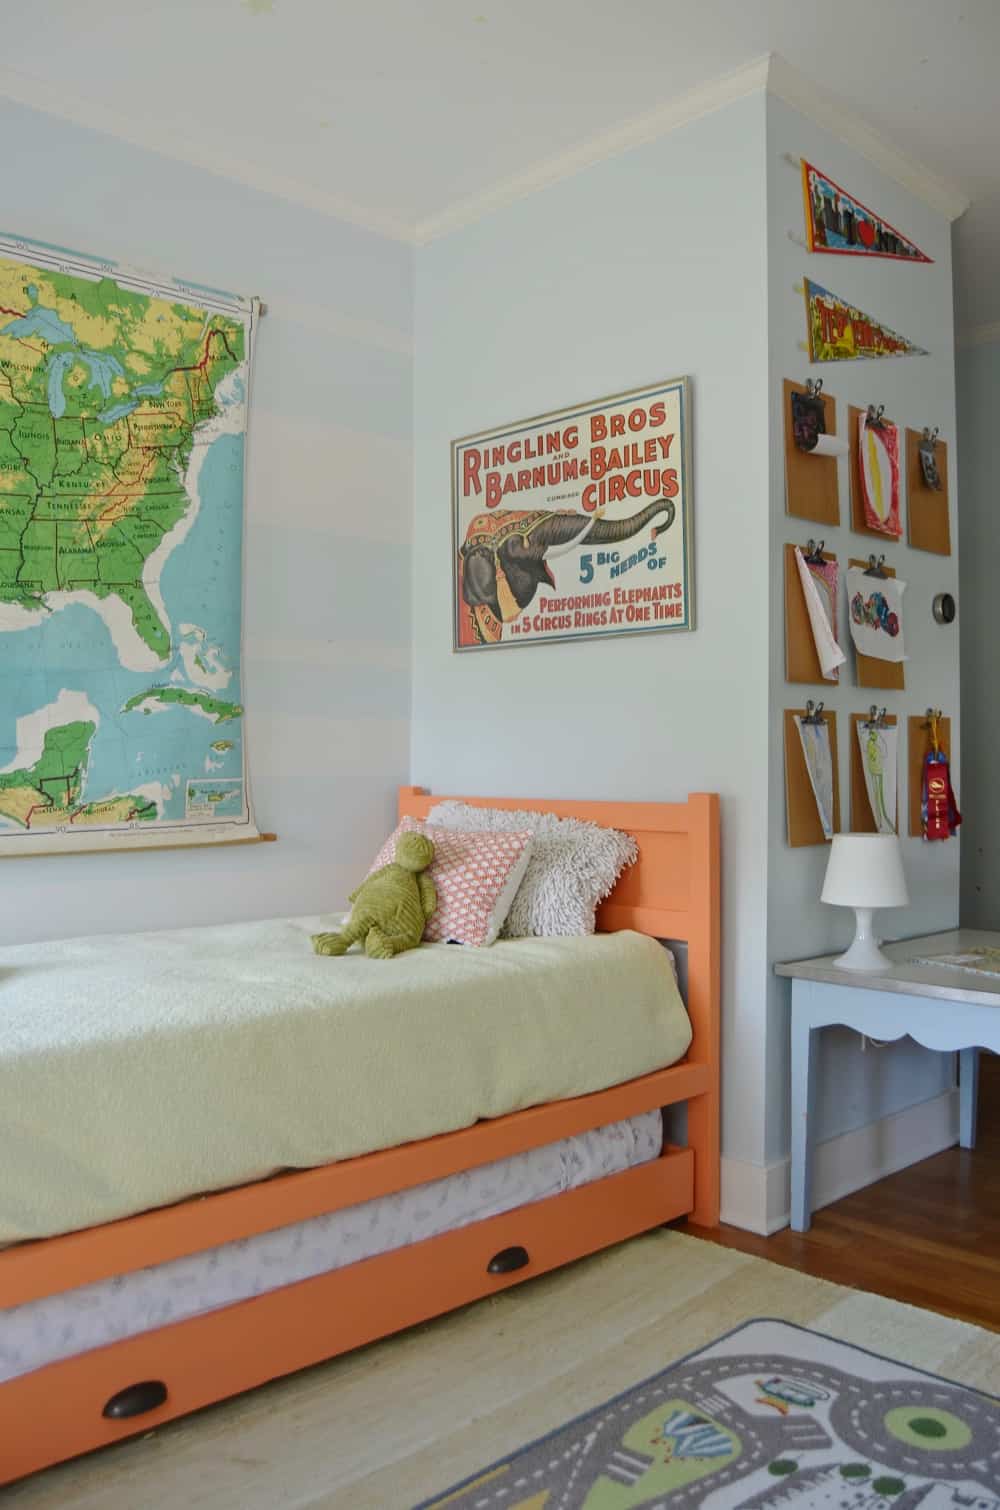
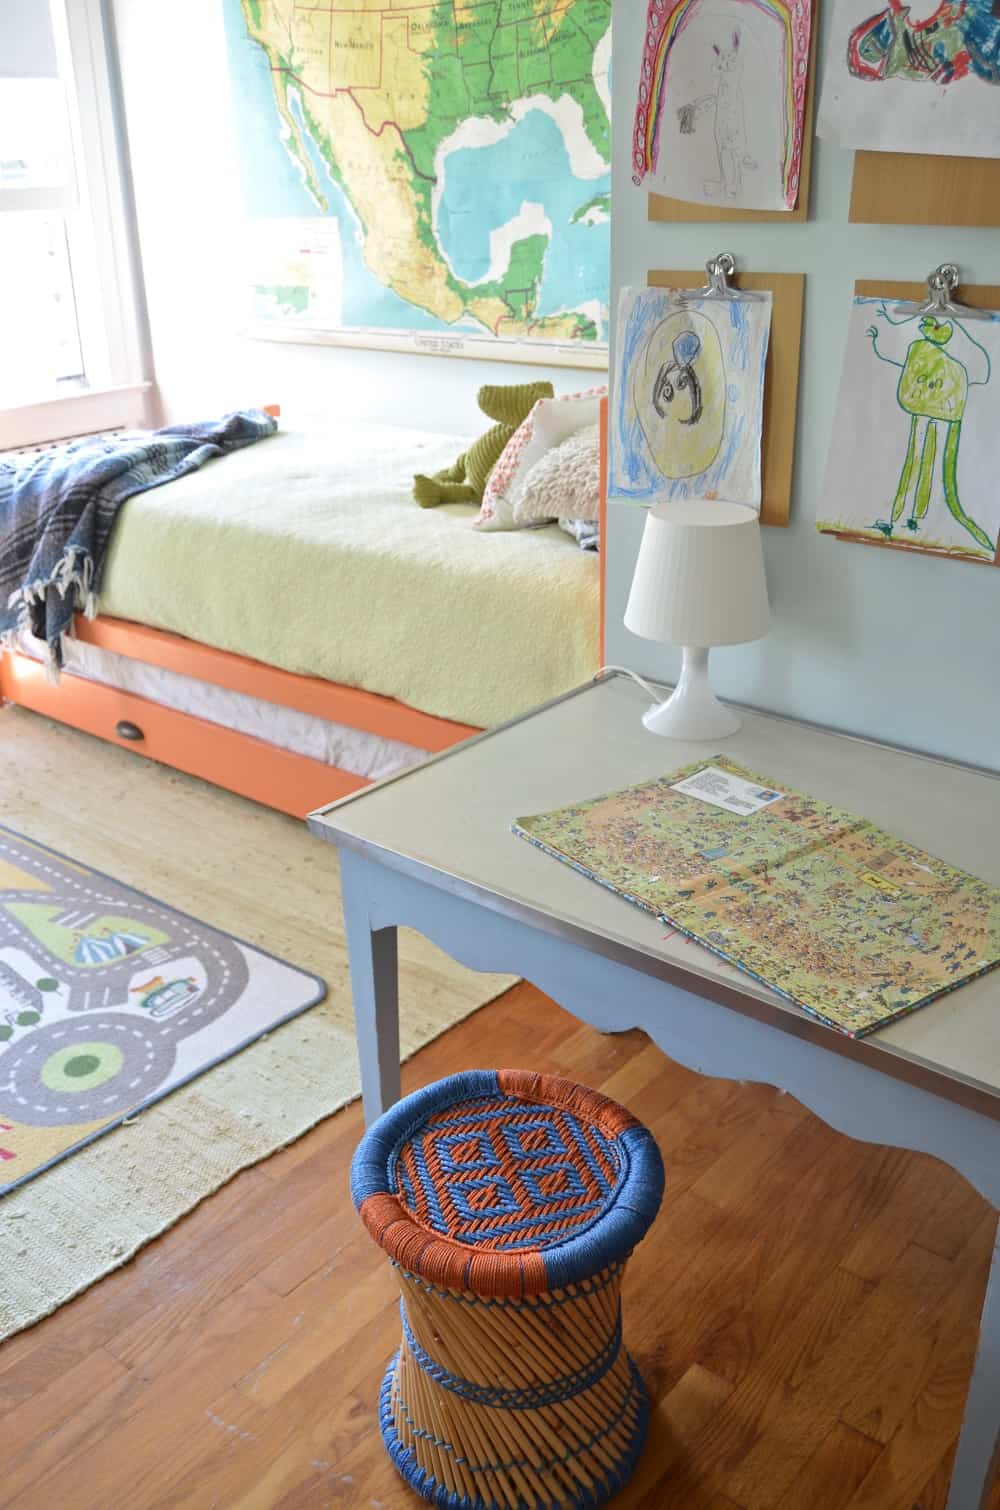
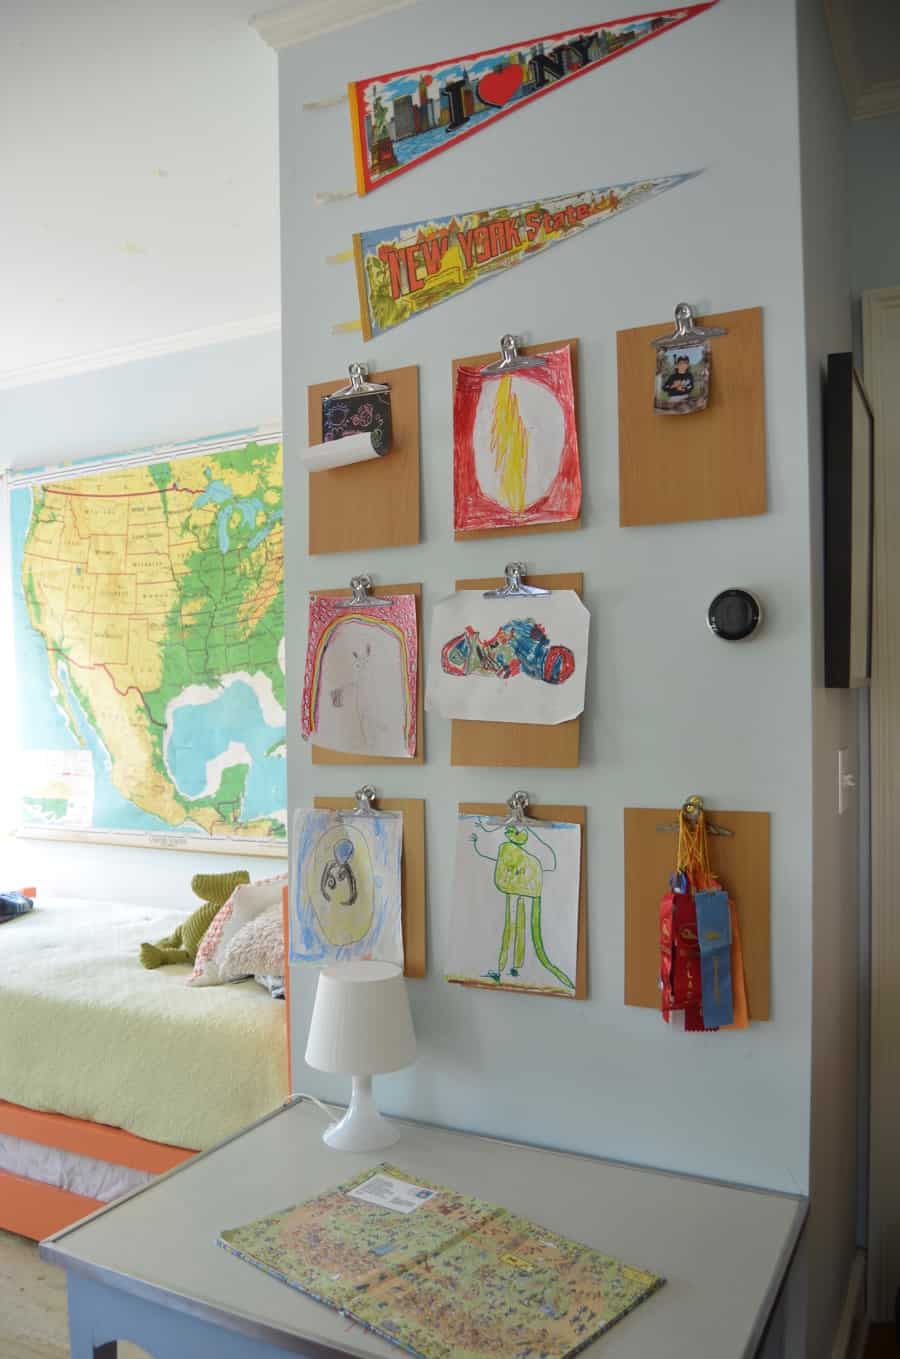
This whole project was honestly super easy. The trundle was built in a couple of hours and painting was truly the longest part of this project! I love the pop of orange this brings into Oliver’s room. I found that desk stool at Goodwill and obvy had to have it. The pennants were $1 at the flea market and they add a little circus/ NYC fun to the space.
On Thursday morning, I head off to Atlanta for the Haven Conference, but I’ll still be posting on Sunday with the Sunday Seven! If I’m feeling particularly frisky, I might schedule another post for later in the week also. But summer days are slooooow days!


I’m so impressed and loved seeing the snaps of this!
It’s SUCH a worthwhile DIY… not sure why I waited so long!!! Means we don’t have to lug out the aero bed, yadda yadda.
Very nice. I love theses beds, they are great when you have mor kids than beds.
It has been SO helpful! I hope to make one for Eleanor’s room too!
hELLO! i’D LOVE SOME HELP WITH THE DIMENSIONS ON THIS ADORABLE BED. tHANK YOU!!
Hi Angela! I’m sorry this has taken me so long to respond!! I’m happy to pull dimensions when I’m home! Some of it will be dependent on the two mattresses you’re using. I build the trundle to fit one mattress perfectly. And then built the bed to have an inch or so on either side of the trundle.
Hi!
Wondering what You attached the Casters to… I can’t seem to visualize it. Thanks!
Hi Christina! I’m almost positive I attached the casters right onto the plywood!
what an inspiration! (Why is this typing in all caps??) I’ve been shopping for a trundle bed but they’re too costly, and I’m handy! I want to make it a twin Xl, but I’m wondering if the lumber would cost as much as buying a bed…? Is yours AN xl?
Hi Shirley! So sorry for the delayed response! Because I used plywood, the lumber wasn’t too bad! If a twin XL is shorter than 8 feet, you should be able to use the same cuts of lumber that I did I think. (Mine was a regular twin.)
Good point! Thank you!
Did you ever post the DIMENSIONS?
Unfortunately I no longer have this bed so I can’t measure.
Hi
I love love this cute trundle you made. just wanted to know I want to add a popup mechanism to it do you have any idea how I could do it?
Thank you so much
greatly appreciate your response
Hi there! I haven’t seen a mechanism like that so I’m not sure! Sorry I can’t be of more help!
Do you know where you purchased the twin bed that you built this trundle for?
You mean the mattress? I believe this was part of a partnership, but I’ve had good luck with similar style mattresses from Amazon believe it or not!