DIY Upholstered Belgrave Headboard (Take 2)
Psssst… this post *might* contain affiliate links: see my disclosure here.
*Disclaimer: Lacefield Designs sent me this fabric as the block print answer to my dreams. I love it beyond belief. That is all.
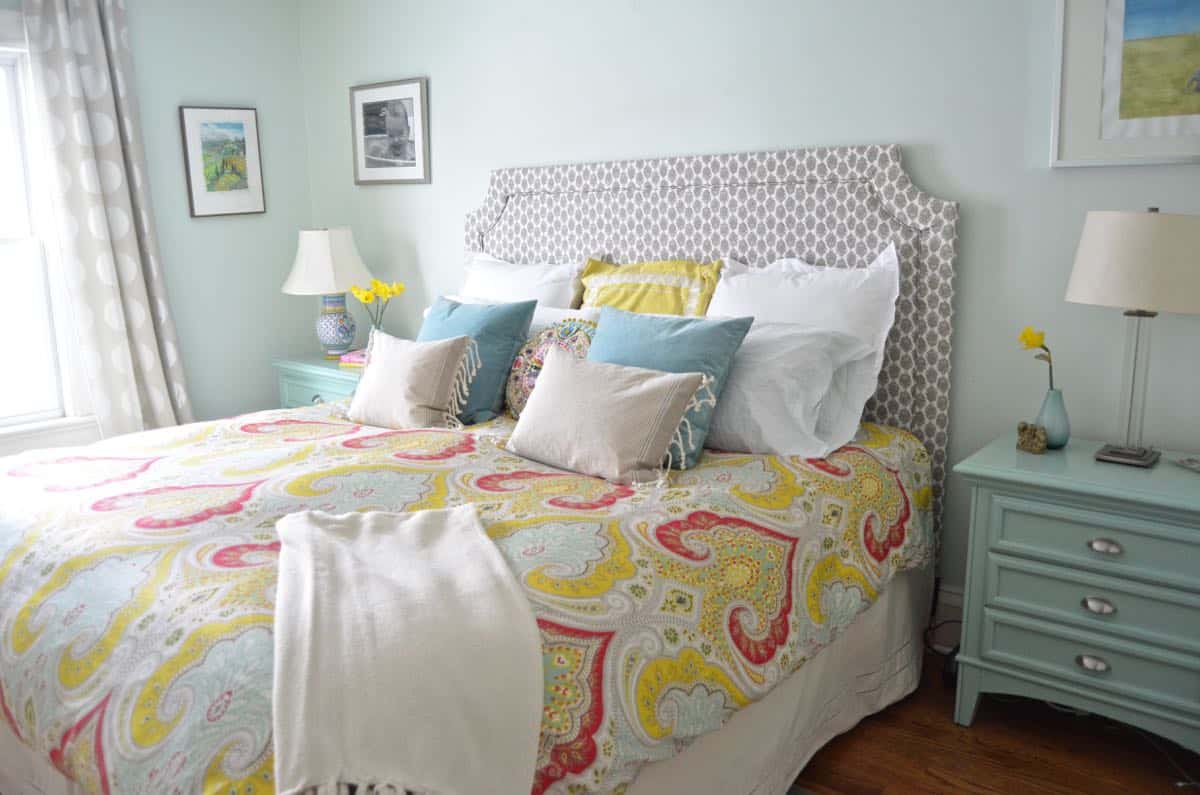
The longer I’ve been blogging the more amazing brands I get to meet and work with. Lacefield Designs is one of them. I met them last summer at the Haven Conference and mentioned that I wanted to have another go at our master bedroom headboard… they generously agreed to send me the fabric and then they sat around waiting for me to get my fanny in gear. I mean that’s kindness enough, right? Well… I’ve FINALLY finished our new and improved master bedroom belgrave headboard! WOOHOO!
Shop my favorites!
DIY Belgrave Headboard
So for this go around, I wanted to try for something a little more streamlined. Still padded and comfortable, but not quite as bulky. The one tutorial I kept coming back to was this one by Sarah Dorsey. I ultimately did my own thing, but the addition of a board around the outside of the headboard frame was good intel for me. Full materials list at the end of the post!)
Step 1
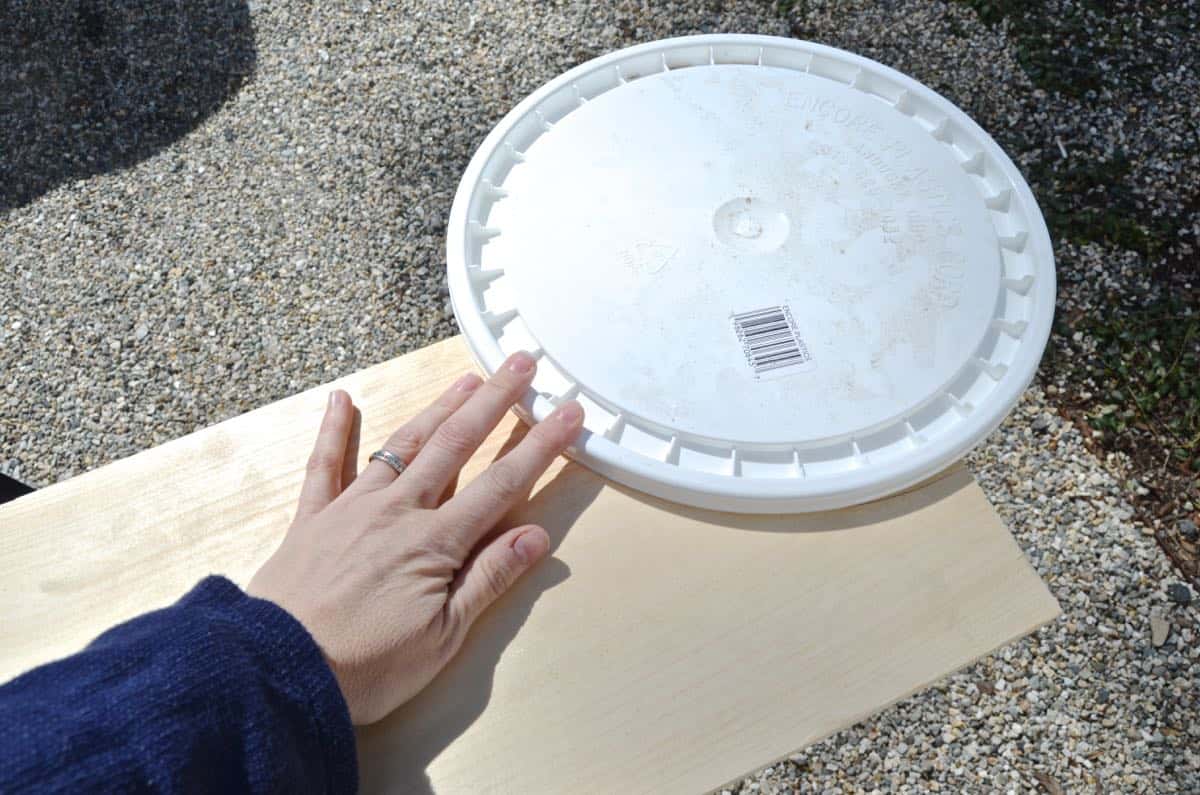
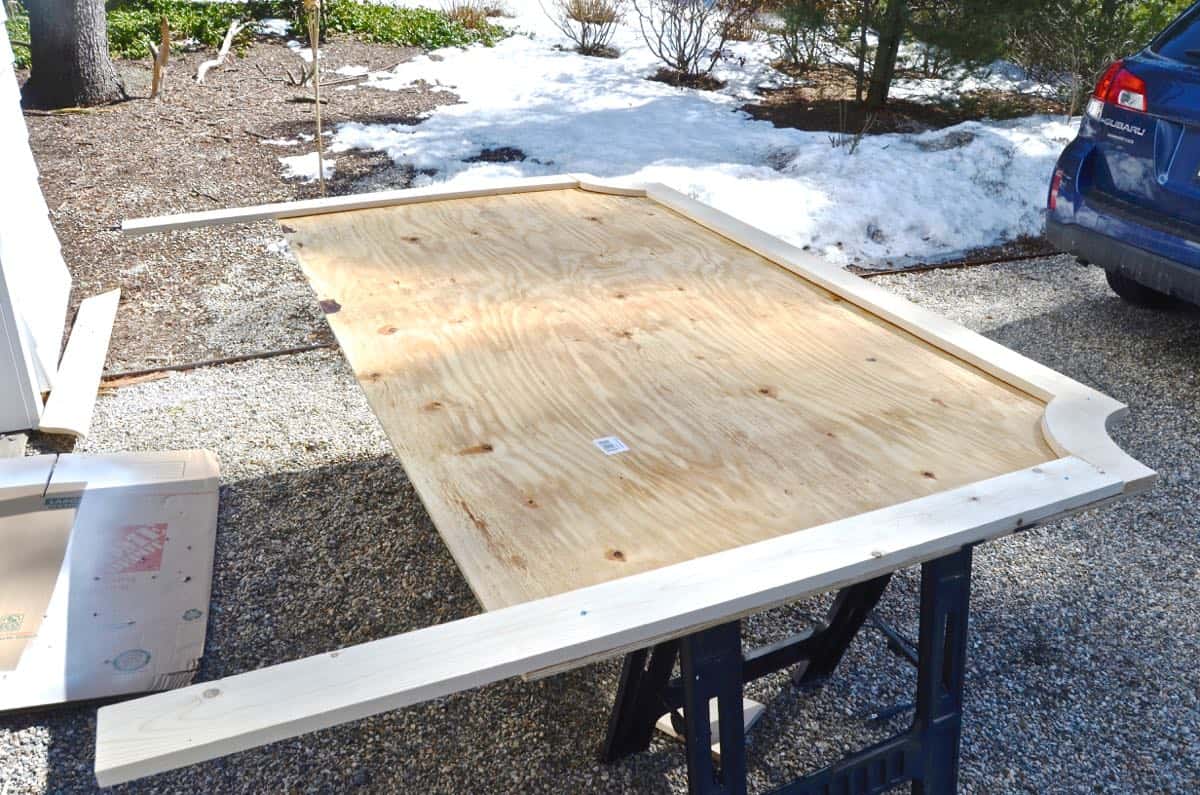
First step was tracing the quarter circle cutout onto the corners of the plywood. I just eyeballed what looked nice and used the lid to a storage bucket. Then, I cut out each corner with my jigsaw.
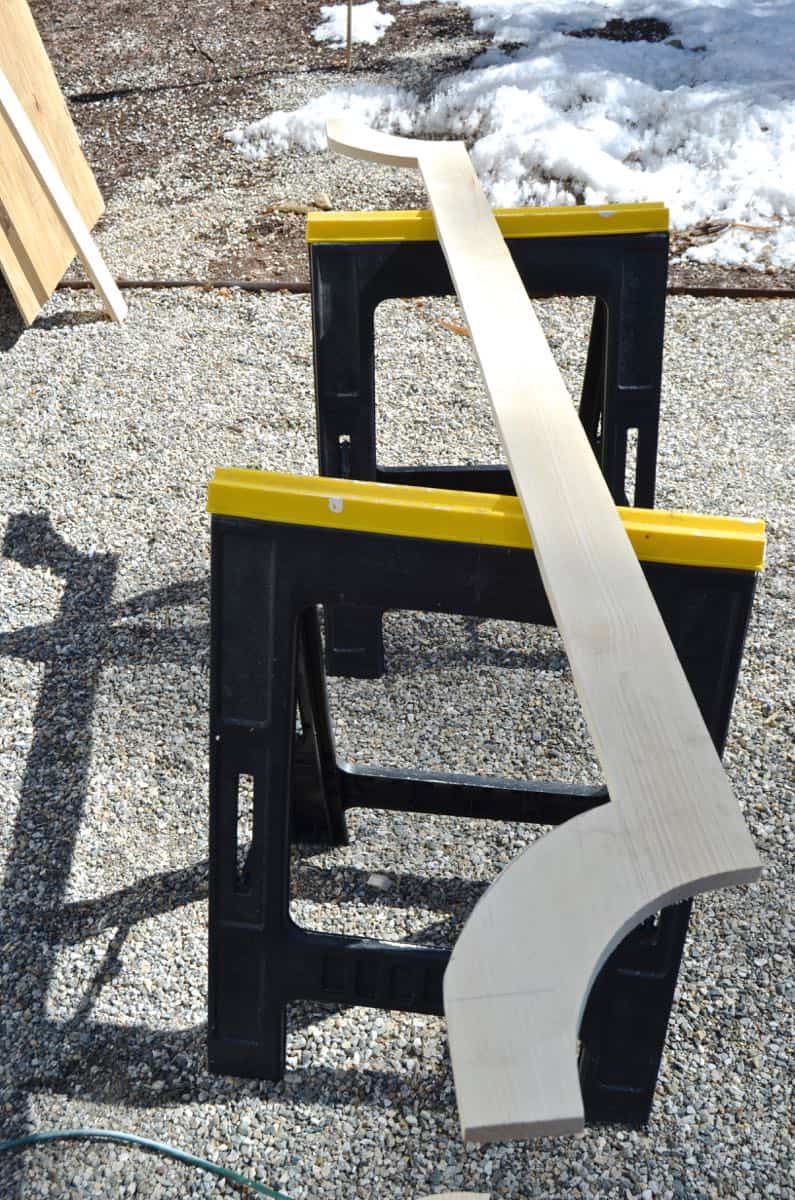
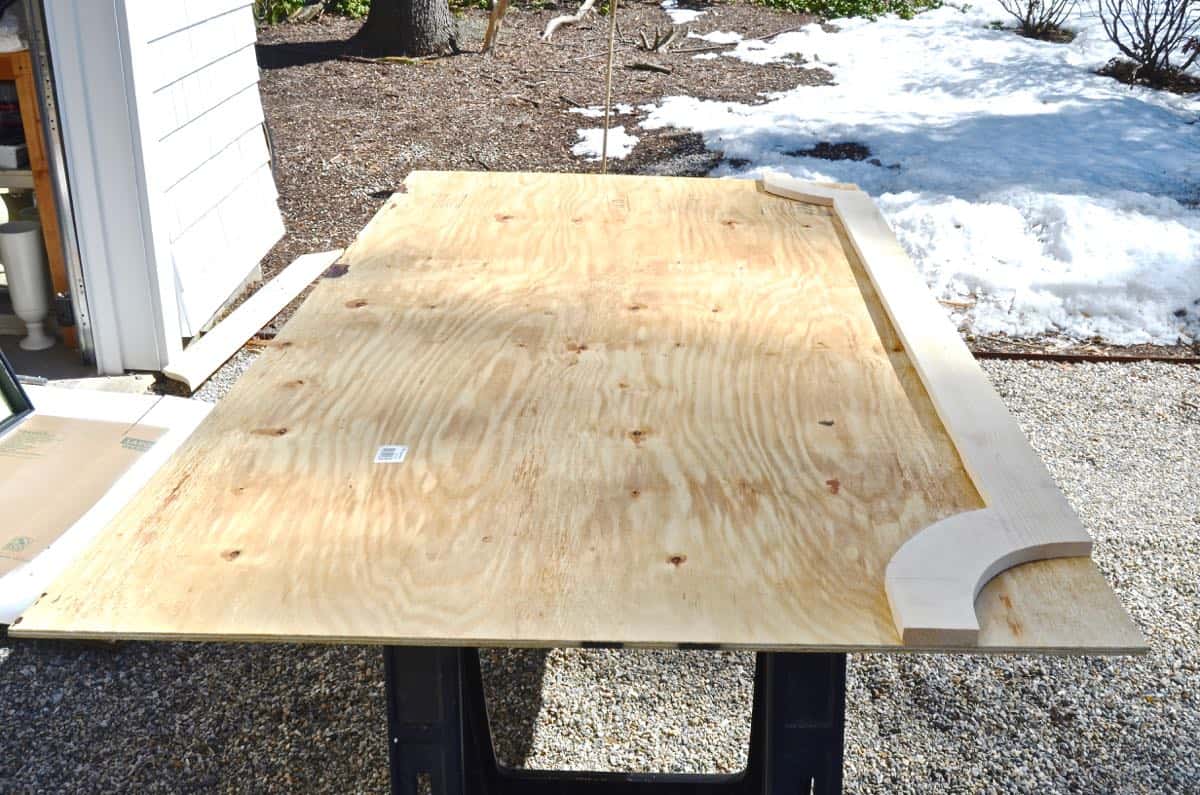
I also cut along the top of the headboard so I would ultimately have a 3.75″ border around the entire headboard (1x4s are not a true 4″ wide… don’t ask… it’s just one of those lumber things). I rested the 1×10 on top of the plywood and traced the corner to go back over with my jigsaw.
Step 2
I decided how tall I wanted my headboard (60 inches) and then cut the two 1x4s down to size. Last part of the headboard frame was just to screw in all the boards. I used 2 screws from the top to hold the boards in place, then flipped the whole thing over and screwed in the rest of the screws from the back.
Step 3
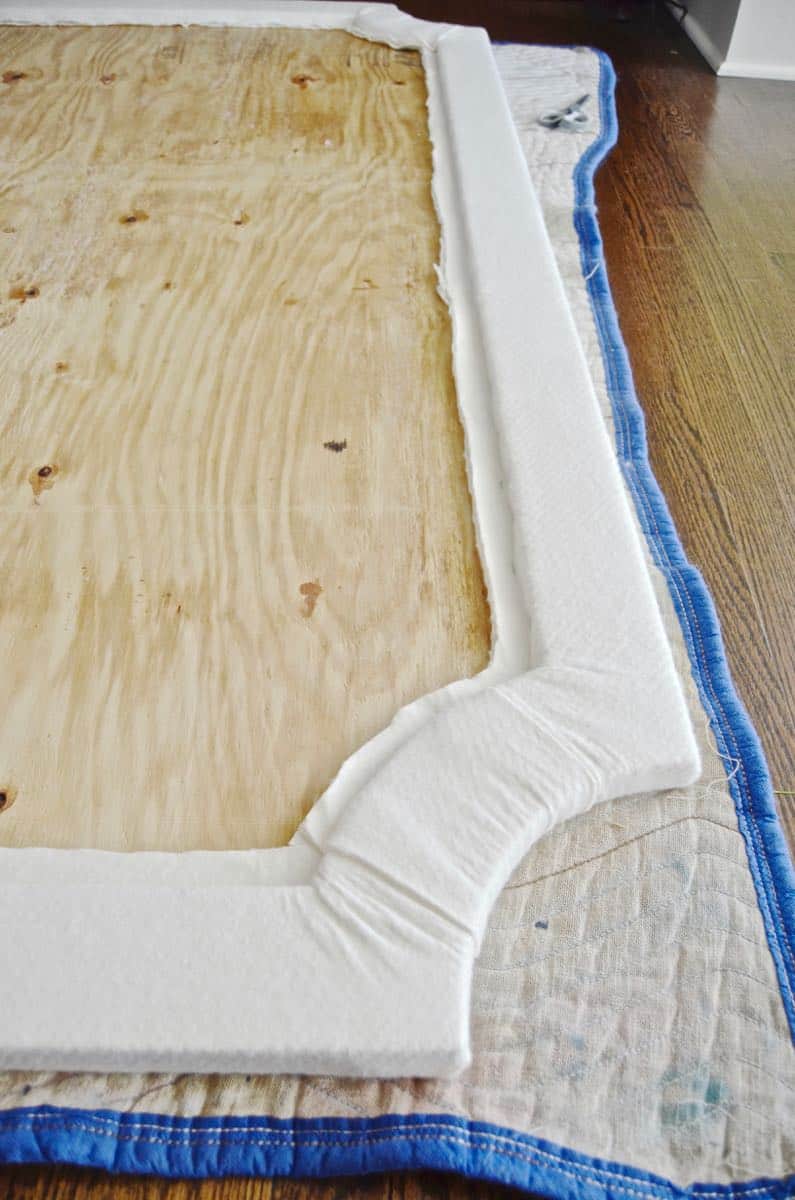
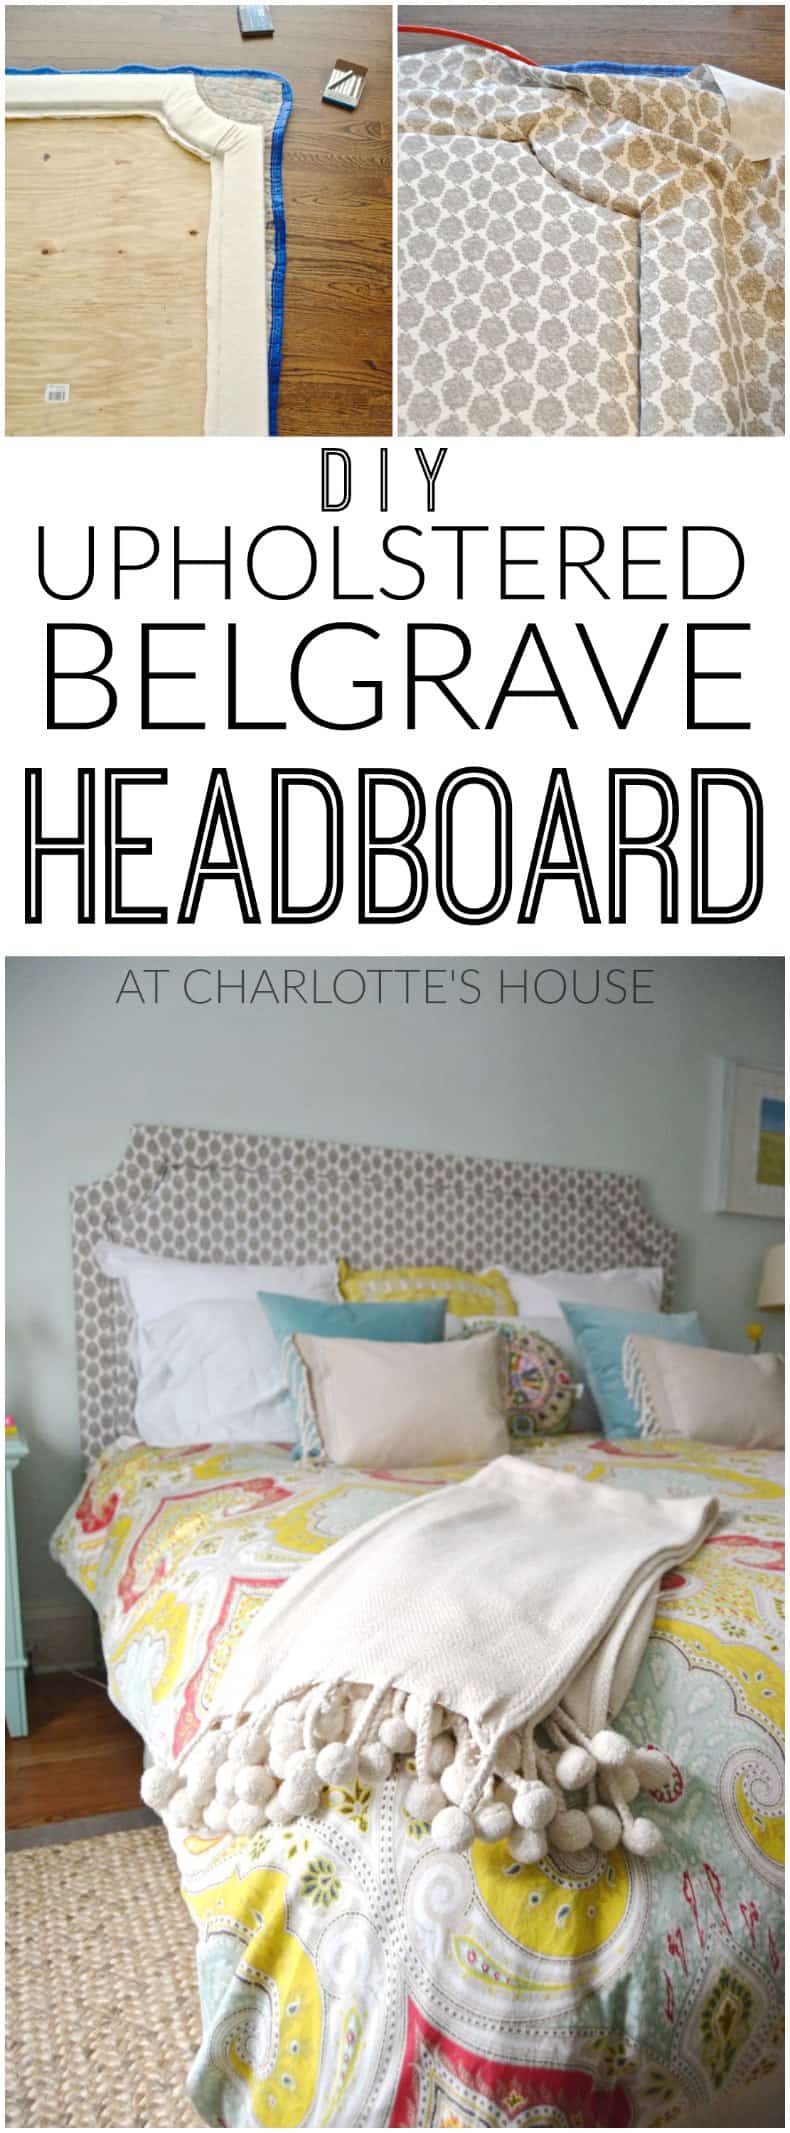
Upholstery. I started by wrapping a double layer of batting around the outside frame and stapling it with the 3/8″ staples along the inside edge of my border. I probably could have used even more batting, but it’s perfectly soft.
Step 4
Next, I cut my foam to fit inside the 1×4 border. I decided to experiment and used an inexpensive 2″ memory foam ‘mattress’ from Walmart. I think it was $30? Foam is always the MOST expensive part of an upholstery project unless you have a connection… I think foam at JoAnn is $19.99 a yard or something so this would have cost me at least $60. I’d say this foam was totally comparable and saved me a few dollars. AND… Walmart is easier for me to get to than JoAnn. The foam fit snugly enough that I didn’t have to bother with adhesive or screws.
*Cue whomp whomp sounds because I don’t have a picture of this step…*
Step 5
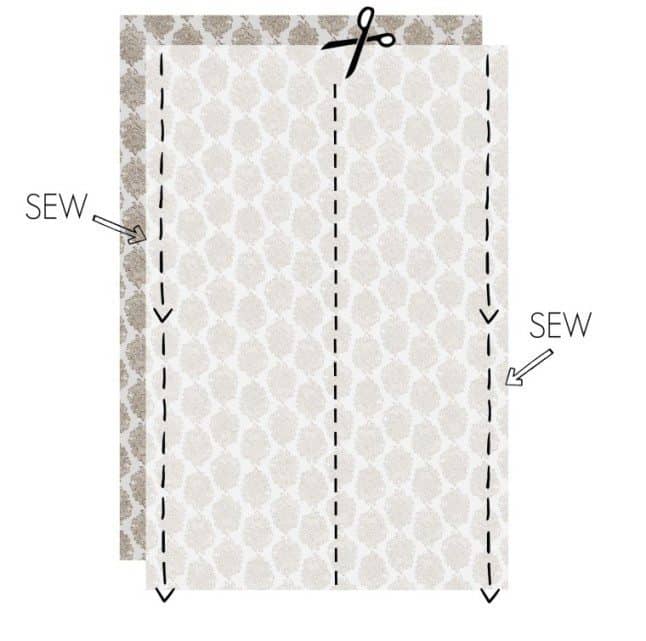
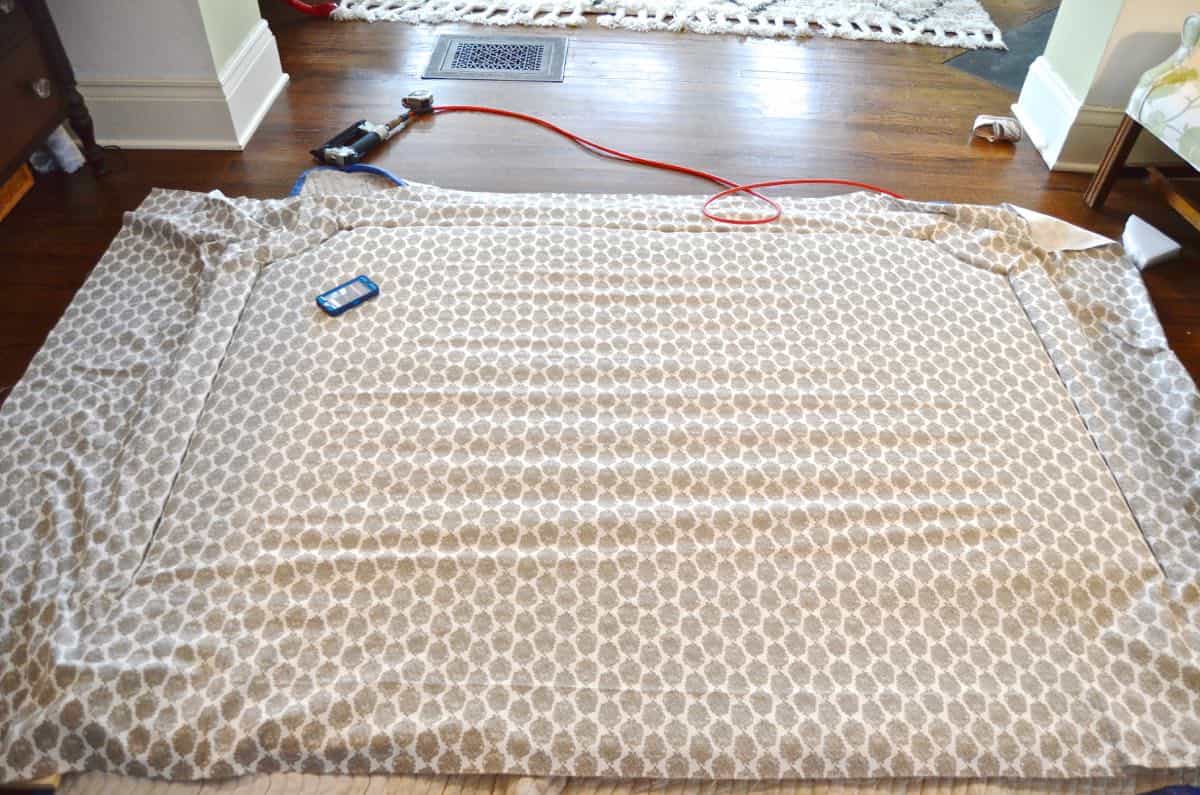
Because this is a king size headboard, my fabric wasn’t wide enough unless I wanted to ‘railroad’ the pattern by running it side to side across the headboard. This fabric from Lacefield is too gorgeous to play around with and obviously it’s intended to go up and down. So… out came the dreaded sewing machine. I cut two lengths of fabric long enough to easily wrap around the headboard top to bottom. With the right sides together, I matched up the pattern as perfectly as I could and sewed the two pieces together along the outside edges. (Basically, I now had a big tube of gorgeous Lacefield fabric.) Measuring carefully, I then opened up the tube by cutting one piece of fabric right up the middle.
Step 6
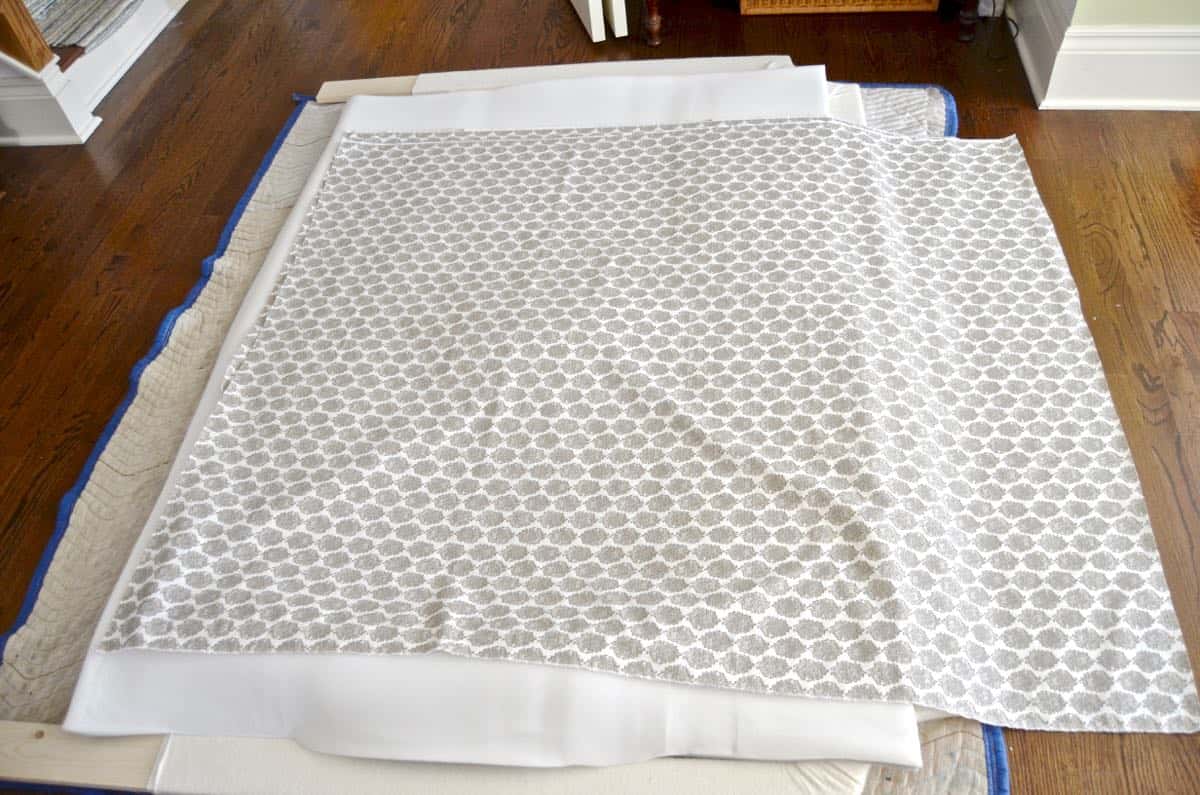
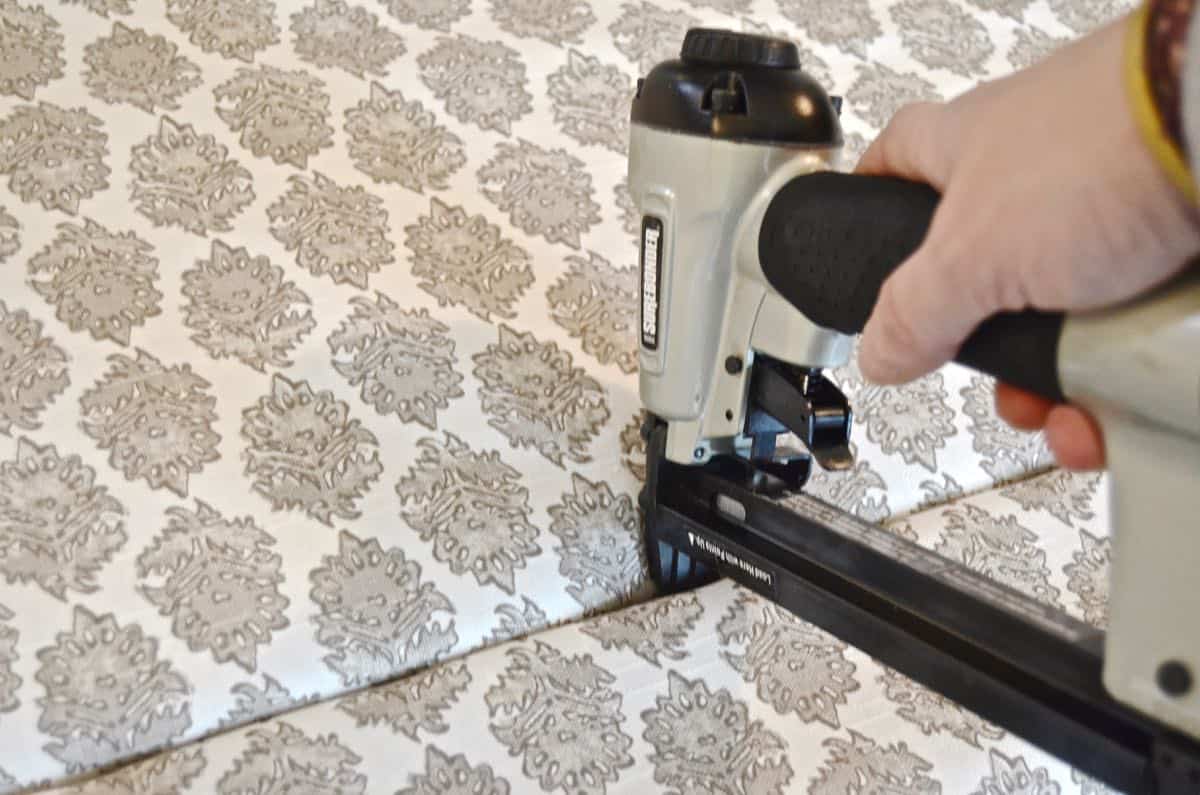
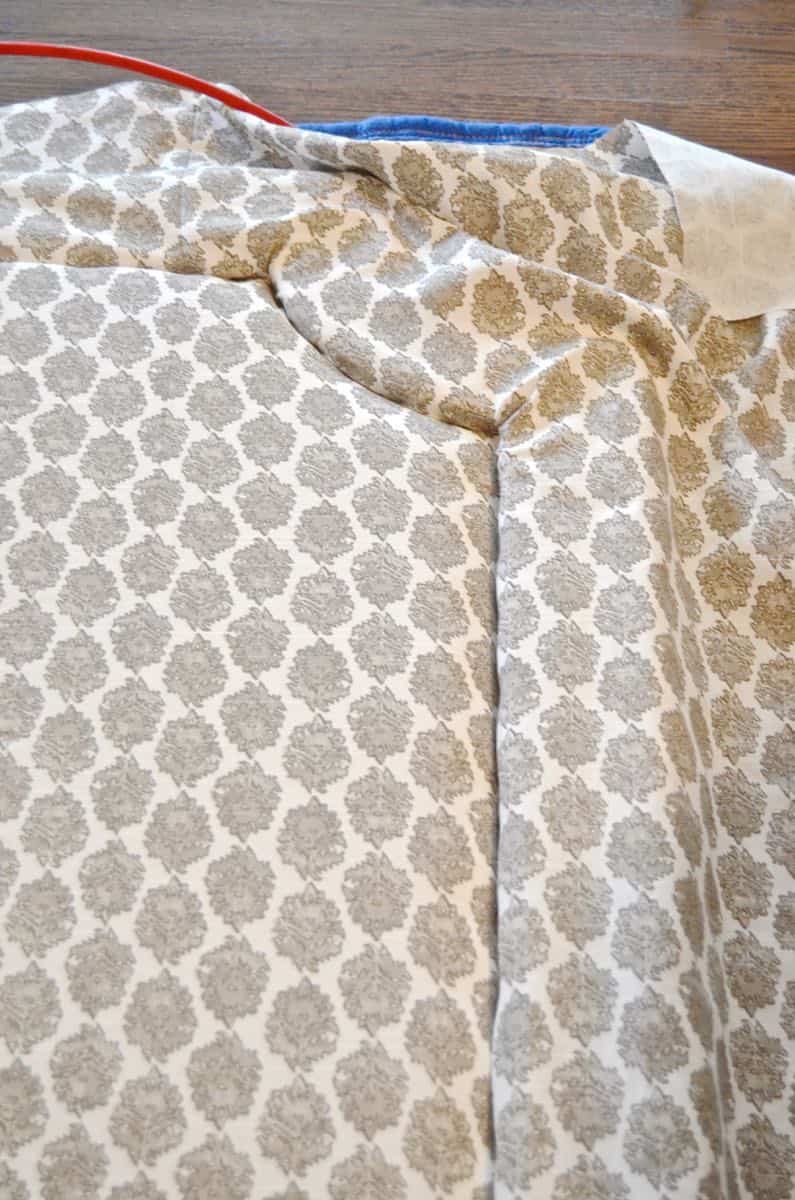
When opened up, you can barely see where the two seam lines are, but I now have one big glorious wide piece of fabric to use on my king sized headboard. With my 1/2″ staples, I started by stapling the fabric into the crack between the foam and the wooden headboard edge. I was super careful to make sure the pattern was tight and STRAIGHT. (I also wrapped the fabric around the legs of the headboard so the whole piece looked finished.)
Step 7
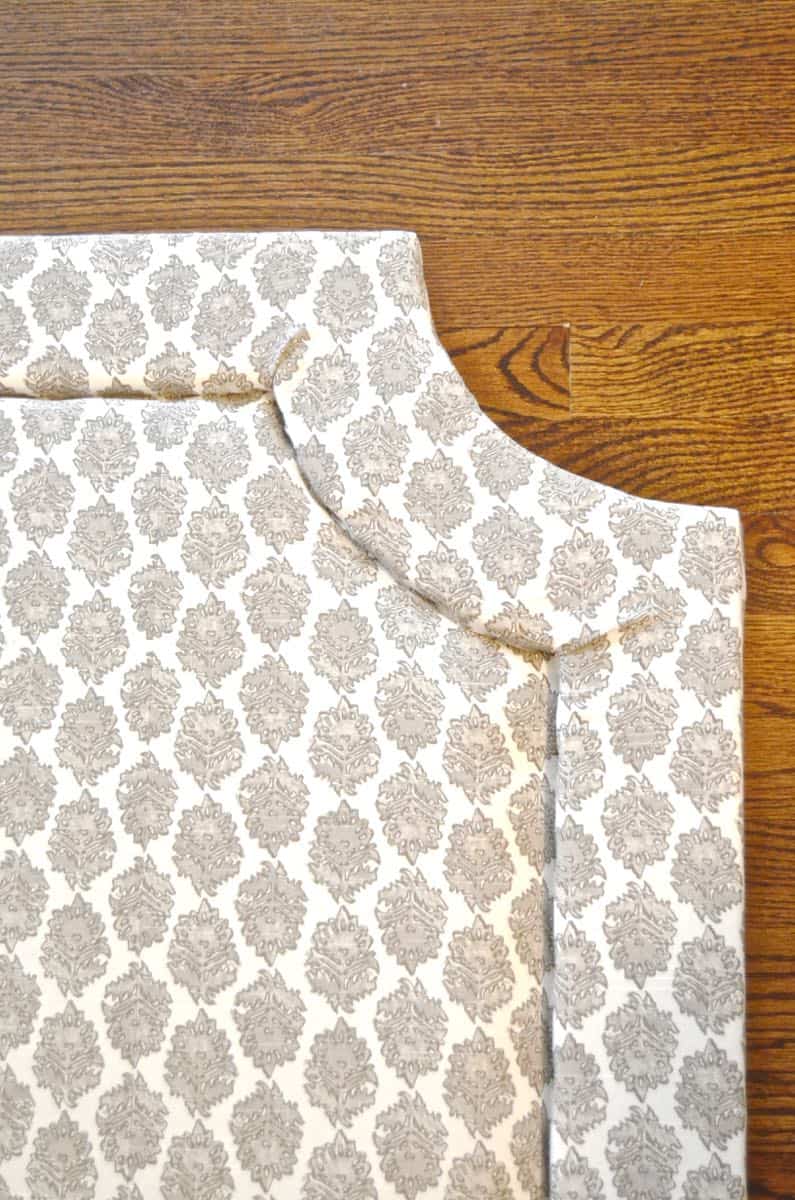
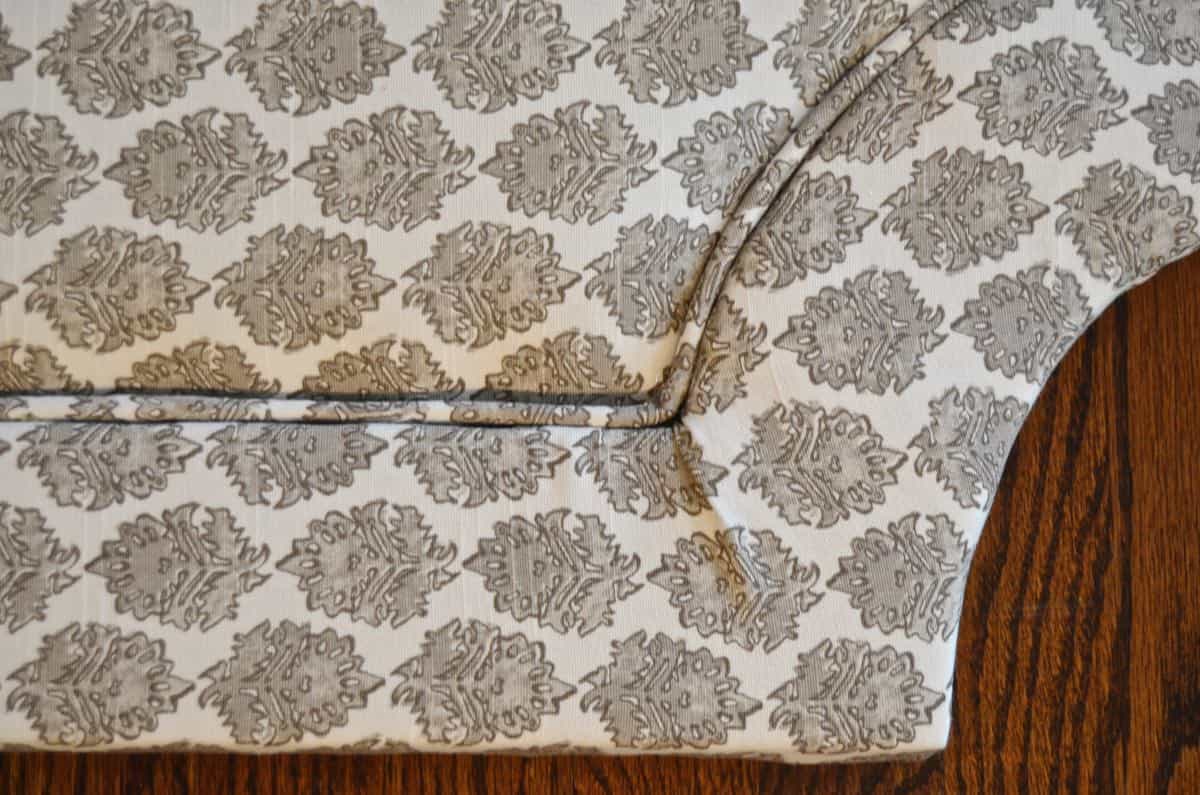
Then, I flipped the headboard over and slowly pulled the fabric tight around the batting covered border and stapled it neatly along the back of the headboard. The rounded corners for any headboard are hands down the trickiest part. I left mine for last after I’d tightly stapled the top and the two sides. For the corners, I snipped notches in the fabric along the back of the headboard to allow for the stretch and pull needed to really get it tight around the corner. This fabric was pretty forgiving, so with the right tugging and pulling, I was able to get it wrapped around the back without wrinkles. (FYI: My friend Jen send me this link to help with these tricky corners… )
Step 8
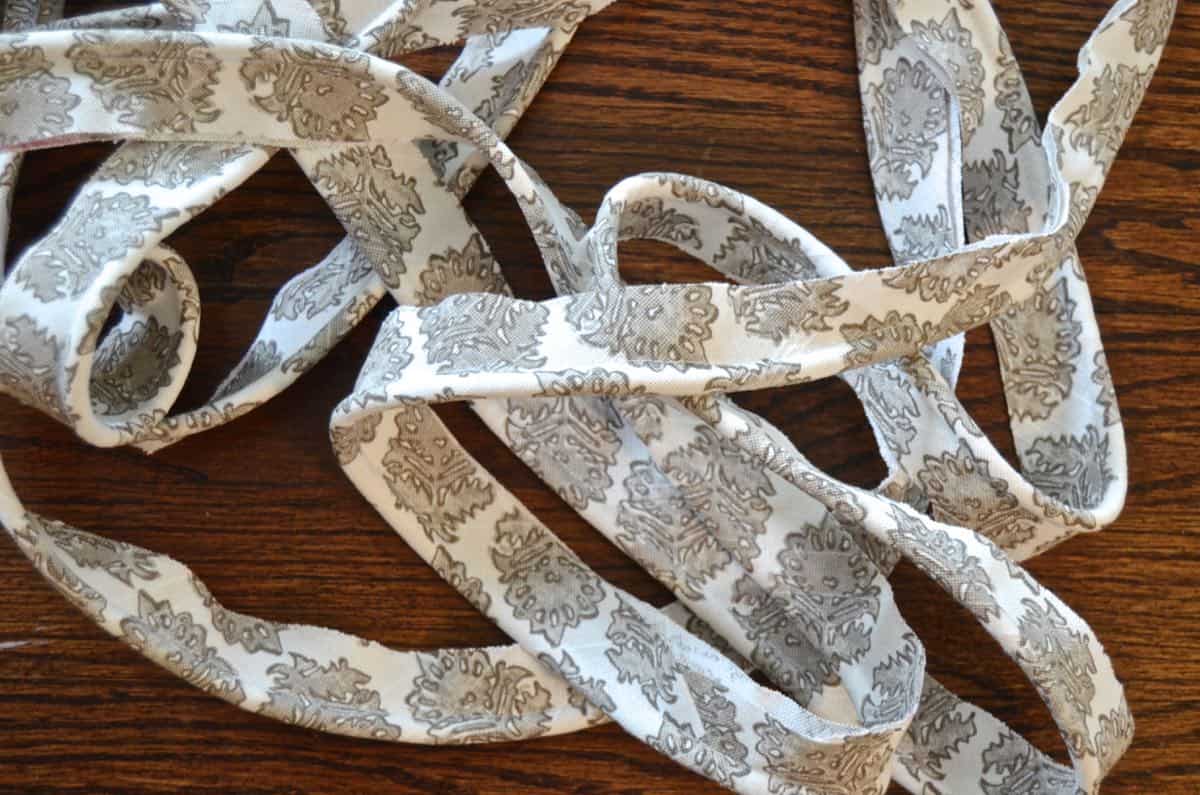
Even though my staples were tucked between the foam and the frame… I obviously wanted to finish this off so- cue the Darth Vader music- time for piping. I’ve done piping for my chevron chairs, and of course headboard #1. I think I’ve *finally* cracked the code. Here’s what works for me: I prefer continuous bias strips (vs. individual ones) and… I make sure to make each strip PLENTY wide enough to wrap around the cording.
Step 9
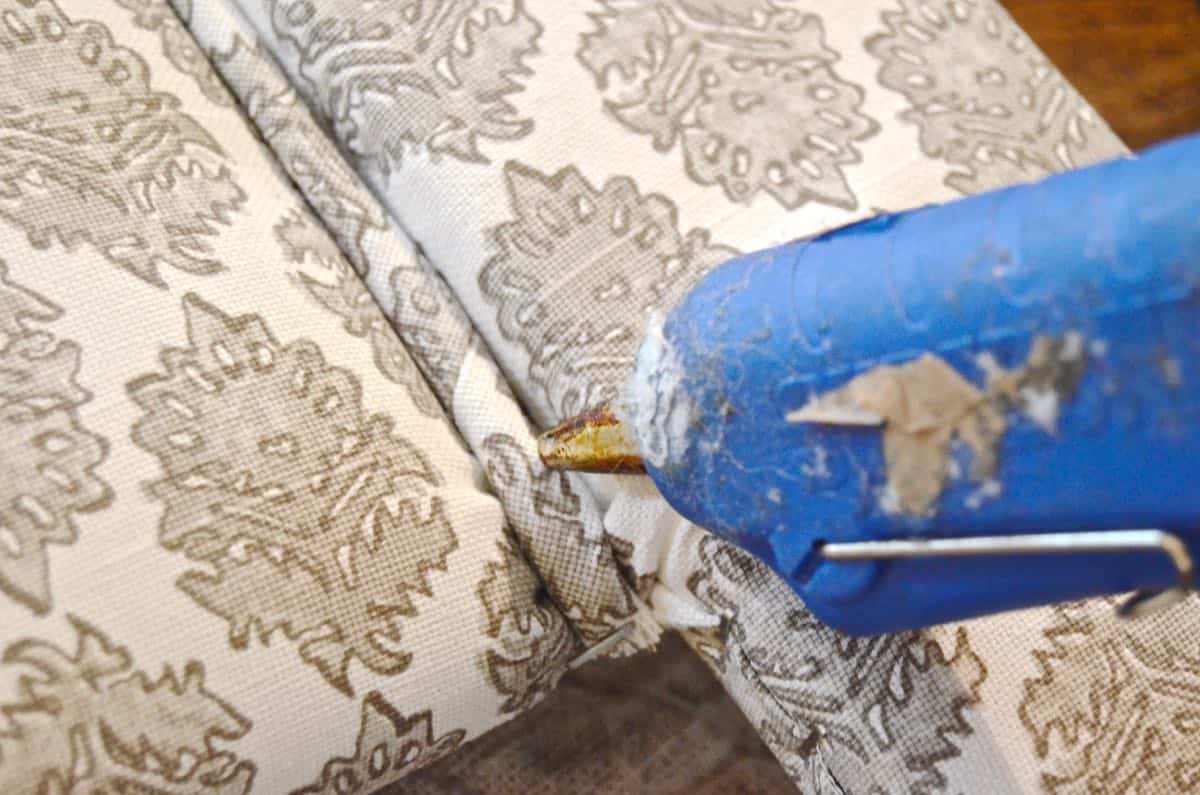
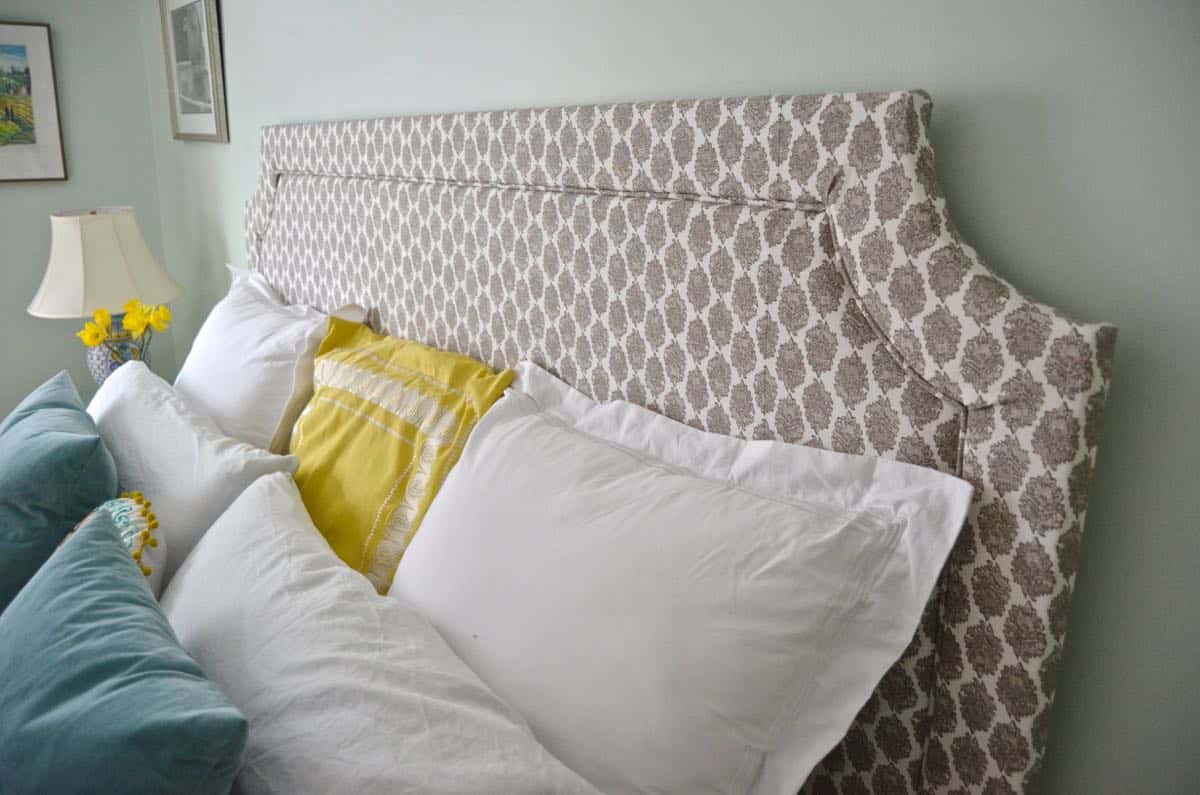
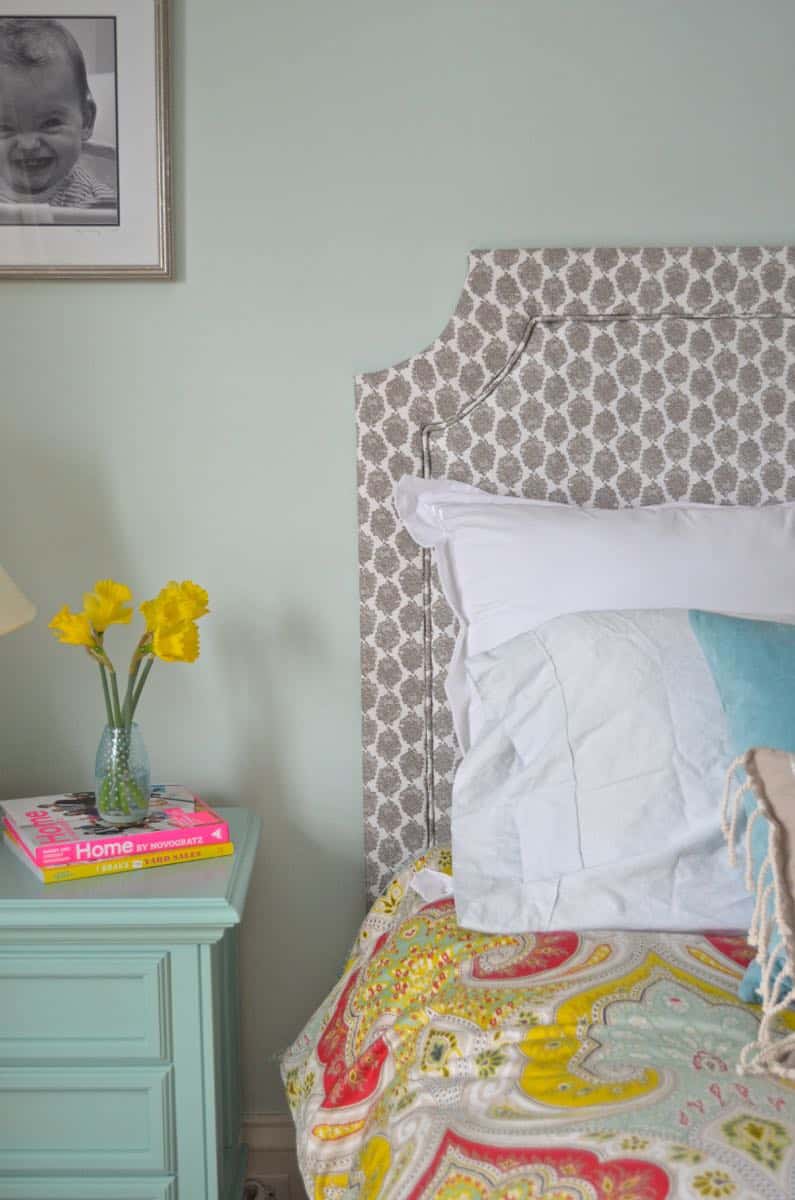
Once I sewed my piping, I trimmed the edges, and used my hot glue gun to glue the cord into the crack where my staple line was hiding. It finishes off the whole thing, doesn’t it?!
Step 10 (optional)
I didn’t take a picture of it, but I stapled some muslin along the back of the headboard to conceal the exposed plywood and also cover the staple line from the fabric… Obviously no one will see this, but it just makes the whole piece seem neater. Because this headboard has legs, I didn’t bother with any ‘installation’ up in our bedroom, but you’re more than welcome to screw the legs into your bedframe if you’d like the headboard to be sturdier. (Our mattress/ boxspring are high enough that it holds the headboard in place securely no problem.)
Materials for Upholstered Headboard
- 1 3/4 sheet of plywood cut to measurement. I kept the height and had the guys at Home Depot trim it down to 78″ long
- 1 1×10 board
- 2 1×4 boards
- jigsaw
- drill
- 1 1/4″ screws
- batting
- foam (for this headboard… I actually used 2 egg crate foam mattress covers with the bumpy sides against each other)
- fabric (Lacefield Zira Bisque)
- cording
- hot glue gun
- 1/2″ staples
- 3/8″ staples
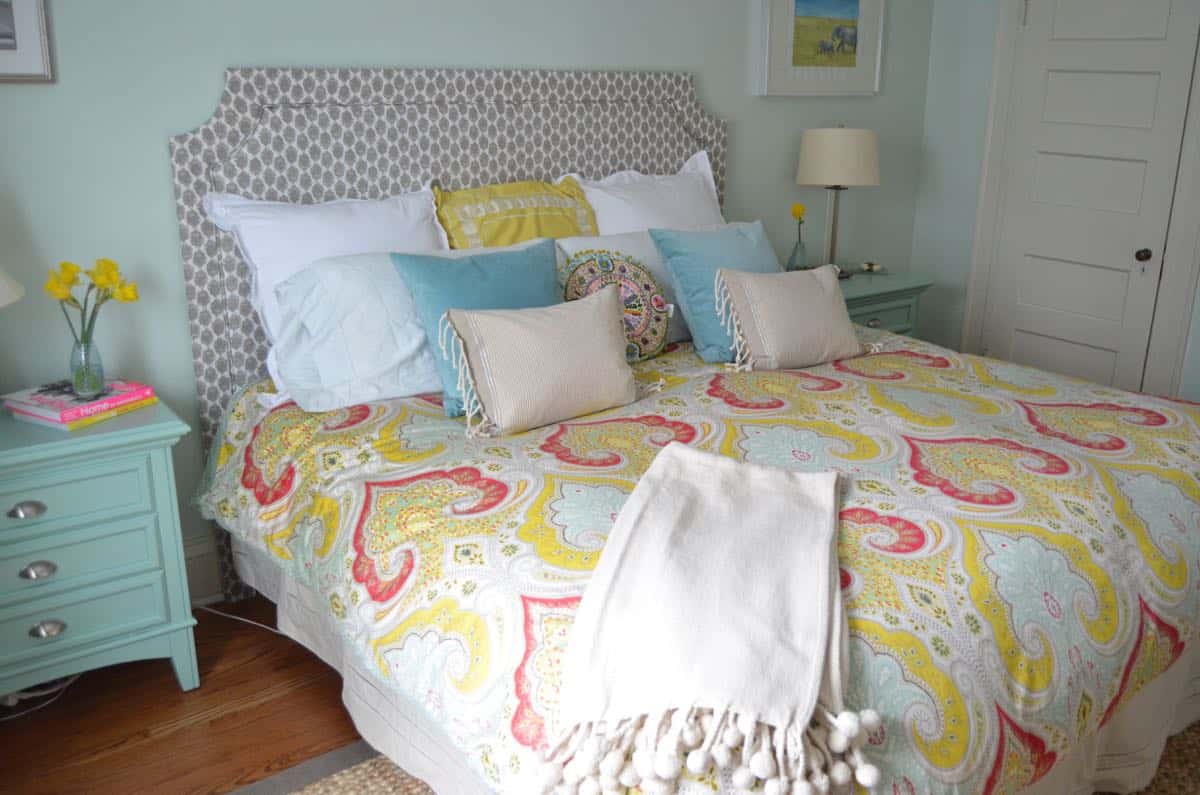
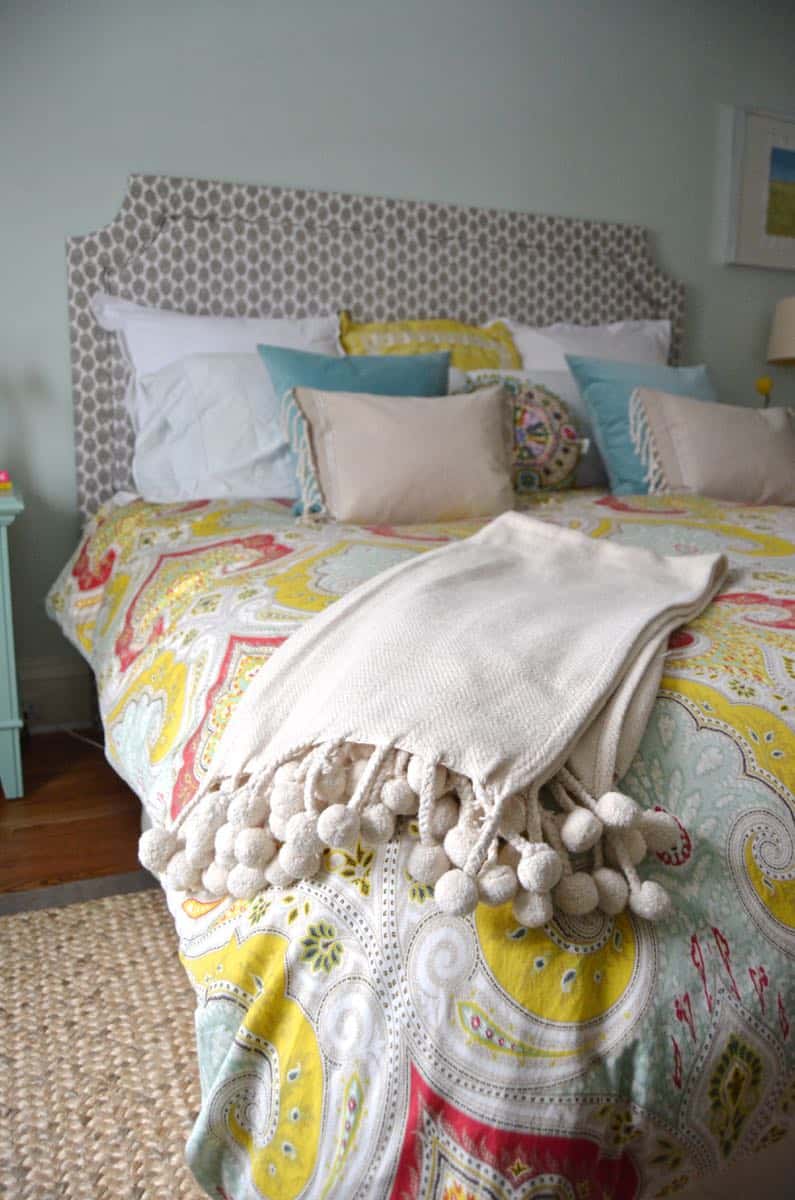
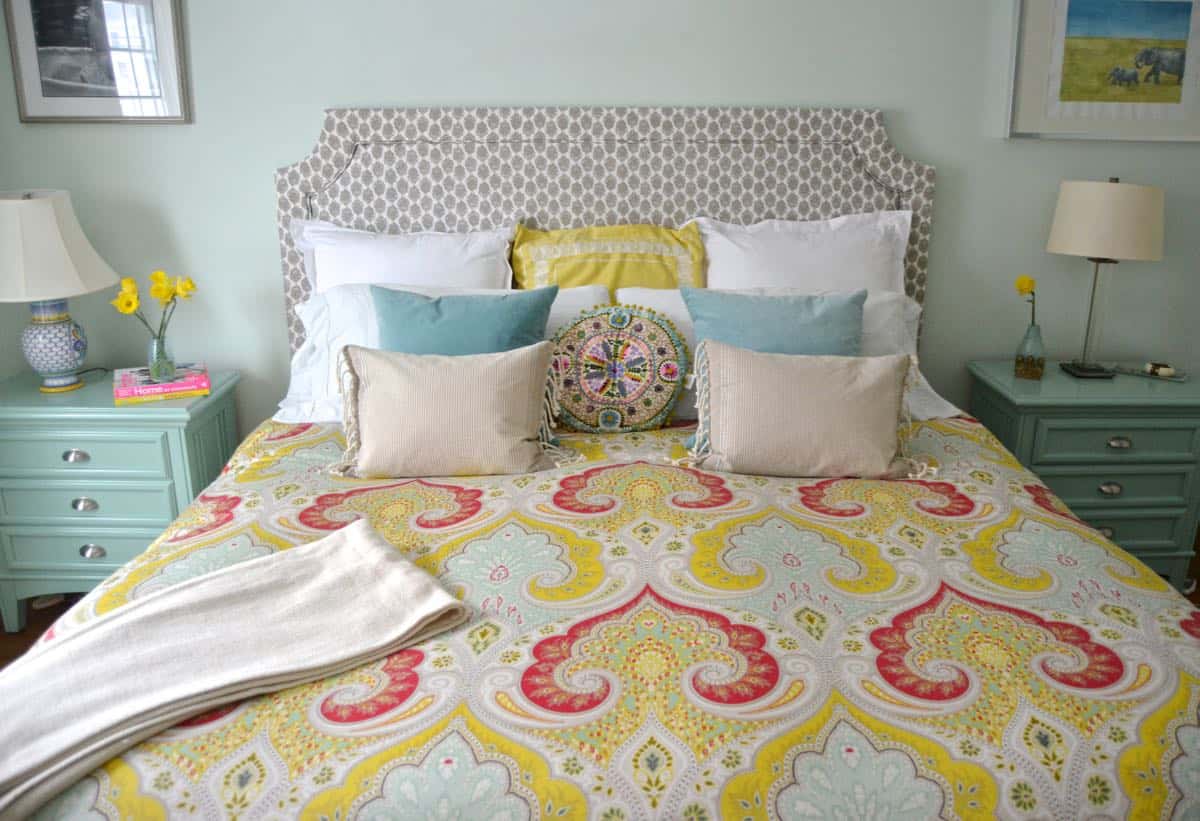
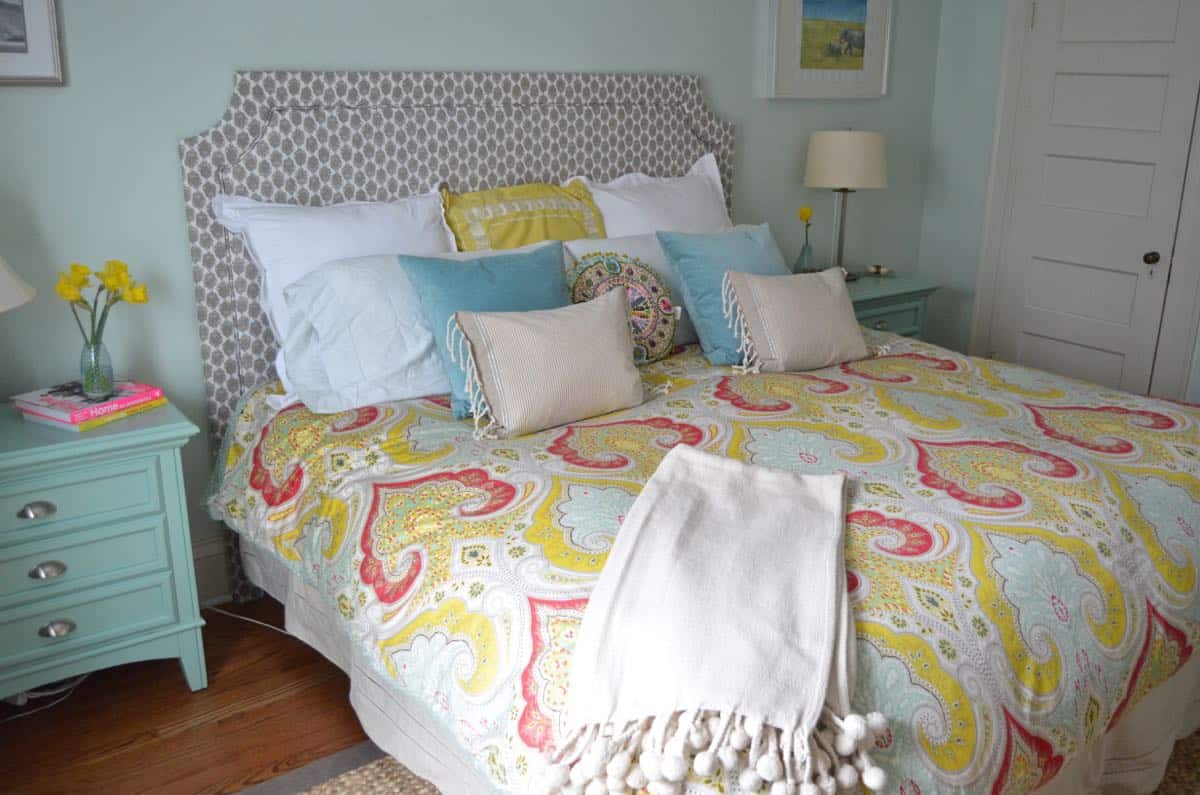
So there you have it! My second attempt at a DIY custom belgrave headboard. I’m SO pleased with this second version. I mean, obviously the fabric couldn’t be any cooler, but the overall shape of the headboard is closer to what I’d envisioned. And after all that dragging my feet, this headboard took me 2 days to make: one afternoon outside to construct the frame, and then one morning with West Wing playing on my phone to upholster. Cost? Maybe $50 for the wood? Another $50 for the foam/ batting/ cording and then whatever you want to spend on fabric!
Update: So many folks have asked, that I wanted to include here… the AMAZING bedding is this one: Echo Jaipur Duvet Mini Set, King, Multi-Color (affiliate)



You and your power tools…you slay me….
🙂 Always! #buildlikeagirl
Oh, Charlotte, it came out SO GREAT! Seriously beautiful. Excellent work, my friend!
Thanks! And thanks for the pep talk! Not quite professional grade, but close enough for me! 🙂
Charlotte, this is amazing! You have some serious DIY skills!
Thank YOU, Christie! I’m sorry it took so long!! I love love love how it came out!!
What a pretty headboard! These are all skulls I’m far from knowing anything about but you’ve made the directions quite clear!
Thanks, Corinna!! And you’ve got pleeeeenty of skills for this. 🙂
I popped over from Hometalk not for the headboard but the duvet/quilt but now that I see the old and new headboard I have to say you really nailed it. The proportions are so much better in the second headboard. And the fabric is divine. But now I need to know where you got the duvet or the fabric. I am swooning over it.
Ha! Thanks so much! I know… I LOVE that duvet. It’s from Amazon (affiliate link attached). I updated the post so you can always grab the link there too! 🙂 https://www.amazon.com/Echo-Jaipur-King-Comforter-Set/dp/B002WN1Q9W/ref=sr_1_1?ie=UTF8&qid=1428434971&sr=8-1&keywords=echo+jaipur+king+comforter&tag=ciburbanity-20
I have the same bedding and I have been looking for nightstands exactly like that. Do you mind sharing where you found them? Love the room!
Hi Lucy! I’m afraid those are Craigslist finds that I painted and then added new hardware to. I never can remember the paint color, but I matched the green on the bedding… I’ll comment if I can find the paint swatch. After the move I’ve had trouble finding my fan deck of sources!!
How many yards of fabric did you use to create the headboard?
Hi Katherine, I don’t remember exactly, but I’d guess around 6 yards. The headboard itself probably took 4 yards because of the width and then another couple for the piping and the legs and any ‘errors’. 🙂
Hi, what dimensions would you do for a twin bed? or what would be the best way to find the closest measurements for a twin bed? Thanks!
Hi there! Honestly, I would look online at some similar headboards and see what the product description says are the dimensions!
This is terrific and exactly what I want to d…..one question…..the piping……how did you fit it where you wanted it…..I did not see how it got into the place betwee n the two sections….thanks
Hi there! There’s a gap there from the staples, so I was able to just push it into that crack and glue it in place. Thanks!