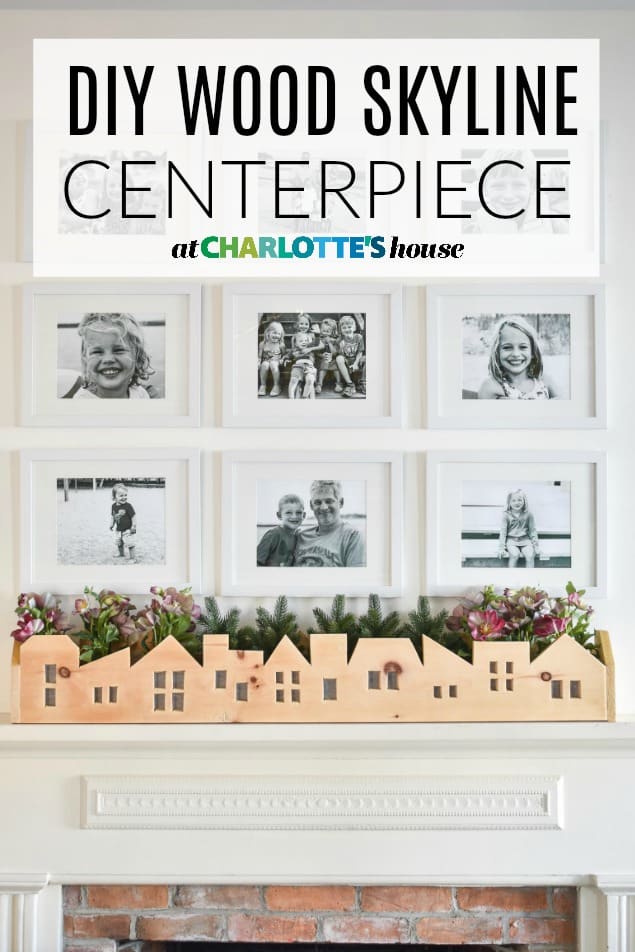
DIY Wooden Skyline Centerpiece
Psssst… this post *might* contain affiliate links: see my disclosure here.
Light Up Wood Skyline Centerpiece
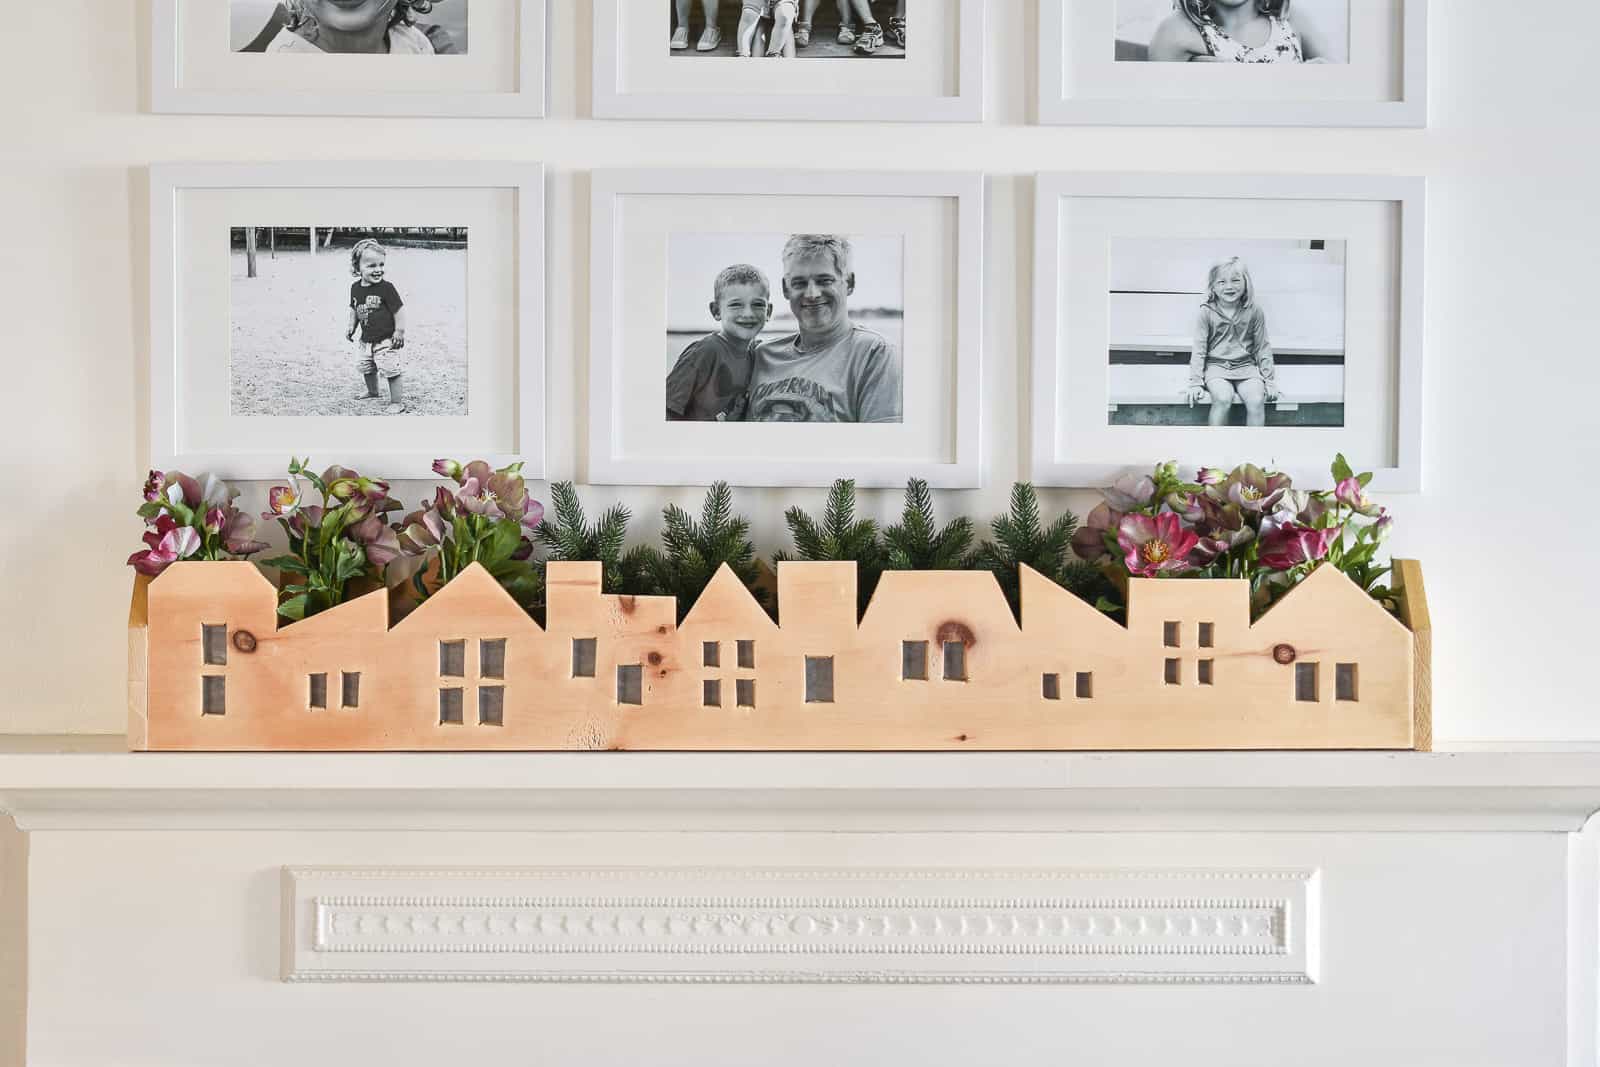
Disclaimer: I recognize that a more skilled maker than I could have made this MUCH more precisely. Also, I’m sloppy. So so very sloppy so I’m actually just pleased that I was able to basically pull this off! What I love the most about this centerpiece is that it requires one piece of wood. ONE! You do need to have a jigsaw or a scroll saw to make this easier otherwise I’m not sure it’s worth the time of hand cutting!
Shop my favorites!
Step 1. Cut your lumber
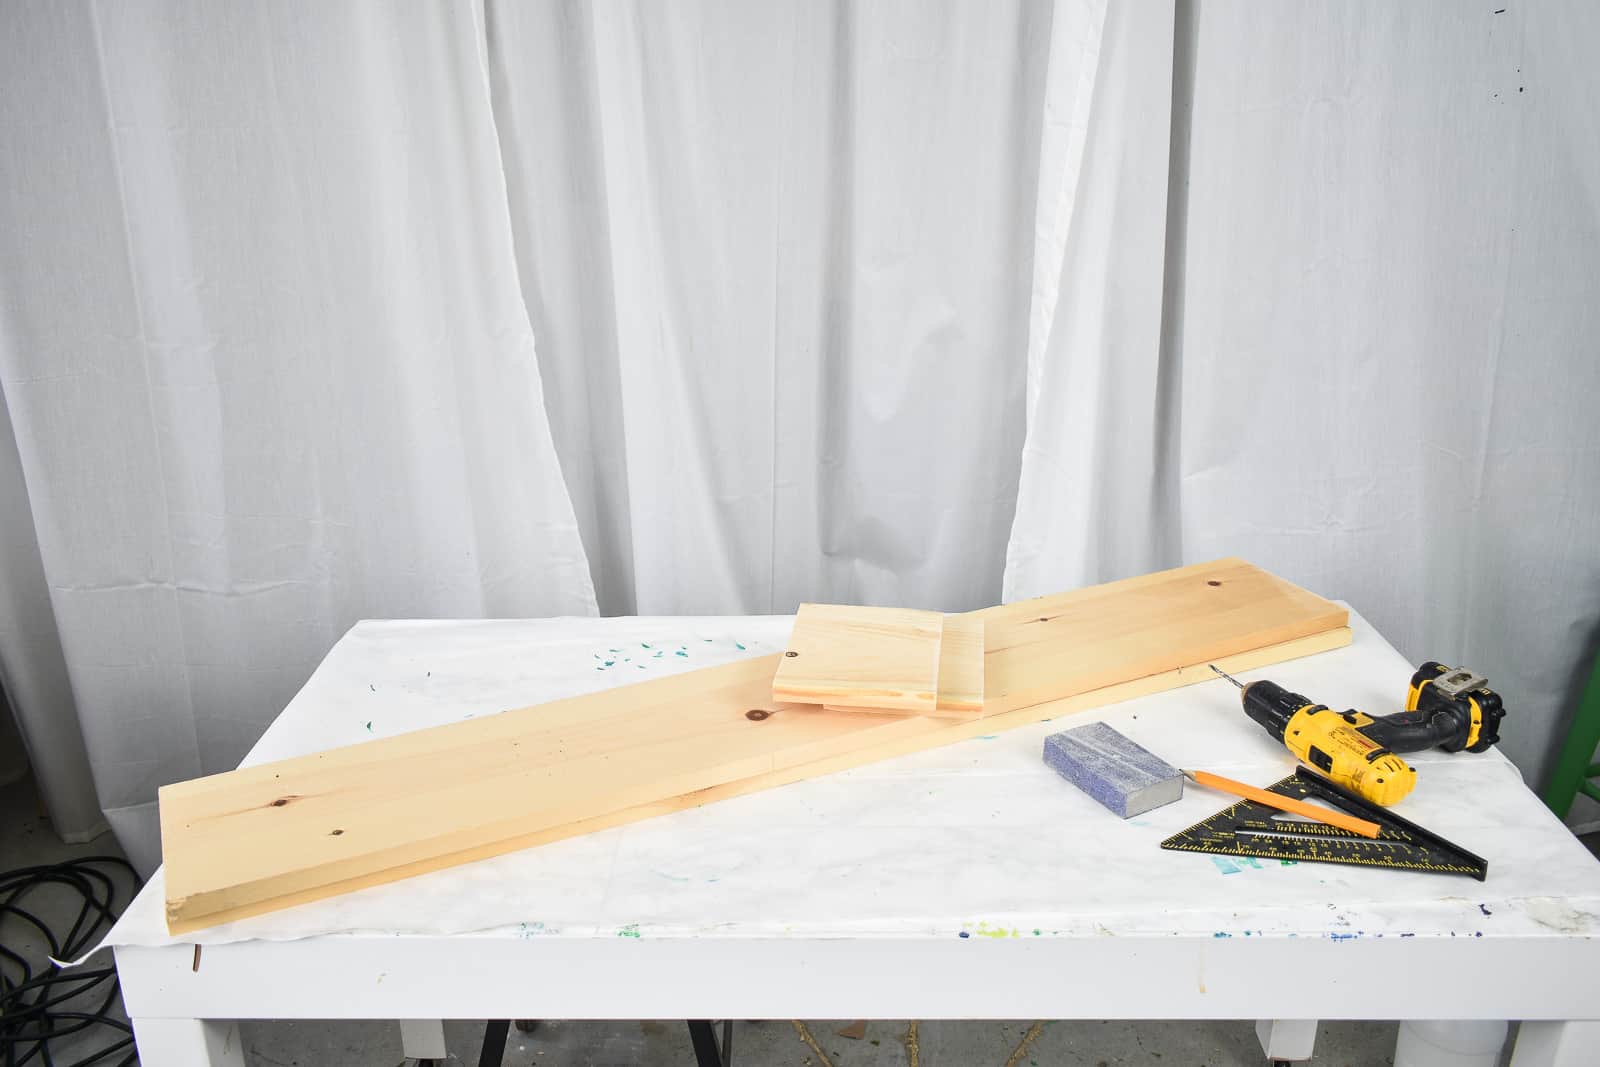
Determine what size you want your house centerpiece to be. I based this off the scrap lumber I had on hand… mine is about 4 feet long and 6 inches wide. I used leftover 1x8s.
Step 2. Draw your skyline
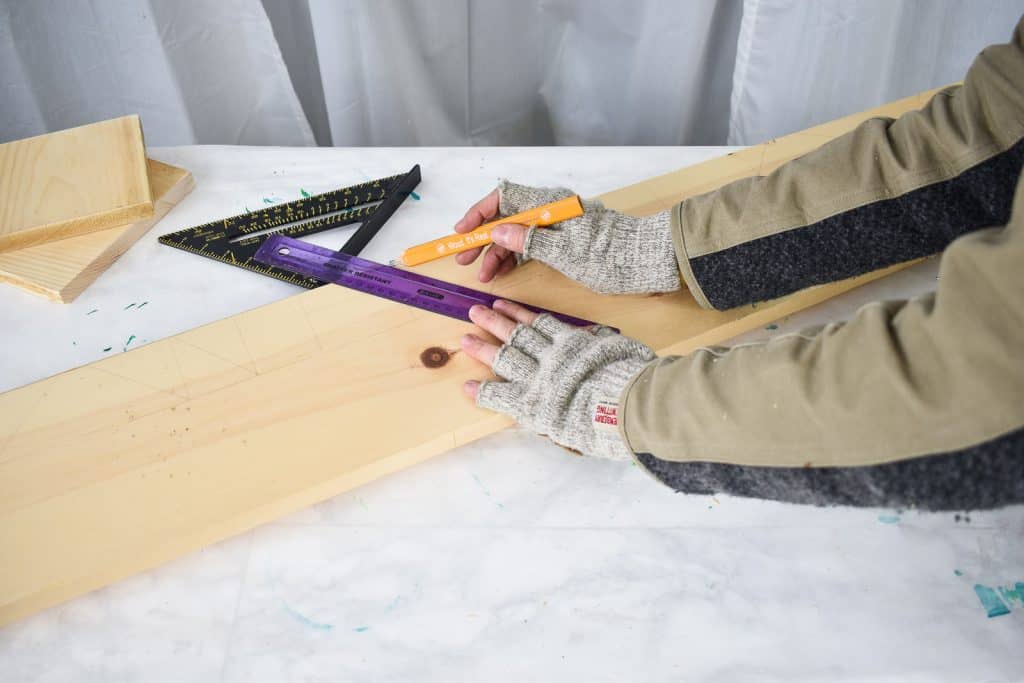
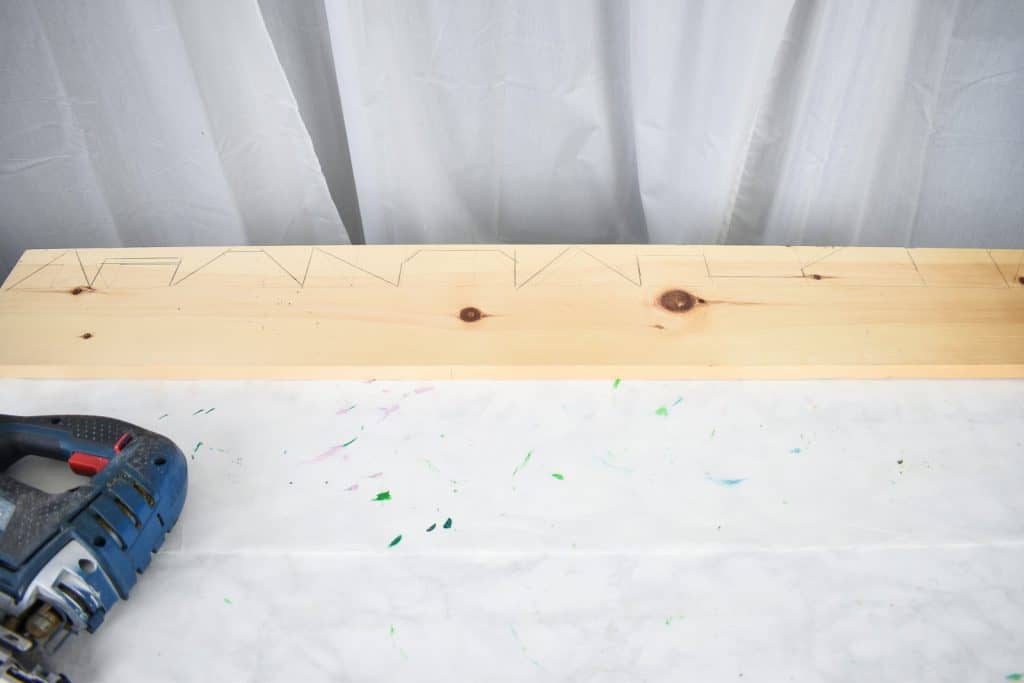
I marked a guideline 4 inches from the bottom of my board. Then I used a straight edge and a pencil to make roof lines for the skyline making sure to vary the height of each roof and change the angles. I didn’t go below the guideline.
Step 3. Cut out the roofline
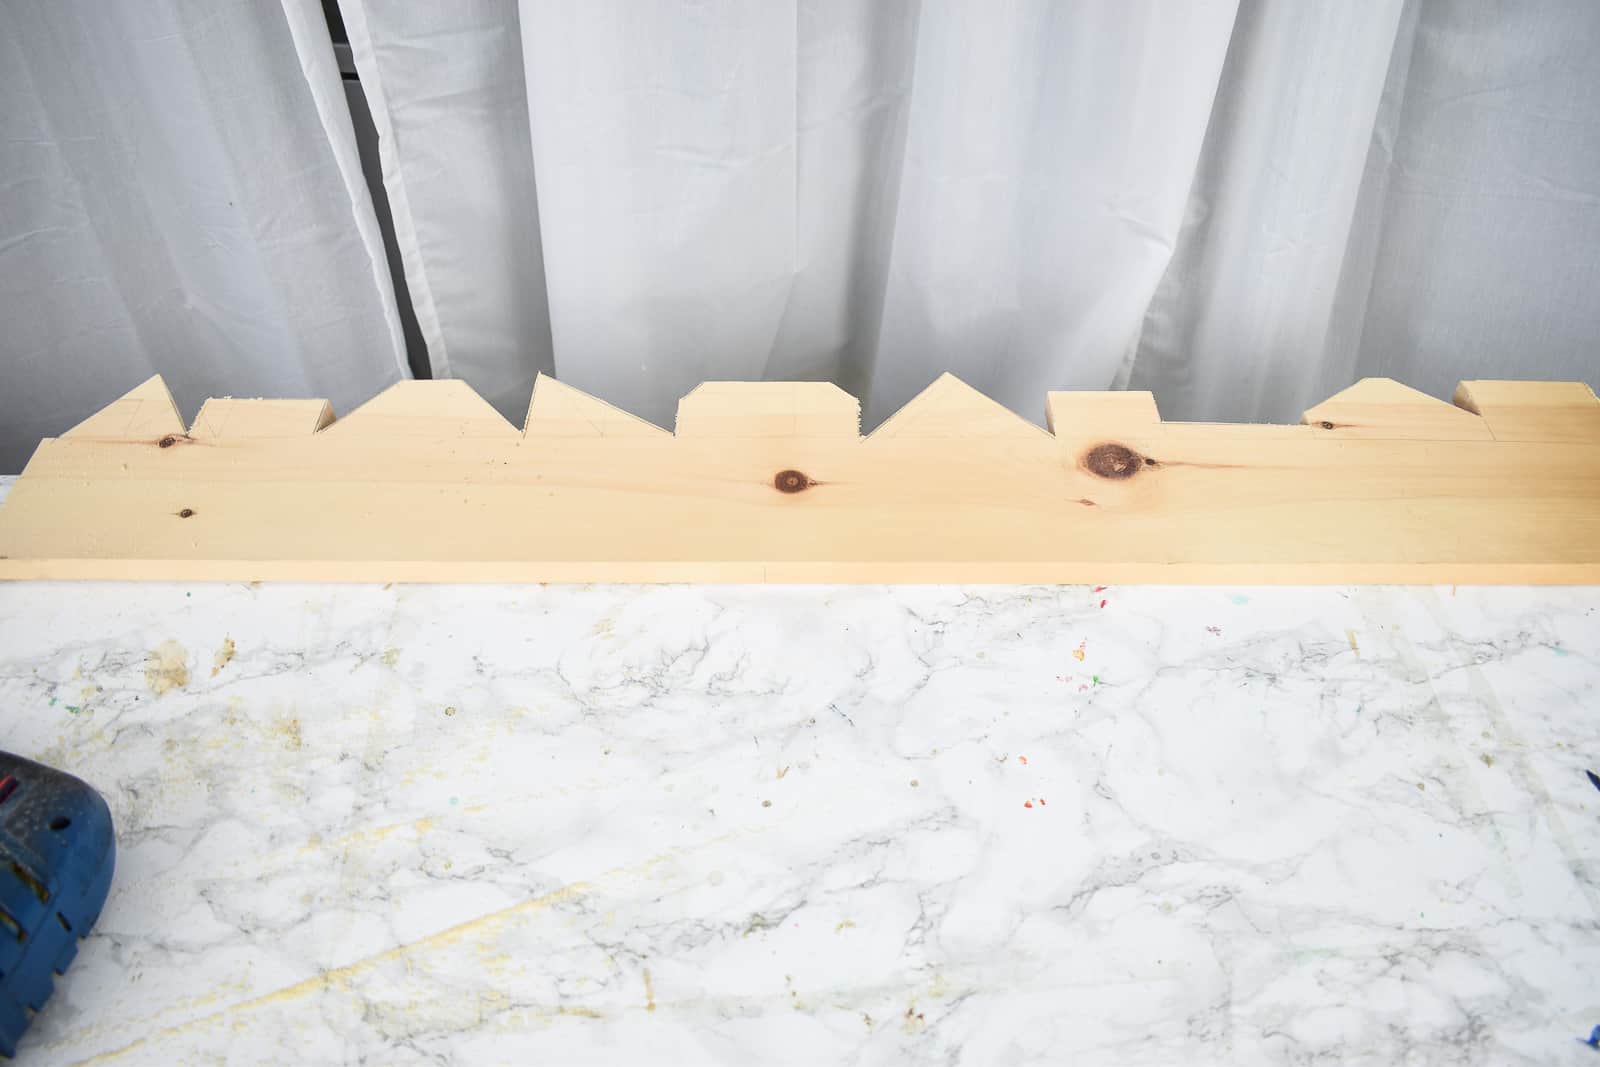
Using a jig saw, I cut along my pencil line to make the skyline.
Step 4. Trace windows
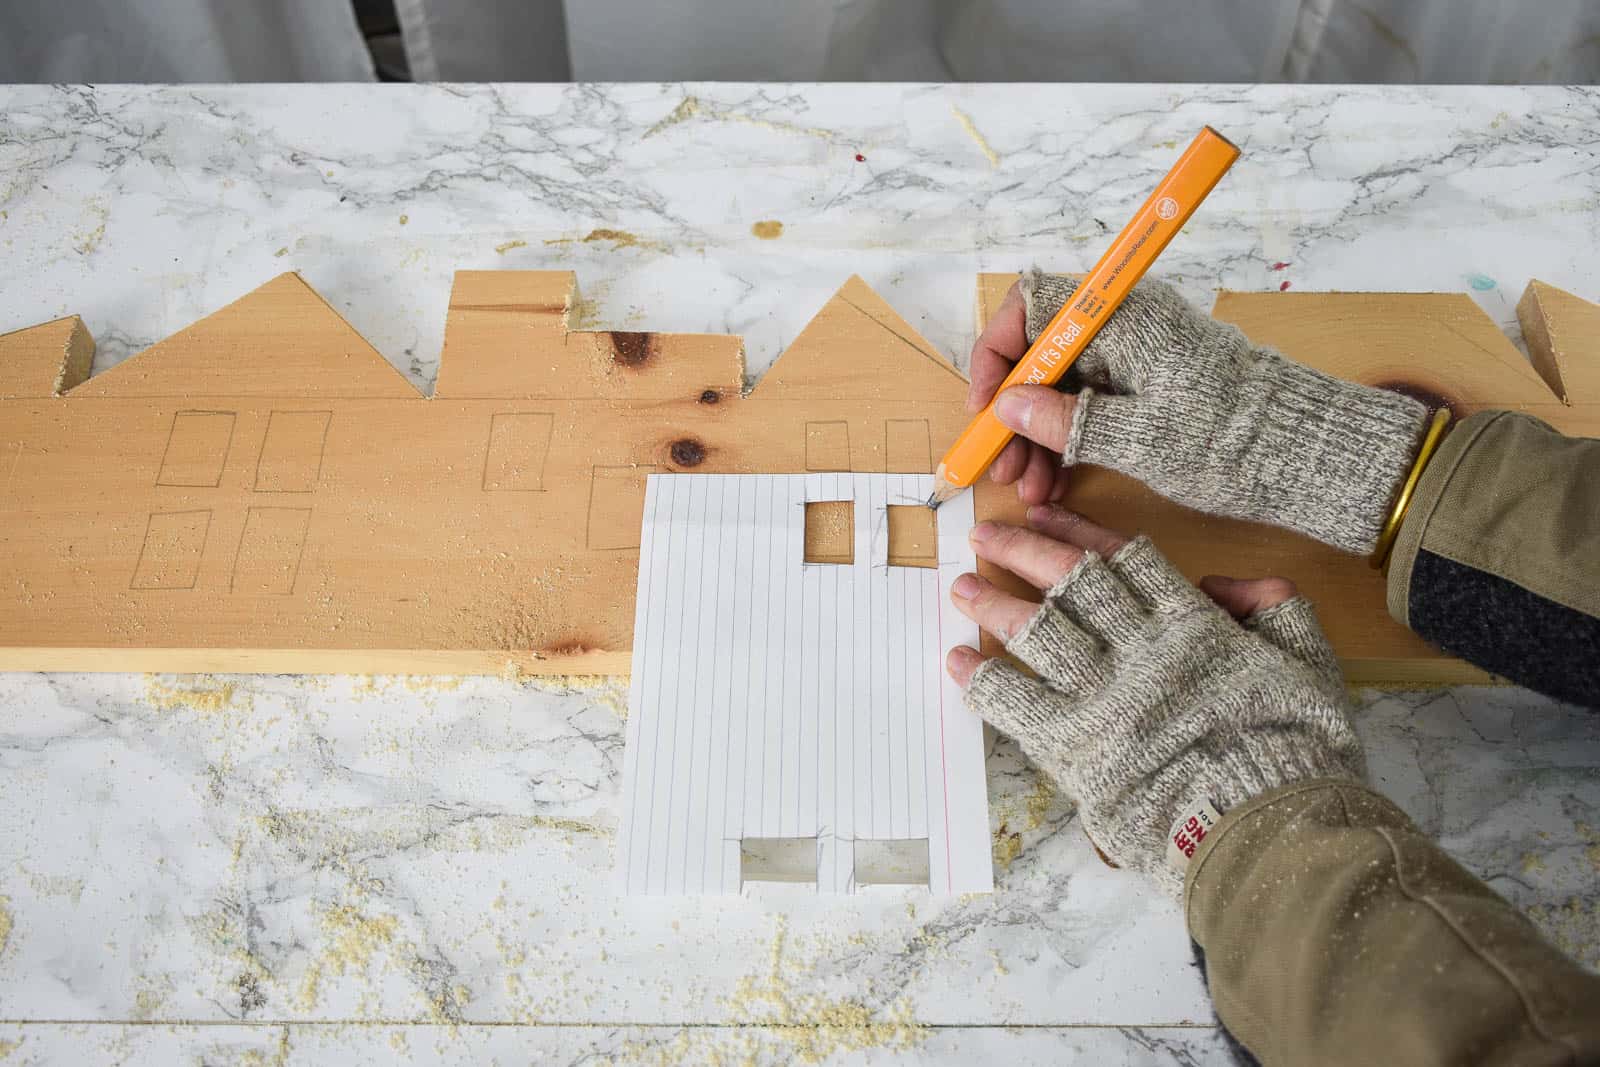
I made a window stencil and then used this to trace windows randomly along each board. Yes… the stencil is already crooked.
Step 5. Cut Out windows
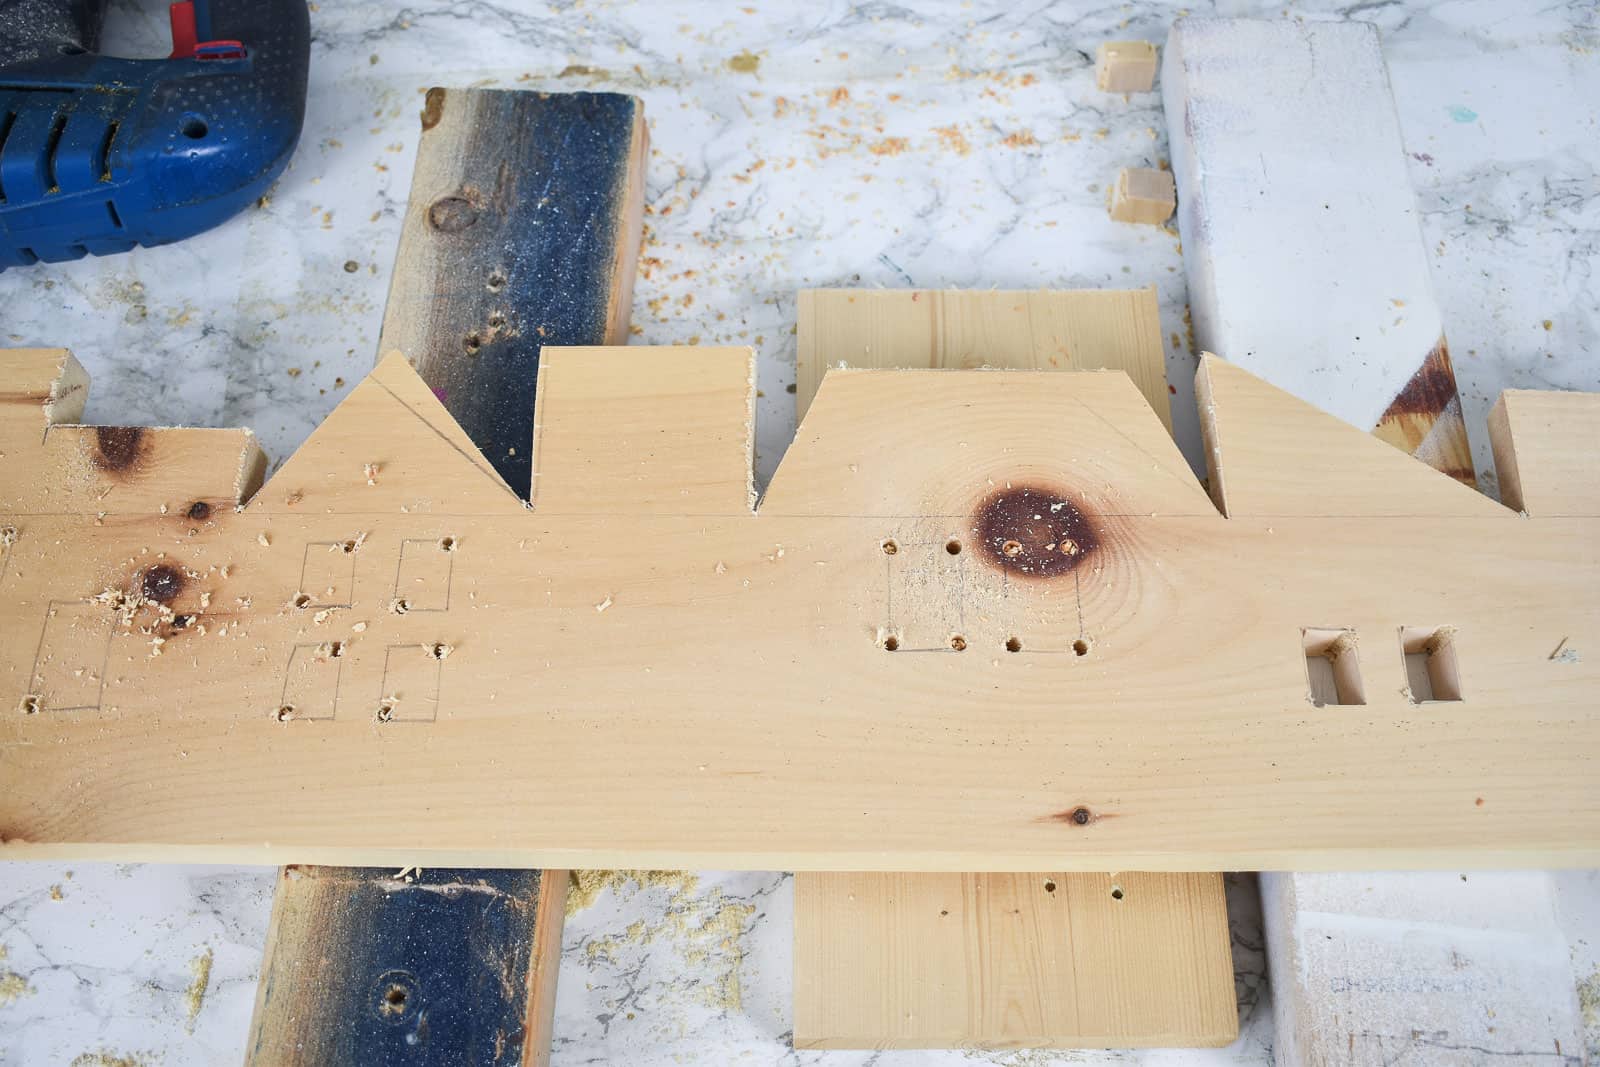
Here’s where a Varsity woodworker would have a better technique. But I’m still solidly on the J.V. team so here’s what I did. I grabbed a drill bit that was large enough to fit my jigsaw blade. Then I drilled holes in opposite corners of each window so my jig saw would have a point of entry. (I wasn’t paying attention and drilled 4 corners below, but for all the other windows, you only need to do the two opposite corners.)
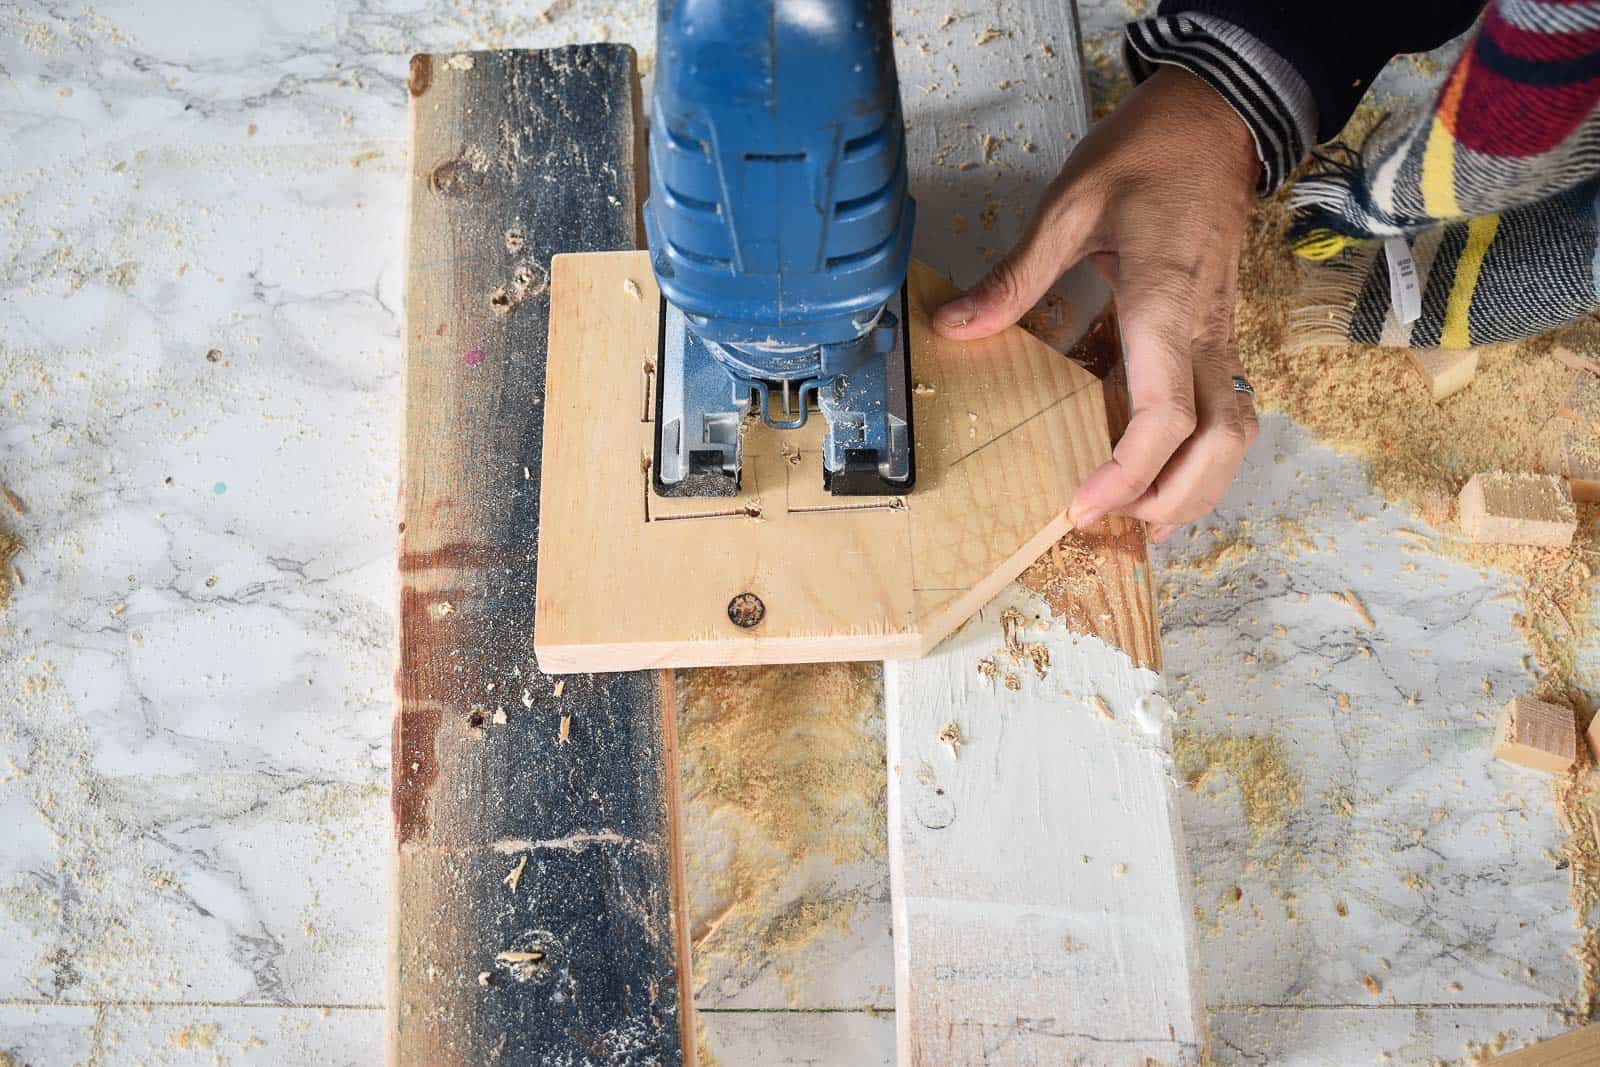
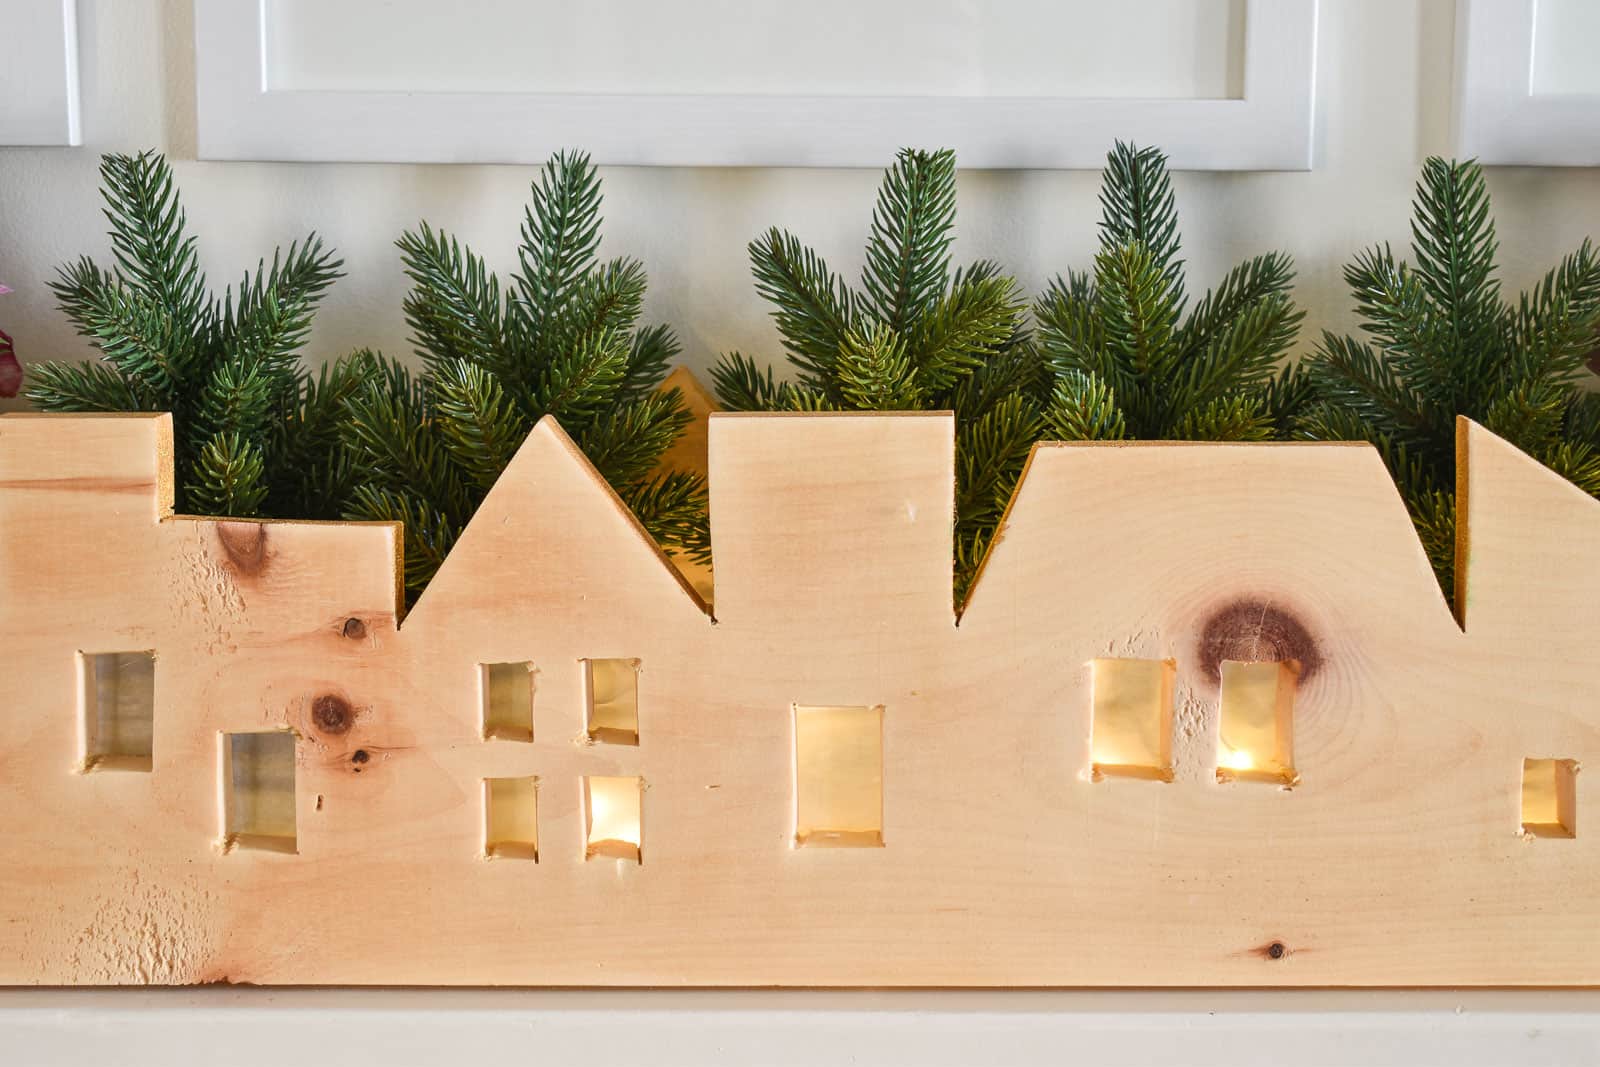
Then I simply used my jig saw to cut along each side of the window. (This is one of the end pieces which is why it’s so small.)
Step 6. Clean up the windows
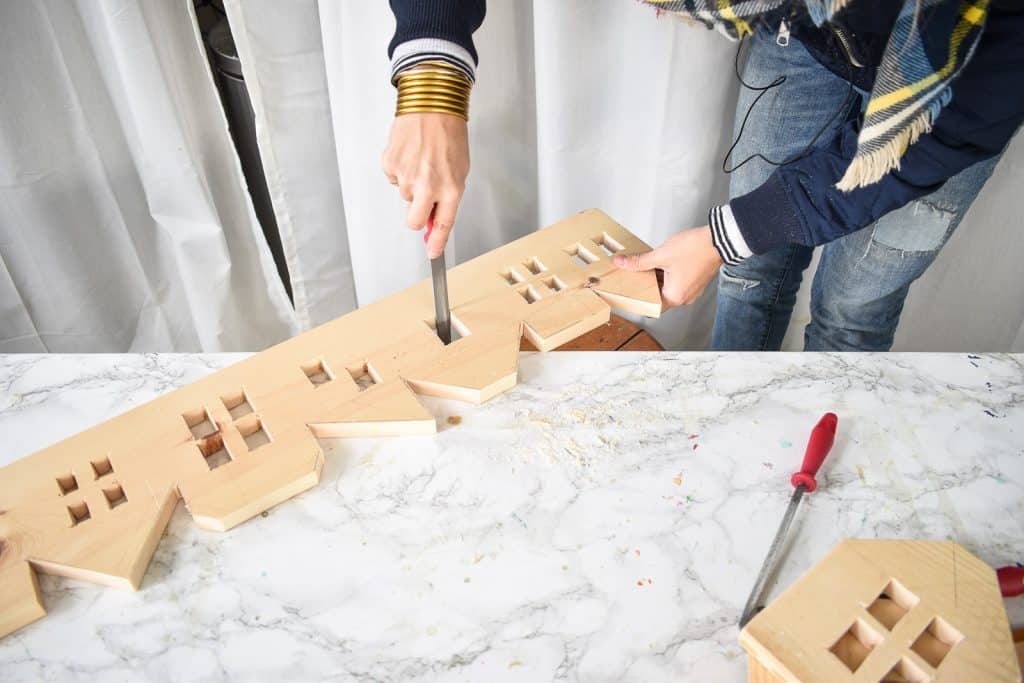
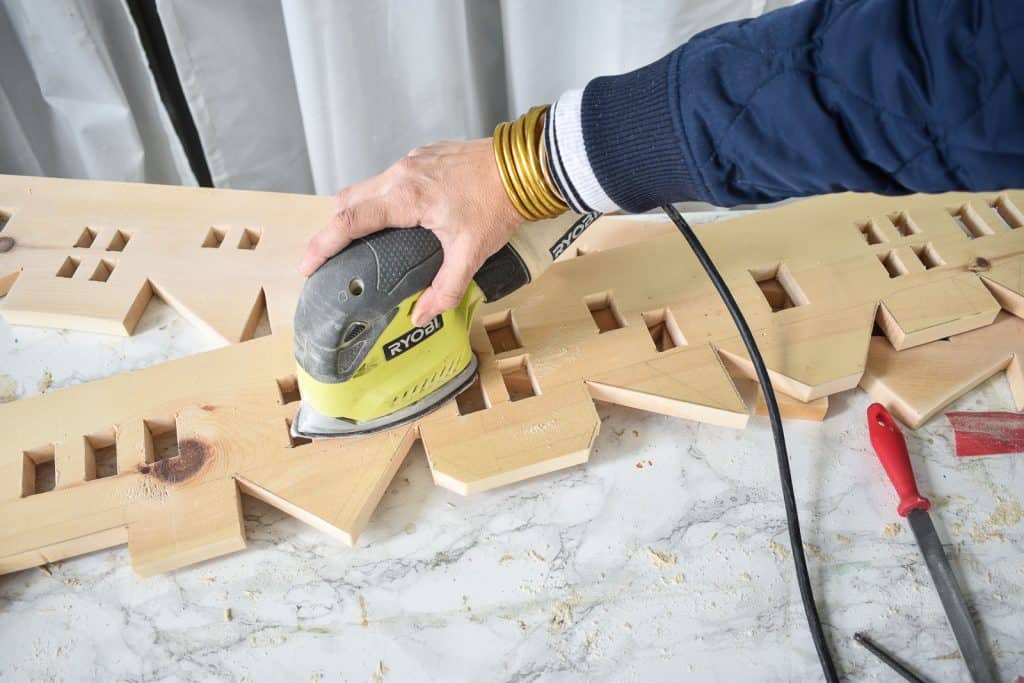
Obviously I didn’t clean up the windows perfectly, but I did spend a bit of time with sandpaper and a file to smooth out the edges and the corners. I’m calling them rustic windows. In hindsight, I should have drilled my two holes slightly inside each corner so that I could have a sharper angle at each corner.
Step 7. Assemble the Centerpiece (not shown)
Using my kreg jig, I made pocket holes in either end of the long boards, I assembled the centerpiece using 1 1/4 kreg screws.
Step 8. Finishing touches
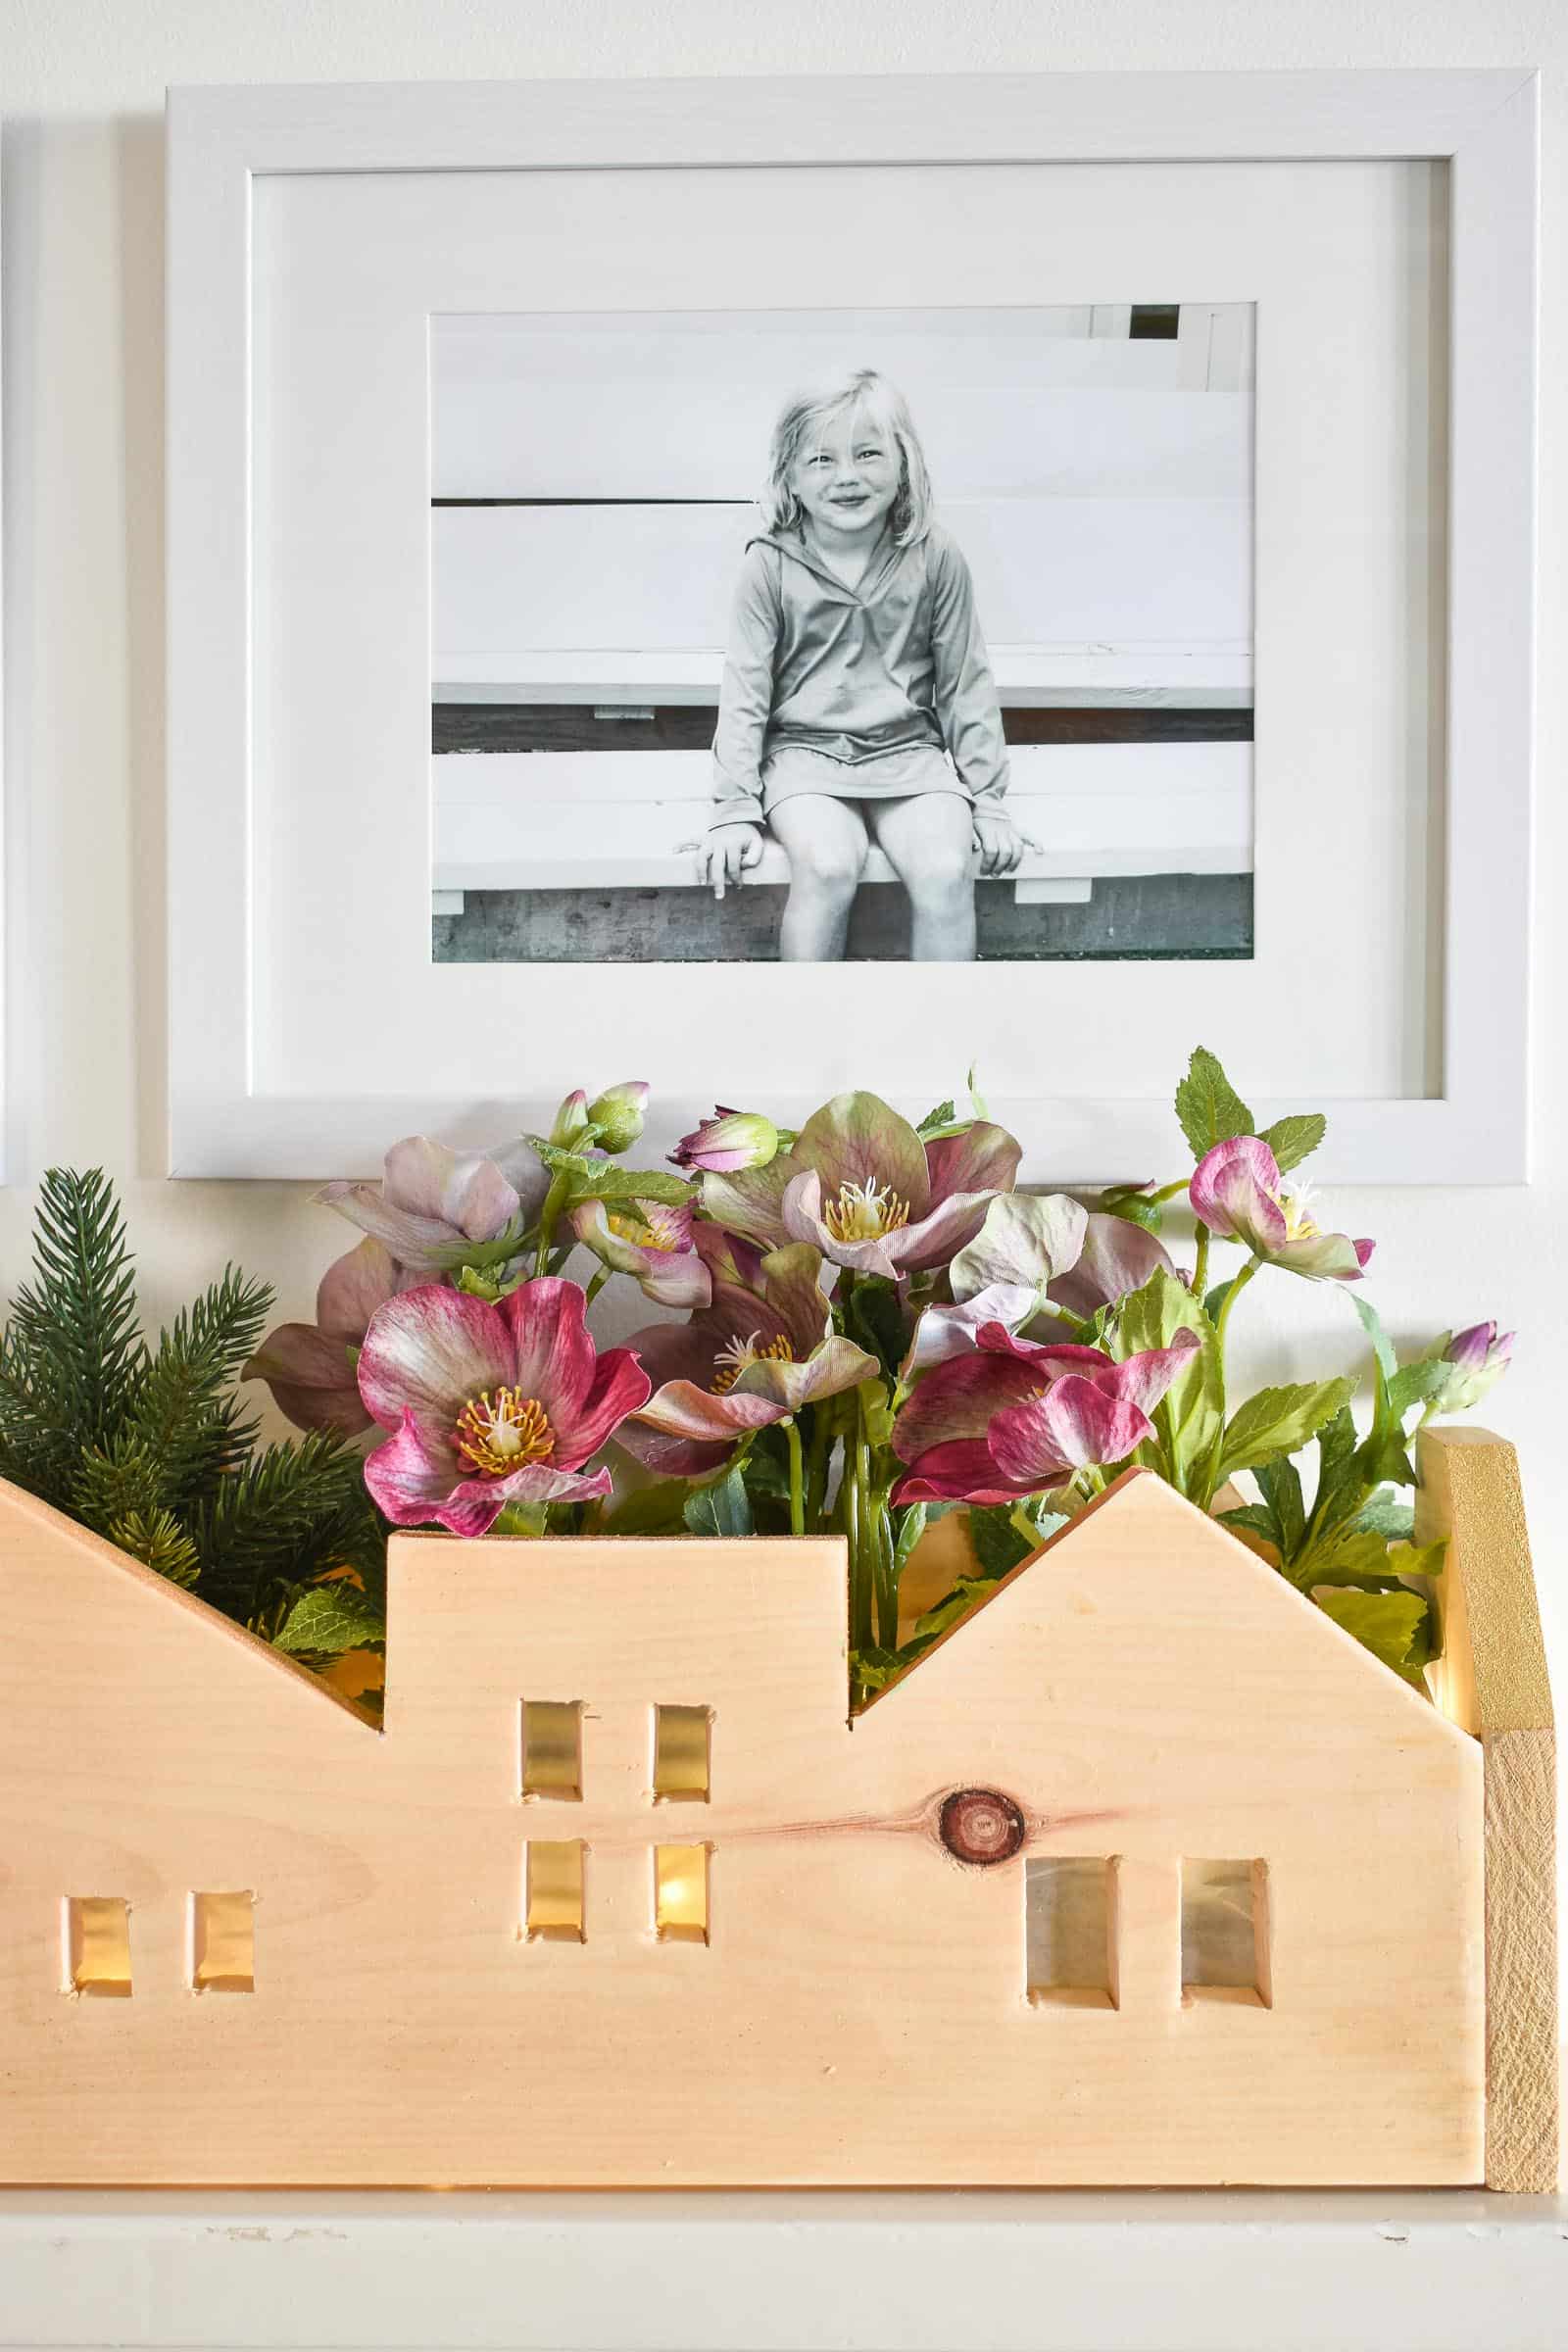
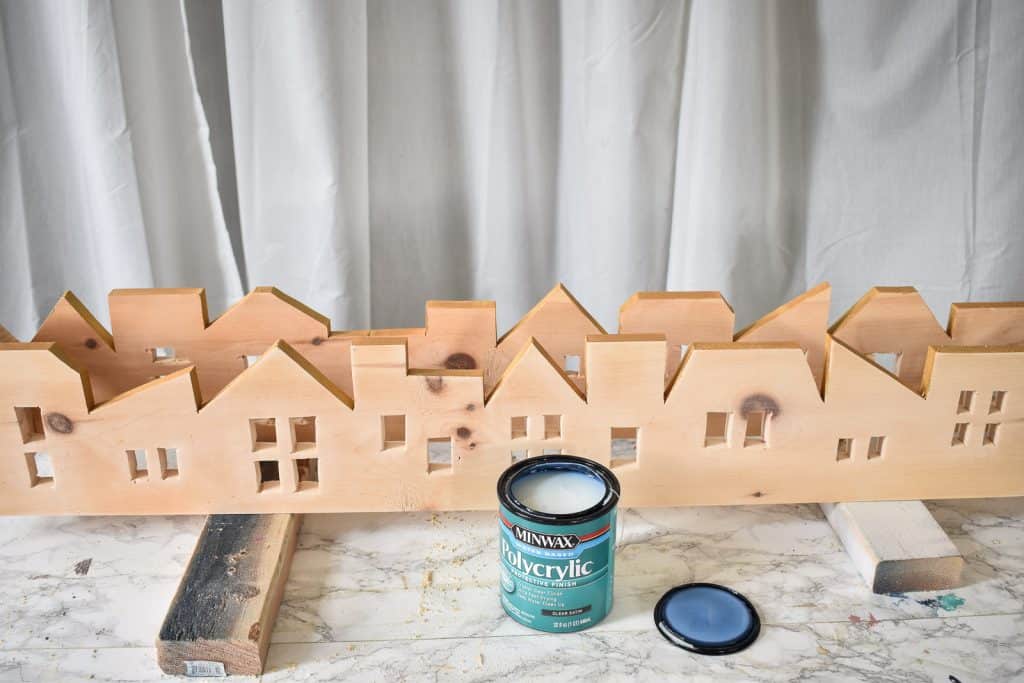
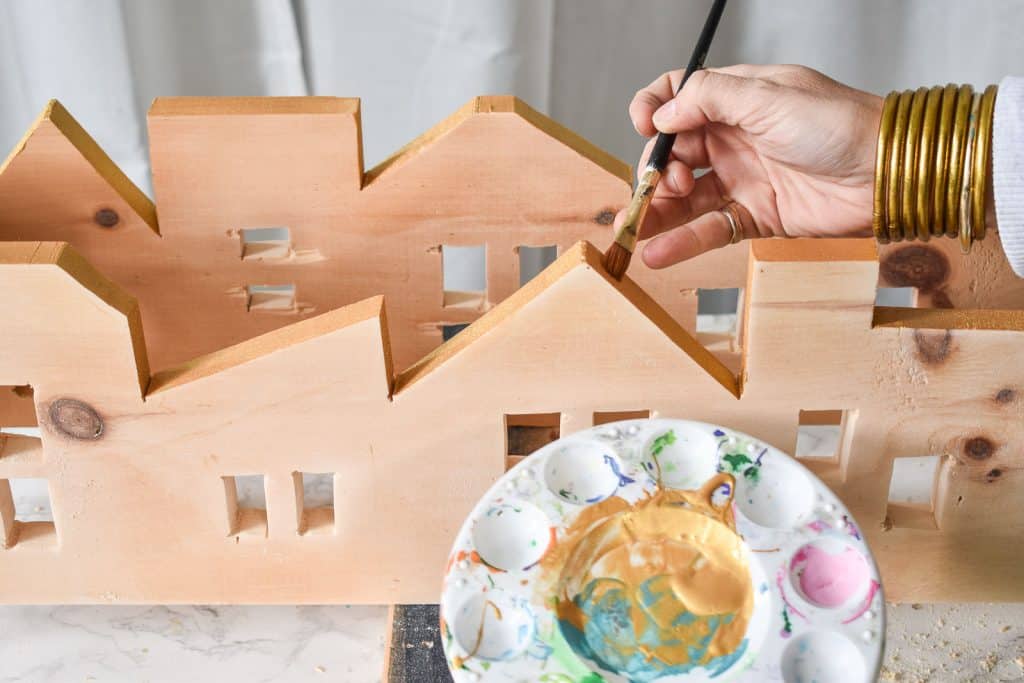
With a flat craft brush, I painted the top edge gold and gave the rest of the wood a coat of satin finish polycrylic.
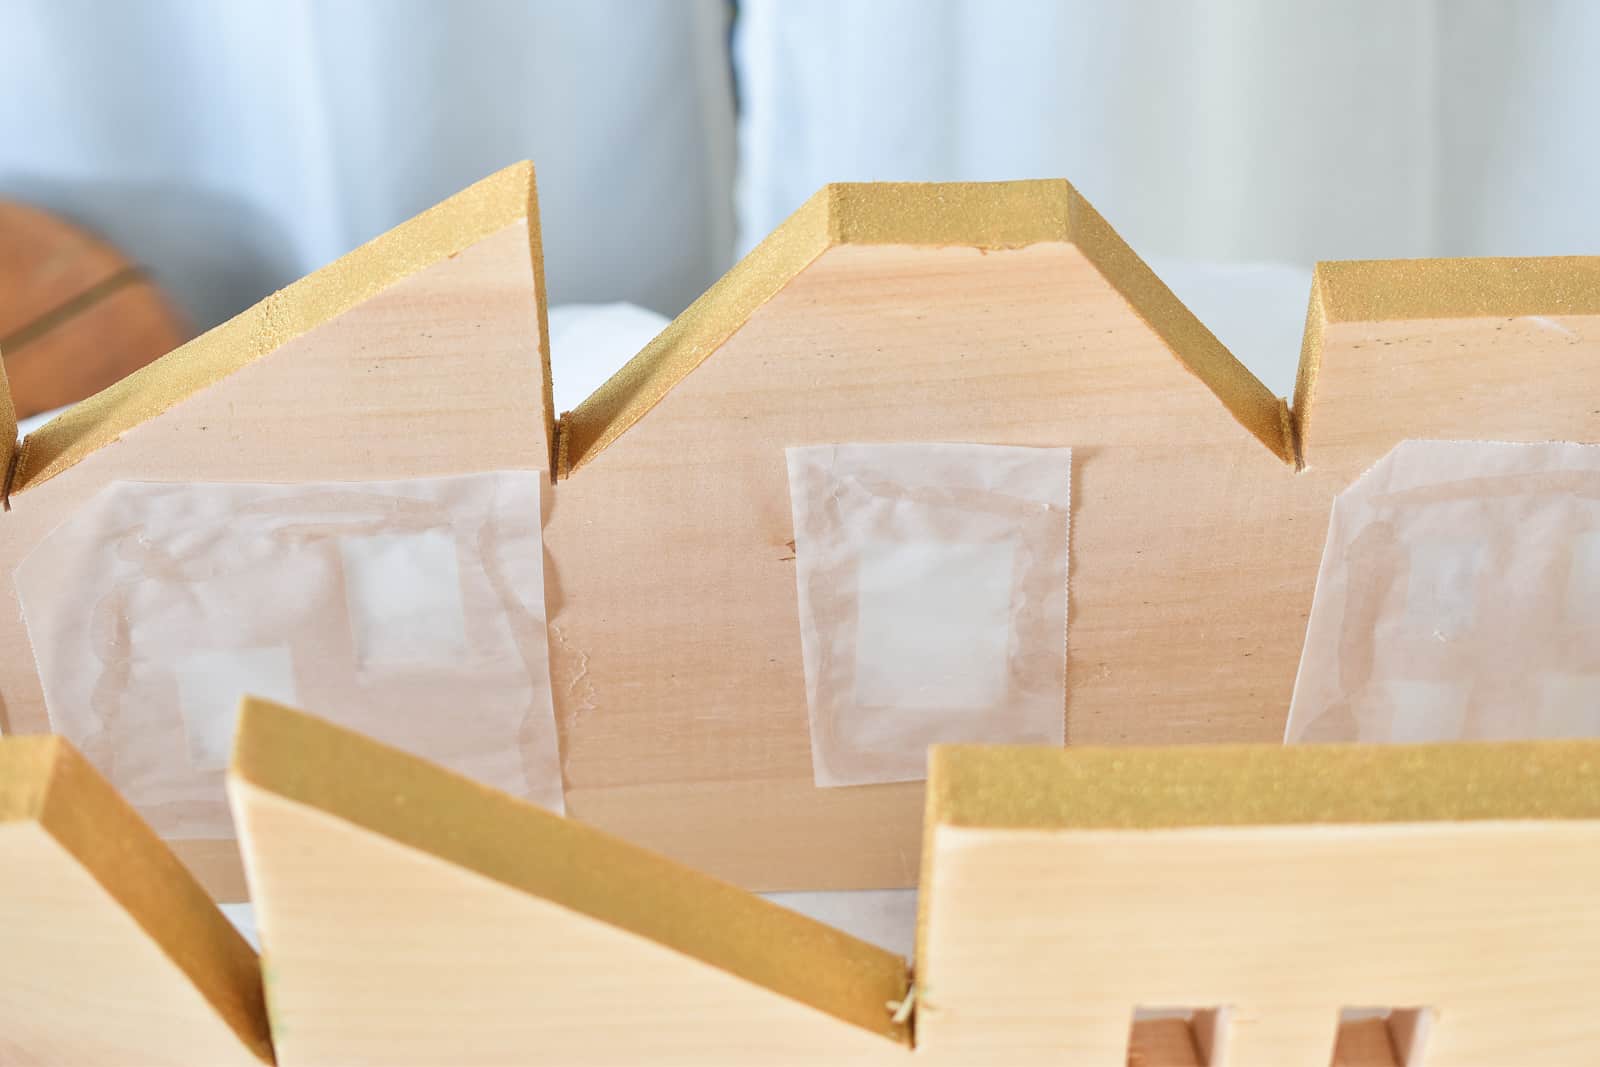
I also wanted to use string lights inside the centerpiece so I glued small pieces of vellum to the inside of each window to act as a ‘window’ pane.
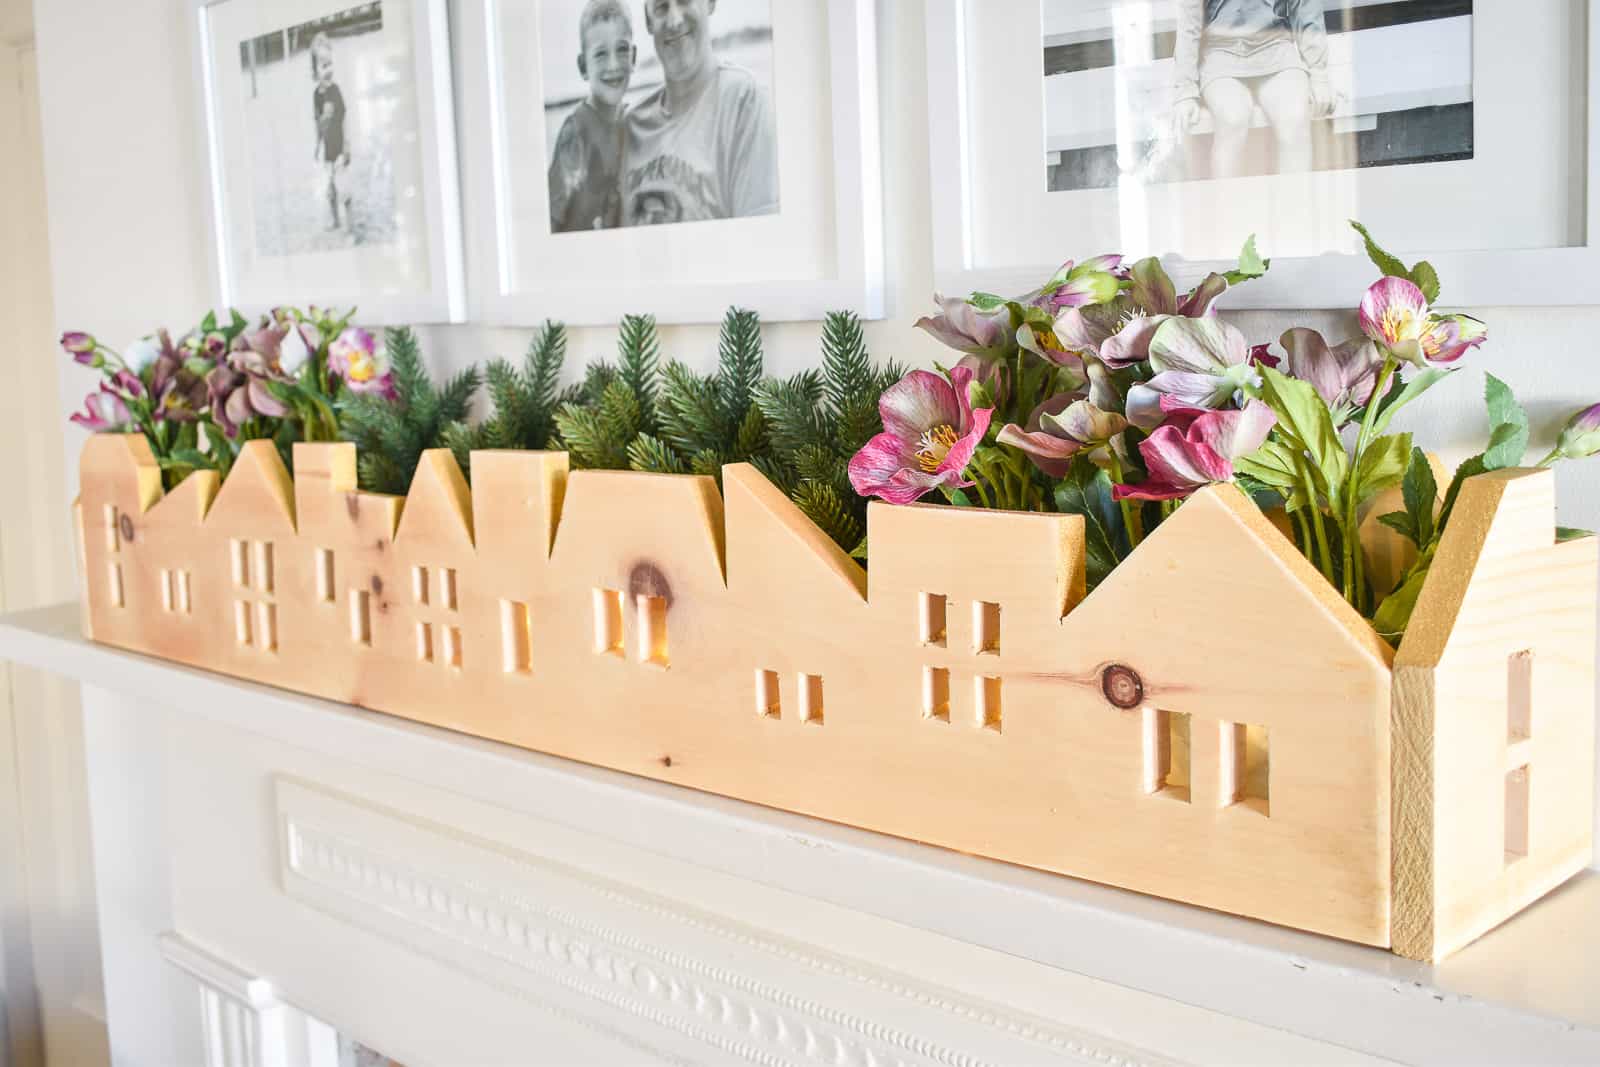
You’ll notice that this does NOT have a bottom. For a centerpiece it’s almost easier just to skip this step and save the lumber. It makes the centerpiece lighter and I can tuck anything inside that I need to. IF you wanted to use this as a planter, it might be easier to add a bottom… in that case I would try and fit one inside the skyline boards just to make for a cleaner appearance.
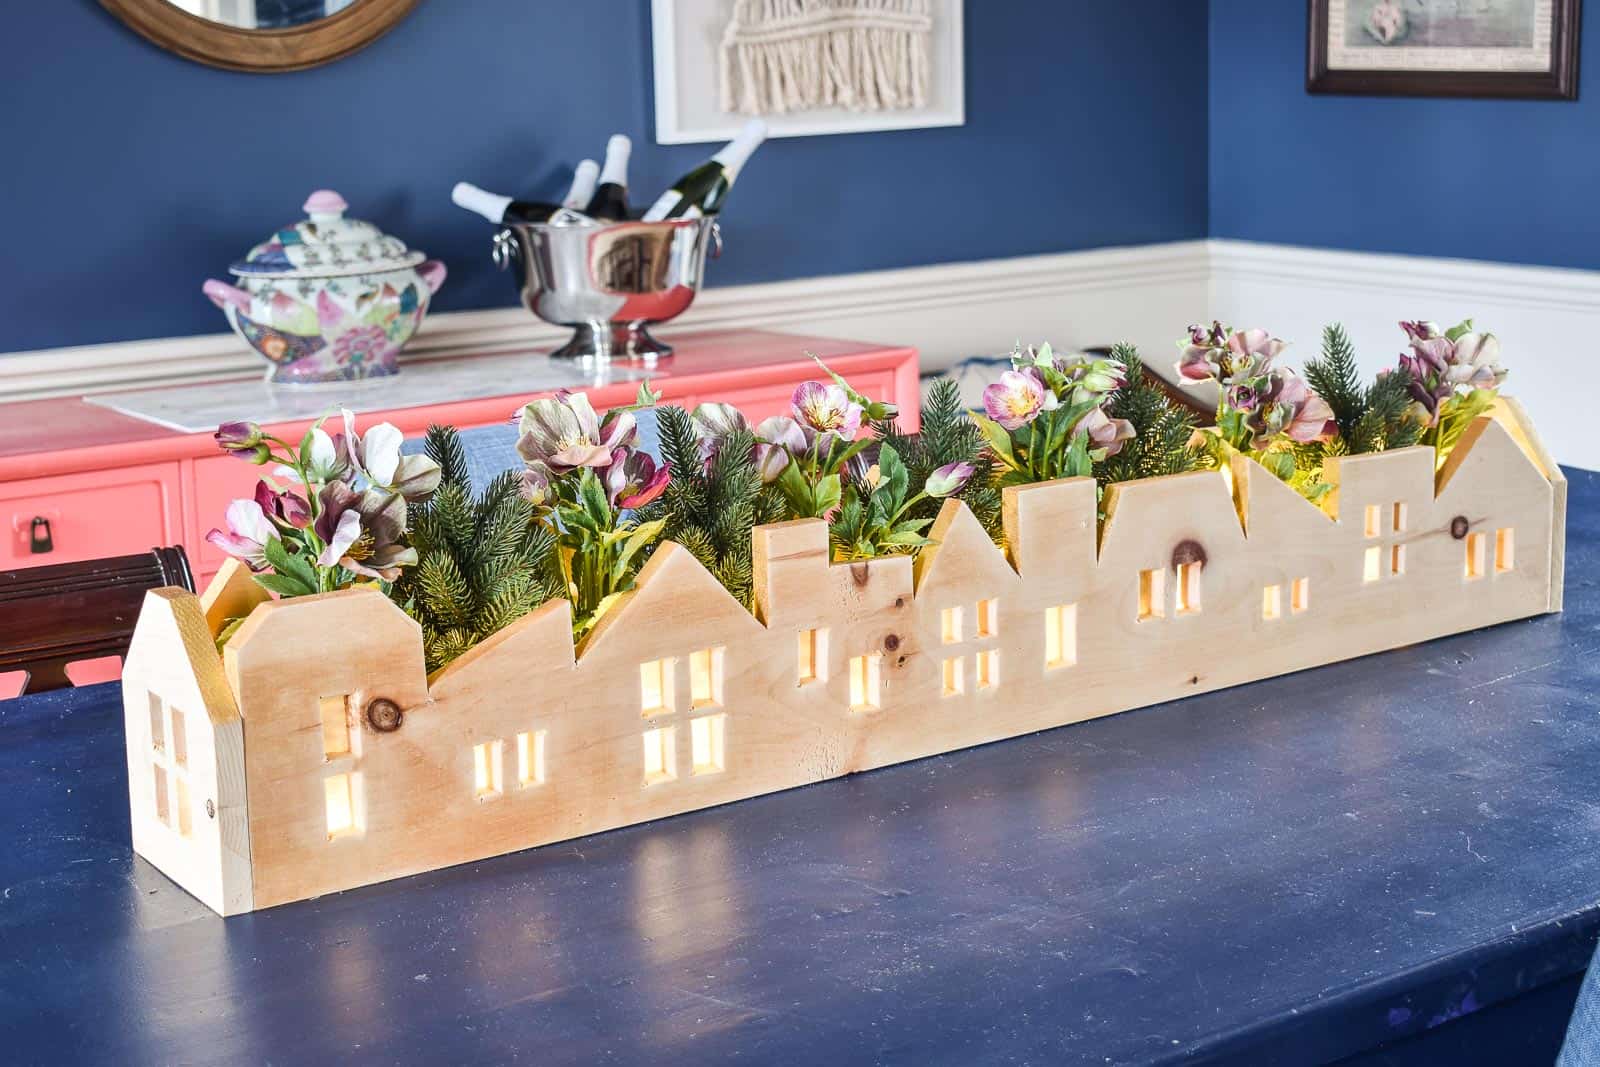
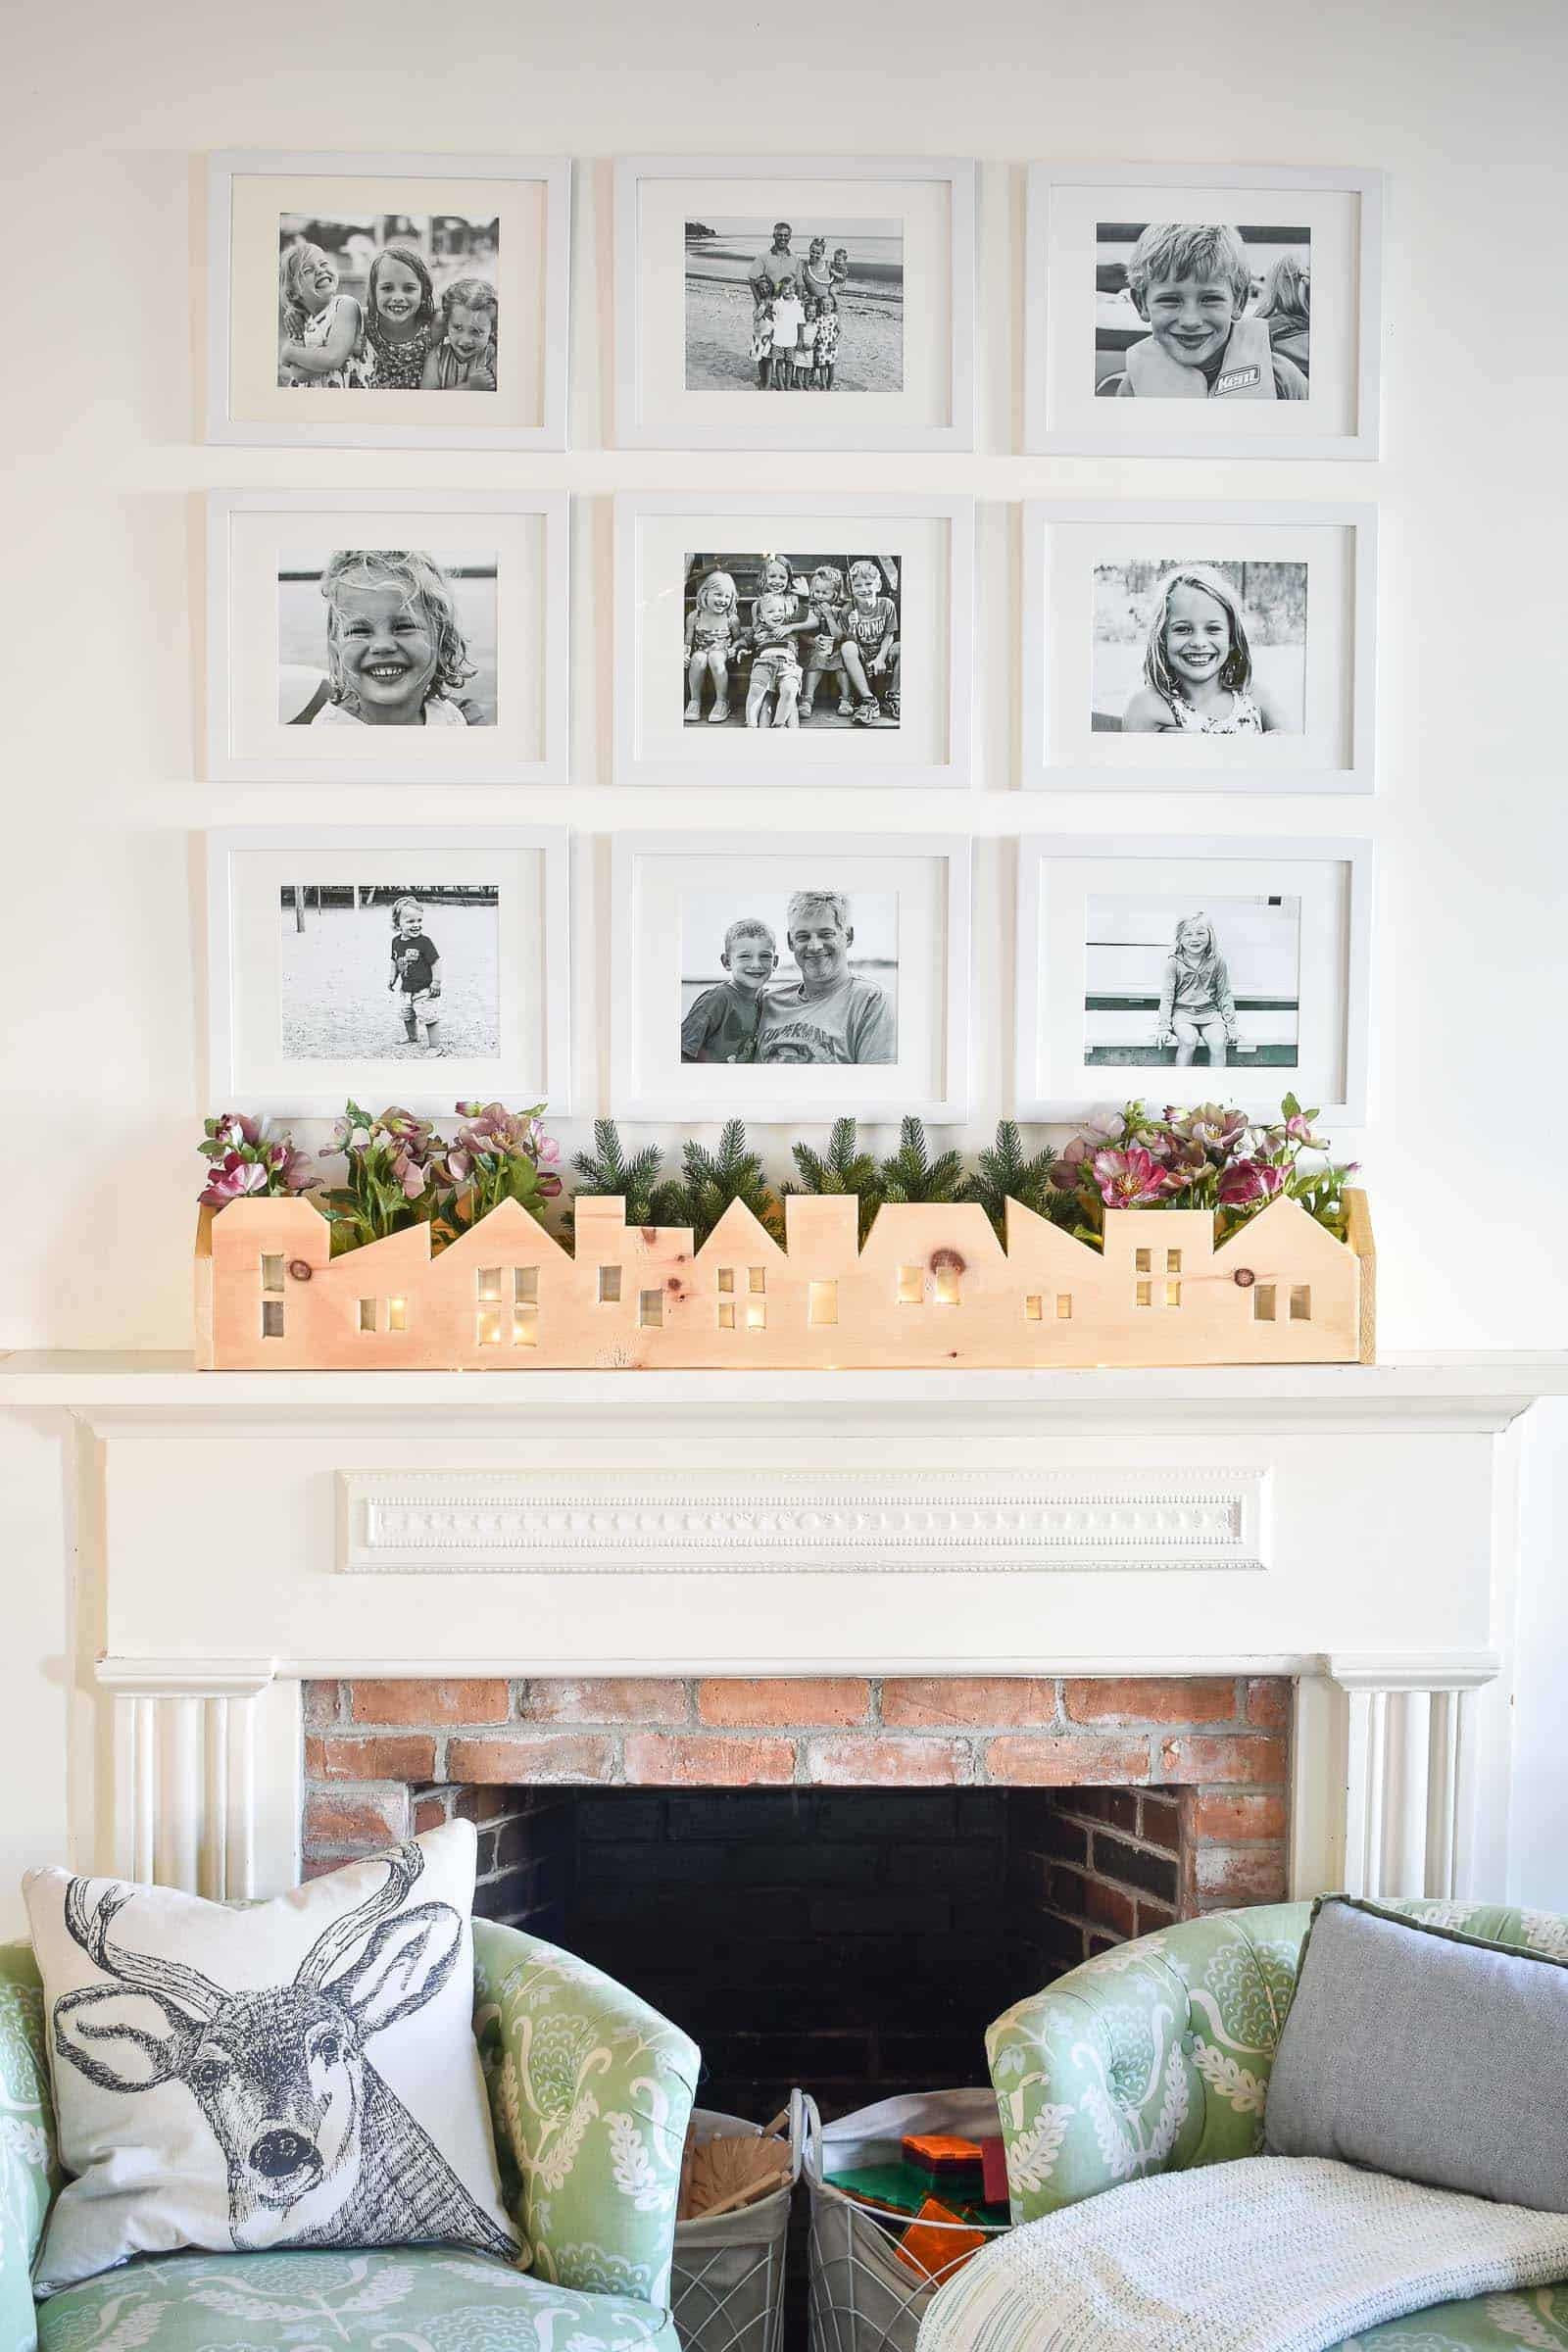
We used this on the center of our giant Thanksgiving table and now it sits on the mantel in the playroom filled with those faux flowers from Ikea.














What a great idea! Thank you for sharing.
Thanks, Terri! Love it for the holidays!
I love this idea so much! I just might have to make one of these!
Thanks, Jess!! Really easy project and such a fun finished product! Go for it!!
Such a cute Idea. So making this with my boys!!!
Thank you! Please share if you do!! Good luck! xx