
Dollar Store Basket Makeover
Psssst… this post *might* contain affiliate links: see my disclosure here.
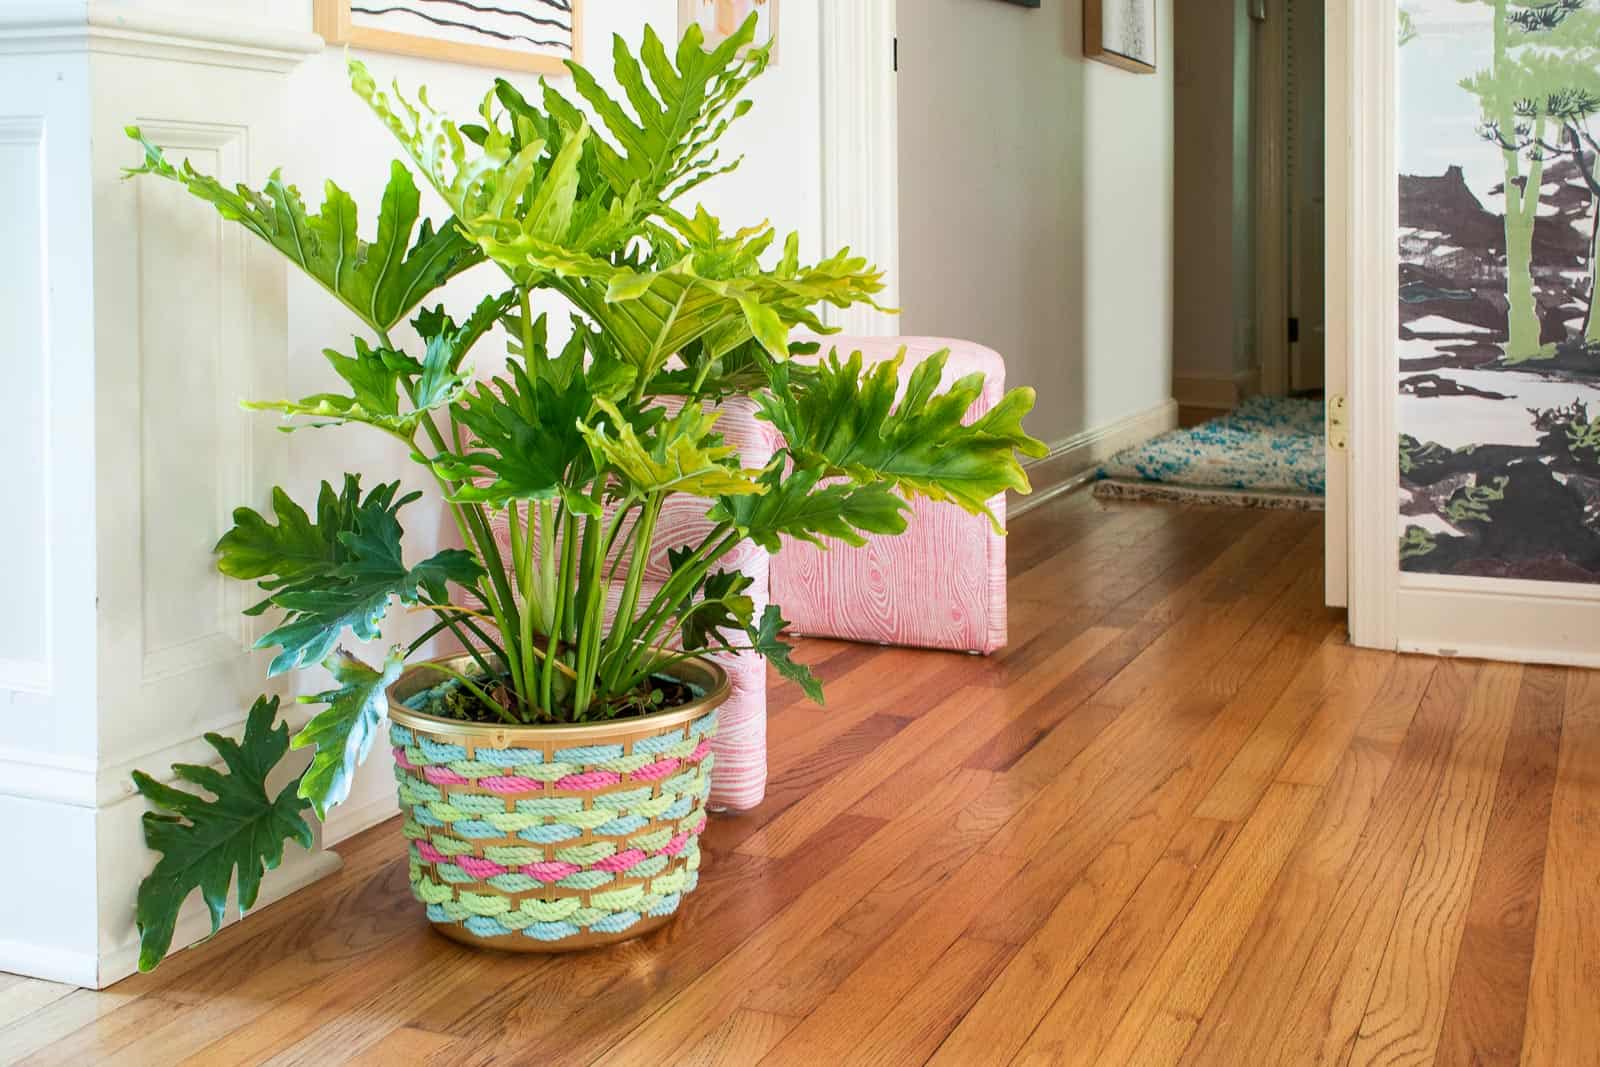
Woven Rope Dollar Store Basket Update
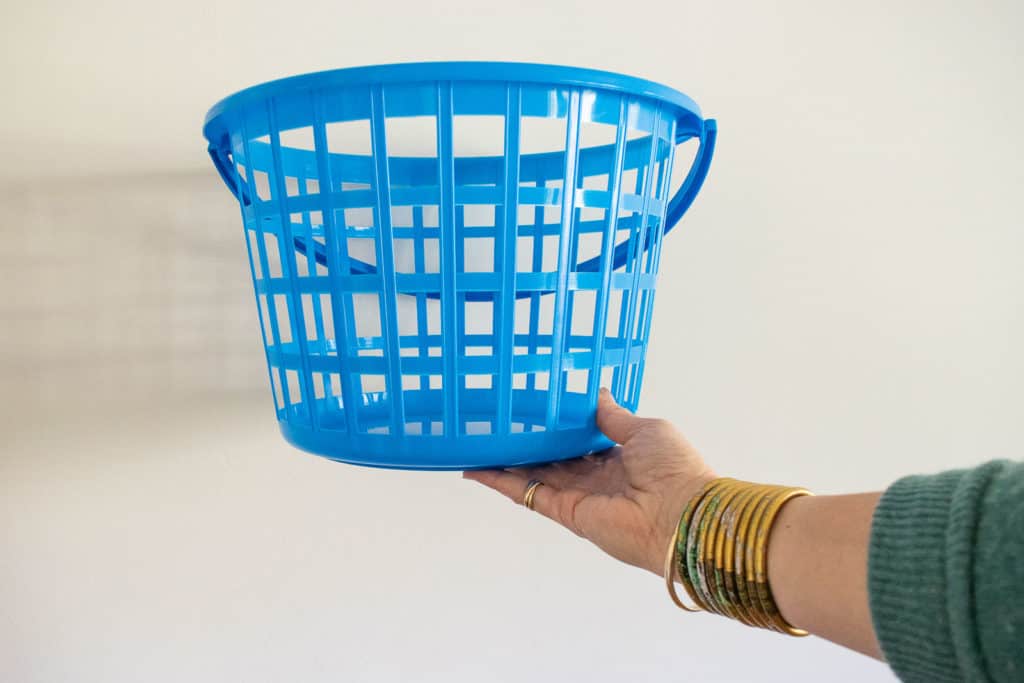
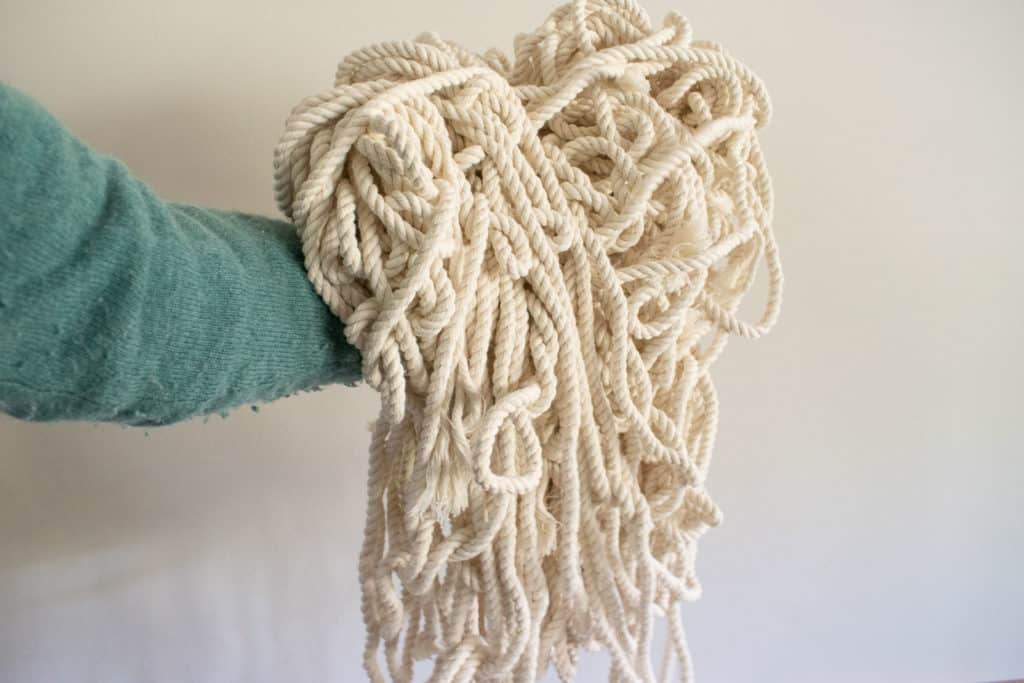
I don’t do these projects nearly enough, but Dollar store crafts are some of my favorites! Wandering the aisles… looking for quirky materials that I can DIY into something different… I LOVE that sort of challenge! Today I’m updating a basic dollar store plastic basket using rope, spray paint, and fabric dye. I happened to have the rope on hand, but look for cotton clotheslines at the dollar store if you don’t have rope already.
Step 1. Prep the Basket and the Rope
I easily removed the handle on my basket and then cut the rope into smaller lengths. So by ‘prep’ I guess I mean, set up your materials. Ha!
Shop my favorites!

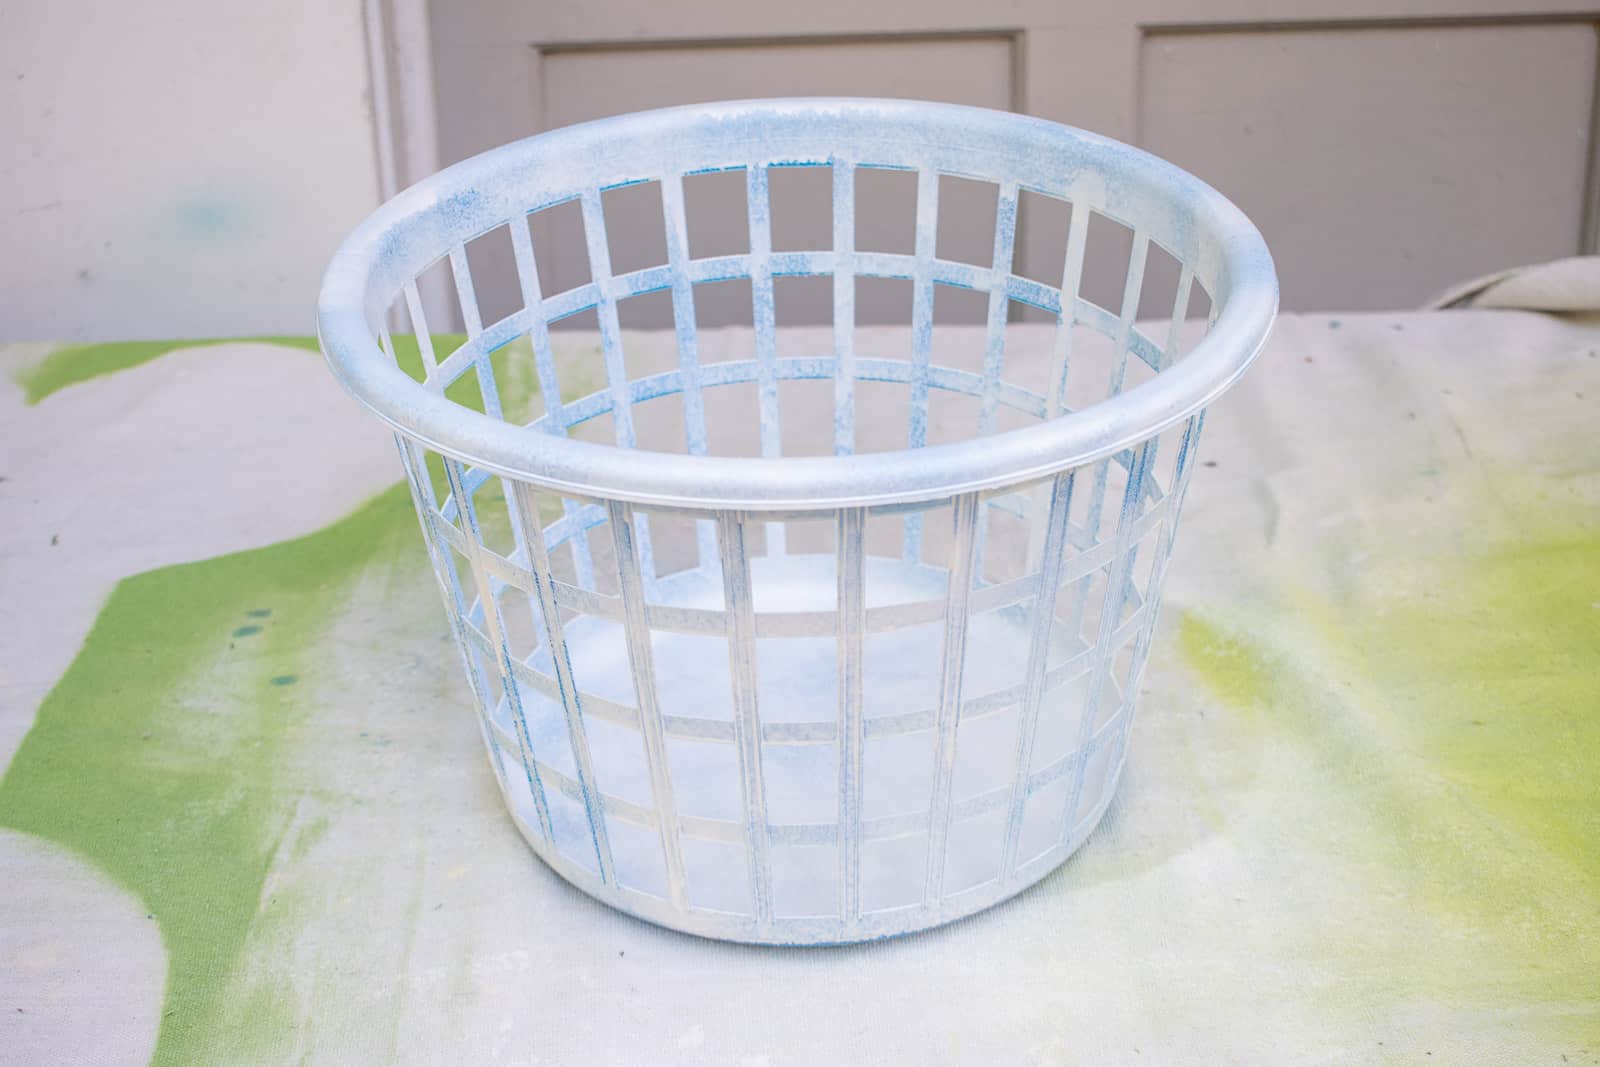
Step 2. Spray Paint the Basket
This basket was a shiny shiny plastic which makes it tricky to spray paint. *Ideally* you lightly sand the surface (tough for a basket like this…), clean and then spray with a good primer. I used the only primer I had then went back over the basket with Rusteleum Enamel Metallic Gold spray paint. I wasn’t sure what color Rit Dye I had so I went with gold, but I kind of wish I’d gone with a pale pink… shoulda woulda coulda.

Step 3. Dye the Rope
Cotton rope is essential for this. I followed the directions on the Rit Dye and added the dye to boiling water with a dash of dish soap. I let the rope sit for 15 minutes or so and then removed it from the dye bath and let it sit some more in ziplock bags. The longer it sits, the more saturated the color. Normally you rinse the dye, but for this project I just lay out the rope and let it dry.

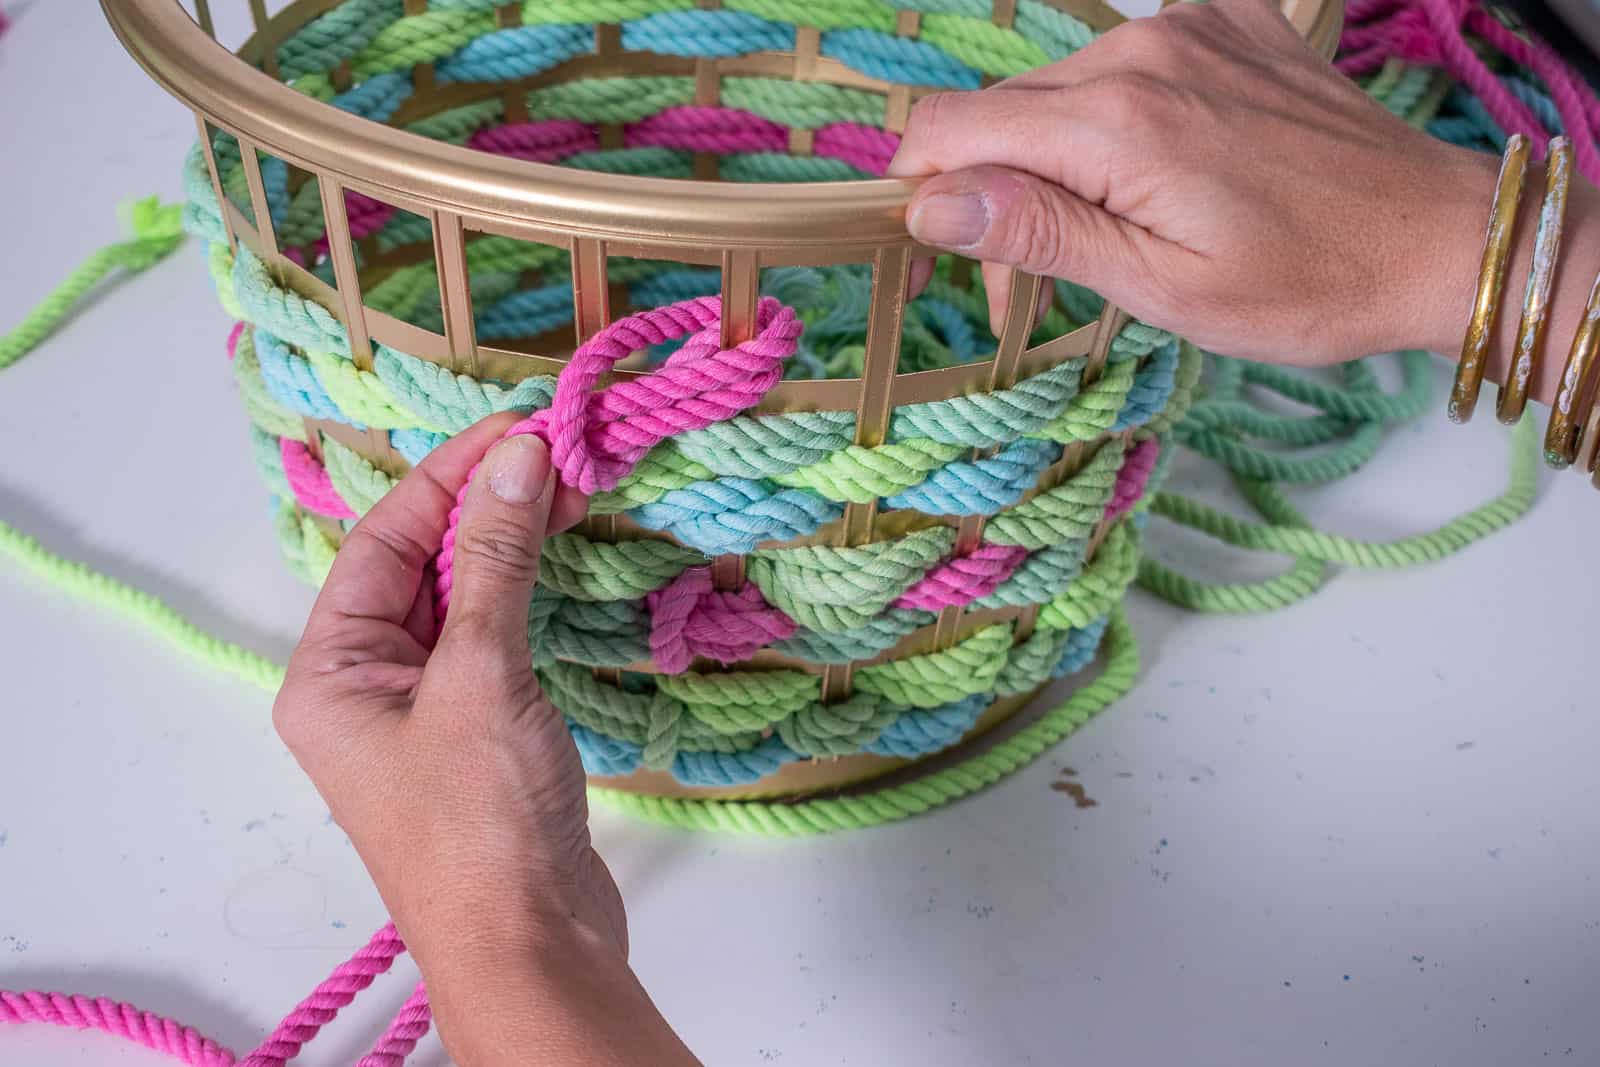
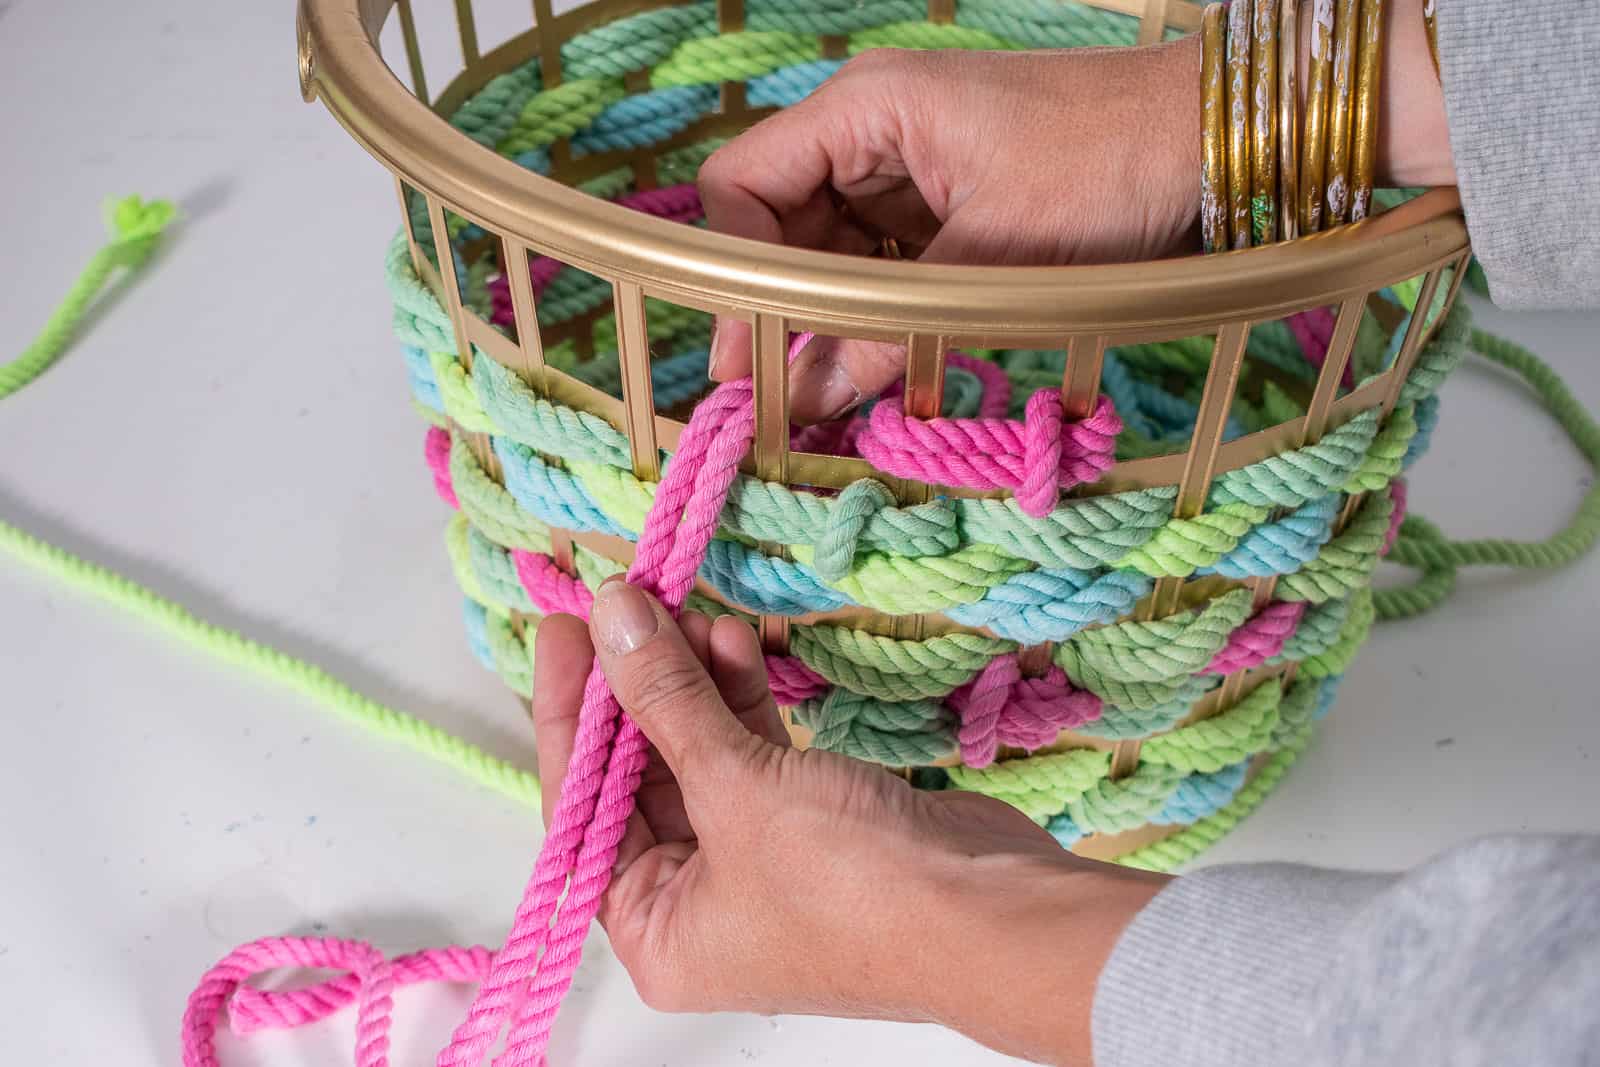
Step 4. Weave Your Basket
Once your rope is dry… you’re going to weave it any way you like. I chose to fold a length of rope in half and loop the ends through the basket to anchor it in place and then I was weaving two strands at once. I considered tying a know and weaving with a single strand but decided that a thicker weave would not only be faster but also look better given how big the spaces in the basket were. To weave… I simply fed the rope over and under each strip of the basket and then alternated the next row with a different color rope. To finish it off… I just tied off the ends on the inside of the basket. They’re visible but not super obvious, in my opinion.
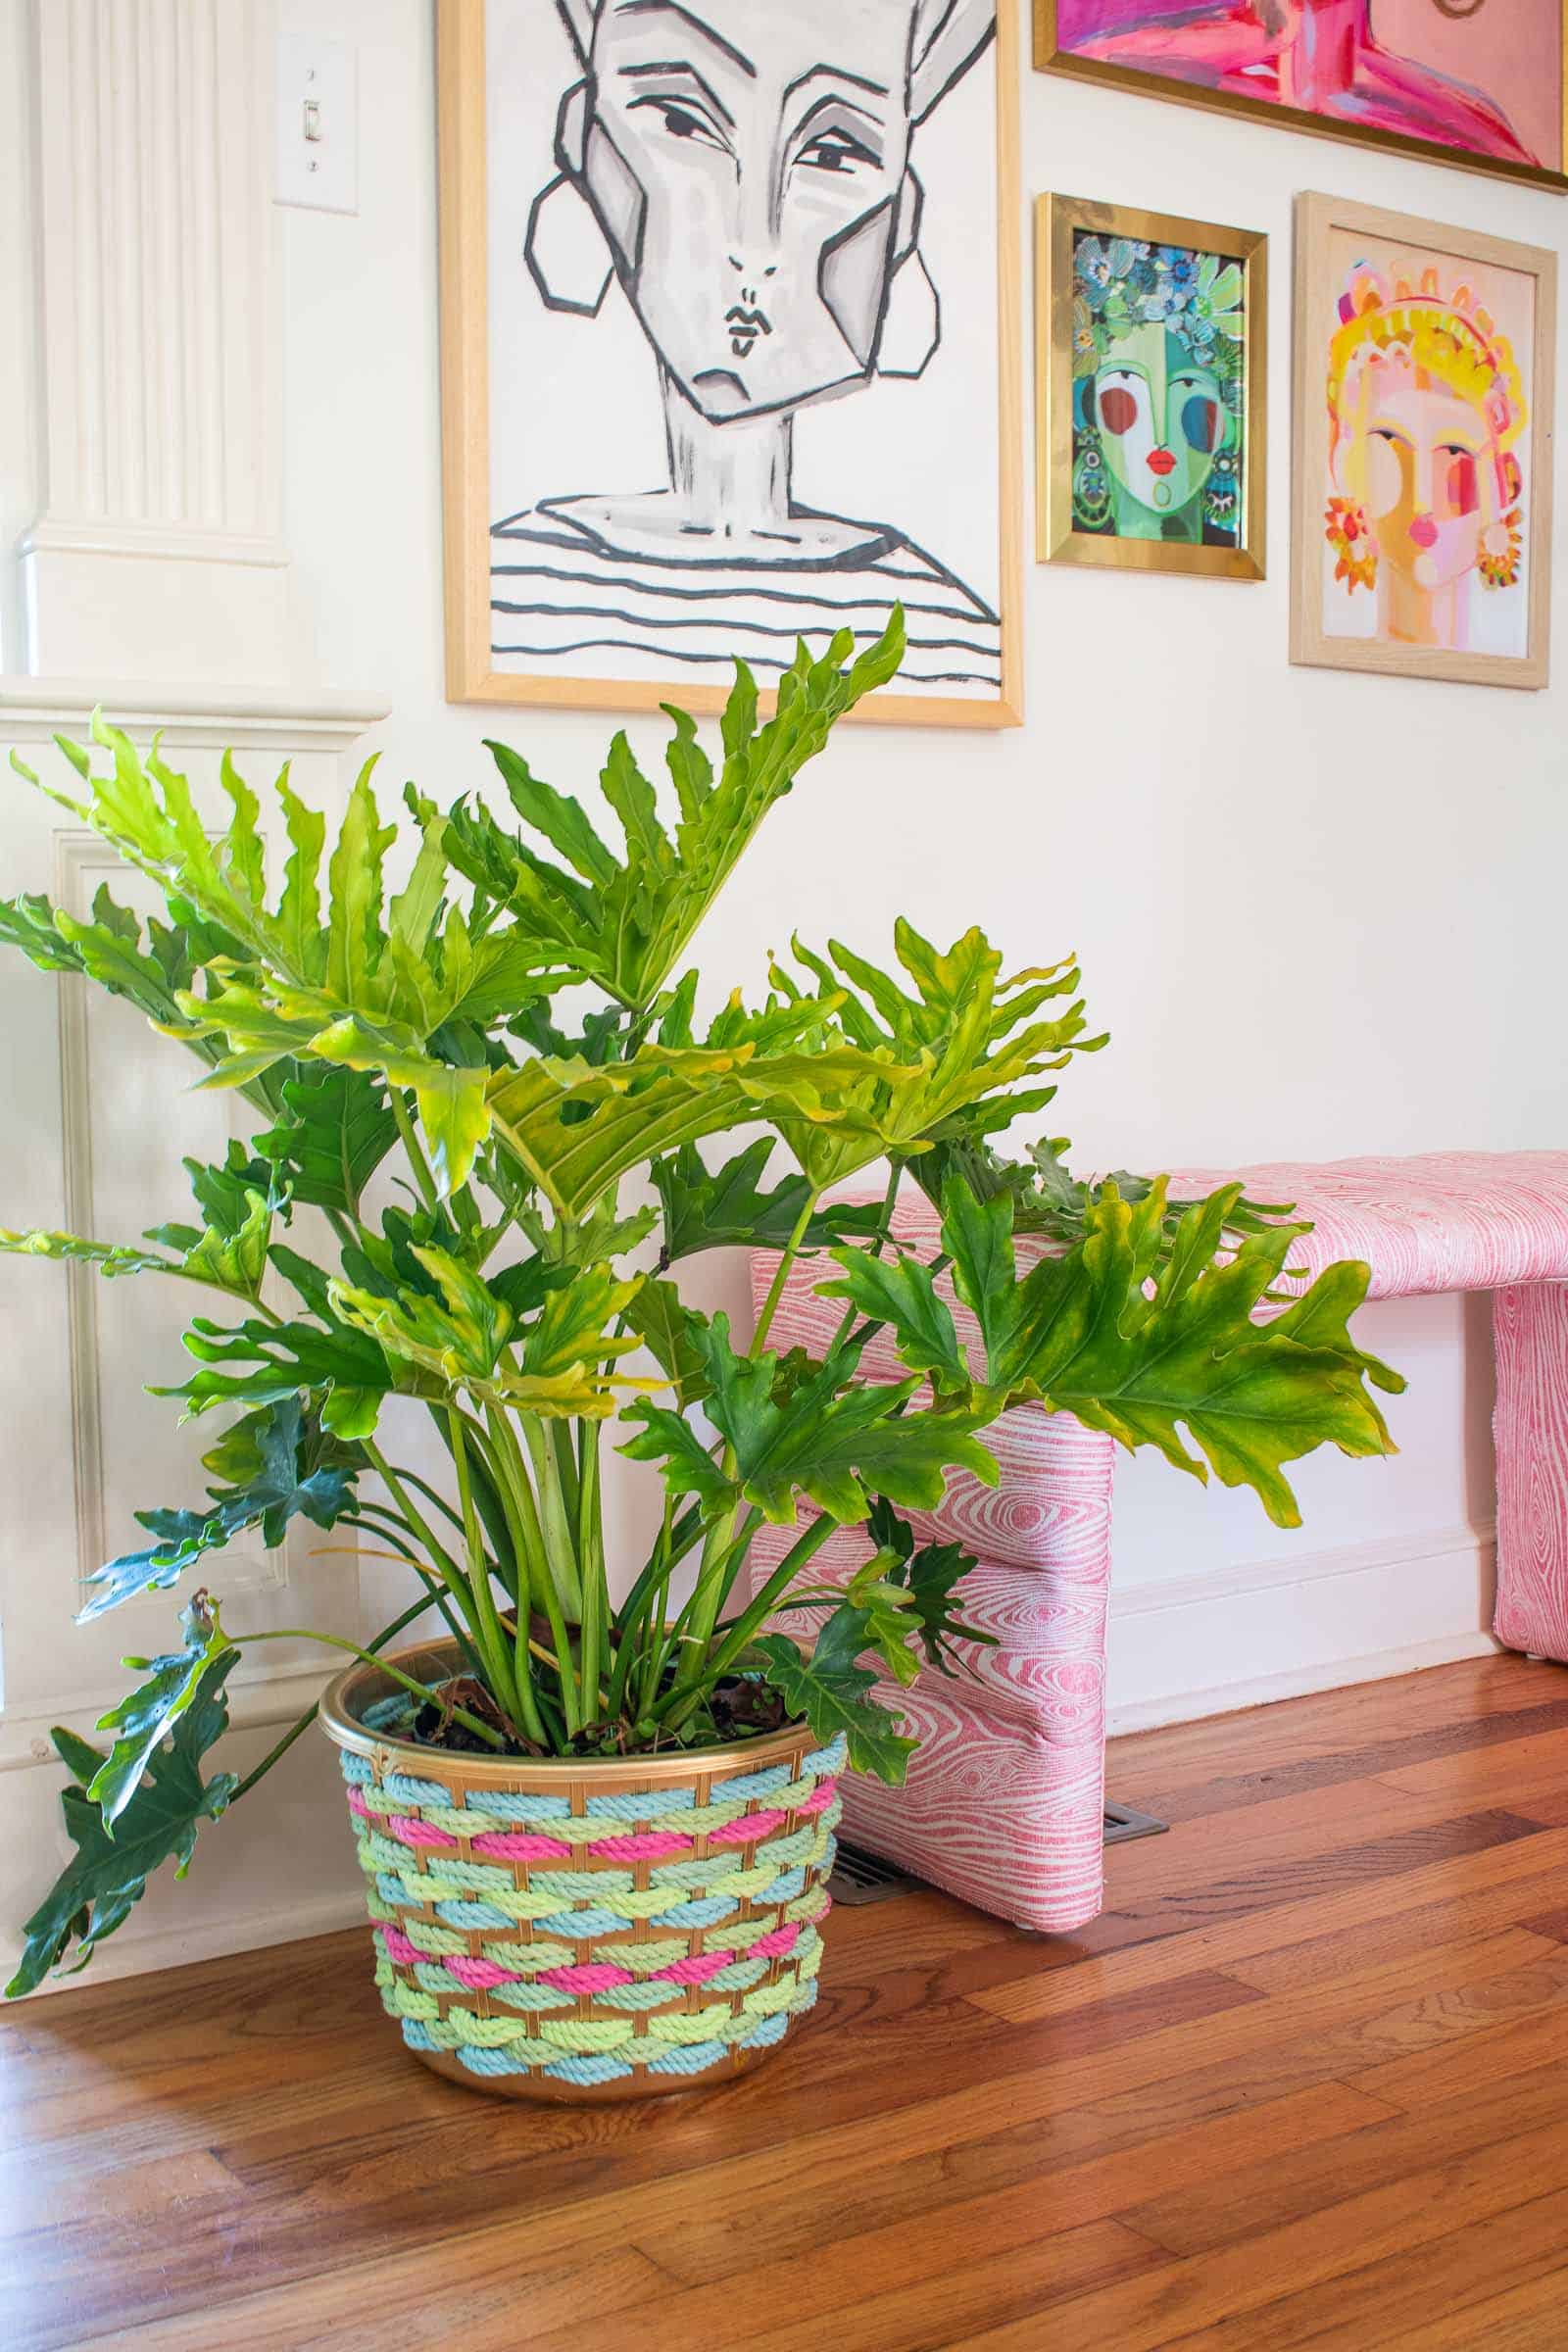
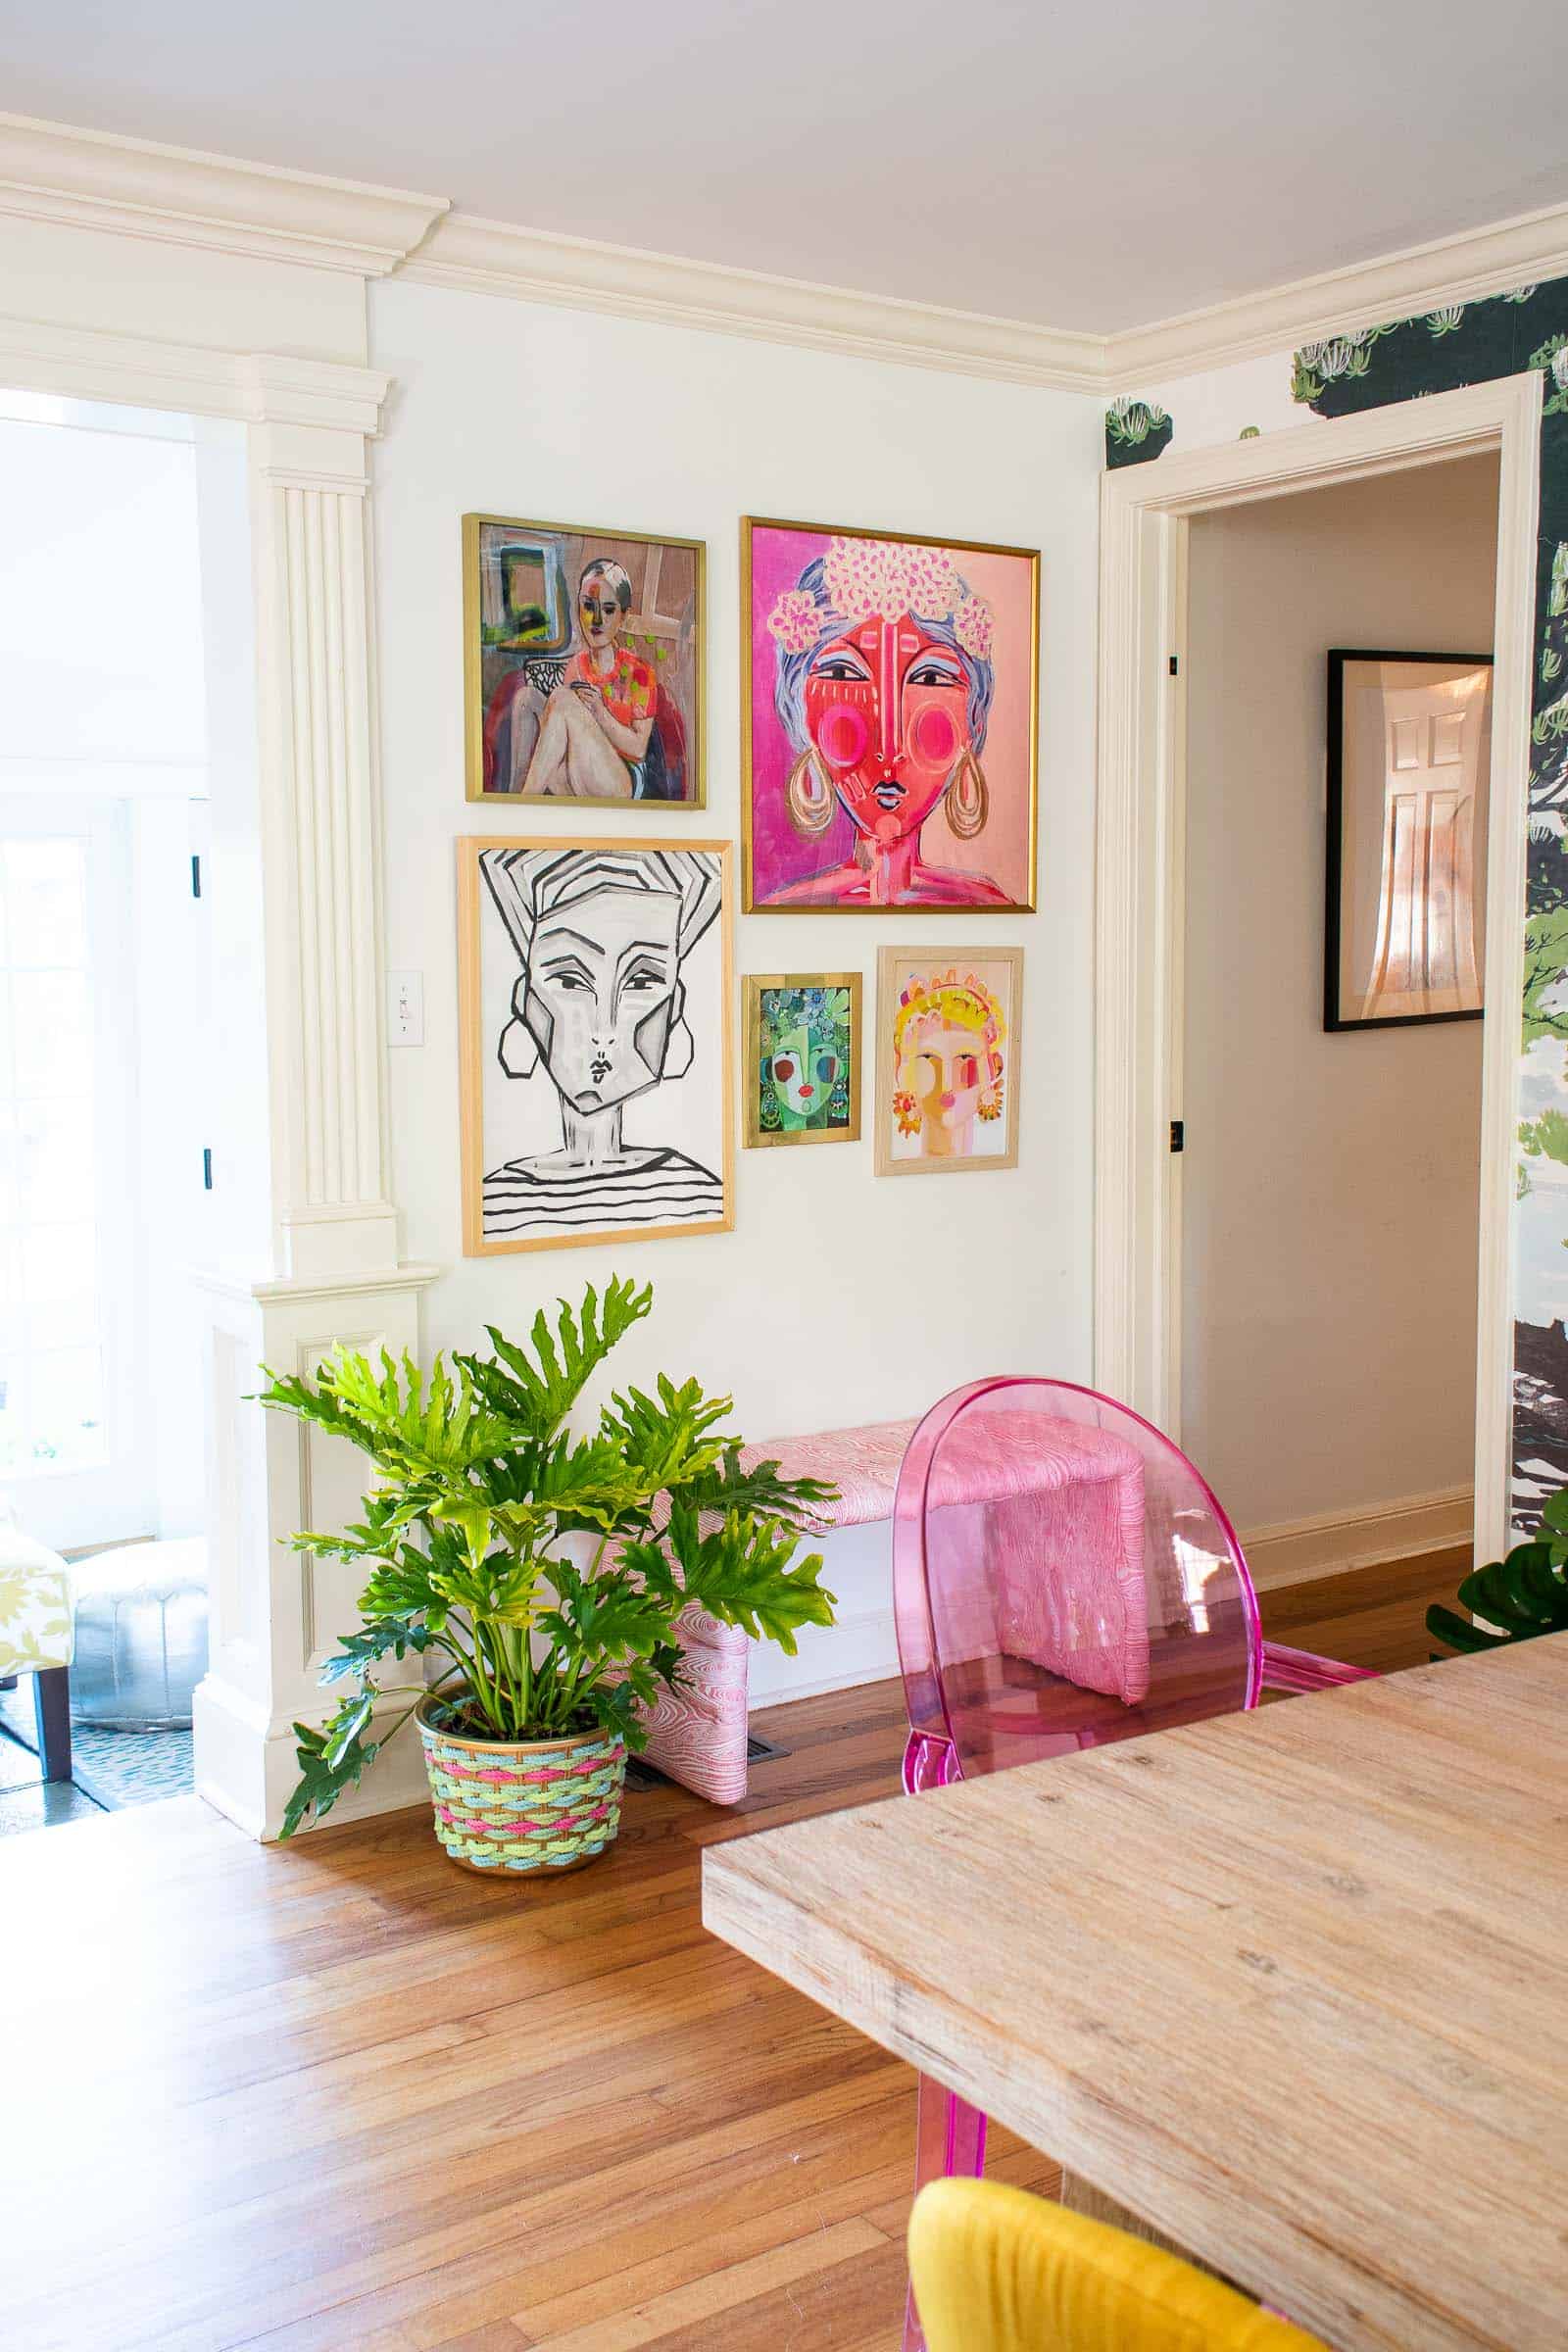
The basket is the perfect size for a larger plant. I trimmed the top edge of the grow pot just so it didn’t peek out over the edge of my colorful basket. I always like to suggest “non-crazy-color” options for these projects so if you are more of a neutral lover, this could be super cute with non-dyed rope (or just dyed one color)!


Don’t Miss Out
Become An Insider!
Signup for exclusive tips, and tricks from Charlotte’s House!
Let’s chat!
I love comments from you, so feel free to leave your thoughts and ideas below! And don’t forget to follow me on Instagram for even more!