Faux Metal Planter PLANS
Psssst… this post *might* contain affiliate links: see my disclosure here.
Happy Tuesday! I say this mostly to remind myself that it is, in fact, Tuesday. These last couple of weeks have been SO packed with projects and plans that the days are cruising by!! First things first… if you didn’t see my post from yesterday, then you’ll want to know that this week is #SwapItLikeItsHot FOUR!! I won’t be sharing my thrifted makeover until Friday, but everyone else has been killing it with their makeovers!
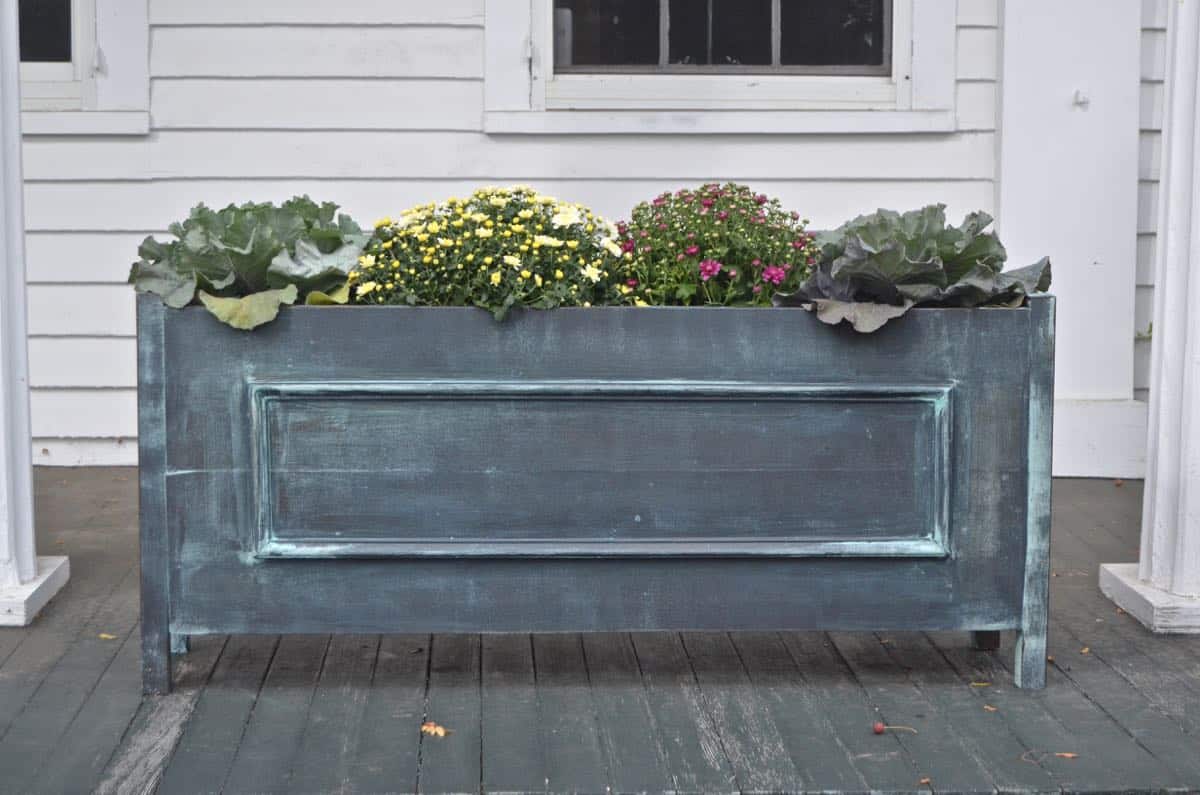
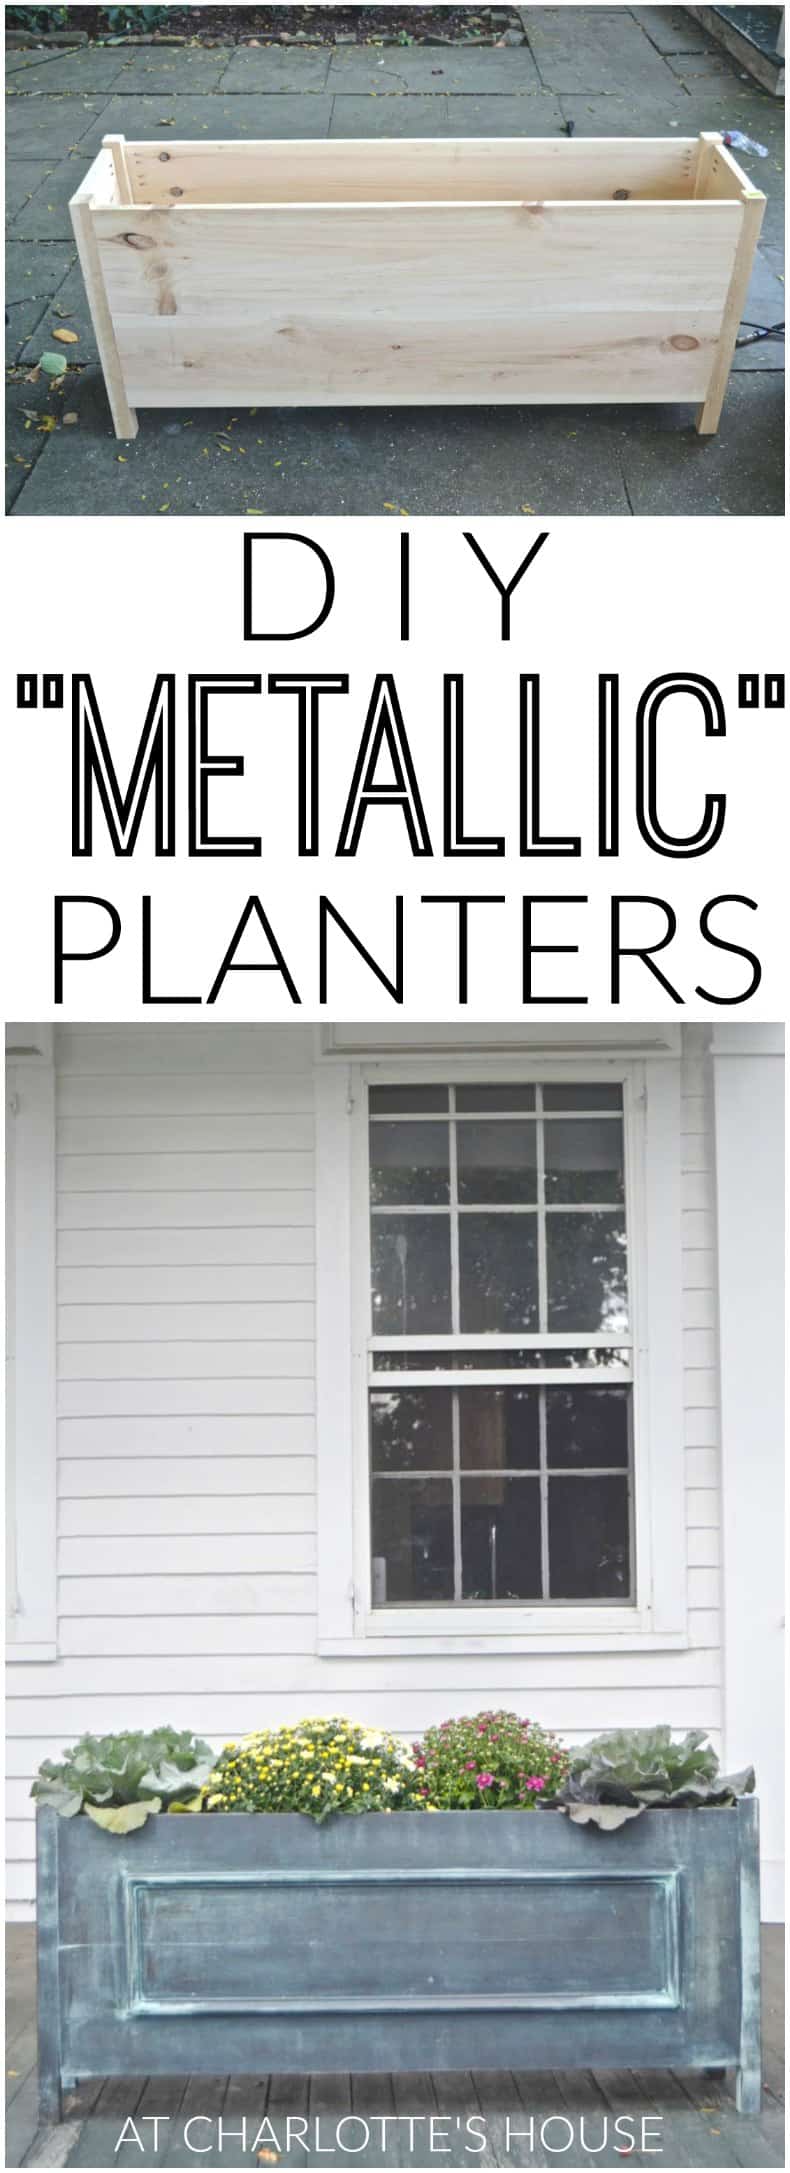
Plans for Large Faux Zinc Planters
But until my #Swap reveal, here’s a tutorial for these amazing faux metal planters I shared with you last week! Bear with me as I try to get technical with the building instructions, and PLEASE email me if there’s something here that doesn’t make any sense!
Materials for Two Planters (4 ft. W x 19″ H x 9″ D):
(Affiliate links included for your convenience)
Shop my favorites!
– 8 Pine 1 x 8 x 6
– 4 Pine 1 x 4 x 6
– 3 Pine select 2 x 2s (I think they come in 6 foot lengths…)
– 1 1/4″ kreg screws
– Kreg jig
– Wood trim (I used about 27 feet of trim for these planters)
– Brad nails and pneumatic nailer
– Paintable silicon caulk
– Modern Masters Metal Effects Paint and Primer (foam roller, brush, low pile roller)
Step 1.
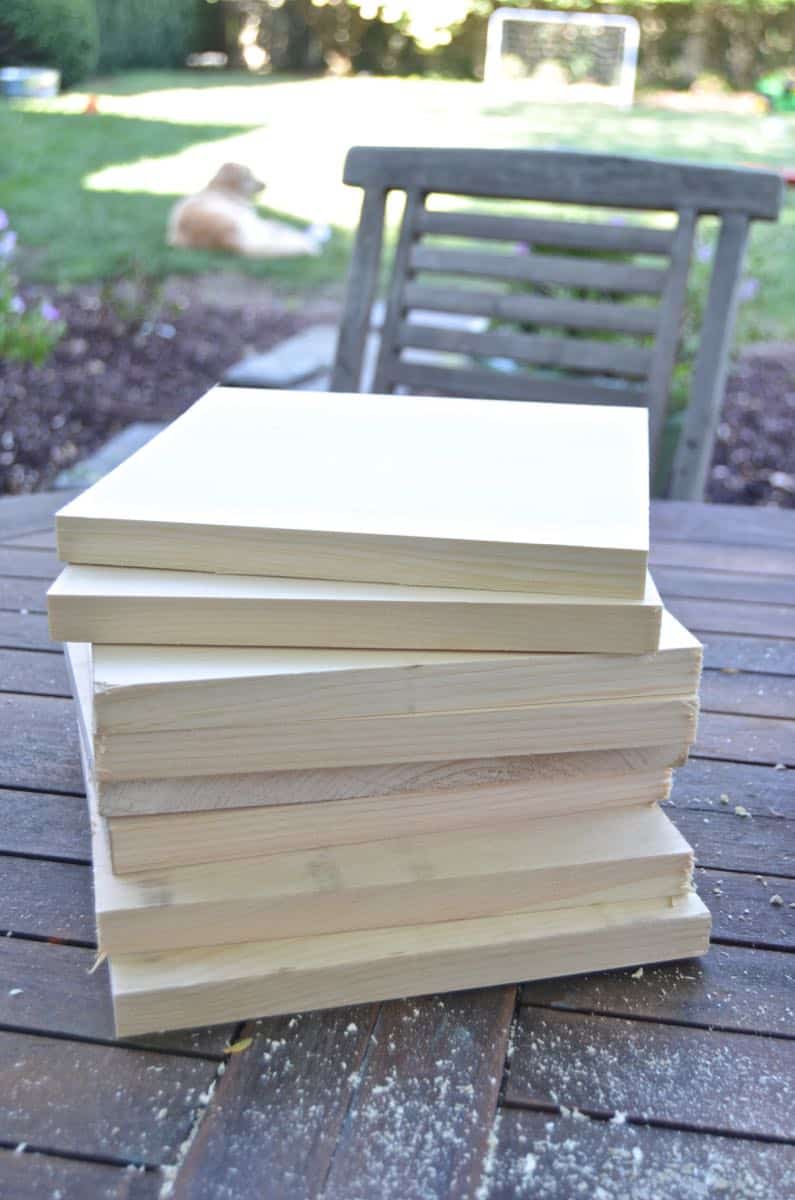
Cut the 1 x 8s to make the sides of your planter. You’ll need 8 4-foot lengths and 8 9-inch lengths.
Step 2a.
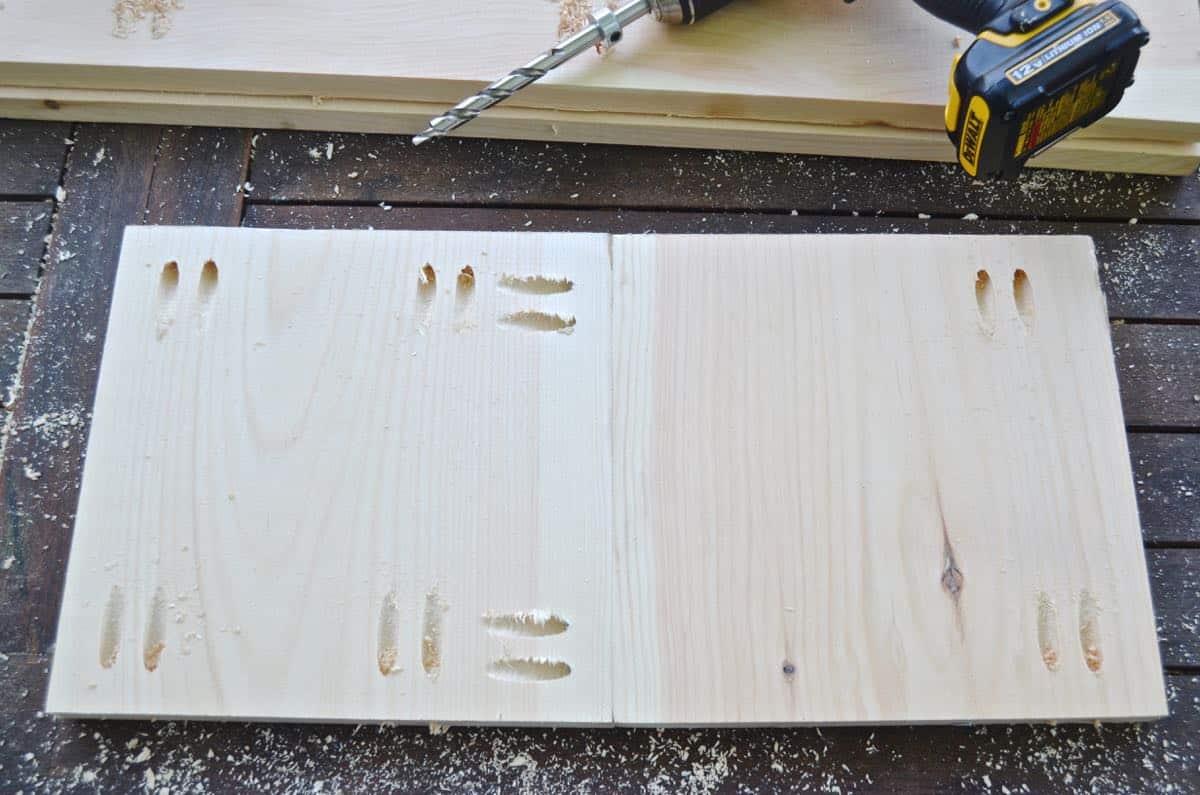
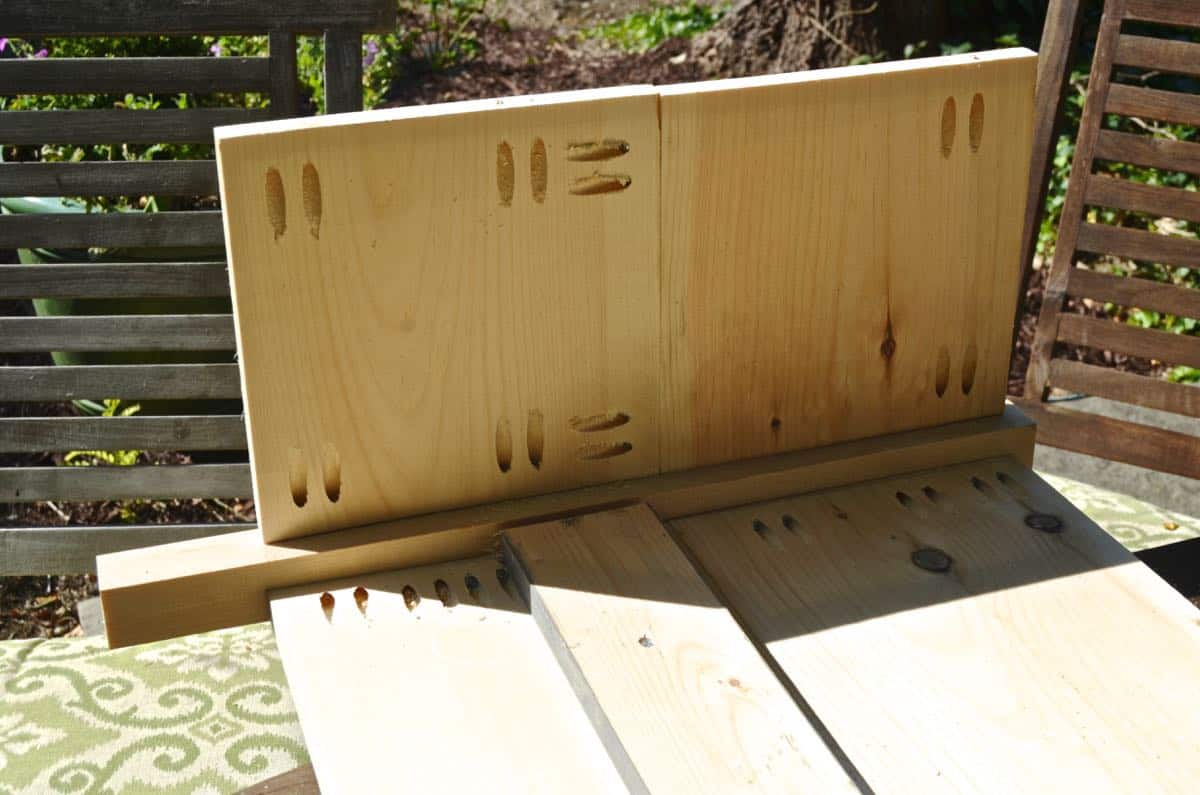
With your kreg jig, screw together your cuts so that each length is now 16 inches tall. You will now have 4 sides that are 4 feet wide and 16 inches tall, and 4 cuts that are 9 inches wide and 16 inches tall.
Step 2b.
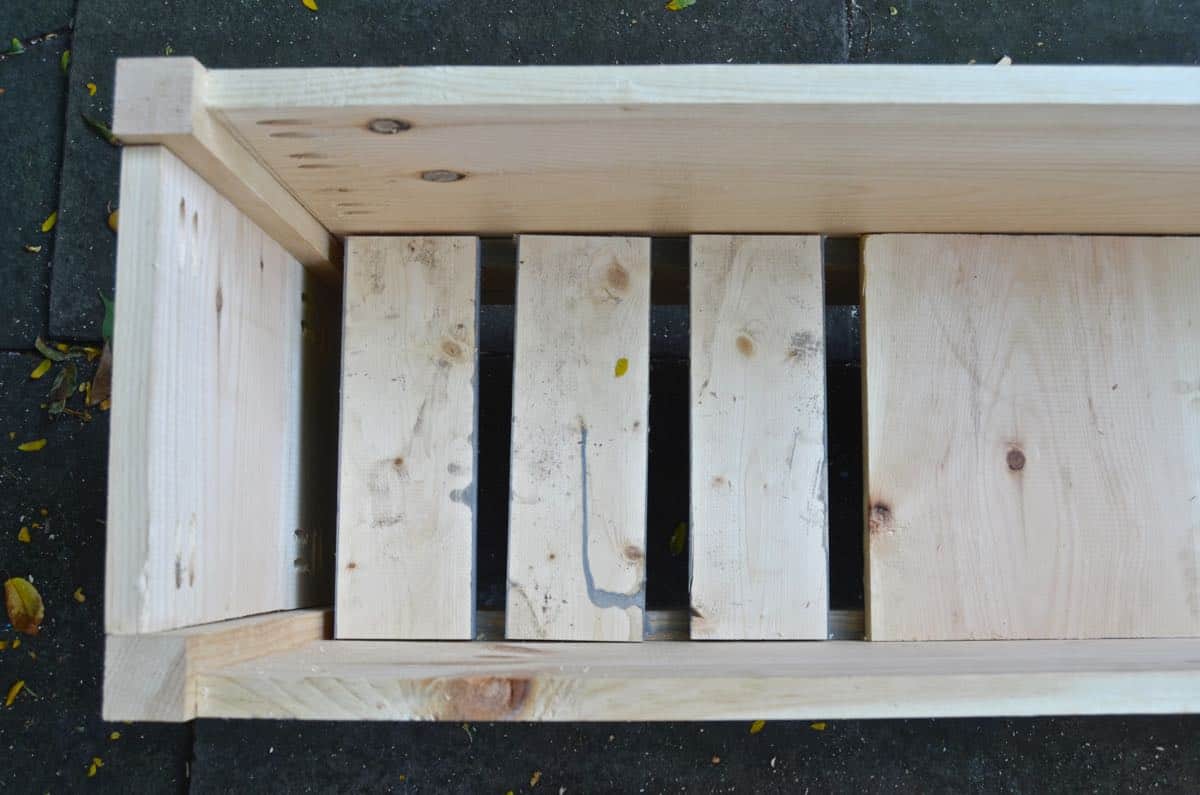
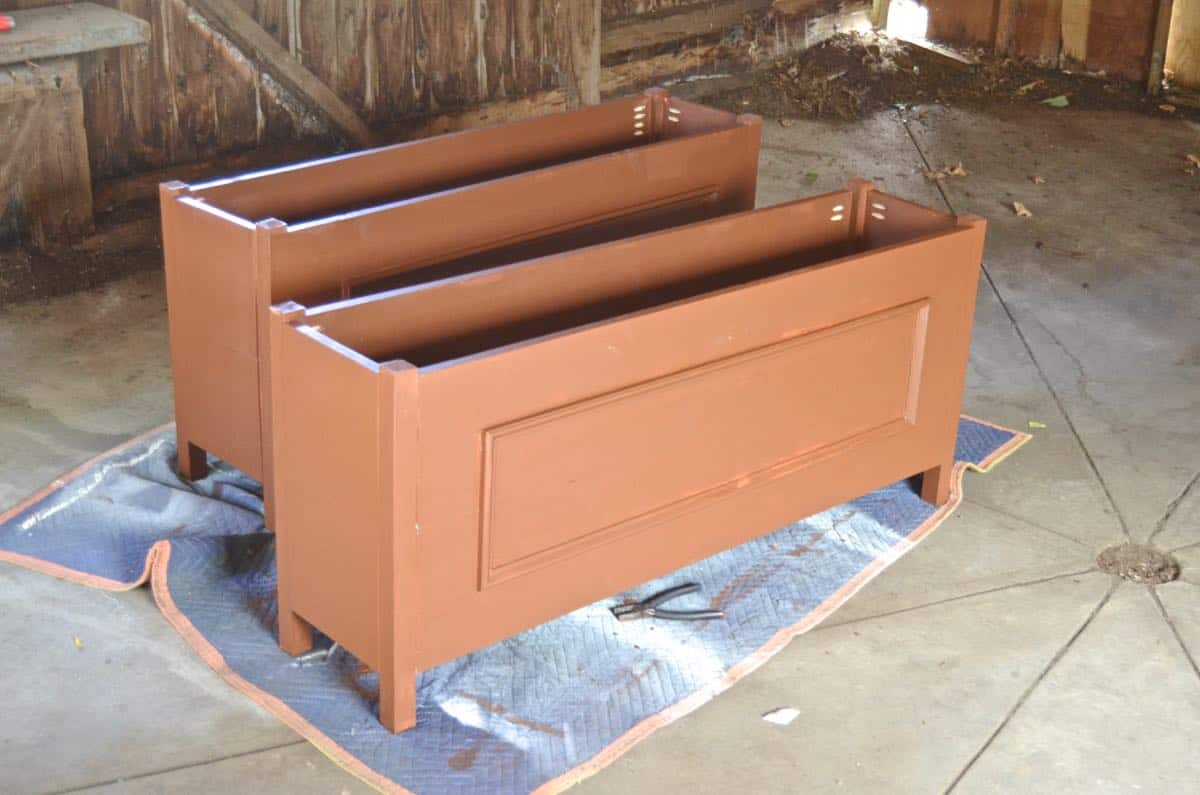
I gave my planters a false bottom so that I didn’t have to fill them with so much dirt. Before you attach your sides, screw a piece of scrap wood into the long sides of each planter… I attached mine about 8″ below the top rim. In order to allow for drainage, I used wood slats (1 x 4s) for the bottom of the planters vs. a solid sheet of wood… Attach to your cross bar with a staple gun.
Step 3.
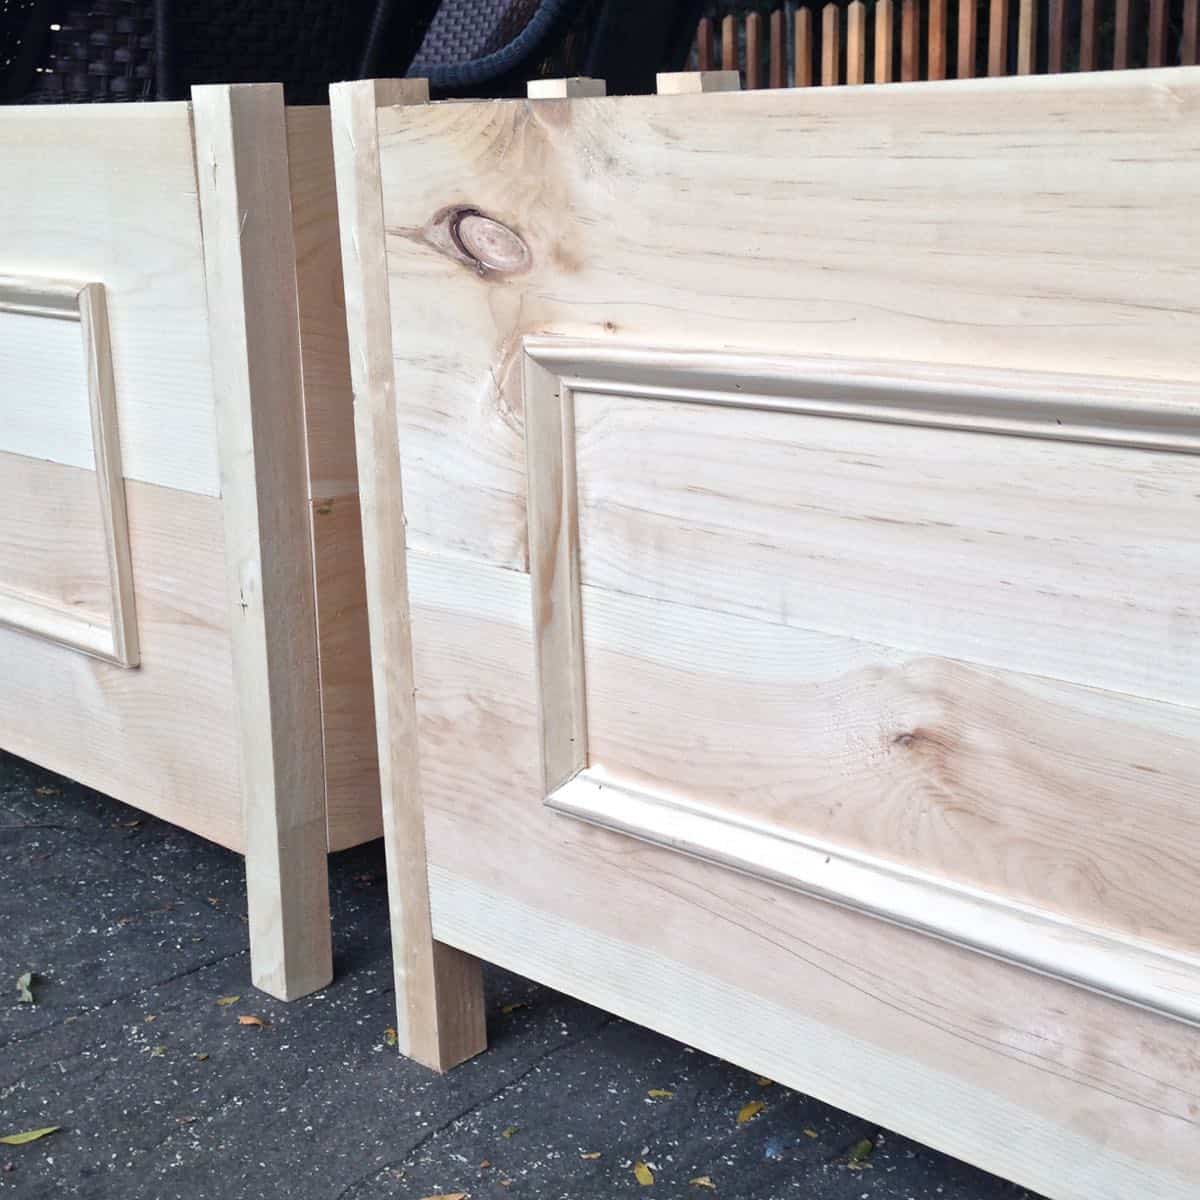
Cut and attach your legs. I cut my legs to 19 inches to allow for a them to stick up 1/2 on the top of the planter and then 2 3/4 inches of “legs” under the planter itself. Does that make sense?
Step 4.
Add the trim. I mitered the corners and applied my trim with wood glue and brad nails.
Step 5.
Sand and caulk. Use a silicon caulk so that it moves with the wood as it expands and shrinks with weather.
Step 6.
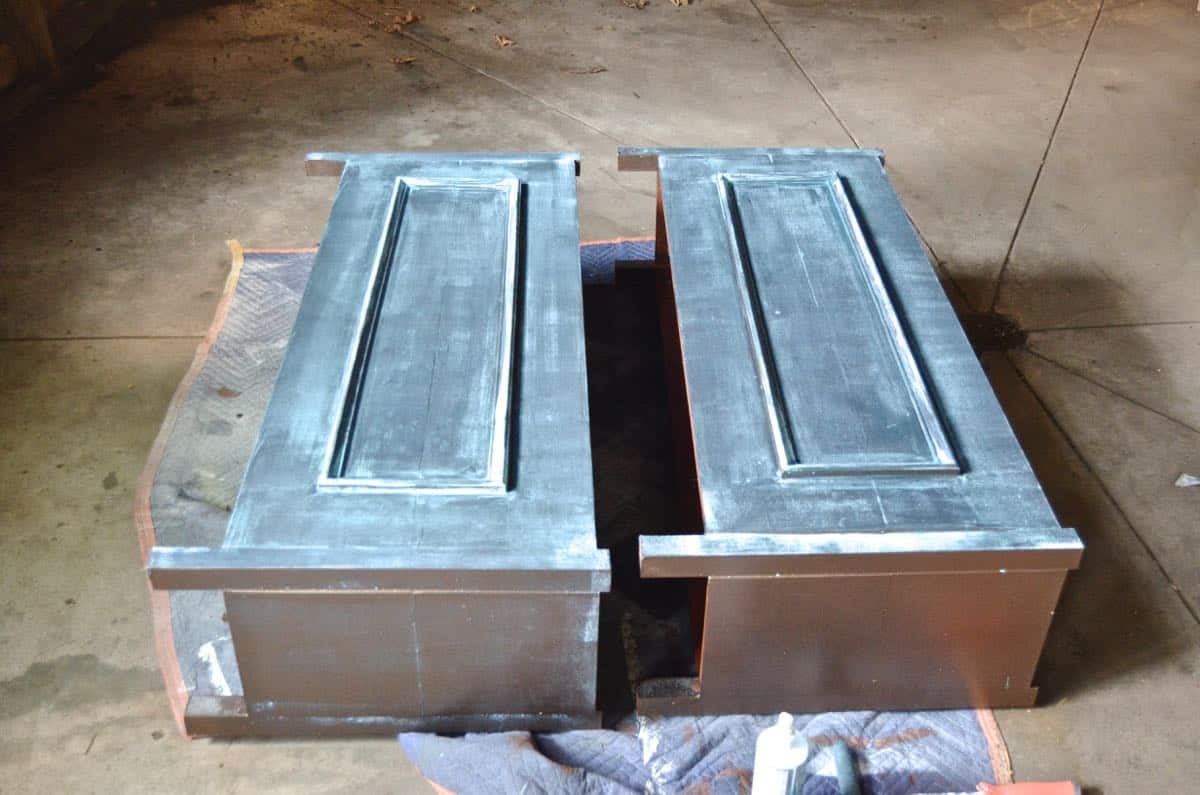
Paint. Apply 2 coats of the Modern Master’s primer.
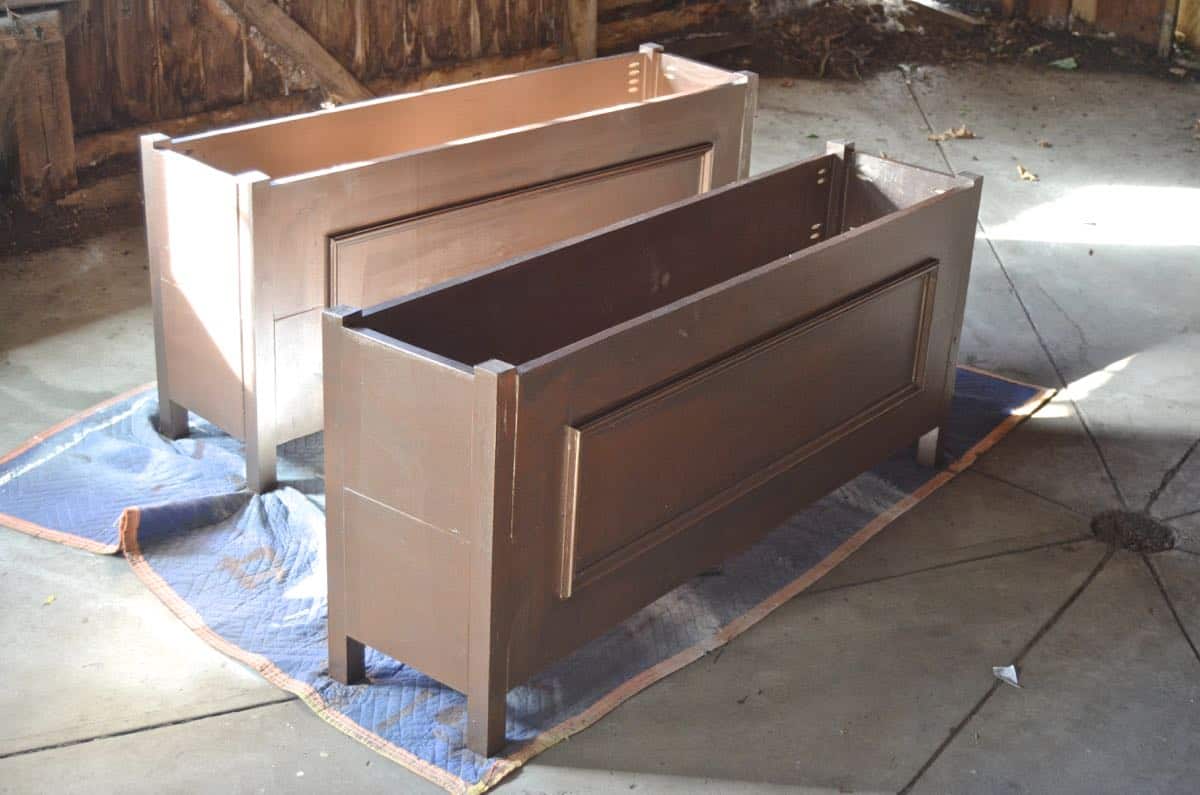
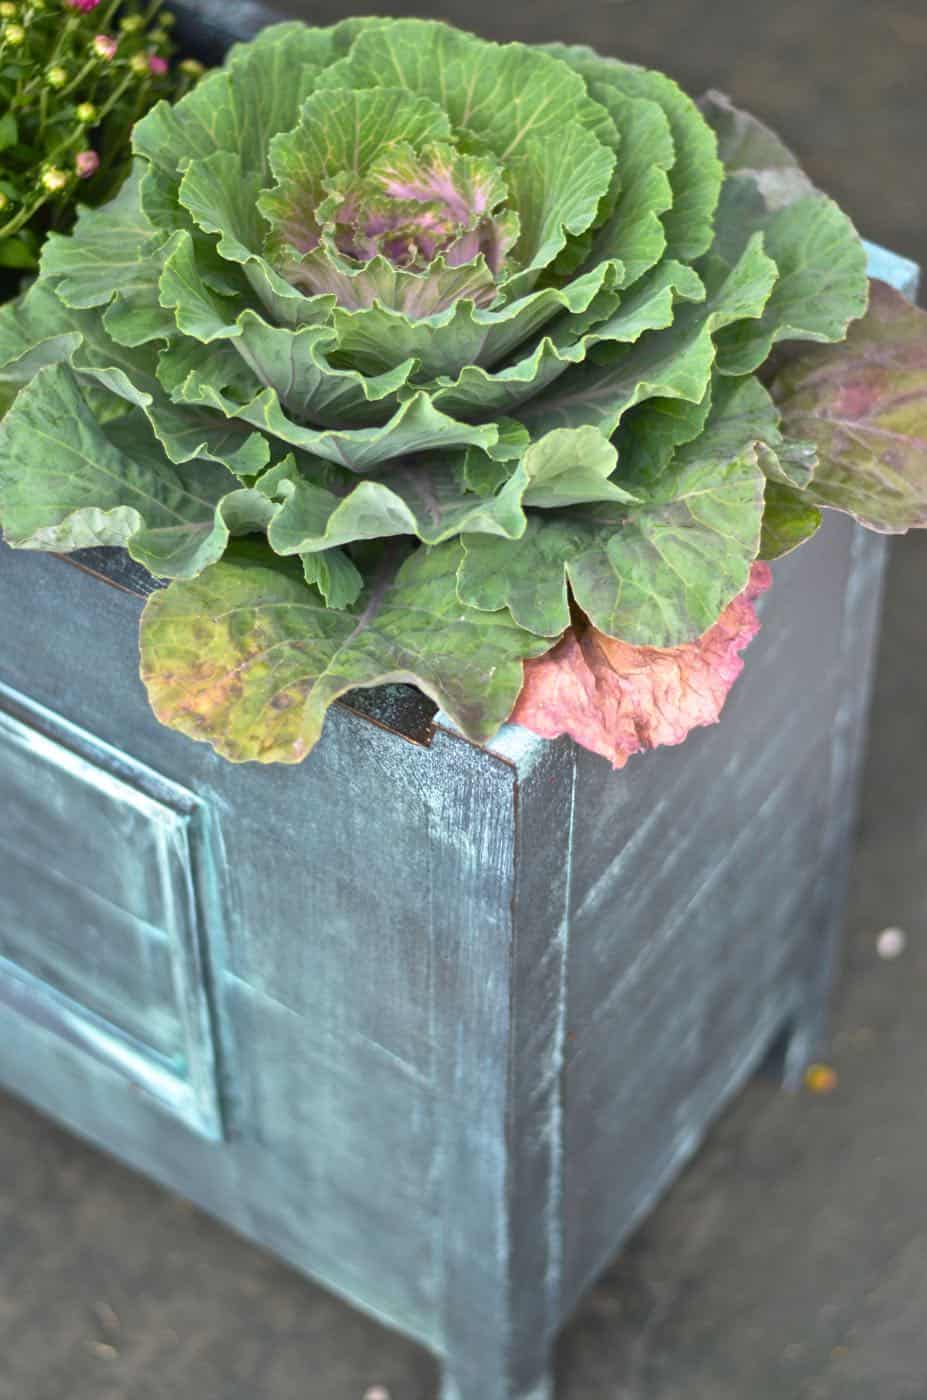
Apply 1-2 coats of the Bronze Reactive paint.
For the final coat, apply bronze paint with foam roller, and while the paint is still wet, spray reactive solution on top… enough to saturate. I prefer my finish to be more black than green, so I take my roller with the nap and go over the reactive solution gently with a dry brush to agitate a bit.
Step 7.
If you’re planning to fill your planter with soil, then staple heavy duty plastic or weed barrier along the inside to protect the wood. For these fall plants, I just popped the pots right into the planter and thanks to my false bottom, they fit perfectly!
That’s it! Like I said, please email me if I left anything out… It’s pretty simple.



Very impressive!
Thanks! Once in a blue moon, the vision aligns with the execution! 🙂
I’m so jealous and so impressed! You’d think that by me having a carpenter husband I could ask for these.. Ha!!
Xoxo
He would build these in 4 seconds. The paint is where the magic happens!
These are so, so cute!! I’d love to make something like this! Confession—I got the jig after Haven last year and still can’t quite figure it out. I am inspired to try again!
HAHA! It took me a few times where I had to pull something up on YouTube every time… but now I’ve got the hang. I STILL put them in the wrong way sometimes though… #learningcurve
LOVE!! These are just amazing… As is everything you do!
Thanks! And you’re super sweet… I look back at some projects and groan, but these I love! 🙂
Charlotte, so so clever! I need a project to introduce me to the kreg jig and think this will be it! Thanks for the inspiration.
Lynn, You’re going to LOVE it! It took me a while to get super ‘familiar’ with it, but it’s SO easy!! I think I made a frame or something first! Good luck!
Hi! GreaT idea! Were these alot cheaper than buying the real tin ones?
Yes! I used just basic pine and the cost of lumber was maybe $75? It’s been a while so I forget, but the planters I was eyeing were easily more than $100 each! They’re still going strong too!
These planters turned out beautifully. I love the finish that you chose for them.
THanks so much! I love it too! They’ve held up beautifully and truly look like metal!