
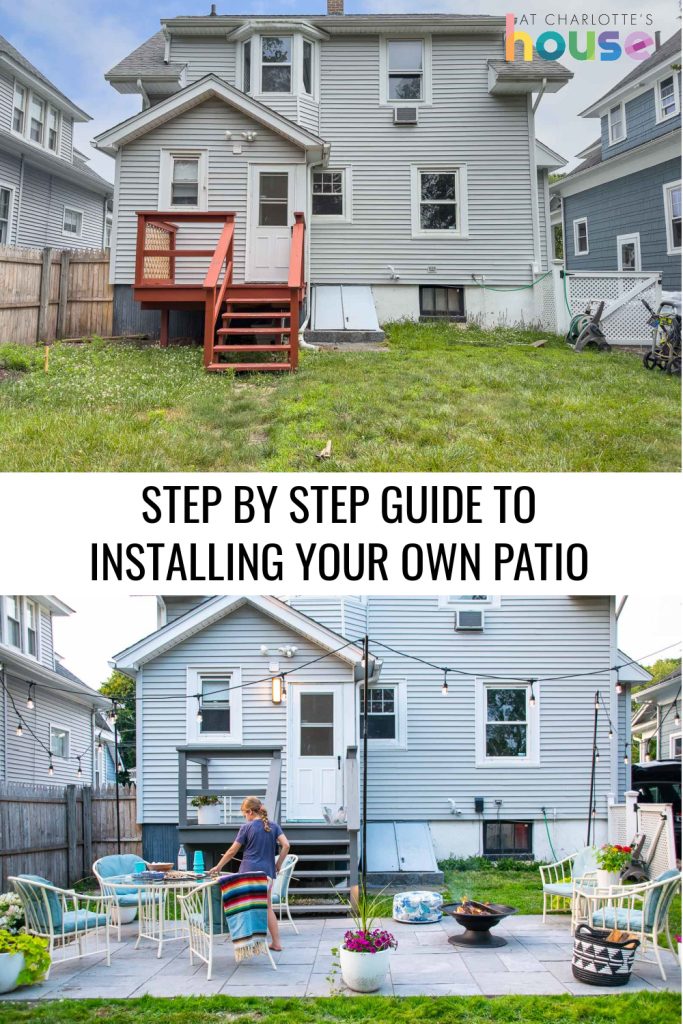
How to Install Your Own Patio
Psssst… this post *might* contain affiliate links: see my disclosure here.
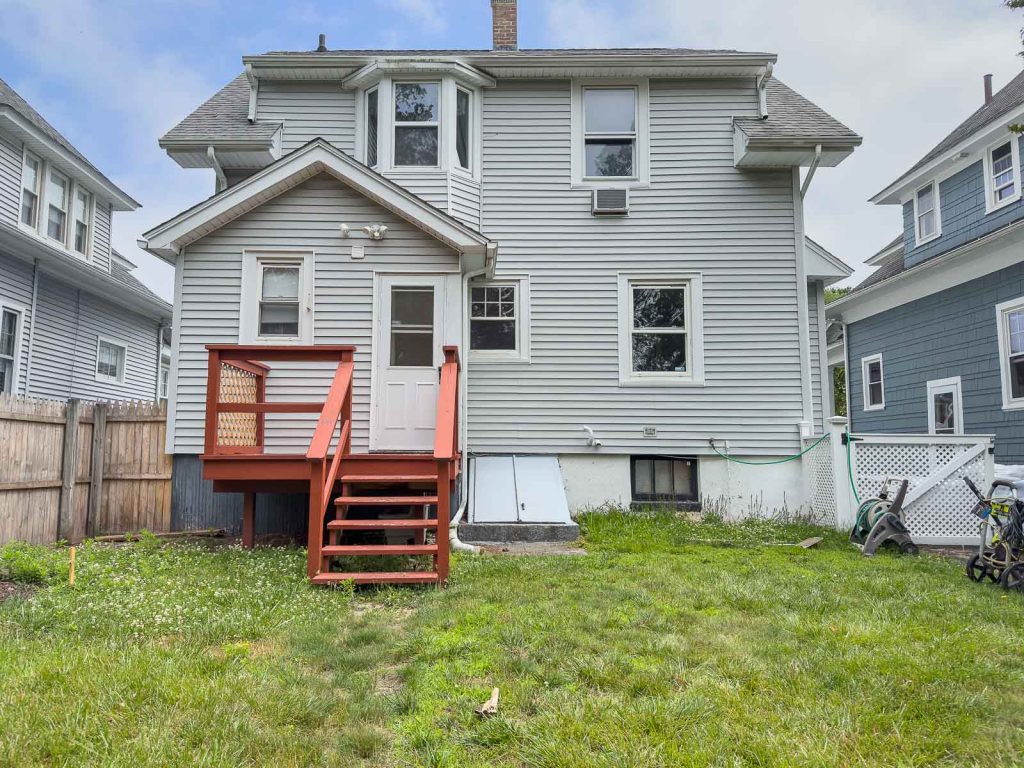
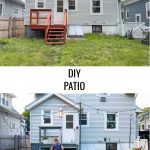
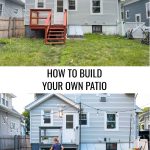
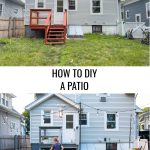
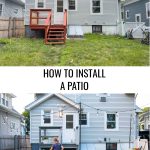
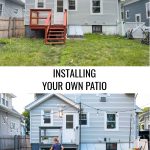
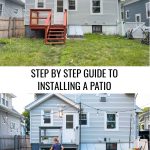
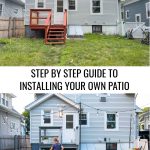
The backyard at the flip house was a little bare so I grabbed my friend Sam and we installed a patio!
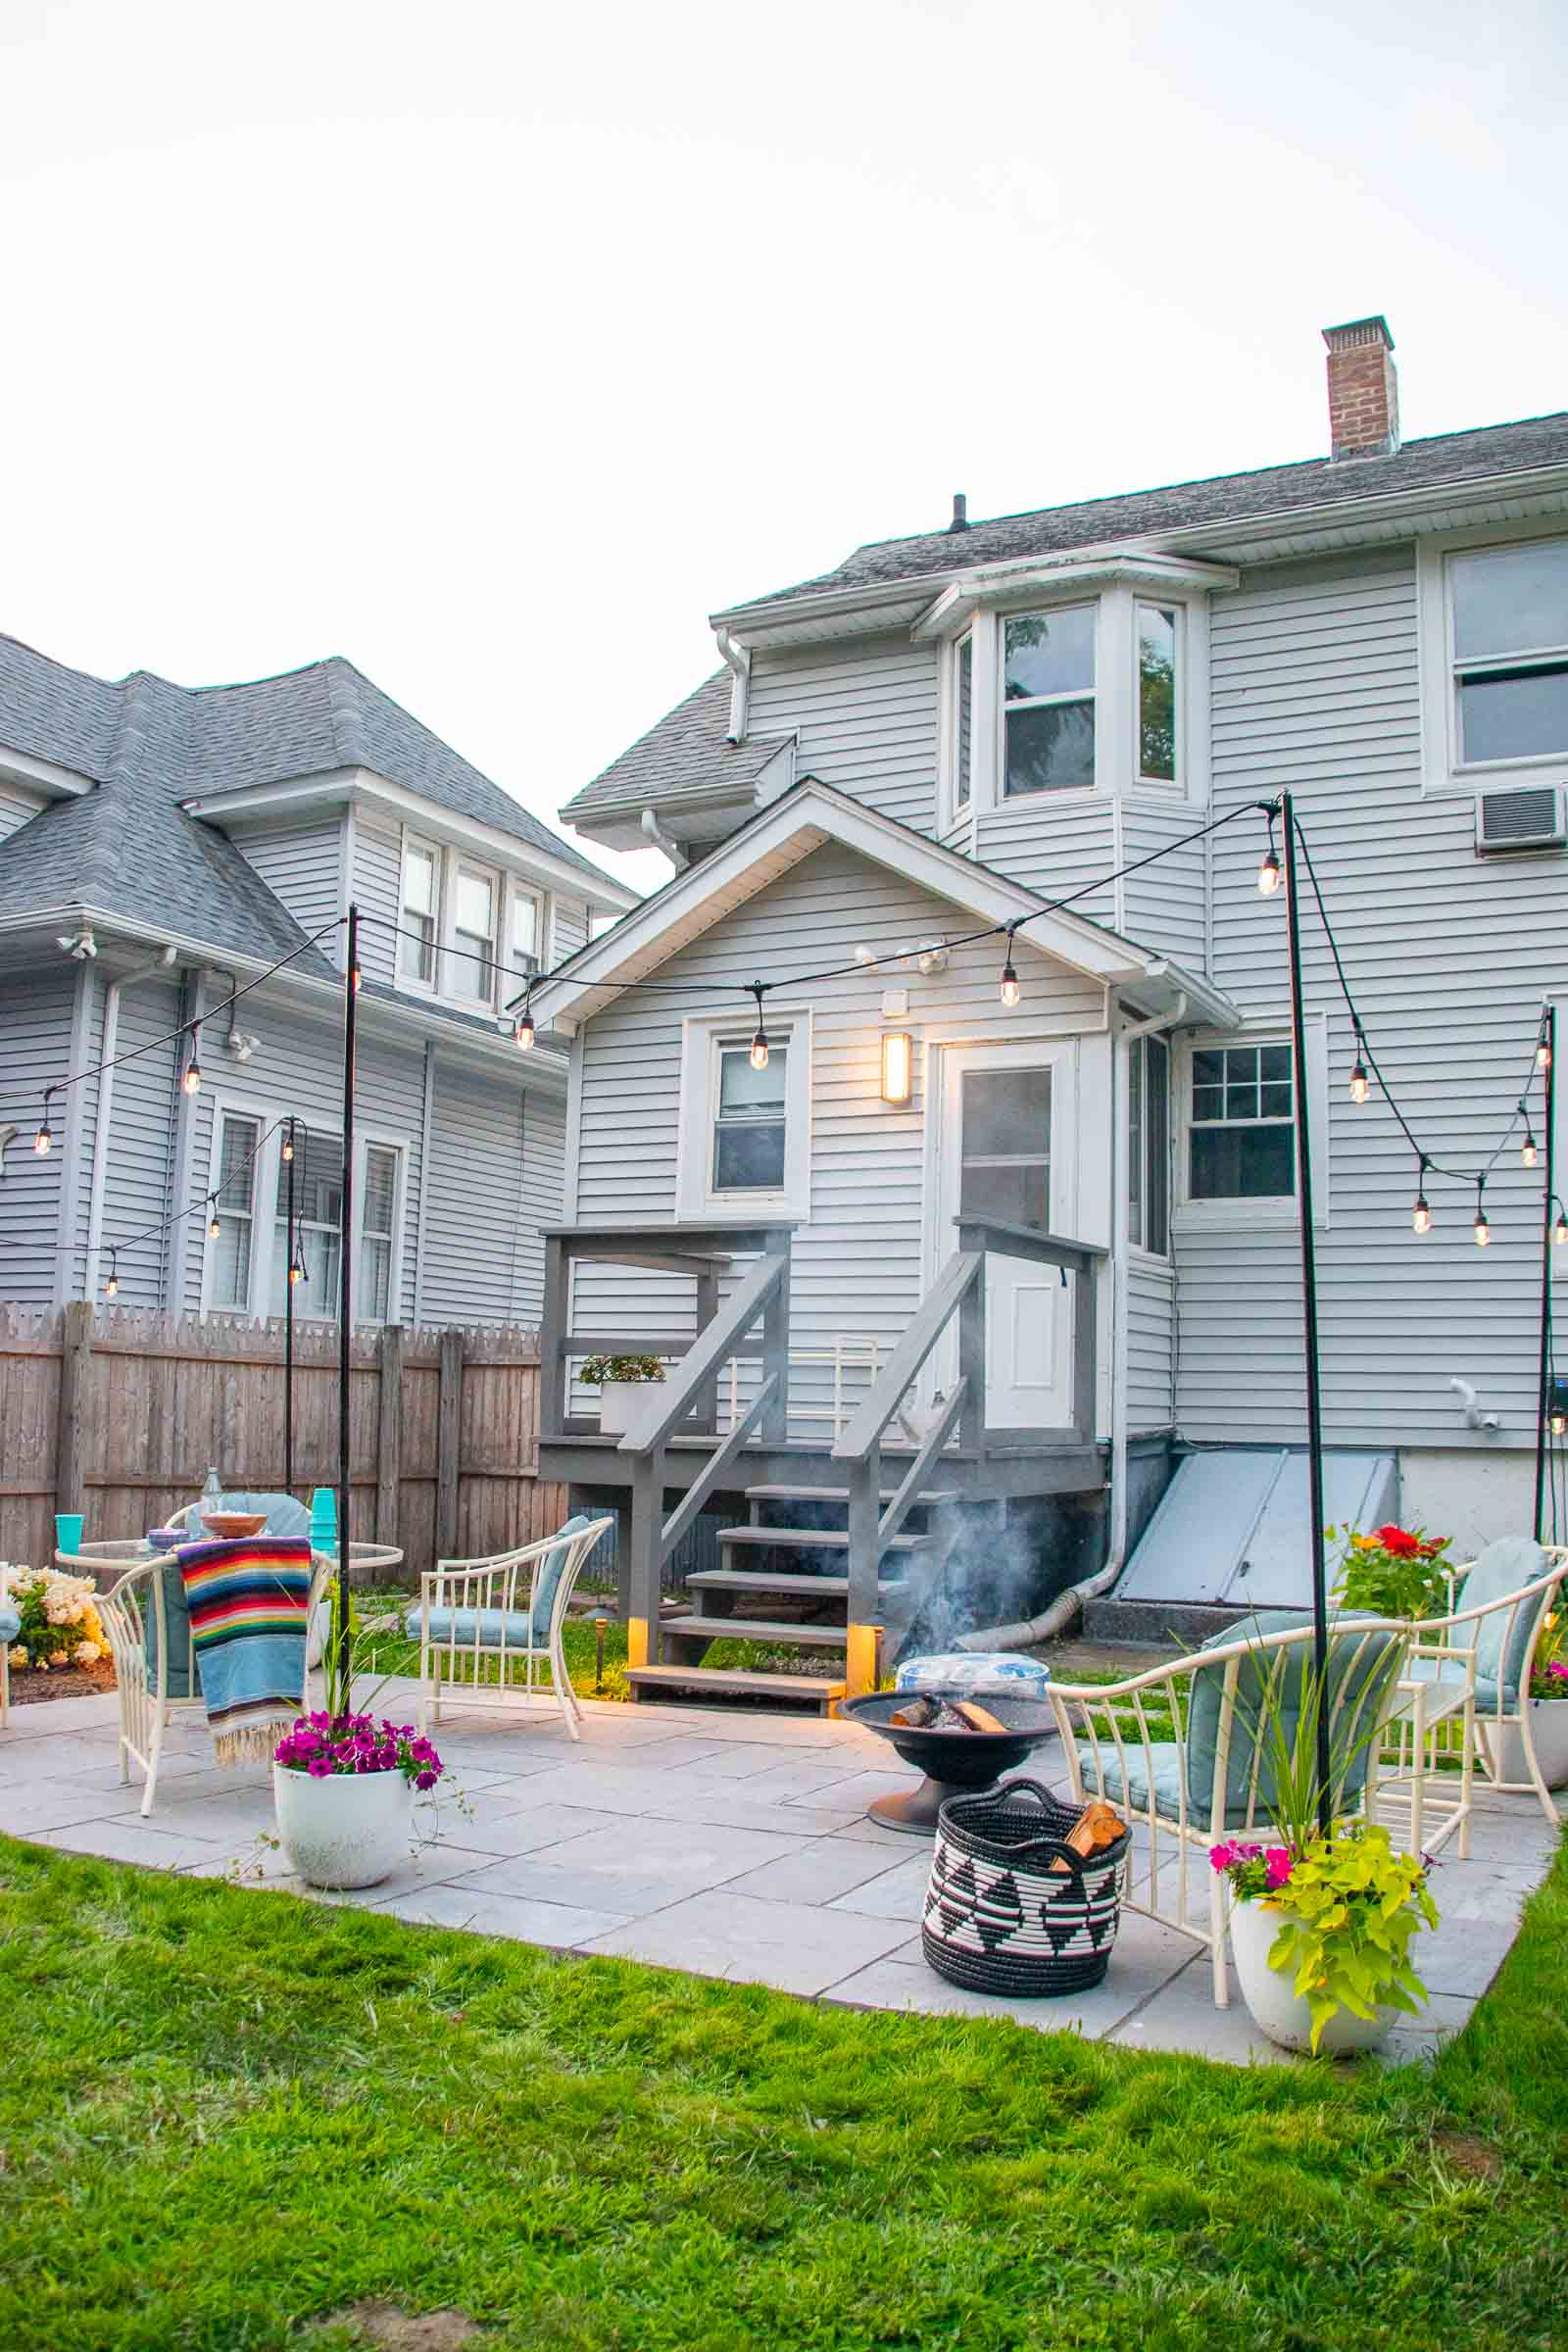
Story time: For every space I tackled at the flip house, I asked myself what would I do if this were my home. For the backyard, it was obvious that there would be a patio, but I made the executive (i.e. budget) decision not to implement all of the landscape dreams I had. I loved the idea of a low row of boxwoods around the patio. Maybe a path back to the shed. Raised veggies along the side fence… as it was, I settled for a sweet stone patio, a newly painted back deck and some string lights to bring out the ambiance.
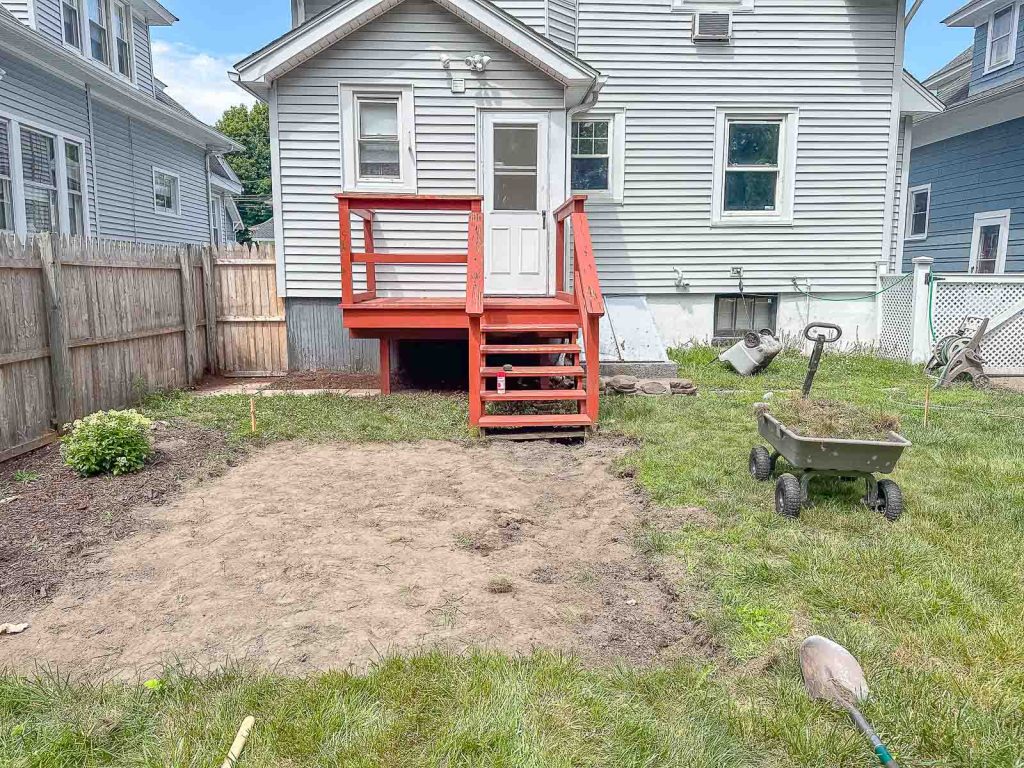
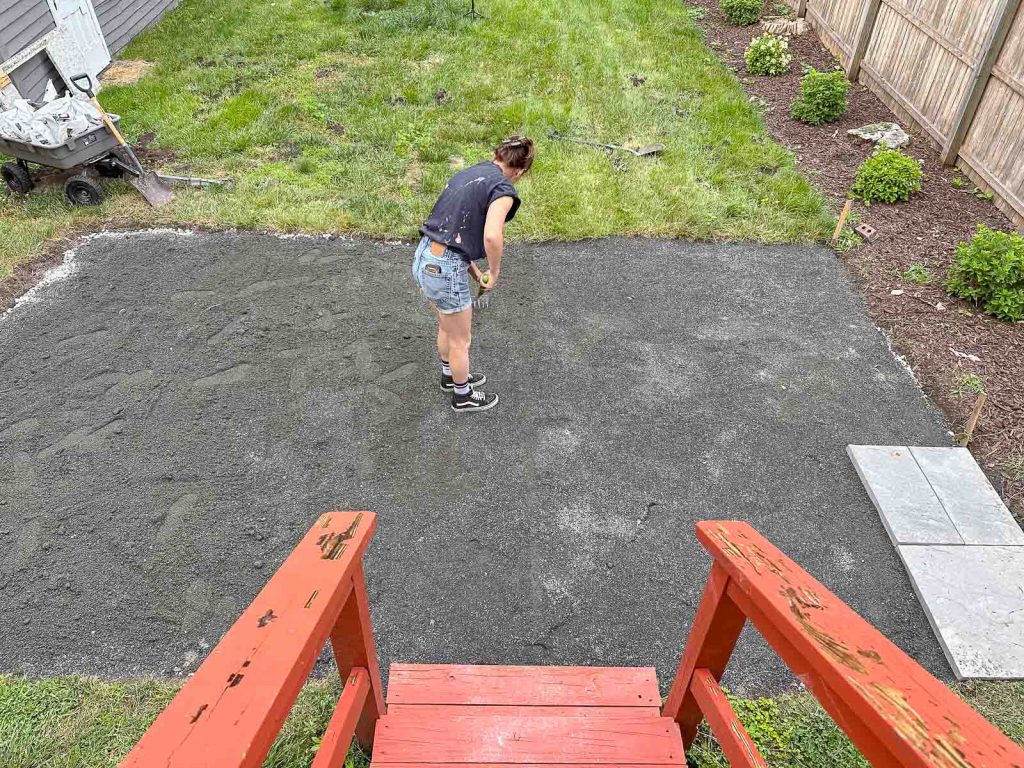
Prepping the Area for the Patio
When laying a patio, grading is the first and most important step. It’s essential that the grade is not only flat but also slightly sloped away from the house for proper drainage. I was lucky and the backyard at the flip house was basically graded the way I needed it to be. Using garden stakes and twine, I mapped out where the patio was going to go keeping in mind how many square feet was in each paver pack I was planning on ordering. This patio is 10×20 feet and as you’ll see, it’s the perfect size for a small eating and seating area.
With the patio area grass free, I called in reinforcements. My friend Sam from DIY Huntress came for the weekend and saved the day. I ordered everything from Home Depot and it was delivered right to the driveway on pallets. I followed the material calculators on their website to determine how many bags of each patio layer were needed.
Shop my favorites!
Laying the Patio
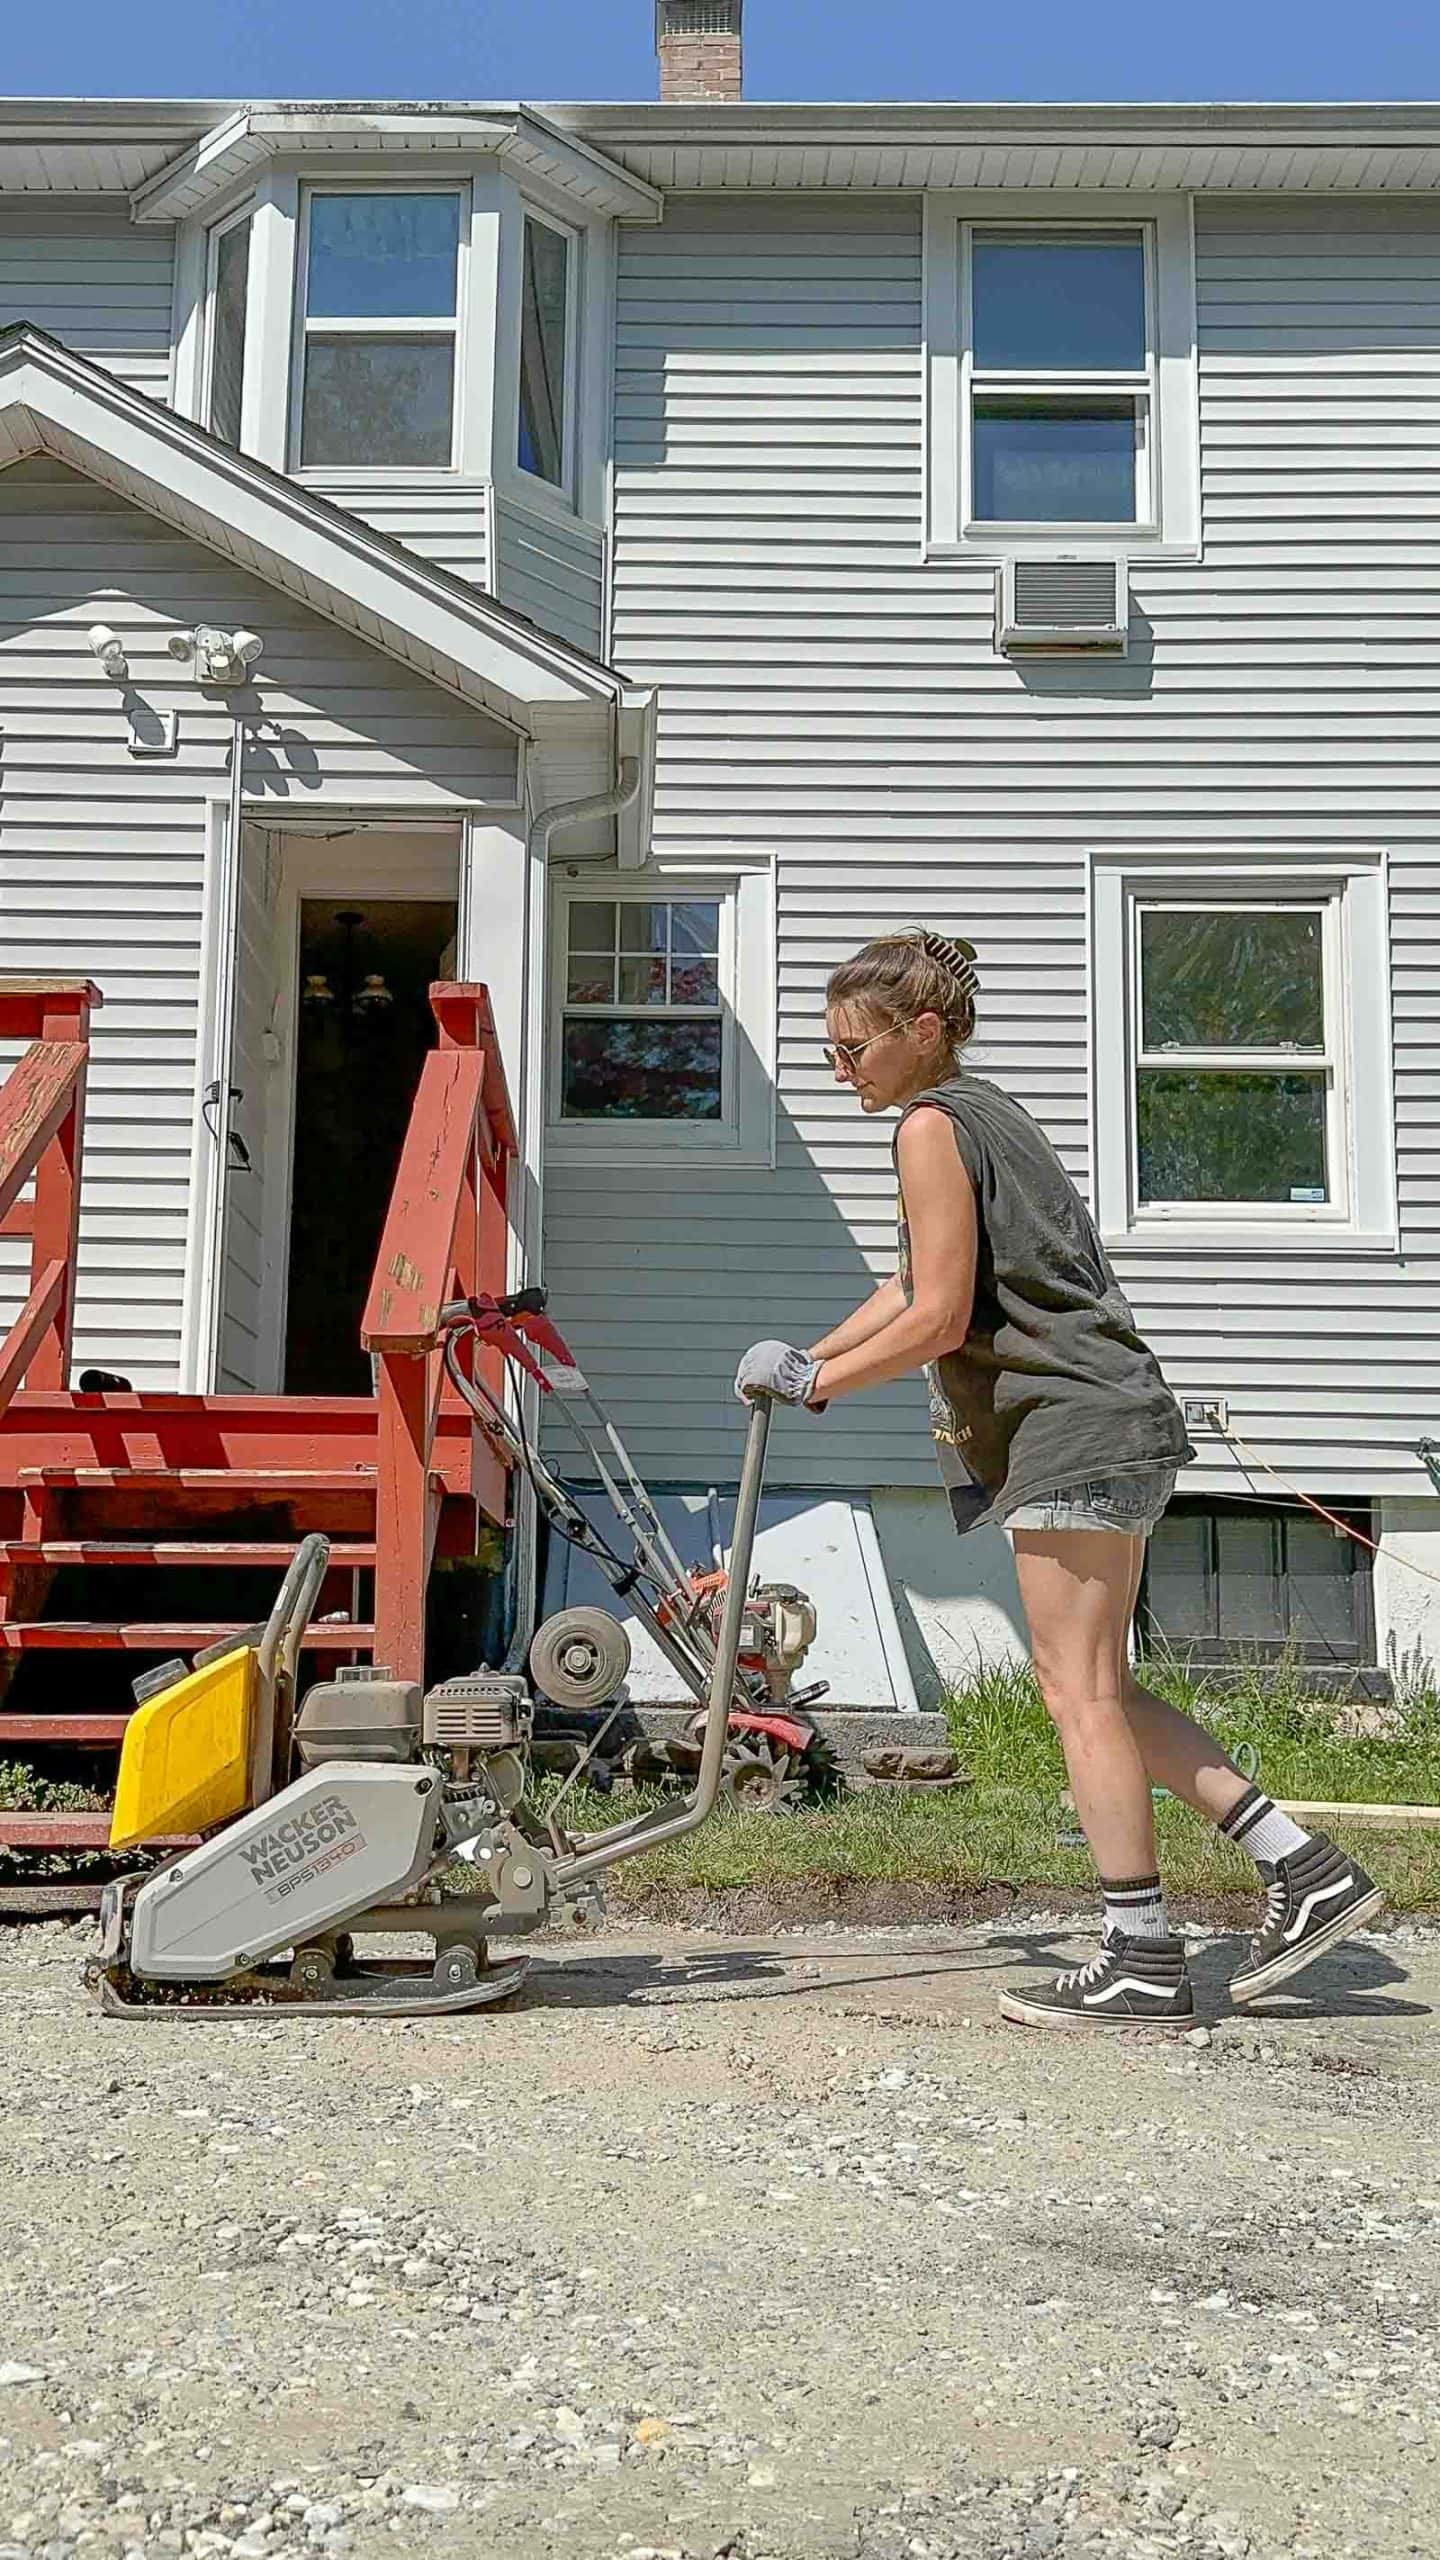
I skipped this step, but you *could* lay down a weed barrier first. Given the layers of the patio we installed, I wasn’t worried about weeds, but that’s certainly an easy first step. We started by spreading the paver base which is like a gravel mixture. Depending on your substrate, you’ll want to spread more or less of the paver base; we spread 3-4″ of gravel. Then we rented a tamper from Home Depot (shown below) and tamped down the gravel. This machine is HEAVY so be prepared. It was definitely worth it since a manual tamper would have taken forever, but I’m glad no one could see us trying to lift this into the car.
After the paver base, the next step was to spread the paver leveling sand. This layer is what’s going to help you ultimately set the pavers straight and lined up. We spread a layer of paver sand and then tamped it down again.
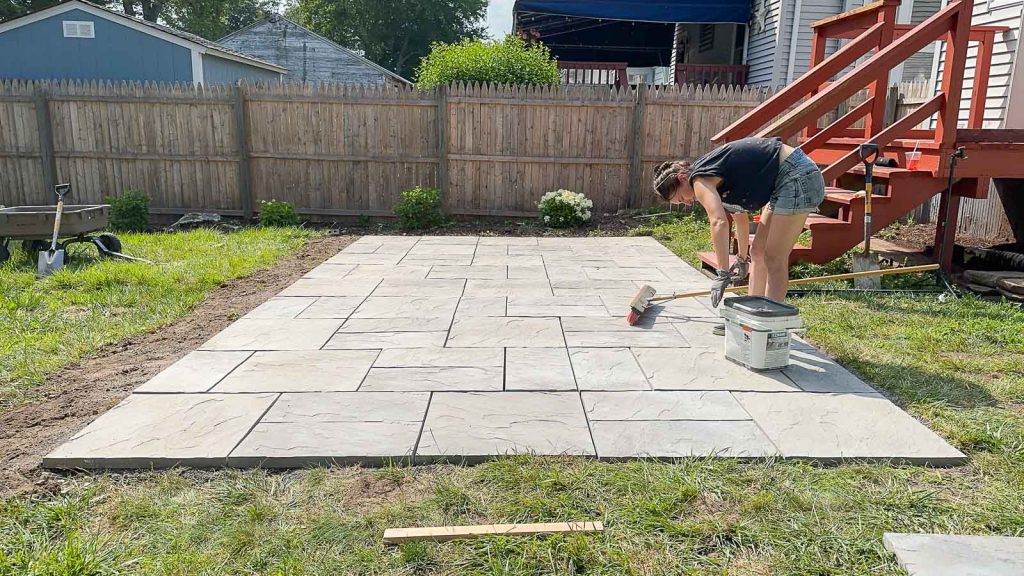
Laying the Pavers
I’m realizing as I type this, that I didn’t take as many photos of this stage because I was recording video, so reminder that you can see this full patio makeover on Youtube HERE. The pavers came with a map so we didn’t have to figure out which way to arrange them… and because I planned the patio to the exact dimensions of the paver layout- no cutting required! The system Sam and I came up with was to spread some fresh patio sand and smooth it out/ level with a piece of scrap wood. Then we’d place the paver onto the sand and fill in with extra sand to stabilize and bring it level with the adjacent pavers.

No single step of this patio installation was particularly hard but it was all laborious and physically challenging; the bags of substrate were heavy as were the pavers and together we had to move dozens and dozens of these. Because we had prepped the patio area pretty well, laying the pavers took a few hours. Our highly professional system for each paver was to stand on top, rock back and forth and then fill in with sand as needed to make sure it wasn’t wobbly. We also made sure the grade was consistent and that all adjacent pavers were aligned across the surface.
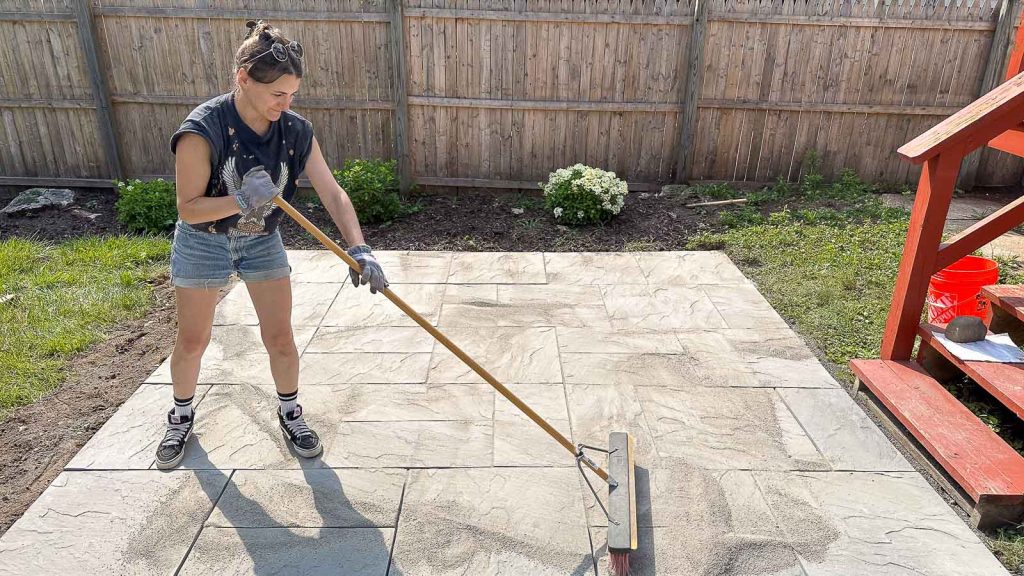
Setting the Pavers in Place
To keep the pavers from shifting and moving over time, the last step is to spread polymeric sand. Like regular sand, you pour it onto the patio surface and then sweep it into the cracks between the pavers. Spraying it with water will solidify the sand therefore ‘locking’ the pavers in place.
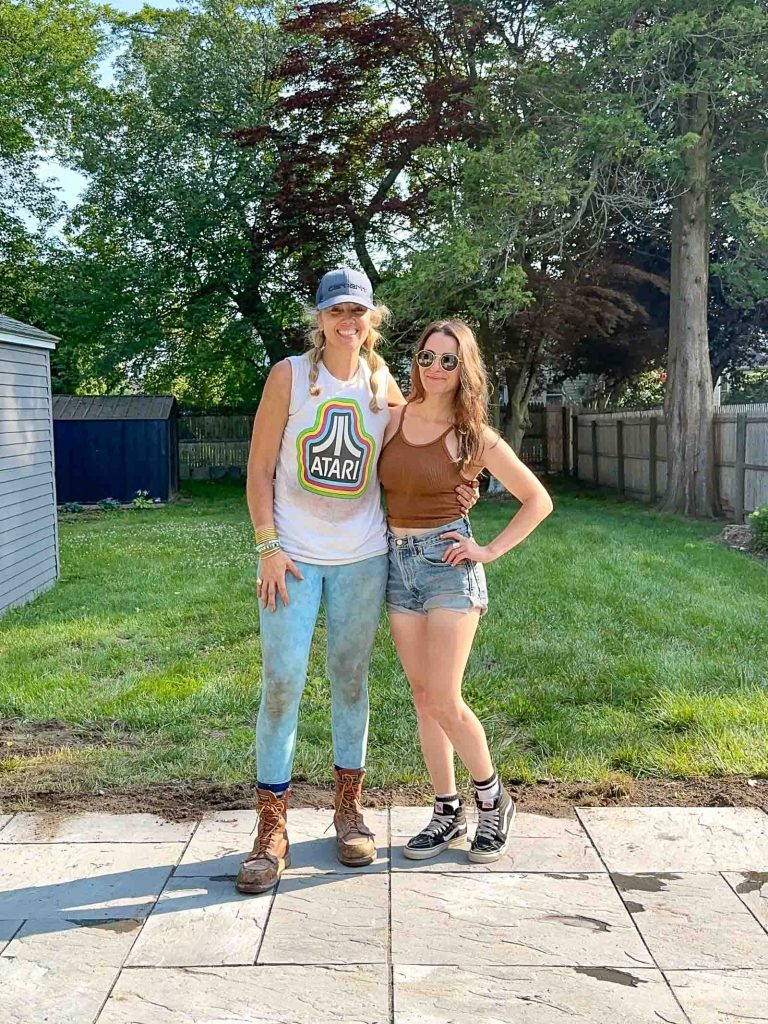
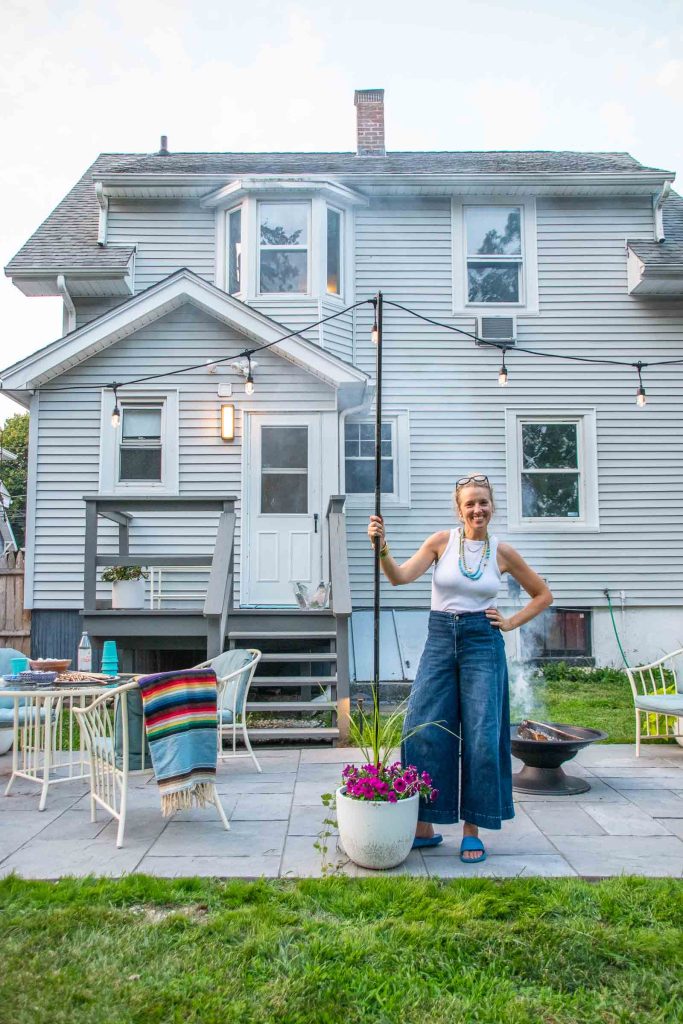
I added some DIY planters with light poles, painted the deck and installed some simple landscape lights and this patio is ready for some backyard summer fun! With the DIY patio in my rear view mirror, would I do this again? Probably! It was a laborious, dirty project and I am indebted to Sam for rallying to be my wingman, but all in all it was a tiring three days but worth it!
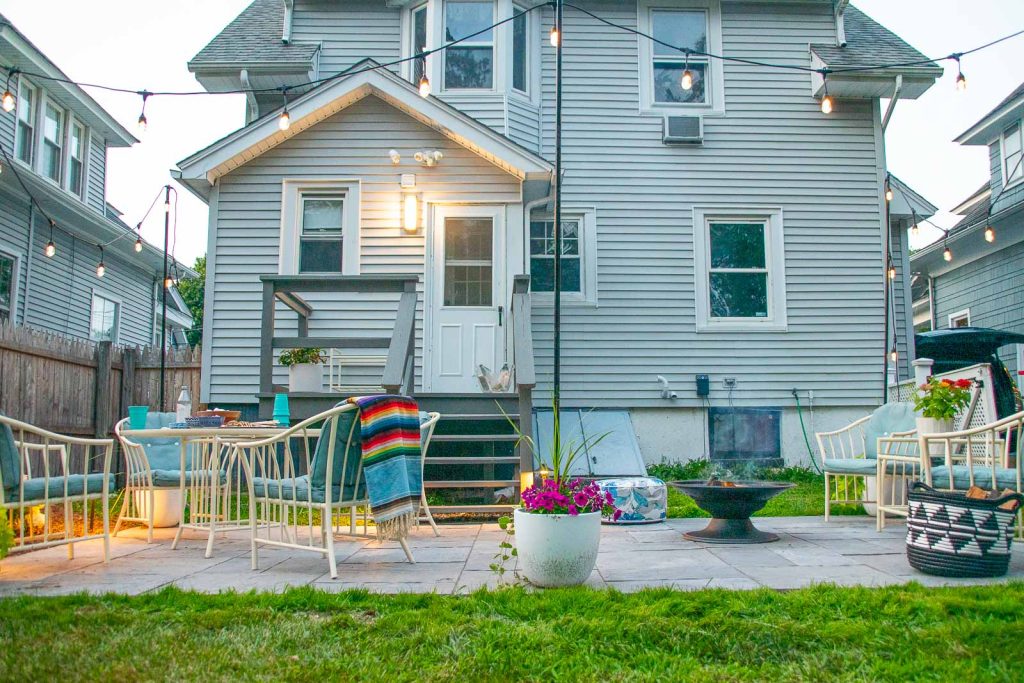
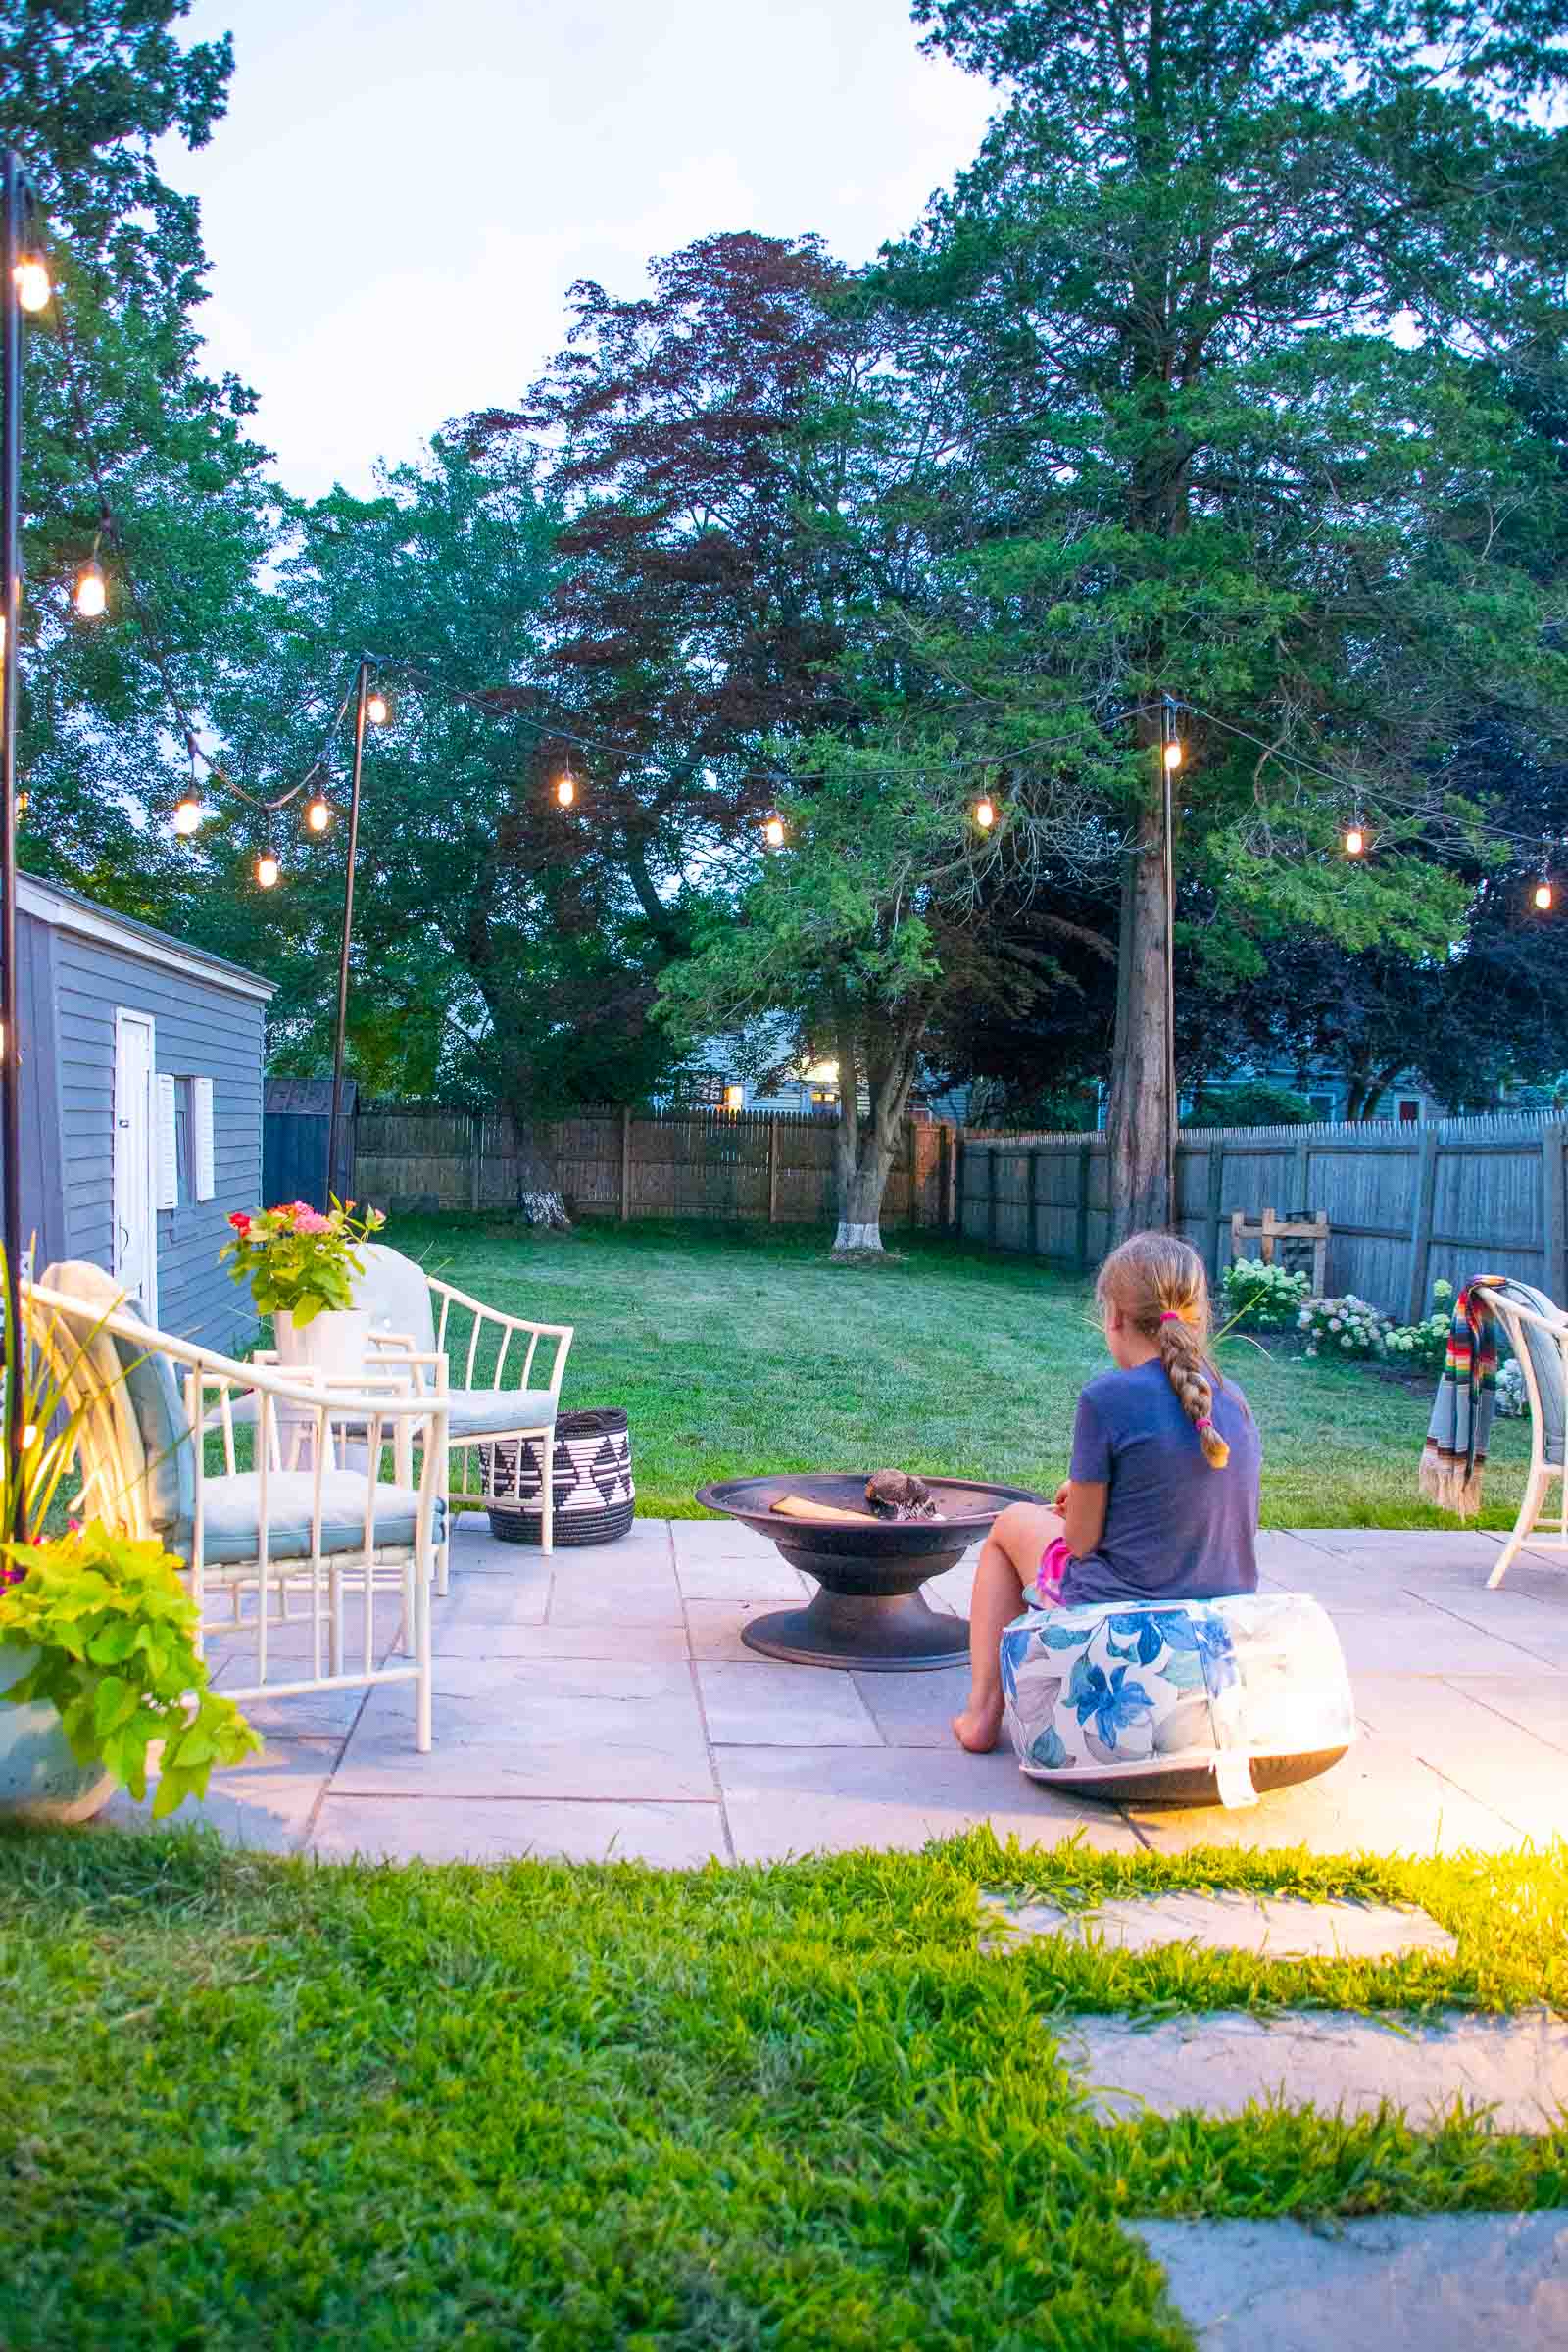
To save you from scrolling, here’s a final glimpse of the before and after shots of this backyard! So cozy and welcoming!


Check out the rest of my flip house series HERE.


I’m hoping to do this next spring/summer to my backyard. I plan on ripping out a super old wooden deck that has become a refuge for wildlife critters. Thanks for listing all of the material and steps you took to transform this space! I love it.
Good luck! We definitely wouldn’t want to do this every week because it was *tiring* but… also TOTALLY doable! xx