
Getting Our Deck and Patio Ready for Spring
Psssst… this post *might* contain affiliate links: see my disclosure here.
Repainting Our Deck and Updating Our Patio
I painted our back deck and gave our patio a makeover just in time for spring!
Disclosure: I am thrilled to be partnering with The Home Depot to show you how to “Build Your Landscape” with these outdoor updates!
Shop my favorites!
We moved into this house the day after Thanksgiving so the exterior has been a bit of a mystery for us… until now!!! I am THRILLED to be partnering with The Home Depot to update our backyard spaces. And guess what… I finished them a few weeks ago and we’ve been using the heck out of them!!!!!
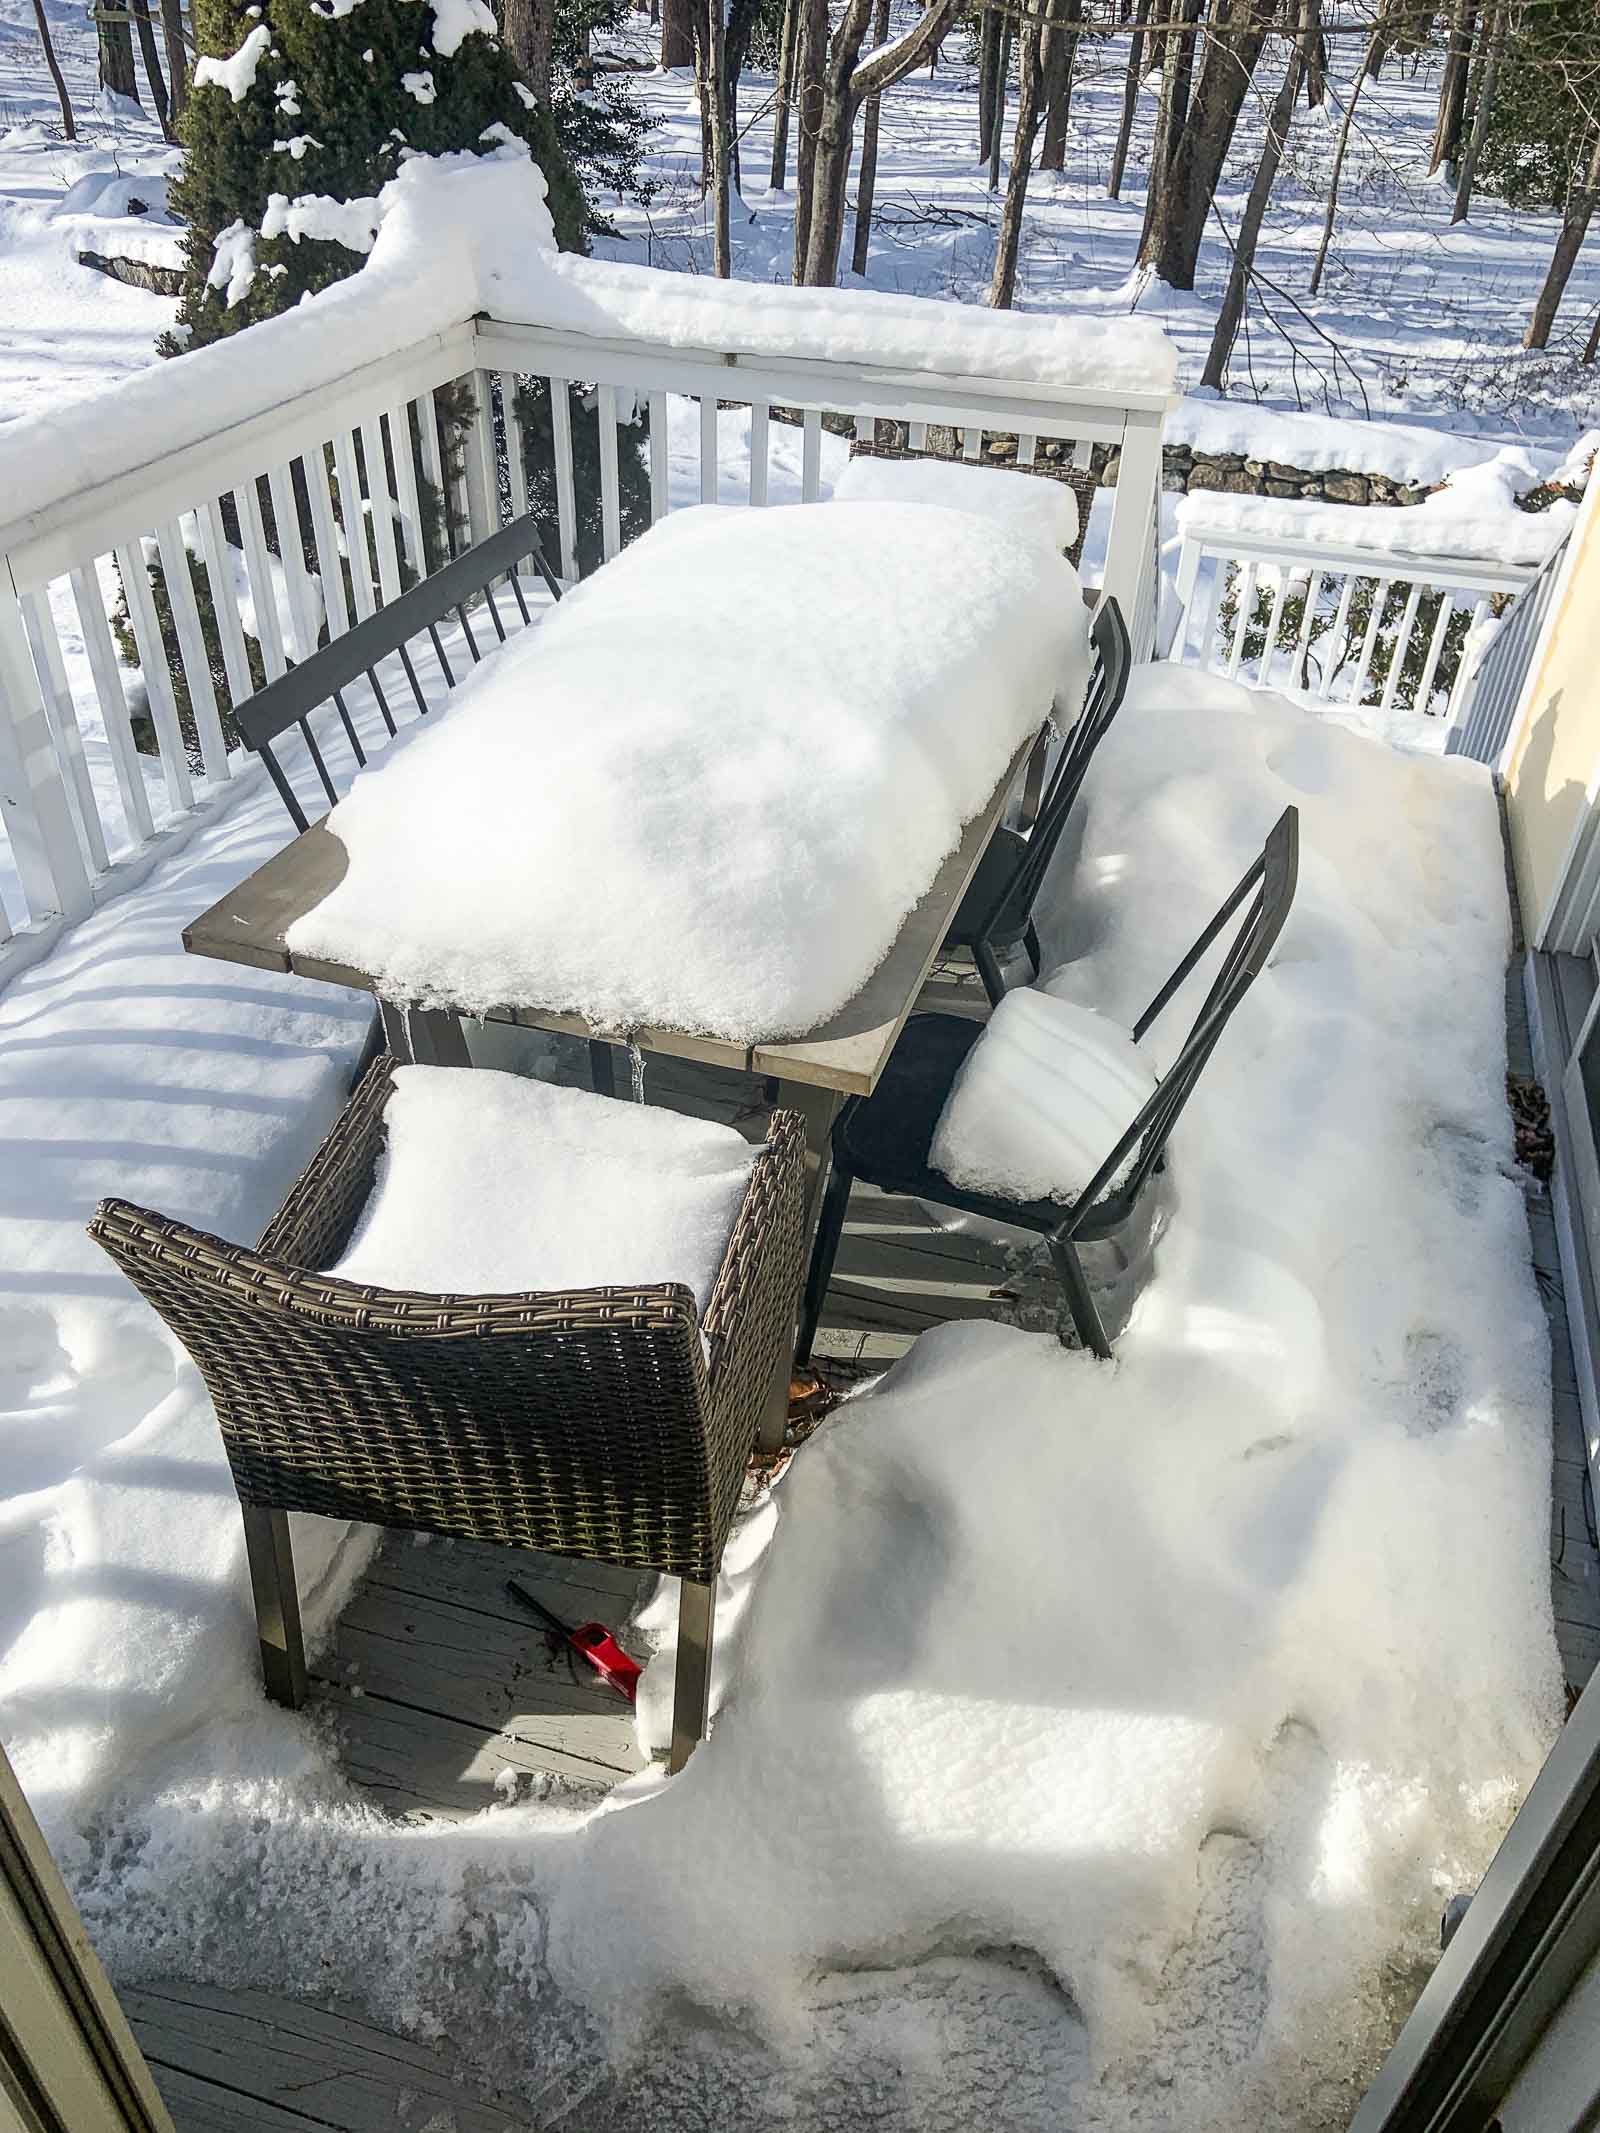
Let’s rewind to the state of our patio and back deck when I started this project. Obviously both spaces were covered with snow. For a while. But the overall work list was as follows:
- Clean up and repaint the back deck.
- Update the furniture.
- Add some greenery and mood lighting.
- Connect the back deck to the patio somehow.
- (And not for this project but part of the master plan… new exterior lights and painting the house!!)
Prepping the Deck for Paint
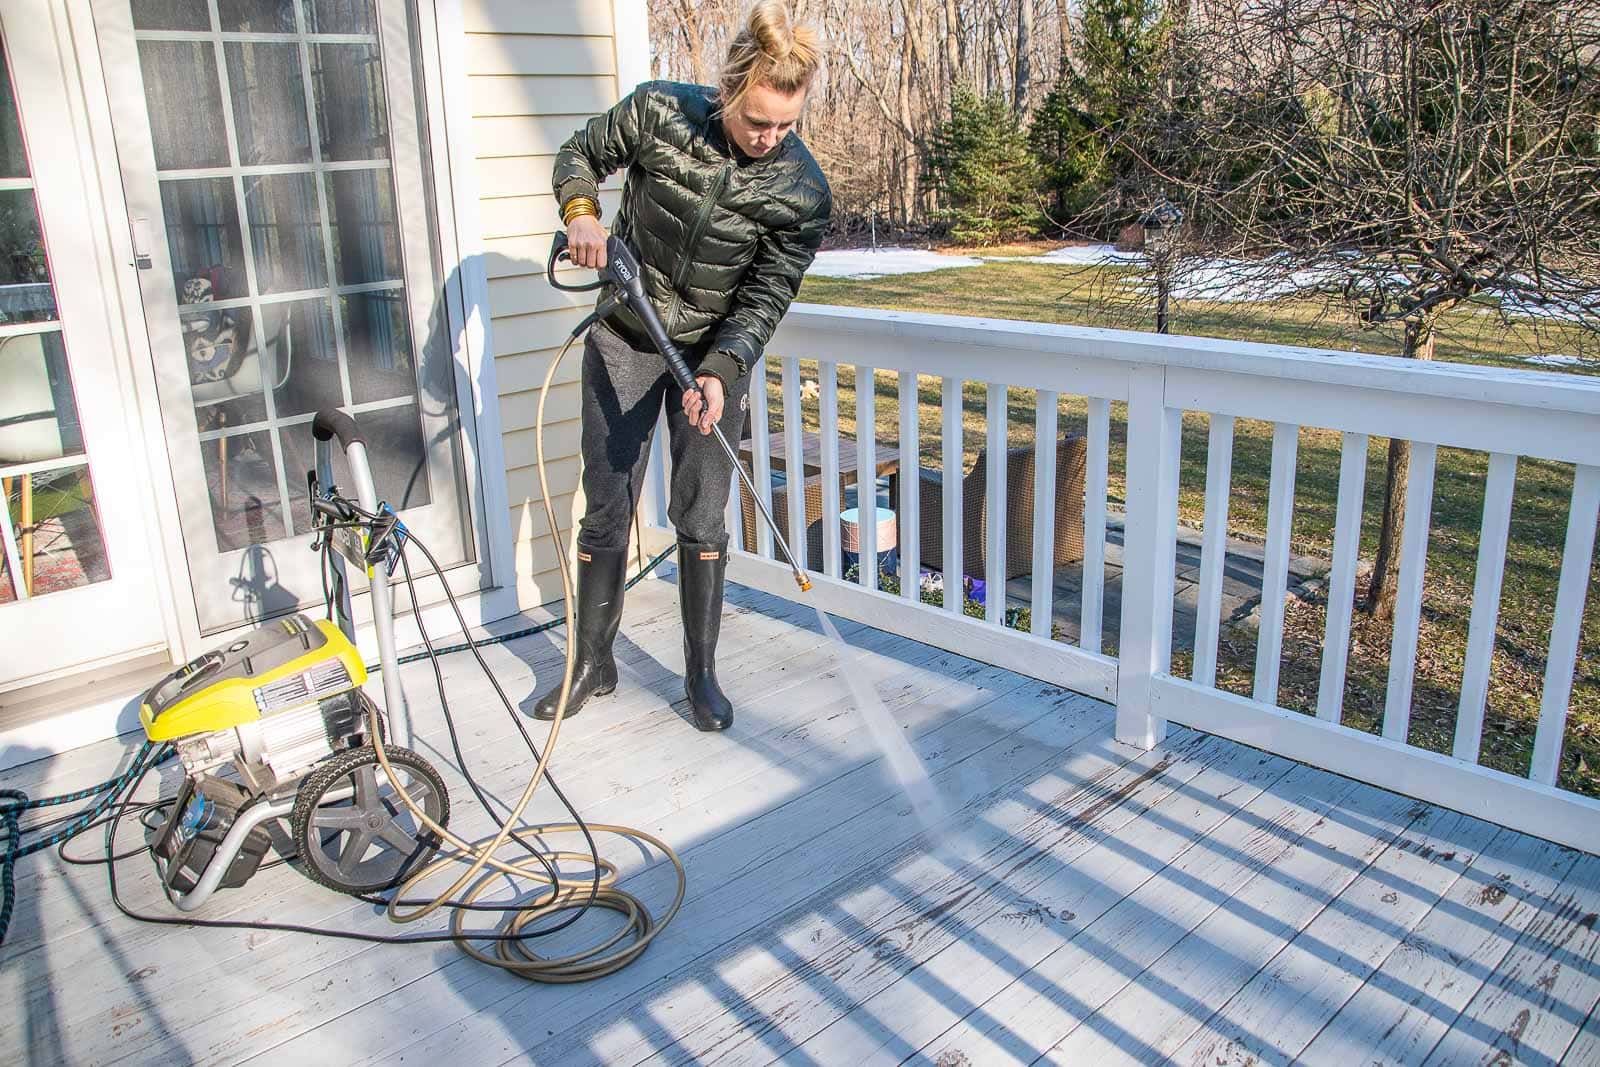
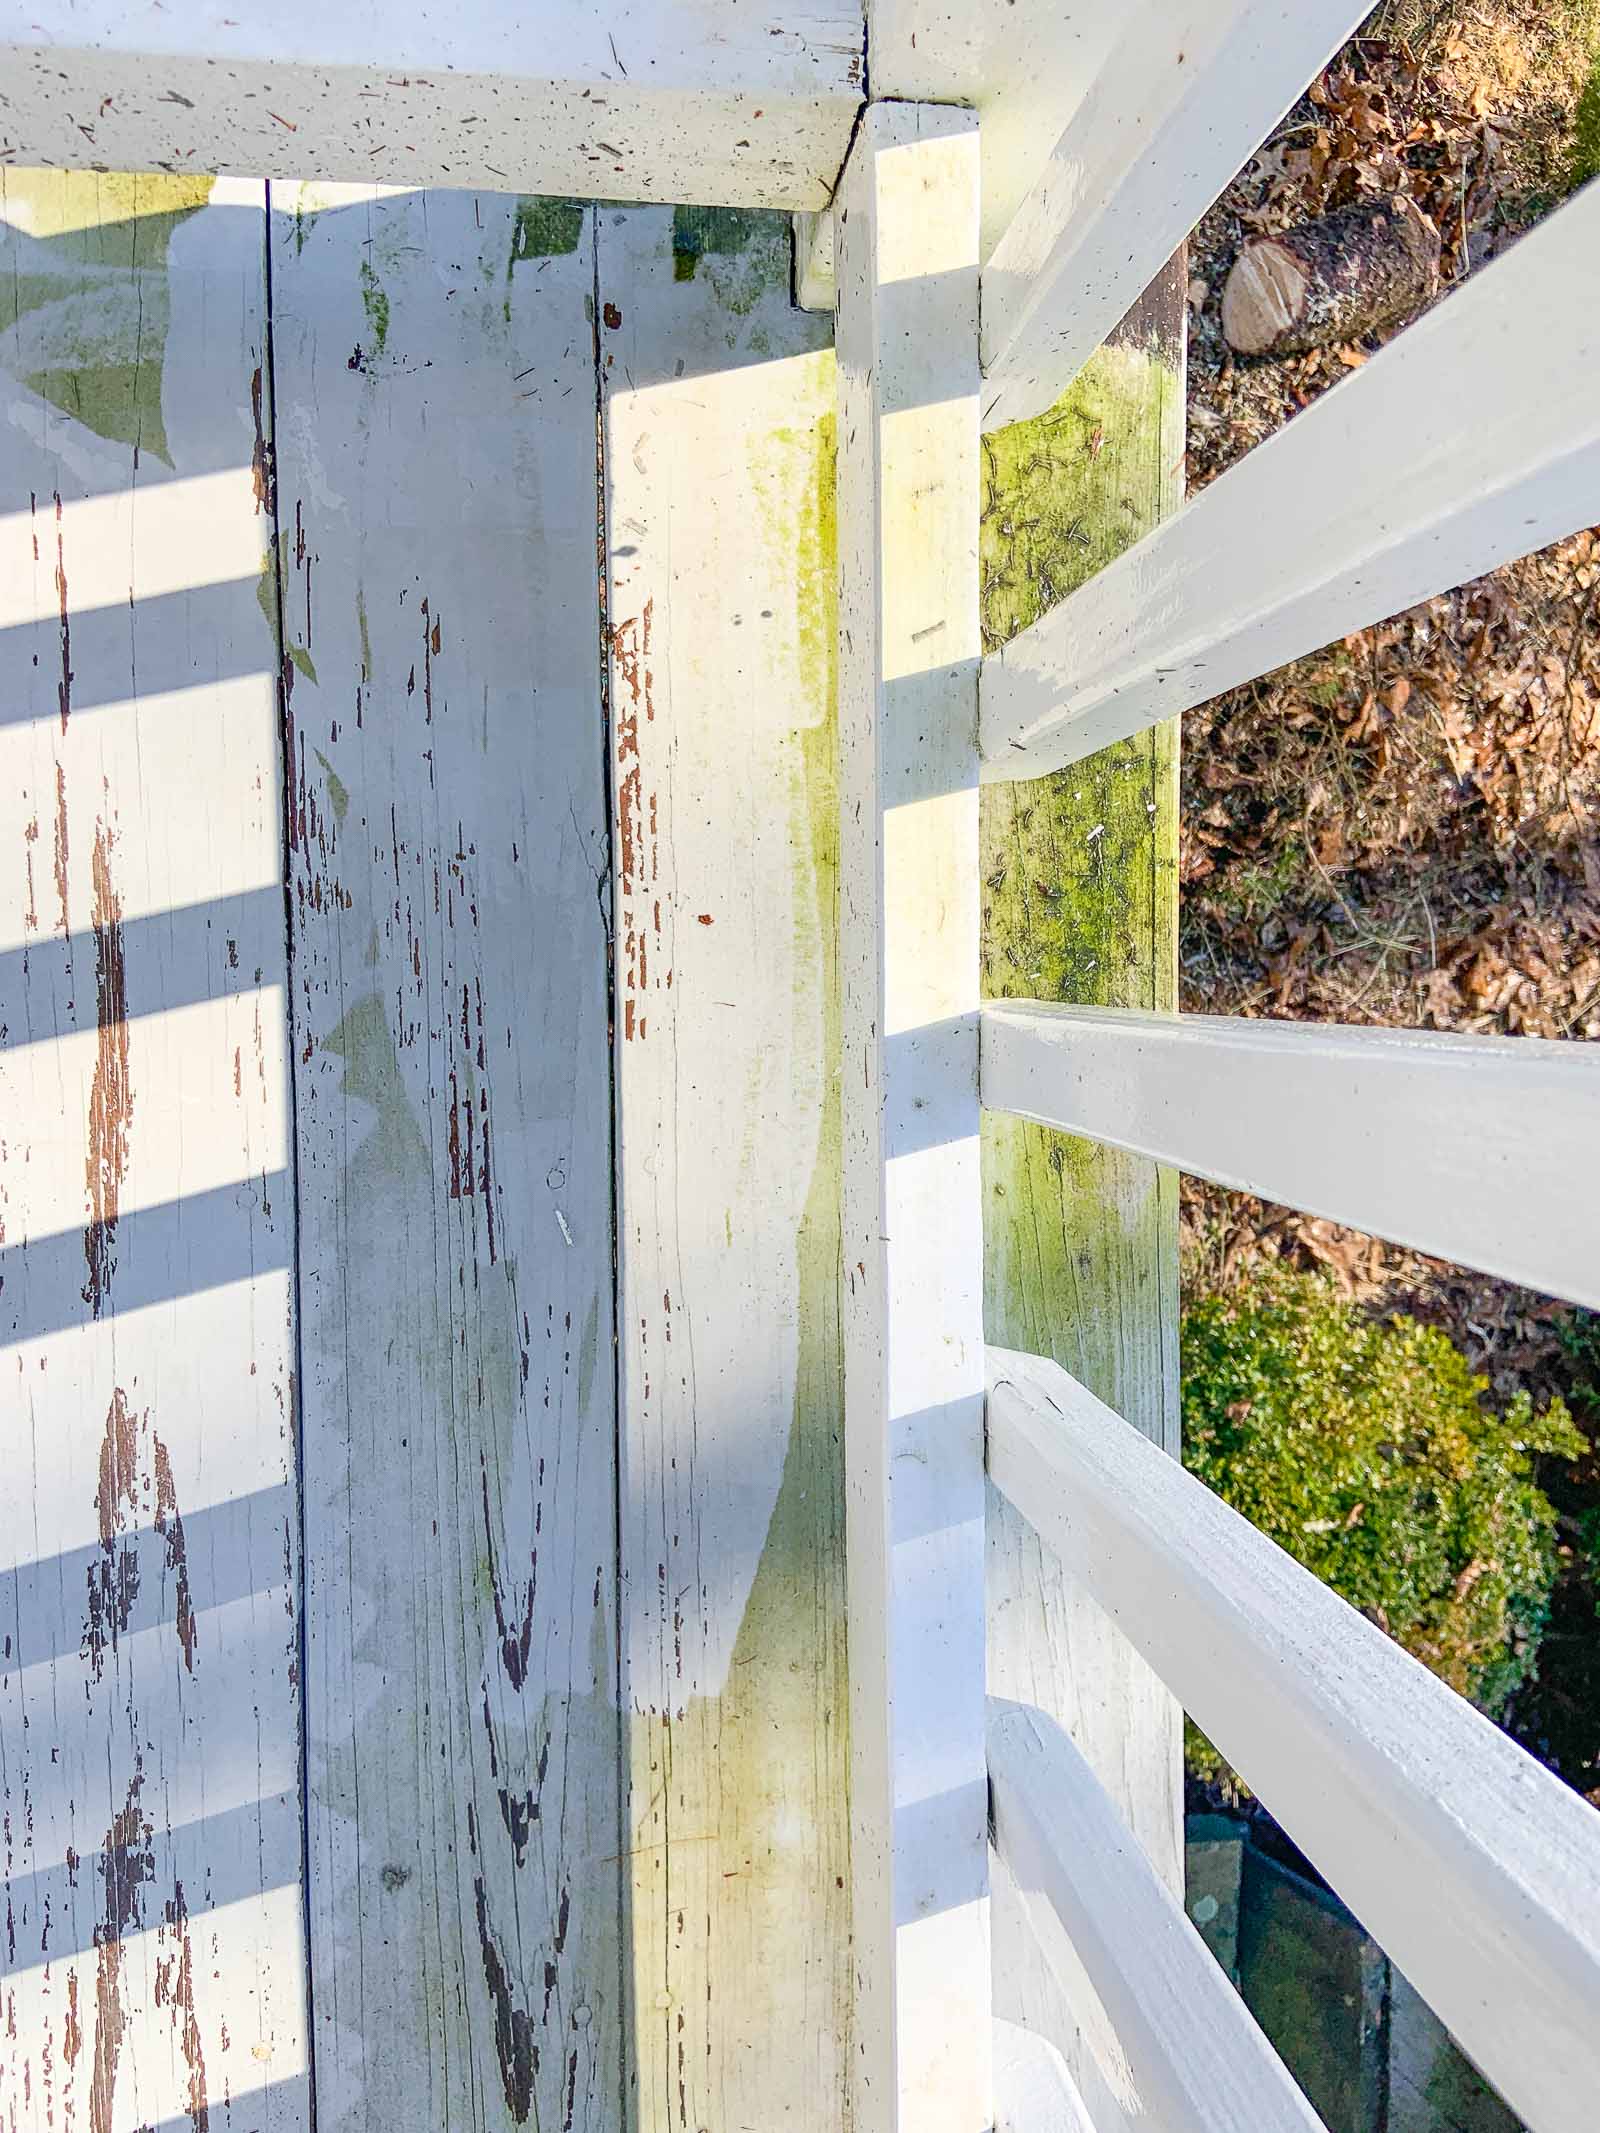
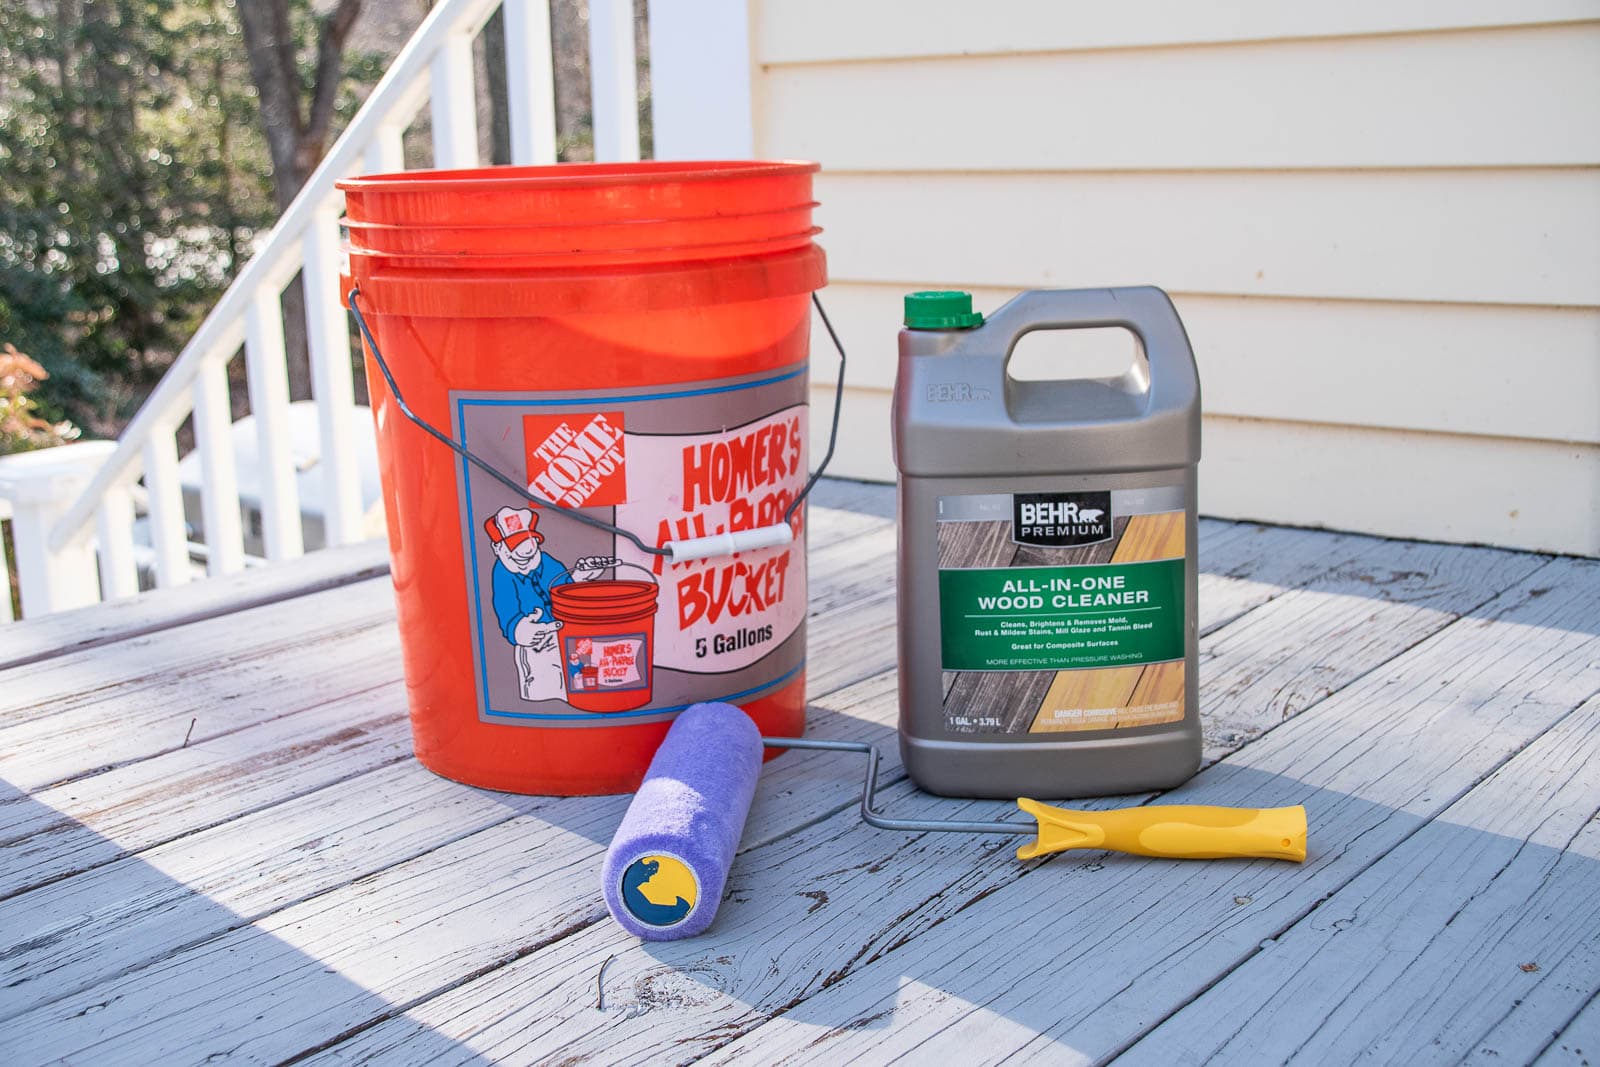
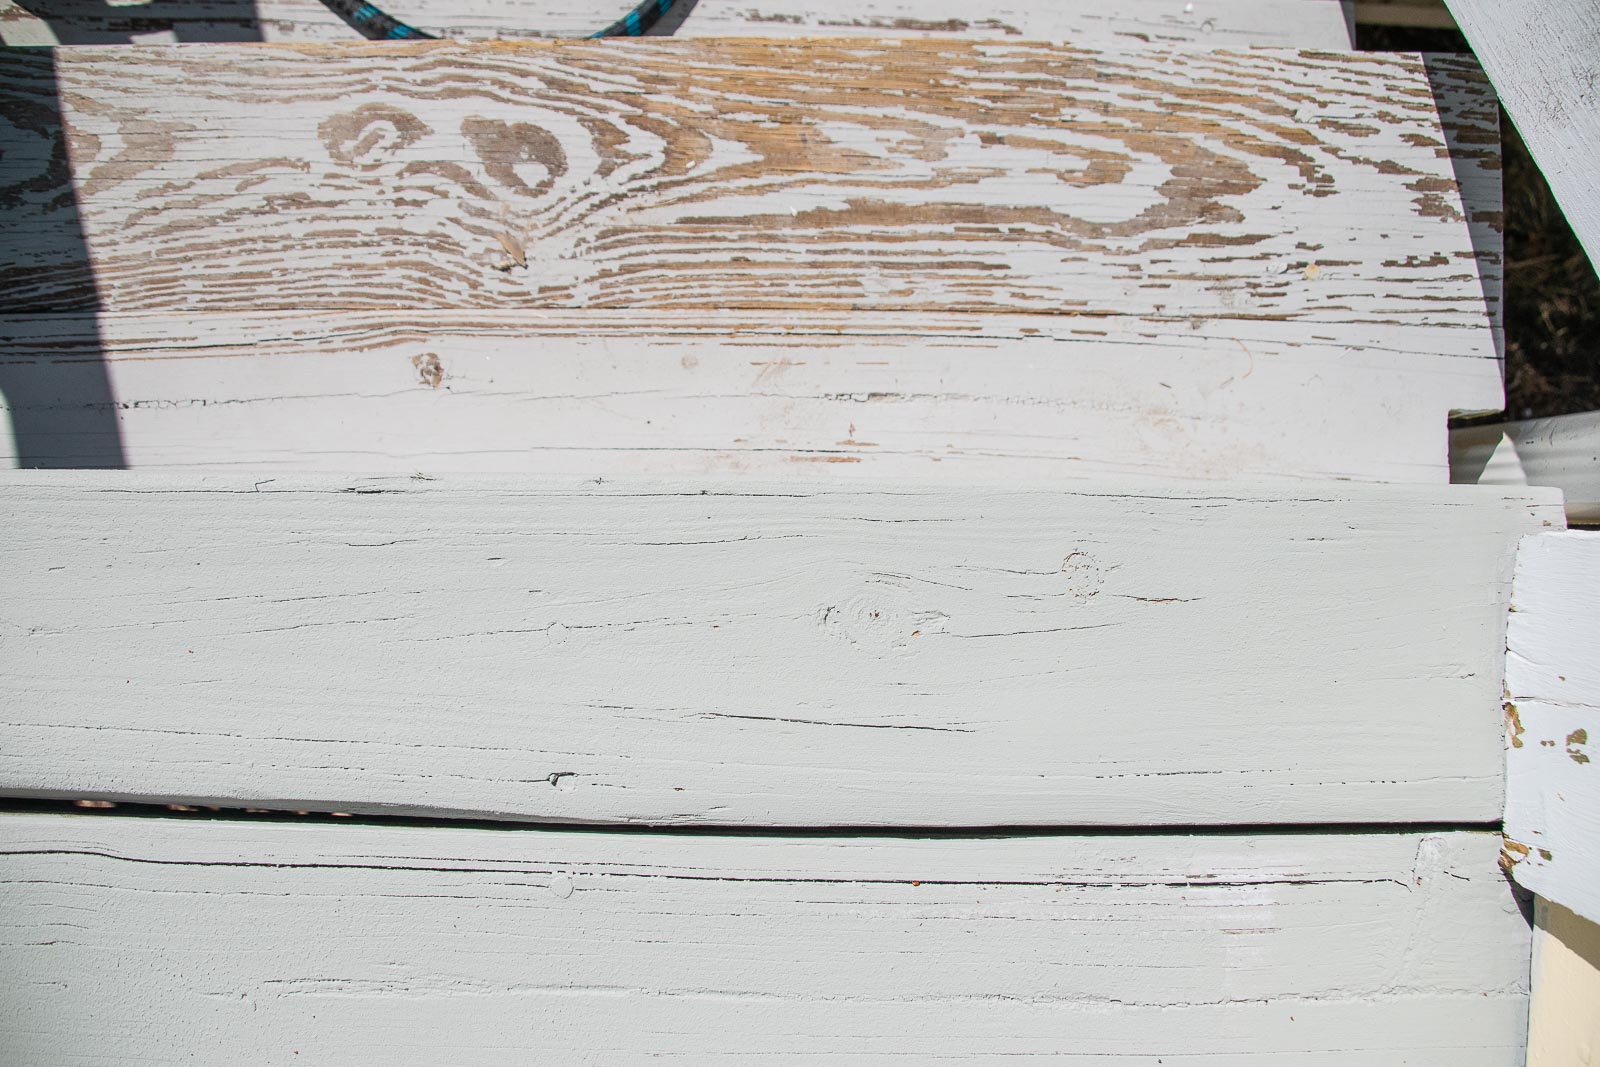
As soon as the weather warmed up, I started on the back deck. It’s a wooden deck and structurally fine but the paint was in bad shape and in need of some love. A lot of love. (Full materials list at the end of the post.) First step was to clear off the deck and give it a good power wash to get rid of built up dust and debris. Power washing also helps to remove paint that’s chipping or come loose. So satisfying.
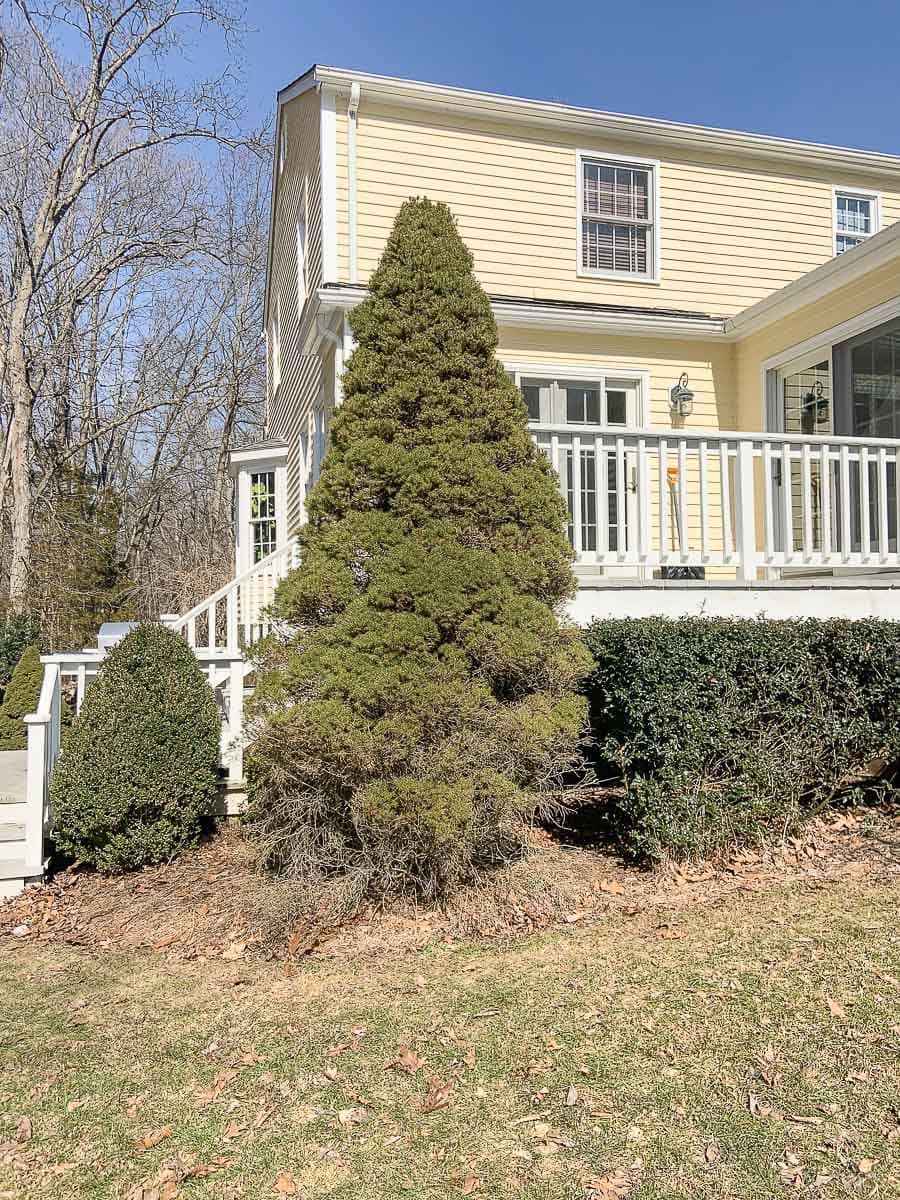
You’ll notice there’s a large tree on one corner of the deck. It made the space feel a little tight and, upon closer inspection, you can see that it wasn’t doing the deck any favors. We learned from our old house, that any evergreen vegetation that is too close to the deck will lead to premature rod and staining because of the snow and moisture that gets trapped. Bye bye big tree. The best part of removing the tree, other than knowing my hard work on the deck wouldn’t be ruined, was how much it opened up the deck getting rid of it!
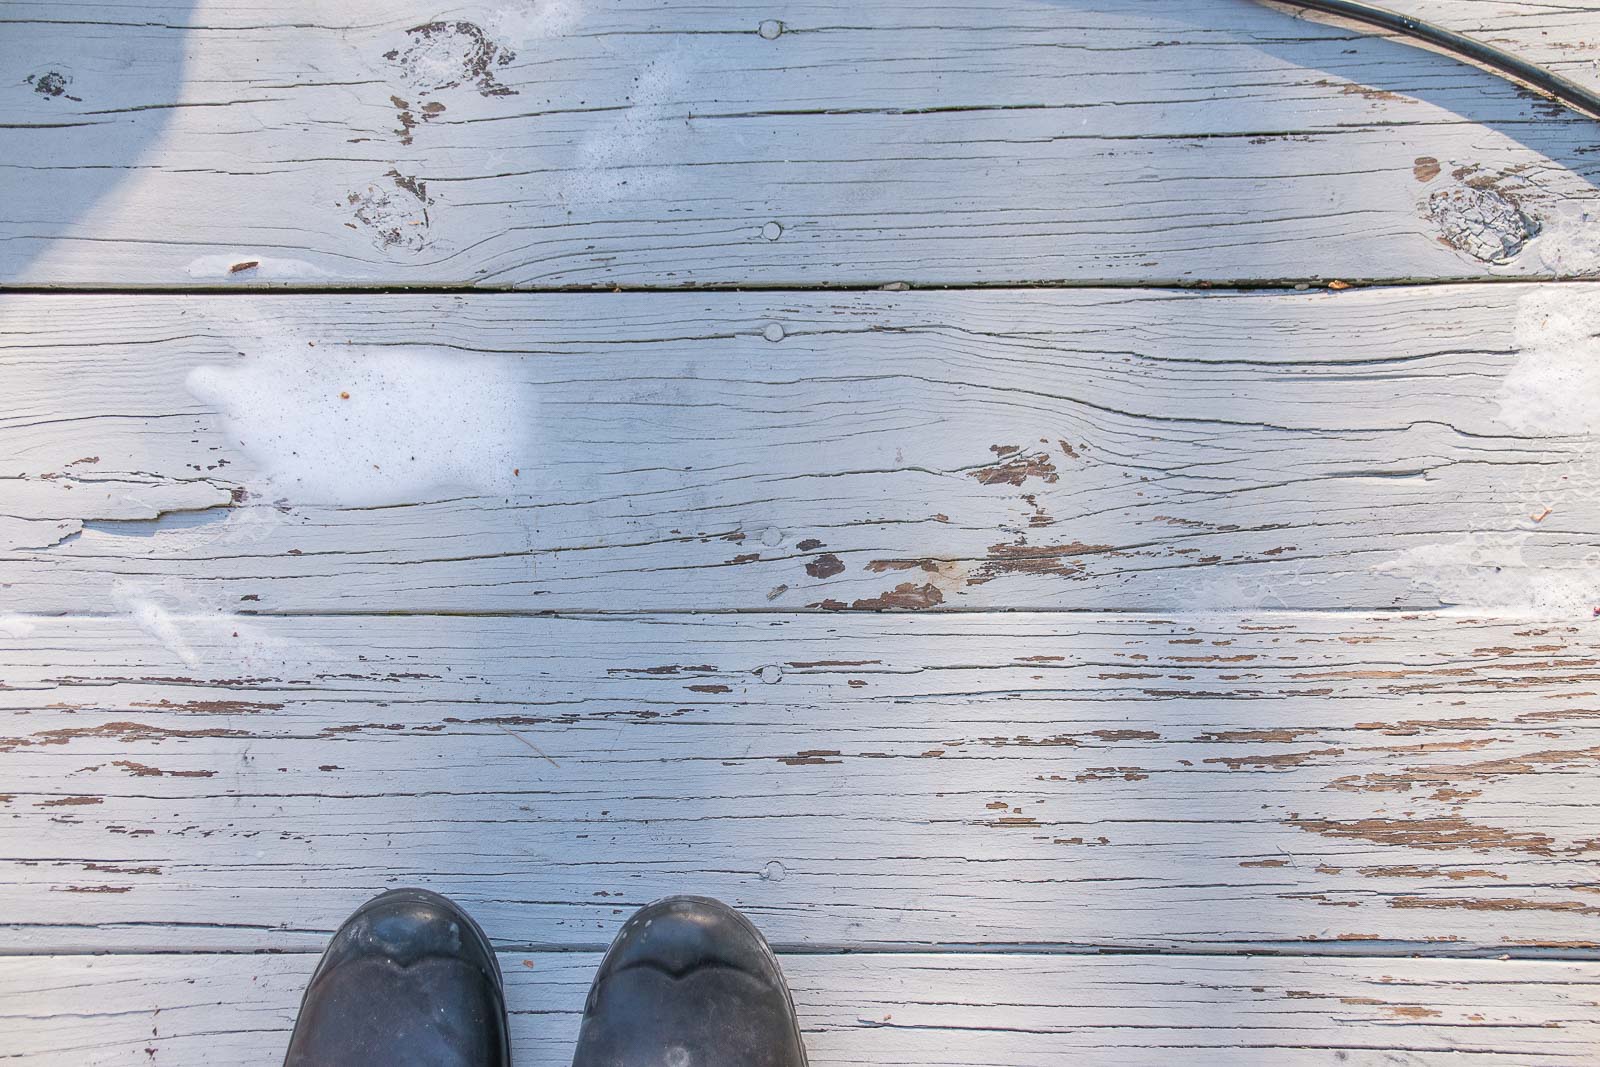
After pressure washing the deck, I scrubbed it with Behr’s All-in-One Wood Cleaner. It’s one of the recommended products for repainting a deck. I’m not sure I applied enough of it because the directions say to let it sit wet on the surface for 10-15 minutes and mine seemed to dry up sooner than that. Regardless, I was able to use a scrub brush and cleaned the entire surface pretty well in my opinion. Then I used my pressure washer (again) to rinse it all off.
We had a few days of beautiful weather so I was able to tackle the sanding right away. I used my orbital sander with medium grit sandpaper and went over the entire deck to remove any splinters or rough edges. I didn’t bother to patch or fill holes, but I did spend quite a bit of time trying to smooth everything out as best I could. To remove all the dust and debris, I went back over with- you guessed it- the pressure washer.
Painting a Wooden Deck
Before painting, I let the deck dry out for a few days. Then I swept the surface to remove as much dust/ debris as I could. I’m using the Behr Deck Over in Harbor Gray and the smooth finish. They also make a finish that has some texture to it if you’re worried about people slipping. Our deck is so small that I don’t think it will be a problem, so I opted for the smooth finish. The first thing I noticed right away was how THICK this paint is. In fact, I started to paint the deck with a thick nap roller but didn’t love the subtle texture this left behind so I shifted over to a brush. It went just as fast because the deck had so many nooks and crannies that I was using the brush a lot anyways to get in these grooves.

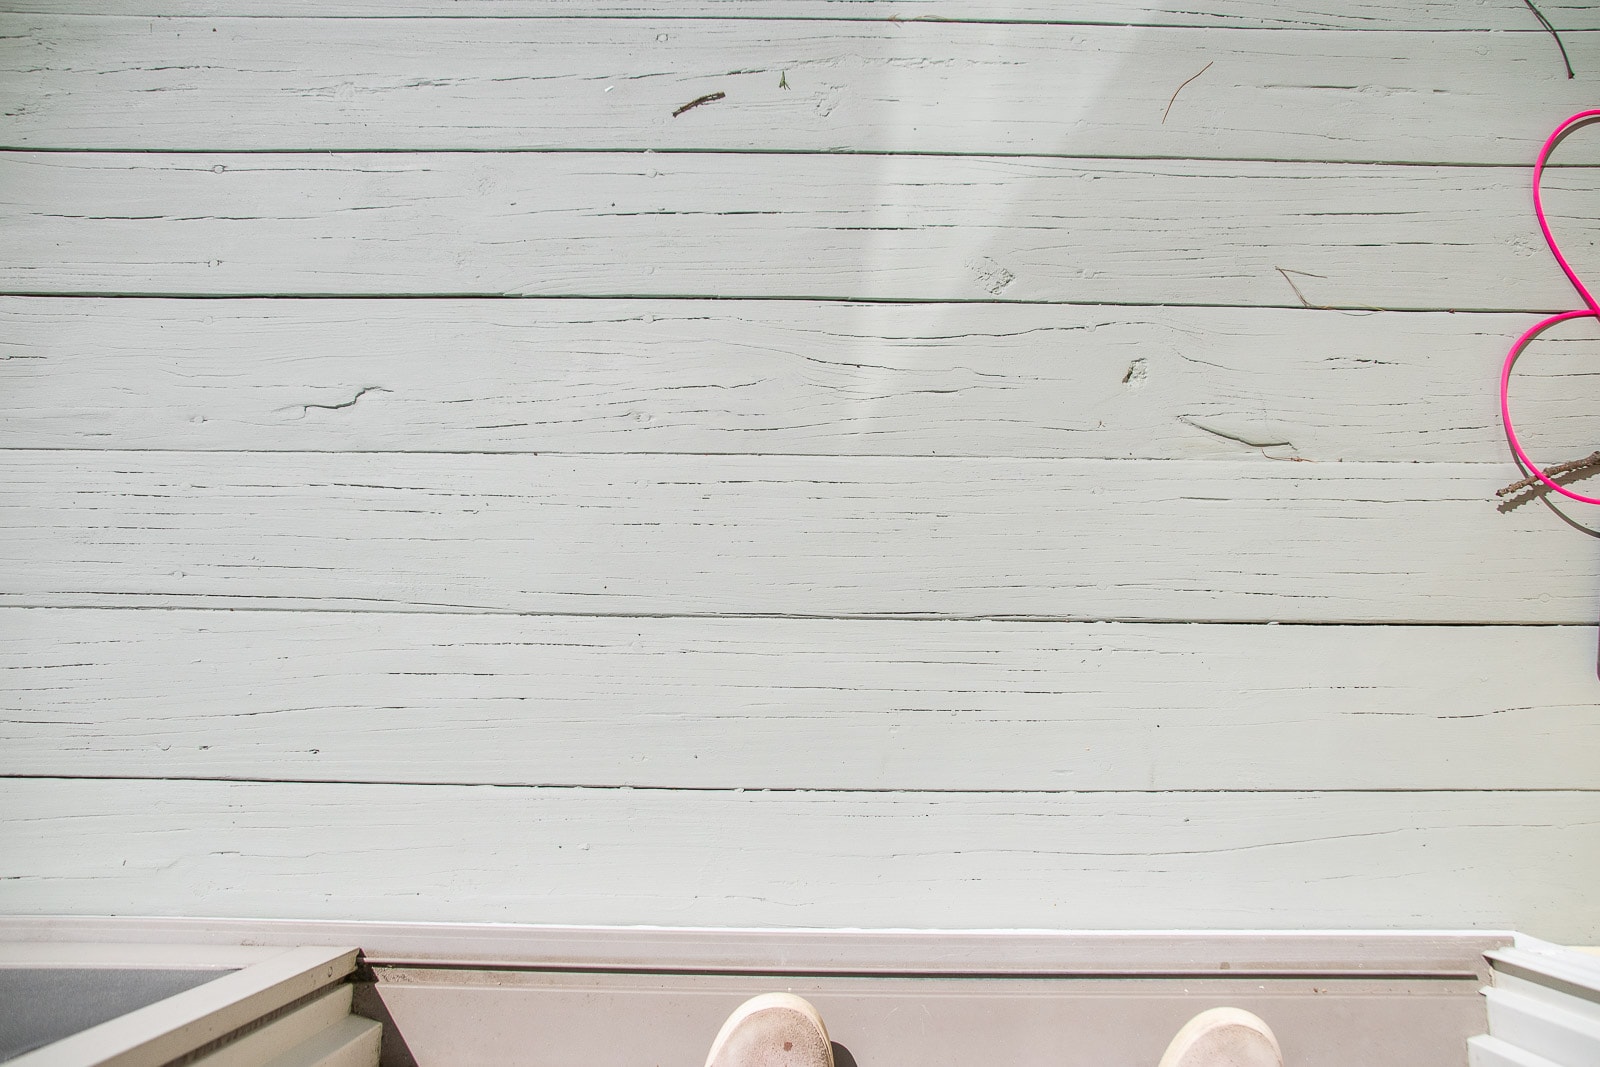
It’s hard to see but this is a picture of the deck I’ve painted and the deck that still needs to be taken care of:
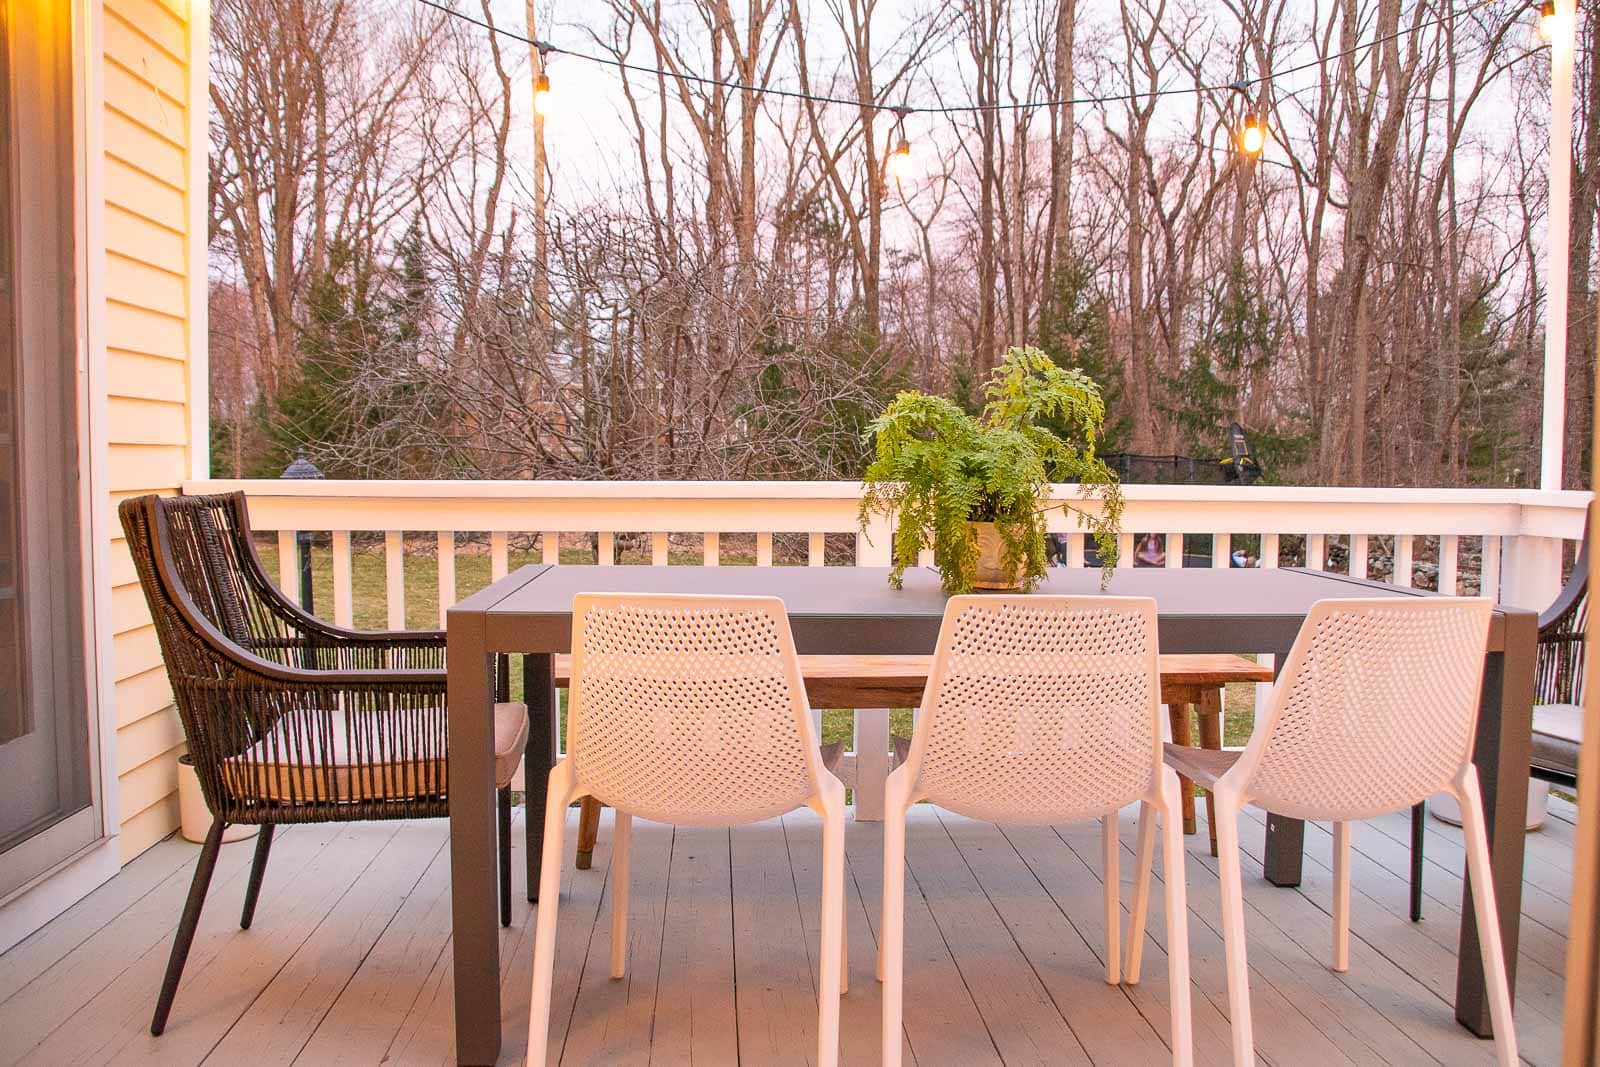
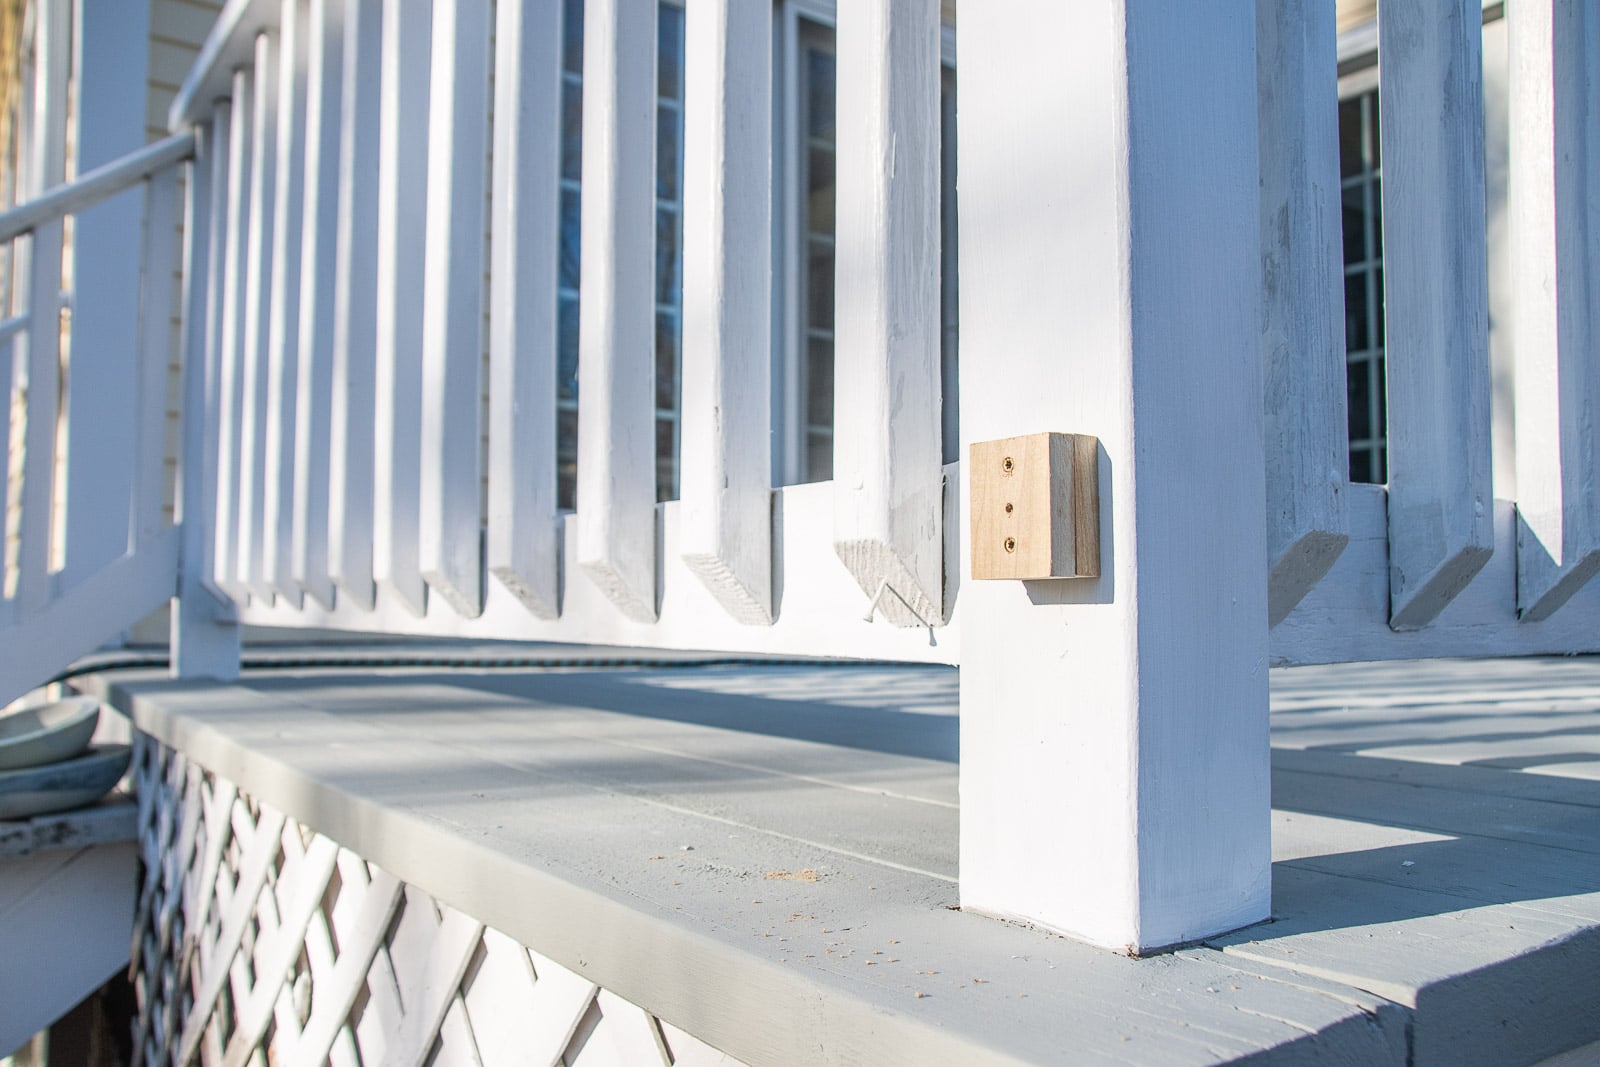
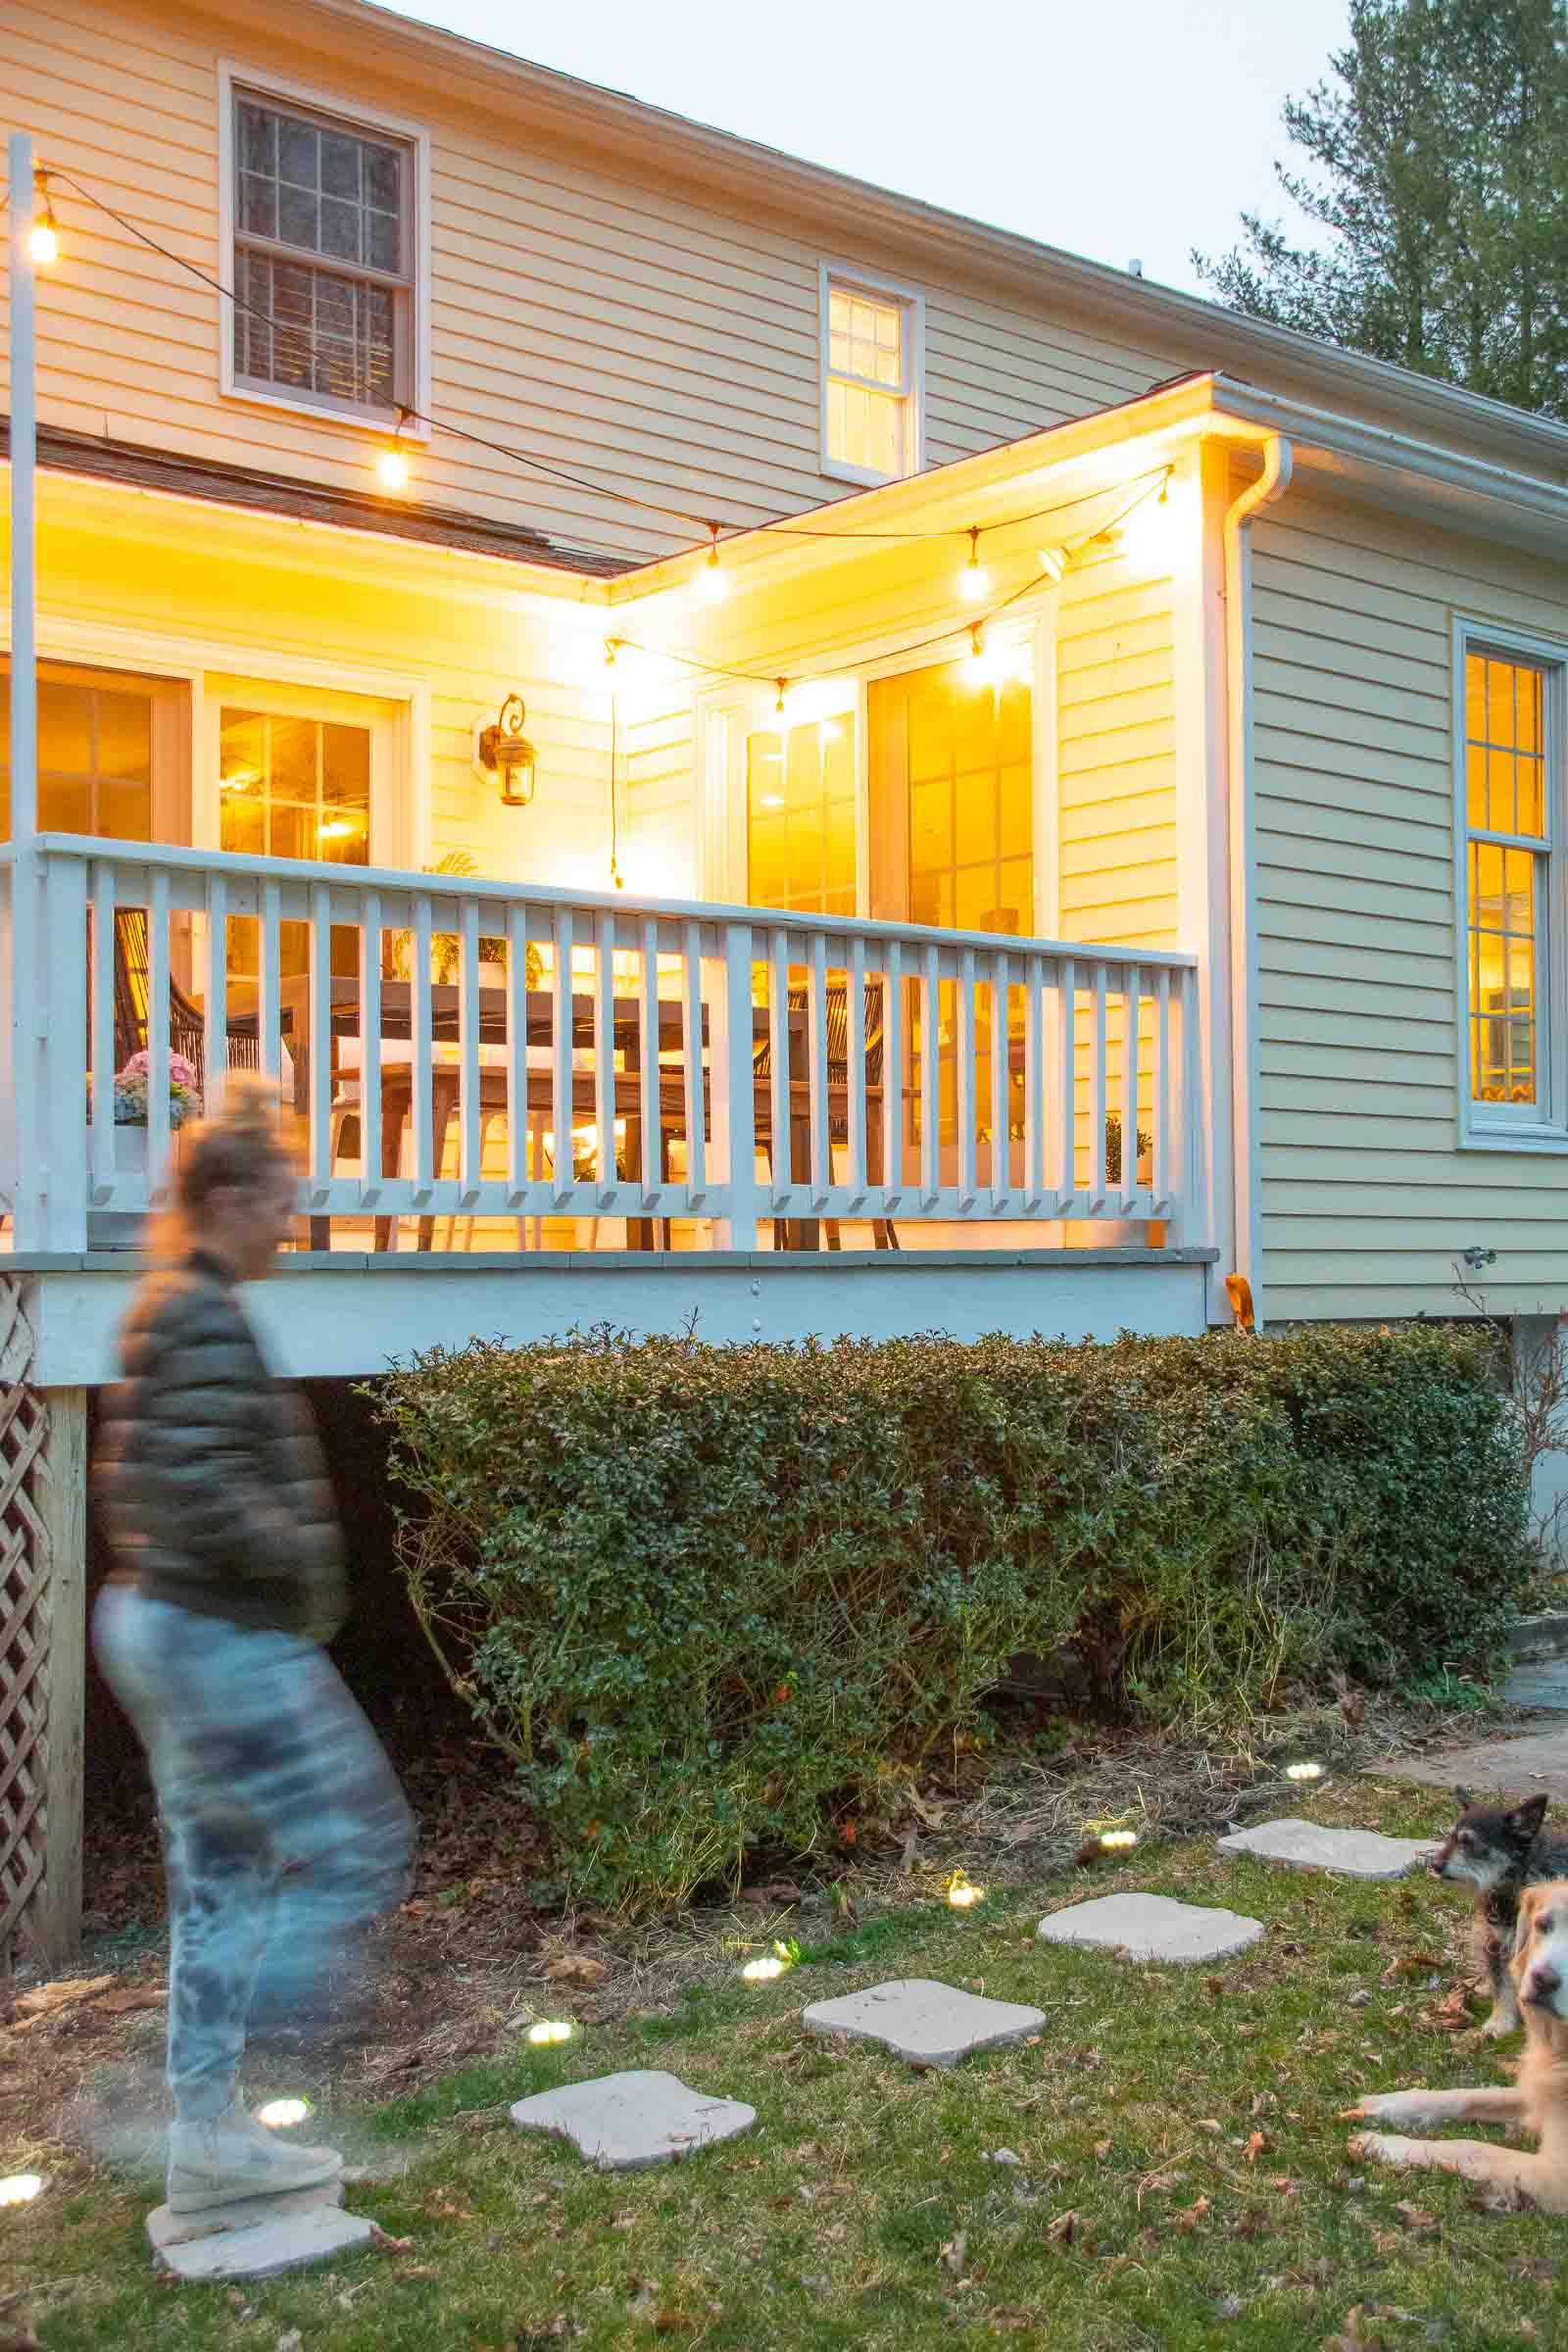
Once the deck was taken care of it was time to figure out the string lights. I’ve never had decorative string lights and I figured this would be a great place to incorporate them. I decided to mount a pole to the corner of the deck where the tree was removed so I could string the lights around the perimeter of the deck. The railing overhangs the corner post a bit so I drilled some scrap wood onto the corner post so that the pole would sit flush against the scrap wood and the railing above. Once everything was painted white, you can’t even see the blocks of scrap wood. The lights I’m using have a hole above every bulb so I screwed eye hooks into the house and the pole and then used quick links to connect the lights to the screw eyes.

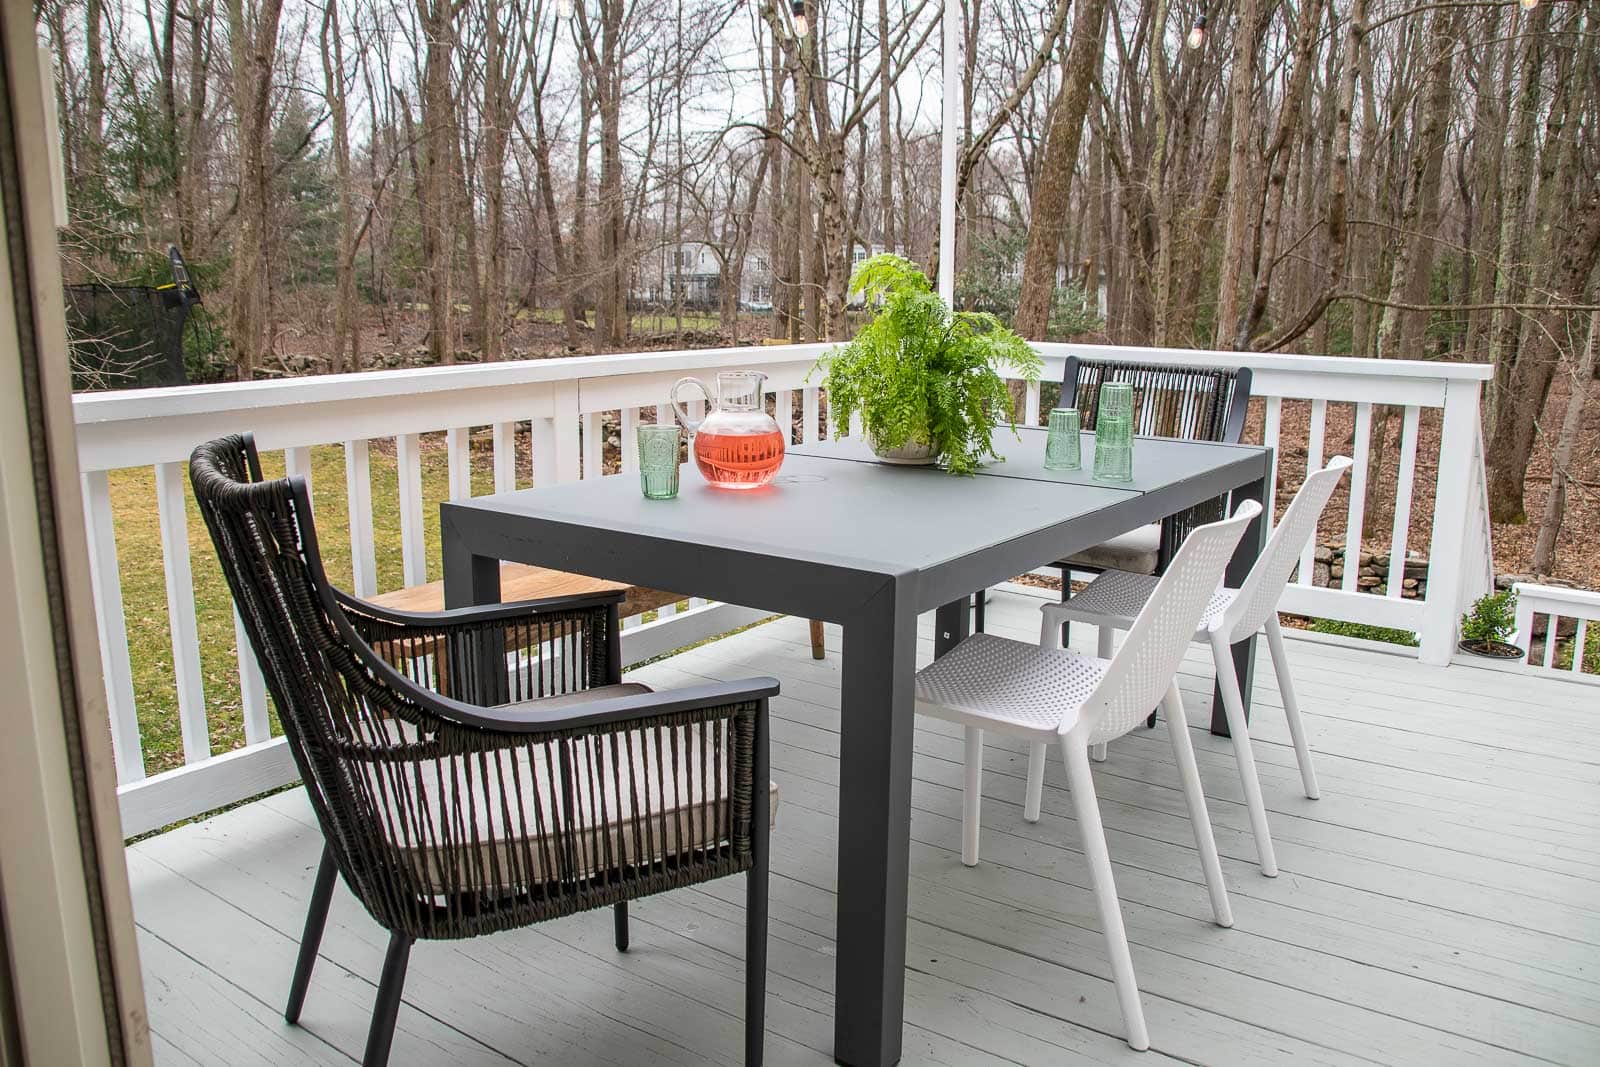
The deck isn’t huge but there’s still space for a few chic planters and a dining table. I love to mix and match chairs around a table so I have a bench on one side that can fit 3 or 4 people if we *really* squish, and then two head chairs and a few stackable side chairs. Lots of options so we can all sit around the table or… remove the chairs and use the space for a buffet if we ever get to entertain this summer! I probably should have pulled the table into the middle of the deck for these photos, but this is exactly how we use the space… there’s plenty of room for the table and chairs AND for folks to come and go behind them. Also room below for our furry beggars.

Landscaping
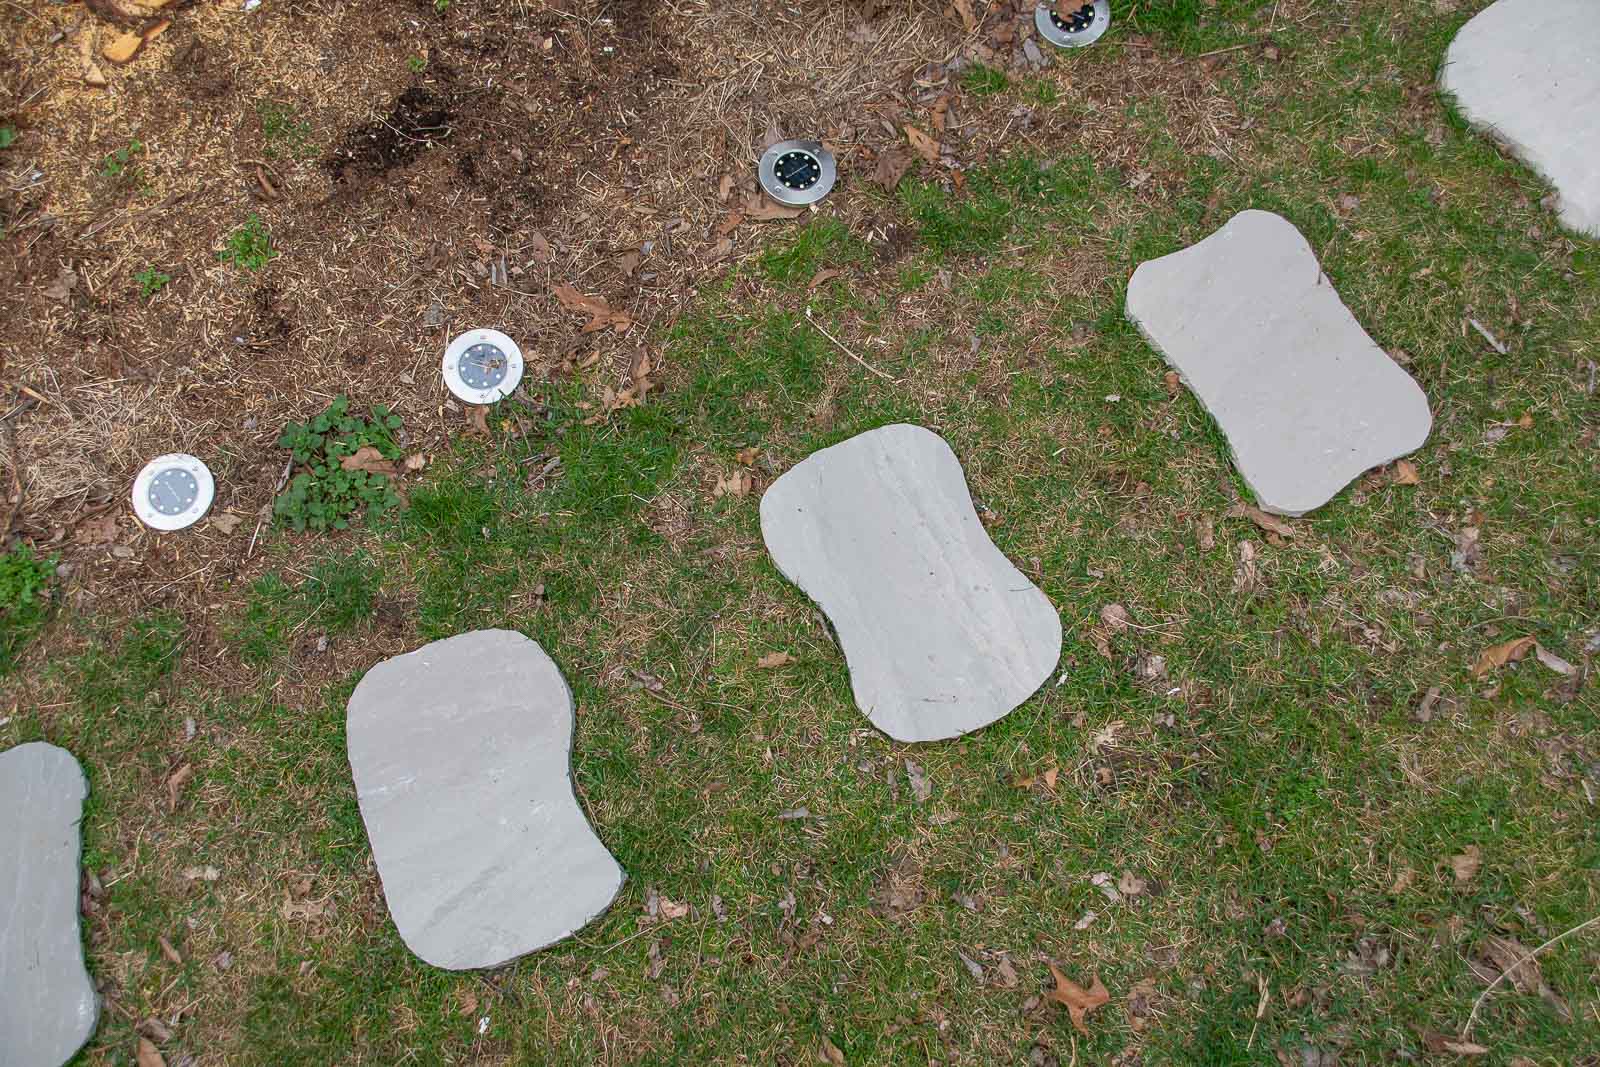
It’s hard to see in pictures, but… when you come down from the deck there are stairs going down to the back basement door on the right or down to the back lawn on the left. I added these cute pavers to the lawn so that when you come down the back stairs, it’s obvious how to walk around to the back patio. When the grass begins to grow a bit more, I’ll carve out the lawn a bit to fit these pavers, but everything’s still a little dormant here in CT. I also added those low profile solar lights to illuminate the walkway and I LOVE THEM. They are small and discreet but still provide a great ambiance for this part of the yard.
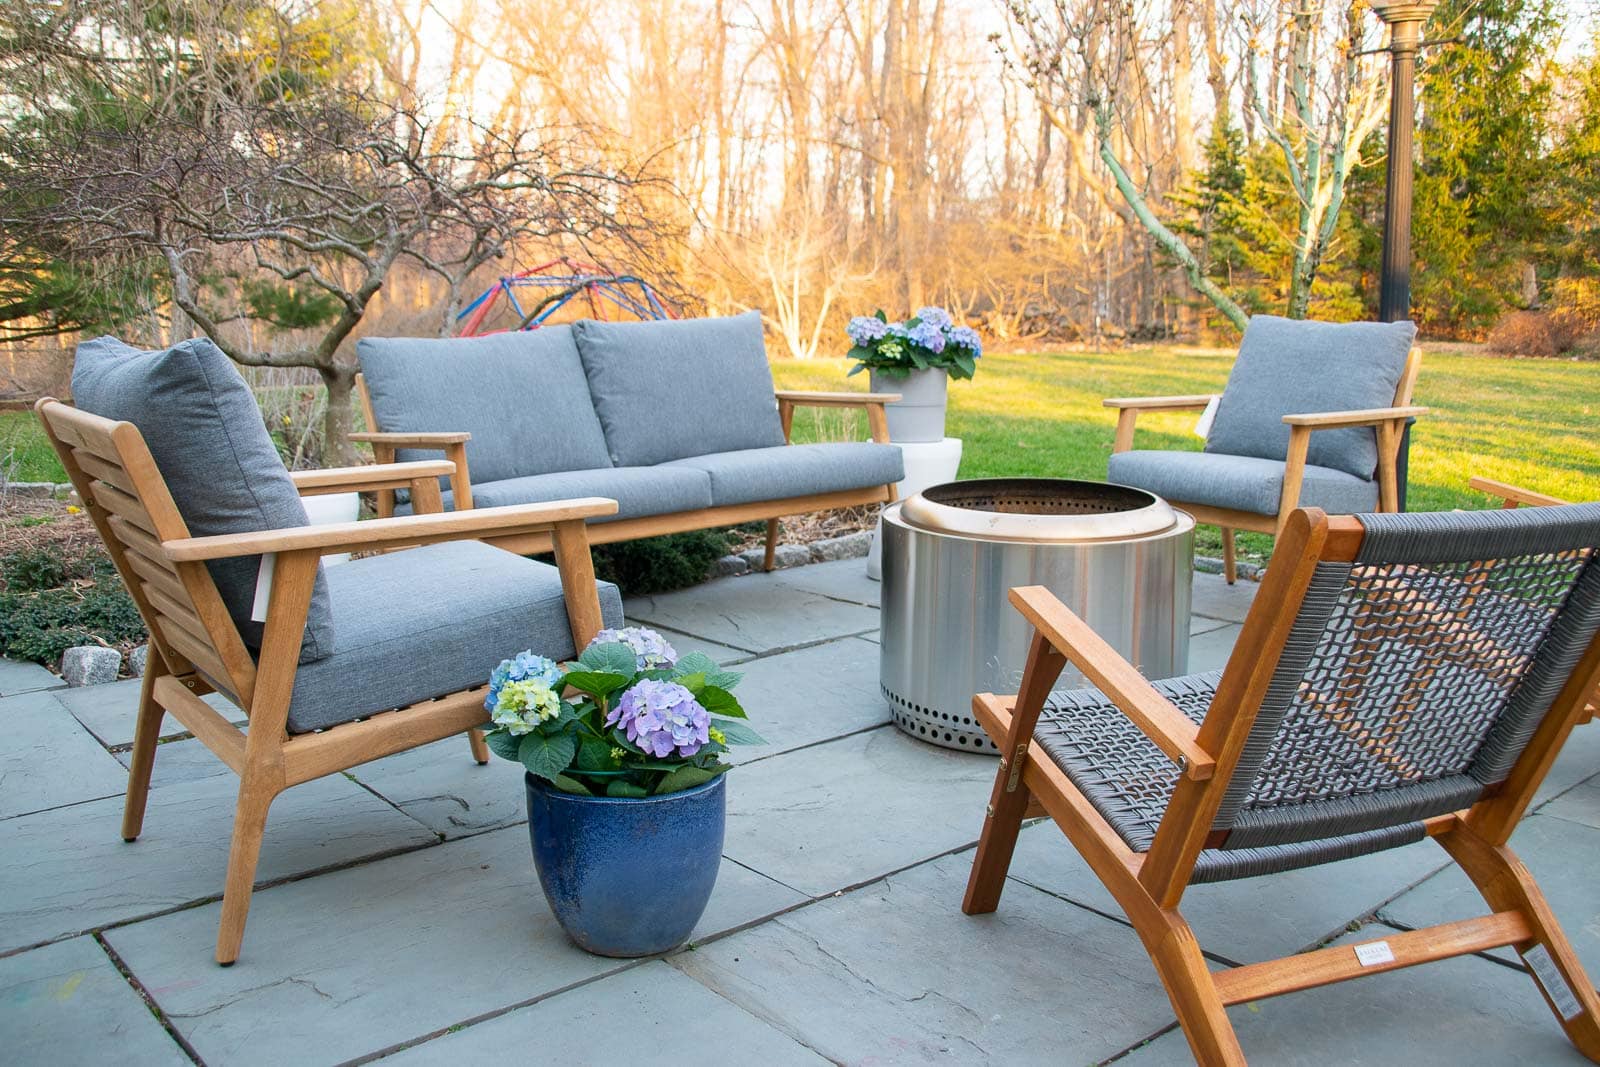
Patio Fire Pit Area
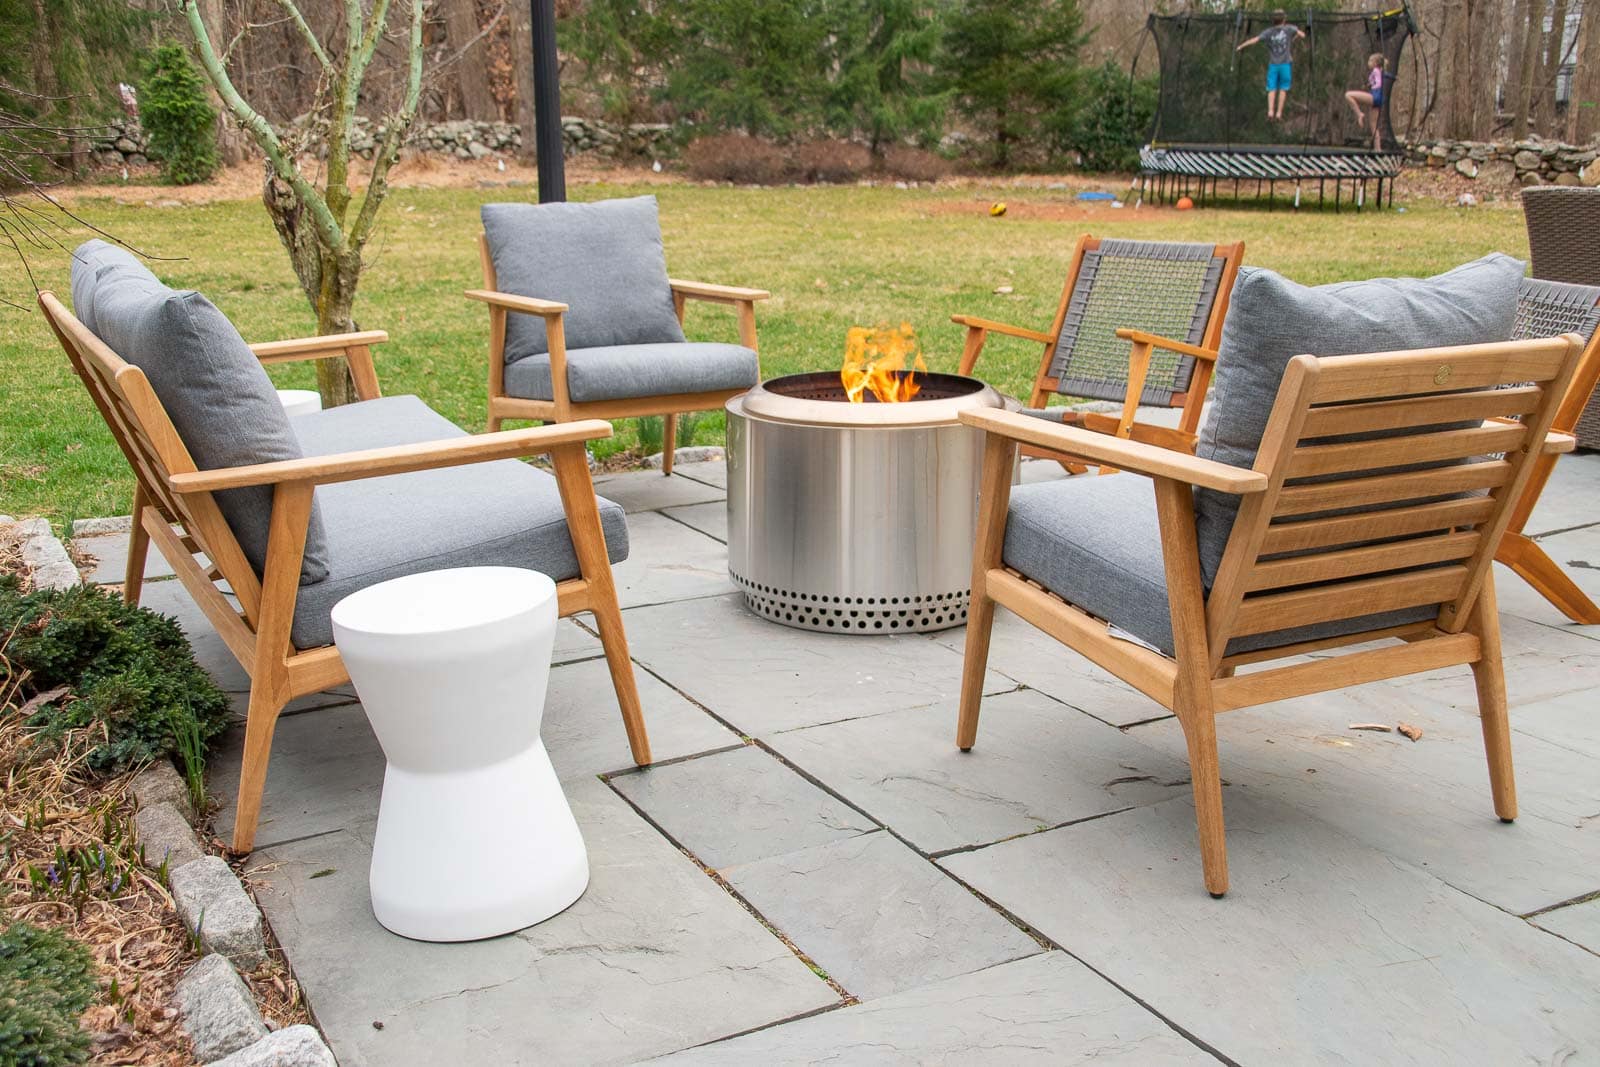
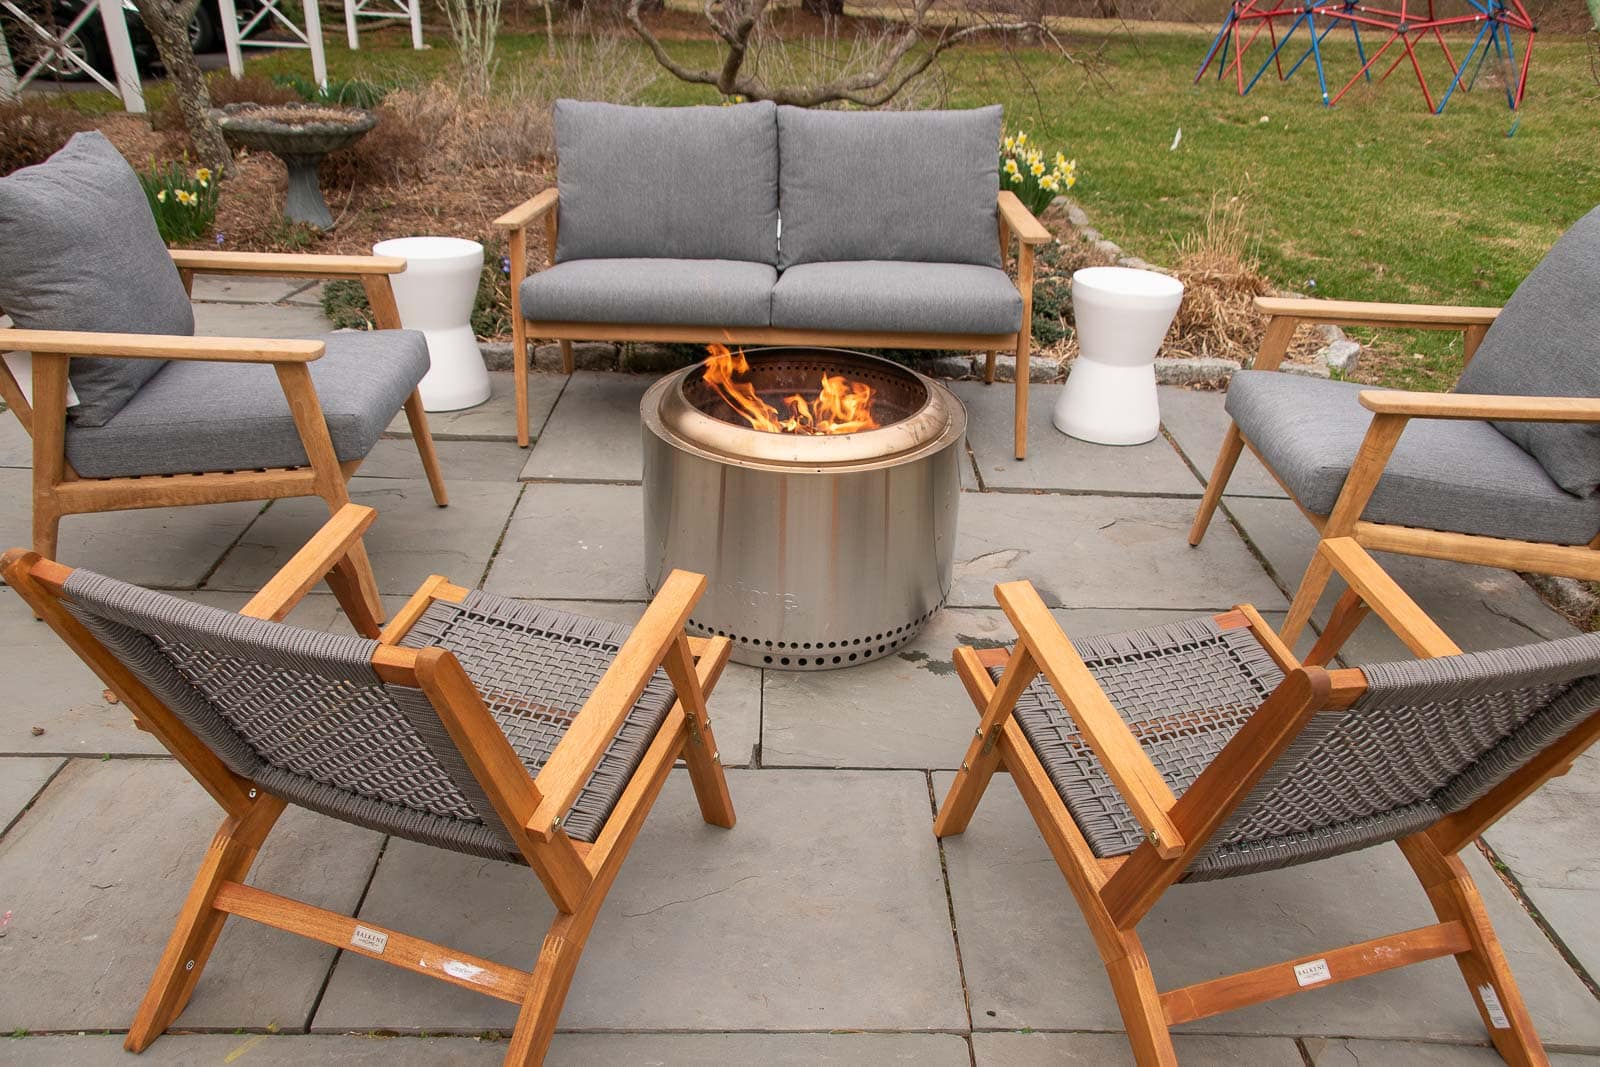
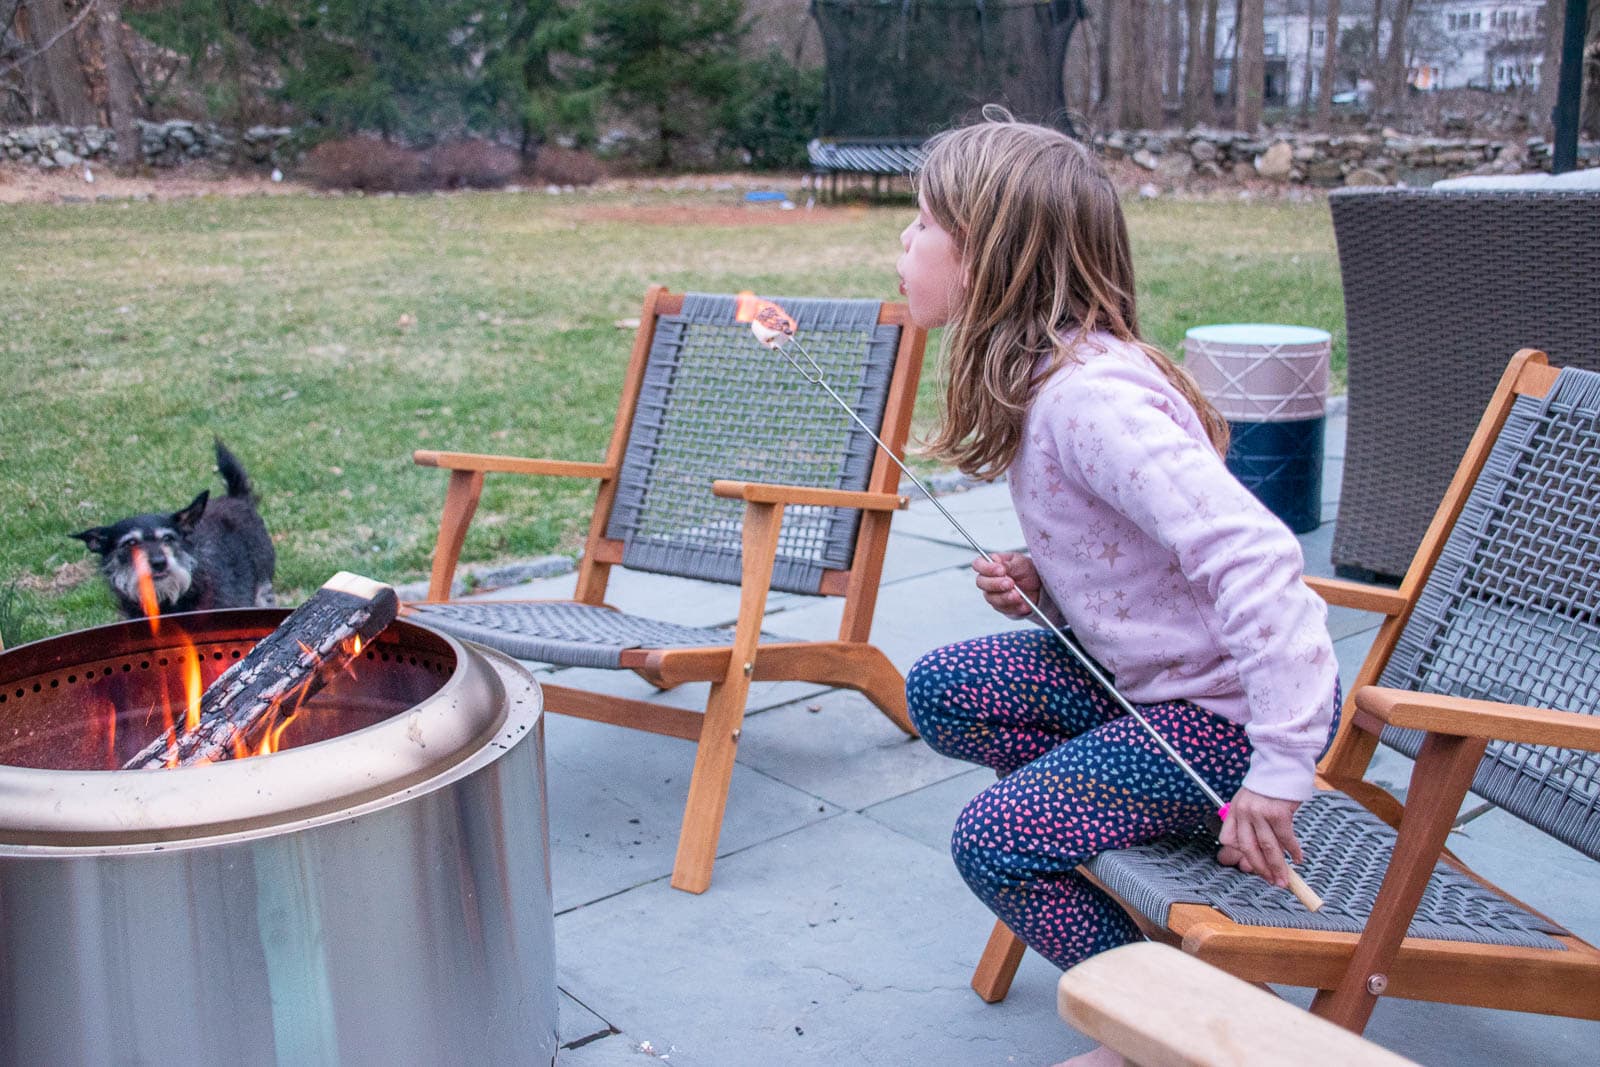
Ready to see a bit of the patio??? Our patio is pretty long so one end of it felt kind of bare. (Our old patio set is set up at the other end.) Because of COVID, the only entertaining we’ve done has been outside. We love having one other family over to enjoy s’mores and a cup of cocoa so it only made sense to set up this end of the patio as a fire pit area. I picked up a small loveseat with matching arm chairs and these lower woven chairs (that I’m obsessed with!!). The bonfire we use is this Solo Stove Yukon and not only does it look clean and modern but it’s also smokeless. The air flow within the stove is somehow made of magic and unicorns so there’s not a big plume of smoke in your face the whole time. I added those cute white side tables and honesty I should grab a couple more; for now, this space has been the perfect spot for a weekend s’mores sesh.

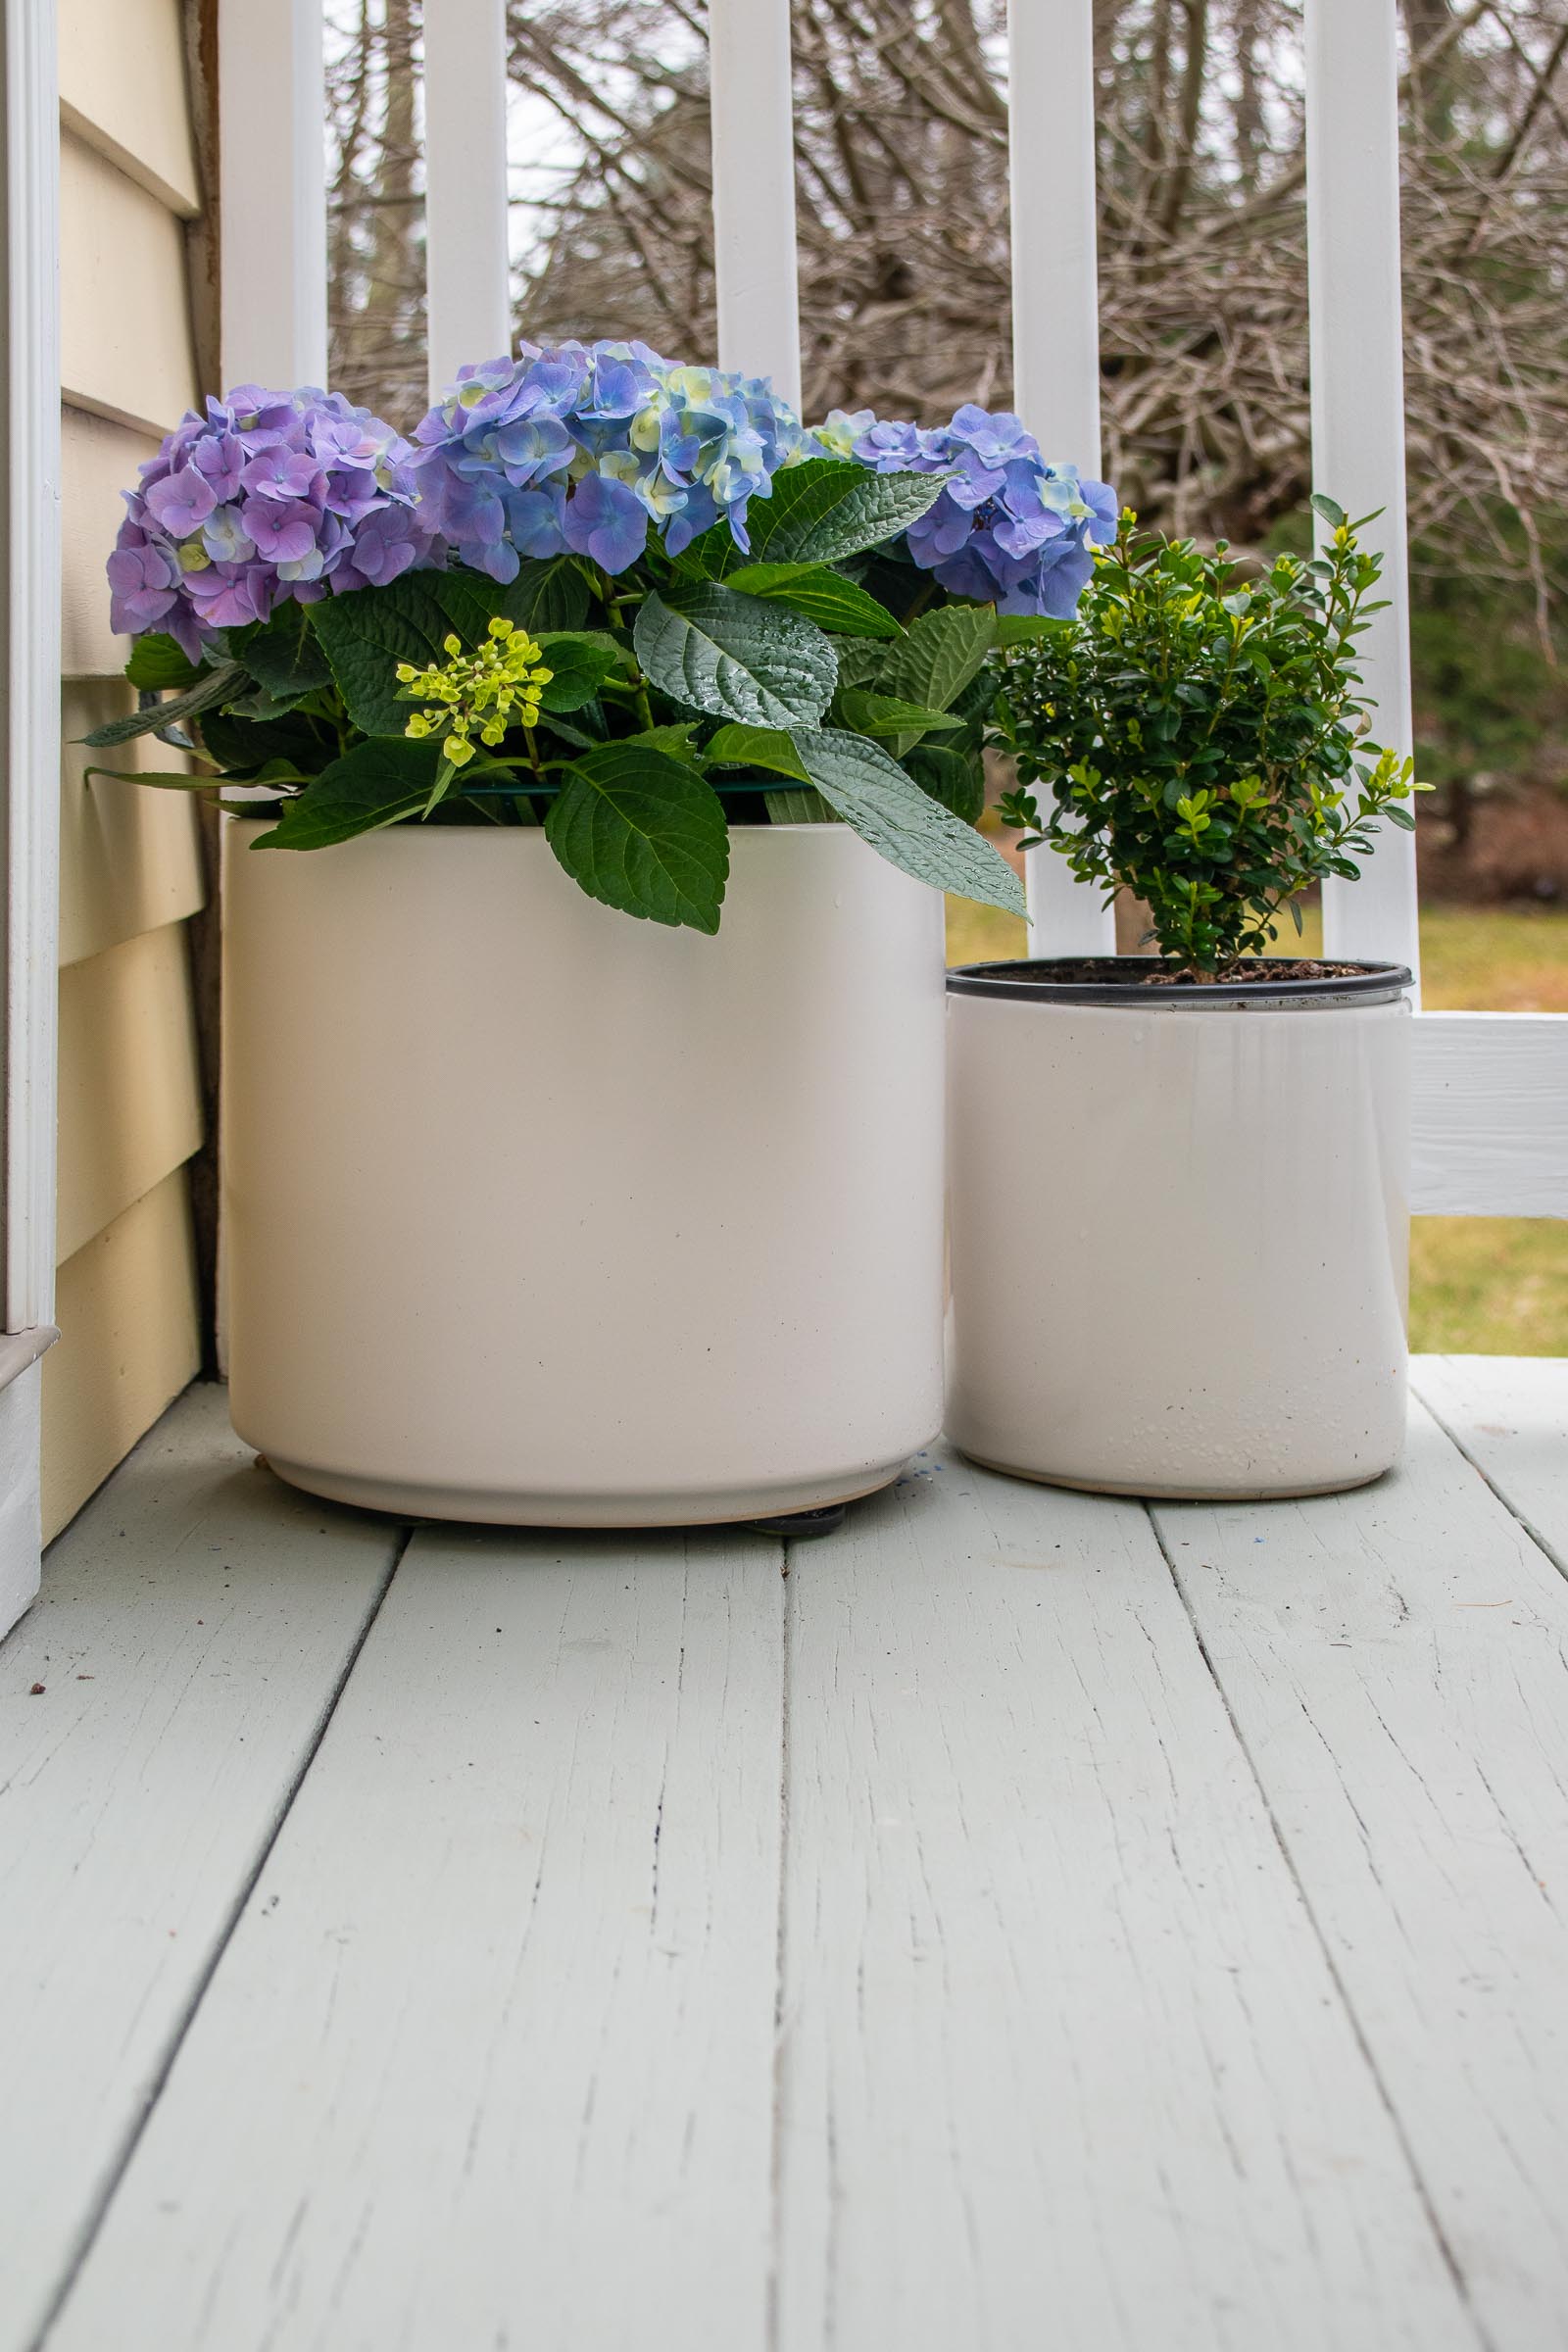
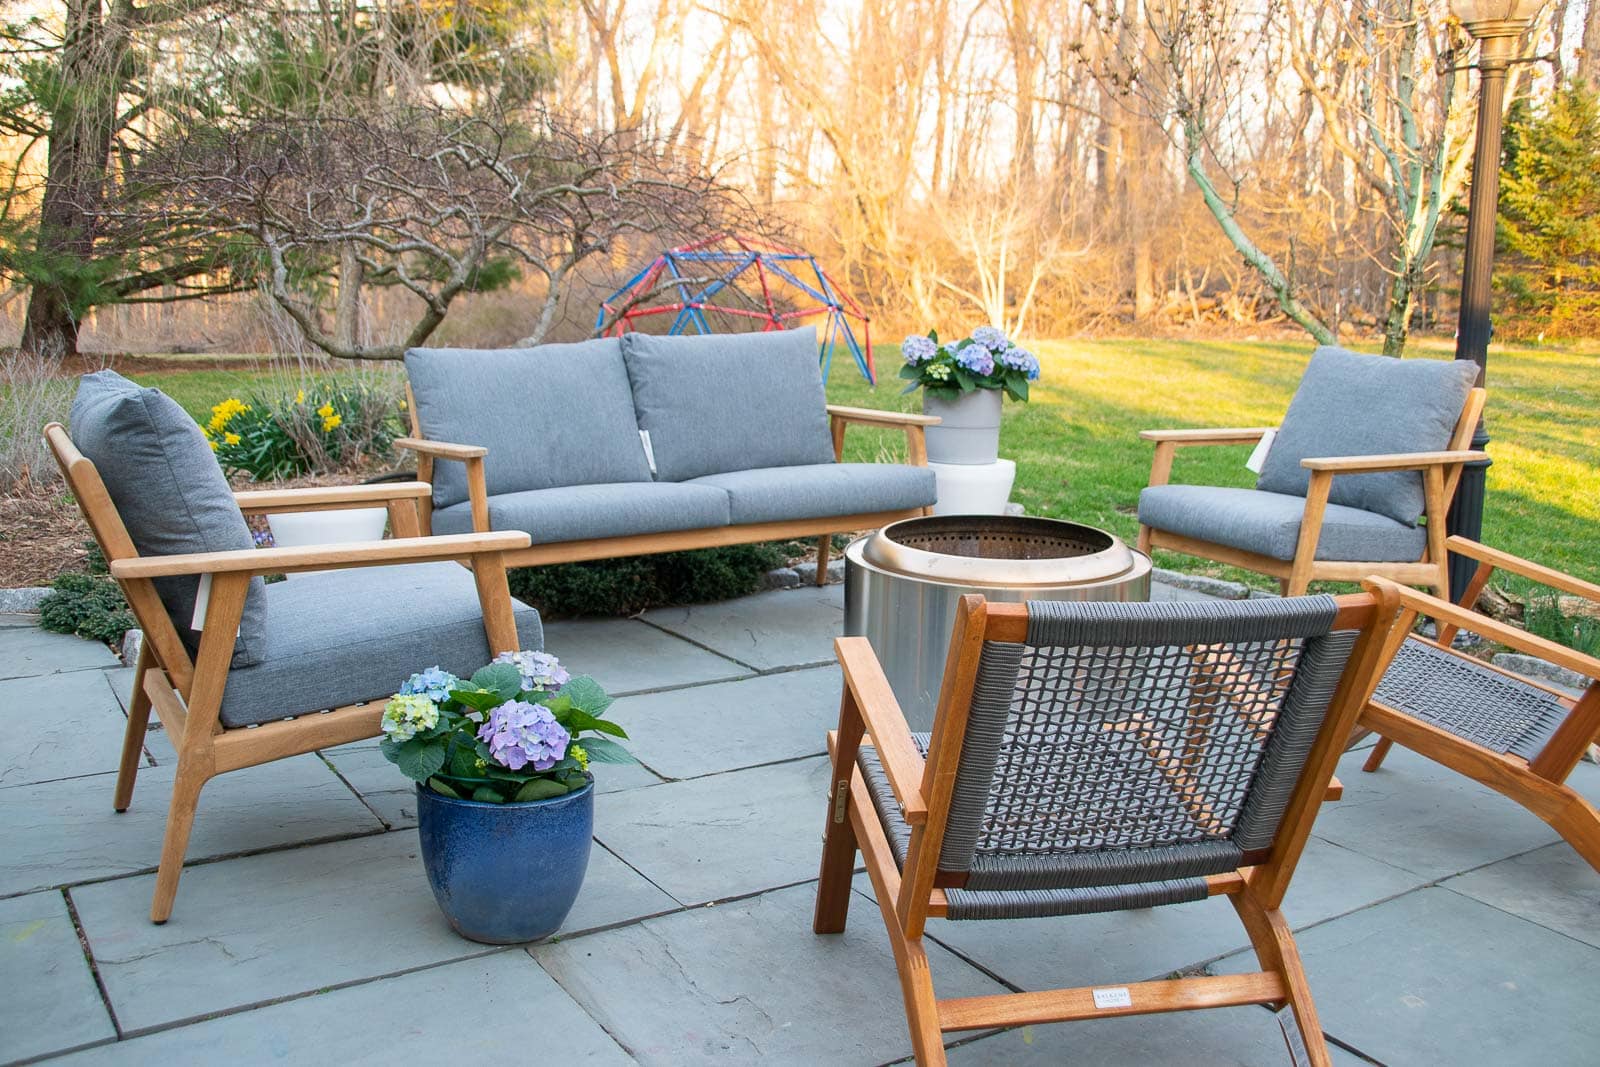
It’s a little too soon to put things in the ground here in CT, but I also have some potted boxwoods and hydrangeas that you see scattered around that will eventually go into our flower beds around the patio. Close your eyes and picture those lovely purple hydrangeas surrounding the patio! I’m also thinking that a couple of them may be a nice replacement for the tall evergreen I cut down. Check back throughout the spring to see how this space fills in!!


Deck and Patio Materials/ Product List
Deck Painting:
Deck Furniture:
Patio Furniture:

EVERYTHING TURNED OUT GORGEOUS!
Thank you so much! It’s like we got two more rooms!!
Looks inviTing and rEady for a party!
YES! We’ve had one family at a time over to do s’mores and it’s such a great way to visit safely!
I am in love With it!!! TUrned out so good!!!! You As always doing Really great! 🤍
Thank you! We’ve been using it so much! Love it!!
Love it! Can you check the links for the paTio chaiRs? They both go to the samE poSting. Thanks!
Thanks for the heads up! Should be fixed!
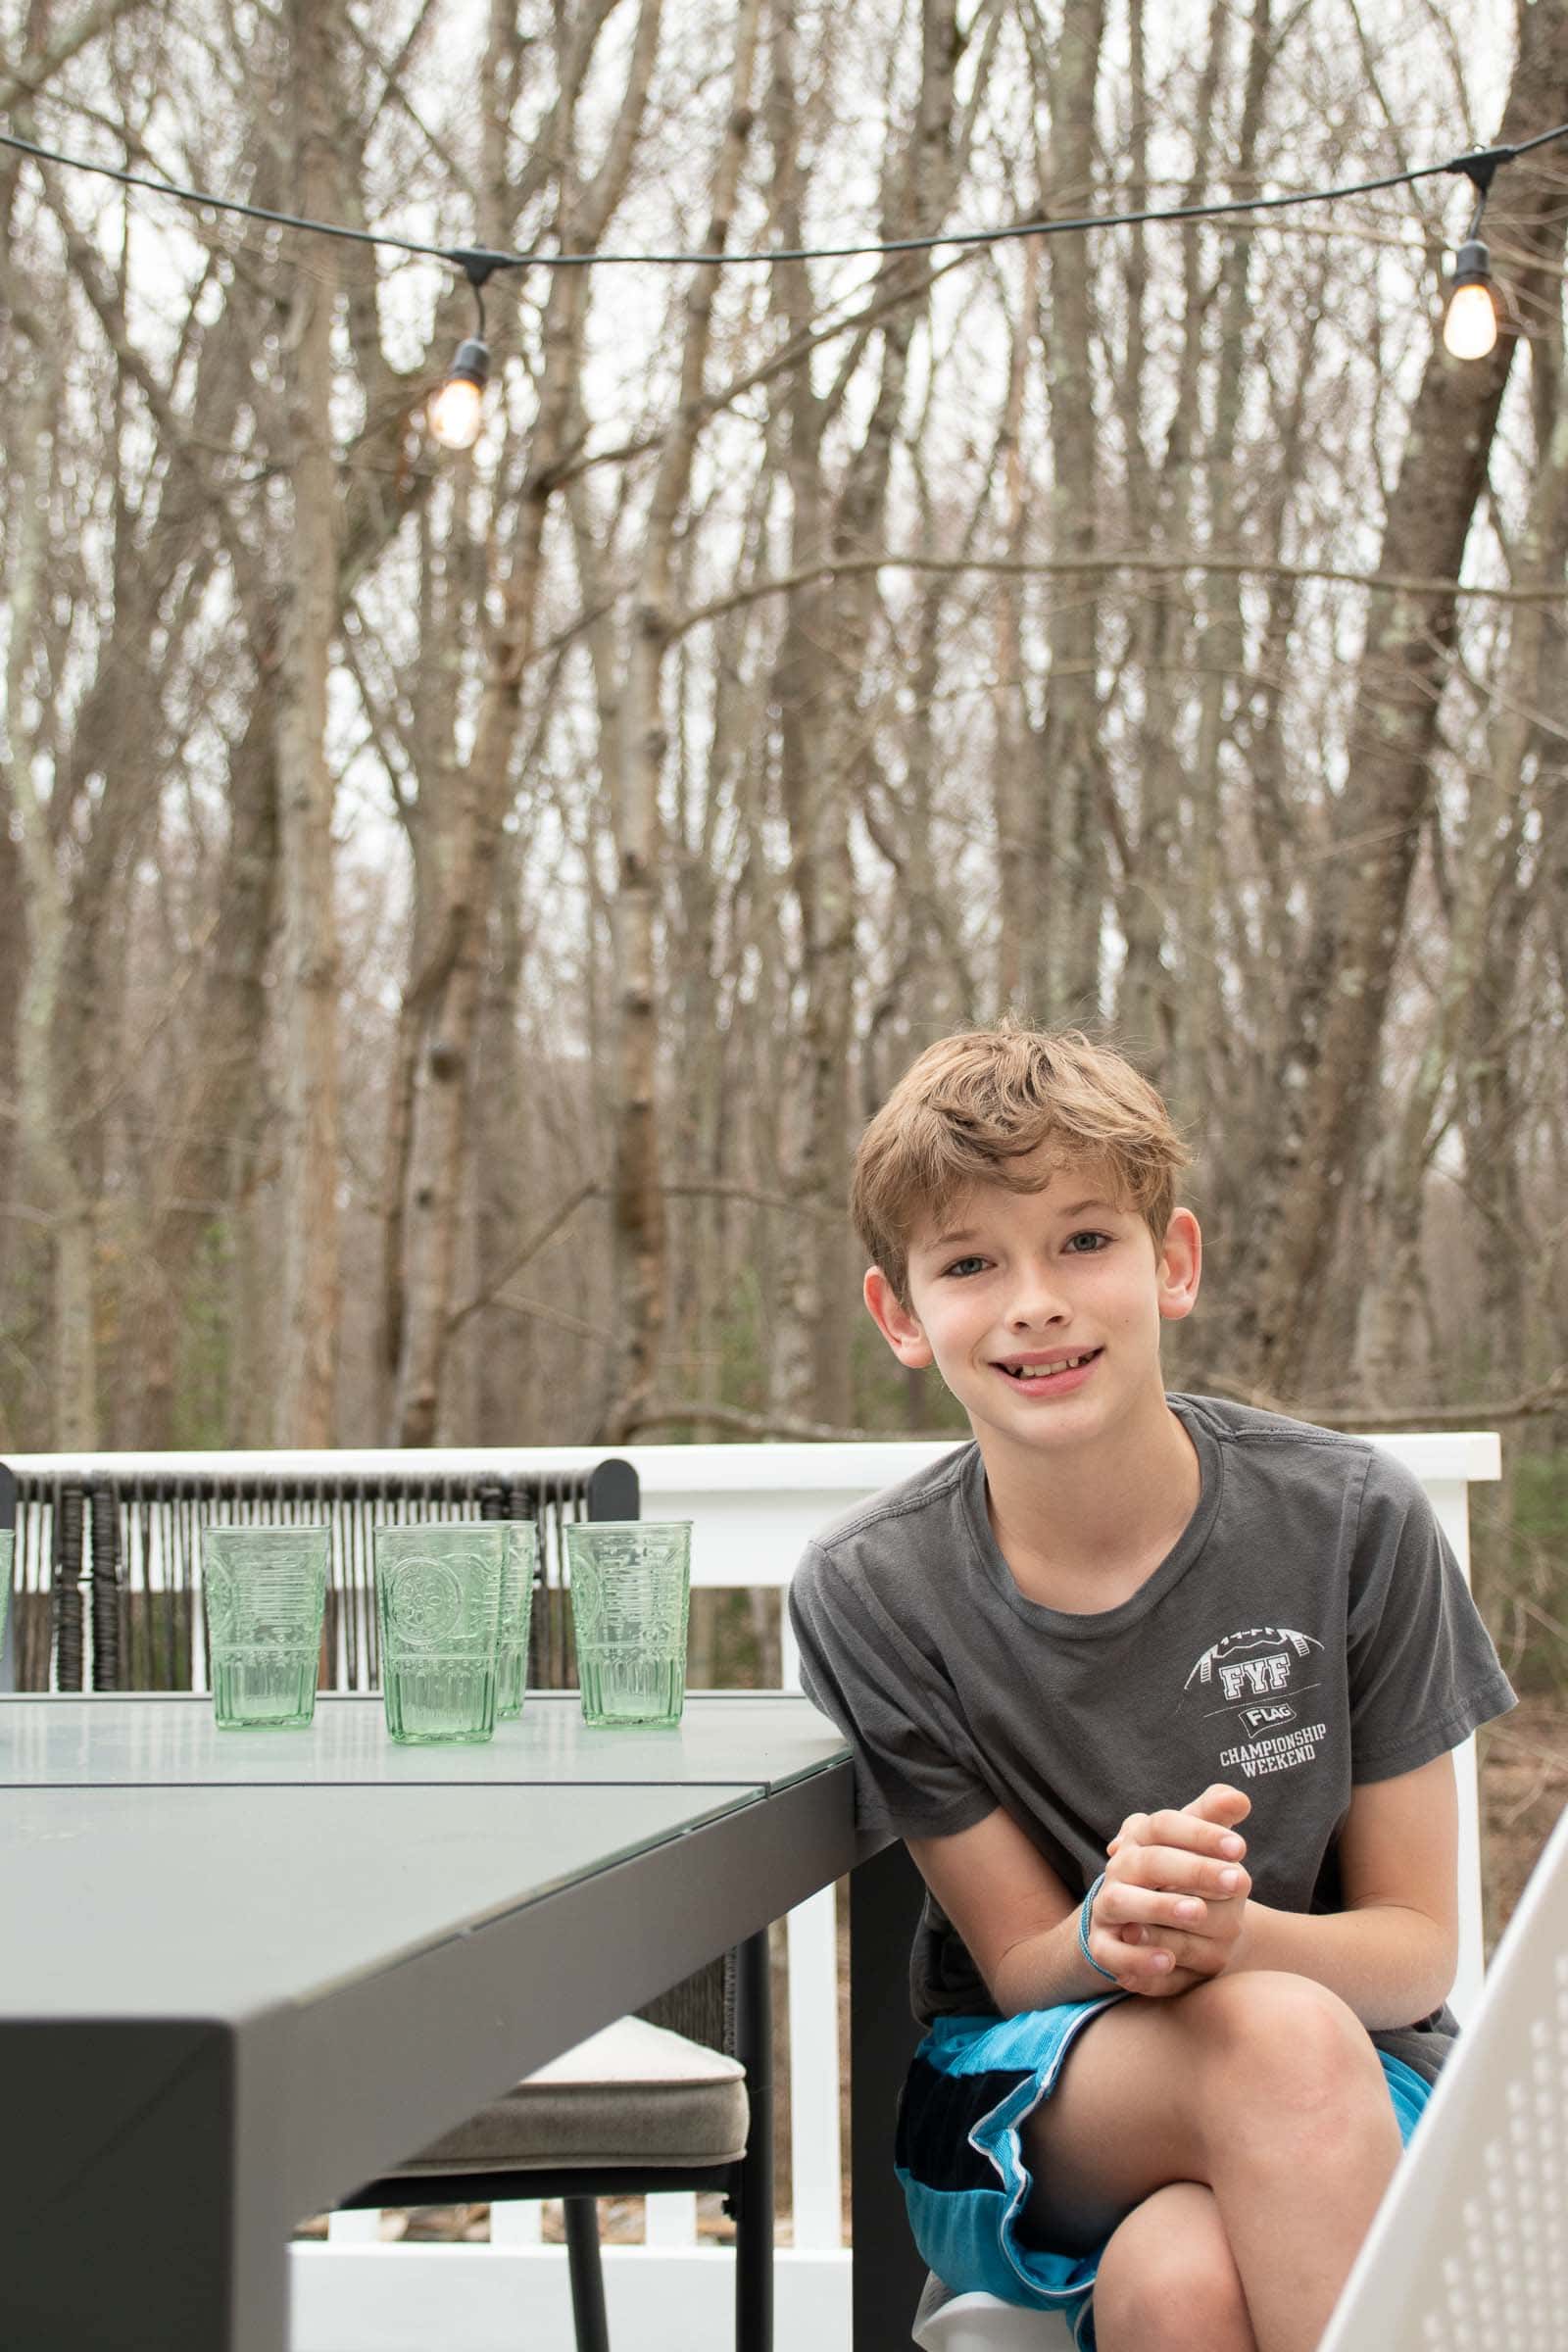
Love it! Five Pictures of pacey is aLso a win!
Haha! He was posing!!
lookS fantastic!!! I’m inspired to start a back deck prOject too.
Thank you, Jana! We’re so happy with the space!
It turned out so well. I love All of your choices.
Thank you!! We can’t get enough of it!
This looks so comFy and inviting. Im glad that you have been able to soend time outsIde using it already.
Yes!! Every day gets a little nicer out there!
I expecially like the fire pit area and Chairs you choose. Looking forward to see more photos later on
Thanks!! That area’s had a LOT of great use already!
love the look. we just bought a new house so need to tackle our outdoor space. very clean and simple.
on a side note, its been a few moons since we saw each other but we played lacrosse in washington dc post college and did a fun trip to JAMAICA together. hope you are well!
Oh my gosh, Kara!! HI!!!! Doesn’t that feel like a million years ago! So happy to hear from you! xx