
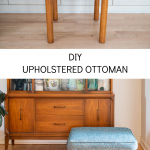
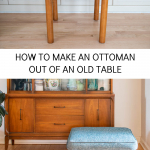
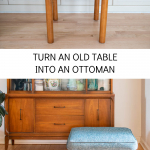
Old Table Turned Upholstered Ottoman
Psssst… this post *might* contain affiliate links: see my disclosure here.
I turned a $10 table into a tweed ottoman!
I fount this old table at the thrift store and decided to upholster it with this chic tweed-y Crypton fabric.
Disclosure: I’m partnering with JOANN to share their Crypton fabric with you. I hope you love it as much as I do!
Shop my favorites!
I *always* love a chance to reimagine a piece of furniture and today’s project is one of my favorites thanks to the chic fabric I was able to use. JOANN sent me some of their Crypton fabric and before I made this, I got to get my infomercial on my testing the fabric and let’s just say… it’s magical. I smeared soy sauce and ketchup and highlighter and crayons into the fabric and it cleaned right off. So I leave that here with you so you can appreciate how useful this would be on high traffic upholstery projects. Or, in our house, everything.
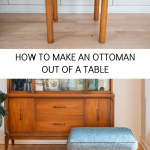
How to turn a table into an upholstered ottoman
Step 1. Find a table
When looking for a table to use for this project there’s only one thing you need: legs/ base that separates from the table top OR a table with a big enough lip that you can wrap and secure fabric underneath without getting in the way of the legs. Note that it’s easier if the top just comes right off.

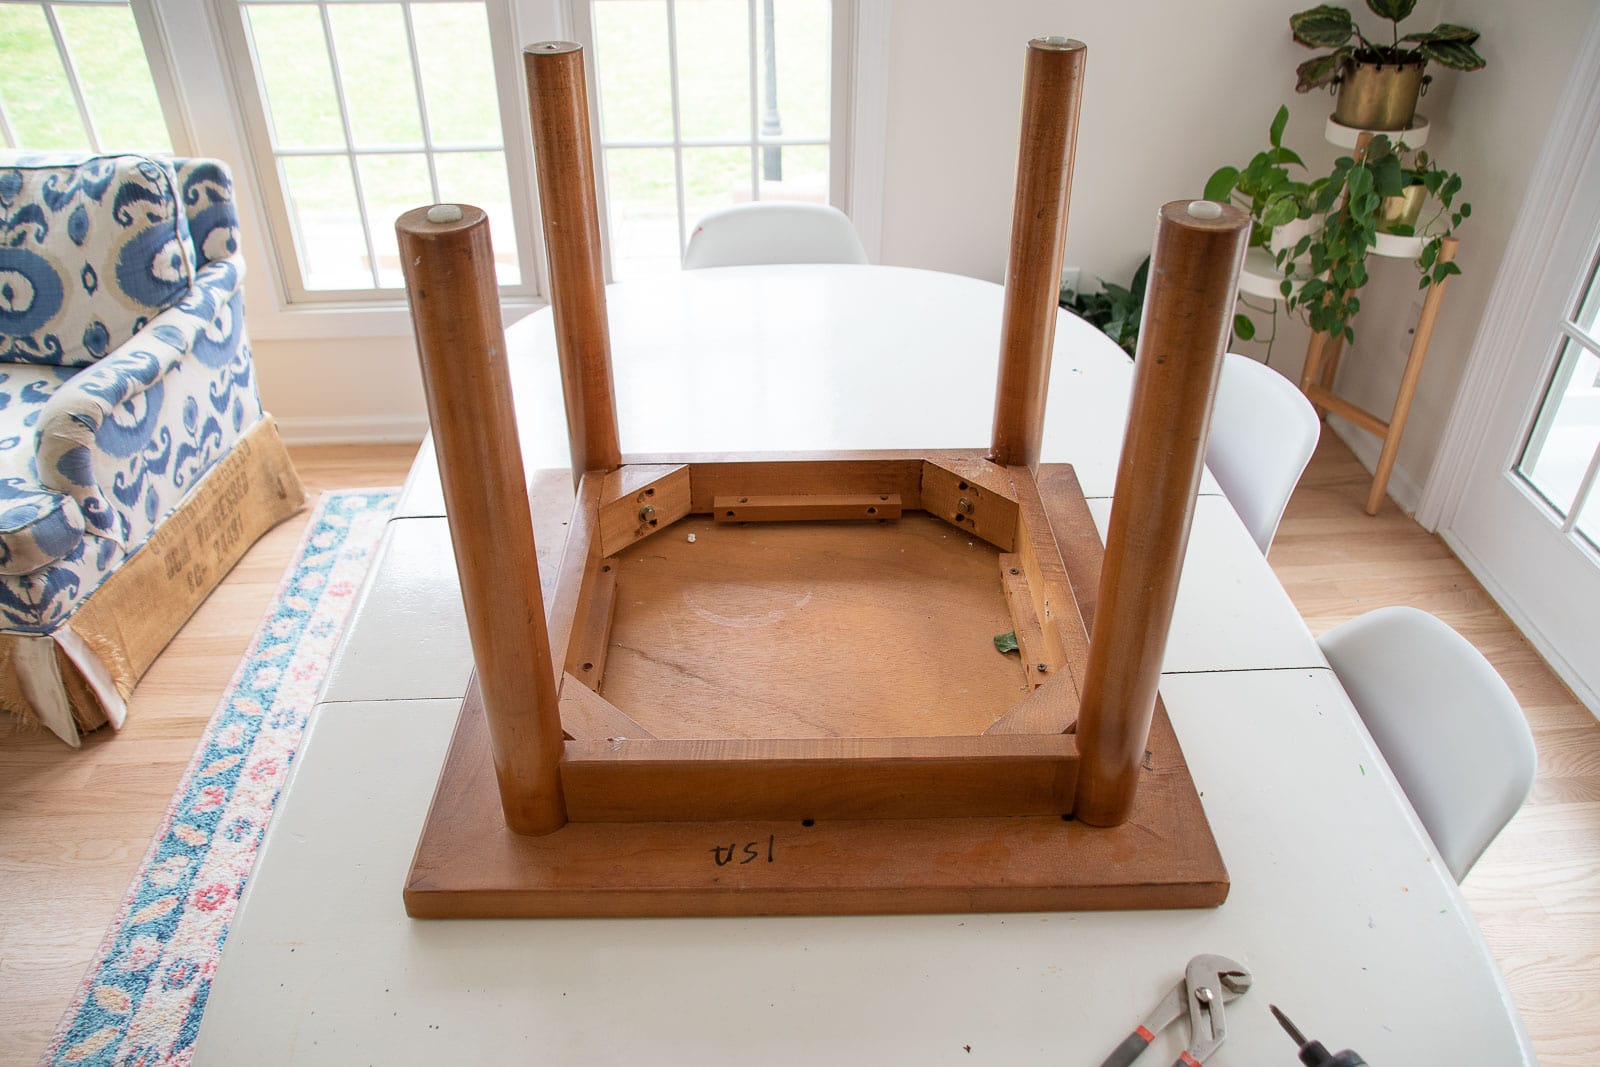
Step 2. Remove the table top from the legs
The top of my table was attached to the base with 8 screws. They were easy to remove and the table top came right off.
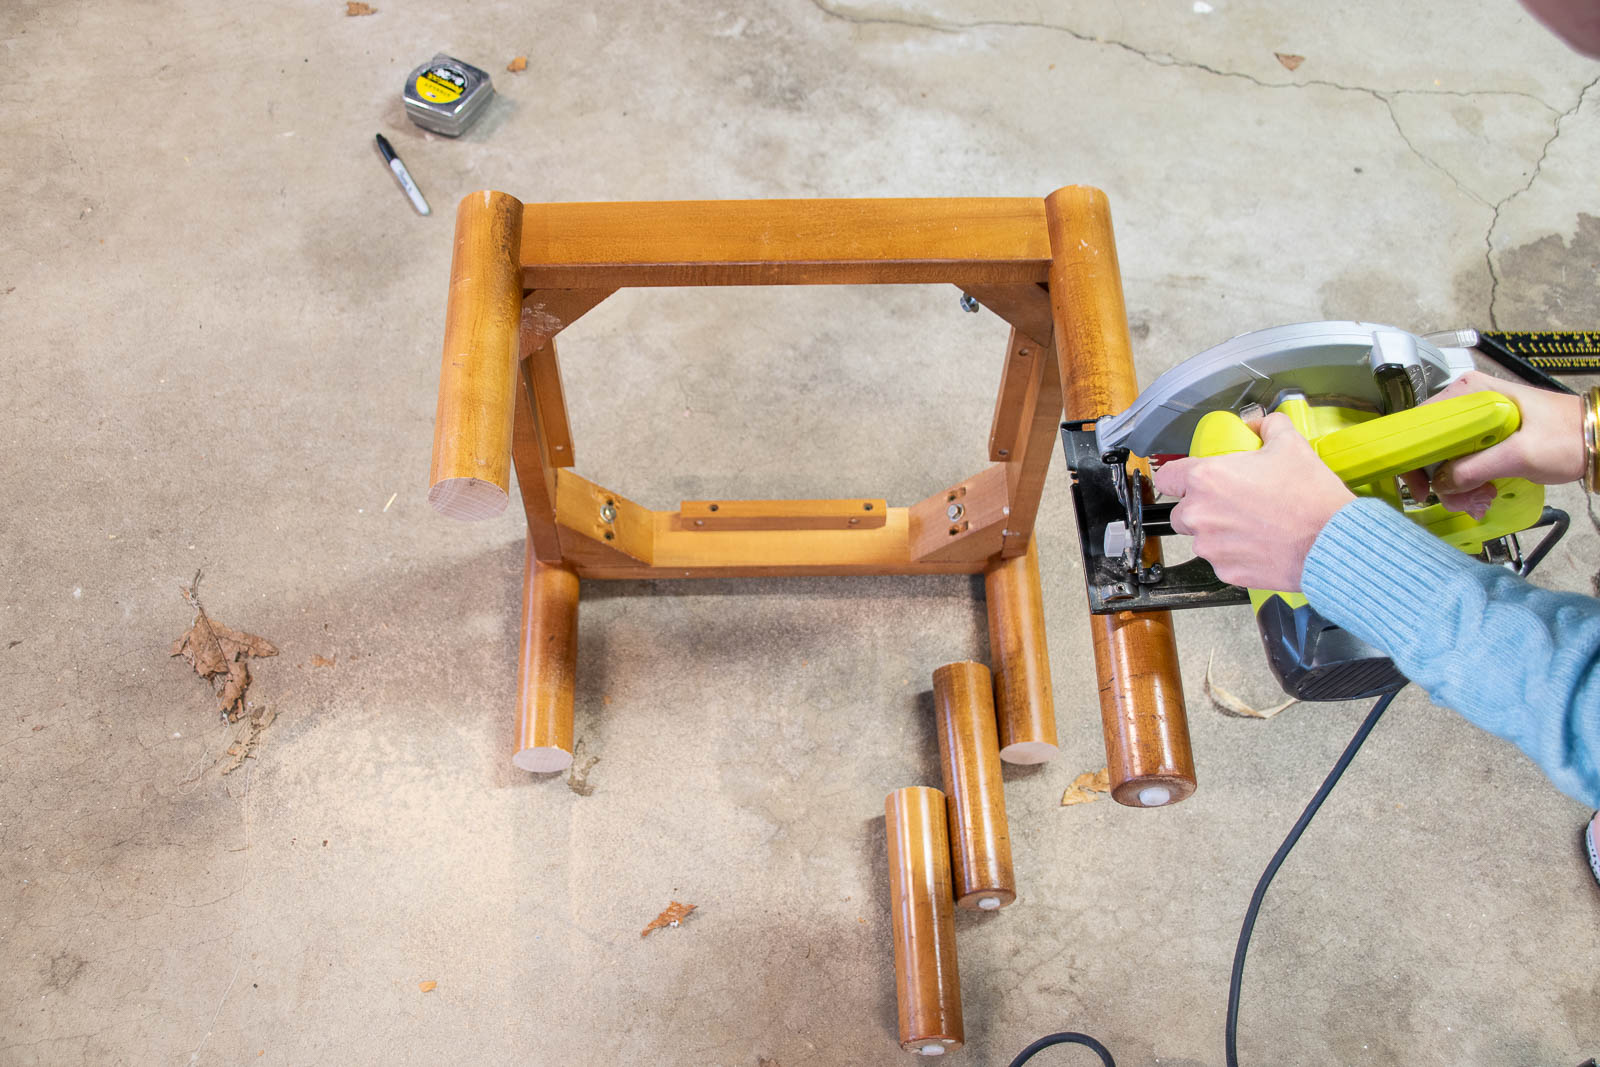
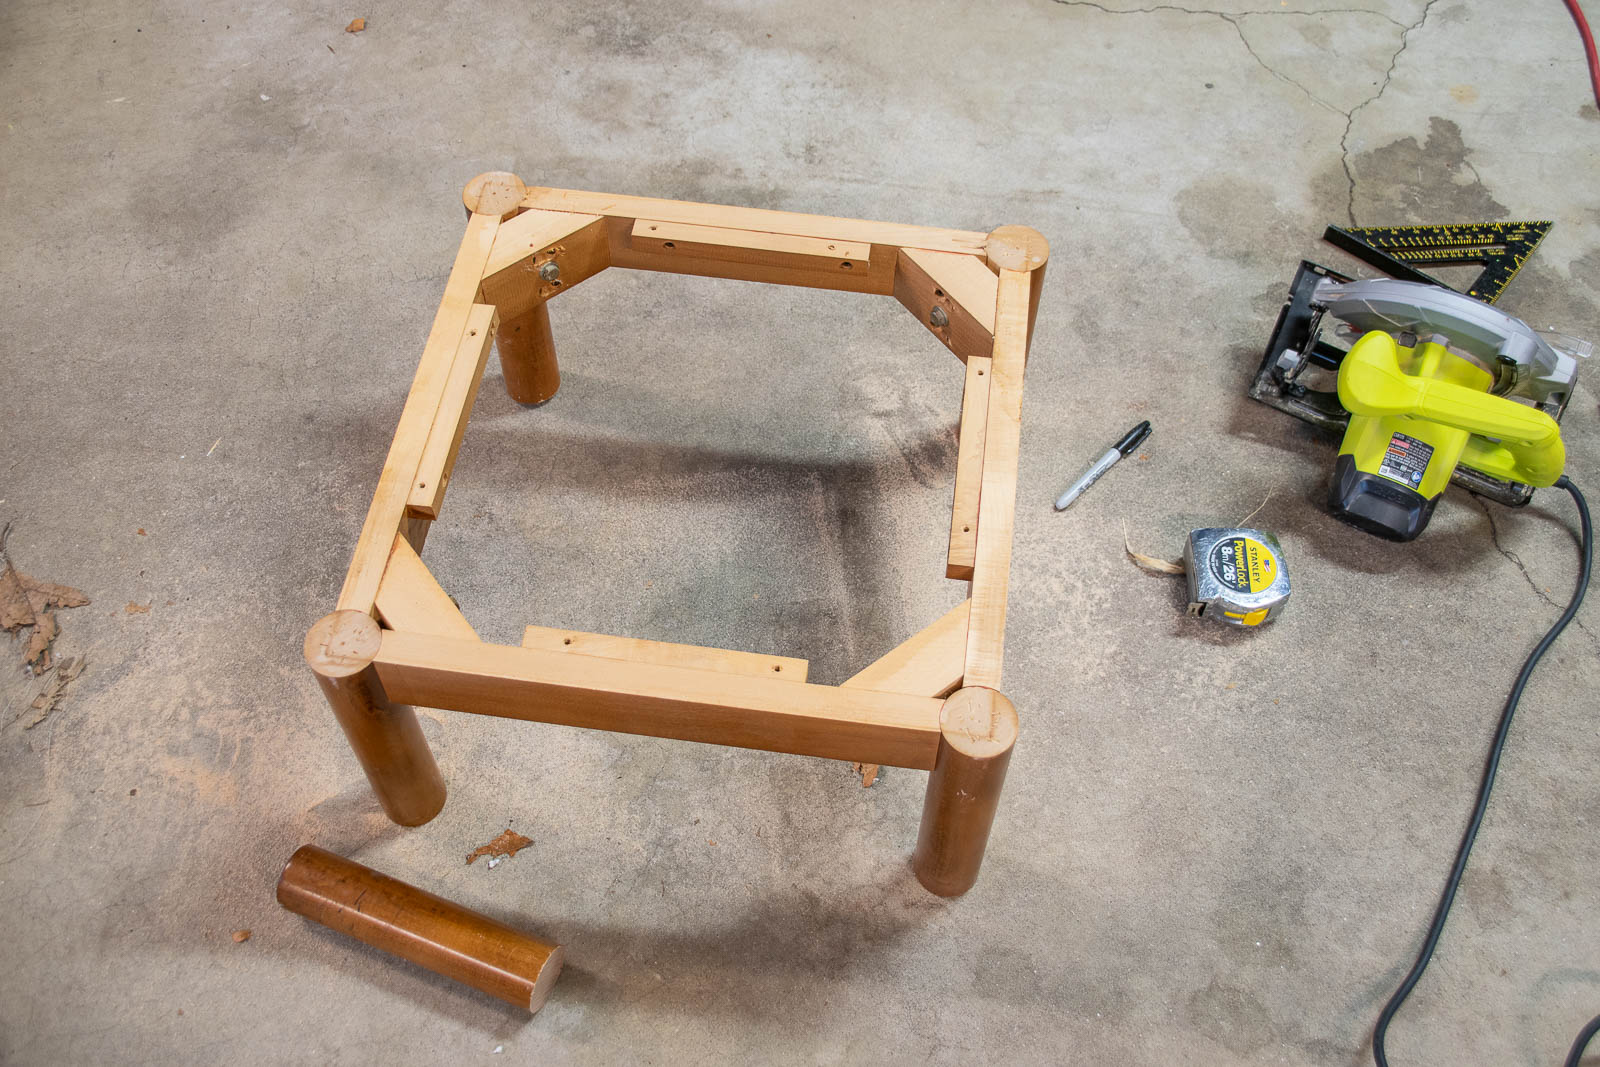
Step 3. Cut down the legs
I looked at a few other ottomans to figure out the height and decided to cut each leg 10-inches from the top of the base. (Remember there will be more height added from the table top and upholstery.) I used a circular saw to cut each leg making sure I was cutting through at a 90-degree angle.
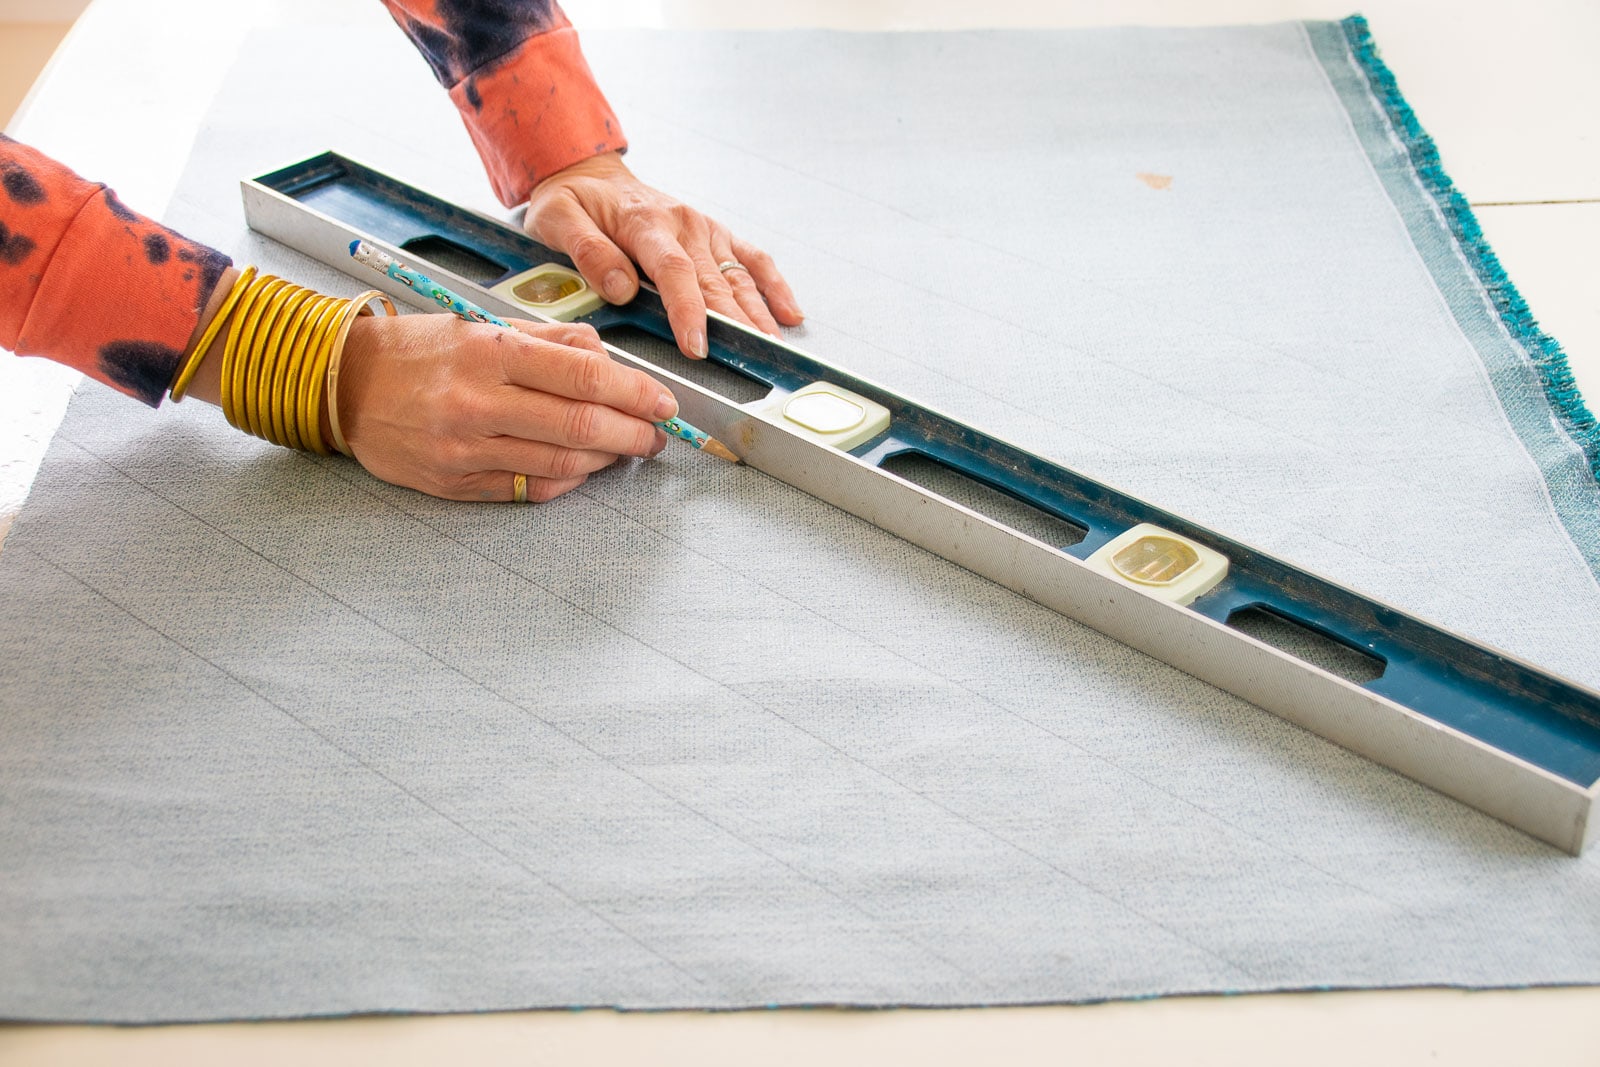
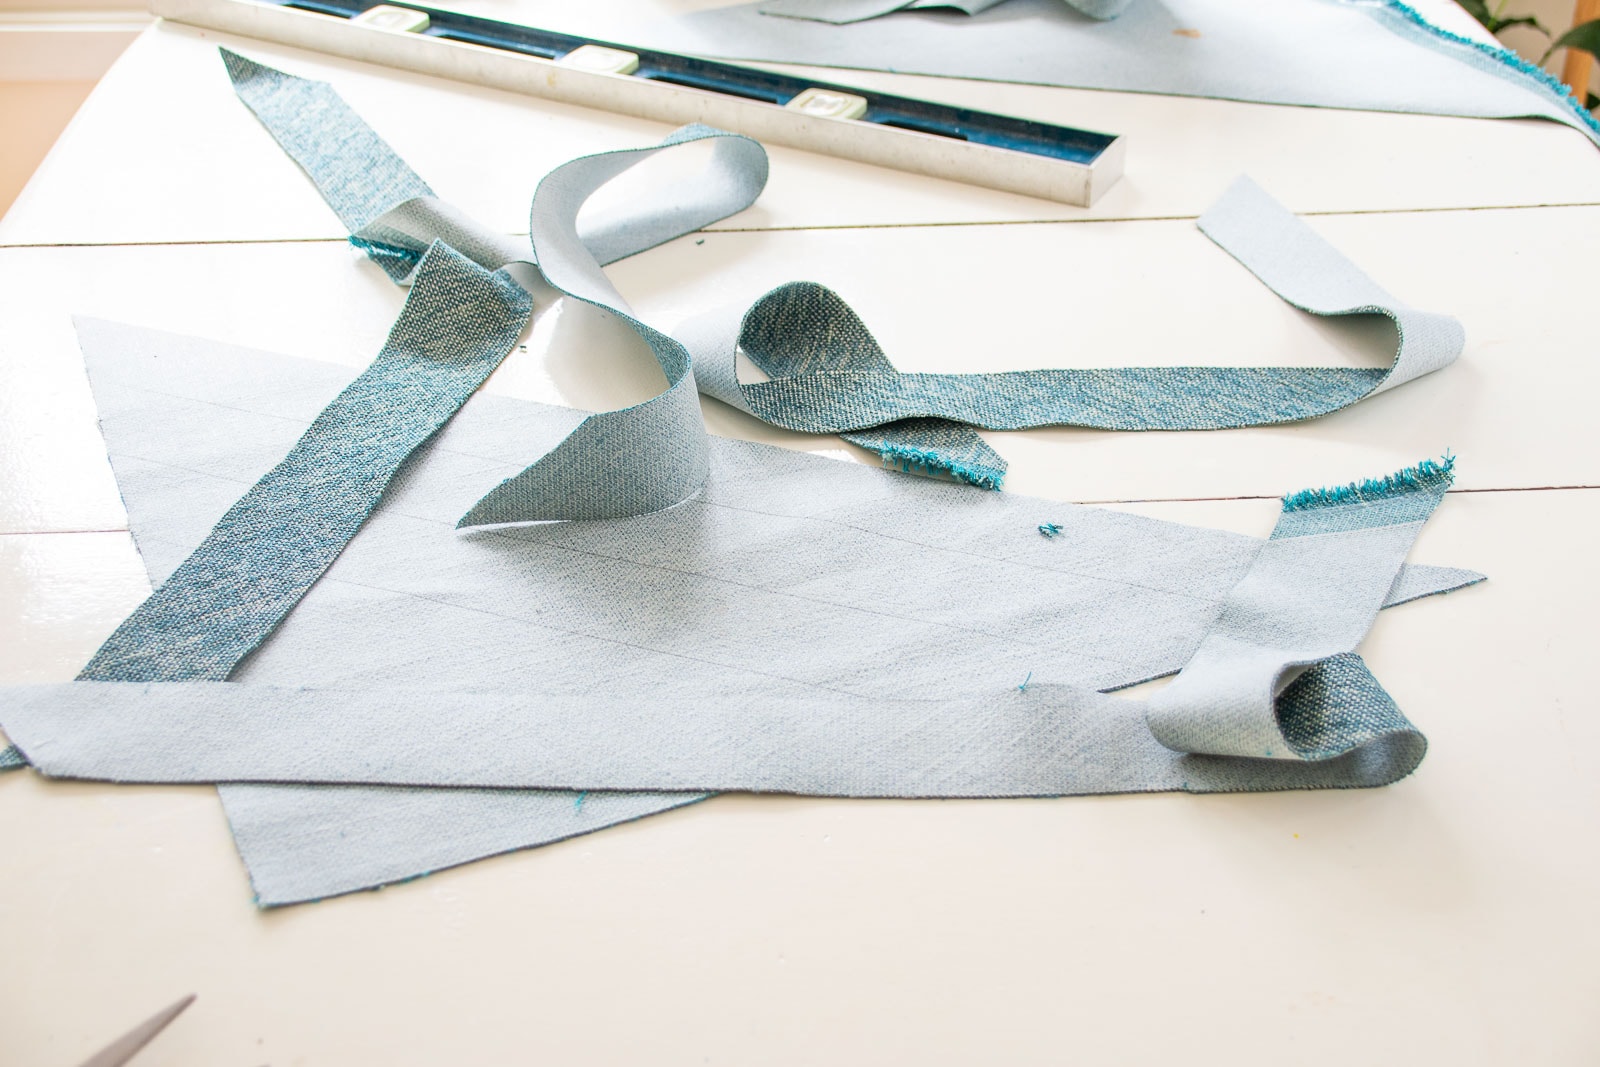
Step 4. Sew the upholstery Pieces
Every time I do an upholstery project, I say a little prayer to my sewing machine. This ottoman doesn’t come out perfectly, but… I’m totally pleased with it, so my prayers must have worked! To give this top a more finished look, I wanted to make some piping. I cut my Crypton fabric (I’m using this one) into diagonal strips (this is called on the bias and helps the piping curve better) and sewed them all together to make one long strip. I folded the strips around my cording and used a piping foot on the sewing machine to sew enough piping to wrap around the perimeter of the table top twice (one for the top and one for the bottom).
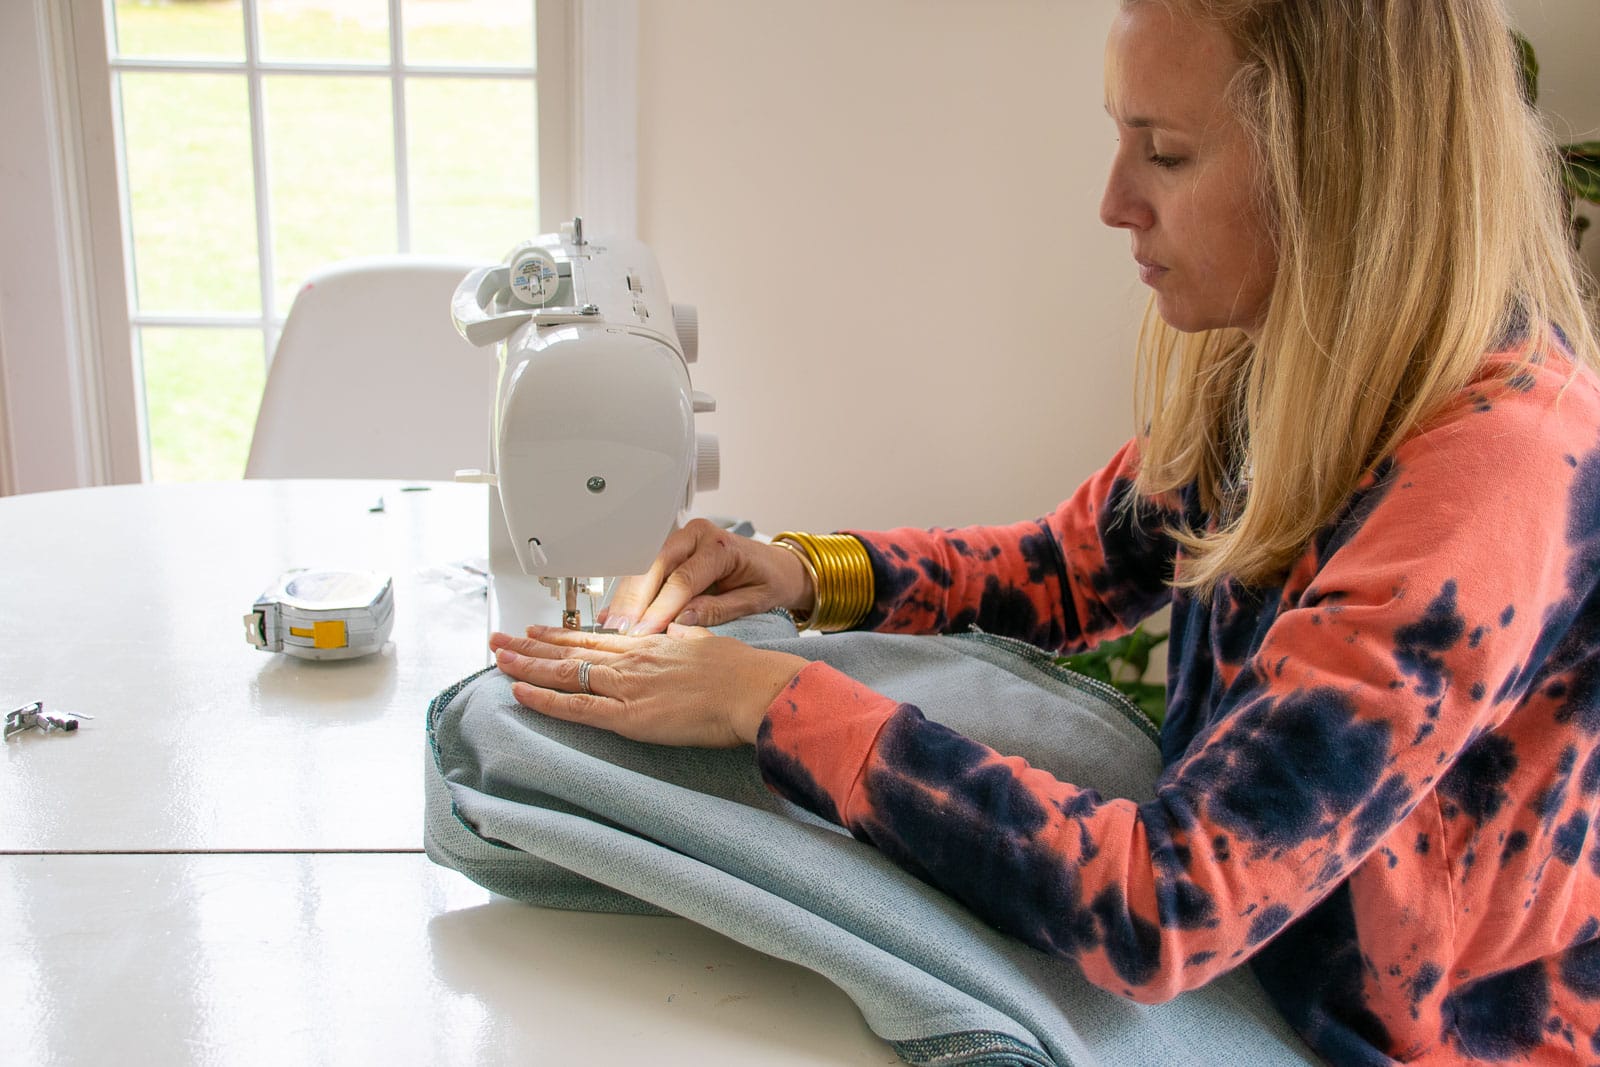
I’m essentially sewing a cover that will fit over the table top (and padding) to make cushioned seat. I measured the table top and cut one piece of fabric about 1.5 inches wider than the table top. The extra fabric is to allow for seams and padding. I also cut strips of fabric for the side of my seat. I determined how thick my cushion would be and then allowed for fabric to wrap around and under the table top. I sewed these strips together so that I had enough to wrap around the circumference of the cushion. To sew the seat cushion, I sandwiched the trim strip between the top and the side pieces with the right sides of the cloth facing together, and sewed them together. Corners are still a struggle for me, but I’m getting better!
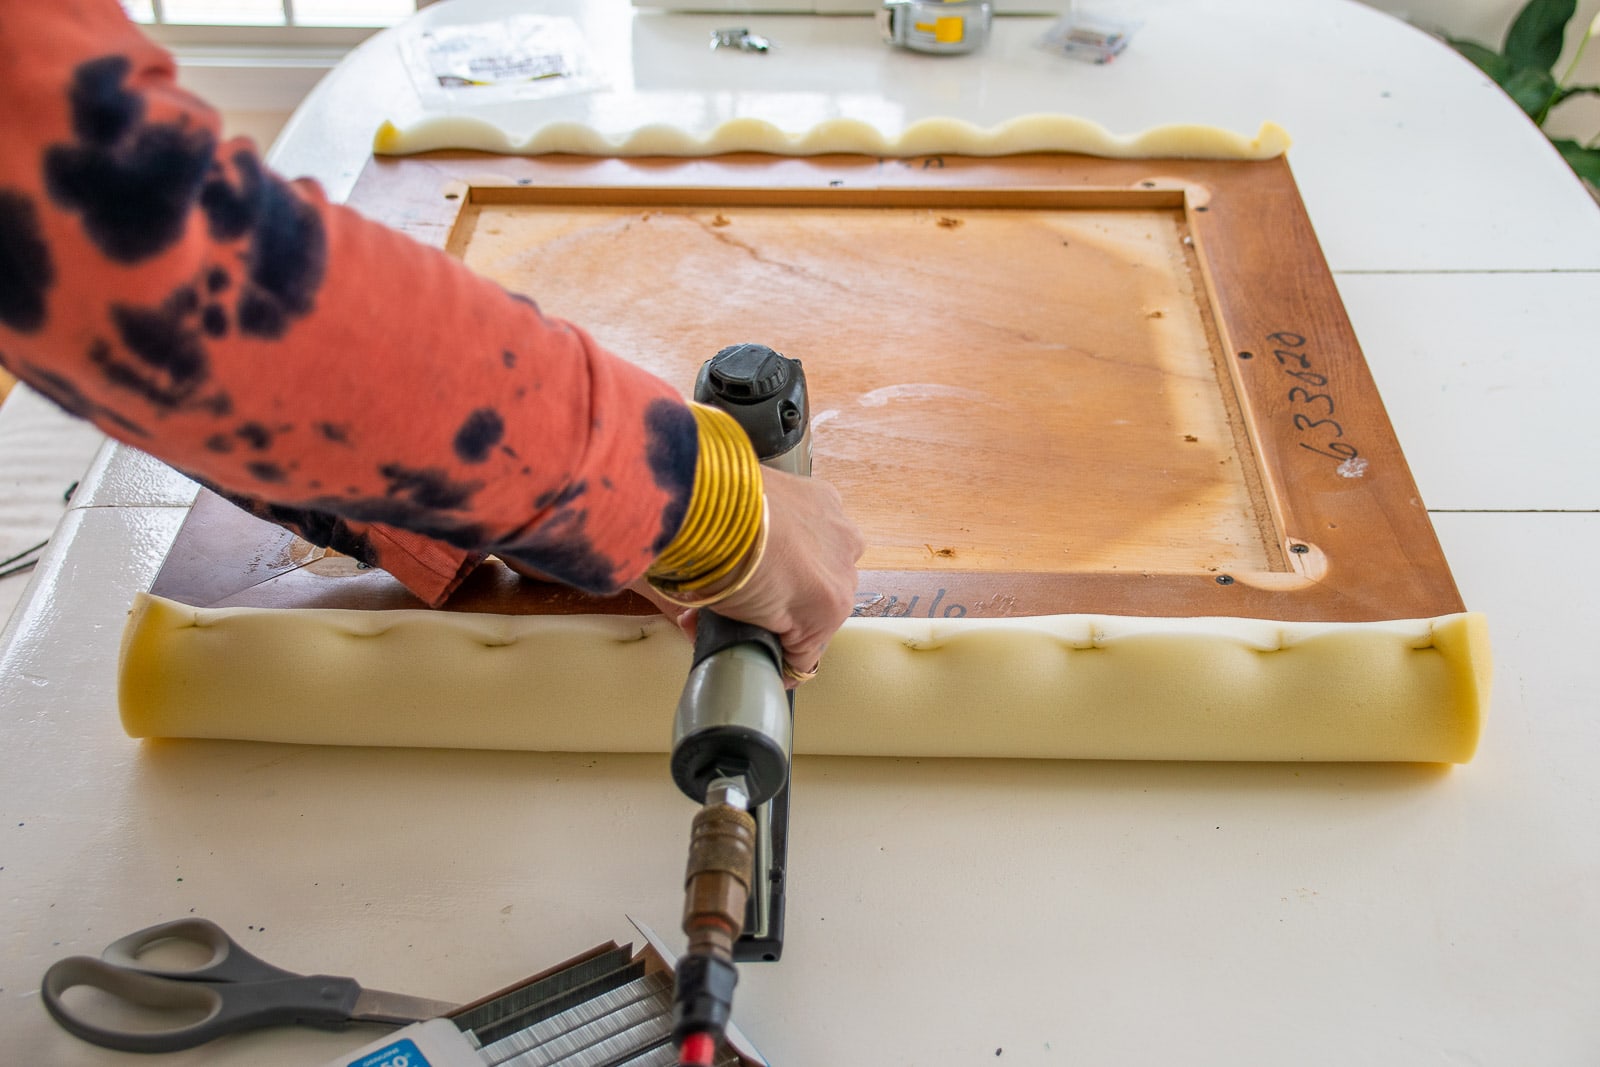
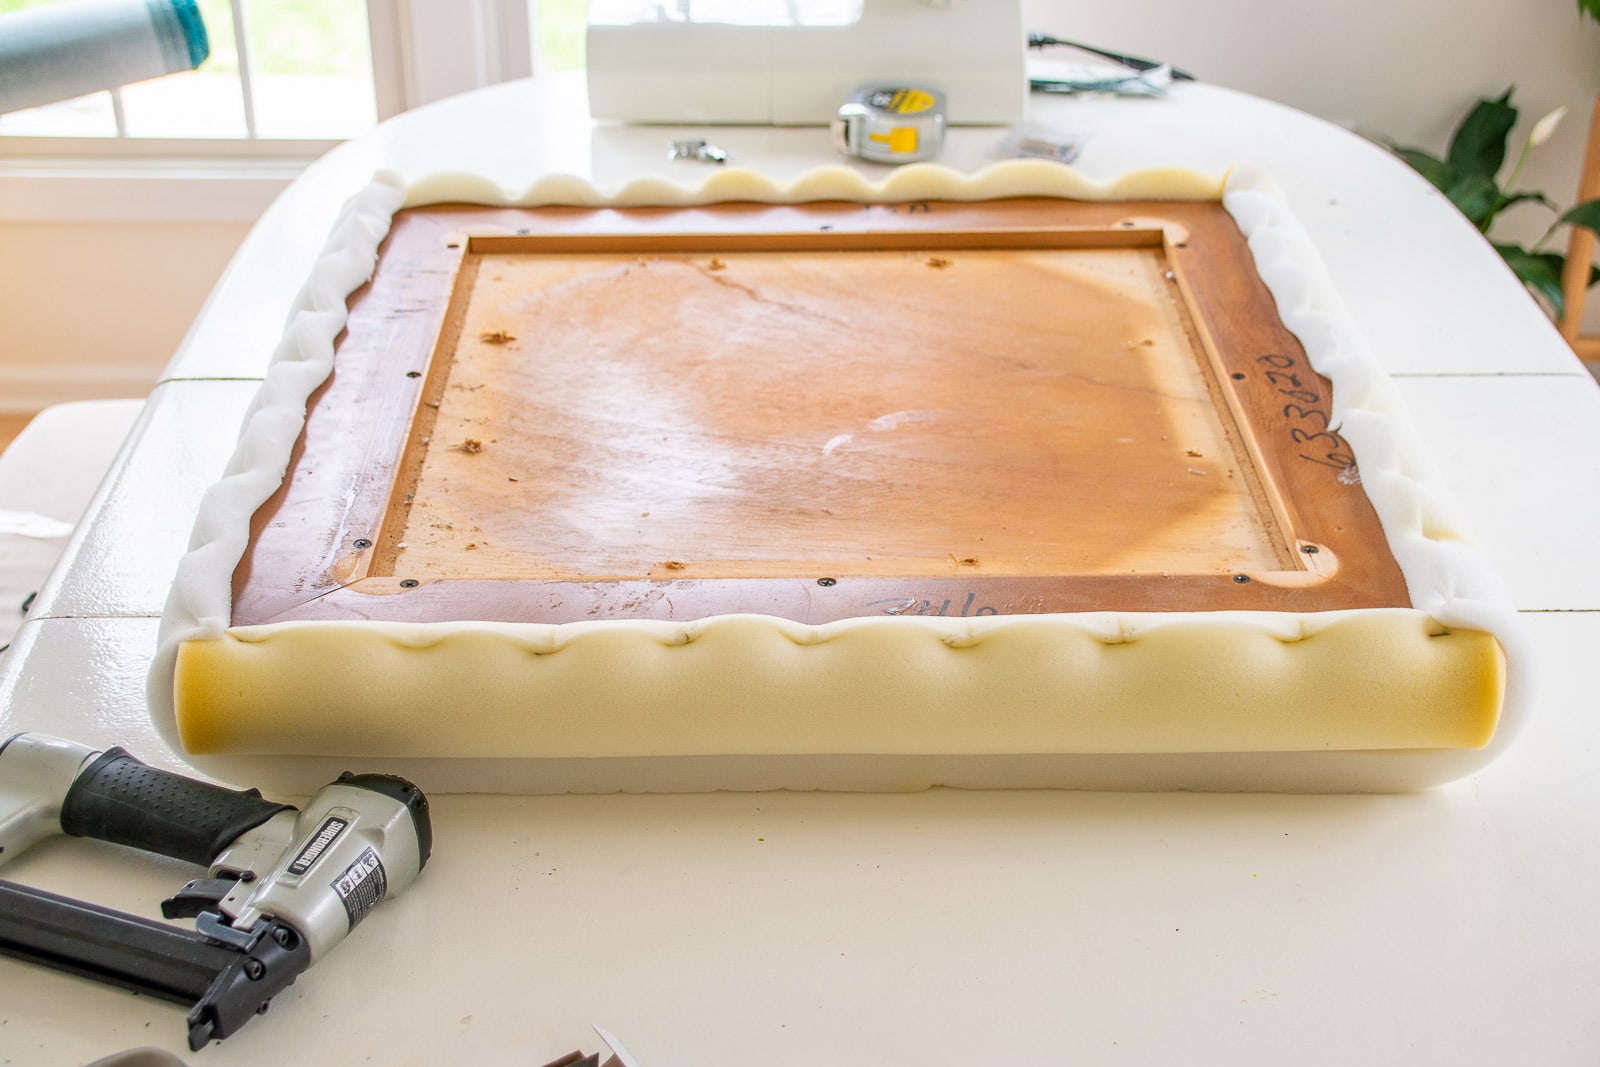
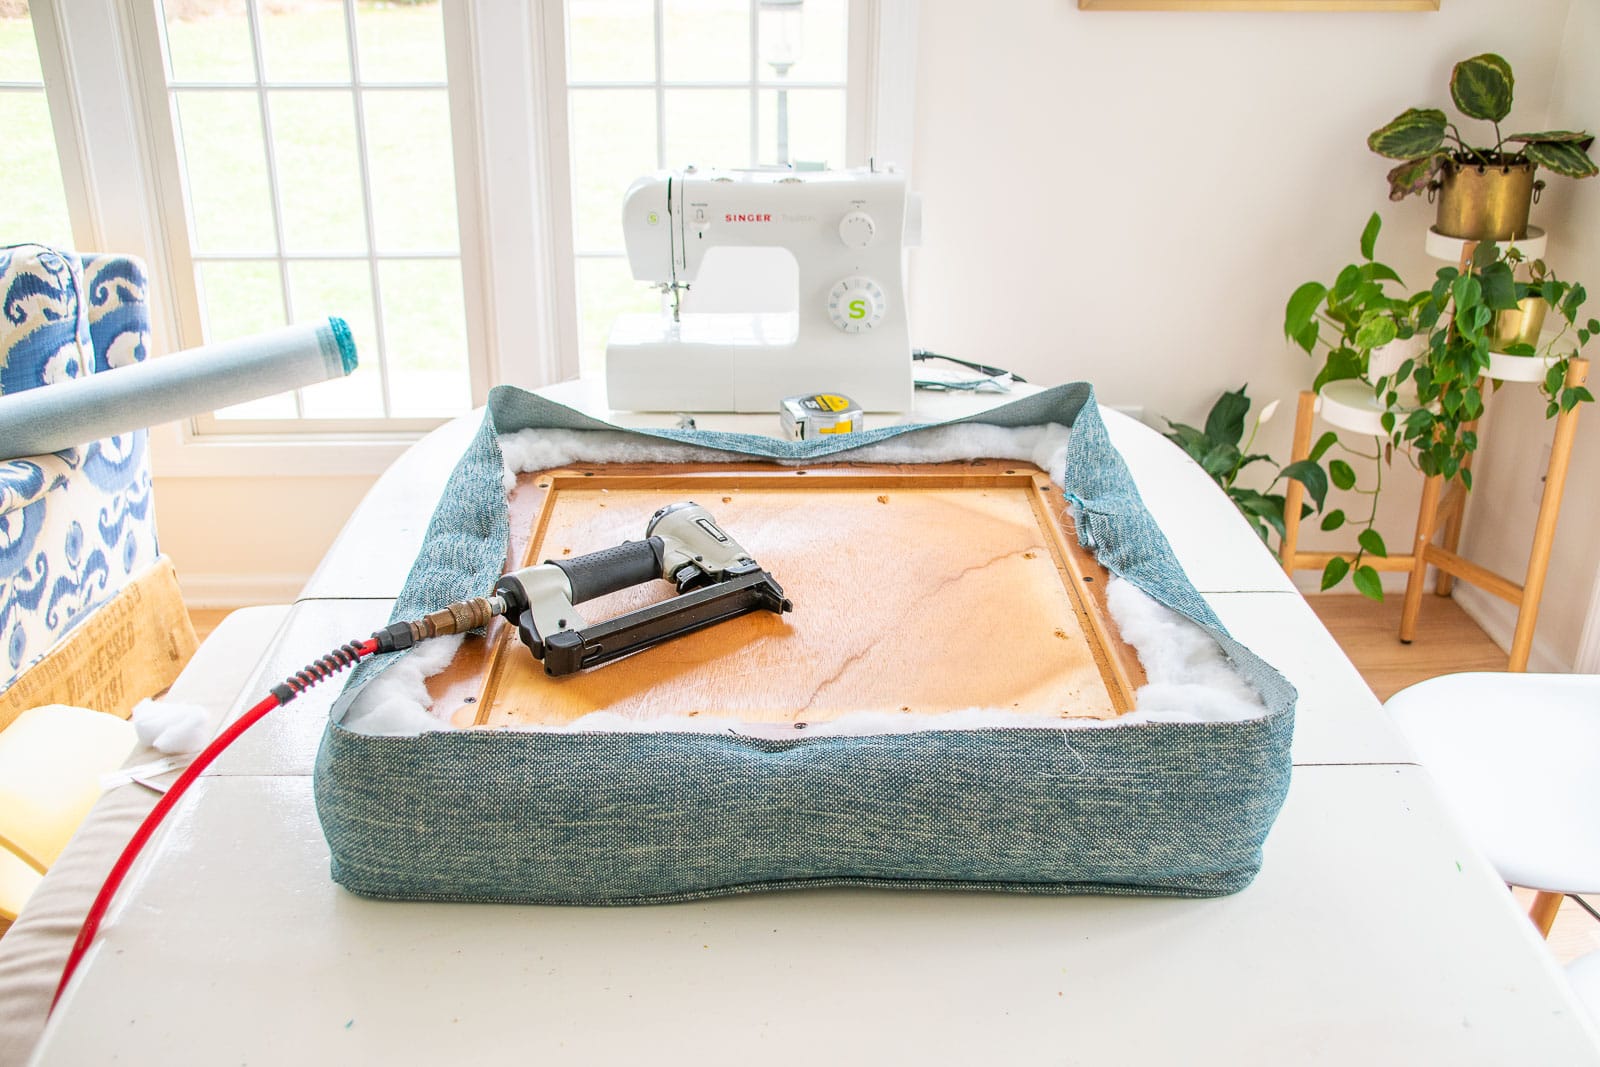
Step 5. Add Foam and Padding
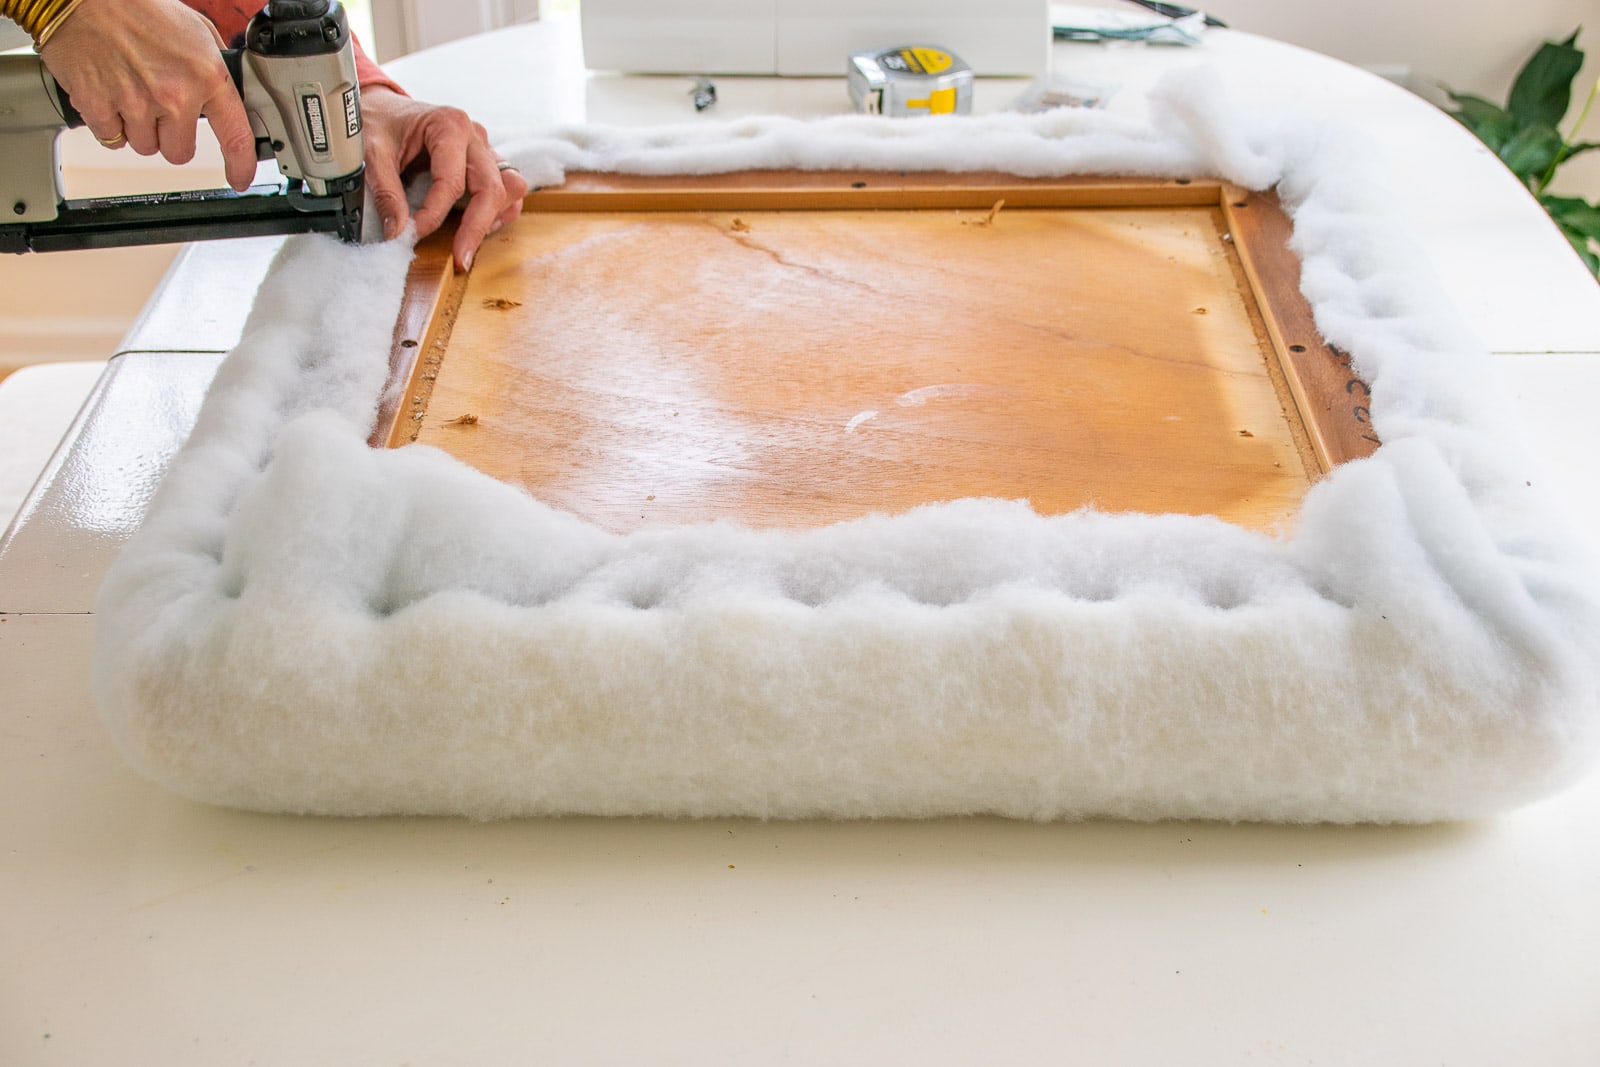
Fabric isn’t enough for this ottoman so we obviously need to add some cushion! I’m using what I had which was 1″ foam and batting. I wrapped on strip of foam around the seat in one direction and stapled along the bottom of the table top. Then I wrapped another piece of foam around the other direction of the seat and stapled in place on the bottom. Finally, I wrapped a layer of batting around the table top and stapled in place on the backside.
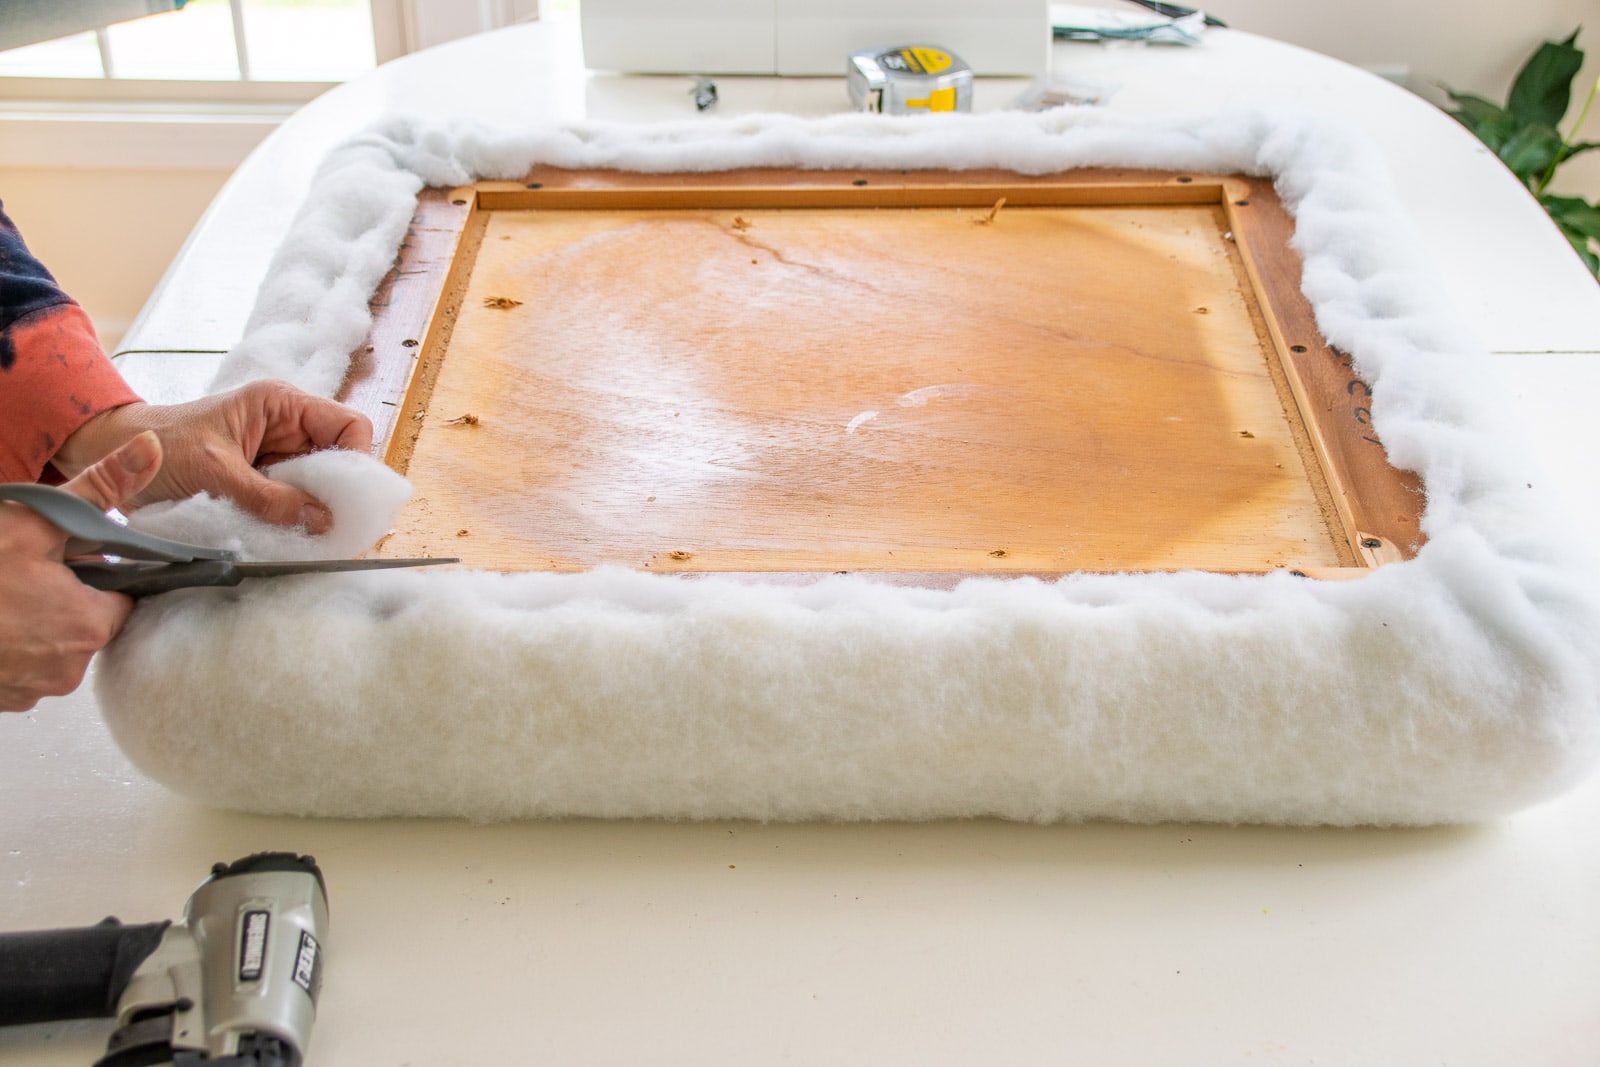
Before adding the fabric, I went back and trimmed as much of the excess batting as I could.
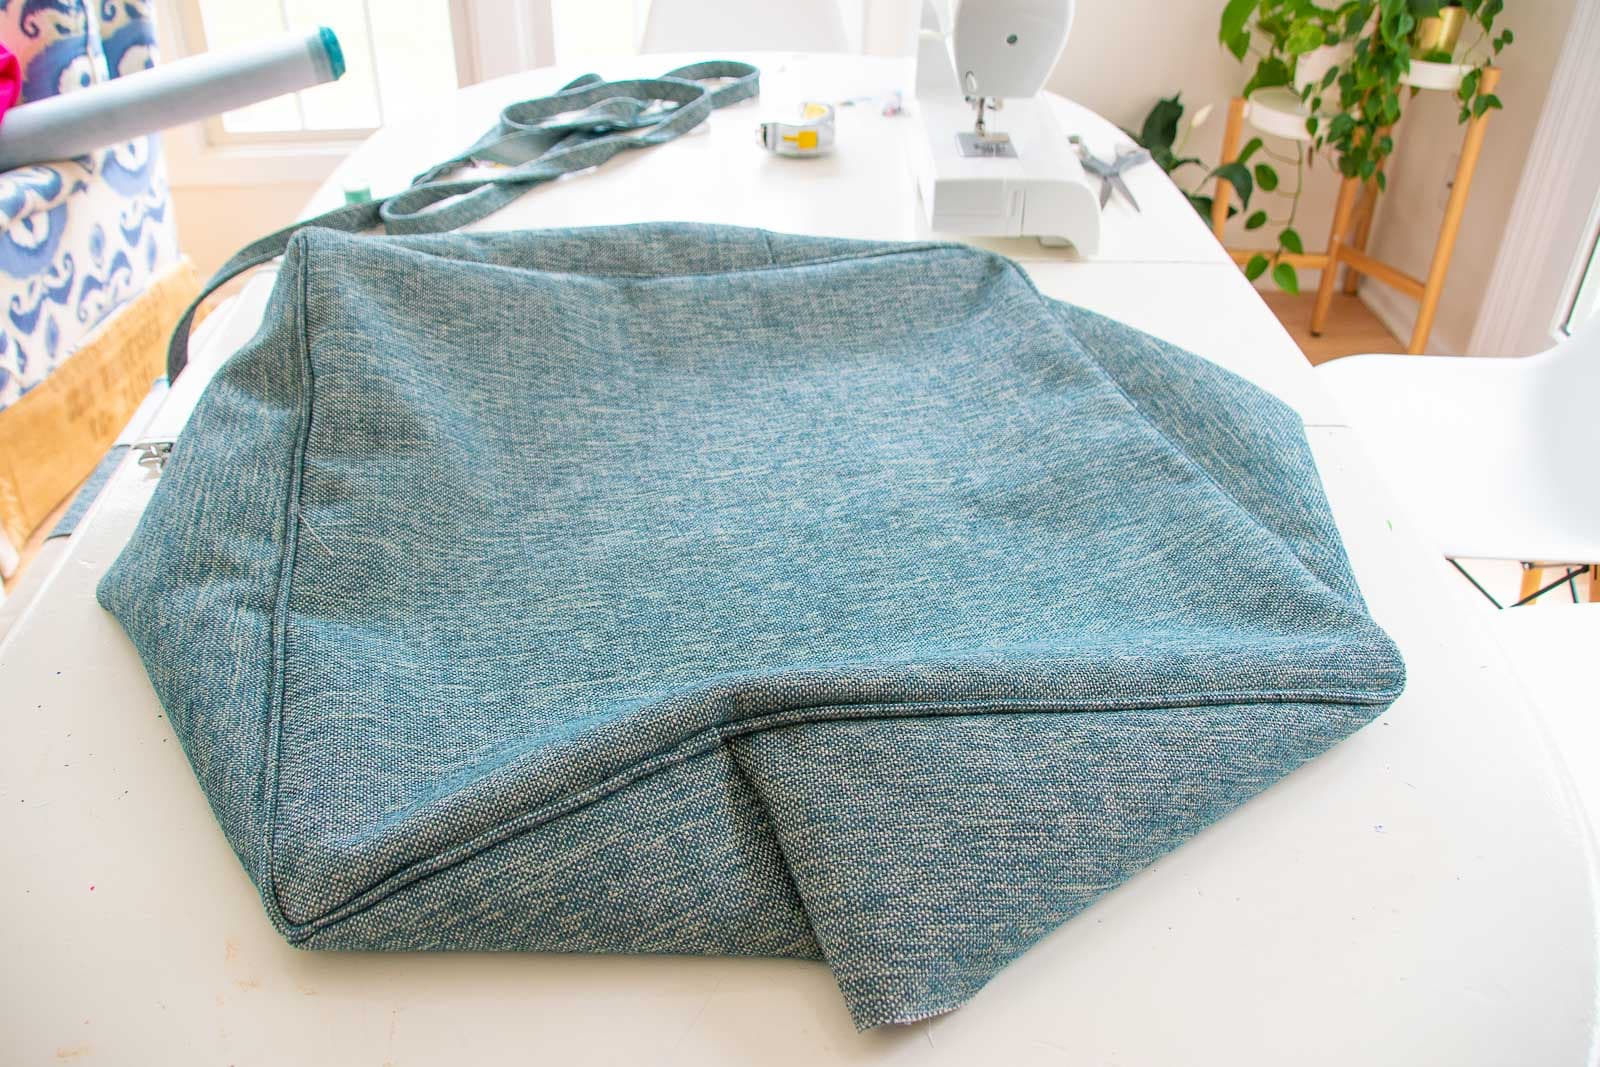
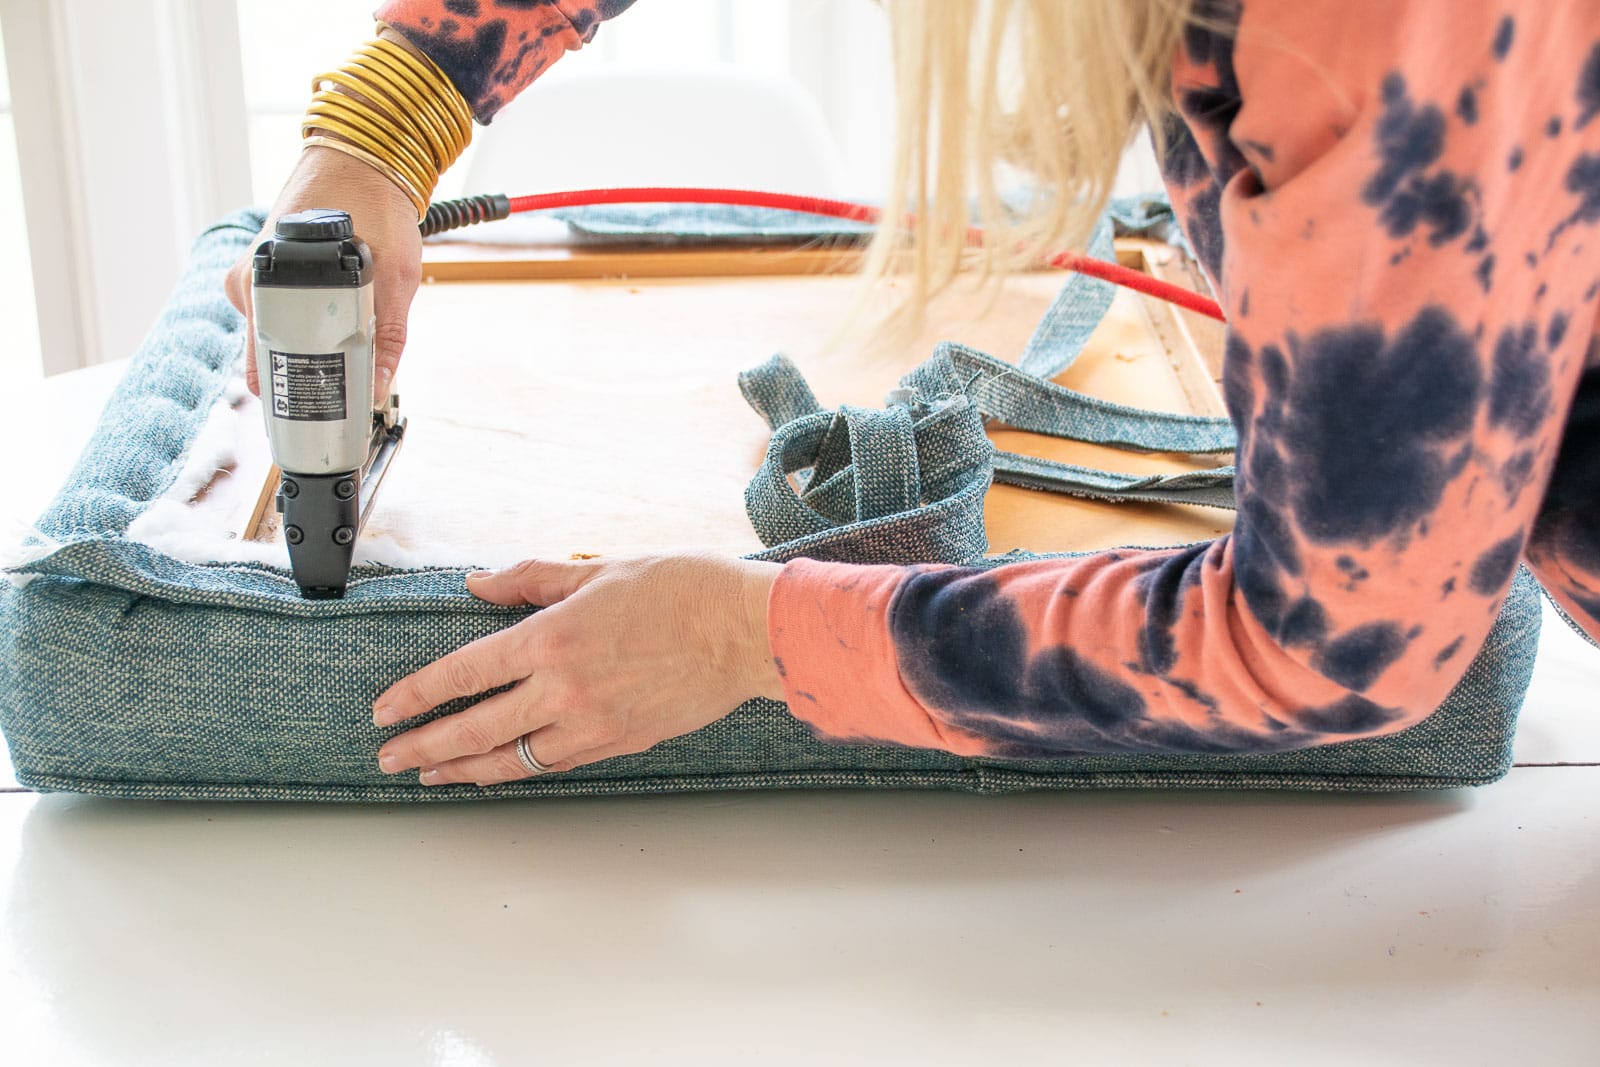
Step 6. Let’s upholster!
Thankfully the cover I sewed fit pretty perfectly. If you’re a professional upholsterer give me some grace because the corners and the seams are a bit wobbly but overall I’m super pleased with it. I pulled it in place over the foam and flipped the table top over so I could staple the Crypton fabric along the underside of the table top. Make sure you pull the fabric taught and even.
To add a finishing touch, I stapled another strip of trim along the bottom edge of the cushion.
Step 7. Reassemble the table
I flipped the table top over and reattached the base. I chose to sand off the stain that was on the base and I added felt pads to the bottom of each leg to protect my floor. You could totally paint the table base or just leave yours alone and save yourself this step!
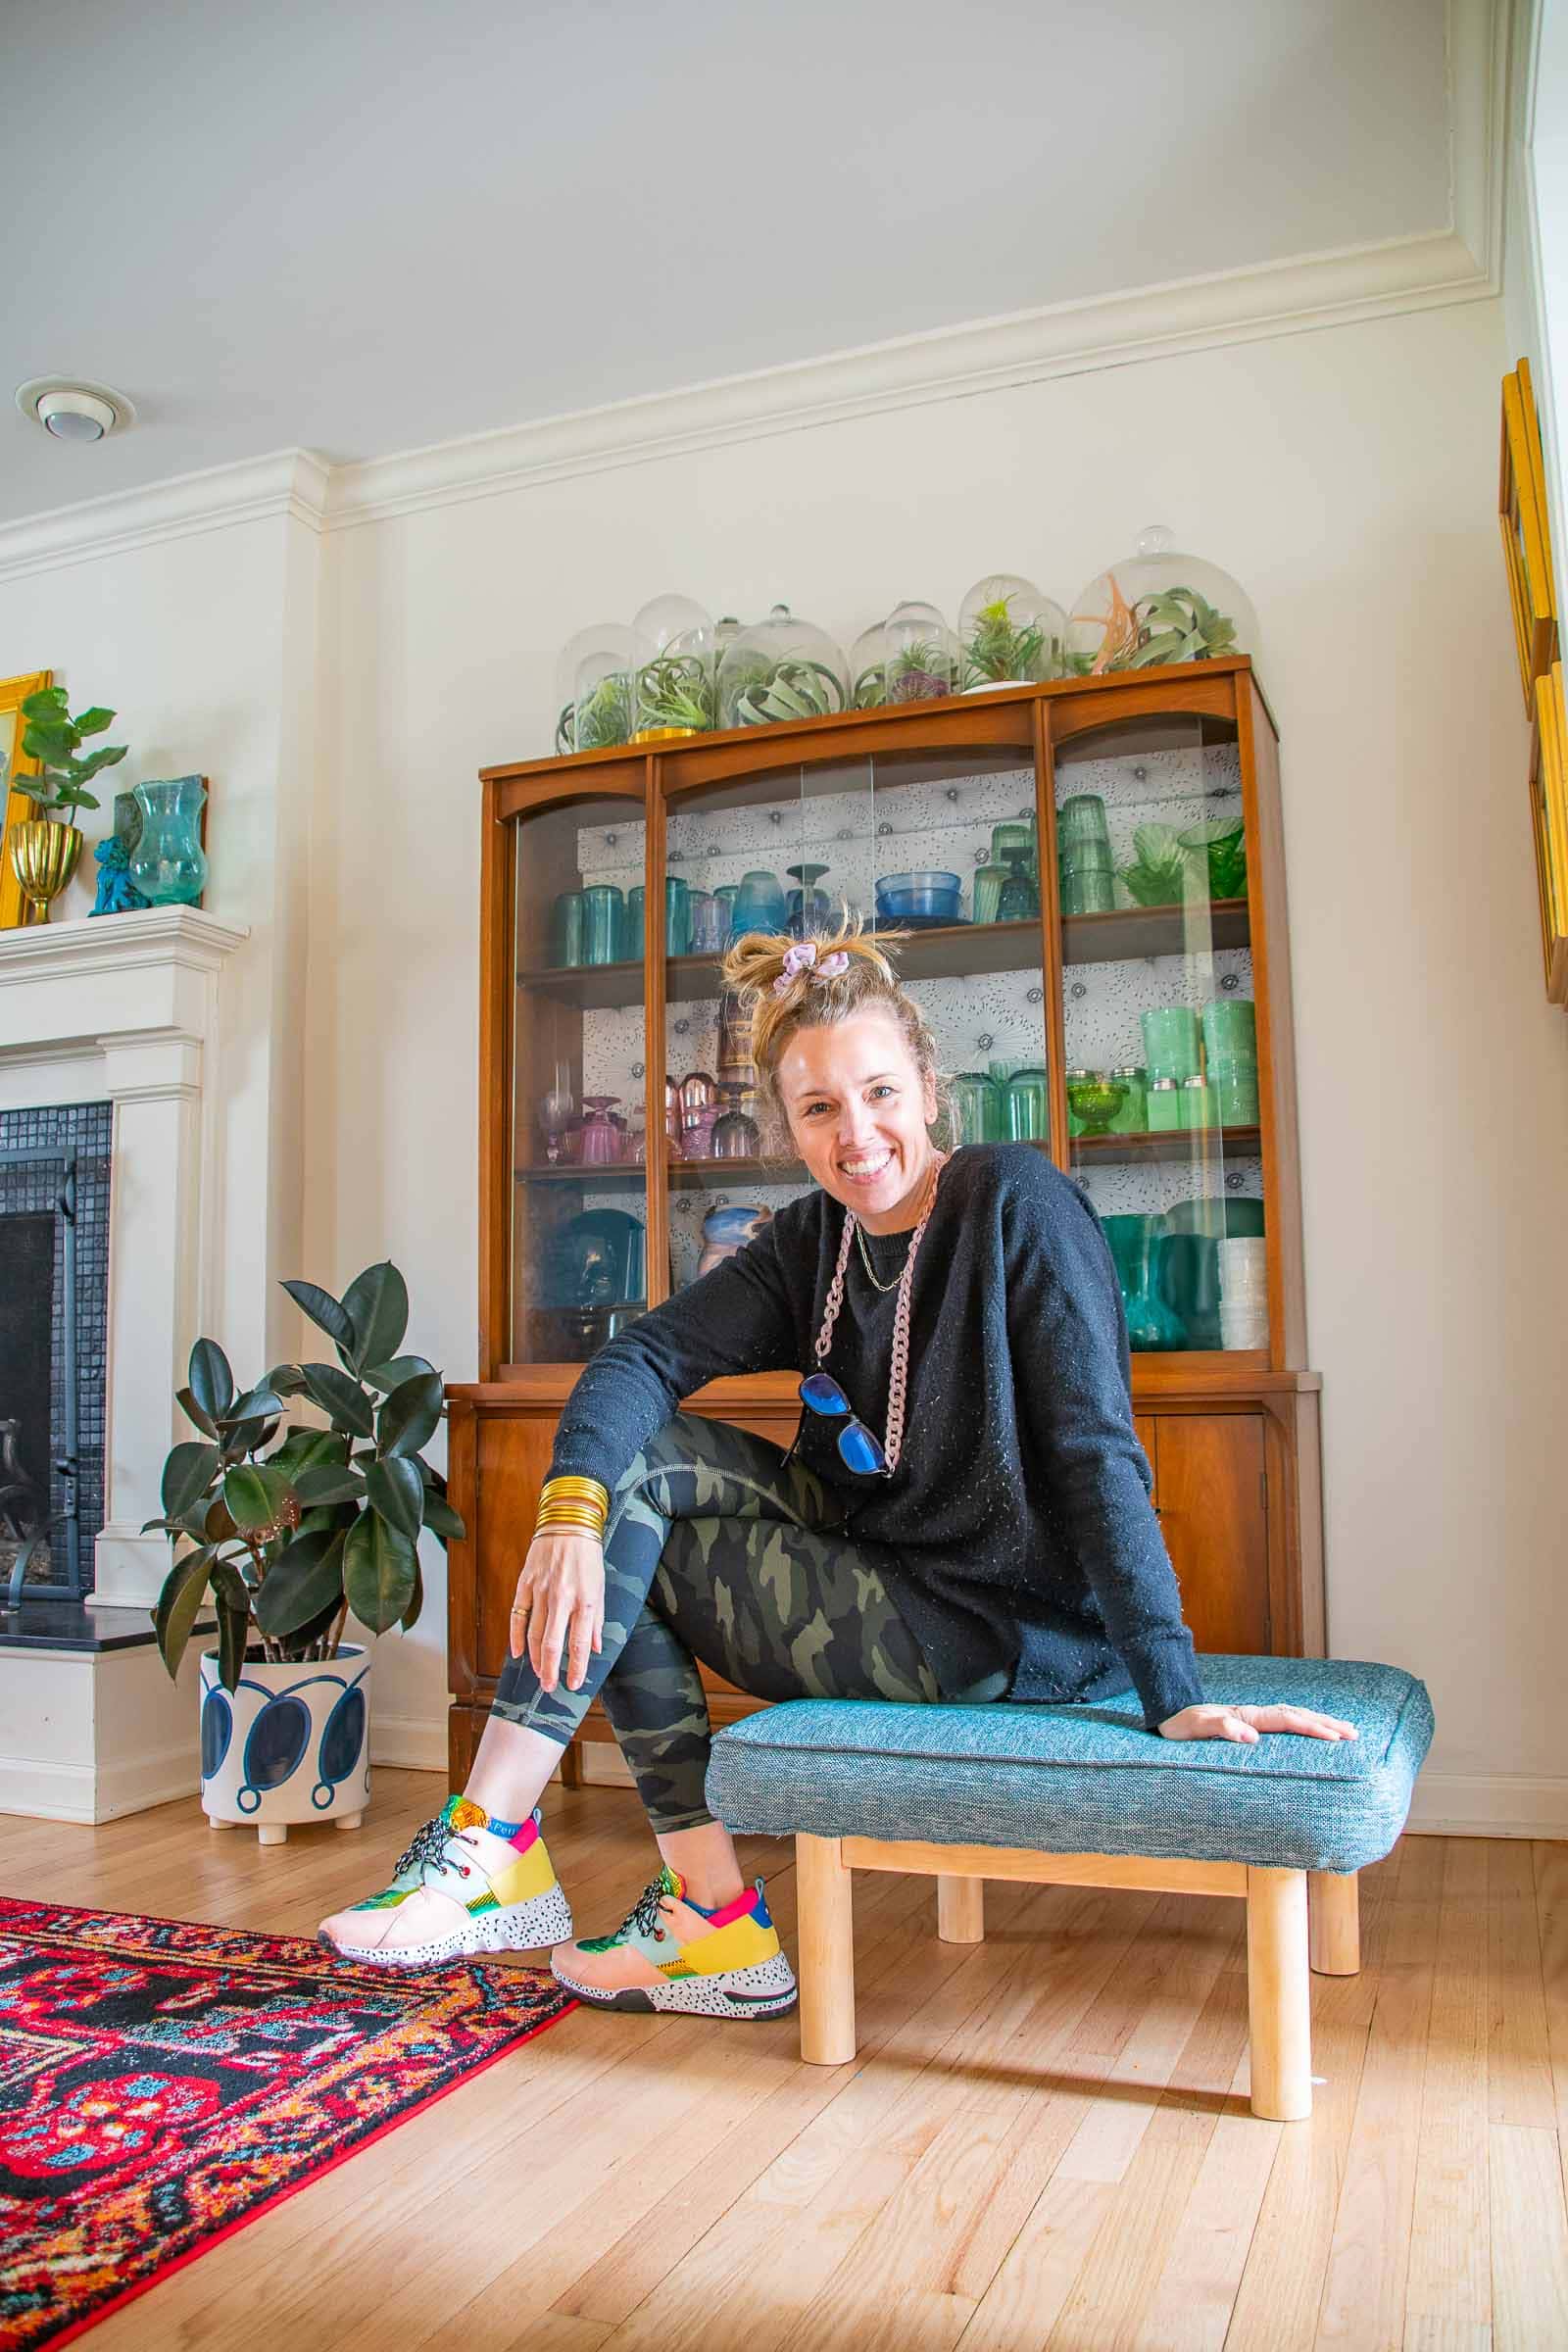
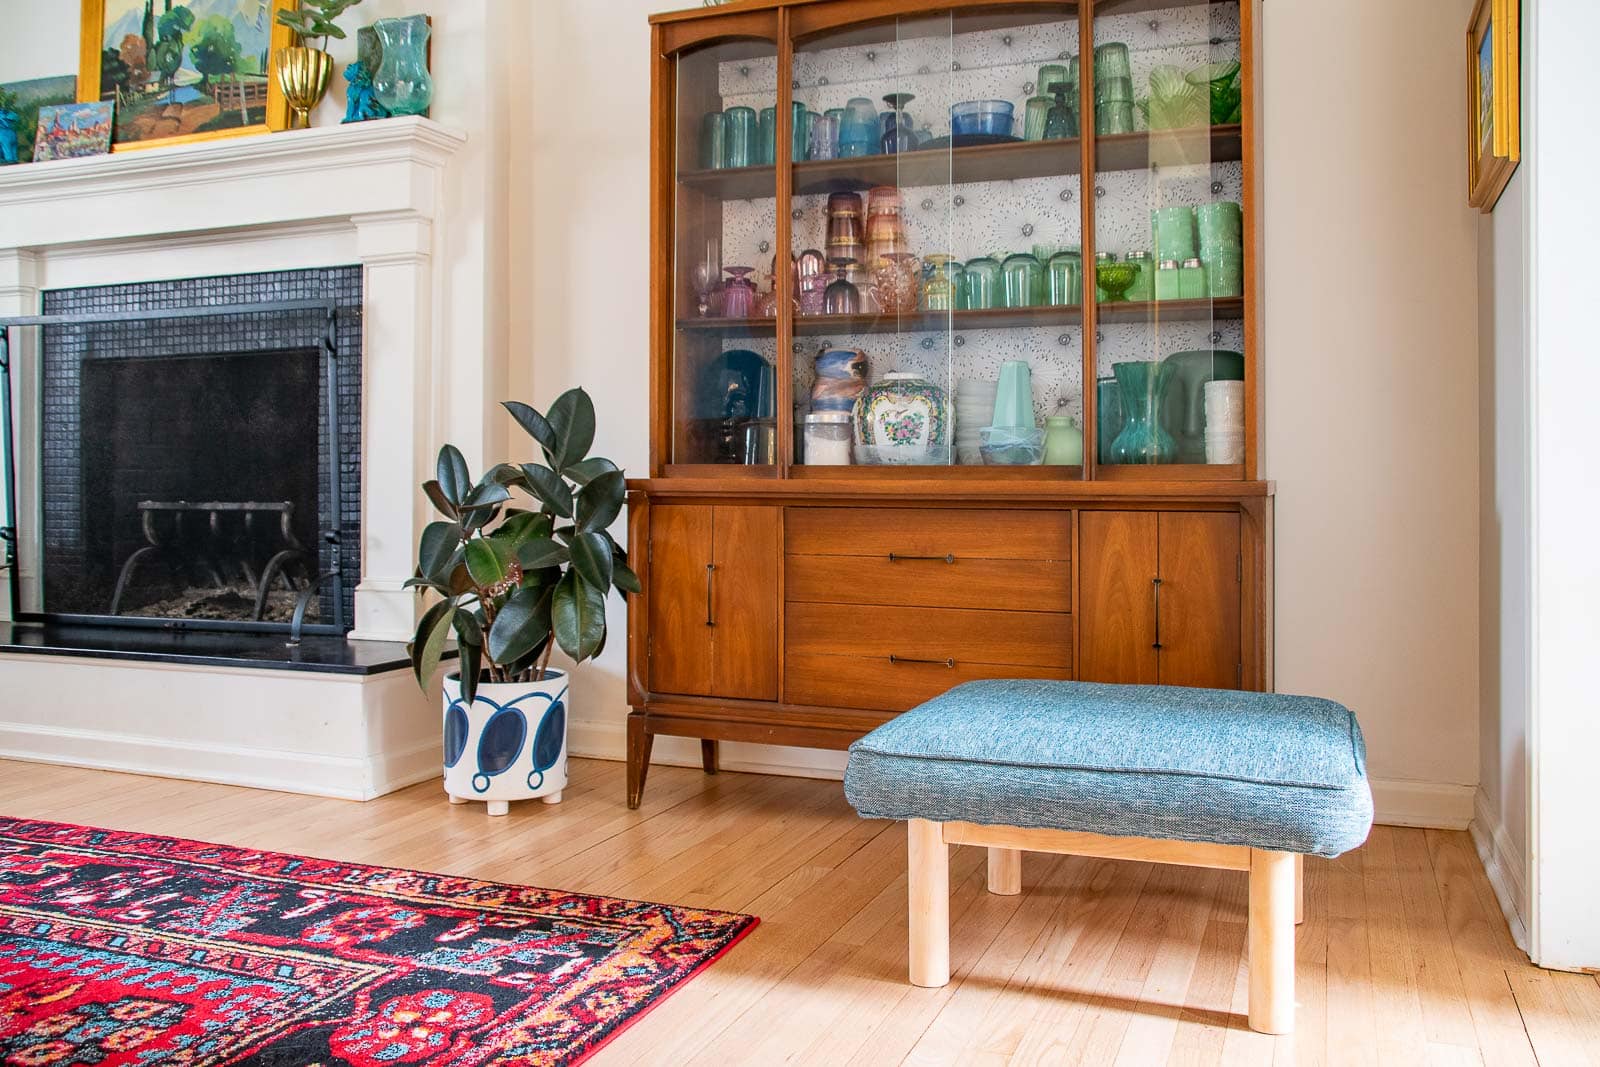
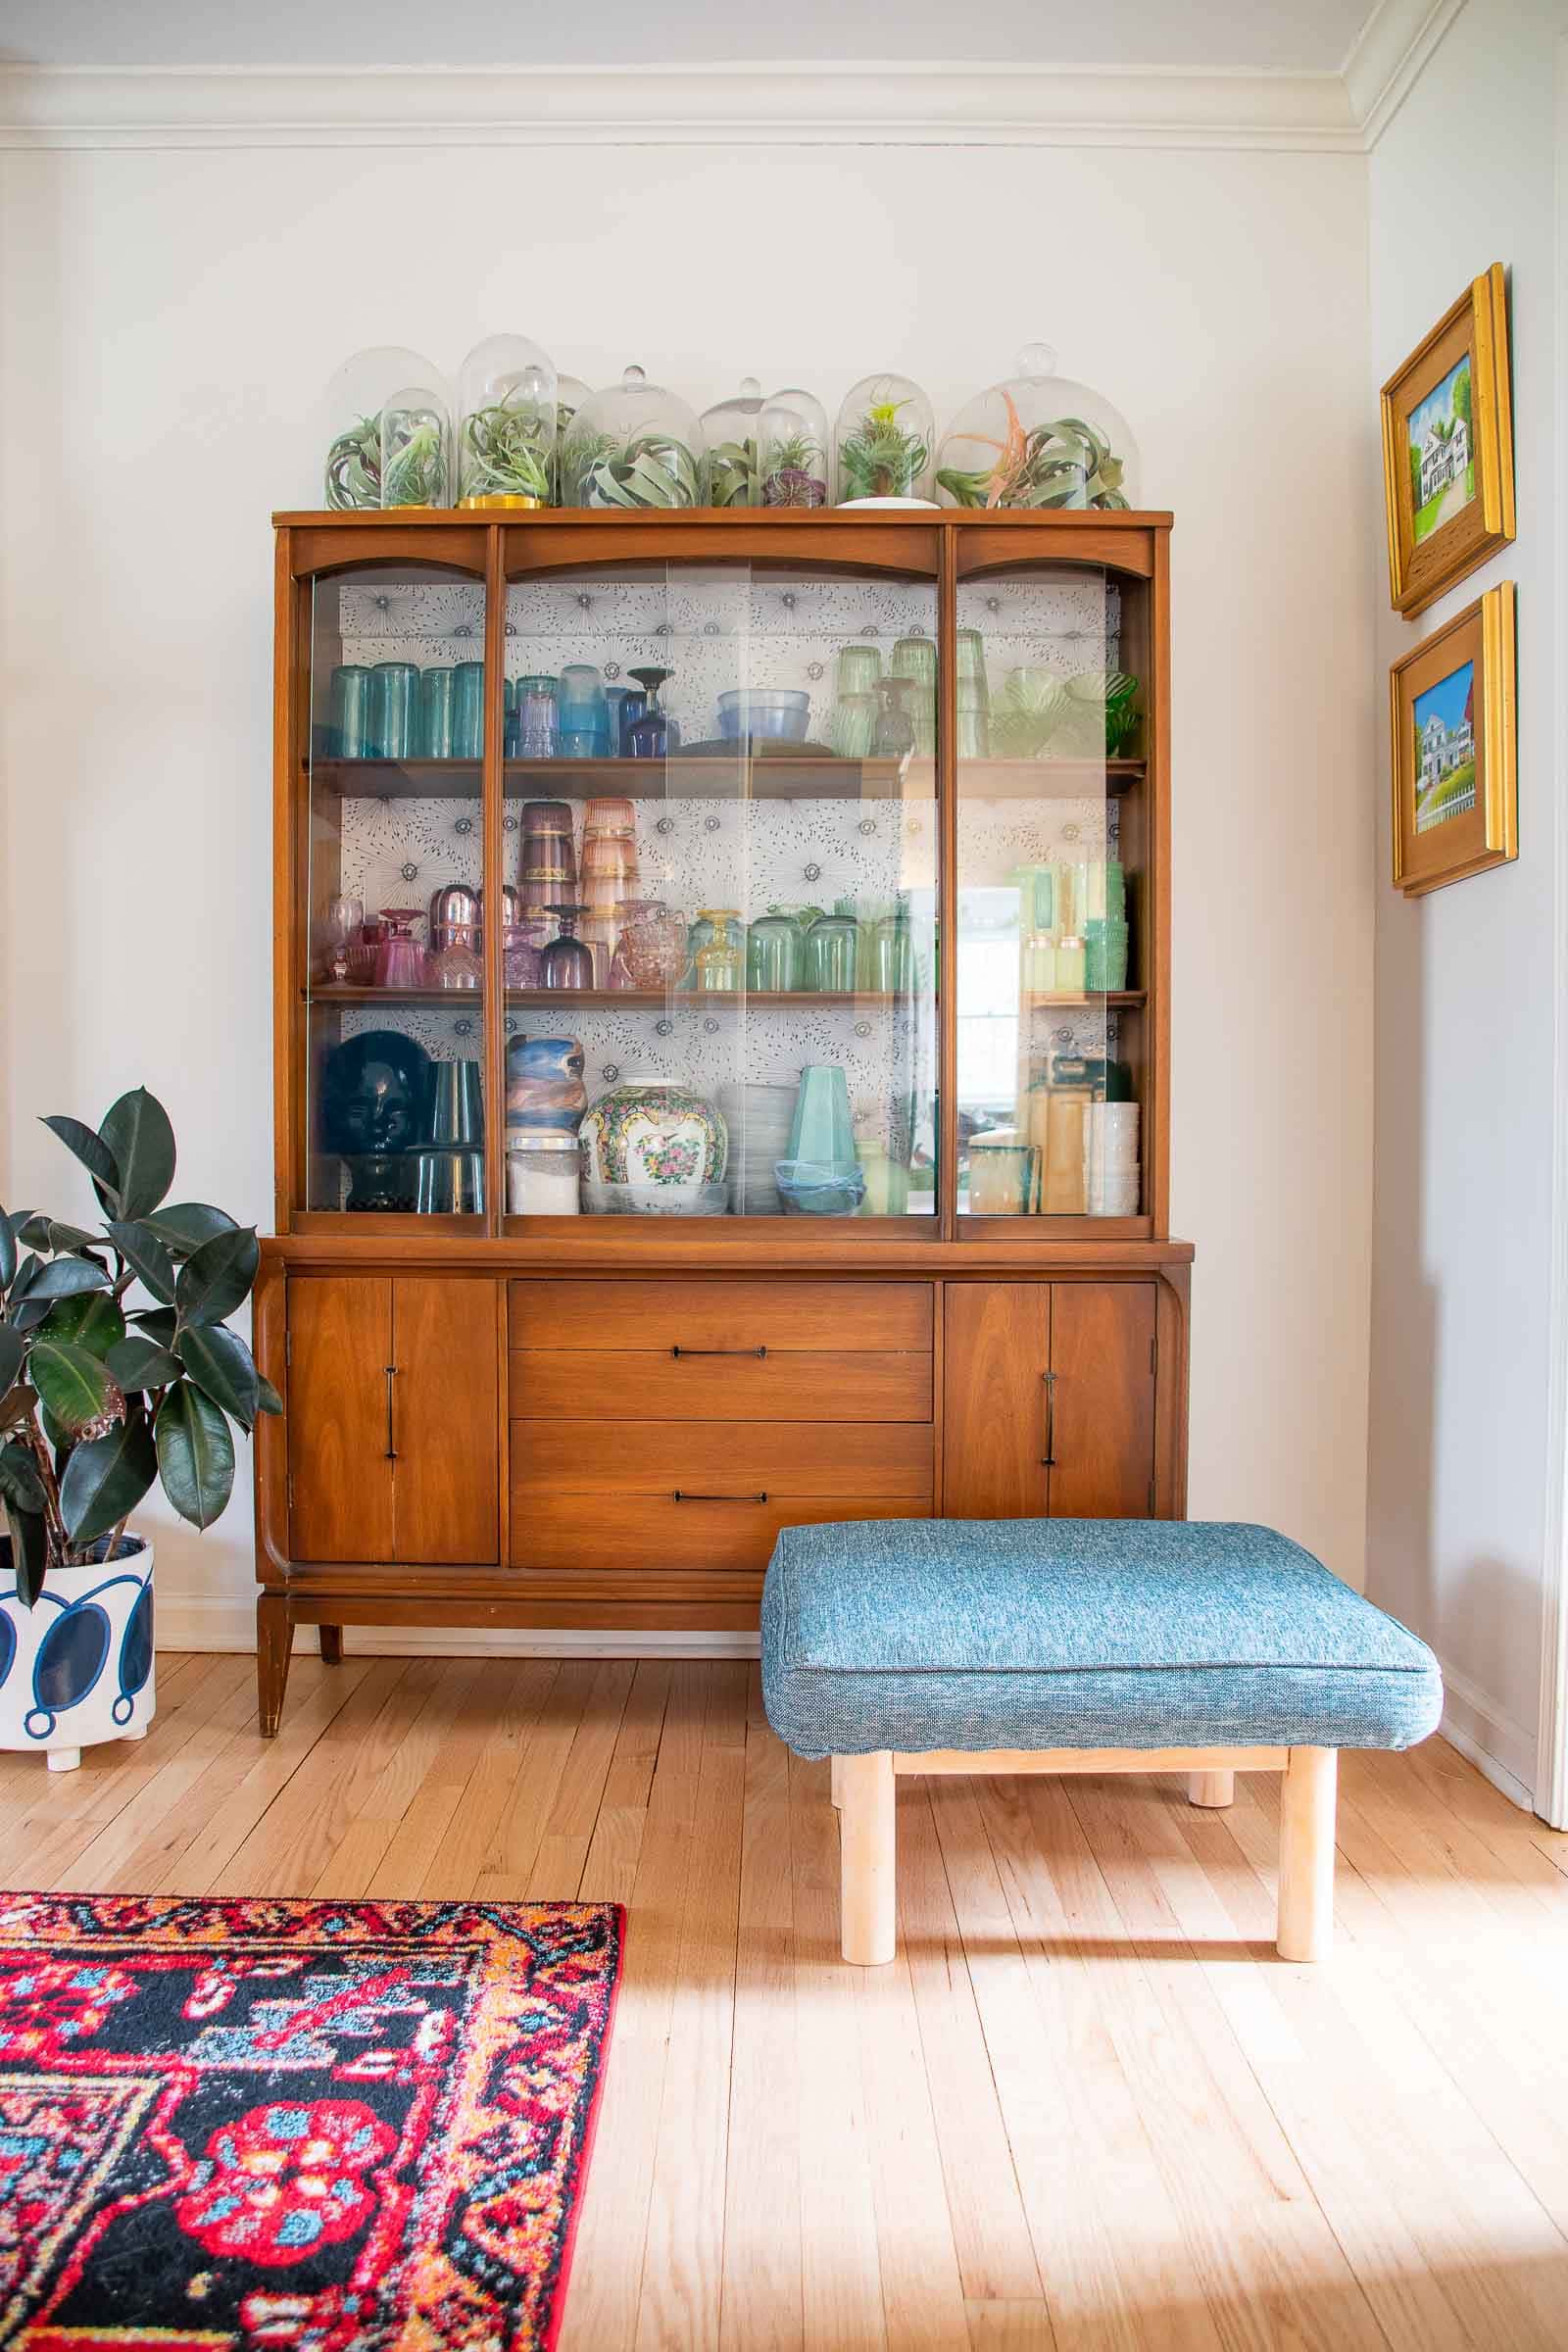
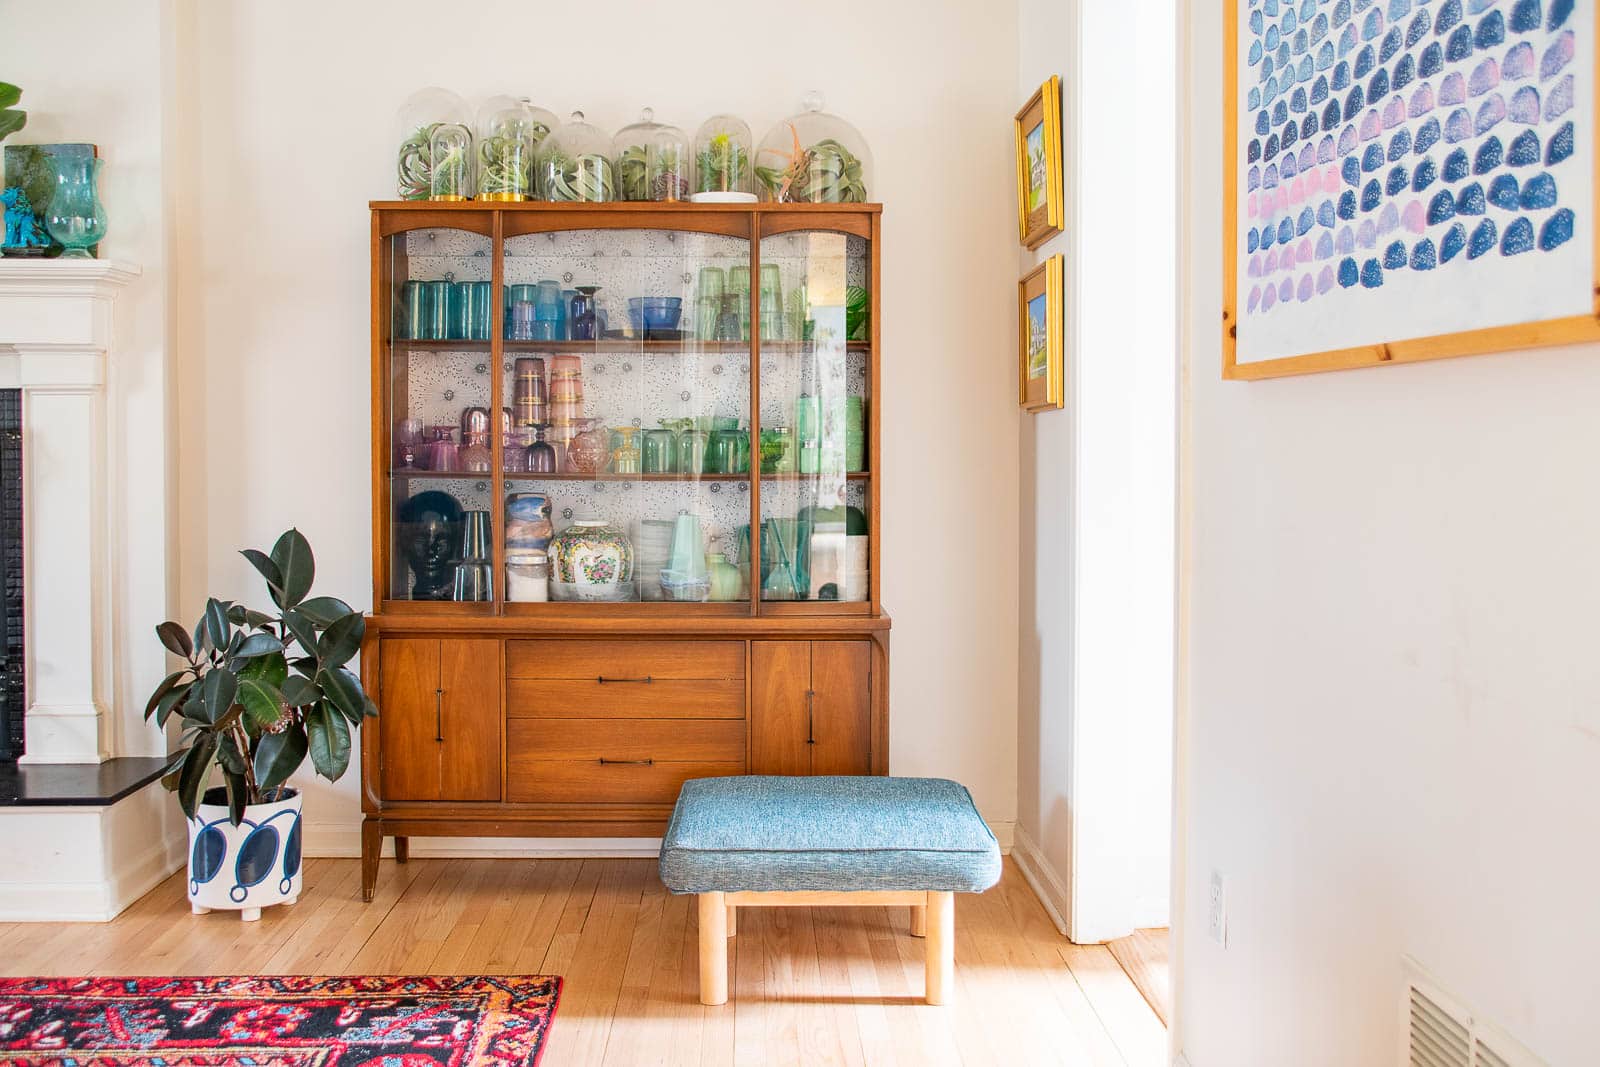
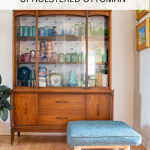
Because this ottoman used to be a table it is SUPER sturdy which is *very* important in the Smith house. This actually fits under the coffee table in our family room so it’s the perfect bonus seat for when we all watch a movie or sit around the fire playing games. The Crypton tweed fabric is soft and gorgeous and perfect for a busy space like this because of its durability. I got two other fabric styles and am already thinking of where I can use them… this fabric is such a great option for any high traffic surface!
With just a little bit of fabric and some clever sewing… I took this $10 table:
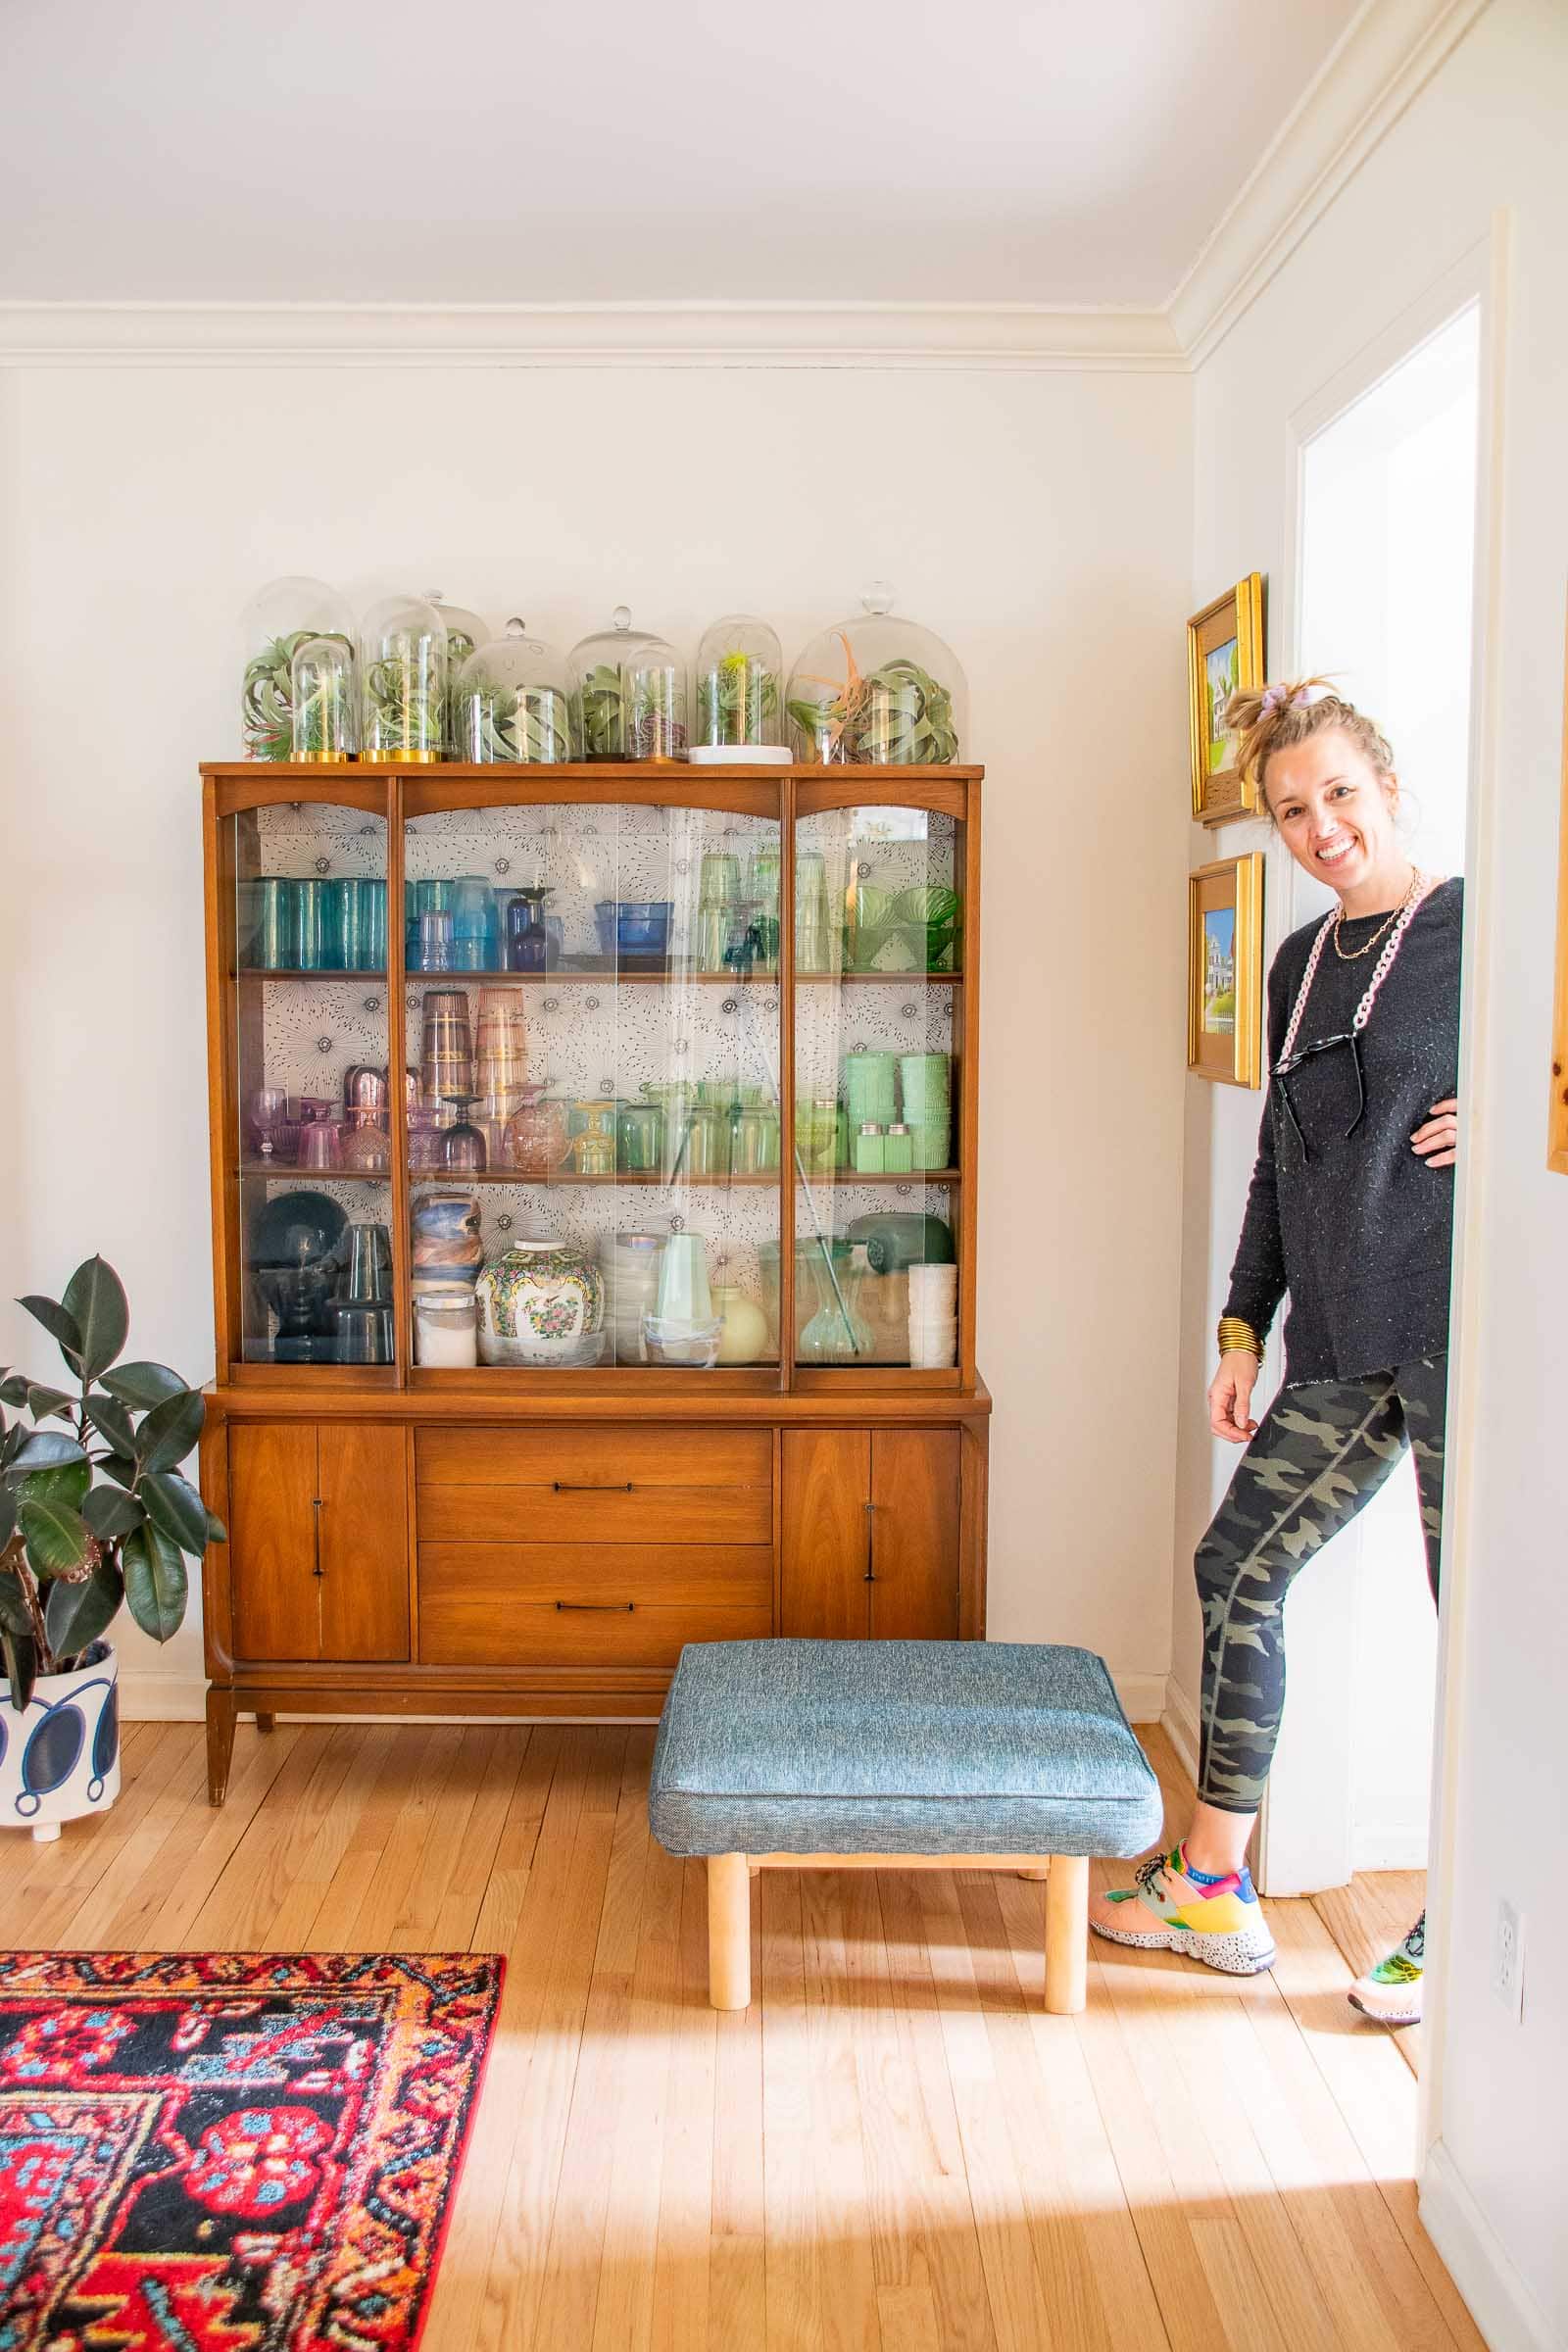
And turned it into this MCM looking ottoman!


This is Such a Useful Piece! I haDn’t heard of that fabric, but It souNds like magic!
Another fab project! I have to CHECK-OUT that fabric!
Such a creative project, I’m gonna have to check out this fabric!
Love it so mUch!
ABSOLUTELY amazing how this Ottoman turned out Charlotte!