Go Forth And Upholster?
Psssst… this post *might* contain affiliate links: see my disclosure here.
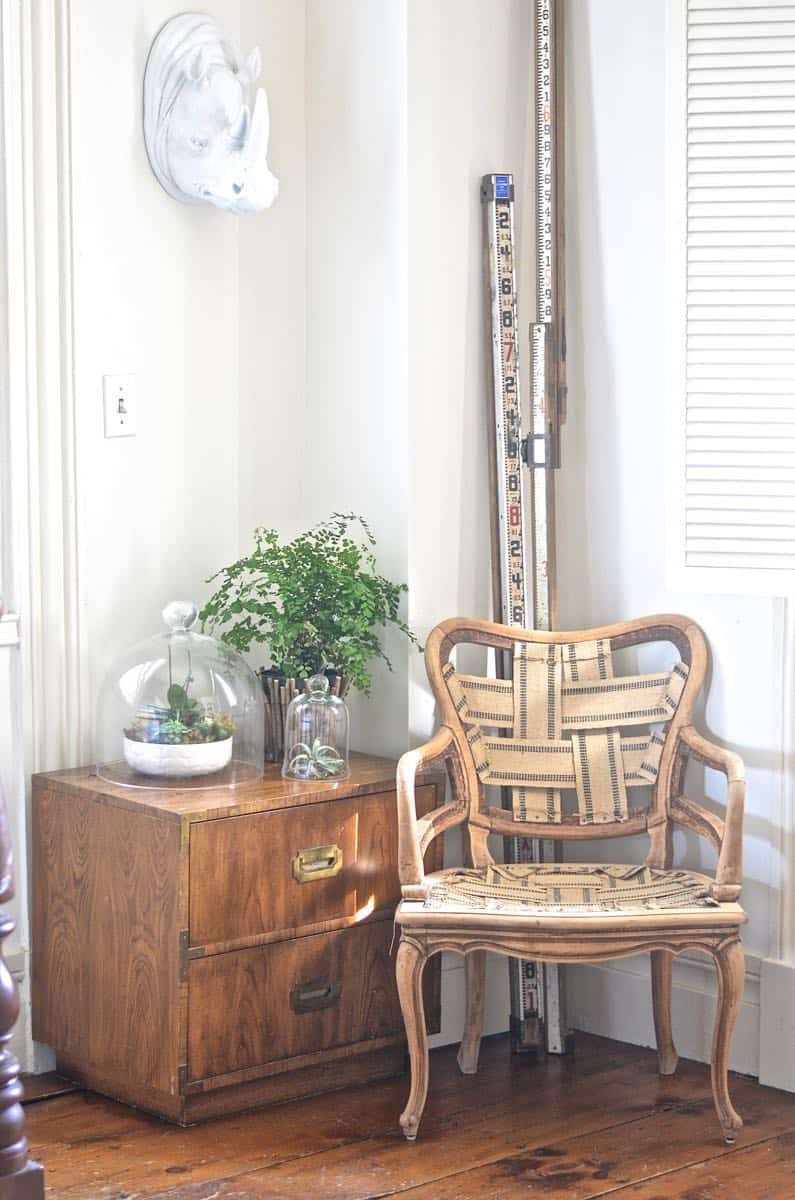
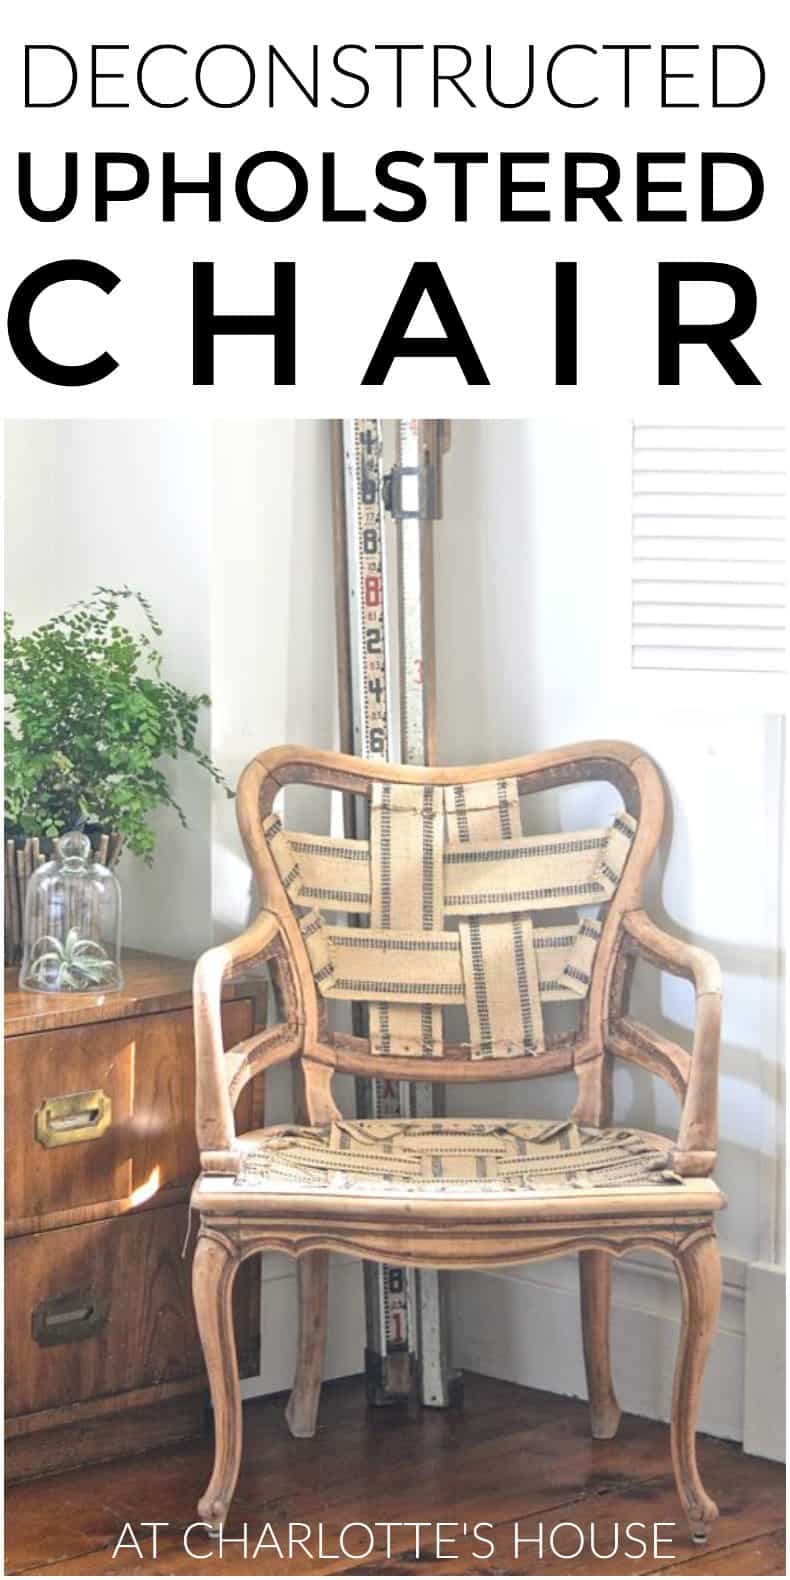
This has been sitting in a corner for about a month now (since Memorial day, who am I kidding) and I’m stuck. I have an amazing idea… but maybe not for this piece.
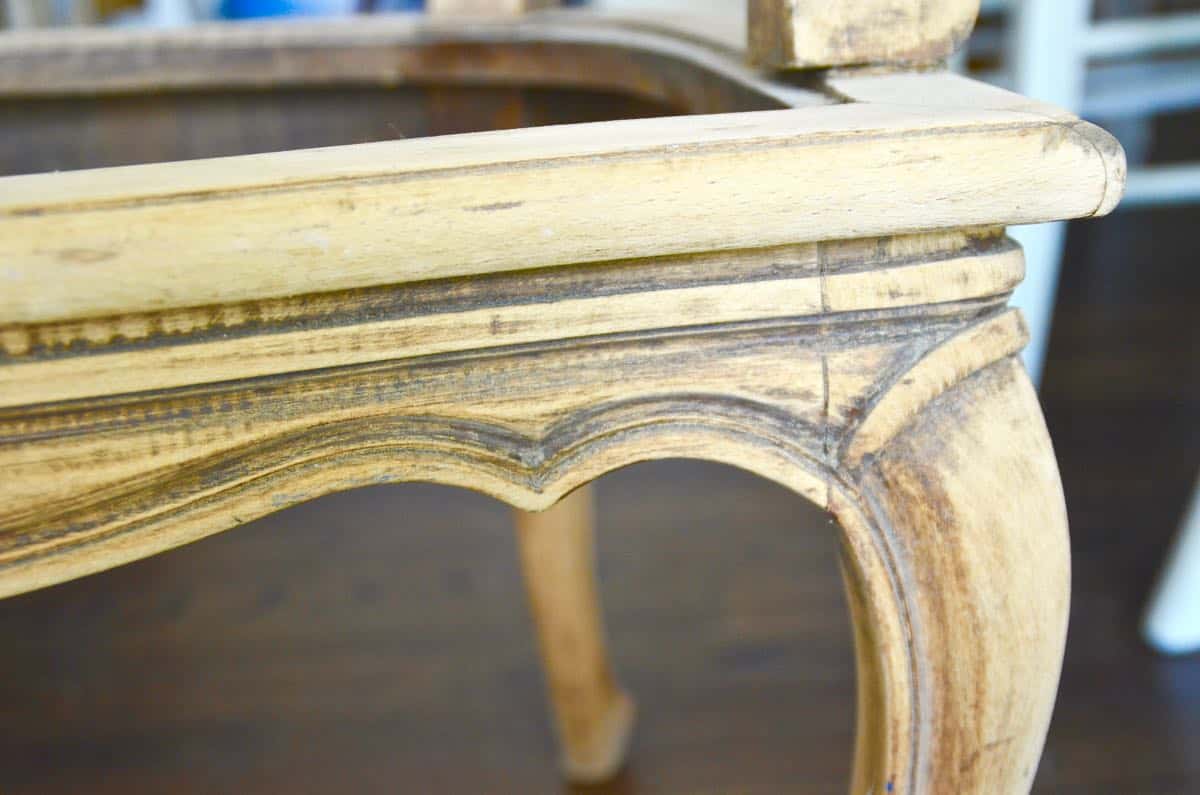
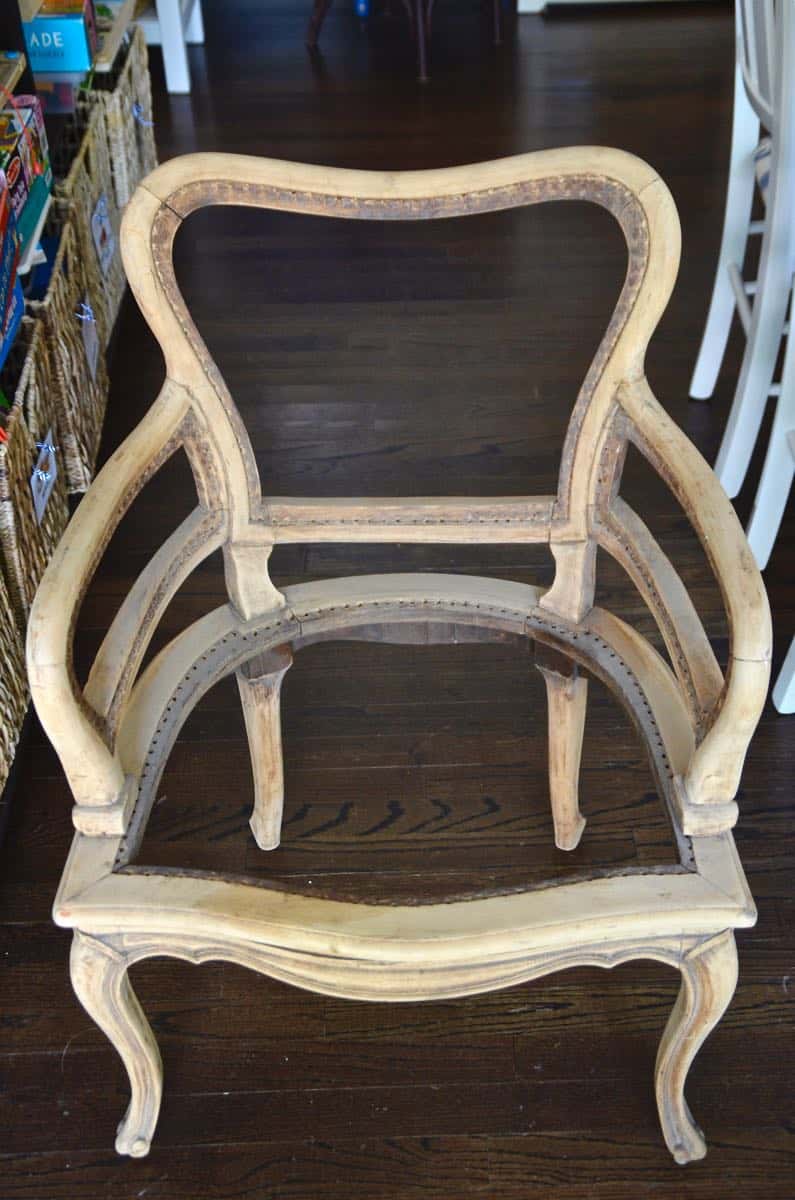
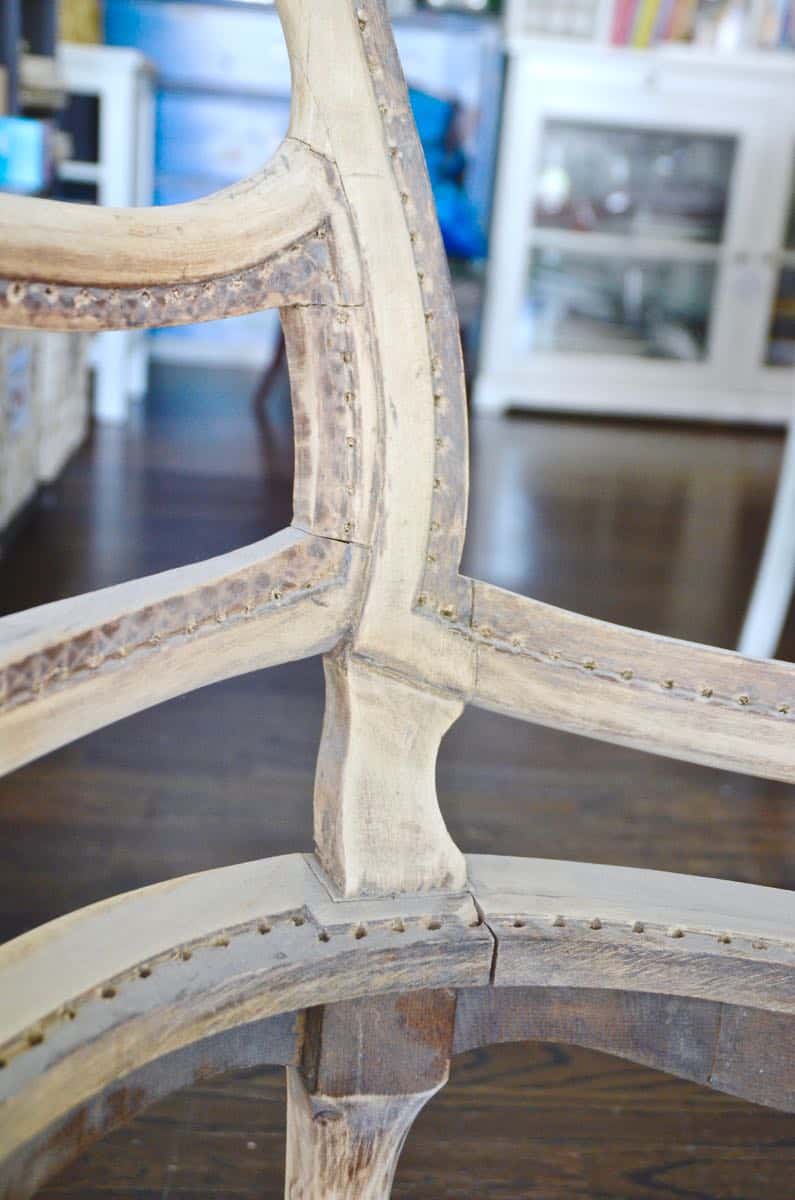
Backstory: I saw this stripped and bare chair frame on Craigslist months and months ago and loved the color and the price ($40). I’ve paid less for more, but something about the exposed wood and the interesting lines was so cool to me.
Shop my favorites!
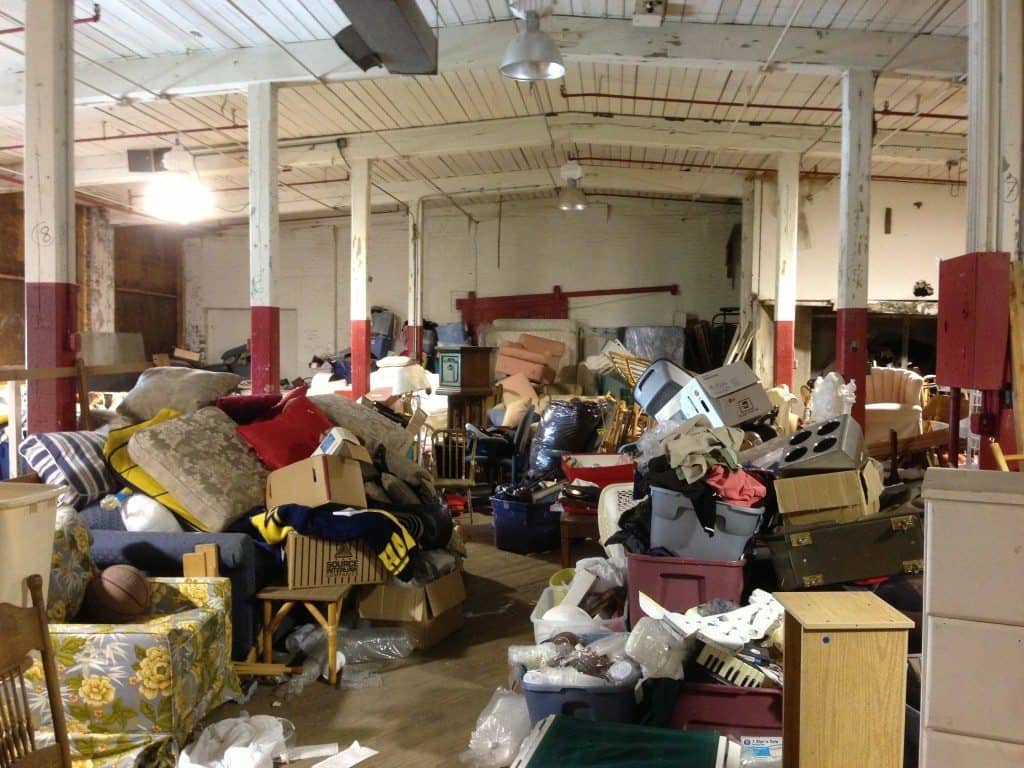
(And… this is how I stumbled across the warehouse of furniture for this bench!)
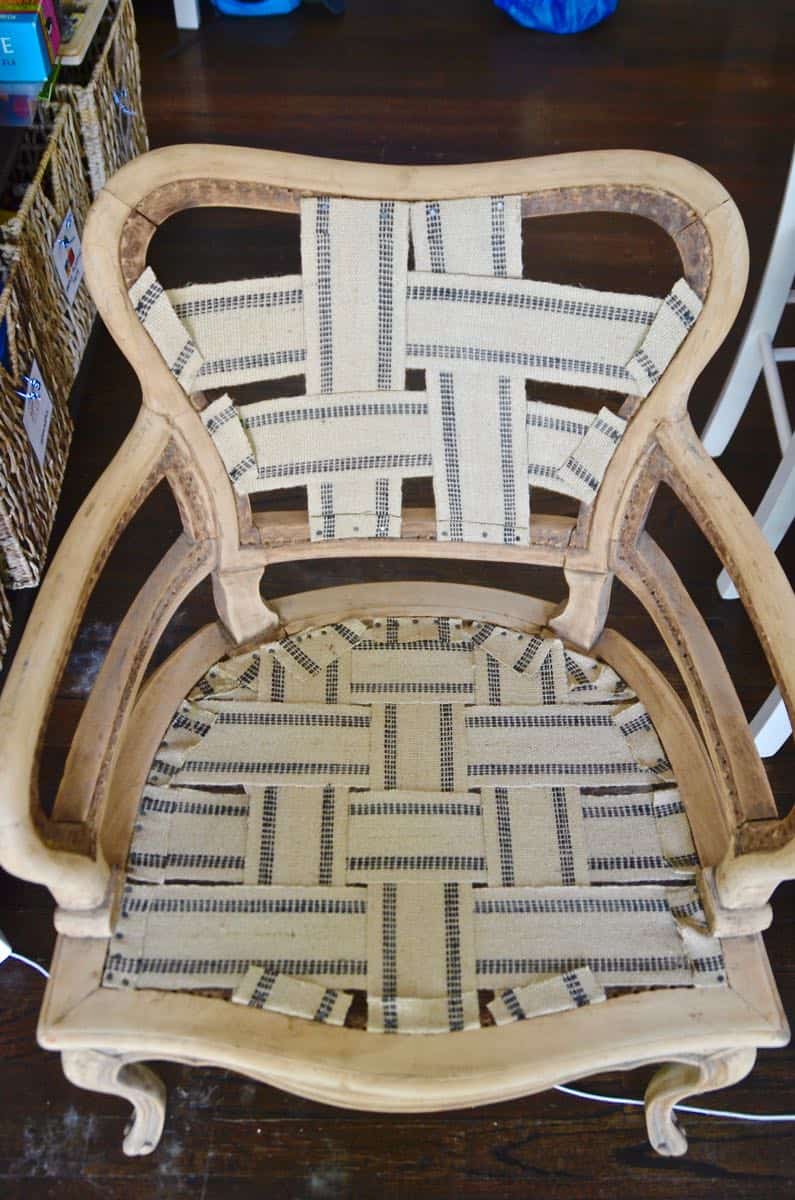
I got so far as the webbing. (I’ll show you how to do that in a sec.) But I’m stumped with the padding/ upholstery. My guess is that this chair used to be cane. There aren’t the tell tale signs of staple marks on an upholstered piece and it’s a little tricky to envision where an upholstered seat cushion would go. A loose seat cushion is another story.
Here’s the problem… I kind of like the way the webbing looks plain! It’s totally comfortable… and totally sturdy so the upholstery is simply an aesthetic decision.
What do you think?! Yay or nay for upholstery?
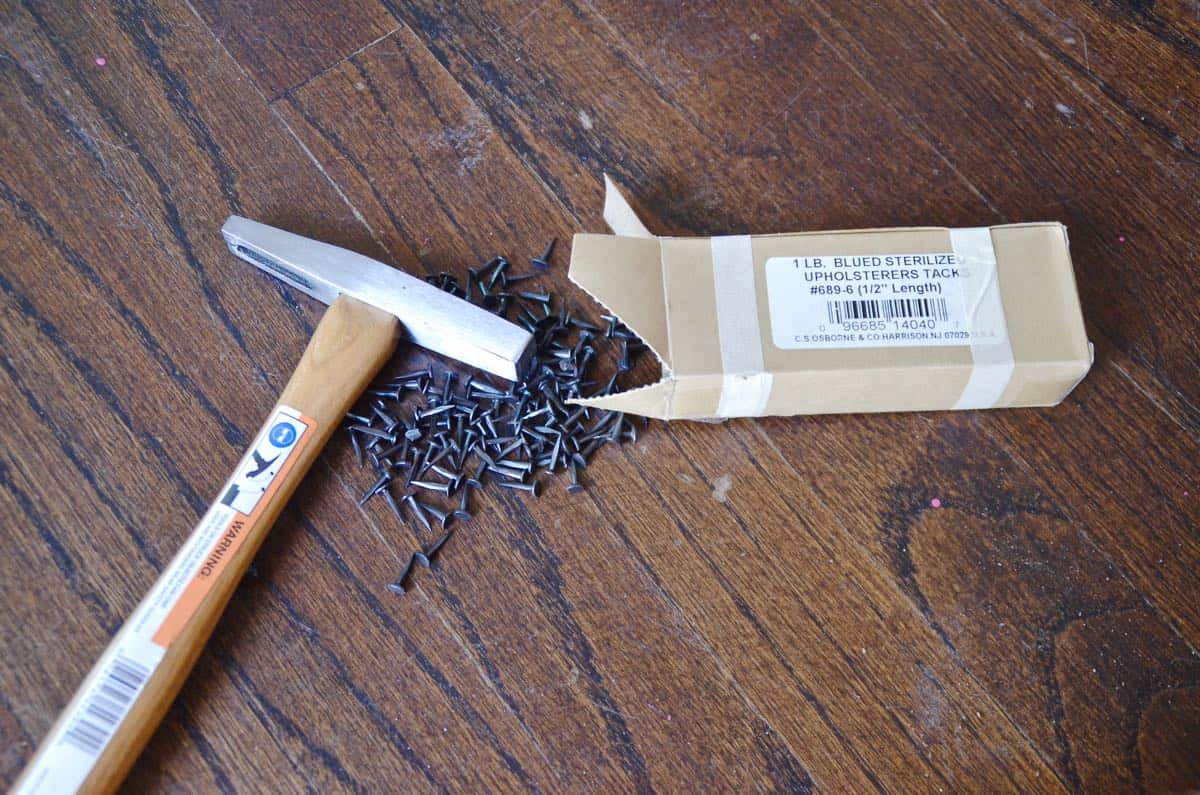
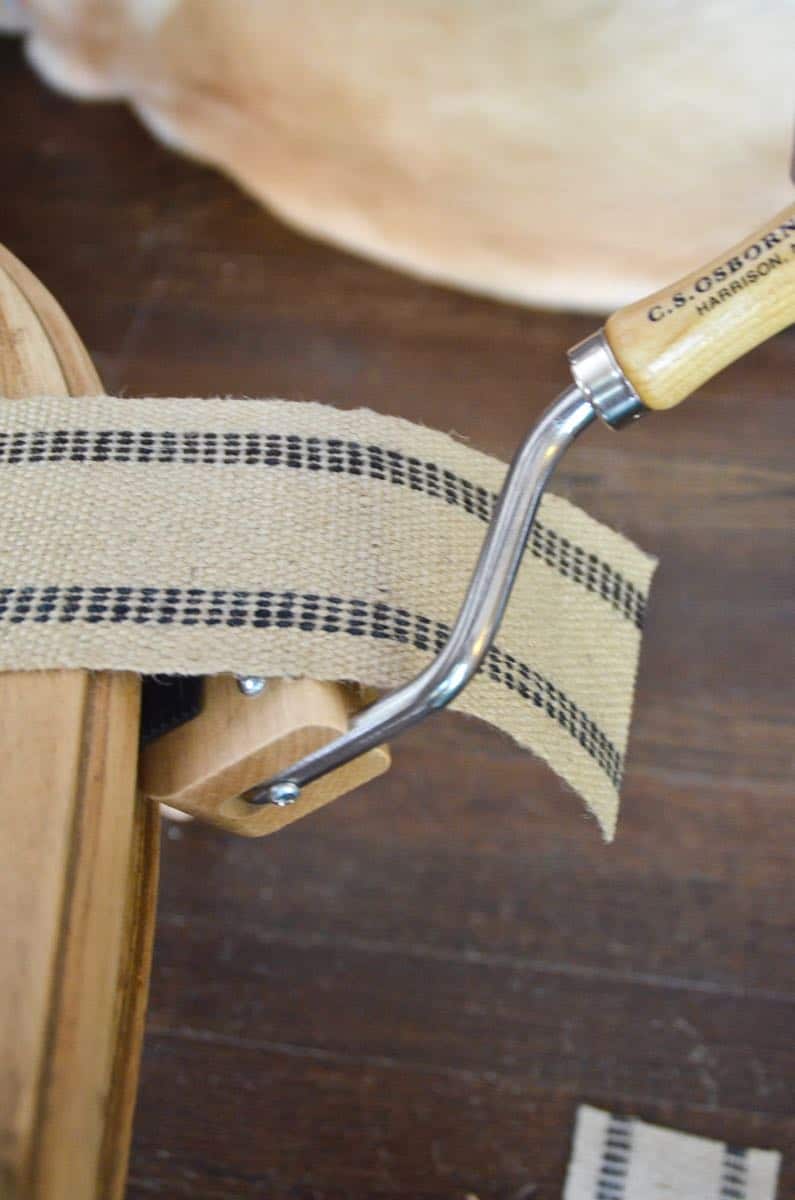
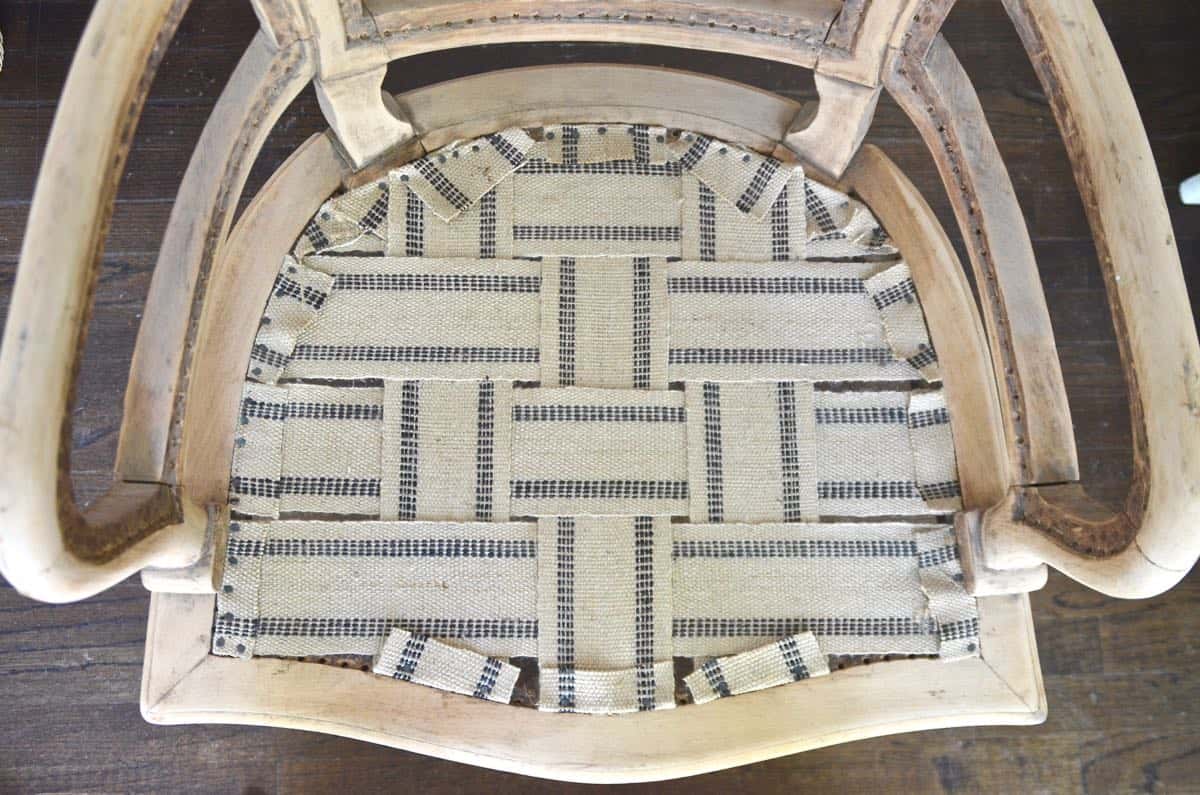
Oh, and here’s how I did the webbing (all affiliate links). You’ll need upholstery tacks (mine are 1/2″), a tack hammer, a webbing stretcher, and webbing. You can find jute webbing like this at many craft stores or online at upholstery supply sites.
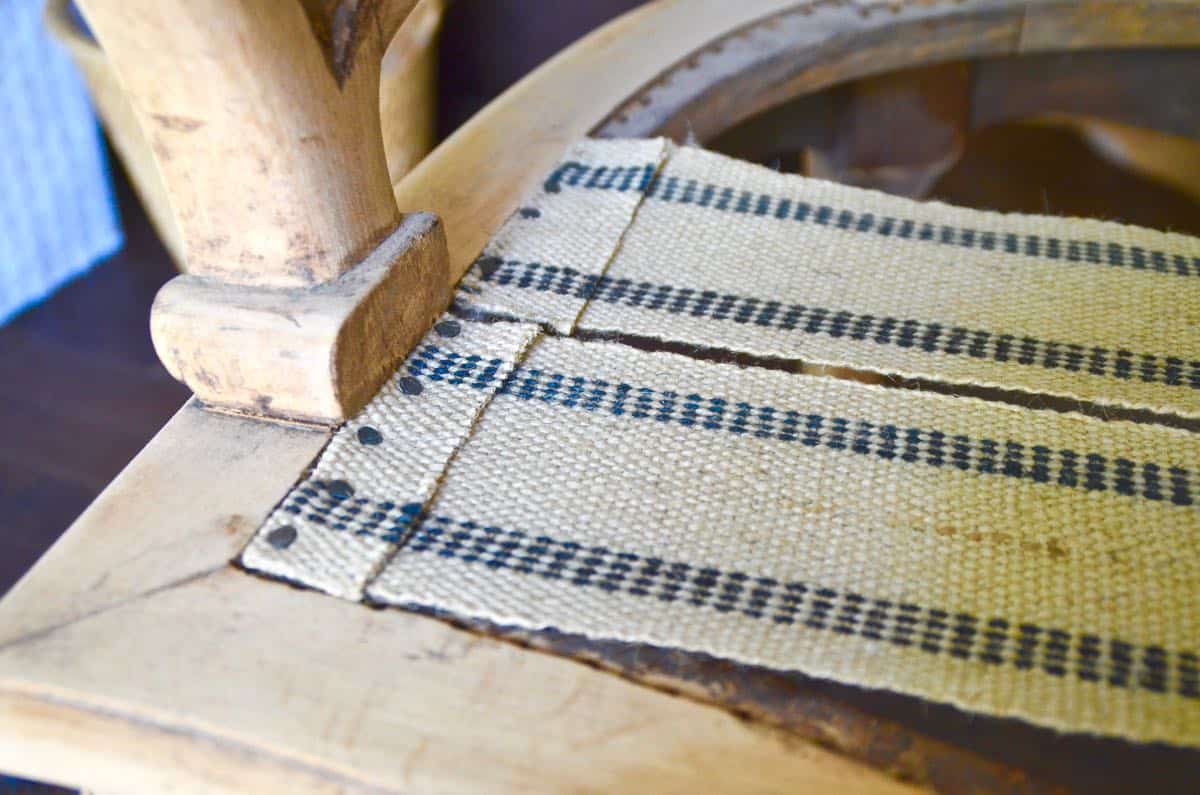
Start in the middle and work your way outwards. Fold over the end of your webbing and hammer in 5 tacks along the edge.
Hold the webbing across the chair frame and hook it onto the teeth of the stretcher. Bracing the black rubber of the stretcher against the chair frame, you can pull the handle of the stretcher down towards the floor thereby stretching the webbing across your seat opening. You don’t want your webbing to be super tight, but you definitely want it to be taught. Imagine you’re testing a mattress… you want firm, but a little give.
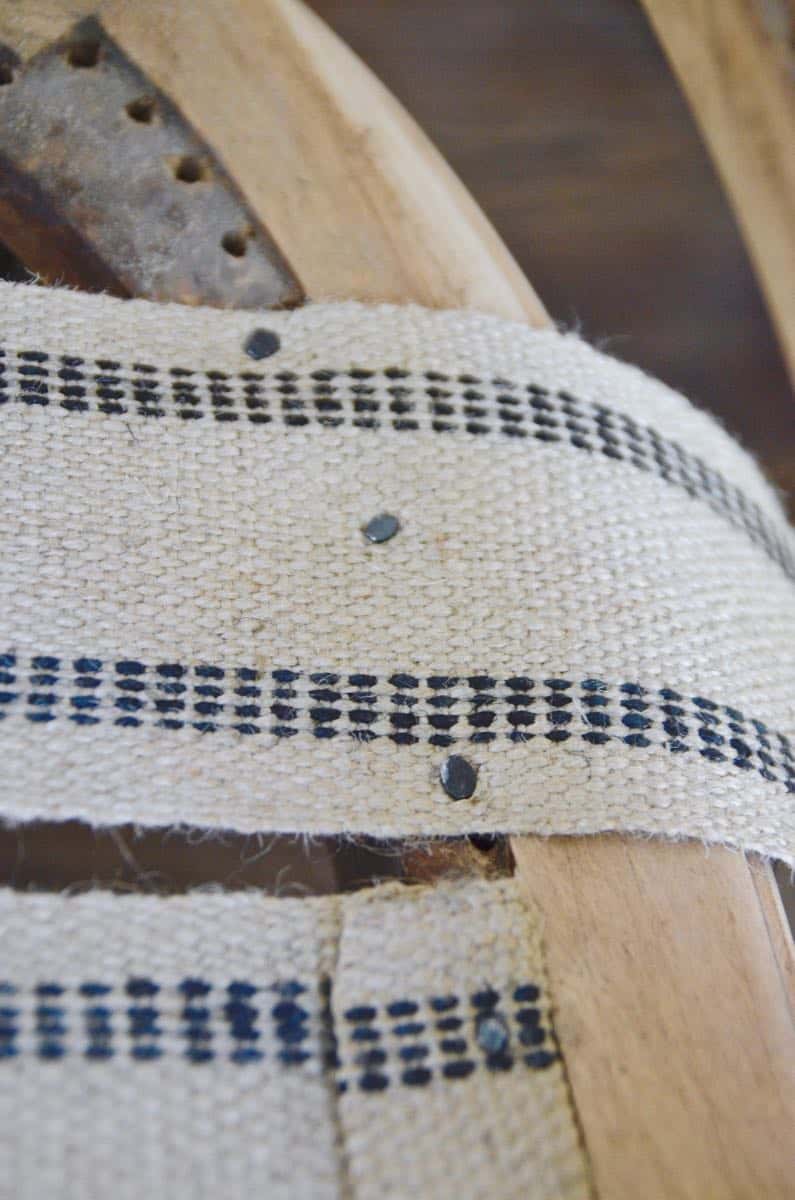
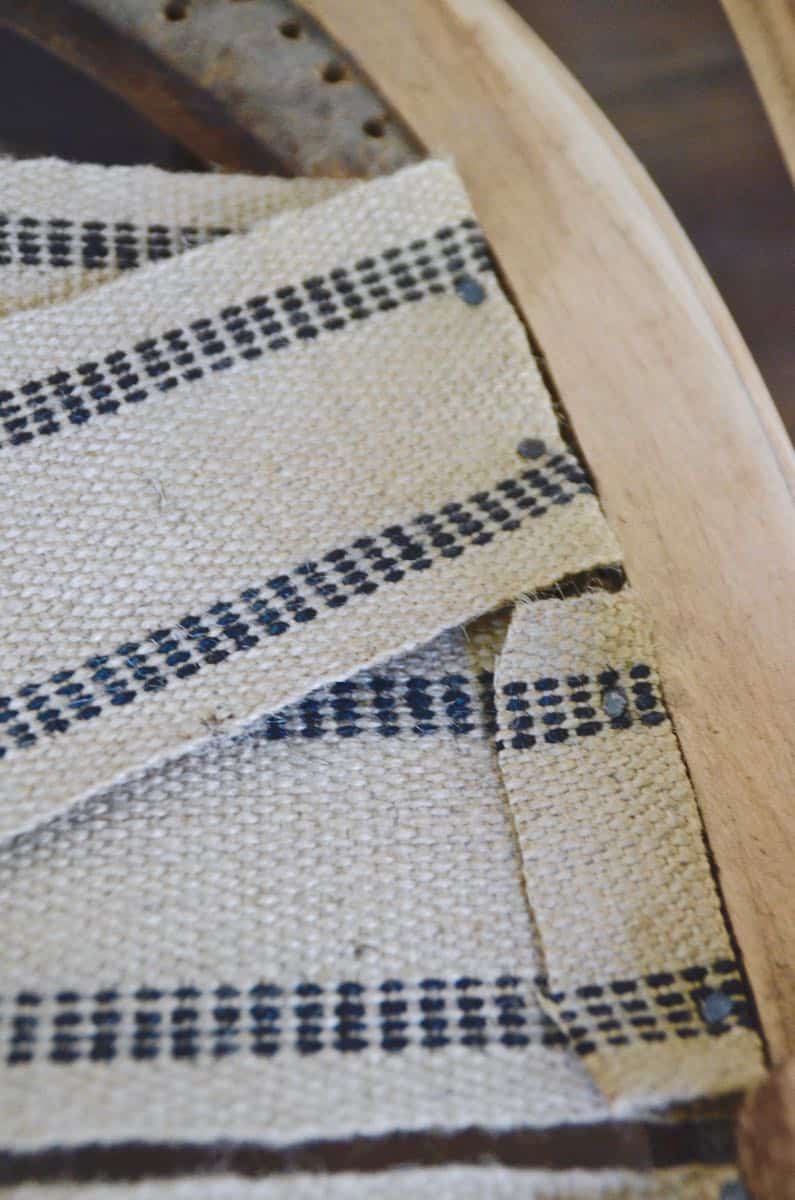
Holding the stretcher in one hand, use the other to hammer three tacks into the webbing on either edge and in the middle. Release your stretcher, and cut your webbing leaving a 1 1/2″ tail. Fold this tail over the area you’ve just tacked, and hammer two more tacks in, this time onto each stripe. (If you hammer in this pattern, you won’t hammer into a space that already has a nail.)
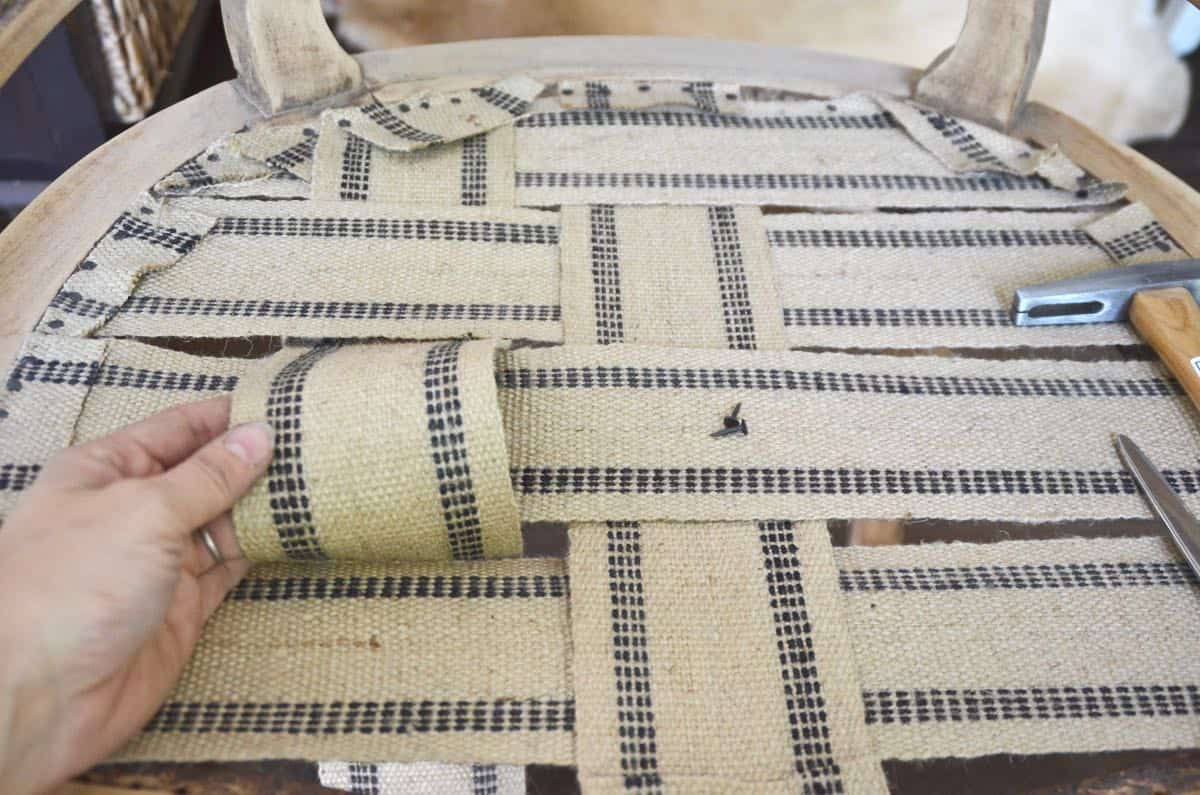
Repeat this process hammering in webbing strips across the seat. You don’t want them touching, but you do want them close-ish… maybe 1/2″=1″ between each strip. Eyeball how many will fit nicely across your space. Once you have all the strips hammered in going in one direction (so that they’re parallel to one and other), you get to start weaving. Remember your grade school art class when you’d weave placemats out of construction paper… that’s what you’re doing here. Over, under, over, under…. then repeat with the adjacent strip but opposite- under, over, under, over…
Again… what do you think? Keep as is with the exposed webbing or go ahead and upholster?! This chair’s future is hanging on the brink for your wise advise, dear readers! Update: Obviously, I’ve kept it as is! It’s currently in the foyer of our new home!



I collect fabric for this exact reason.
There is nothing worse than trying to find a fabric when you need it. Instead I buy as I see prints that I like – even if there isn’t a particular project at hand. Speaking of which, I have so many chairs I need to get going on.
This post may have been the kick in the butt I need to finish them.
As for your chair… I think it needs something. I like the bare webbing idea, but it requires some jazzing up elsewhere, perhaps.
I know… I have boxes of fabric just like you and definitely had some in mind for this, but the lack of an obvious upholstery area on the chair has me thrown…
If you want some neutral, paint the frame white maybe?
That would showcase the webbing.
i would leave it alone for a while – just put a black pillow on it and enjoy it the way it is! and when you get bored…..
That’s sort of how it’s ending up! 🙂 A throw pillow would make it look deliberate. Good call!
I love the look… but if it’s final destination in somewhere in your home, from the shots I’ve seen, I say add the color!
I really like the webbing! I wish there was more of a tone difference between the wood and webbing though. Would you think I was ridiculous for wishing the chair was painted maybe white? I know, I know, probably out of the question. But anyway, def no on adding a cushion. It looks great as is!
It’s definitely a neutral… thinking maybe my house could use a little more neutral but I’d probably upholster before painting. That wood is so pretty!
Charlotte
I think it would look great with cushions that fit the nice shapes. Too hard for me to even contemplate doing but you are such a whizz, I bet you can figure it out.
Love to you,
your cousin, Katharine
I would take the webbing off and add the cane back in. You can buy the cane for as little as £30 a bundle and that should be enough for the entire chair. You can find tutorials online, “that’s what i have done”. Its not as difficult as it looks, It takes a little longer but the sense of achievement is overwhelming. Have a look and may be give it a go. Good Luck
Caning is something I’ve never tried but have wanted to! Maybe I will!! Thanks!
High density foam and burlap will dress it up and you can still see that beautiful chair frame!