Graphic Painted Concrete Patio
Psssst… this post *might* contain affiliate links: see my disclosure here.
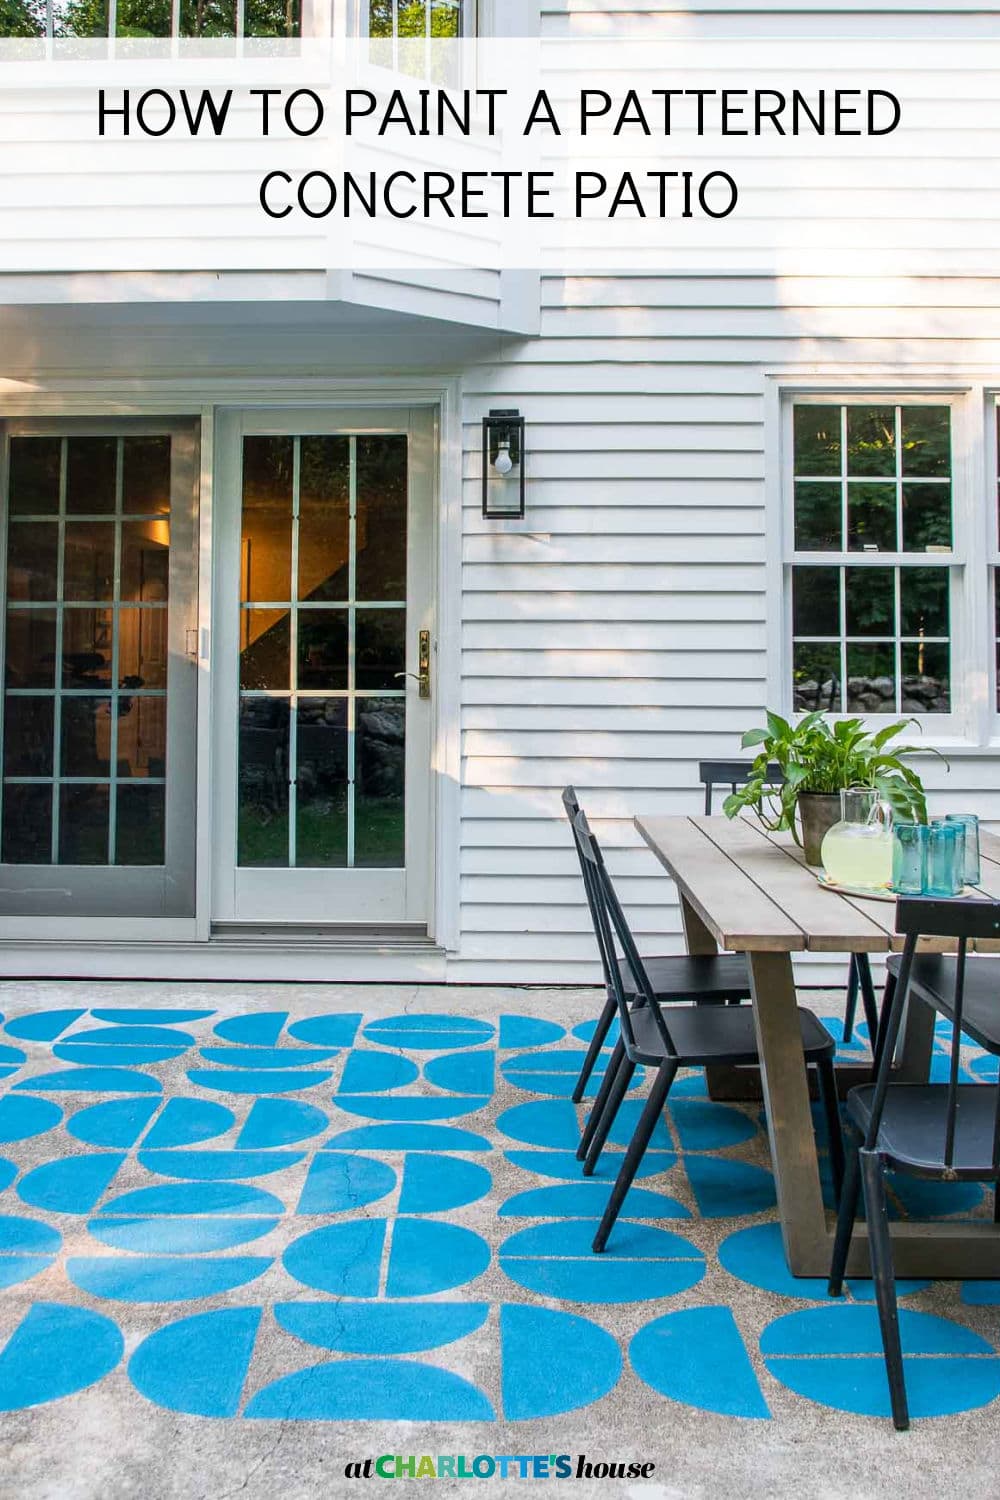
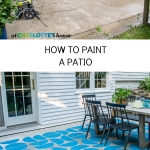
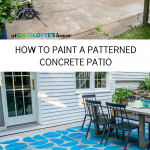
How to Paint a Concrete Patio
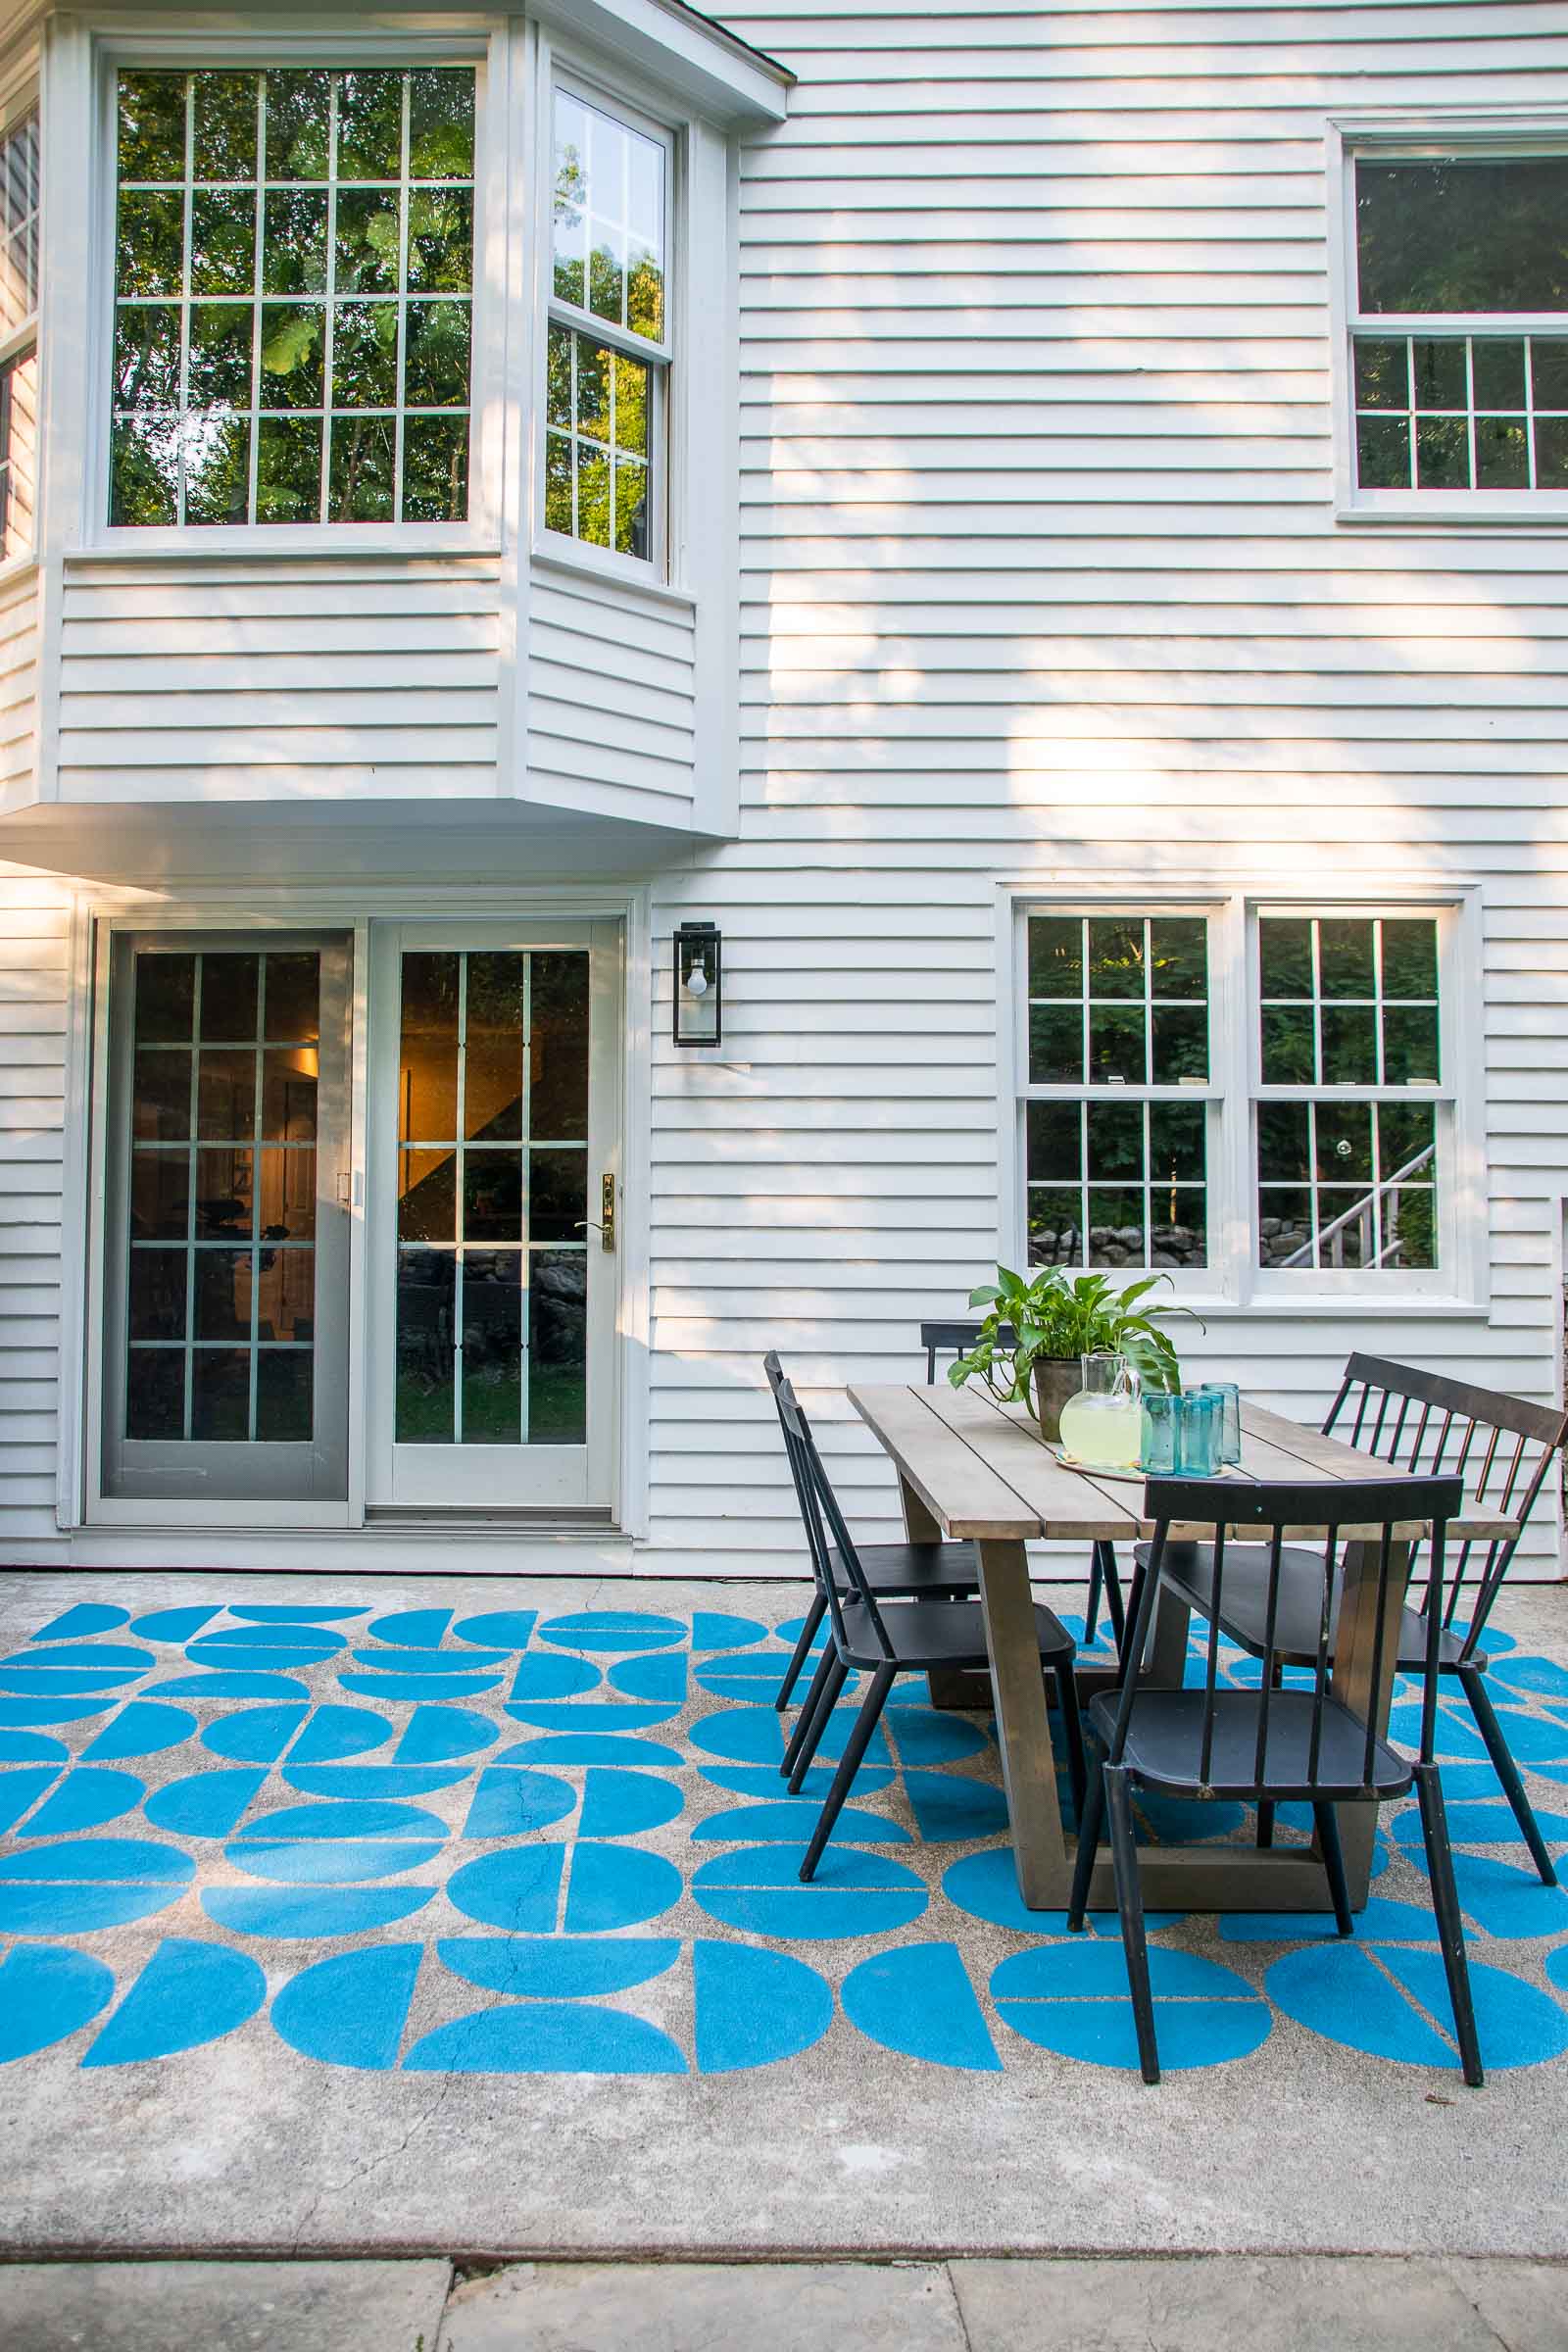
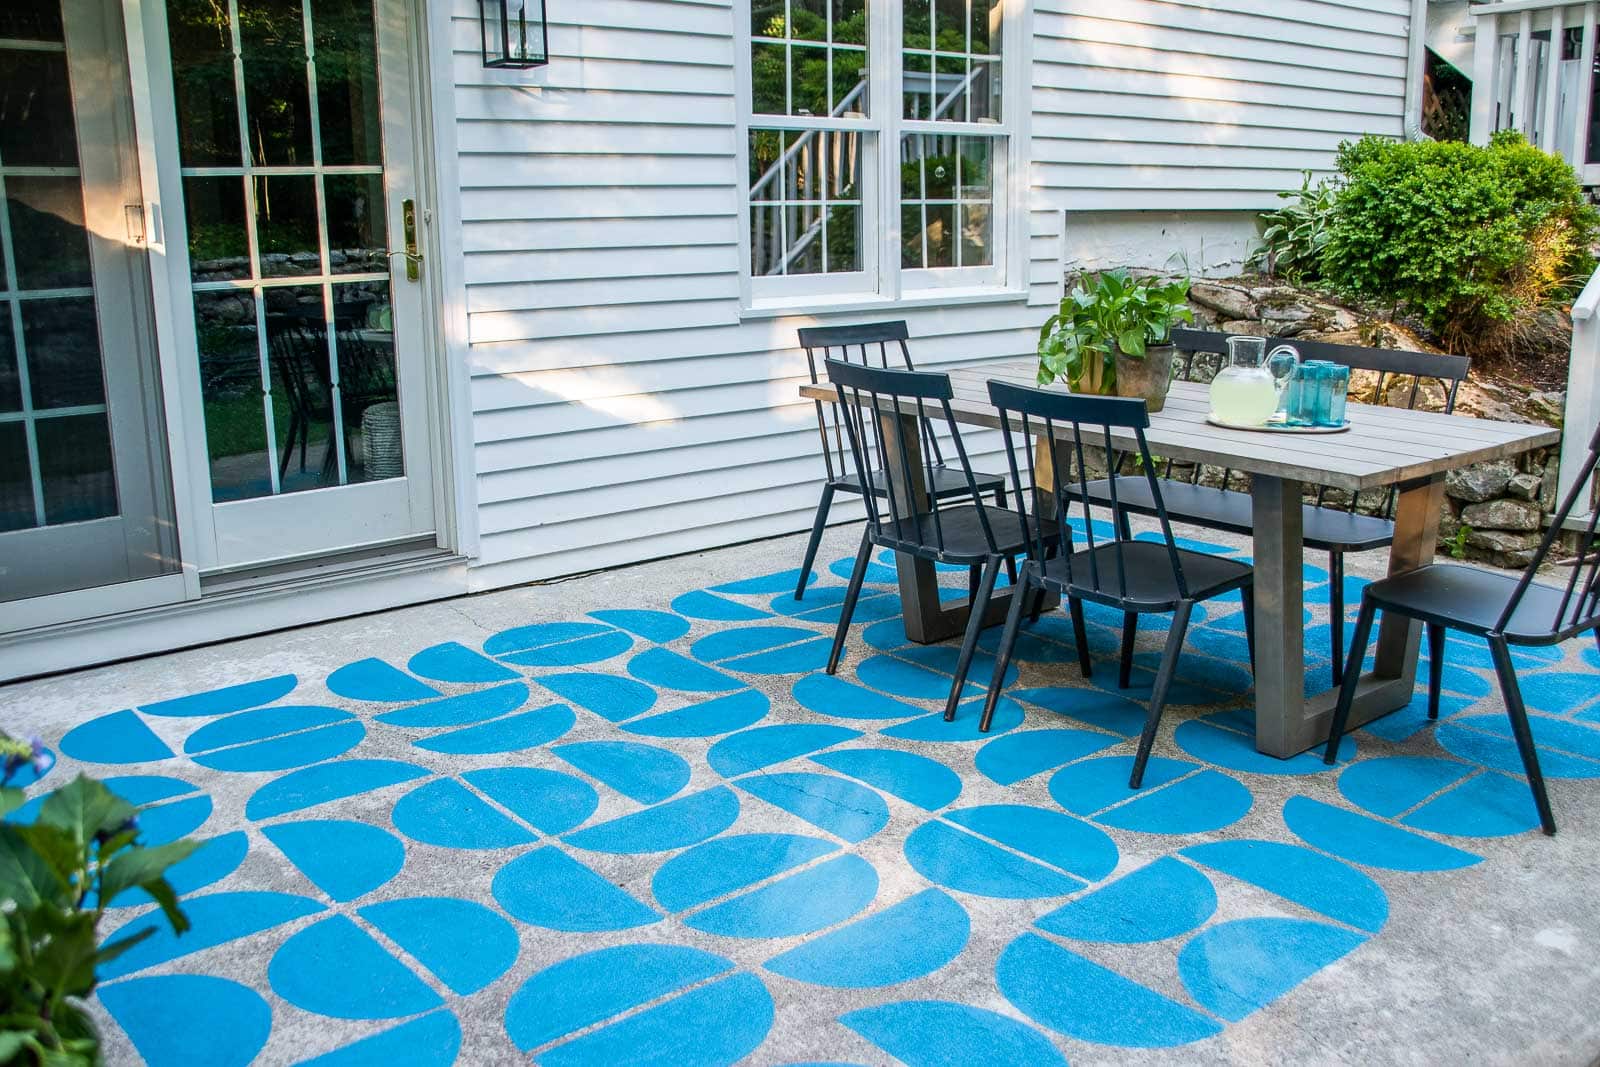
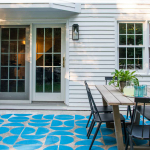
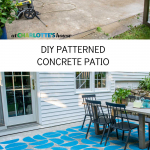
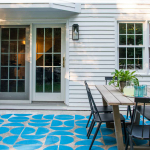
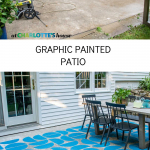
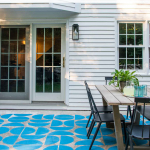
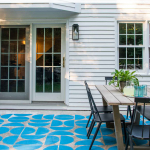
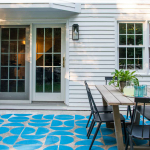
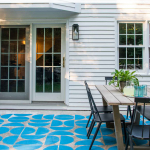
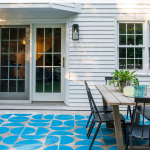
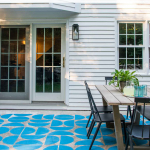
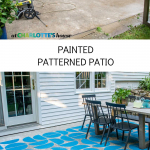
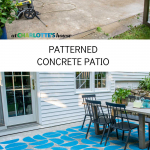
I used a can of porch and patio paint to give our side patio a major graphic upgrade.
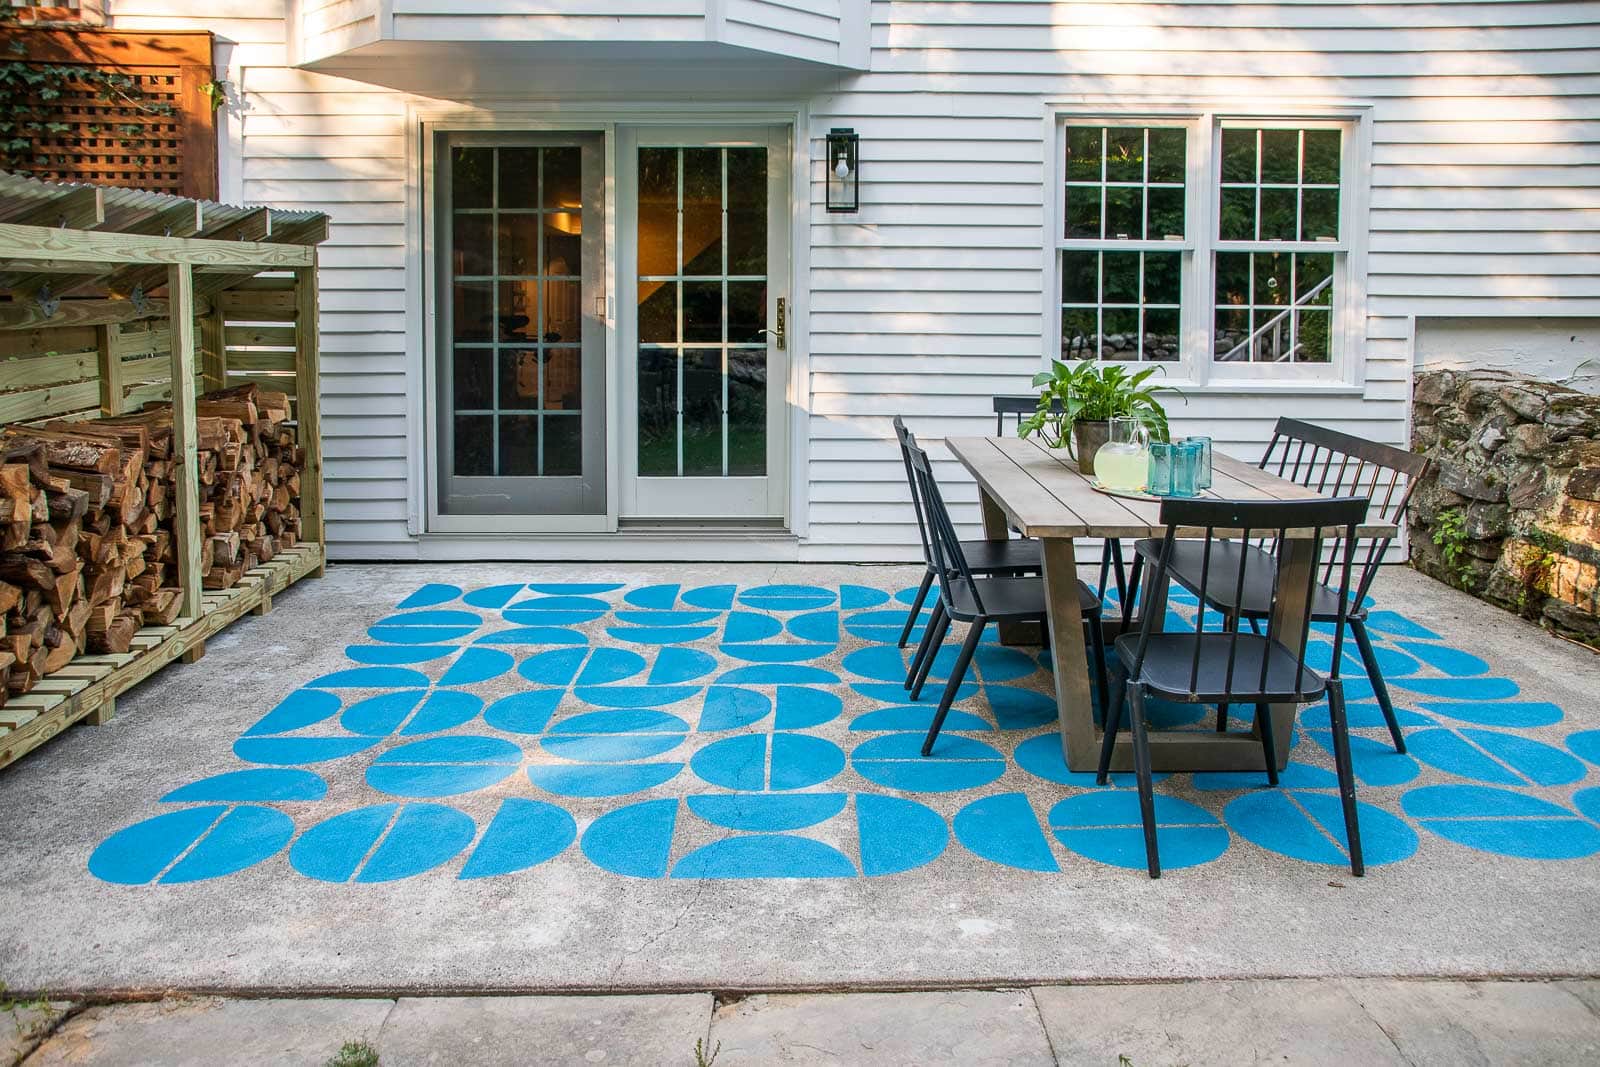
The new house has a walk out basement with a side patio right outside. It doesn’t get a ton of use, but I moved a table and chairs down there so that if we ever entertain, the adults can sit on the newly updated deck and the kids table can be around the corner on this patio. I recently made a firewood shed for this area but the concrete slab was begging for something fun and colorful. Know whats fun and colorgul and EASY? Yep… paint!
Shop my favorites!
Step 1. Clean
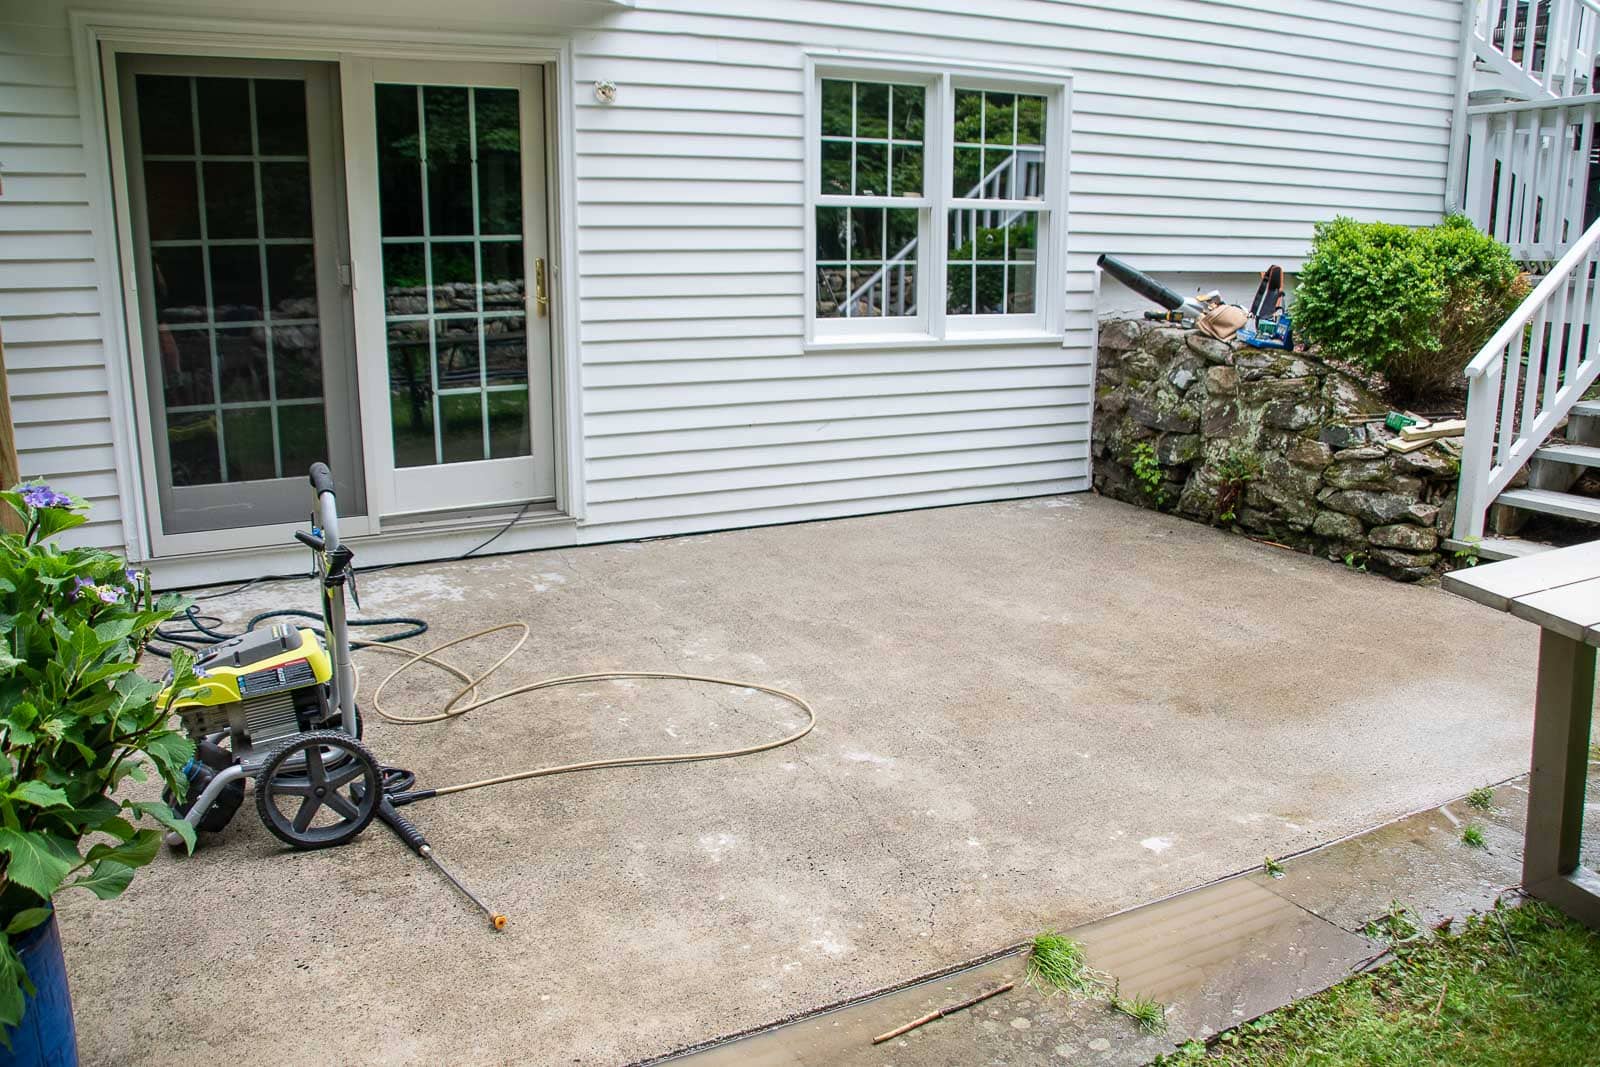
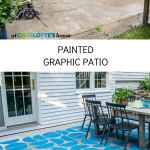
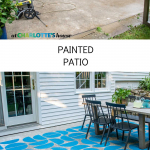
I started by blowing off the patio with a leaf blower and then power washing the concrete clean. I use this pressure washer and love it.
Step 2. Make a template
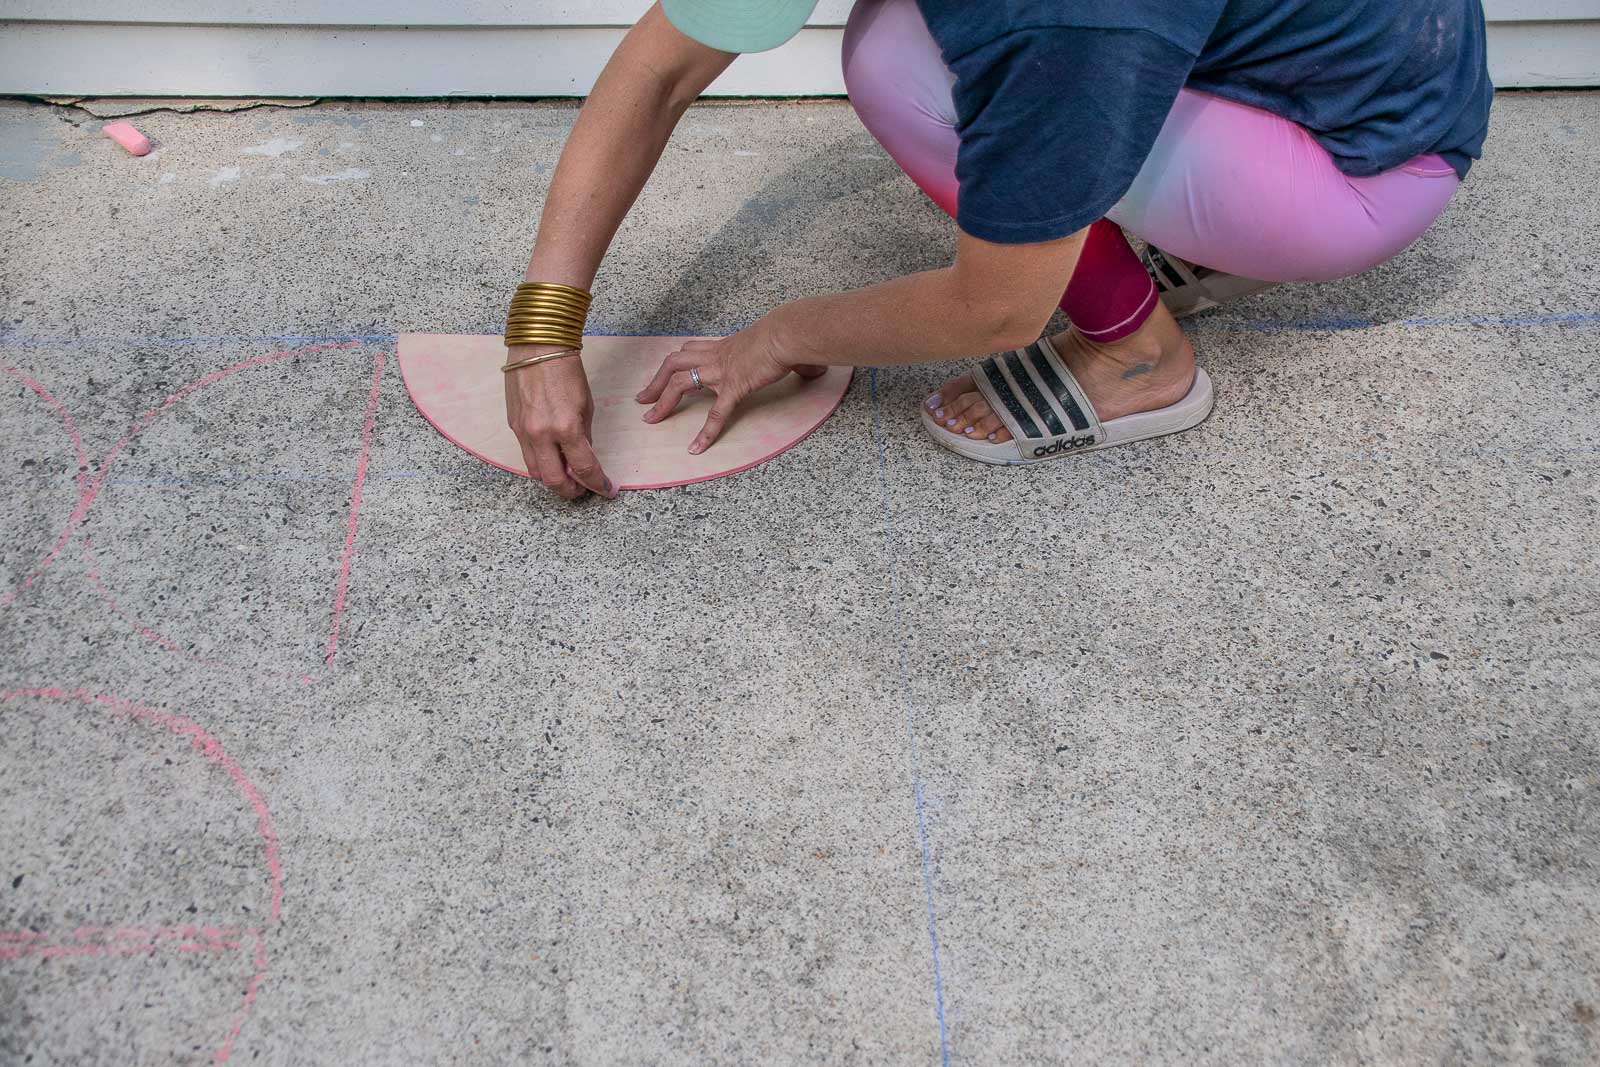
I used a jigsaw and a piece of scrap plywood to cut out a semicircle. I cut it roughly 1/4 the size of each grid I snapped on the cement slab.
Step 3. Snap Chalk Lines
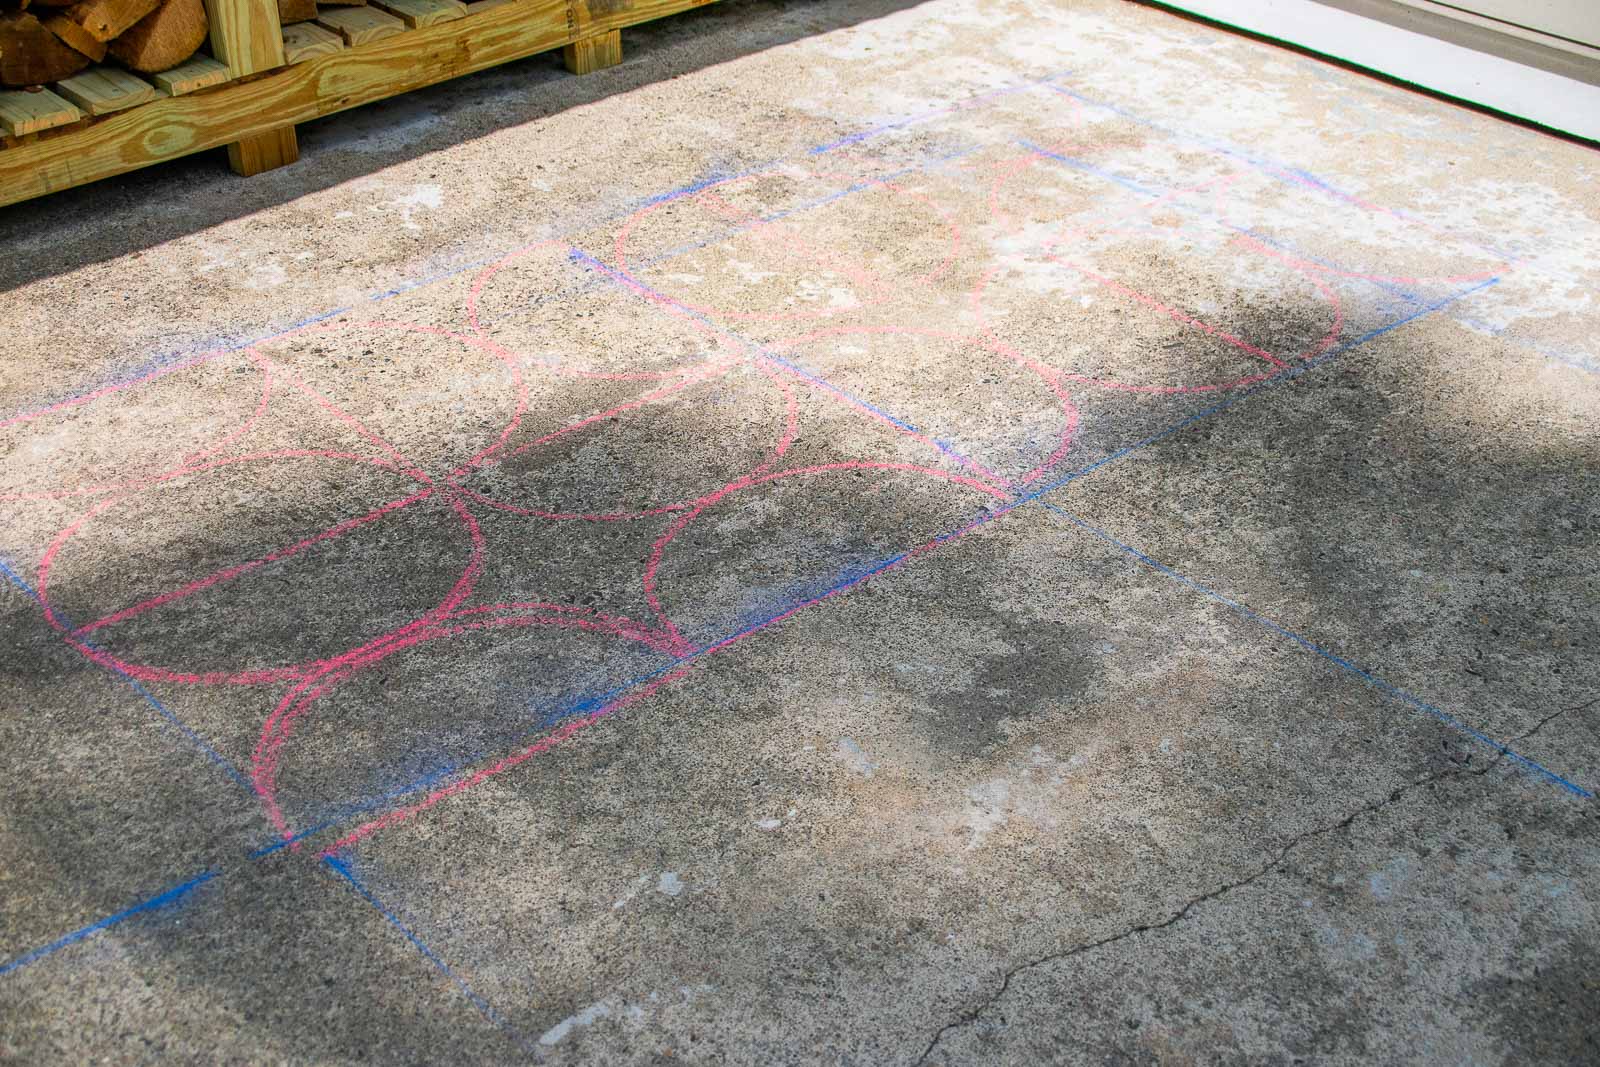
I had Oliver help me snap chalk lines to mark off a basic grid on the patio. I didn’t want to paint the entire thing so I painted it to be more like a faux carpet. A chalk line is a really easy and fun tool to work with. There’s a length of twine inside a small container filled with chalk. When you pull the twine out, it’s covered in chalk. Hold the chalk taught were you want to make the mark, then pinch the twine between your fingers, pull up and ‘snap’ it back. It will leave a sharp chalk line wherever you snapped it. I played around with where to snap the lines based on the semicircle template I’d cut out.
Step 4. Trace template onto concrete
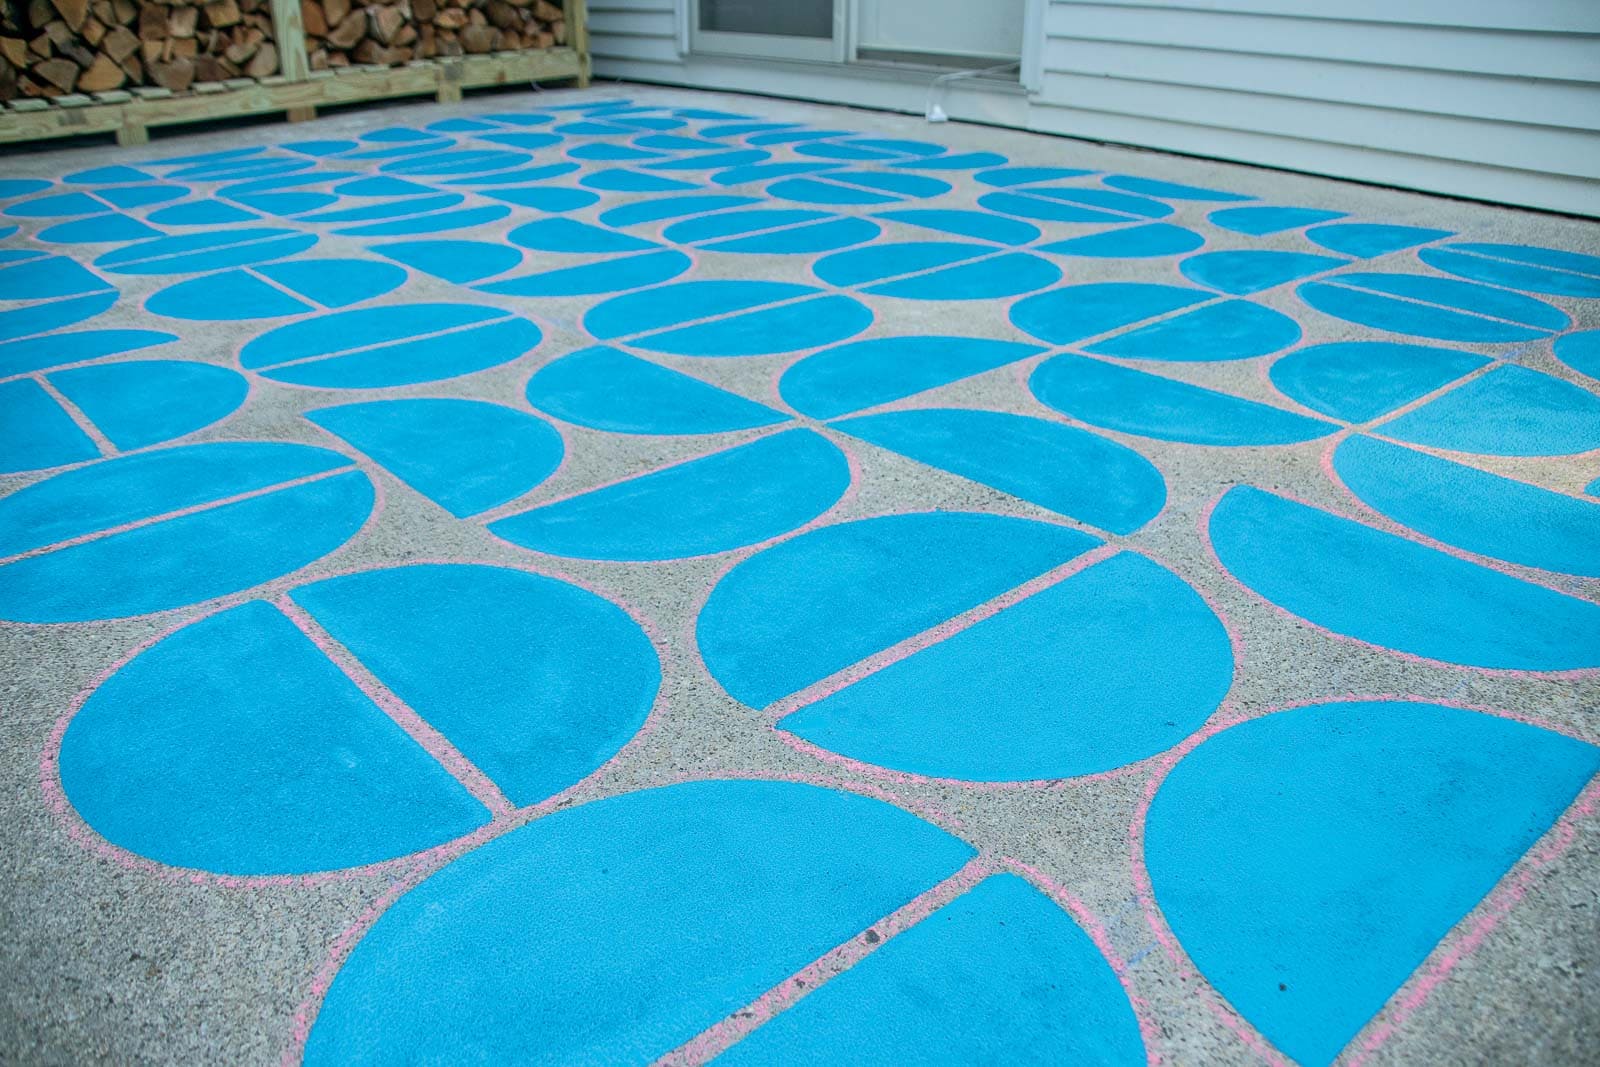
With some of my kids playground chalk, I traced the template onto the patio. I started out a little more deliberately with a pattern but then found it was easy enough just to rotate and alter how I placed the pairs of semicircles each time.
Step 5. Paint
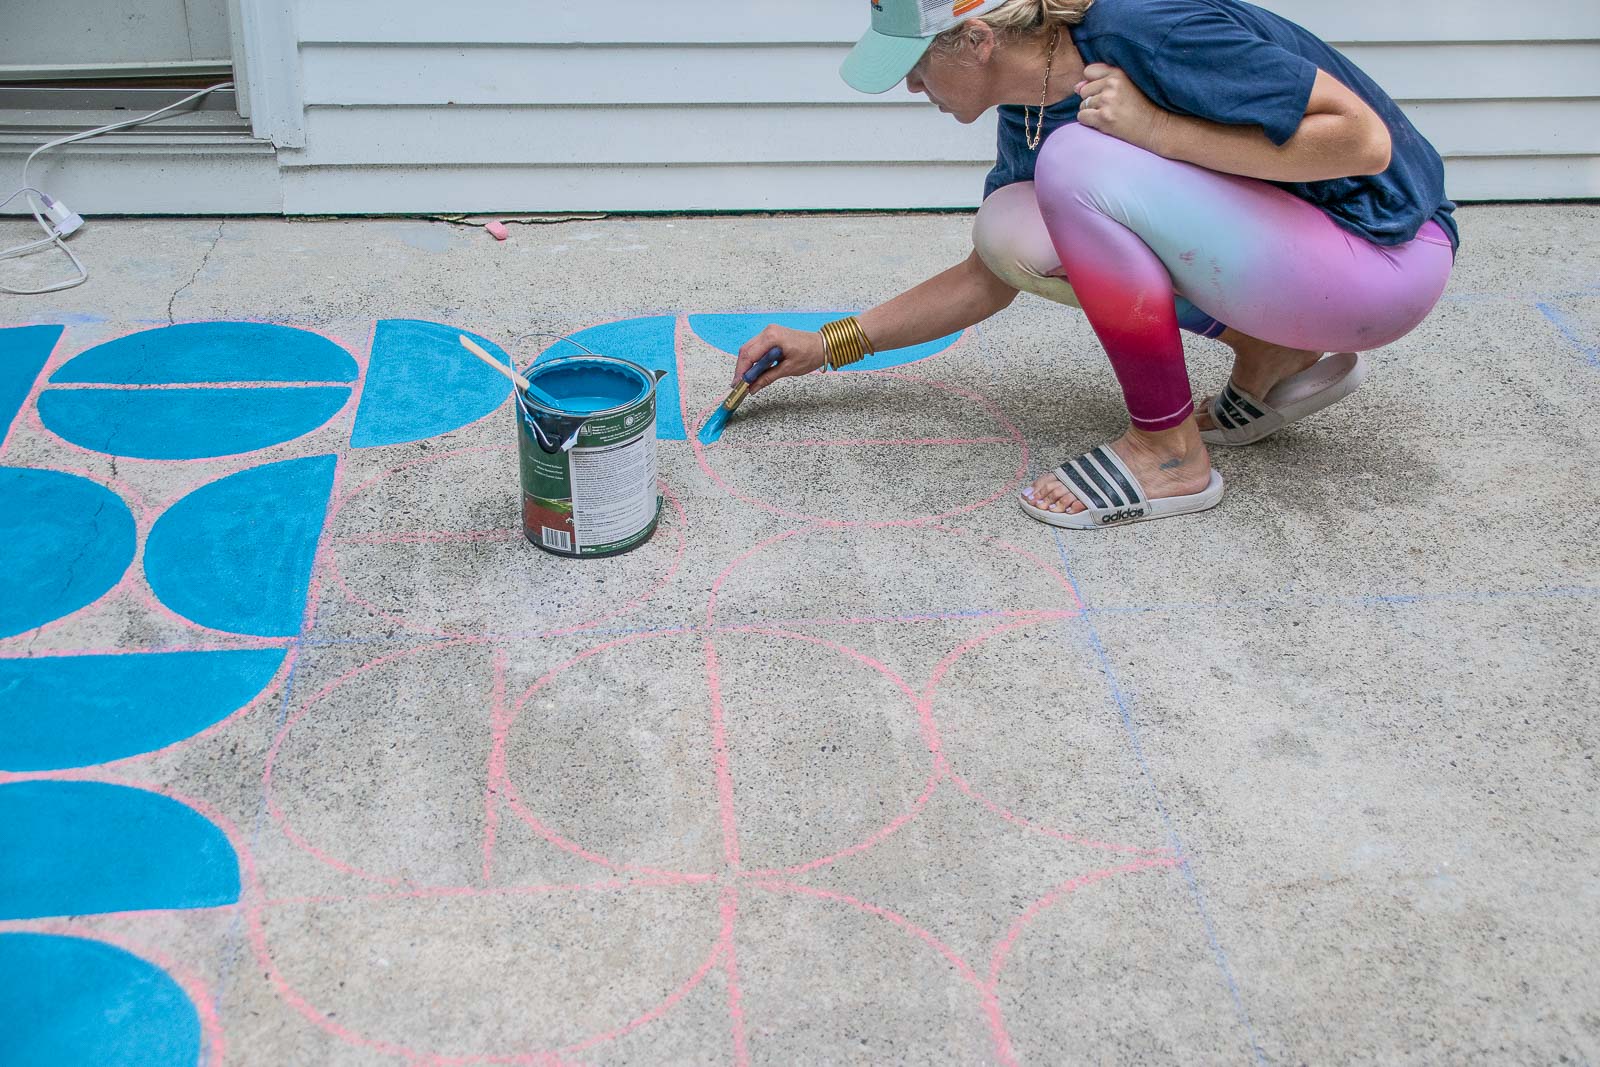
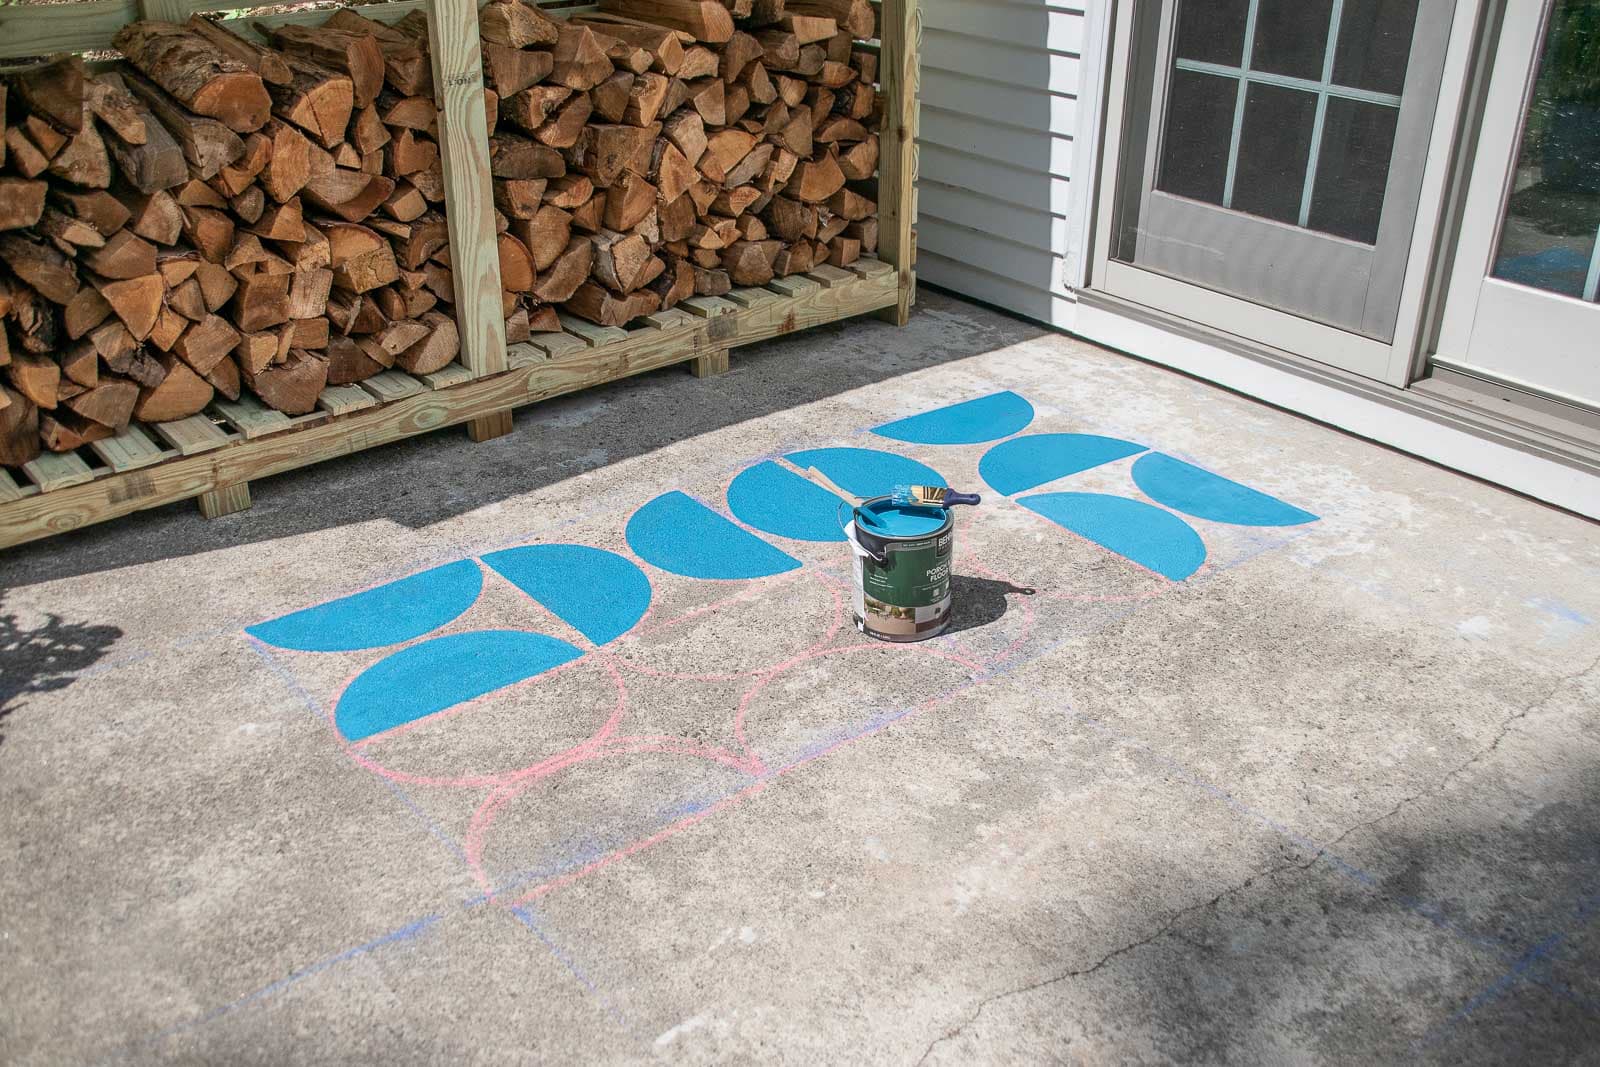
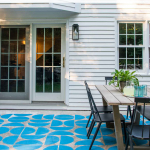
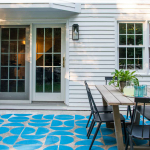
I’m using Behr’s porch and patio paint in a custom color and painted it using my favorite detail brush. I only gave it one coat and the coverage was great!
Step 6. Rinse the Chalk
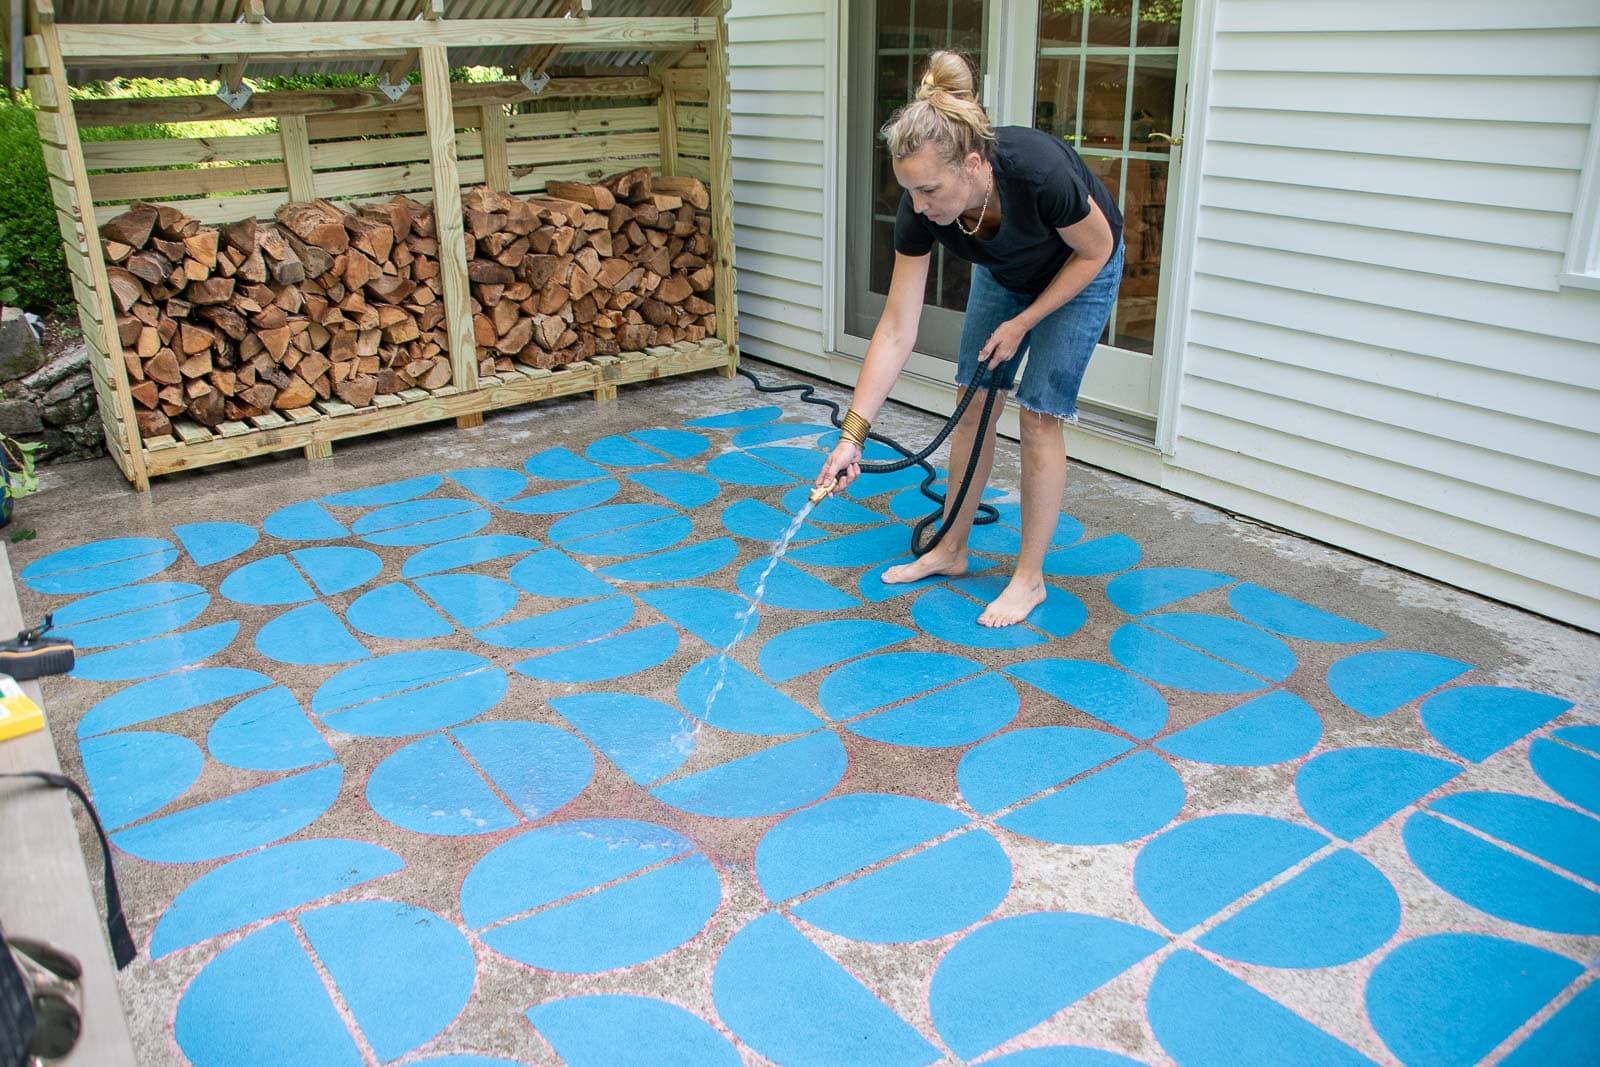
The best part about working with a chalk line is that it all just rinses right away when you’re done! I gave the patio a wash down to get rid of not only the chalk line grid but also the pink chalk I used to outline my templates.
Is it big and bold a little crazy? Yes. Is it such a fun unexpected bright pattern on this unforgotten part of our yard? Absolutely! Total time involved? Maybe 3 or 4 hours! Just enough for a few chapters of my audio book. Total cost… one can of paint.



Don’t Miss Out
Become An Insider!
Signup for exclusive tips, and tricks from Charlotte’s House!
Let’s chat!
I love comments from you, so feel free to leave your thoughts and ideas below! And don’t forget to follow me on Instagram for even more!