
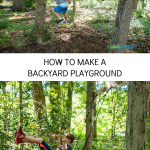
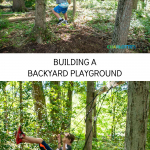
How to Build a Backyard Playground
Psssst… this post *might* contain affiliate links: see my disclosure here.
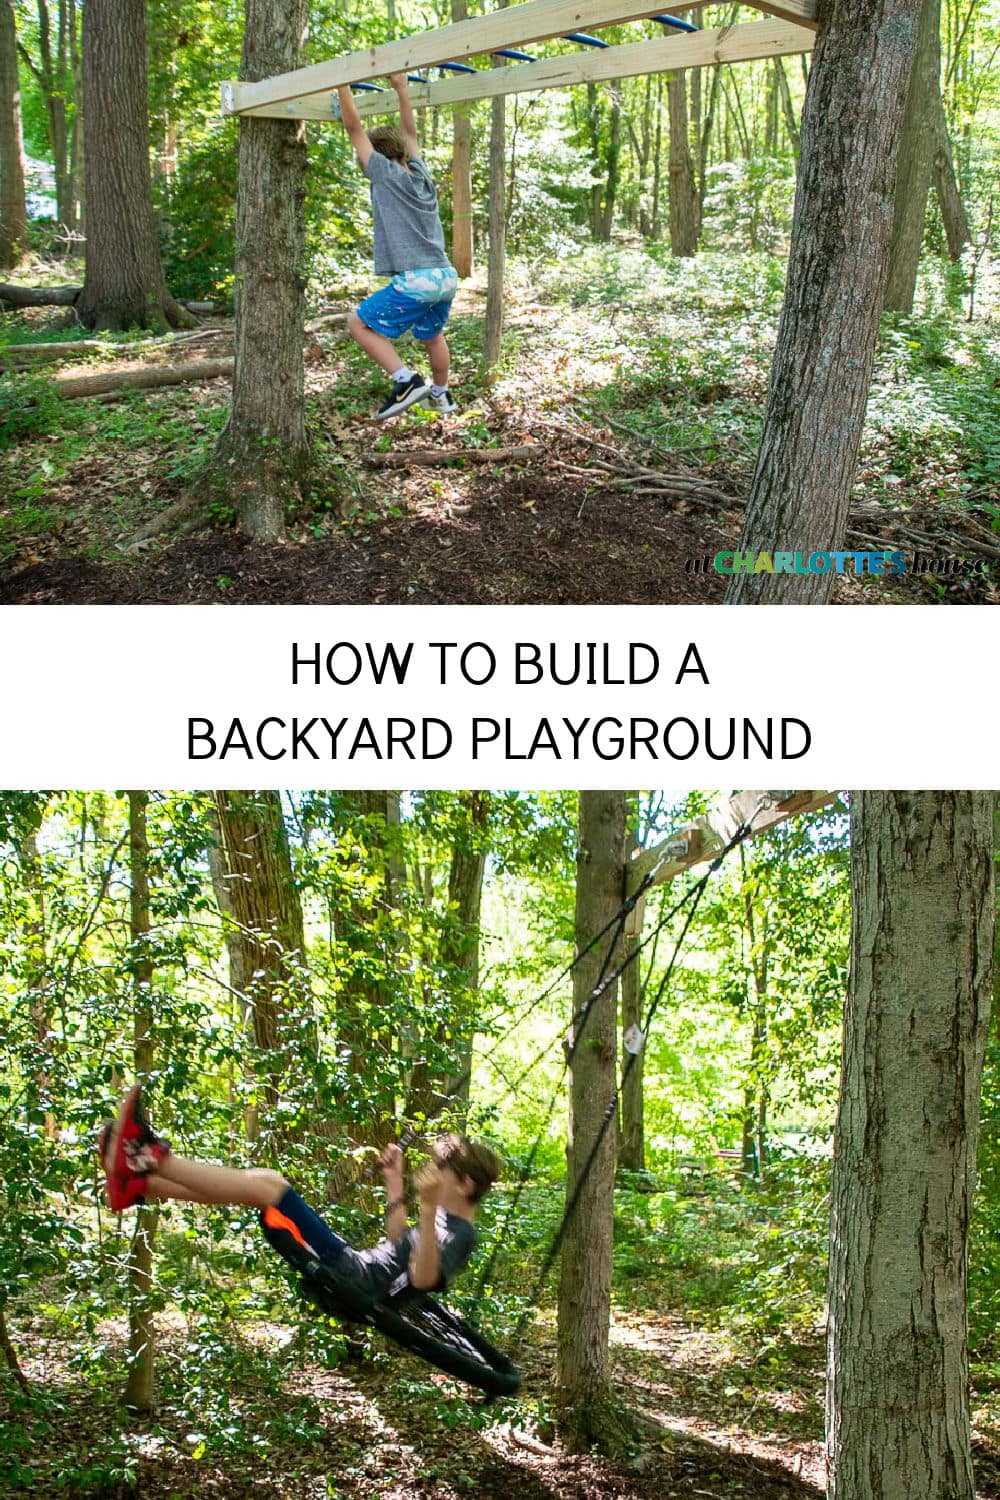
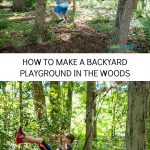
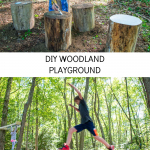
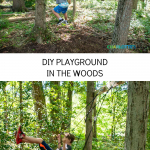
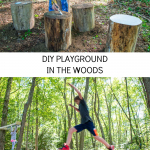
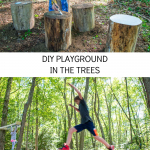
How to Create a Backyard Playground in the Woods
I made this backyard playground in the woods behind our house and the kids love it!
Disclosure: I’m partnering with The Home Depot and their DIY On-Trend Workshops, inspired by Pinterest, to share this post with you.
Shop my favorites!
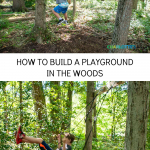
Our new house has about an acre of woods and, from the very beginning, the kids have loved going back there to explore! My husband has been creating a series of trails so they can ride their bikes and he installed a zipline right after Christmas, but I wanted to add some more fun activities back there! Our kids are ages 6-12 so they’ve sadly outgrown the days of a basic backyard playset, but I knew there were still some playground staples they’d enjoy! Here are the three projects I tackled for our backyard playground: swing set, monkey bars, stepping stumps/ game area. Full materials list at the end of this post!
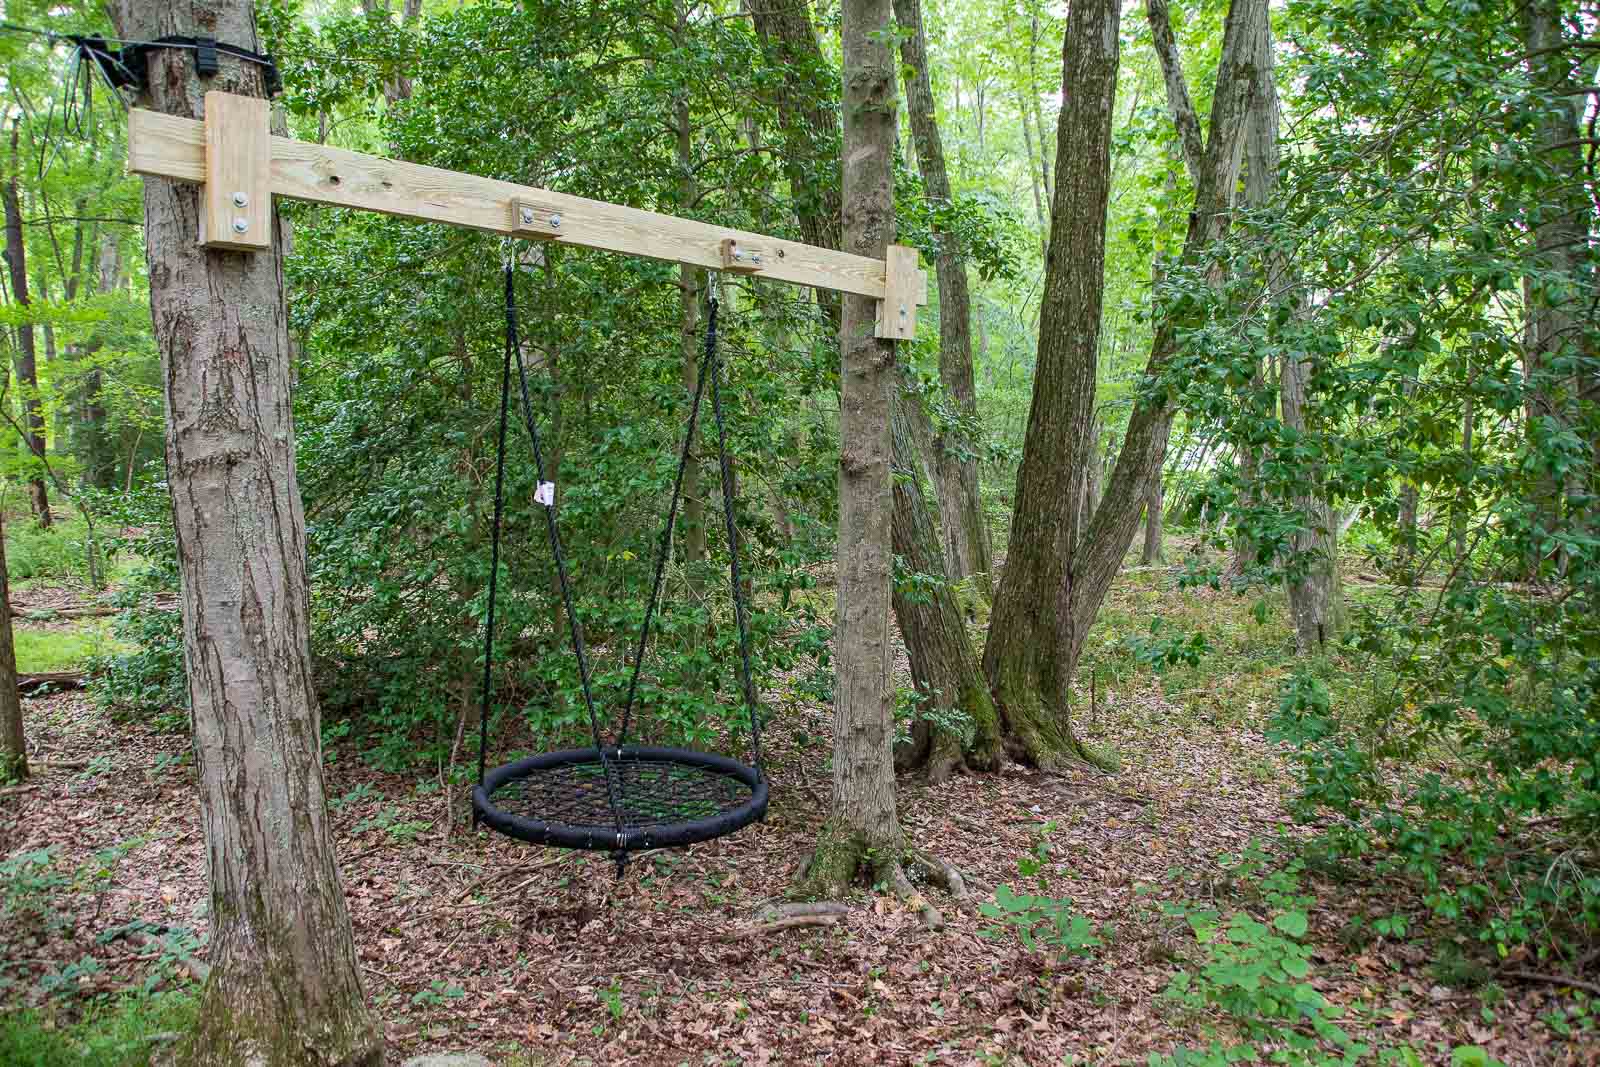
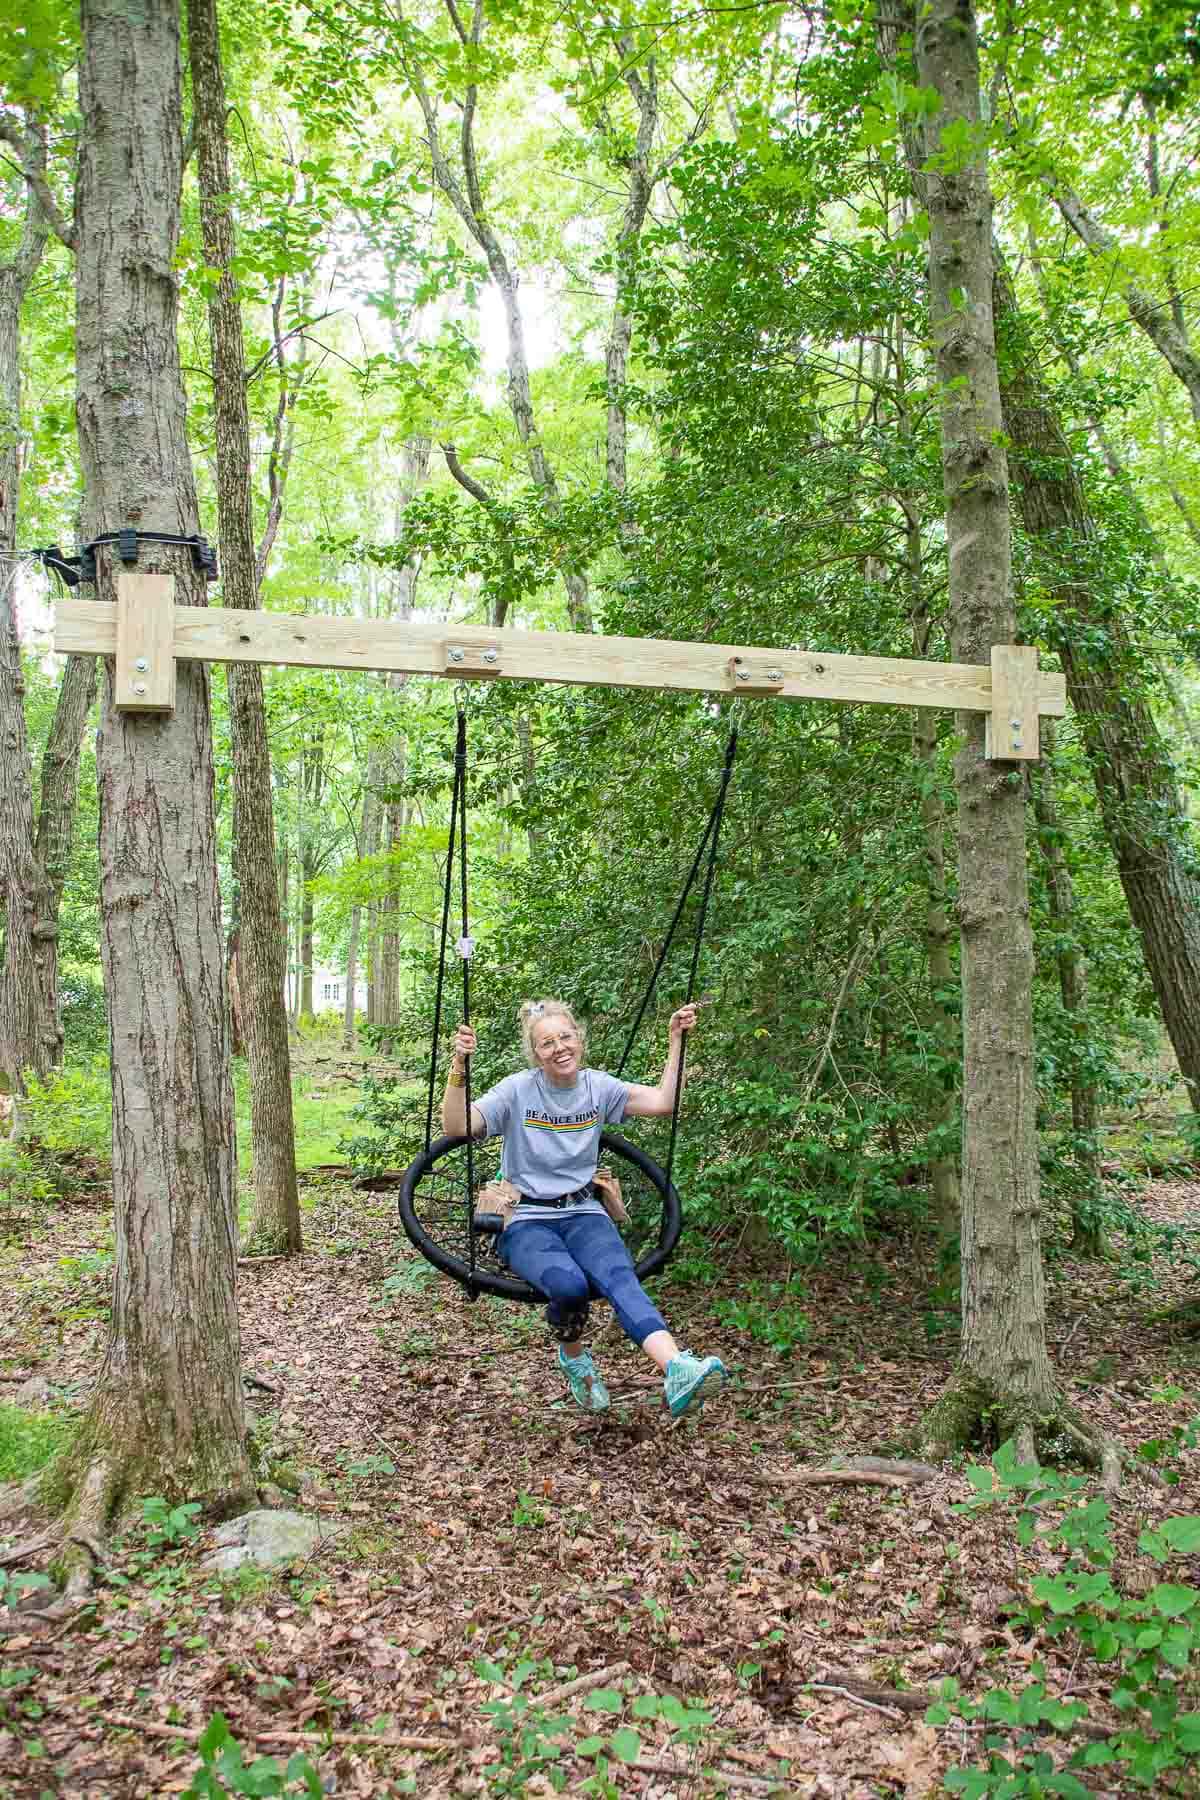
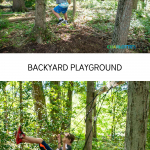
DIY Backyard Swing
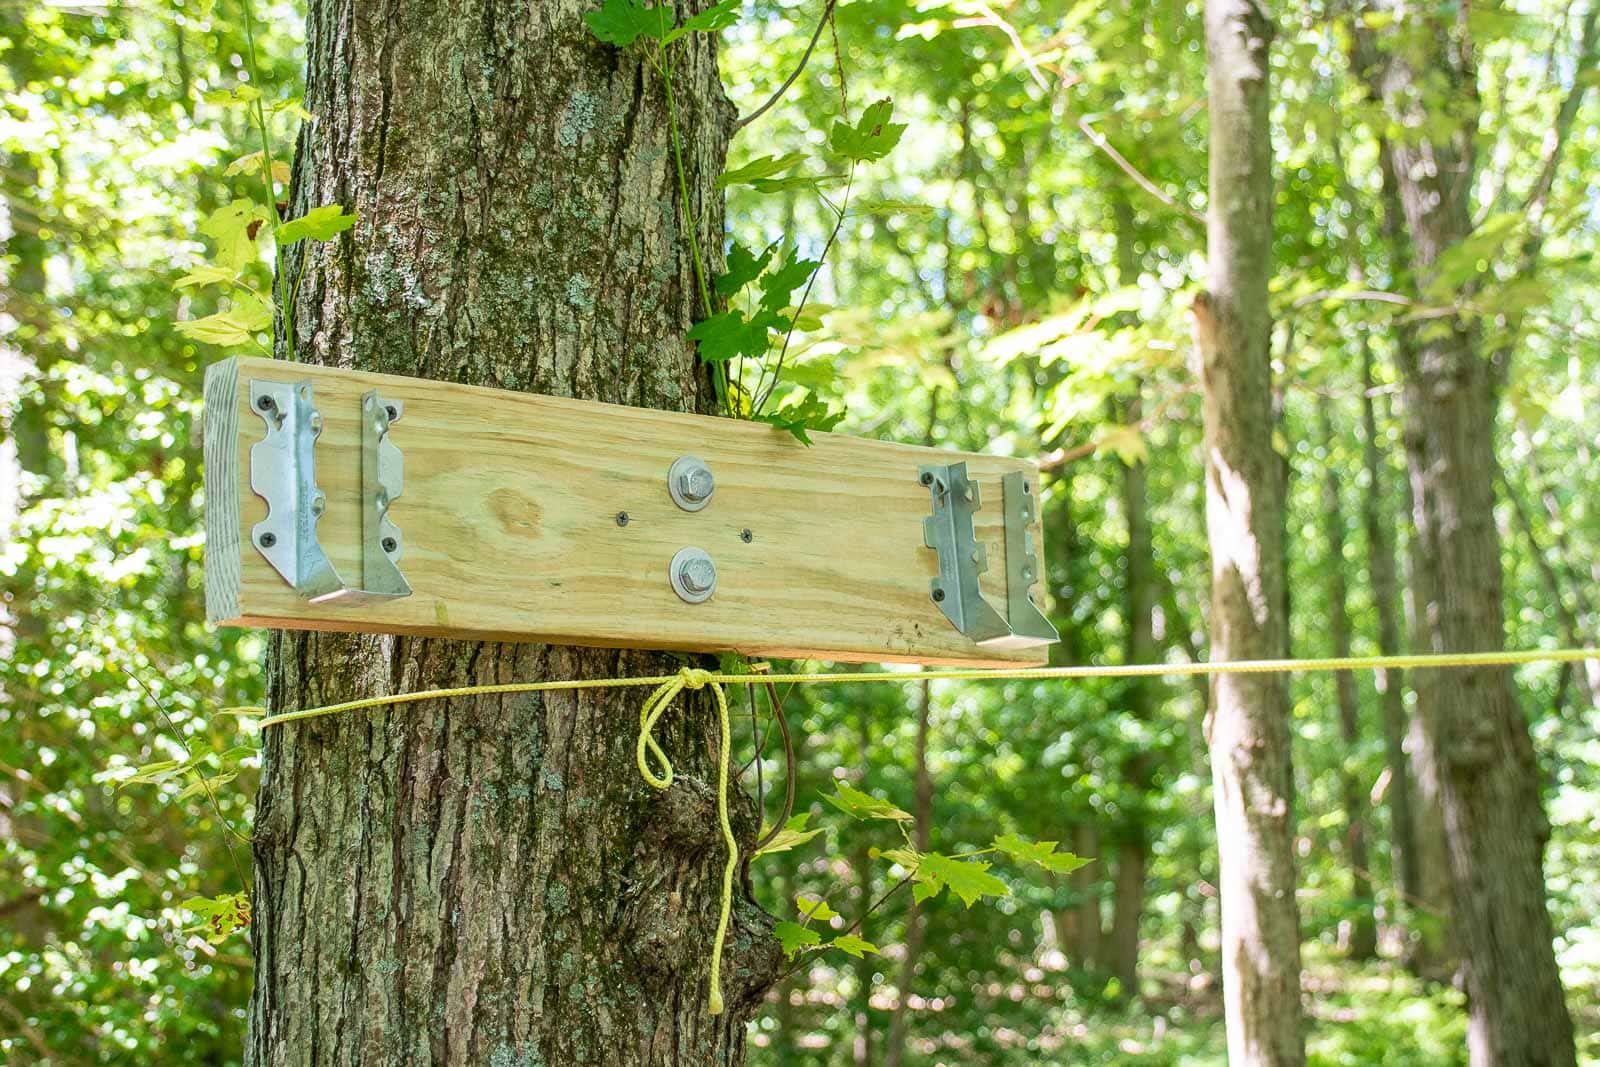
Because the cost of lumber is a real consideration nowadays, I wanted to make use of the dozens of trees that we already have in our yard! (Note: I looked up whether any of these projects would damage the trees and read that a healthy tree should be able to handle a couple of lag bolts going into it!) For the swing, I planned to install a sturdy header board between two trees that I could hang a swing from. Because trees can move, a consideration when installing a header is how to keep it from shifting or, even worse, breaking as a result of tree movement. This ‘bracket’ is something I found that will help prevent this. I’m using pressure treated lumber for this project since all of this wood will live outside and I want it to hold up in the elements.
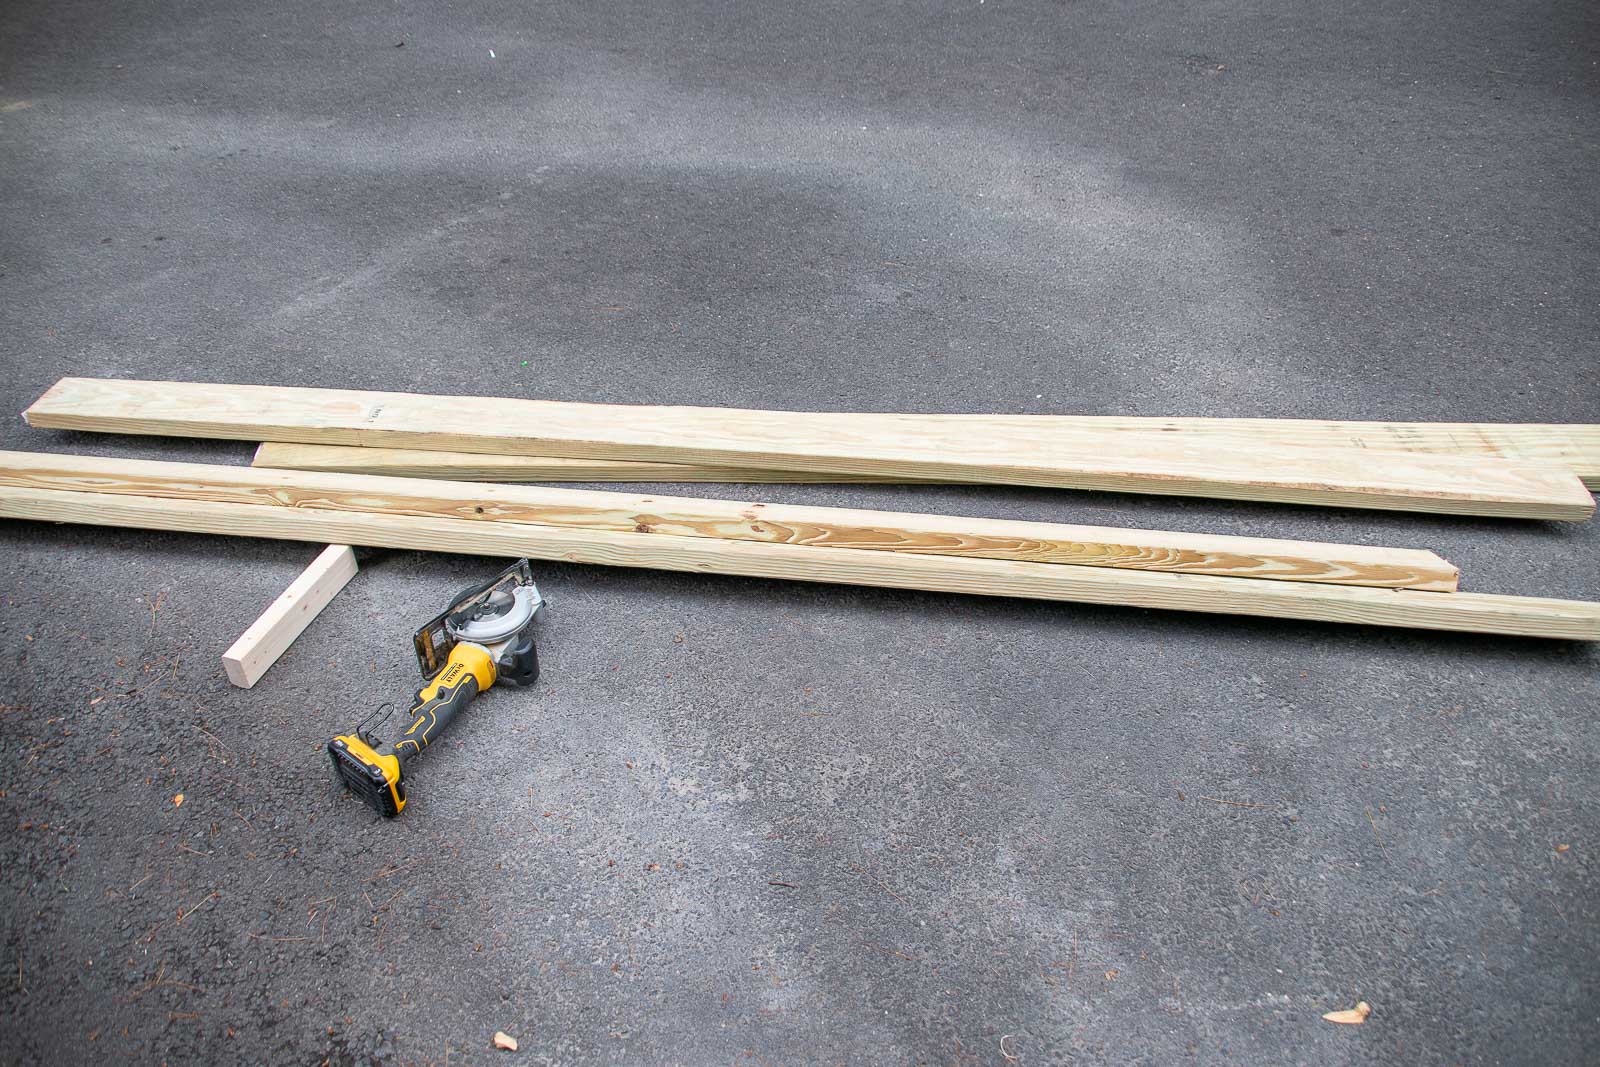
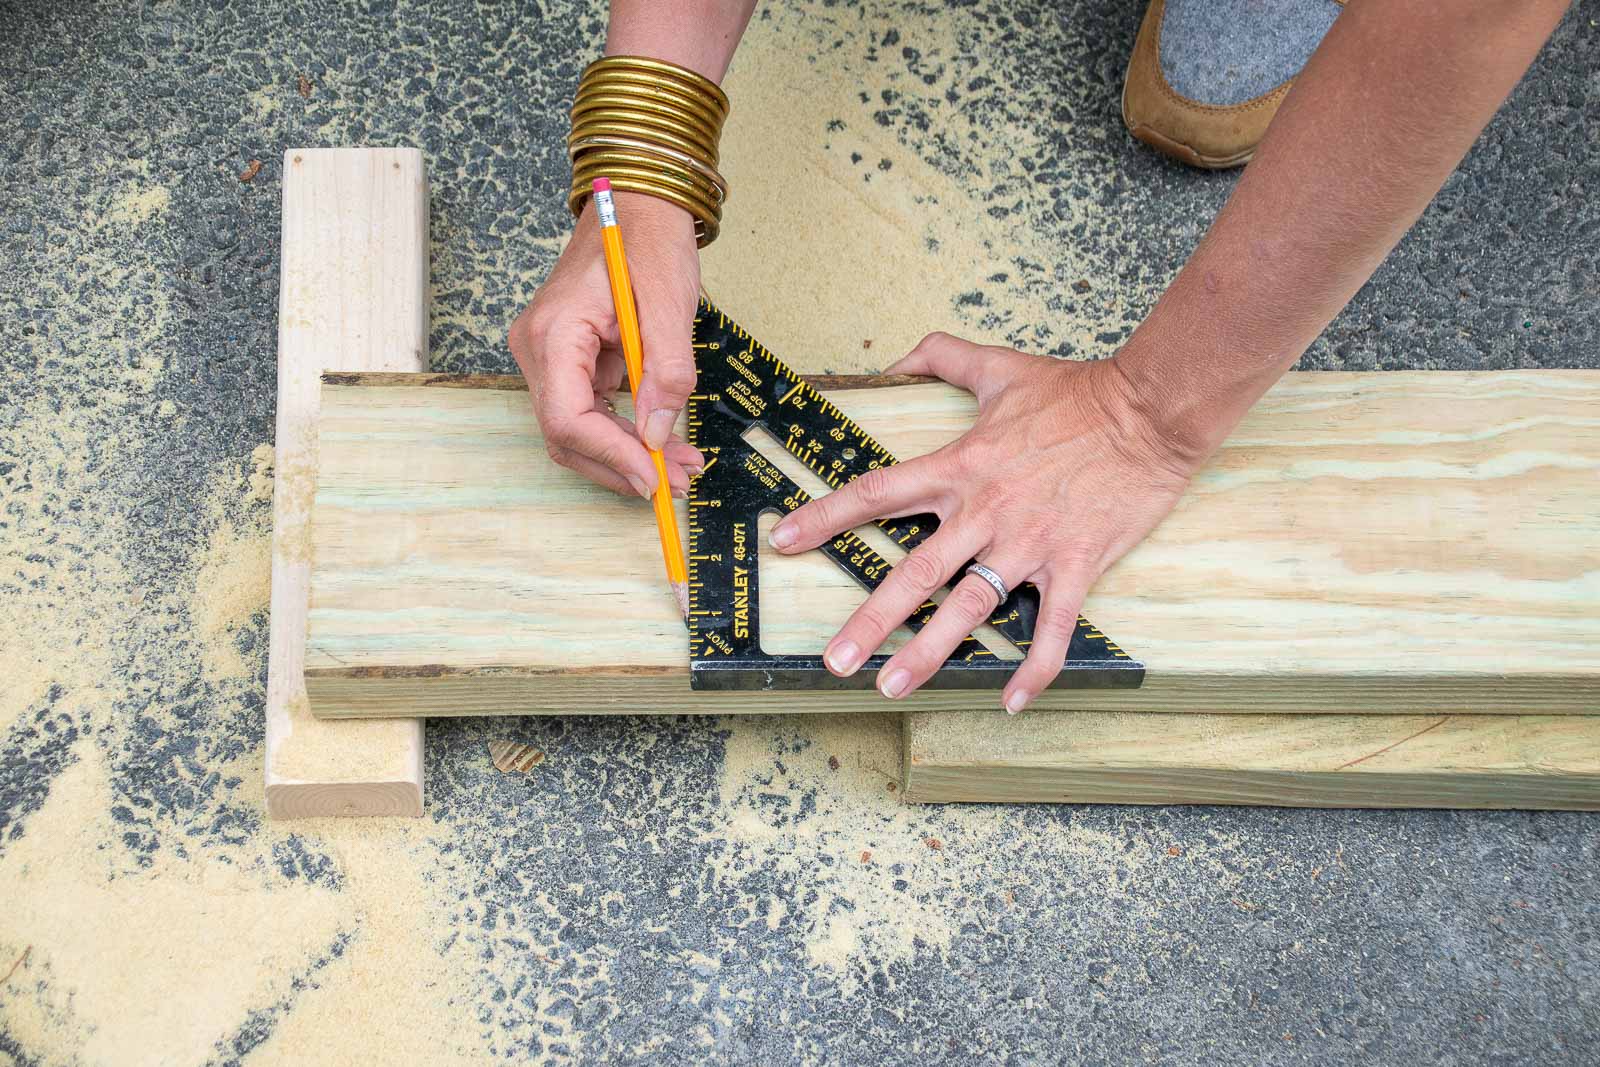
To build the bracket, I’m working with a 2×6 board and cut one piece into a 5.5″x5.5″ square and another piece closer to 14″. With a 3/8″ spade bit (just smaller than my lag bolts), I drilled holes in both pieces of pressure treated lumber.
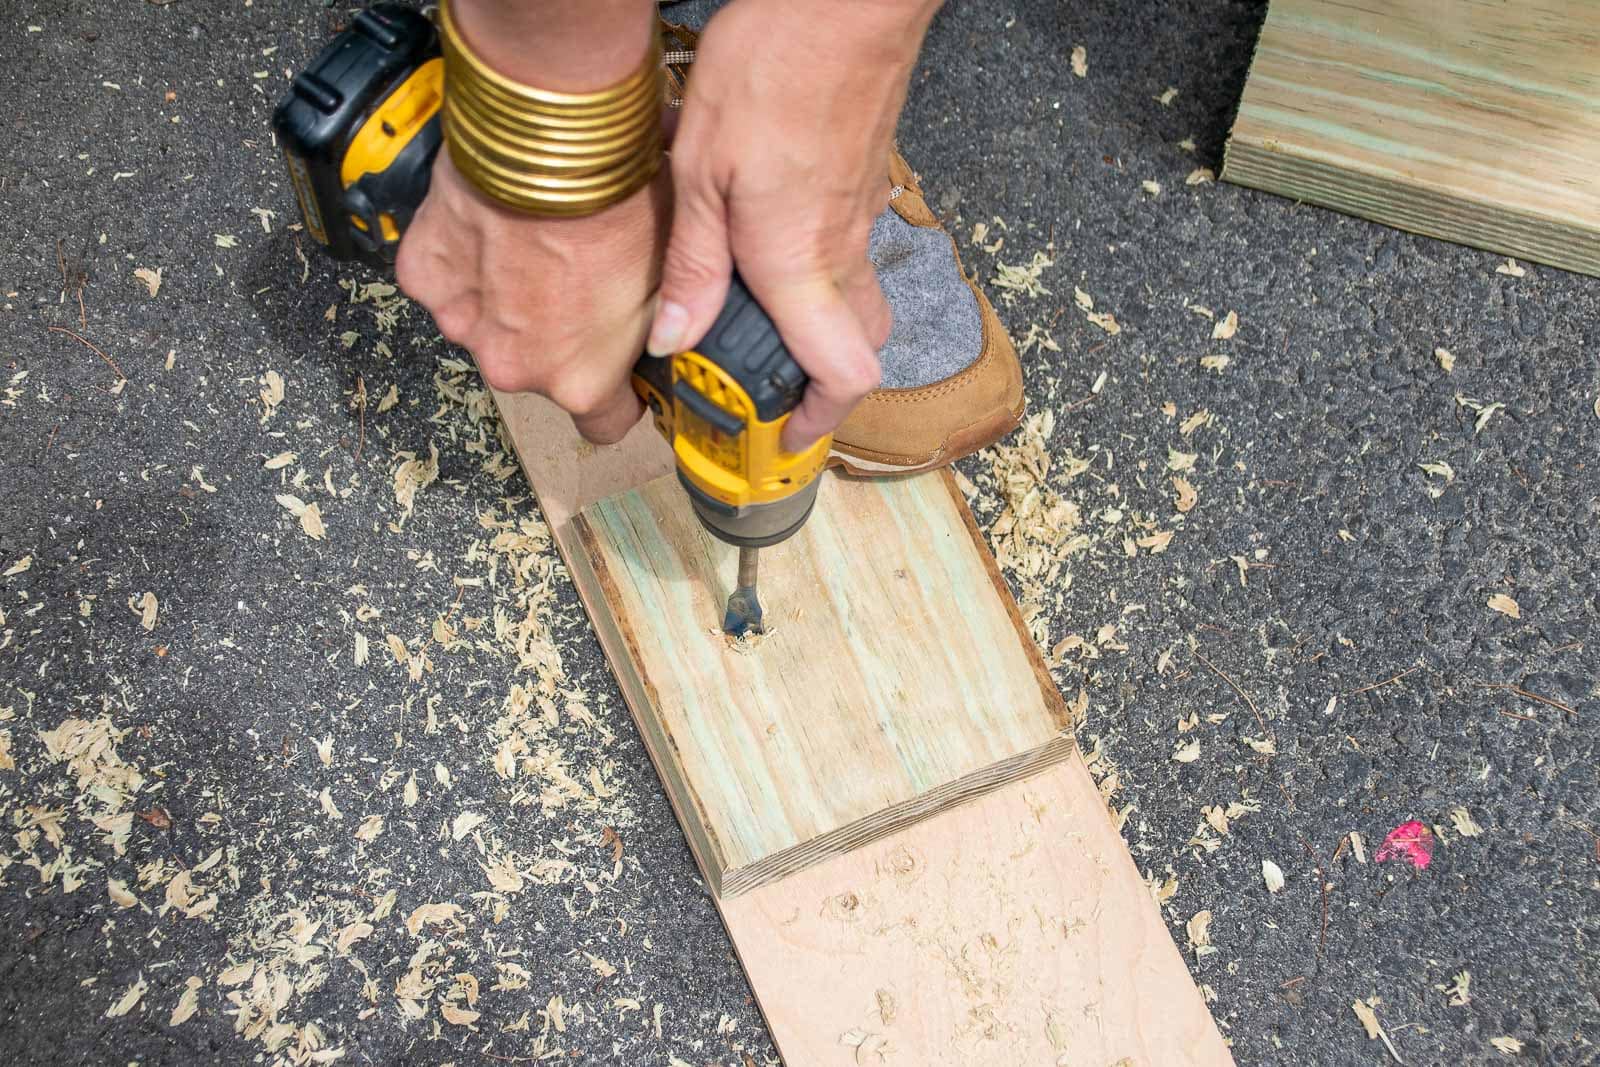
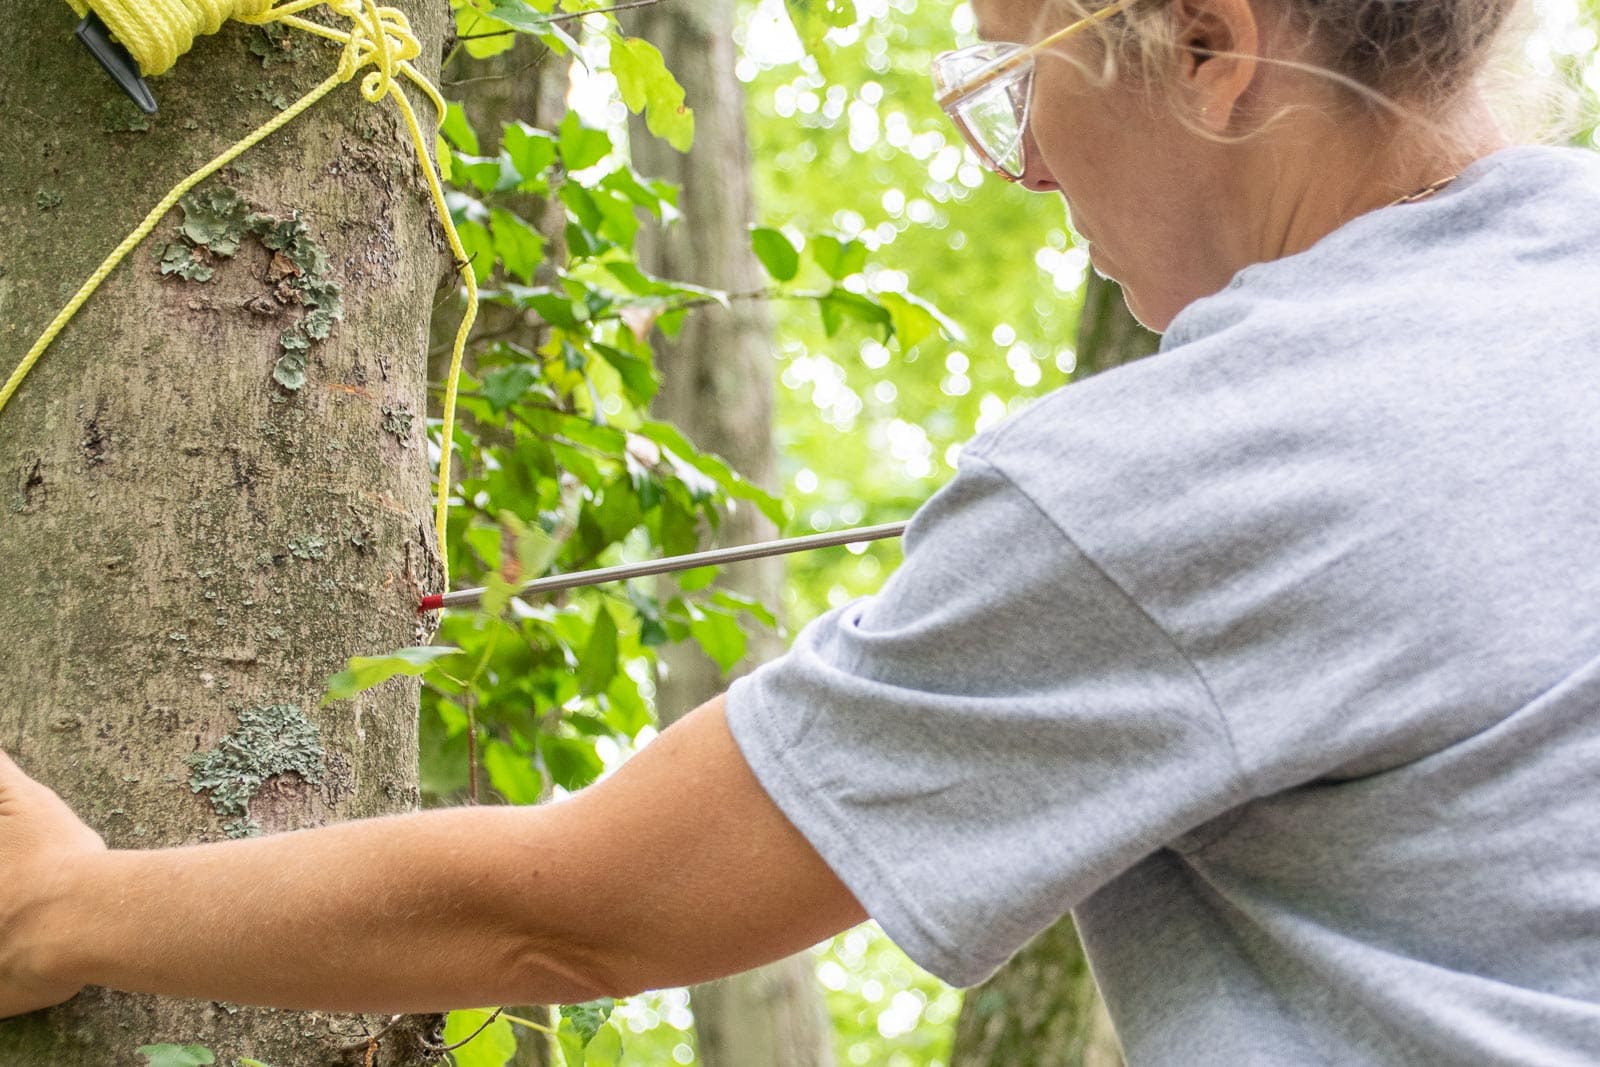
To install the bracket onto the tree, I had to pre-drill with the same spade bit. Trees are HARD so you will NOT be able to install a lag bolt without pre-drilling. (Ask me how I know….) Drilling into the tree took some time. I had to slowly move the drill bit in and out and definitely needed my impact driver. A hammer drill might have worked even better but mine is electric so not great for the woods. Before pre-drilling and installing the lower lag bolt, I made sure my bracket was lined up and level!
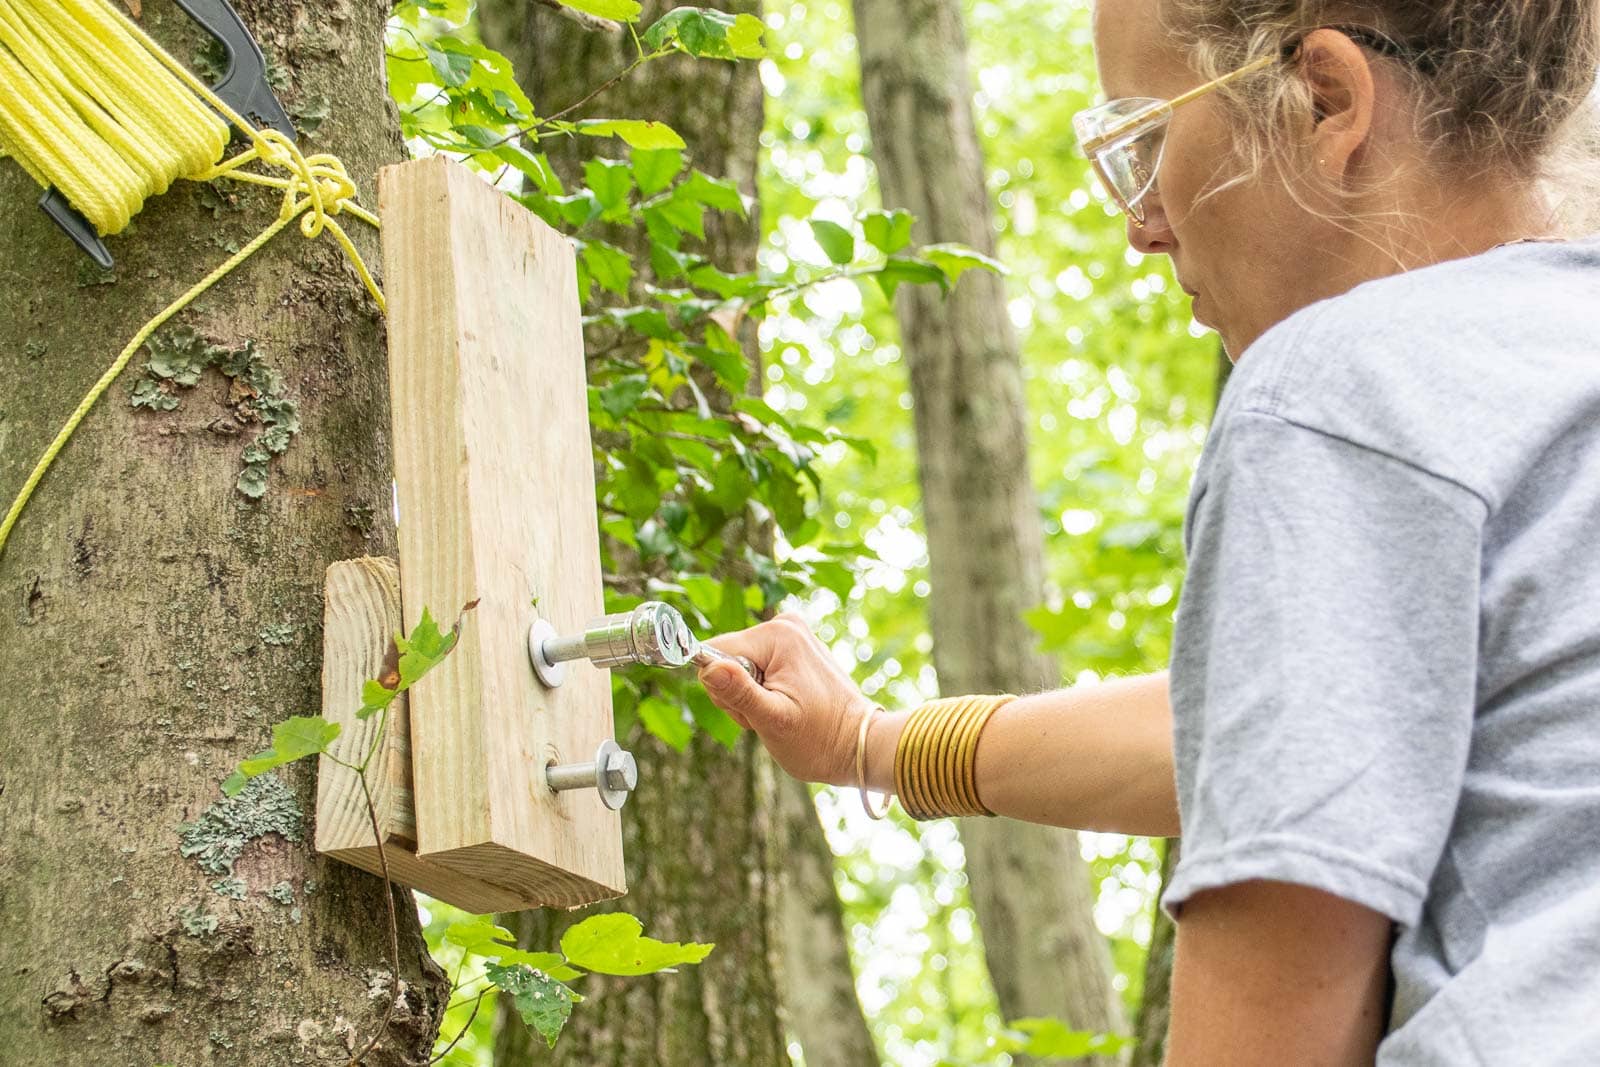
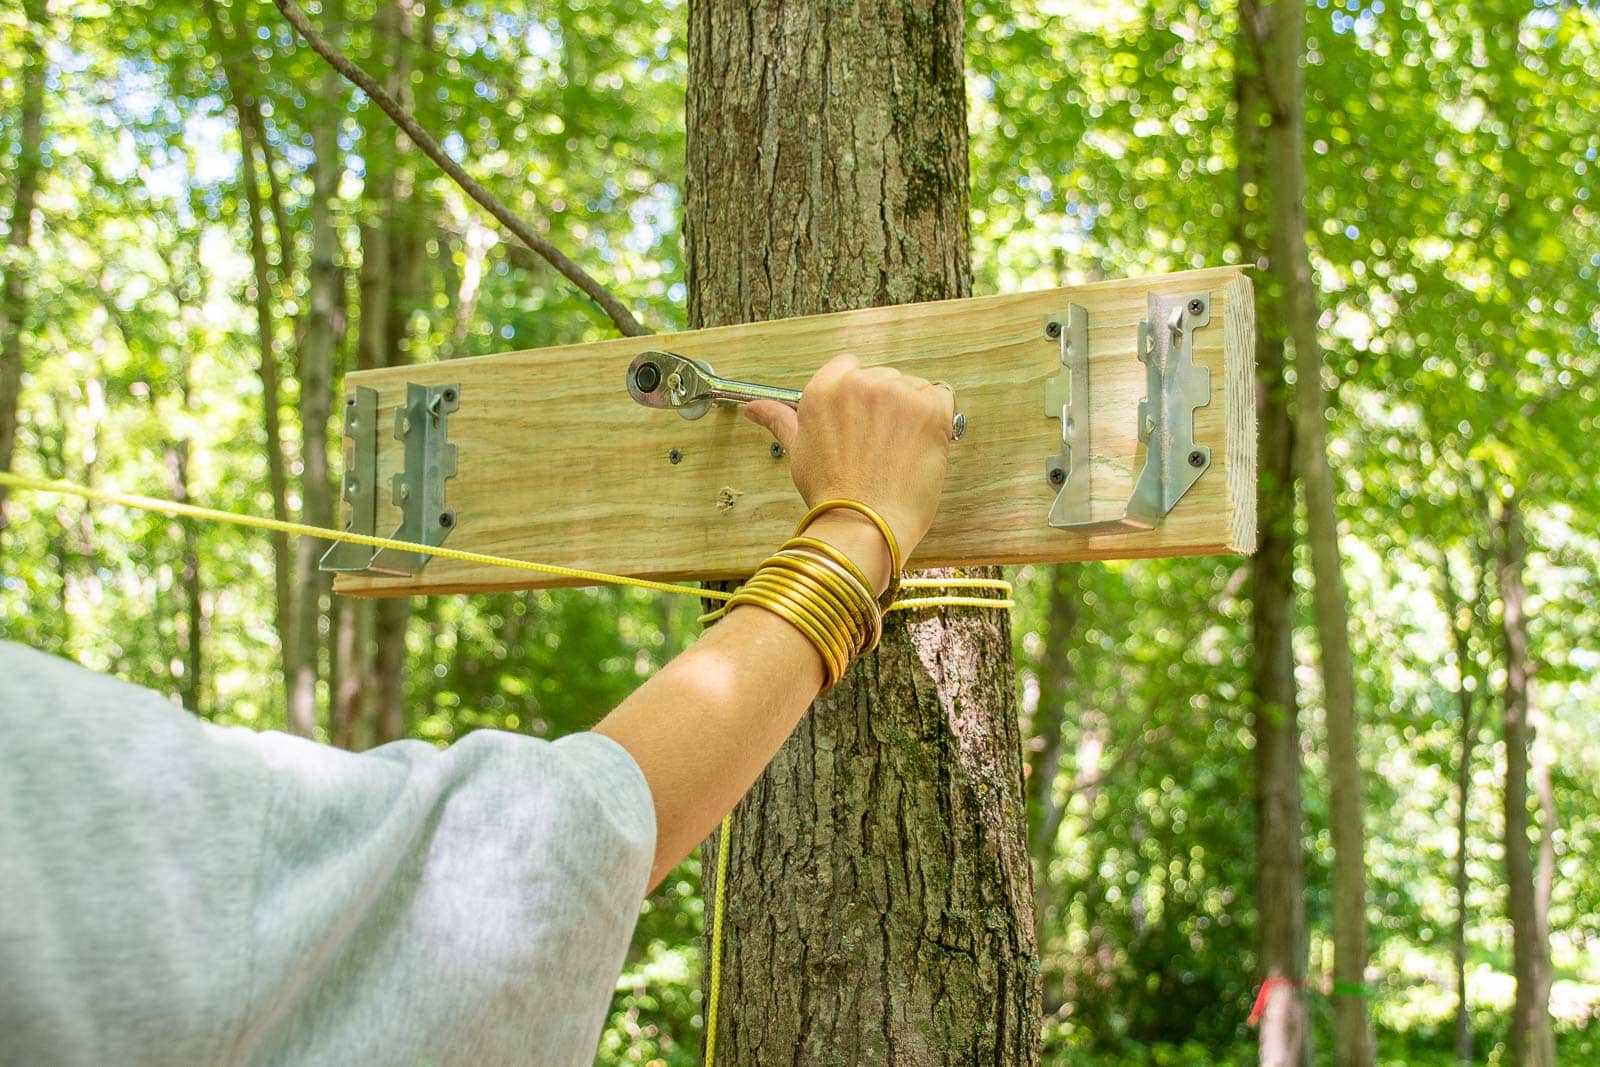
Once I predrilled, I used a ratchet to install each lag bolt with a washer between the lag bolt and the wood. I left all my lag bolts a tiny bit loose and tightened them after I had installed the actual header.
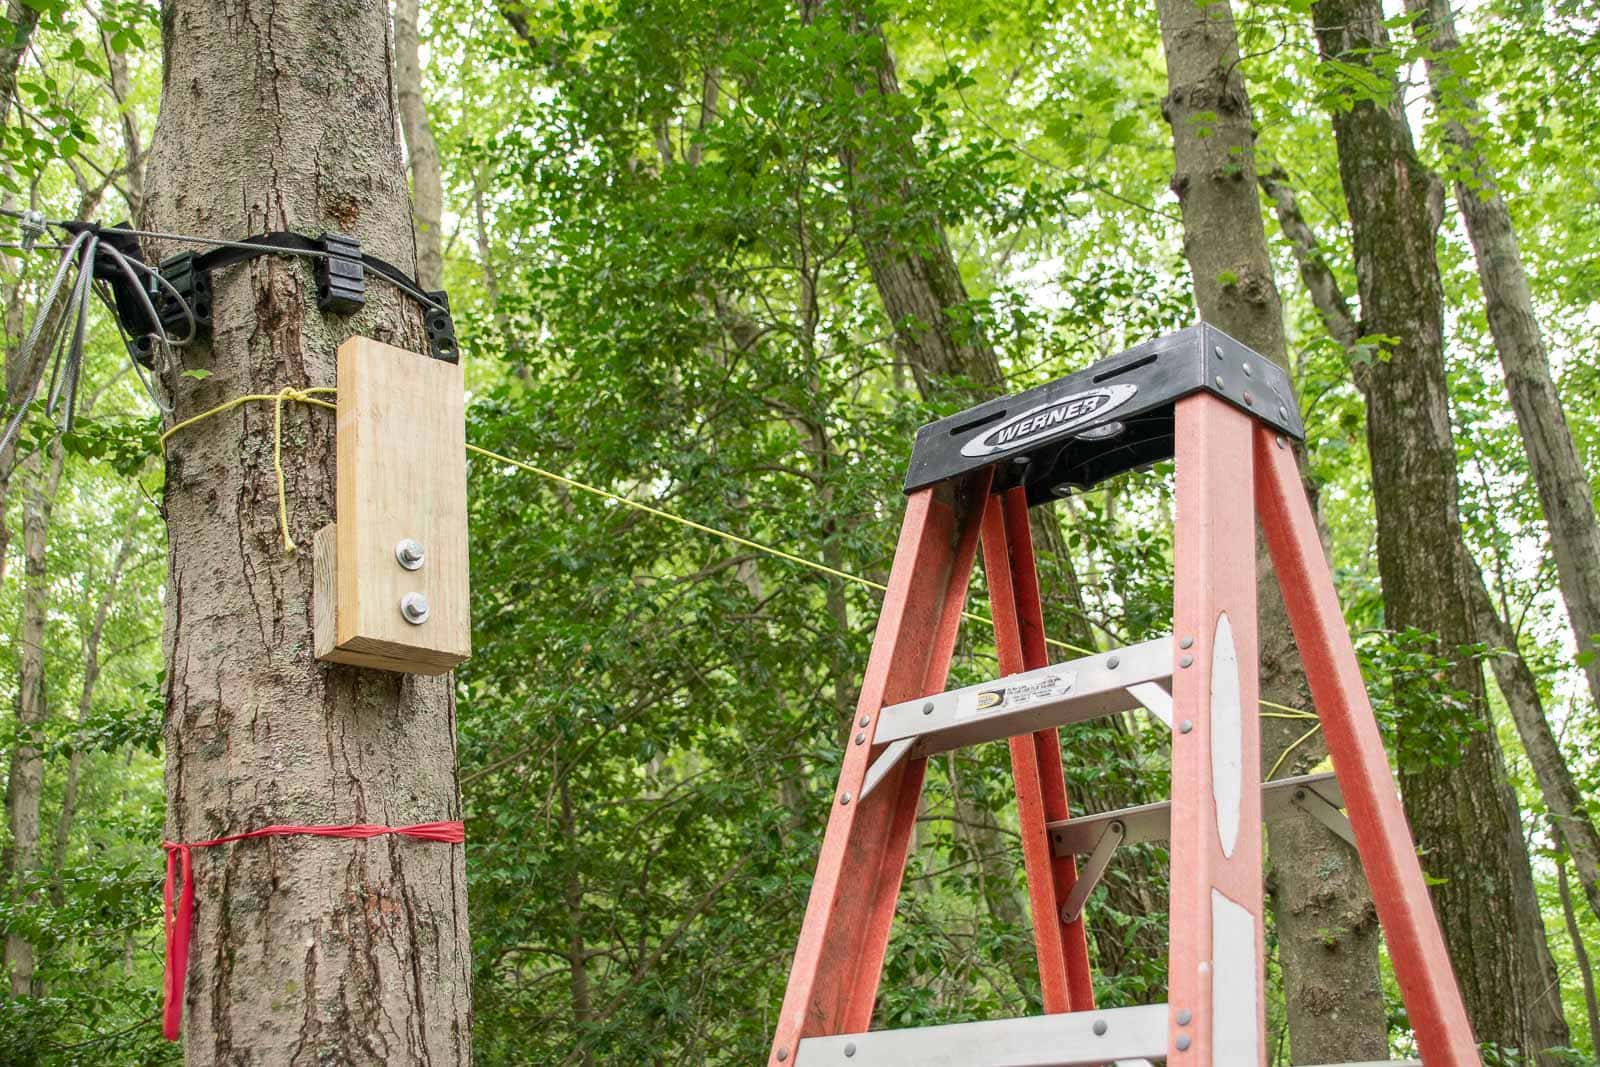
I’m sure there is a better solution for this, but… this worked! I knew that the brackets needed to line up so that when I went to install a long straight board, it would fit into the bracket on either tree. I ran a length of rope between the two trees and ‘pointed’ my brackets along that line to make sure they would line up with each other.

I used this swing set hardware and this swing. The brace screwed into the header with carriage bolts. As you can see, I used two pieces of 2×4 pressure treated wood on either side of the header to accommodate the carriage bolts included with the swing hanging hardware, but… I definitely could have grabbed shorter carriage bolts at Home Depot also.
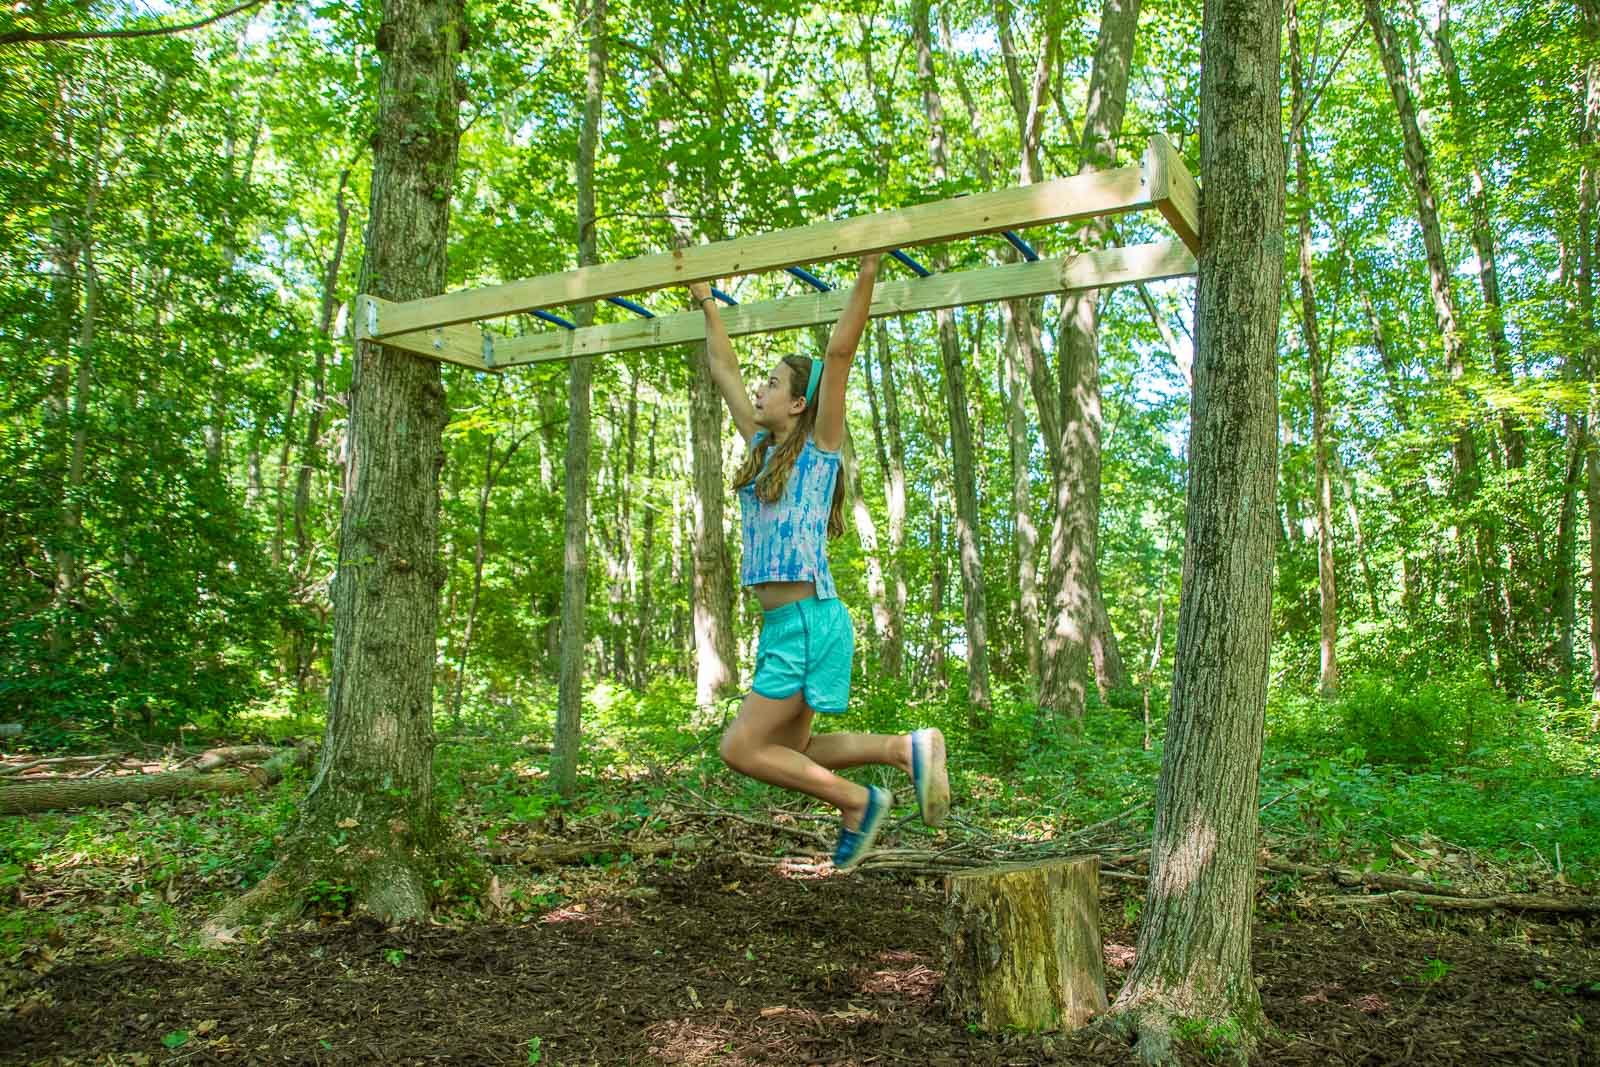
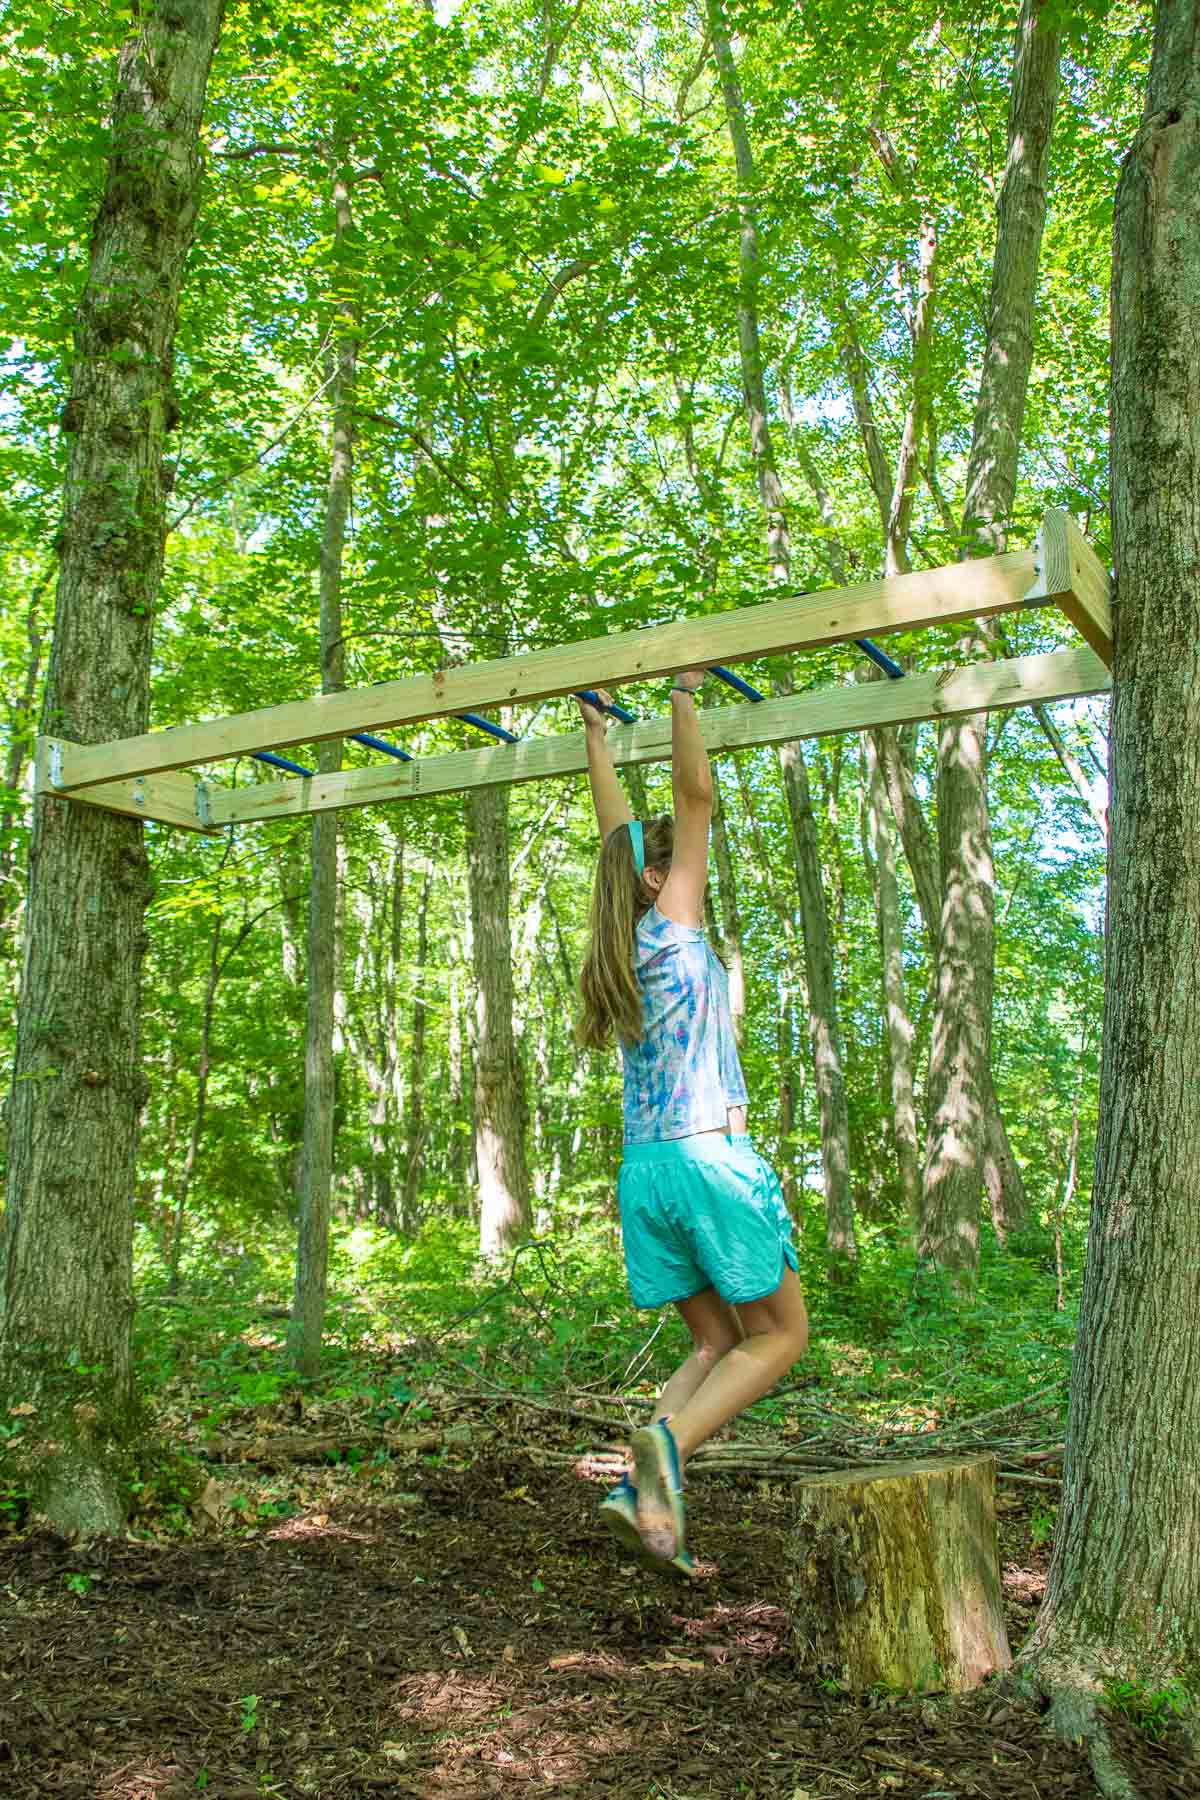
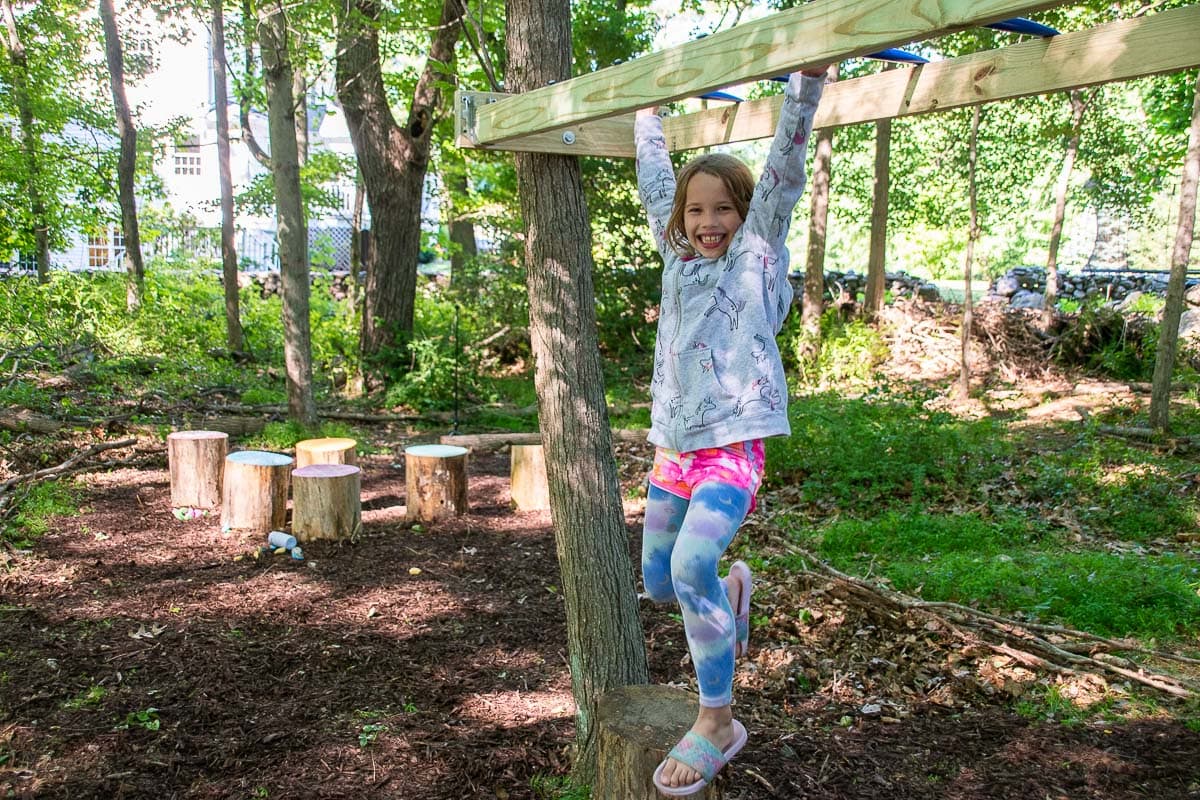
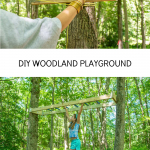
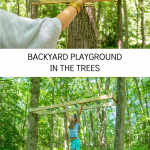
DIY Backyard Monkey Bars
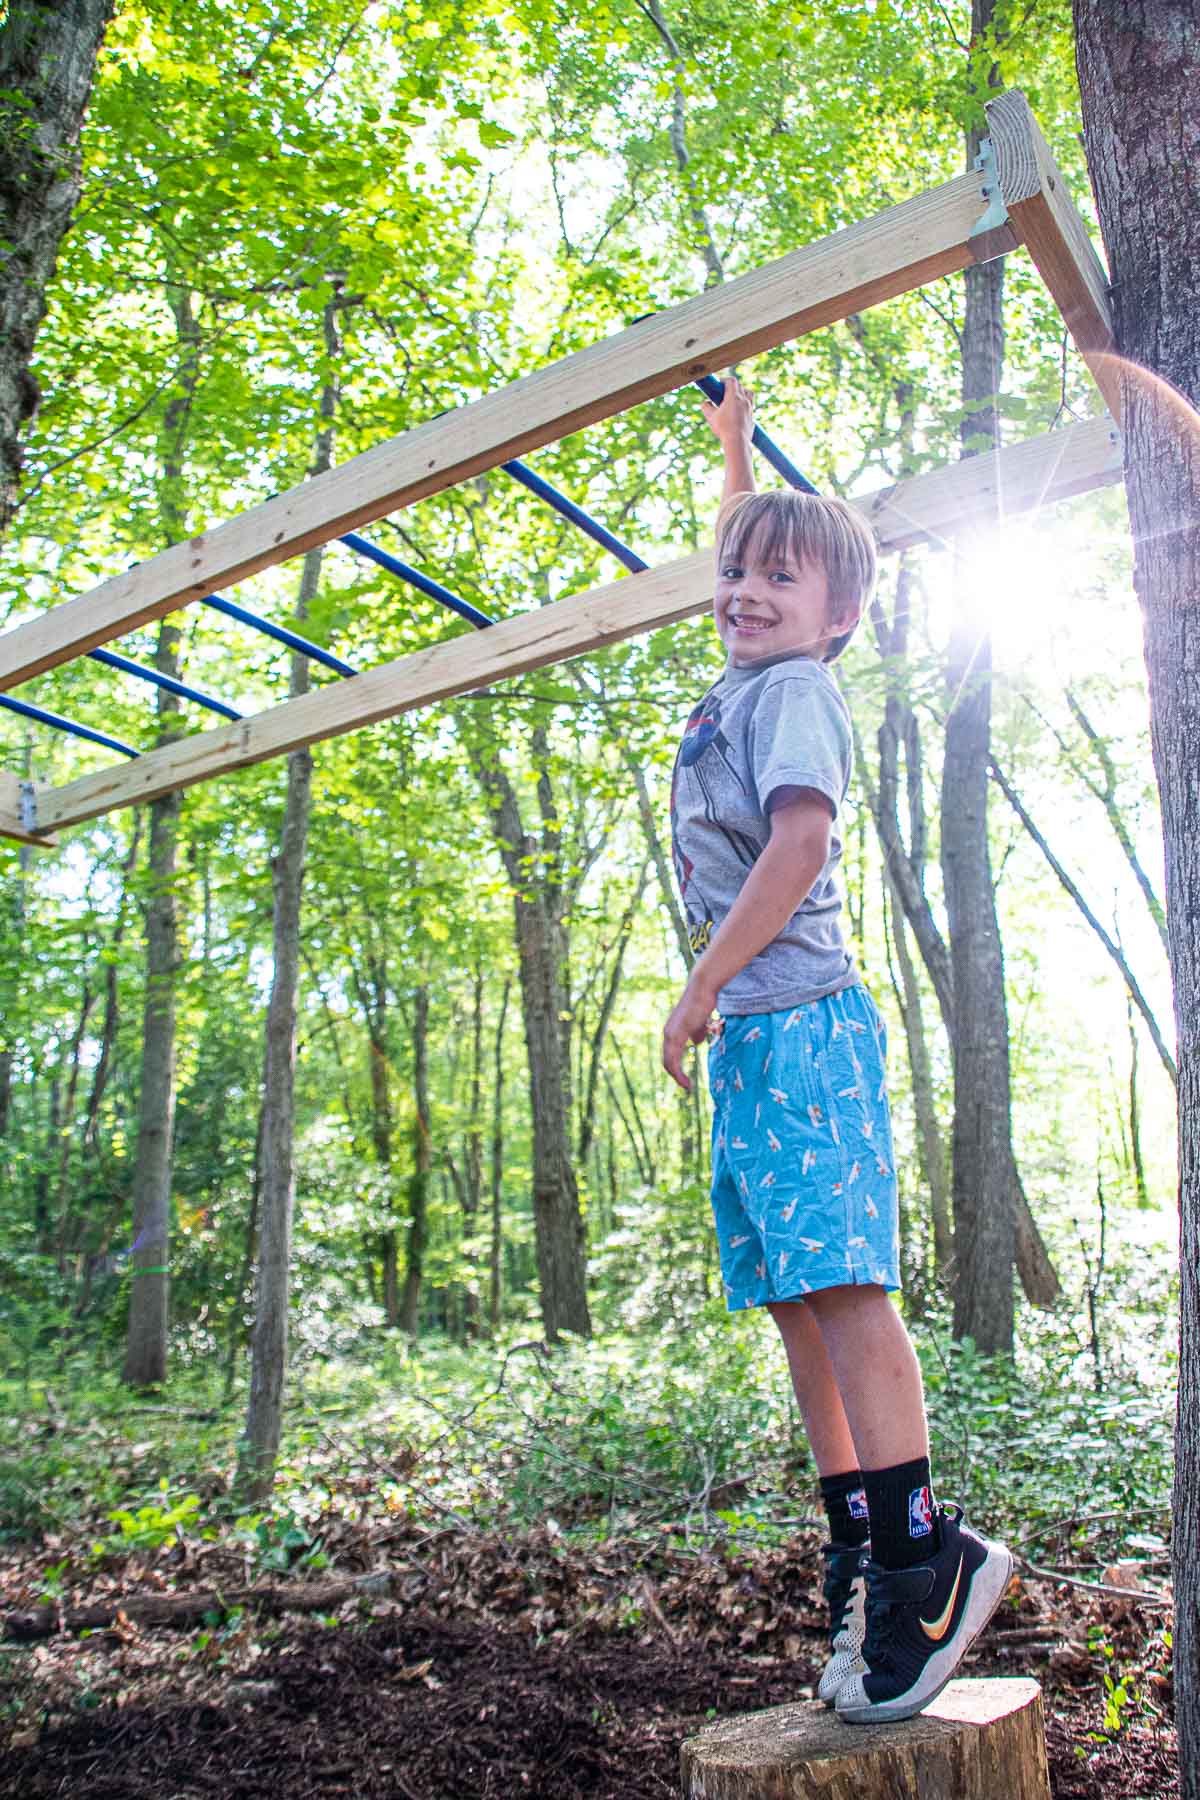
Similar to the sewing, I’m using two trees between which I installed monkey bars. Unlike the swing, I needed to build a bit more of a frame to create the necessary width for these monkey bars. I started by installing two 24-inch lengths of 2×6 pressure treated wood into my trees. Before screwing them in place, I attached those joist hangers and pre-drilled for the lag bolts just as I had for the swing. The deck braces will support the weight of the pressure treated 2x4s that will ultimately be the framework for the monkey bars.
I used the same rope to make sure the boards on either tree were lined up and level and used basic exterior screws to hold the board in place so I could have enough leverage to ratchet the lag bolts tight.
I measured the space between the deck supports before cutting down my 2x4s just to be safe. The 2x4s slide right into the braces and then I supported with exterior screws through the braces themselves but also added a sturdy GRK screw through the support beam on the tree into the end of each 2×4 as extra security.

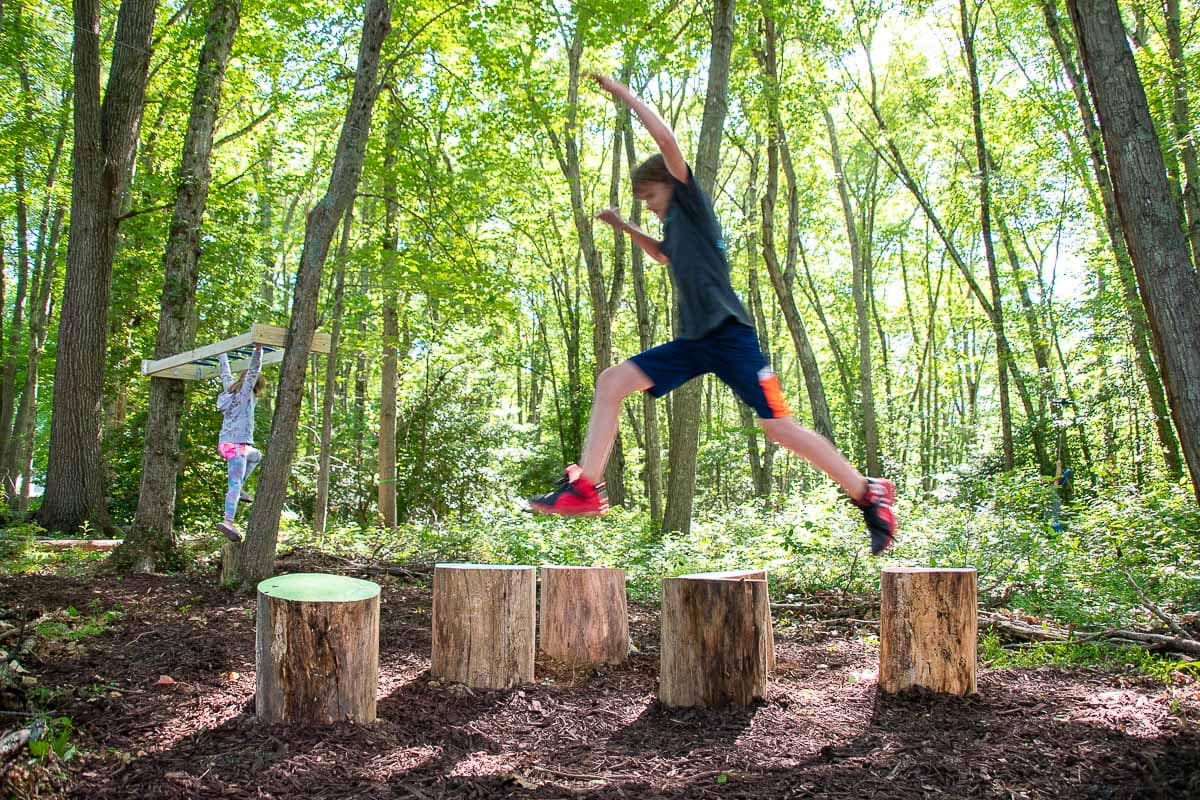
The monkey bars screw into the top of the 2x4s and are spaced 12-inches apart. All of the kids can just barely reach the monkey bars but I had to bring over a stump for our youngest to reach! I love that they can all play on the same thing and hopefully grow into it!
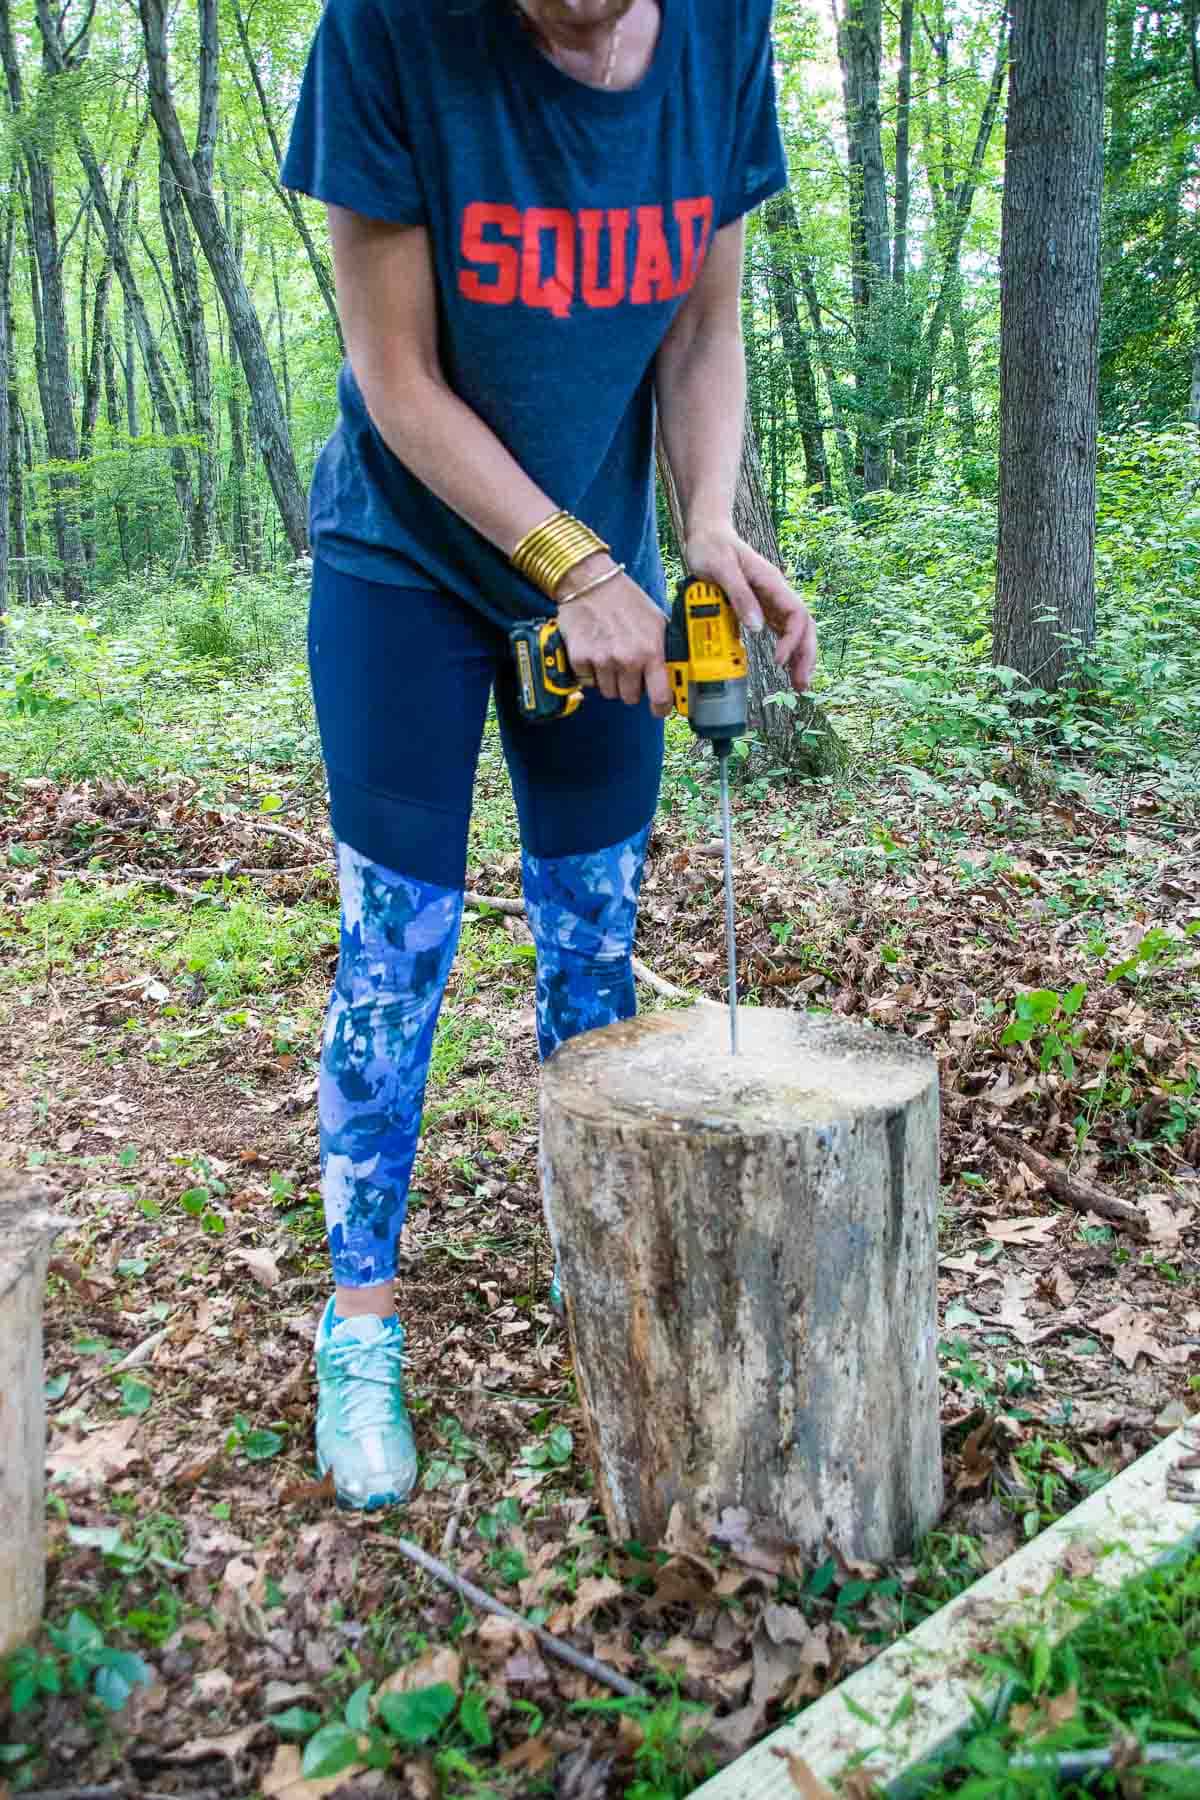
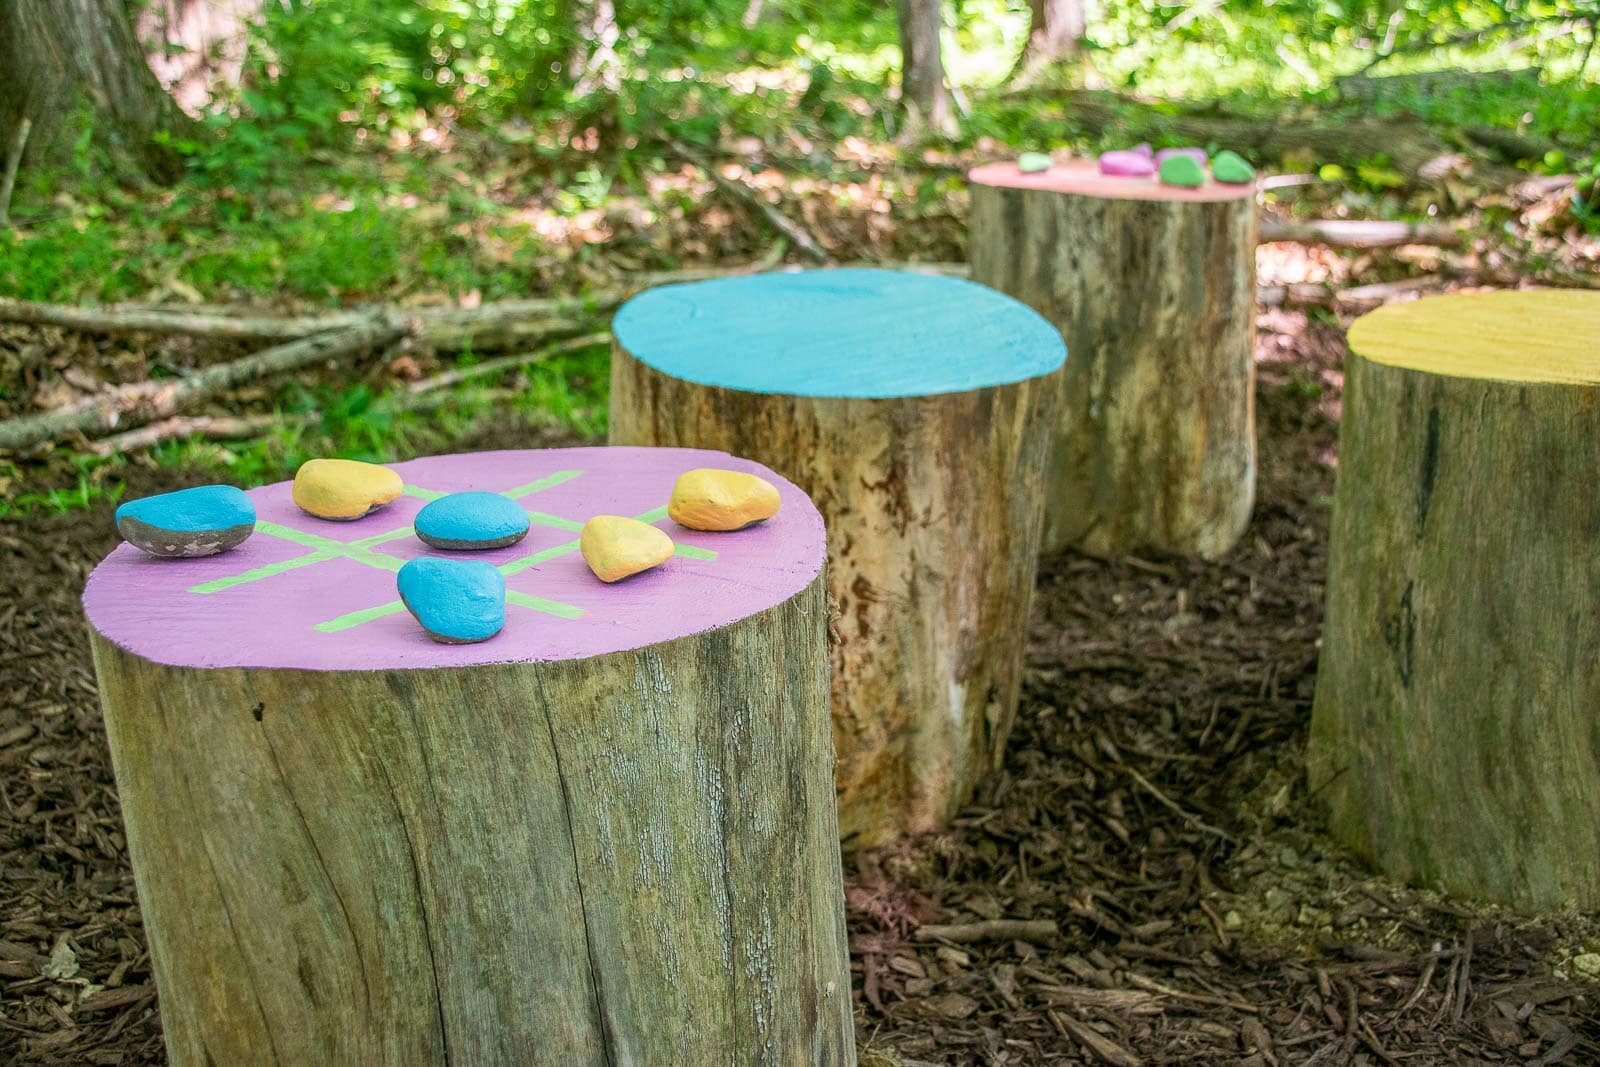
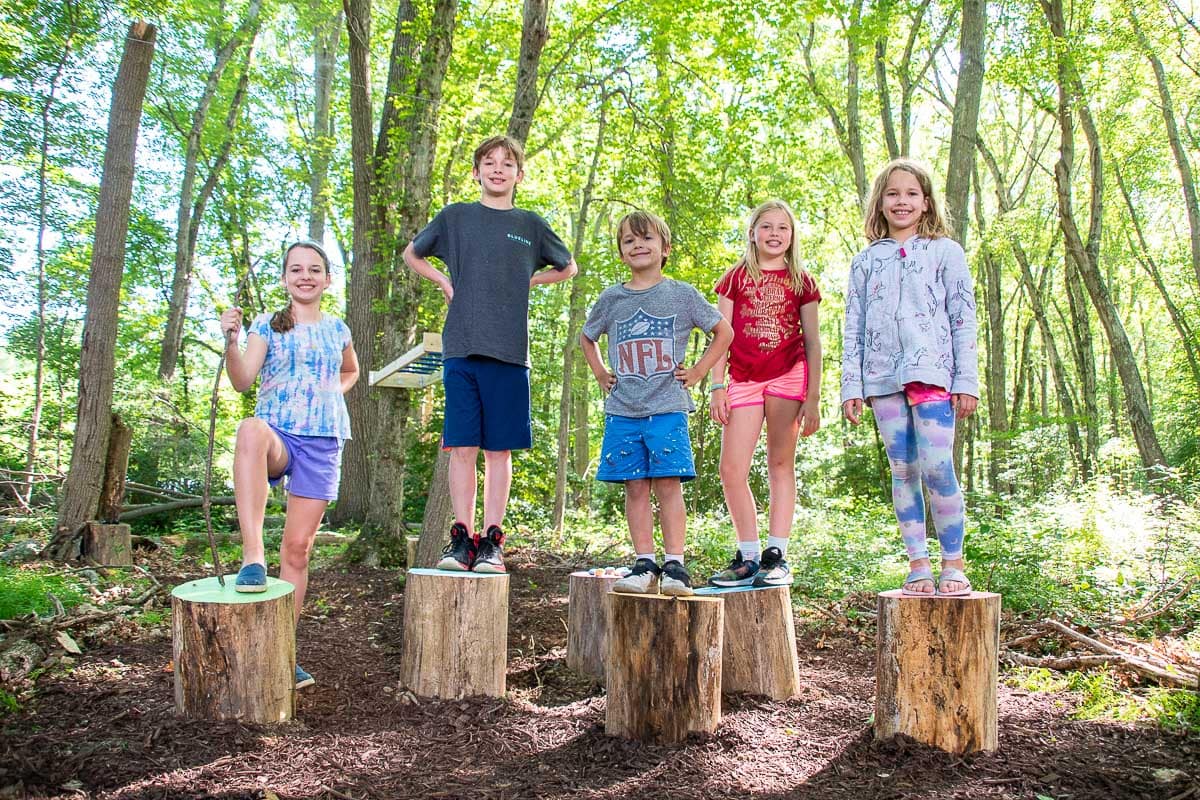
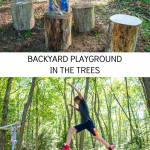
Stepping Stumps
We inherited a bunch of tree stumps in the woods so I decided to make use of them for the playground. (If you don’t happen to have a pile of stumps in your yard, check out places like Facebook marketplace of Craigslist as folks are often looking to give their stumps away for free!) These stumps are pretty sturdy, but I wanted to prevent them from toppling over and hurting one of the kids. I used the same spade bit as I had for the lag bolts and drilled a hole into the middle of each stump on the bottom. This was slow going and I suspect a different drill bit might have worked better but I worked with what I had and managed to pre-drill about 8 inches into each stump. I forgot to photograph this next step, but you can use your imagination and picture me huffing and puffing, but I hammered a 24-inch length of rebar into each stump.
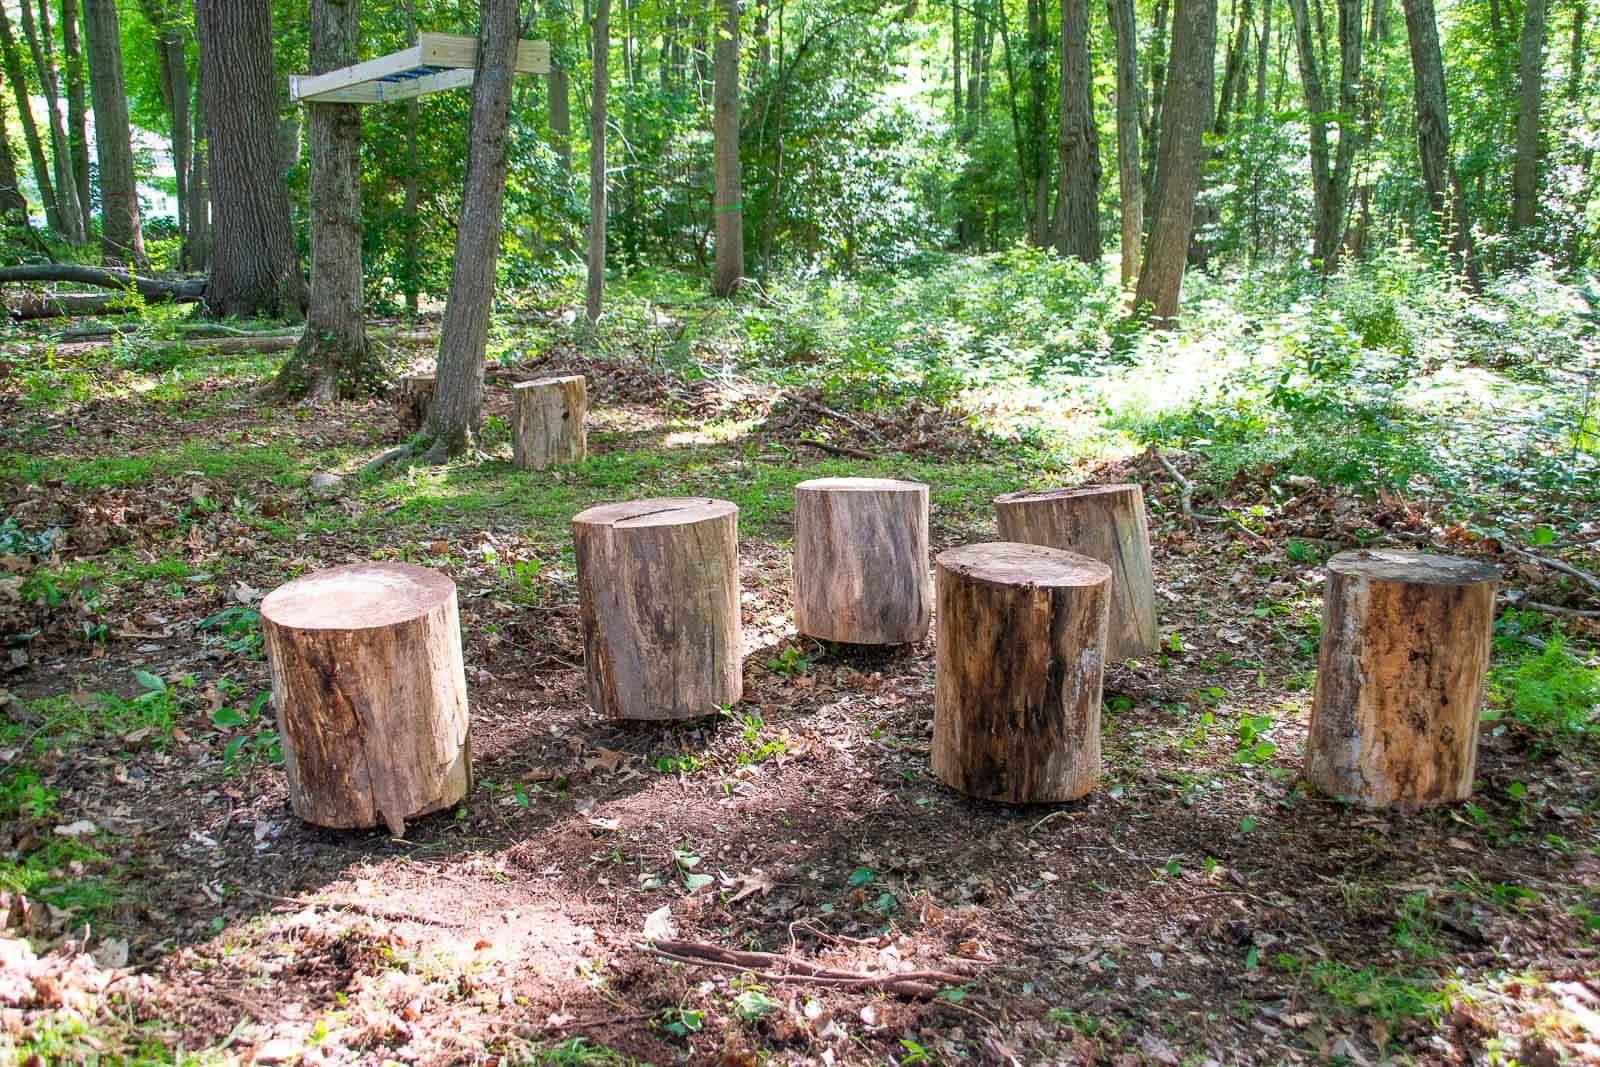
To install the stumps, I cleared out the brush underneath and tried to find a place without any buried roots or stones so that the rebar would sink down into the dirt. Again, please close your eyes and picture me huffing and puffing as I lift and drop these stumps over and over. To stabilize them, I added dirt underneath and then jumped up and down on each one and then backfilled around them a bit more.
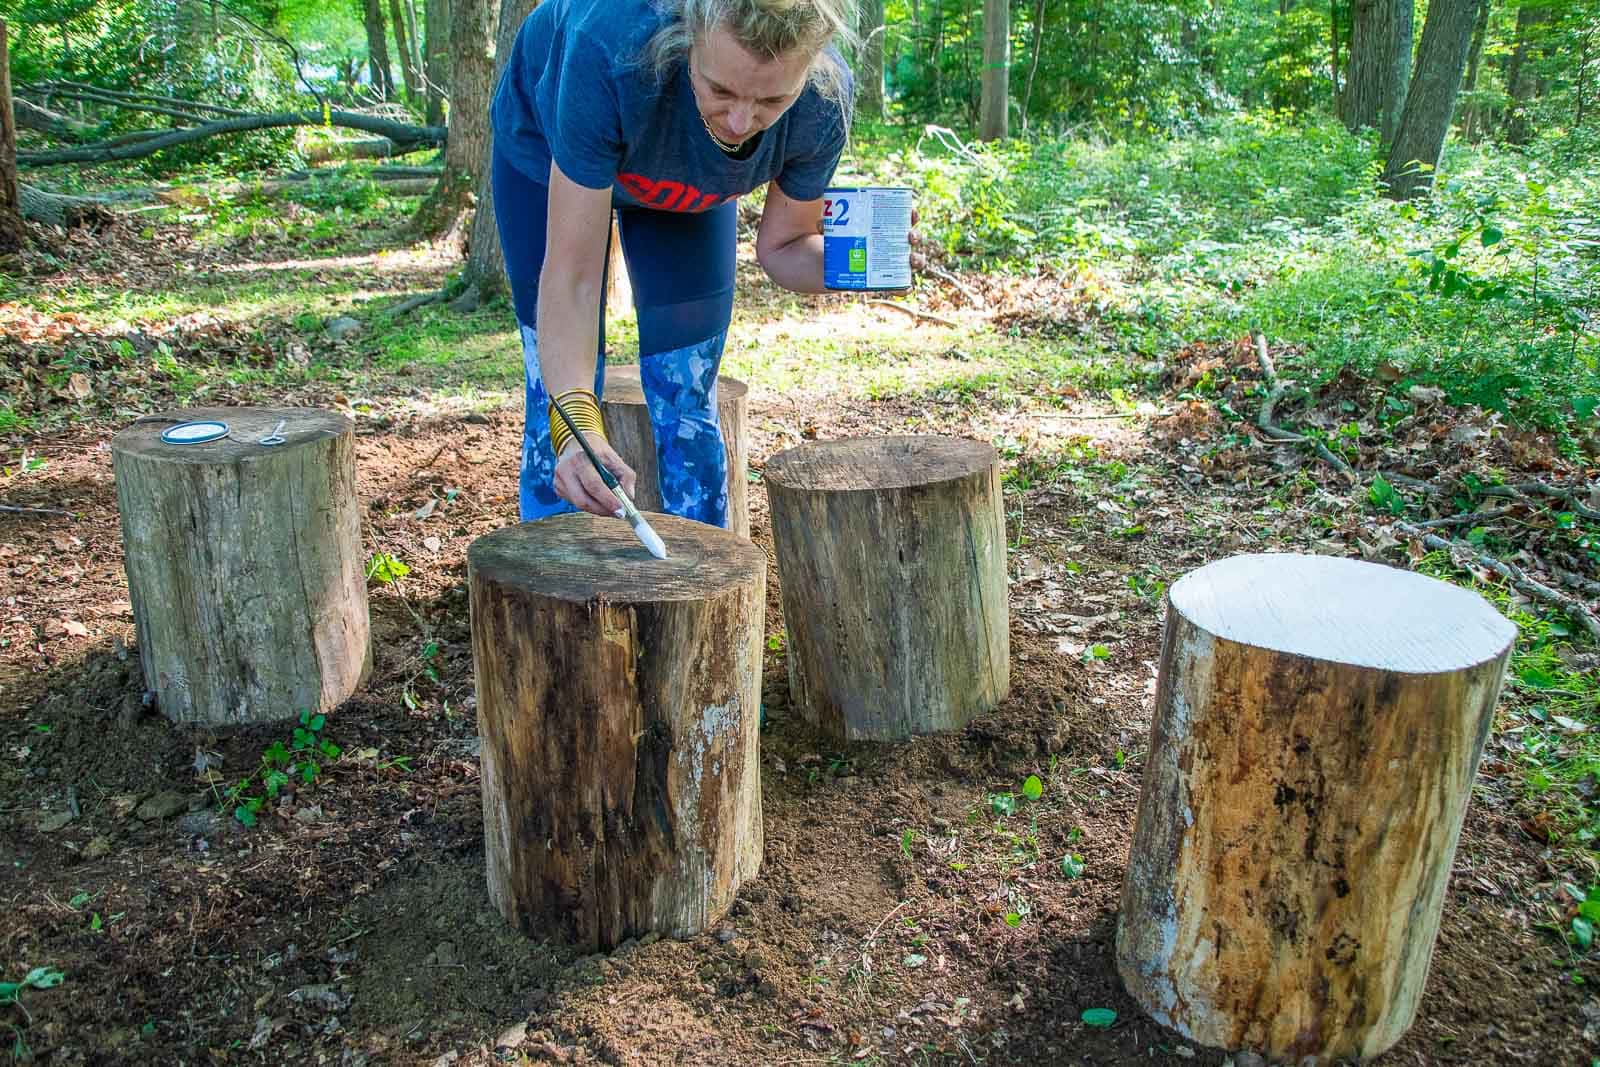
As an added bit of fun, I primed and painted the top of each stump and added a tic tac toe grid. Painted landscape rocks will serve as the game pieces!
I love that these few additions to our outdoor space give the kids more options for independent play in our yard. Listening to them make up games or challenges on the new play equipment is a delight as a parent! I also love that because I used wood and basic materials, these play areas almost blend into to our wooded backyard!
Materials
- 1/2″ Lag Bolts (this is a link to the 6″ lag bolt I used for the monkey bars, but I used an 8-in one for the swing)
- Pressure Treated Lumber
- Ratchet
- Spade Bit
- Impact driver
- Swing
- Swing hanger hardware
- Monkey Bars
- Deck brace
- GRK screws (you can buy them individually in the store!)
- Rebar
- Primer
- Paint sample pots


Love seeing tHe in depth post On the blog. Love all of this and anything to get the kids outside. I Love how it all blends in with the outdoors But still haS your touch with the pops of color. Love it!
It’s so fun how it blends in, I agree! Thank you!!
Wow!
I think i’ve say it to you before, but…. CAn i become one of your kids, please? 😉
Hahaha! Yes!!! Would love another! 🙂
what a suPer fun plaCe to play!
Thank you!!! If it ever stops raining I cant wait to send my kids out there again! xx
Hi! What size lag bolts did you use for the swing? Thank you!
Oh gosh… they were hefty…. maybe 1/2″ diameter?