
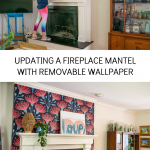
Giving our Fireplace Mantel a New Look with Wallpaper
Psssst… this post *might* contain affiliate links: see my disclosure here.
Adding an Easy Bold Update to Our Fireplace
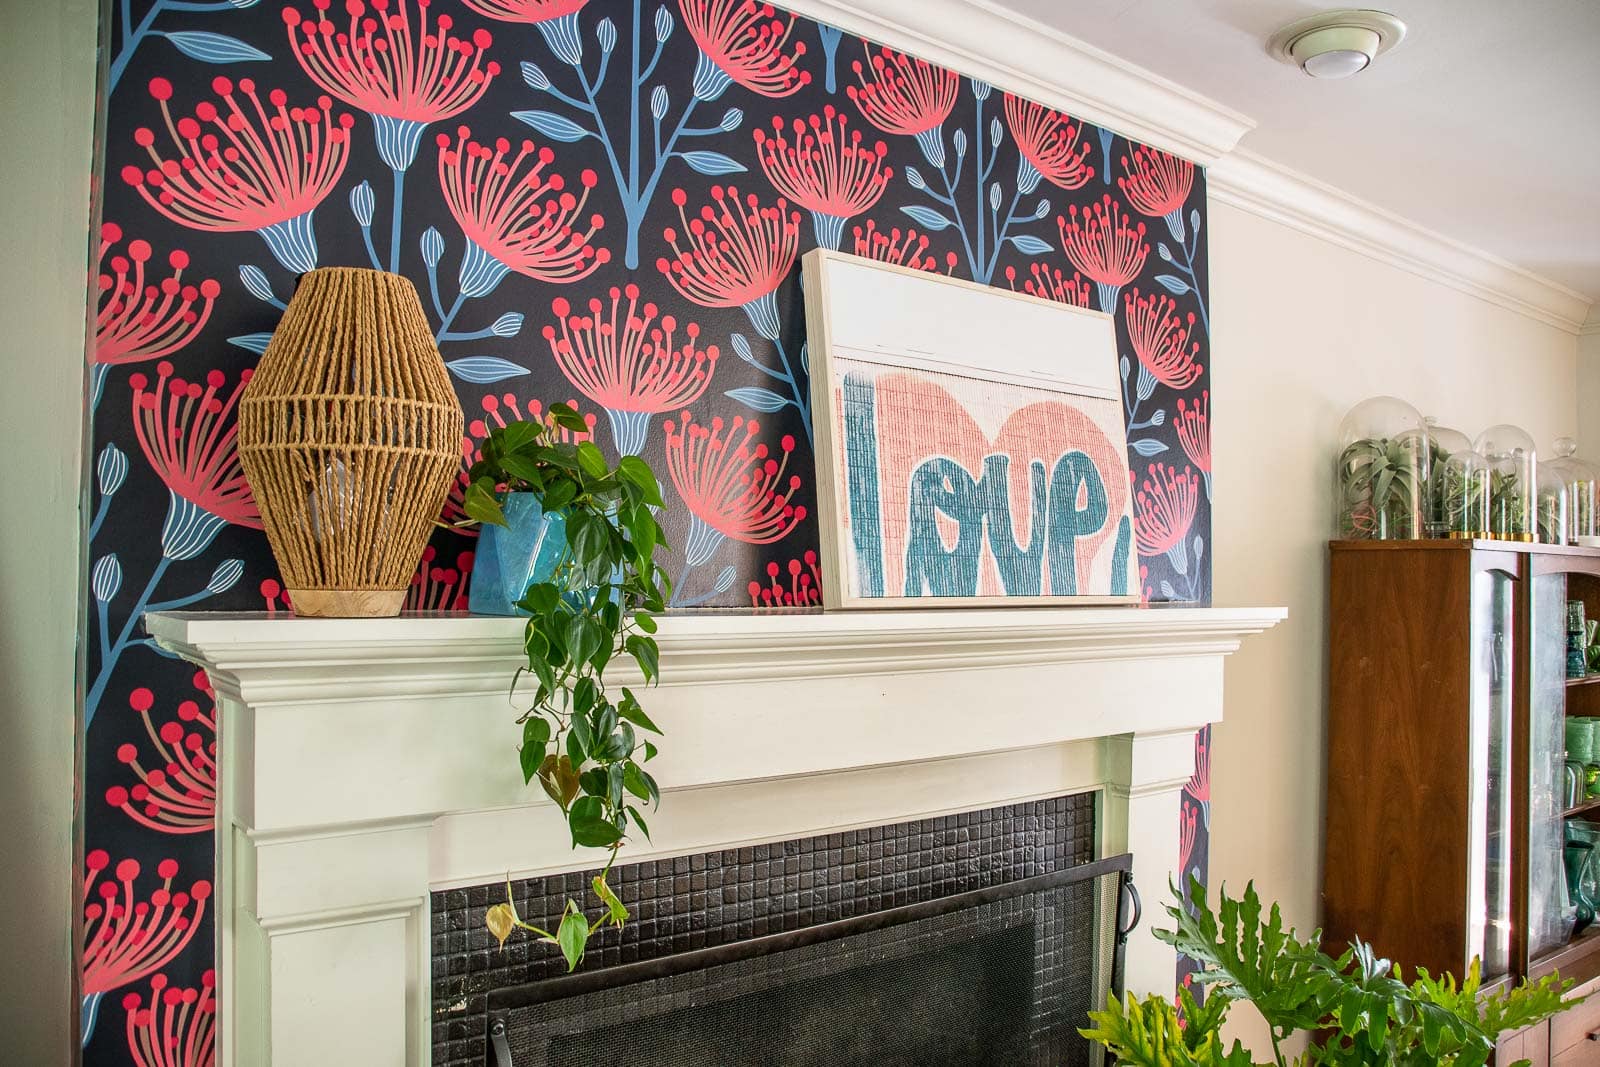
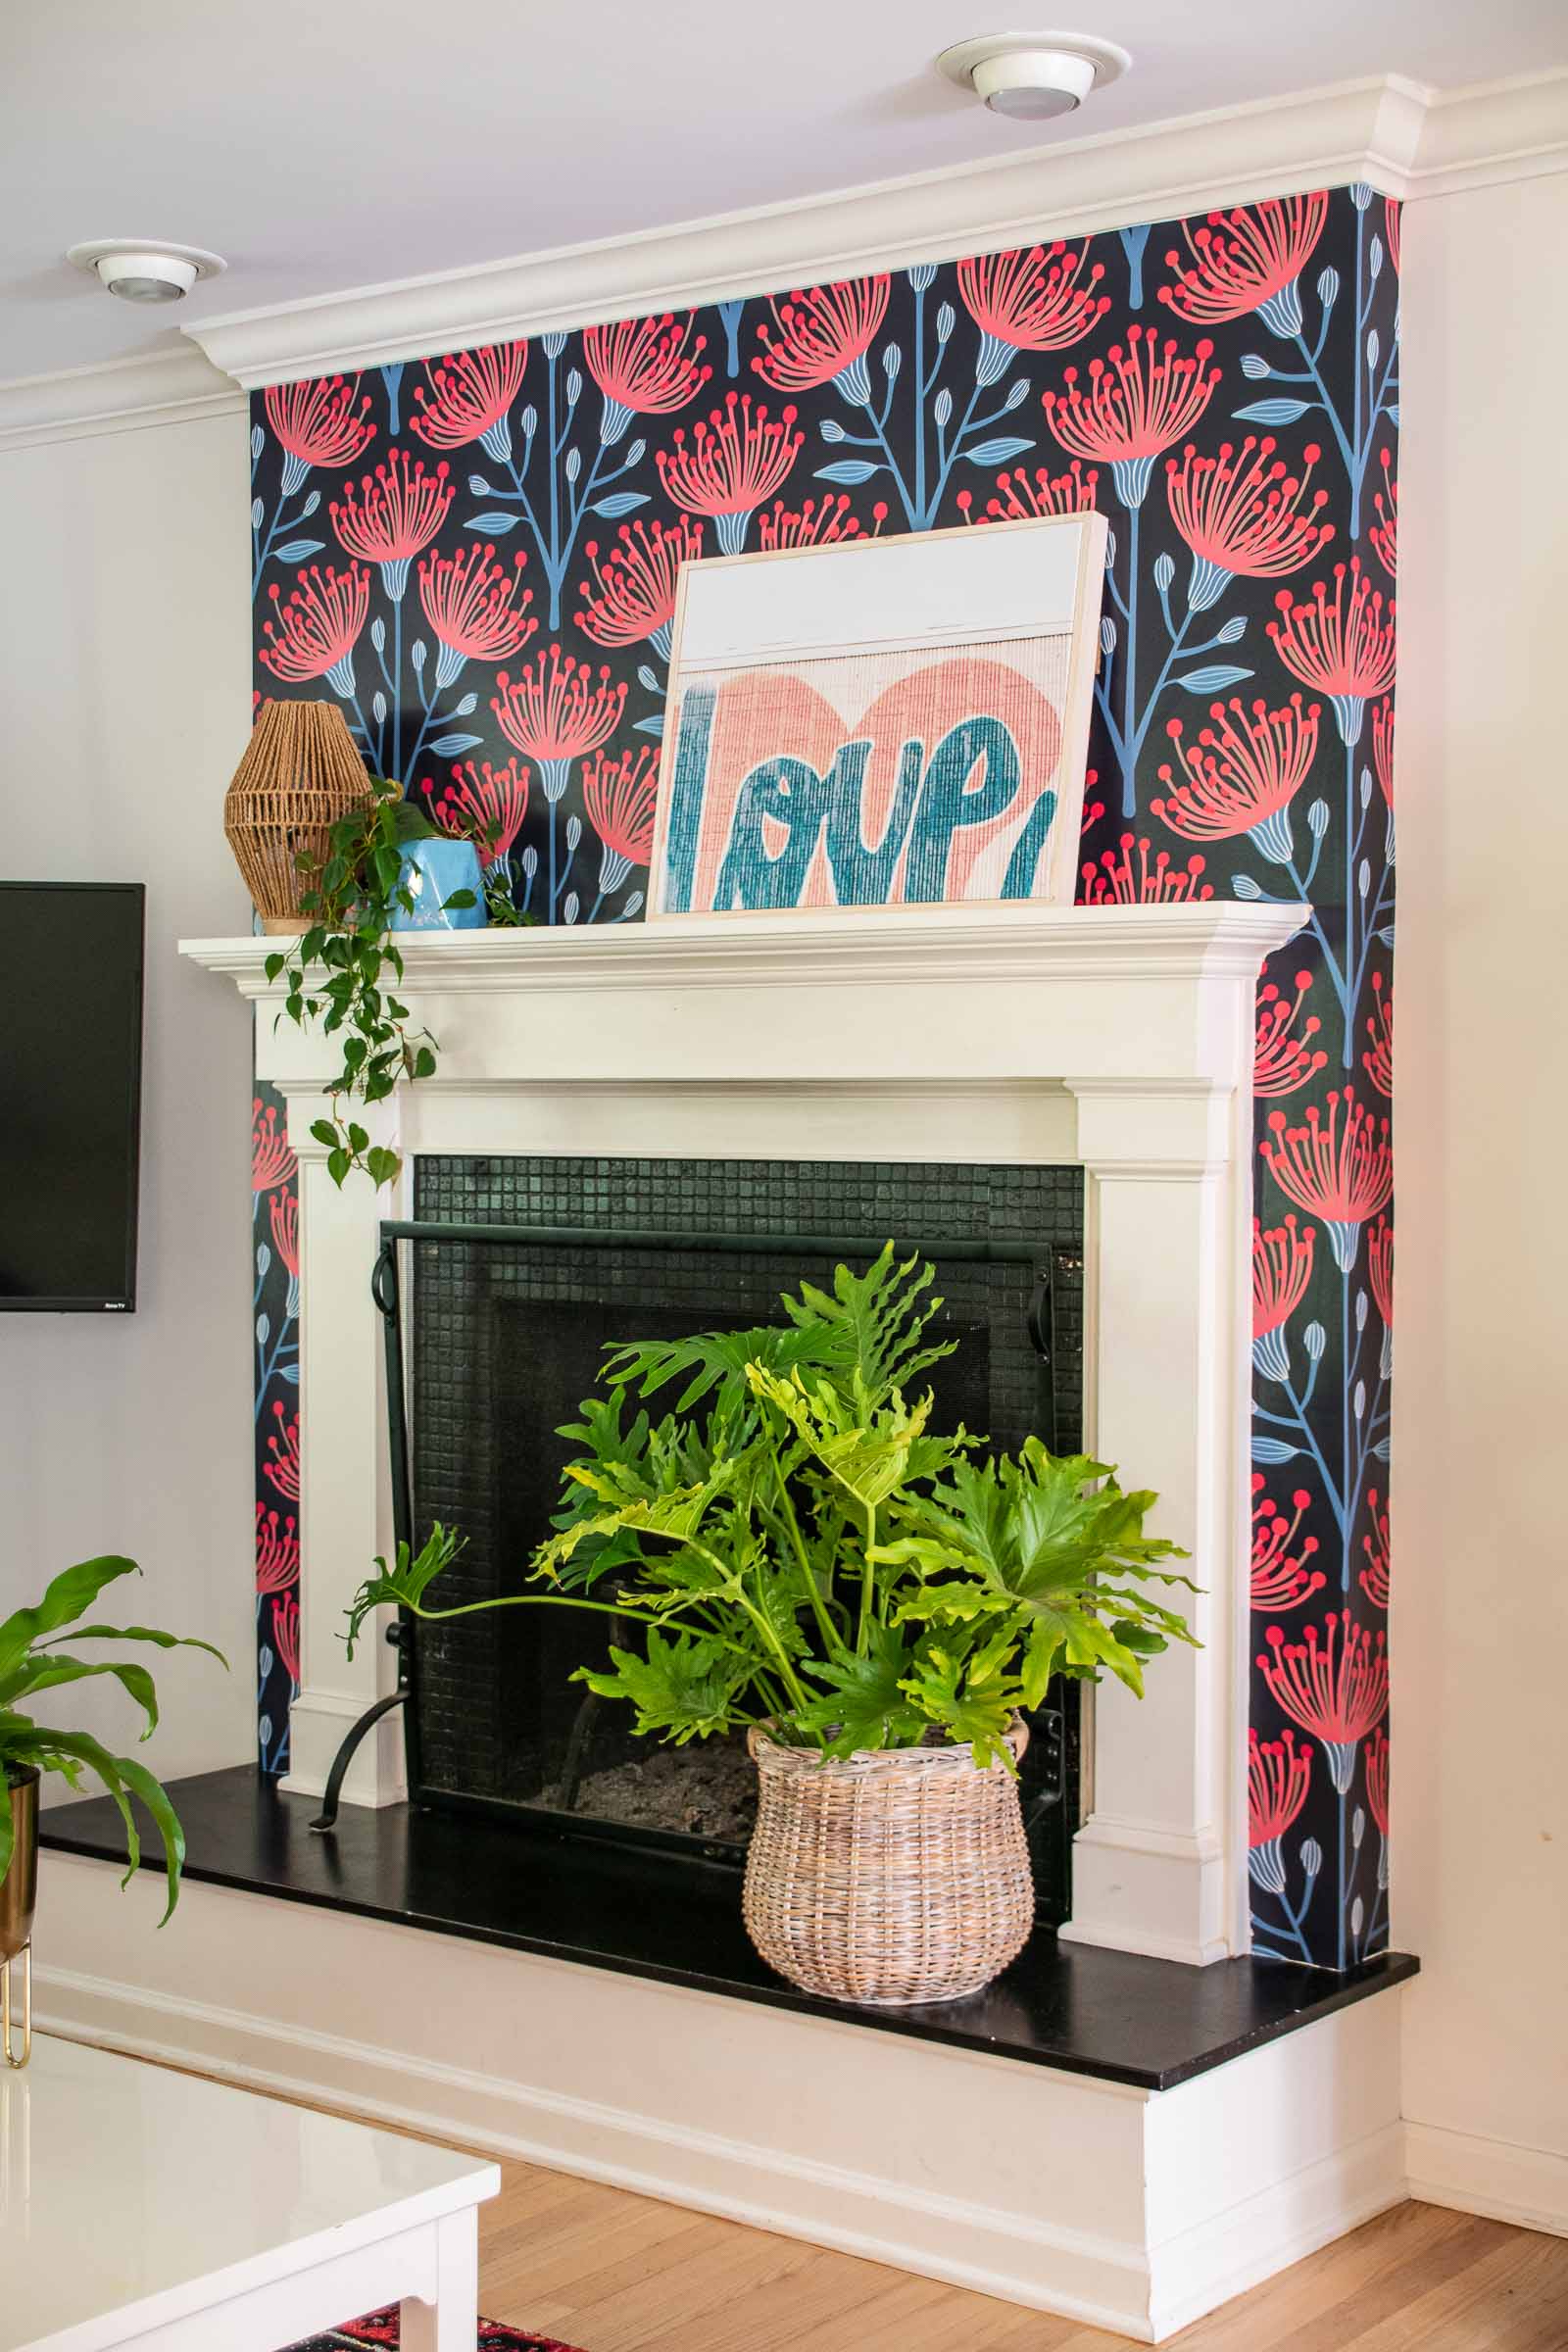
I added this incredible removable wallpaper to totally update our family room fireplace wall.
My favorite part of design are those moments when you wonder, “what will this look like?” I had that moment recently when Spoonflower challenged me to makeover a small space in my home. What better space to highlight than our fireplace wall and mantel! Best part about this wallpaper project is that it has SUCH a great impact to the space but it only took me an hour to install and doesn’t require a ton of wallpaper so it’s fairly budget friendly! A big bang for your buck as they kids say! I’m using Spoonflower’s prepasted removable smooth paper in this pattern. (Use my code charlotte20 for 20% your own Spoonflower wallpaper!)
Shop my favorites!
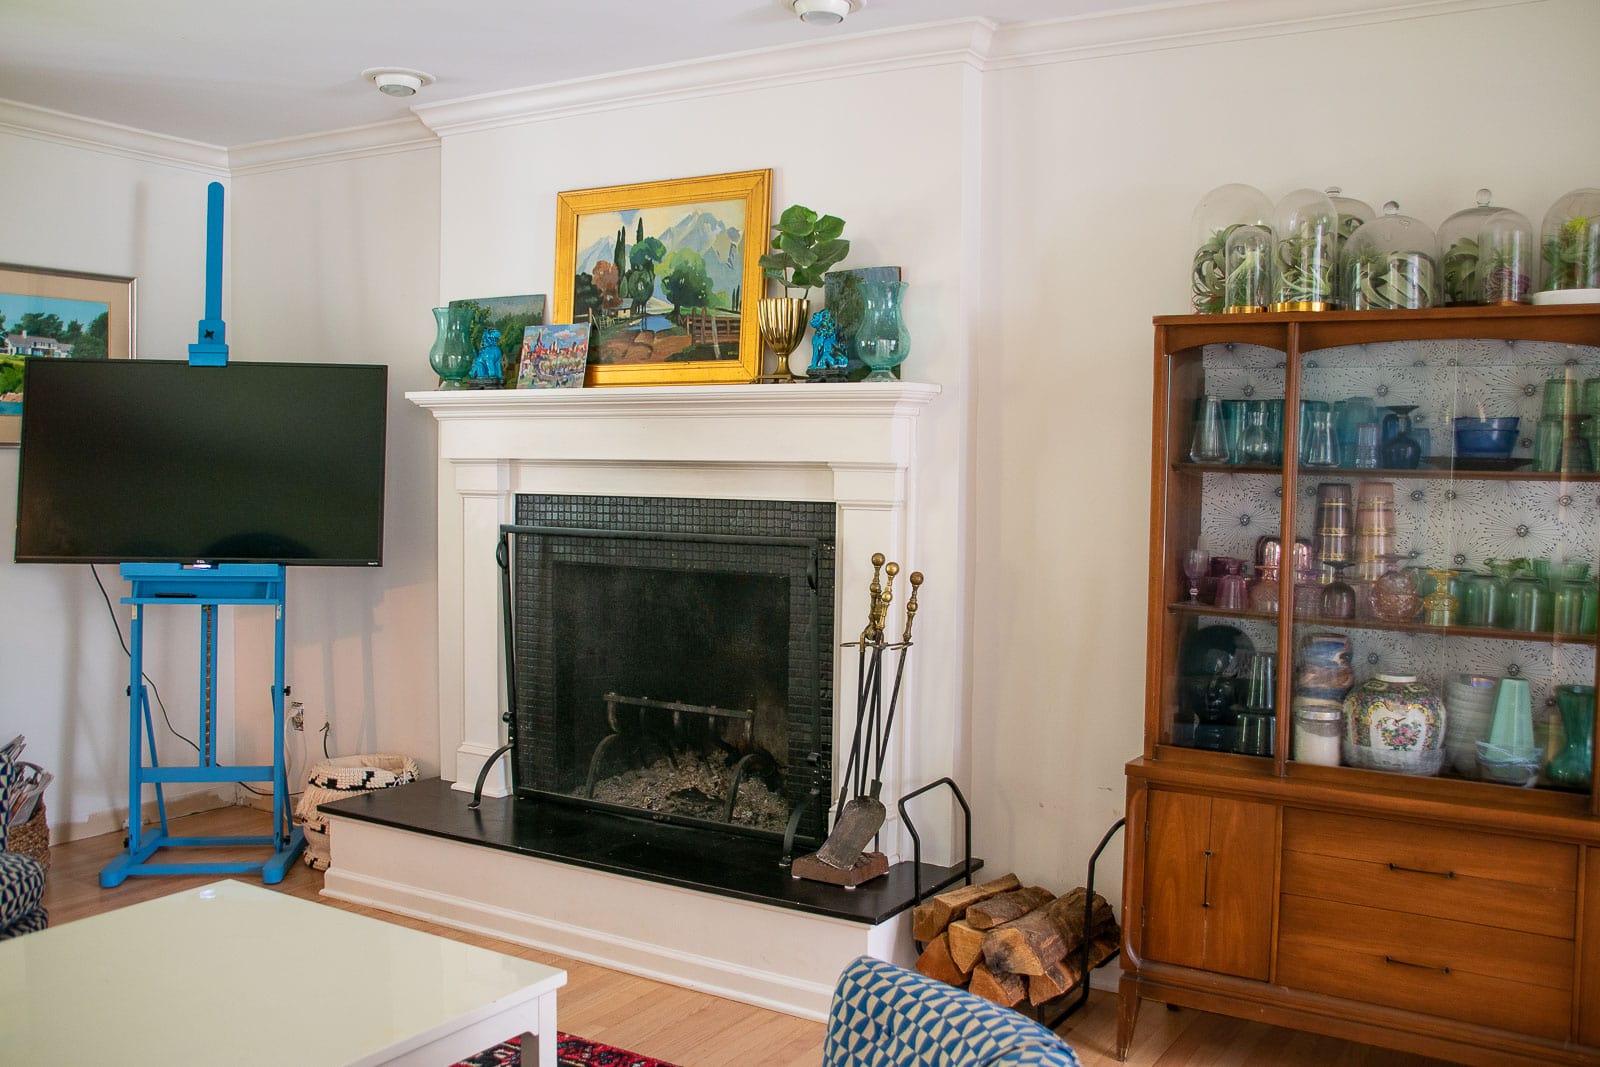
This is where we started. Let’s have some fun, shall we??
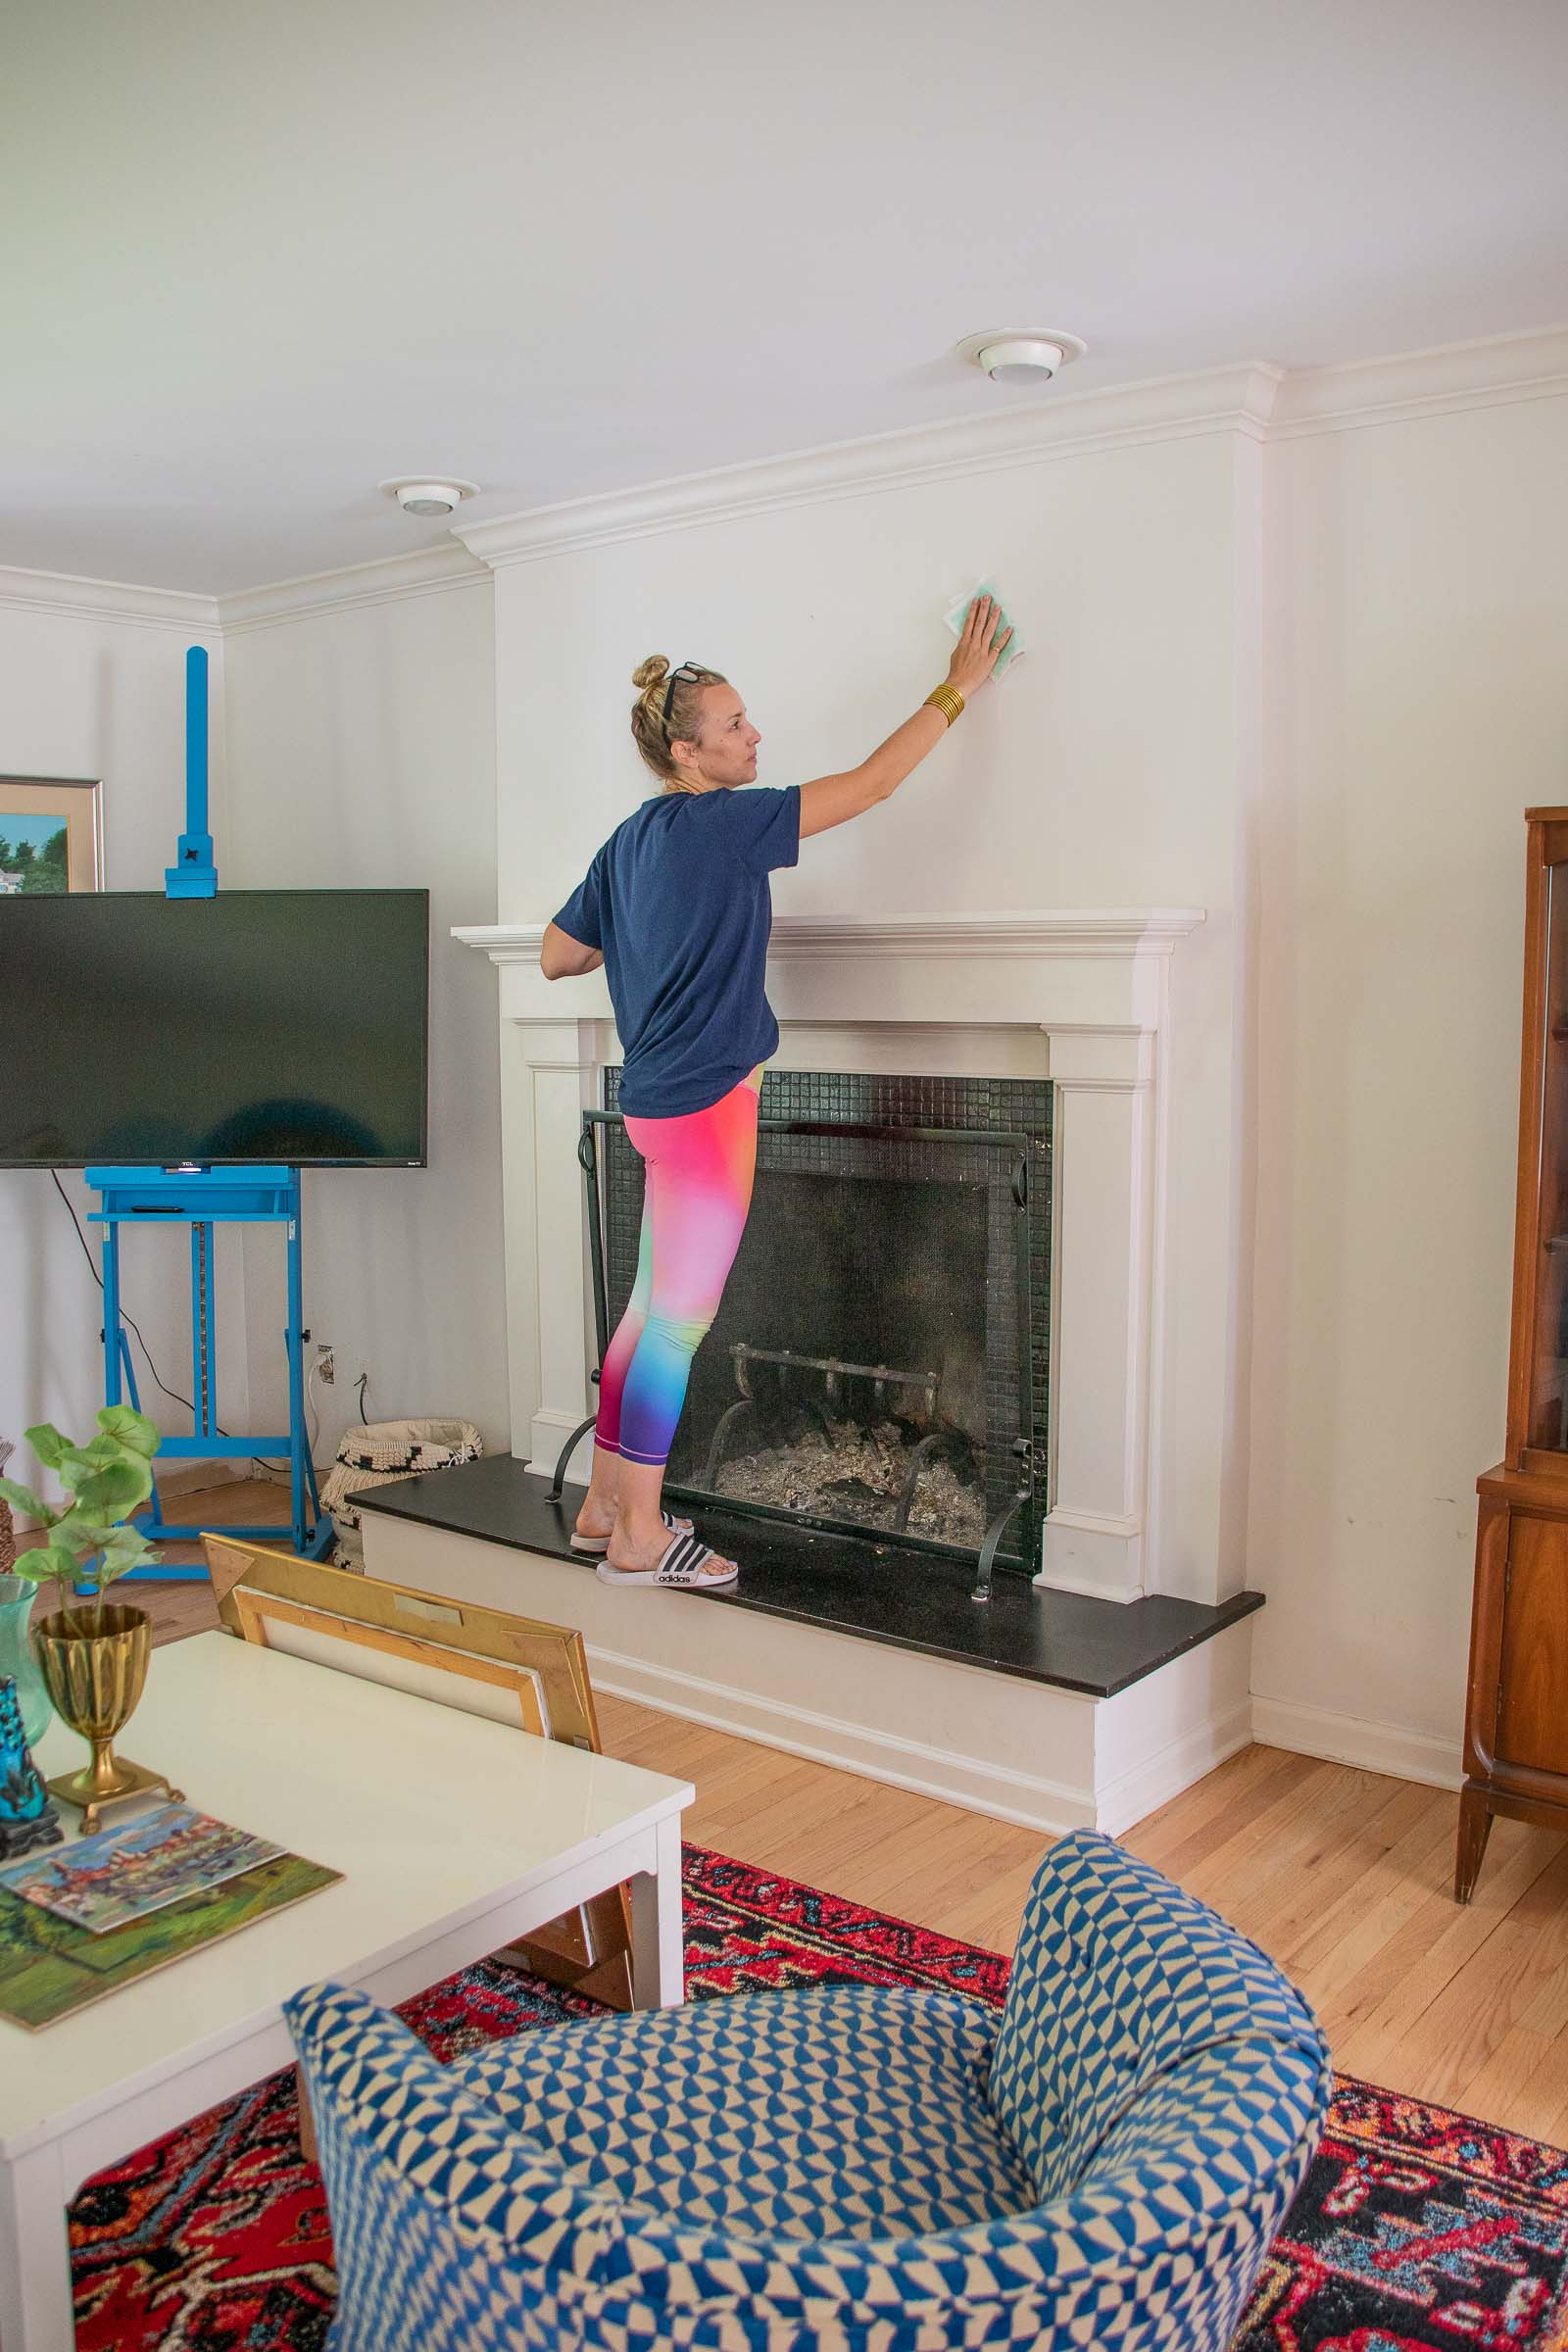
Step 1. Clean and Prep the wall
I don’t typically go crazy cleaning the walls before wallpaper, but because this area is around our fireplace, I wanted to make sure there wasn’t any residual dust or smoke from our winter of cozy fires. I also patched one nail hole.
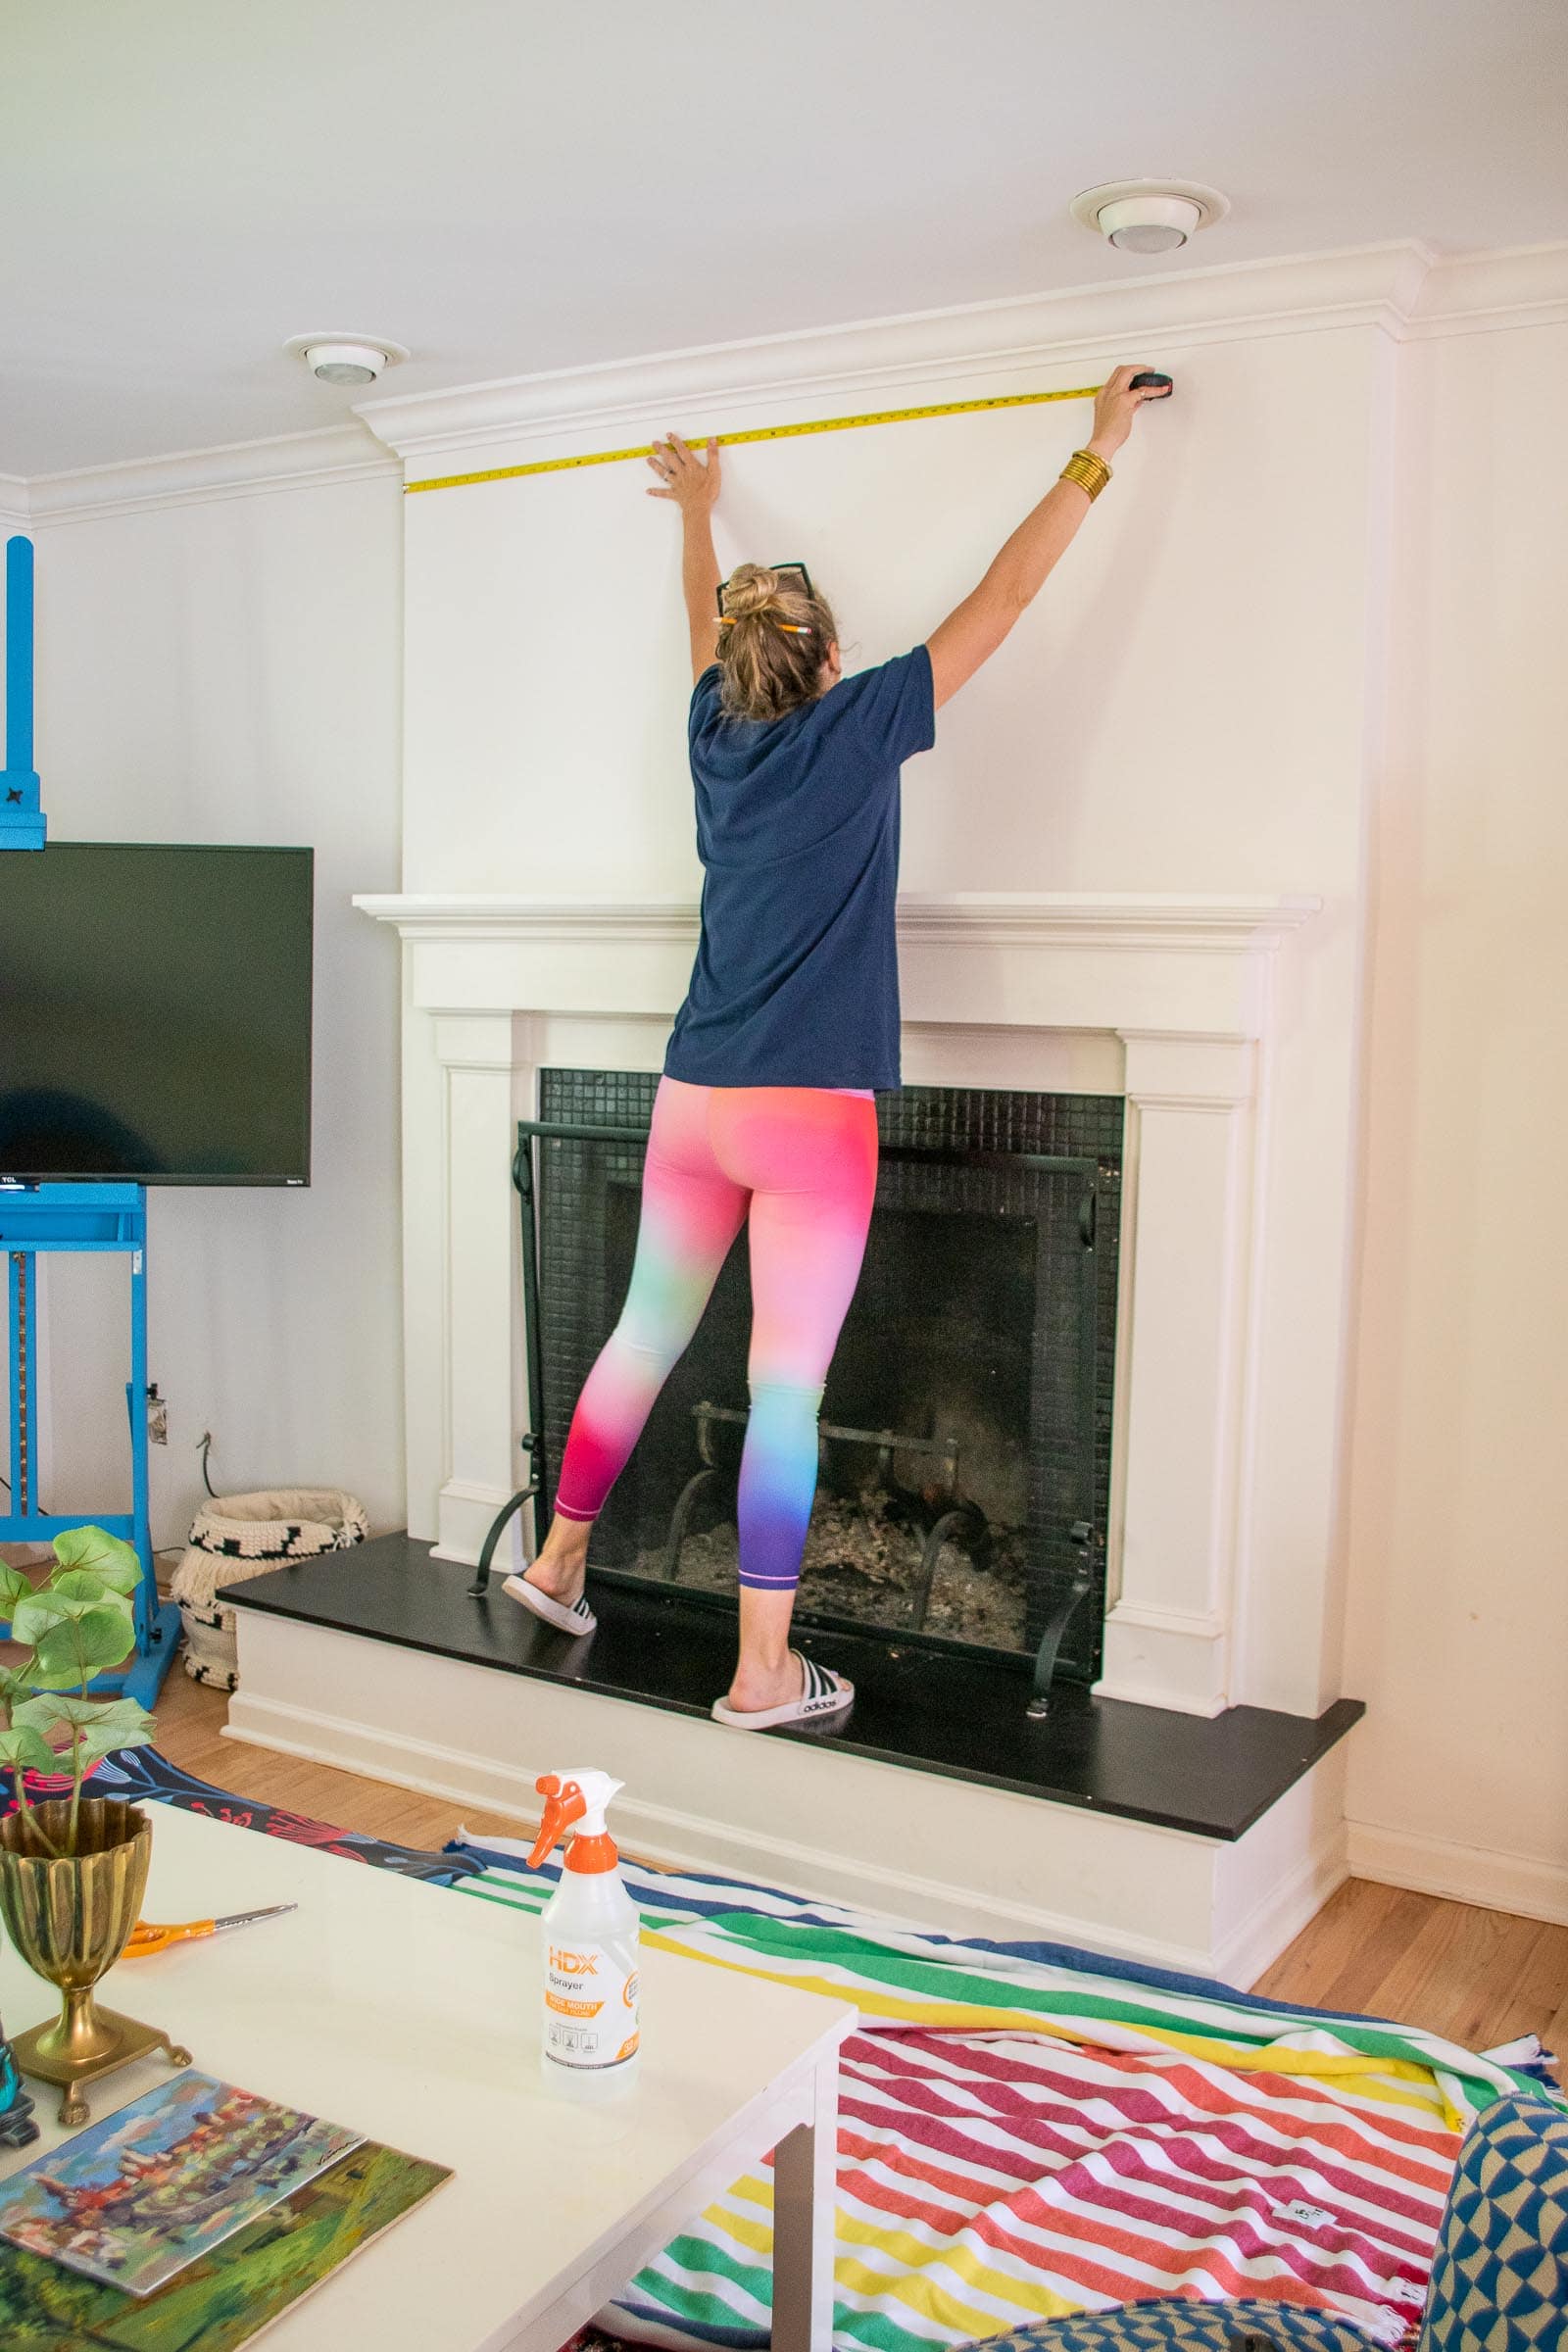
Step 2. Find the Center
Because the paper I chose had a large pattern, I wanted to make sure the design was centered on the mantel. I marked the center of the mantel and then drew two vertical lines on either side to use as a guide for my first strip.

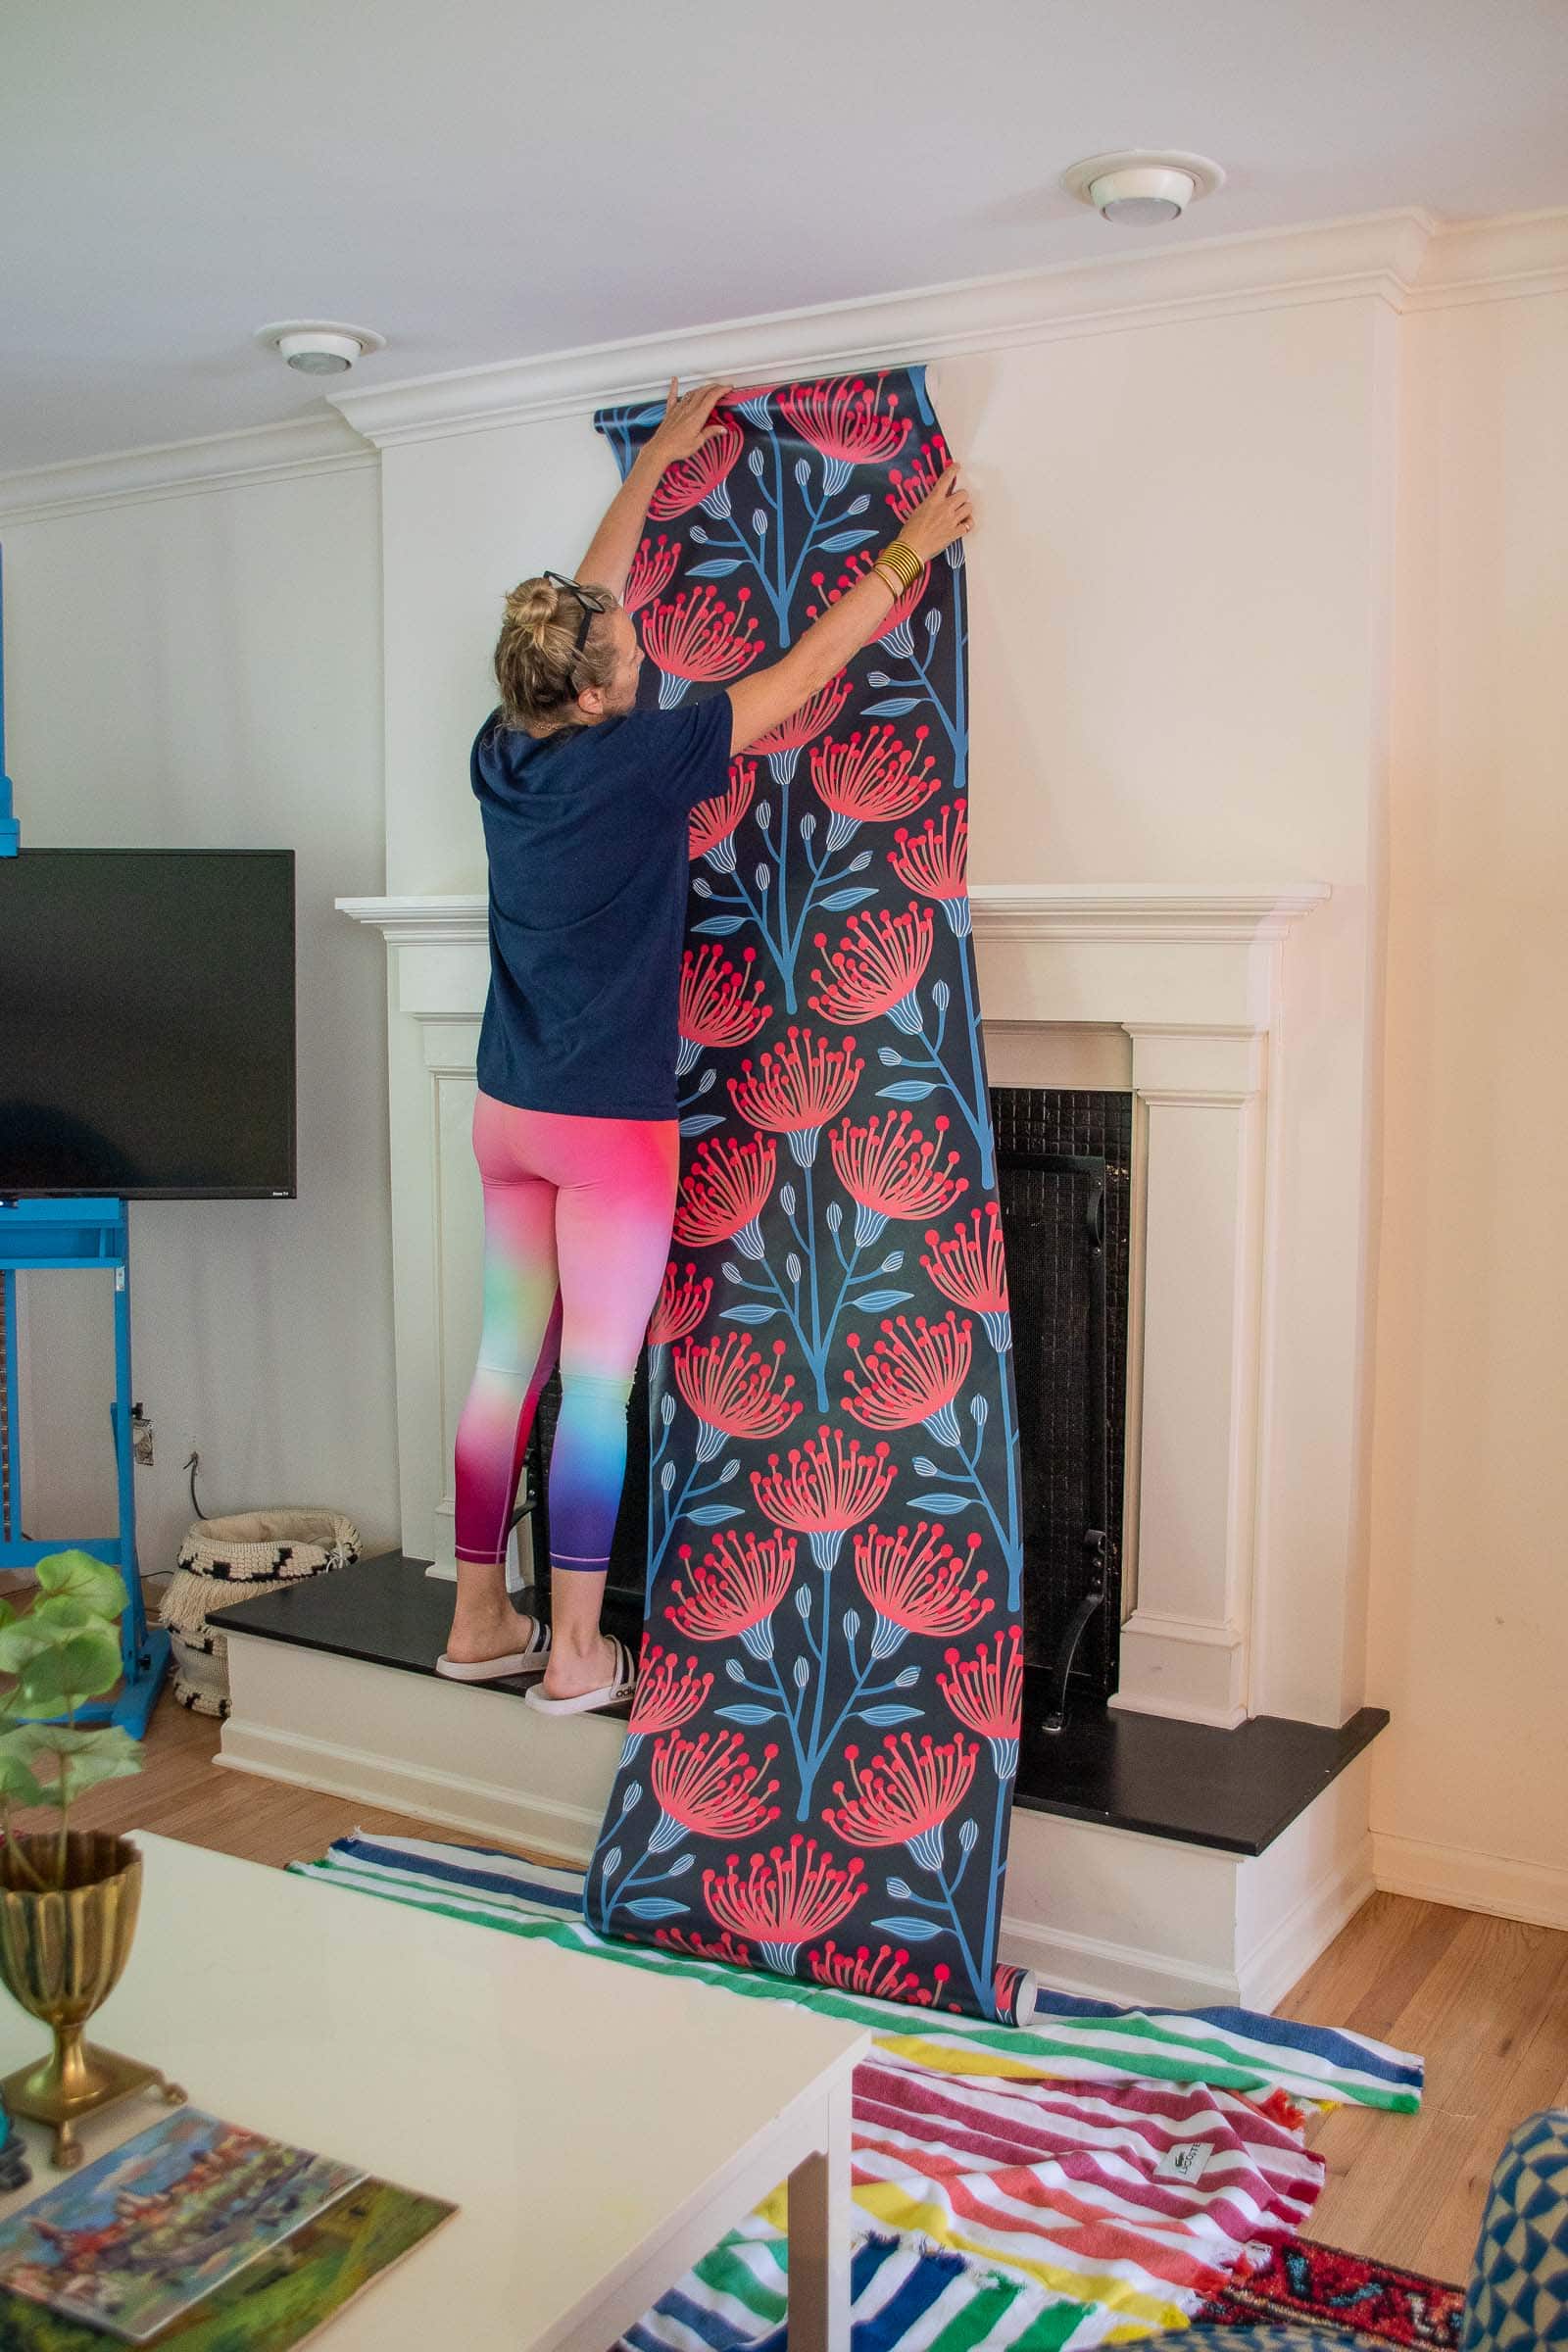
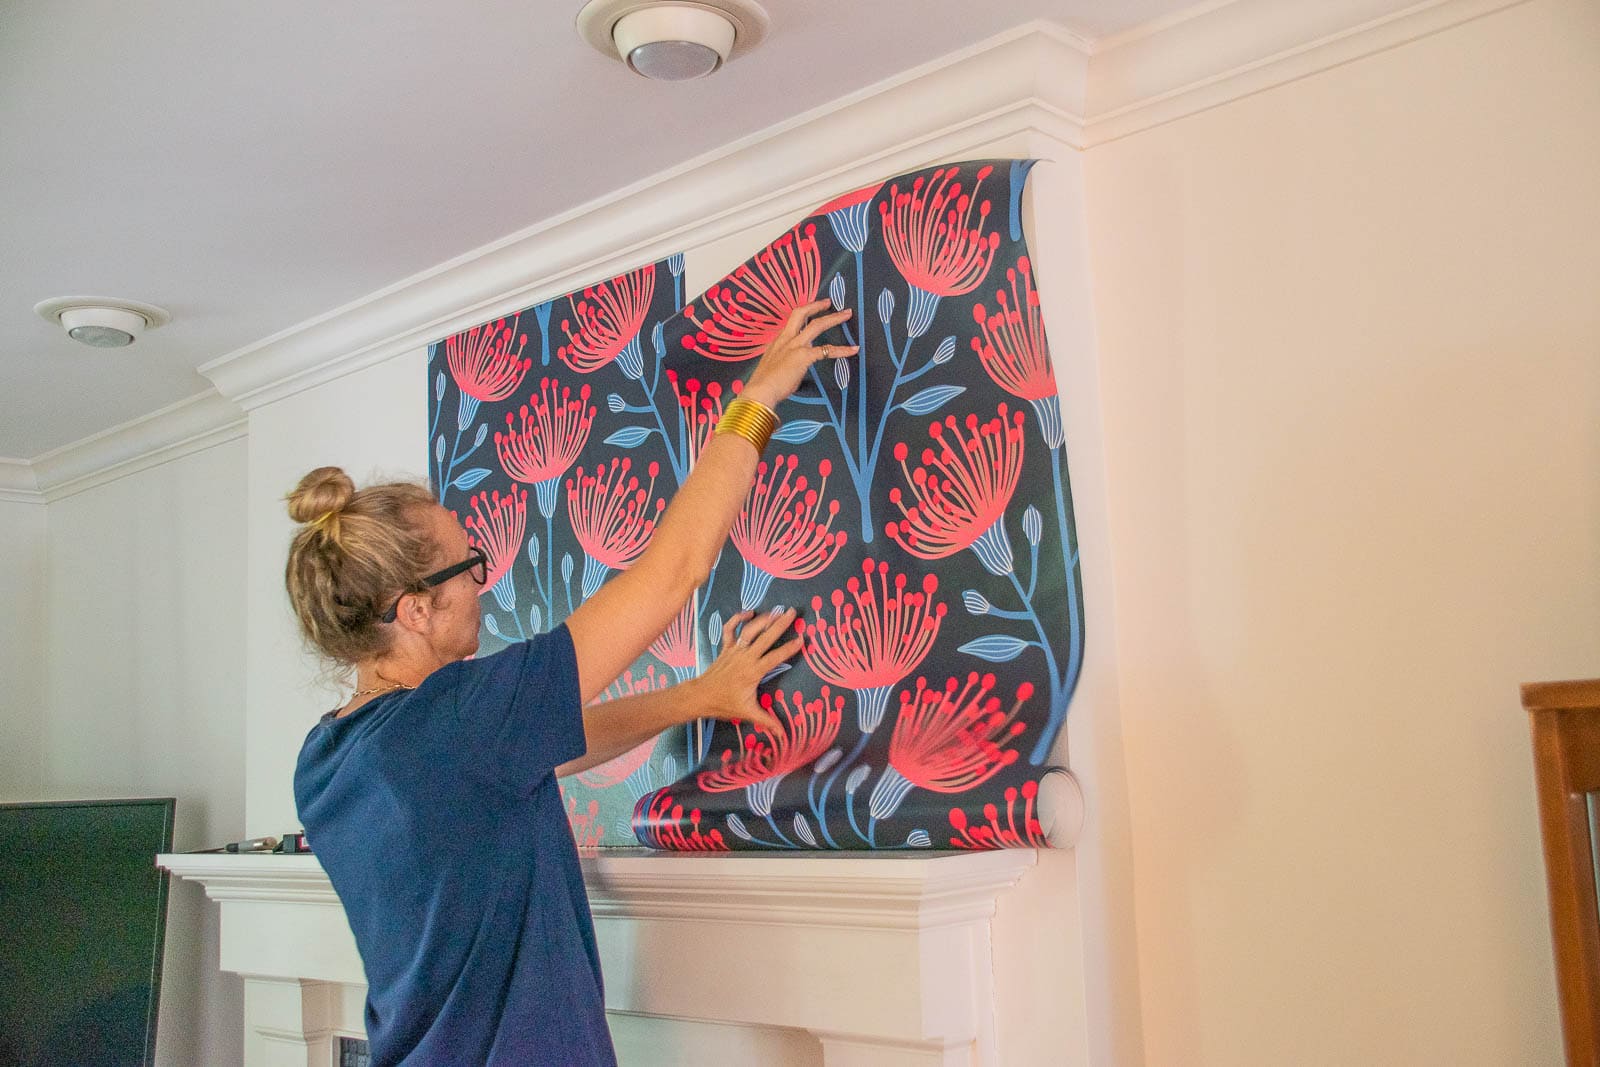
Step 3. Hanging the first strip
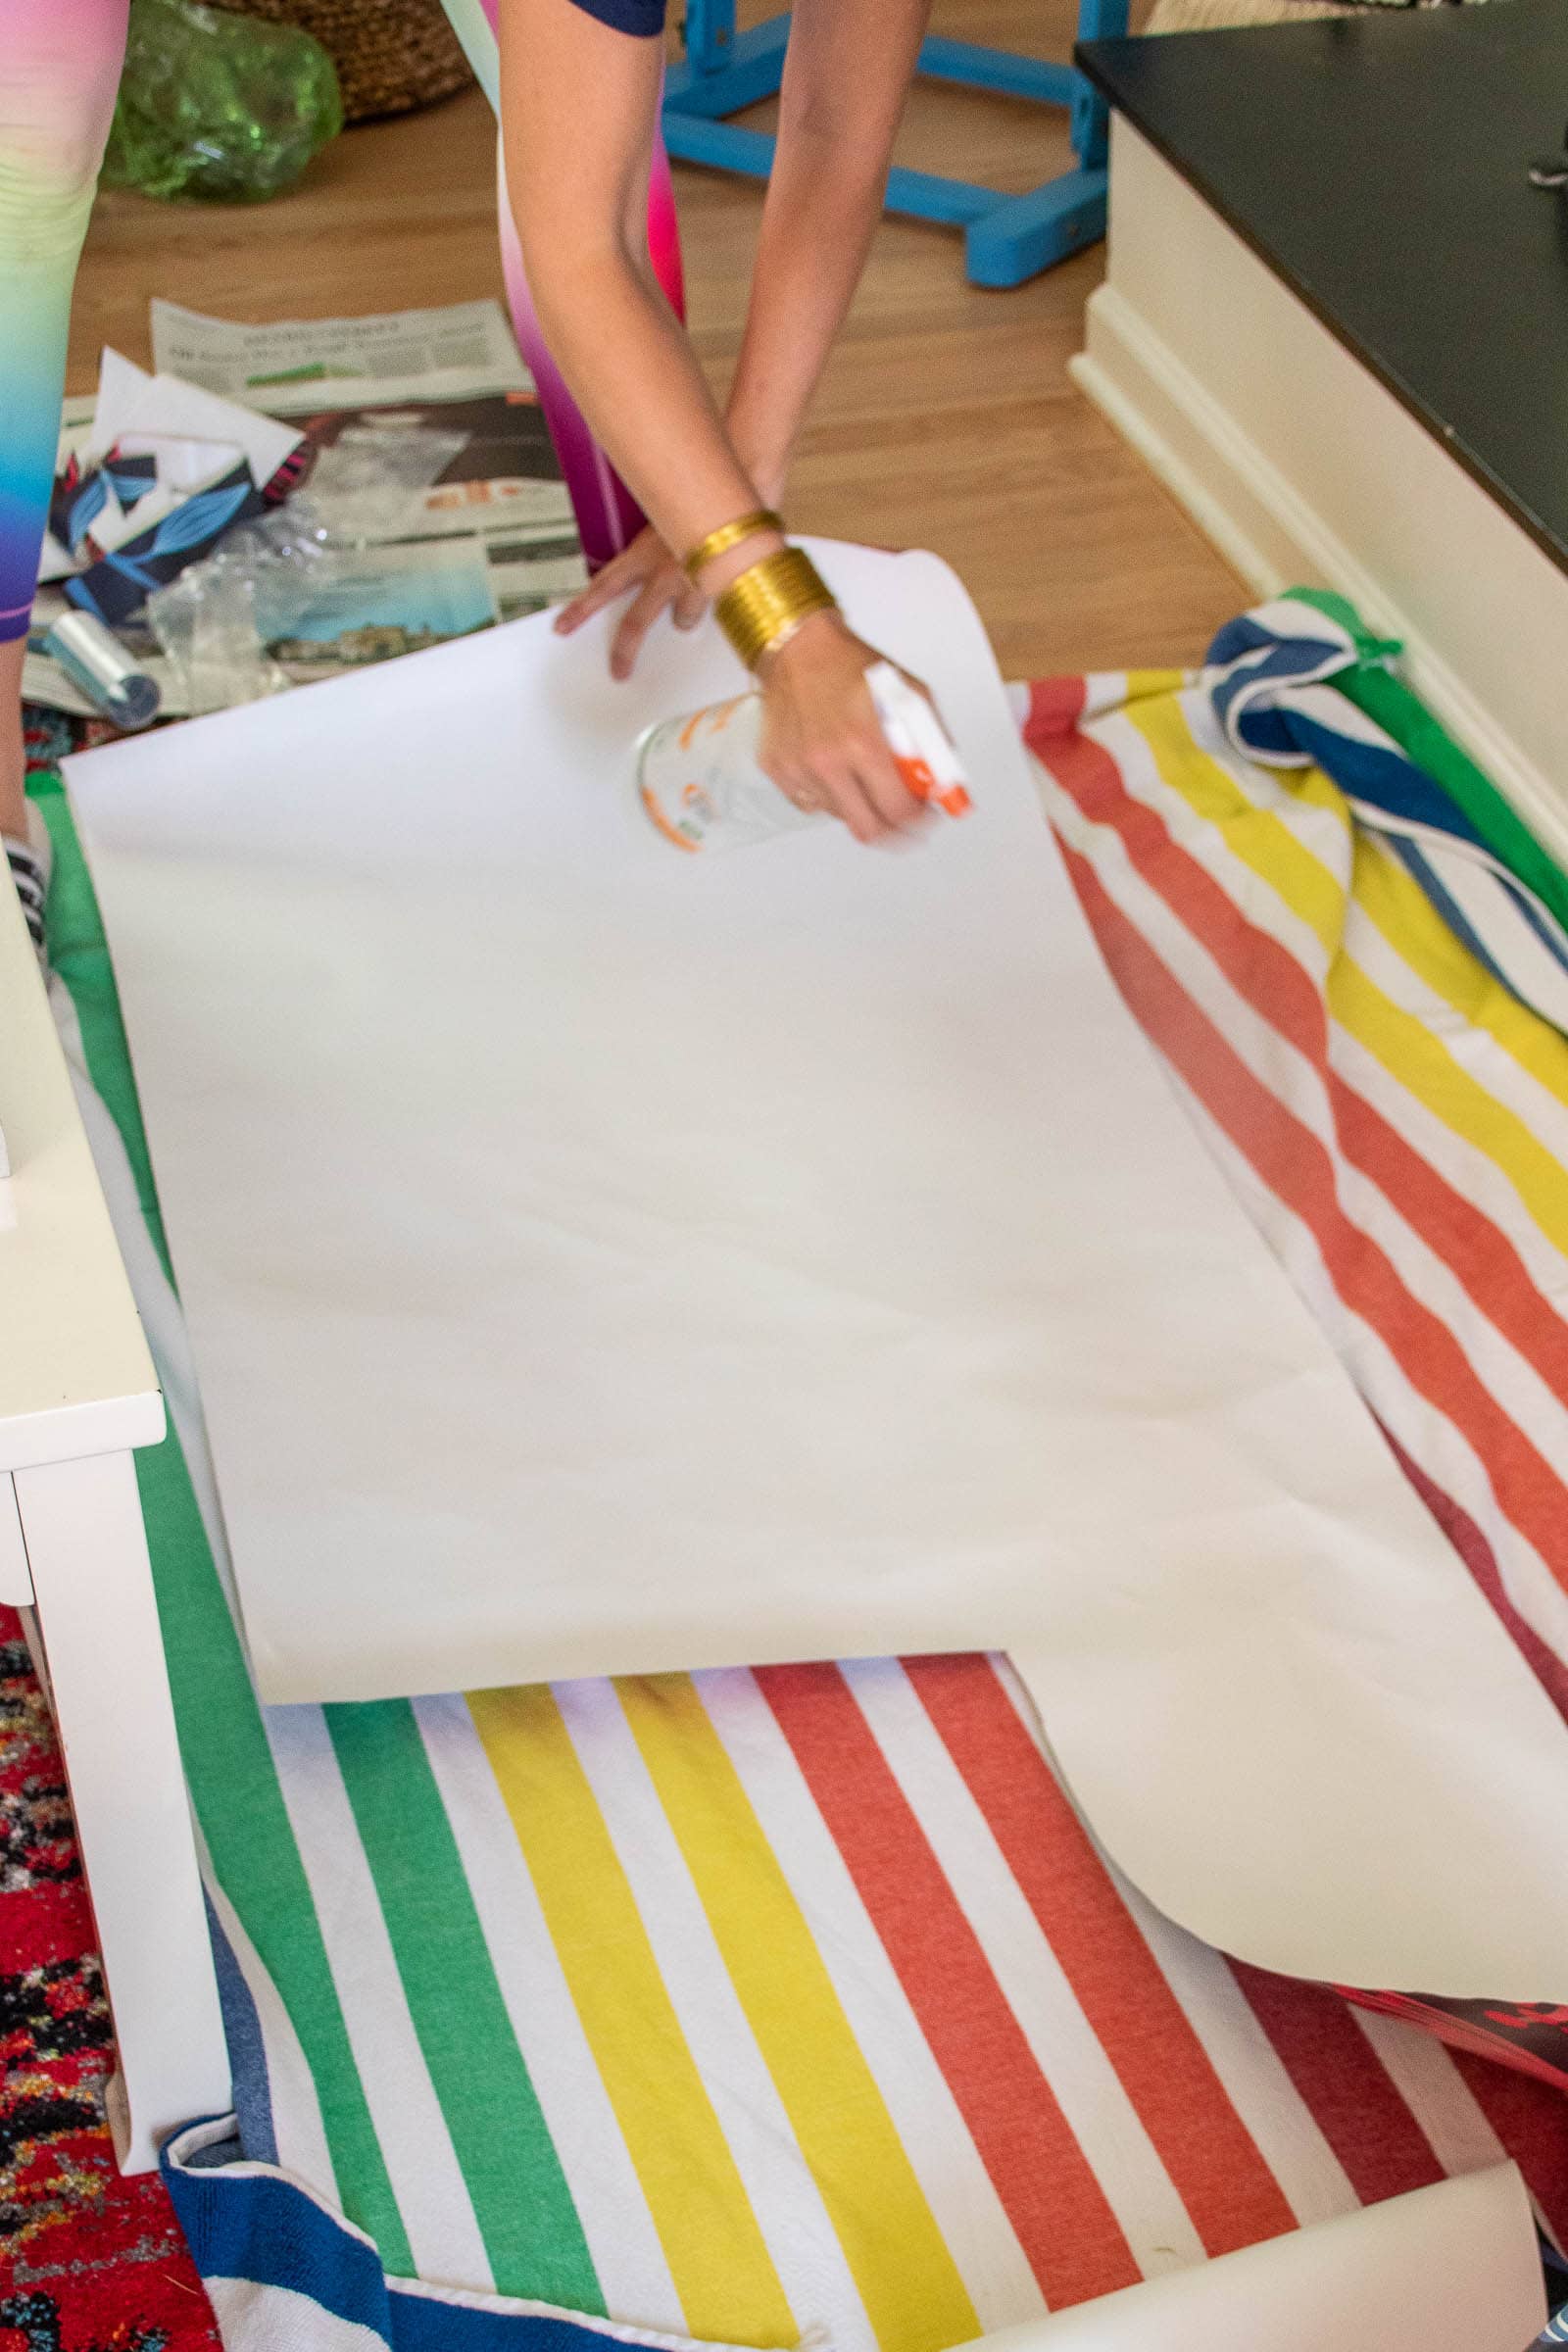
If I were near a bathtub, I probably would have just dunked the prepasted paper into the bath, but because the paper was a bit long to fit in a tupperware, and I was working downstairs, I laid out a beach towel and used a squirt bottle to activate the paste. For this first strip I trimmed the paper so that a few inches overlapped on the top and bottom of the wall.
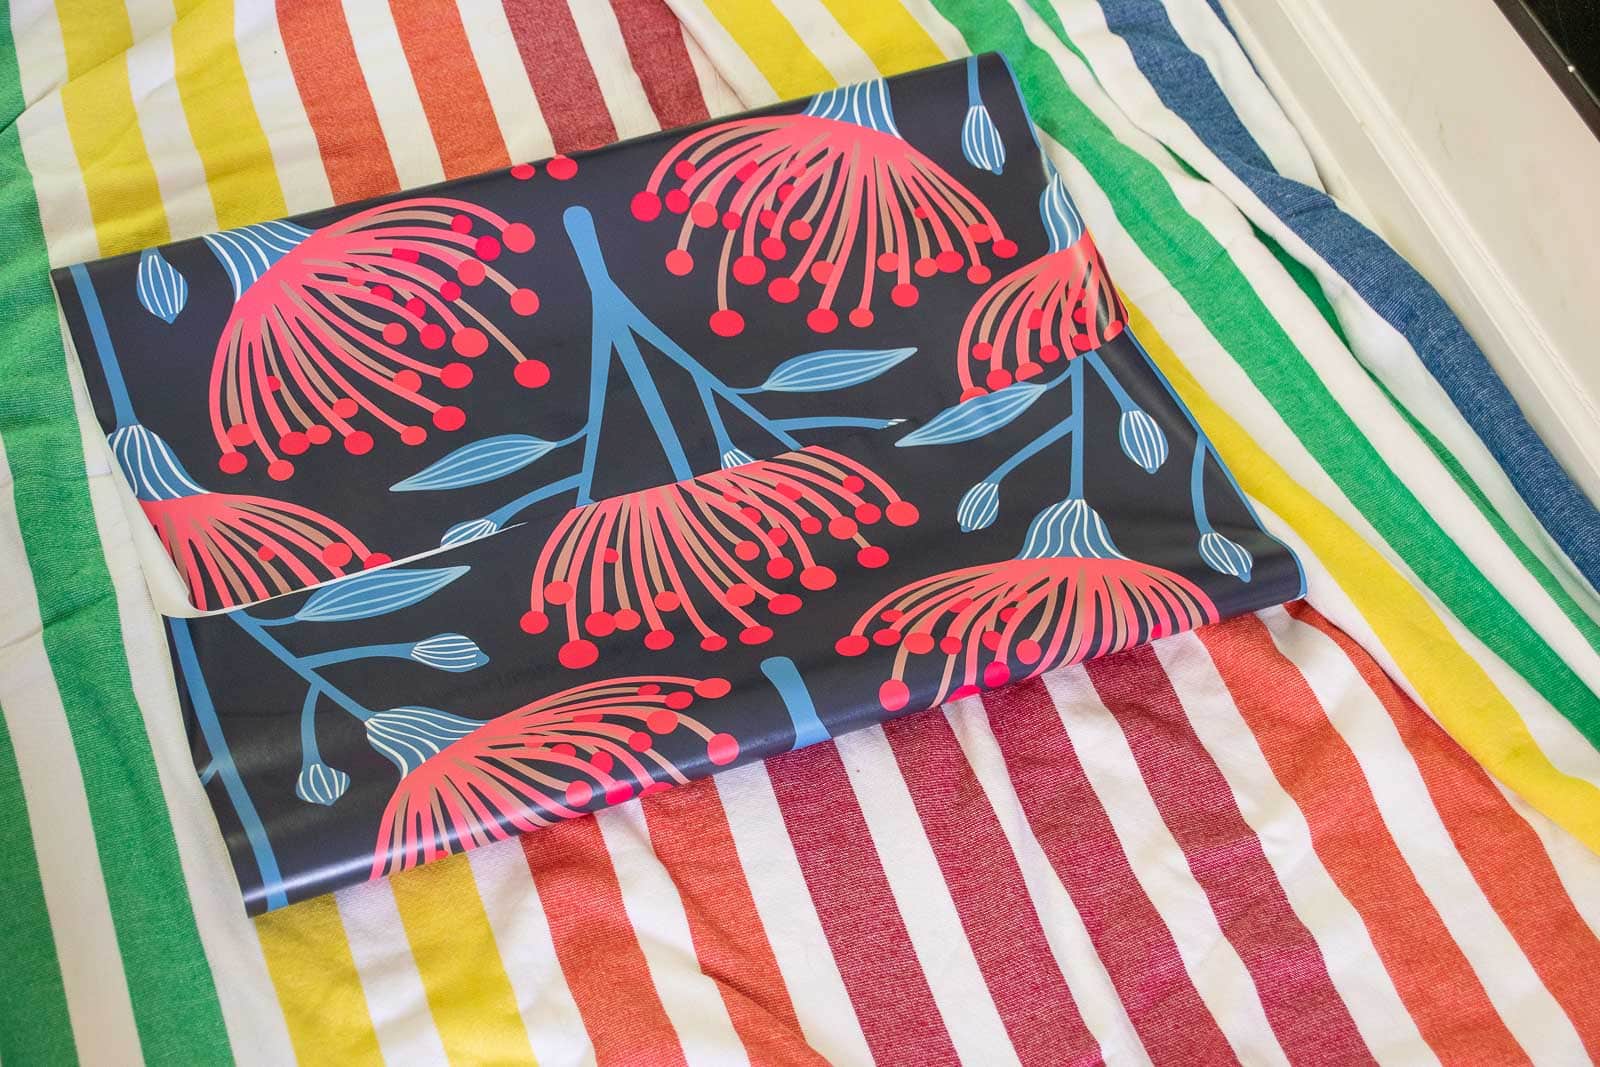
Fold the ends onto themselves so that the pasted sides are touching and let it sit for a minute or two. This is called “booking” the wallpaper and it allows the paper to relax a bit before hanging. How? I don’t know. I just do what the wallpaper experts tell me.
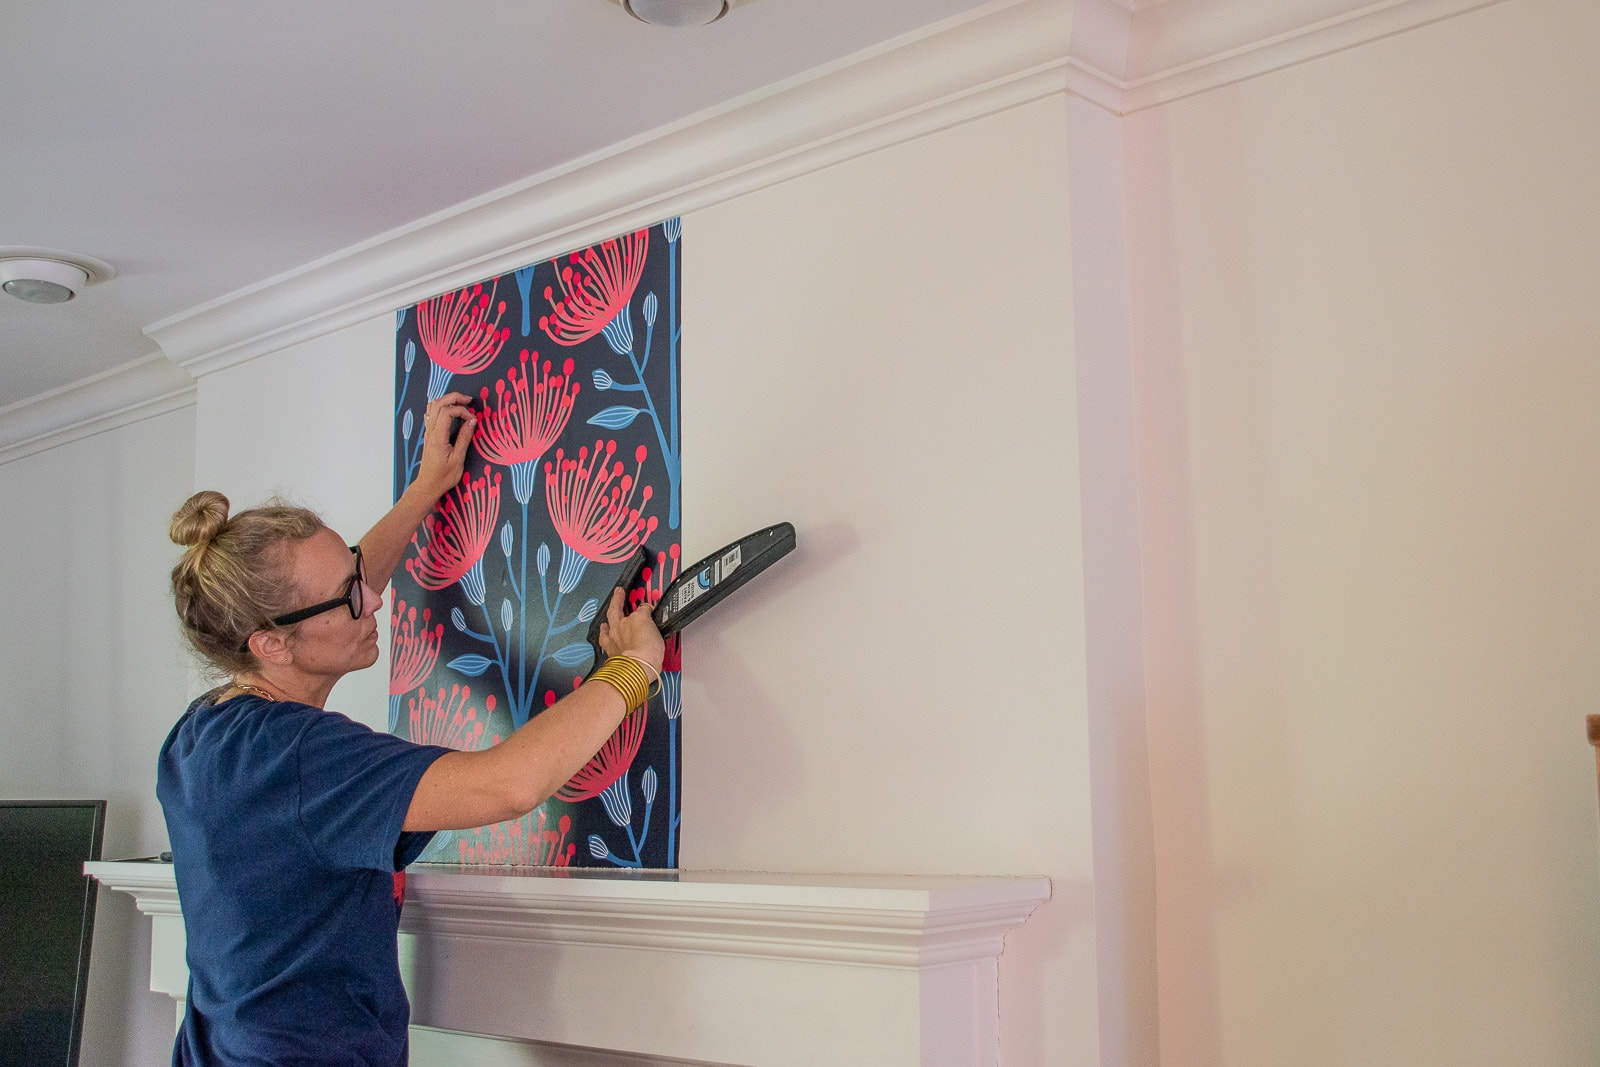
With the vertical lines as your guide, line up the first strip of wallpaper and smooth in place. I used my hands (or a sponge) at first and then go back over with this rubber squeegee to smooth out any bubbles. They make rigid brushes specifically for wallpaper, but I’ve never tried them!
Step 4. Line up the Pattern and hang the second strip
For the second strip, determine where the pattern lines up and then you can trim off excess paper accordingly. For my paper that meant cutting out a bit where the firebox was but keeping one full length strip to go right next to the mantel. Repeat with spraying, booking and hanging just like you did with the first strip.
Step 5. Trim edges
You can trim the overhanging edges immediately or wait until the paper has dried a bit. I’m impatient so I usually trim right away, but that also means I need a nice supply of super sharp razor blades on hand so that I don’t tear the paper. I like to use a metal straight edge as my guide as I carefully cut along each corner and ceiling trim to ensure a clean cut.
Step 6. Air Bubbles
Once you’ve hung the paper, if you notice any lingering and stubborn air bubbles, you can make the smallest incision with your razor blade to allow the air to escape and smooth the paper out over the air bubble.
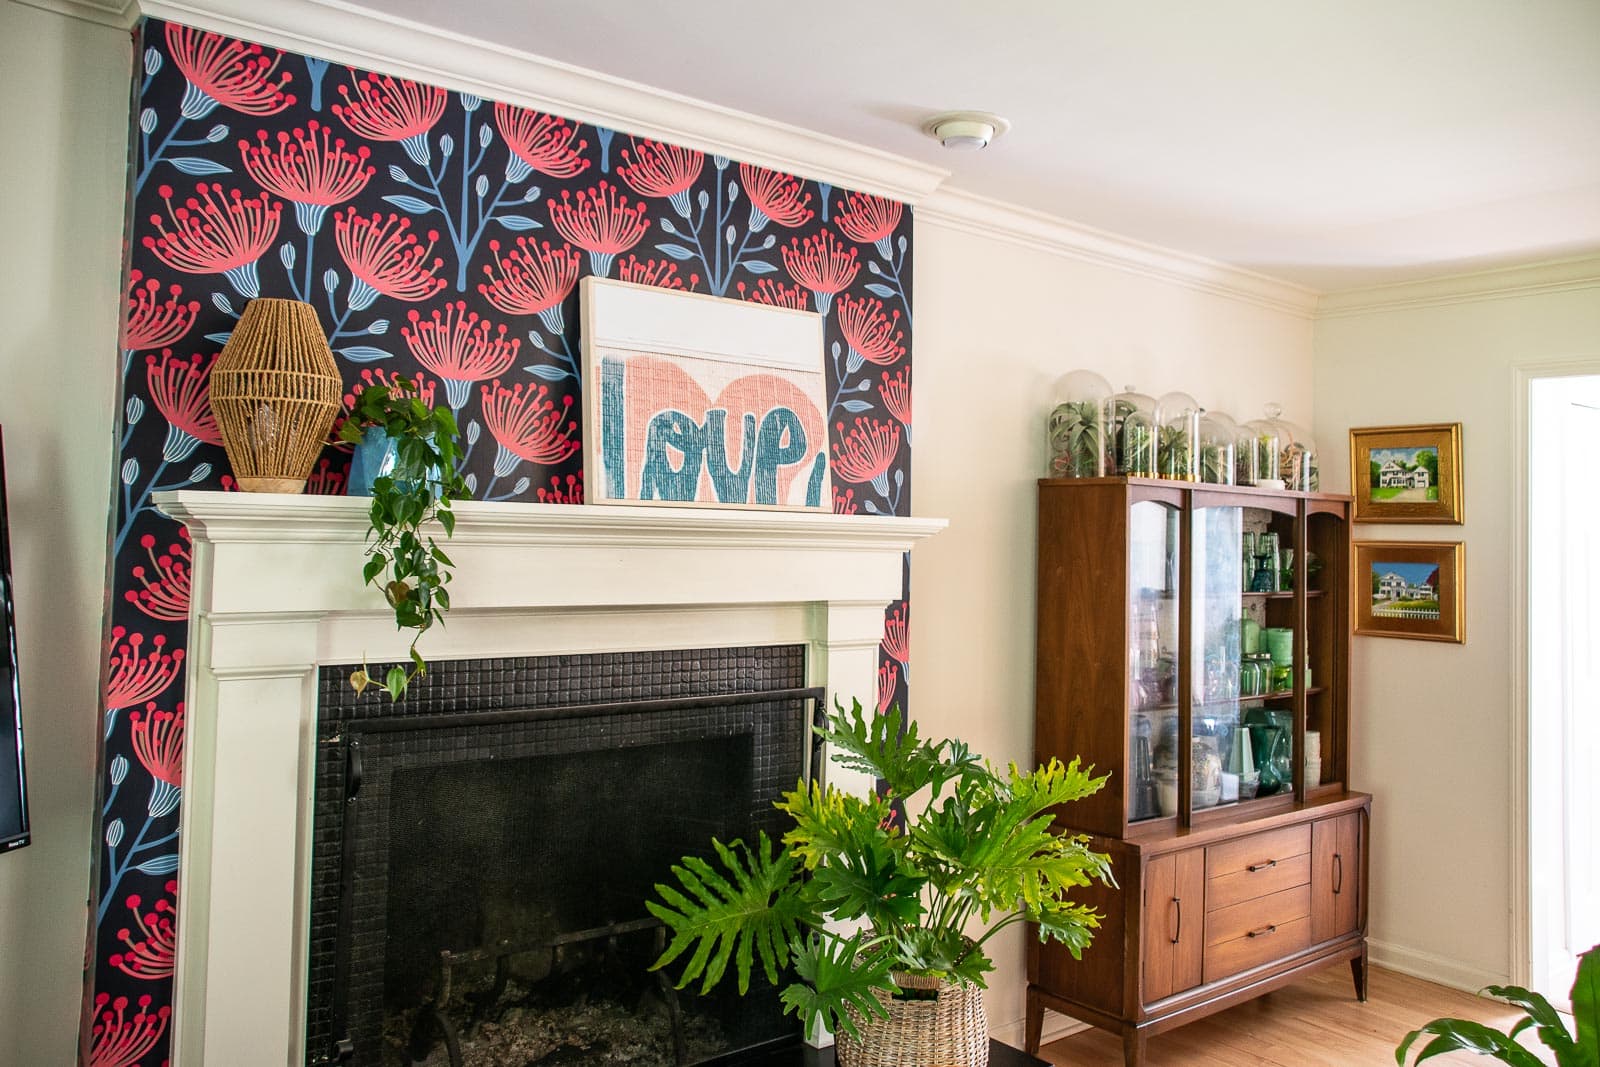
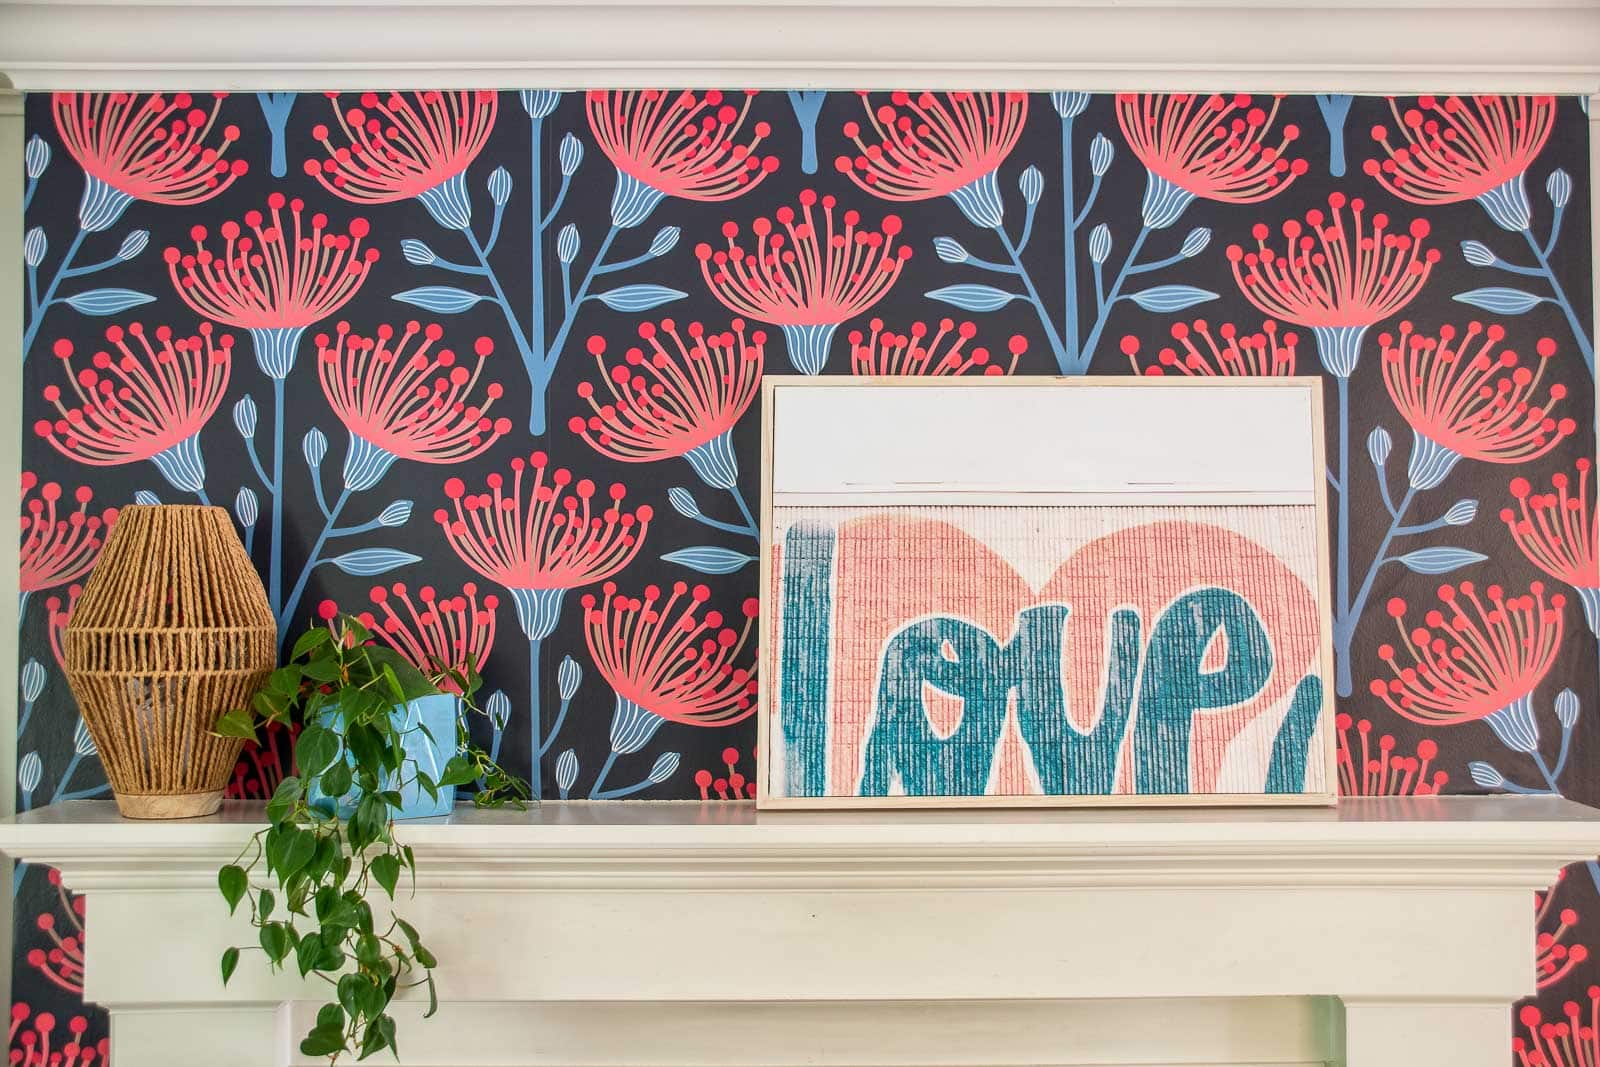
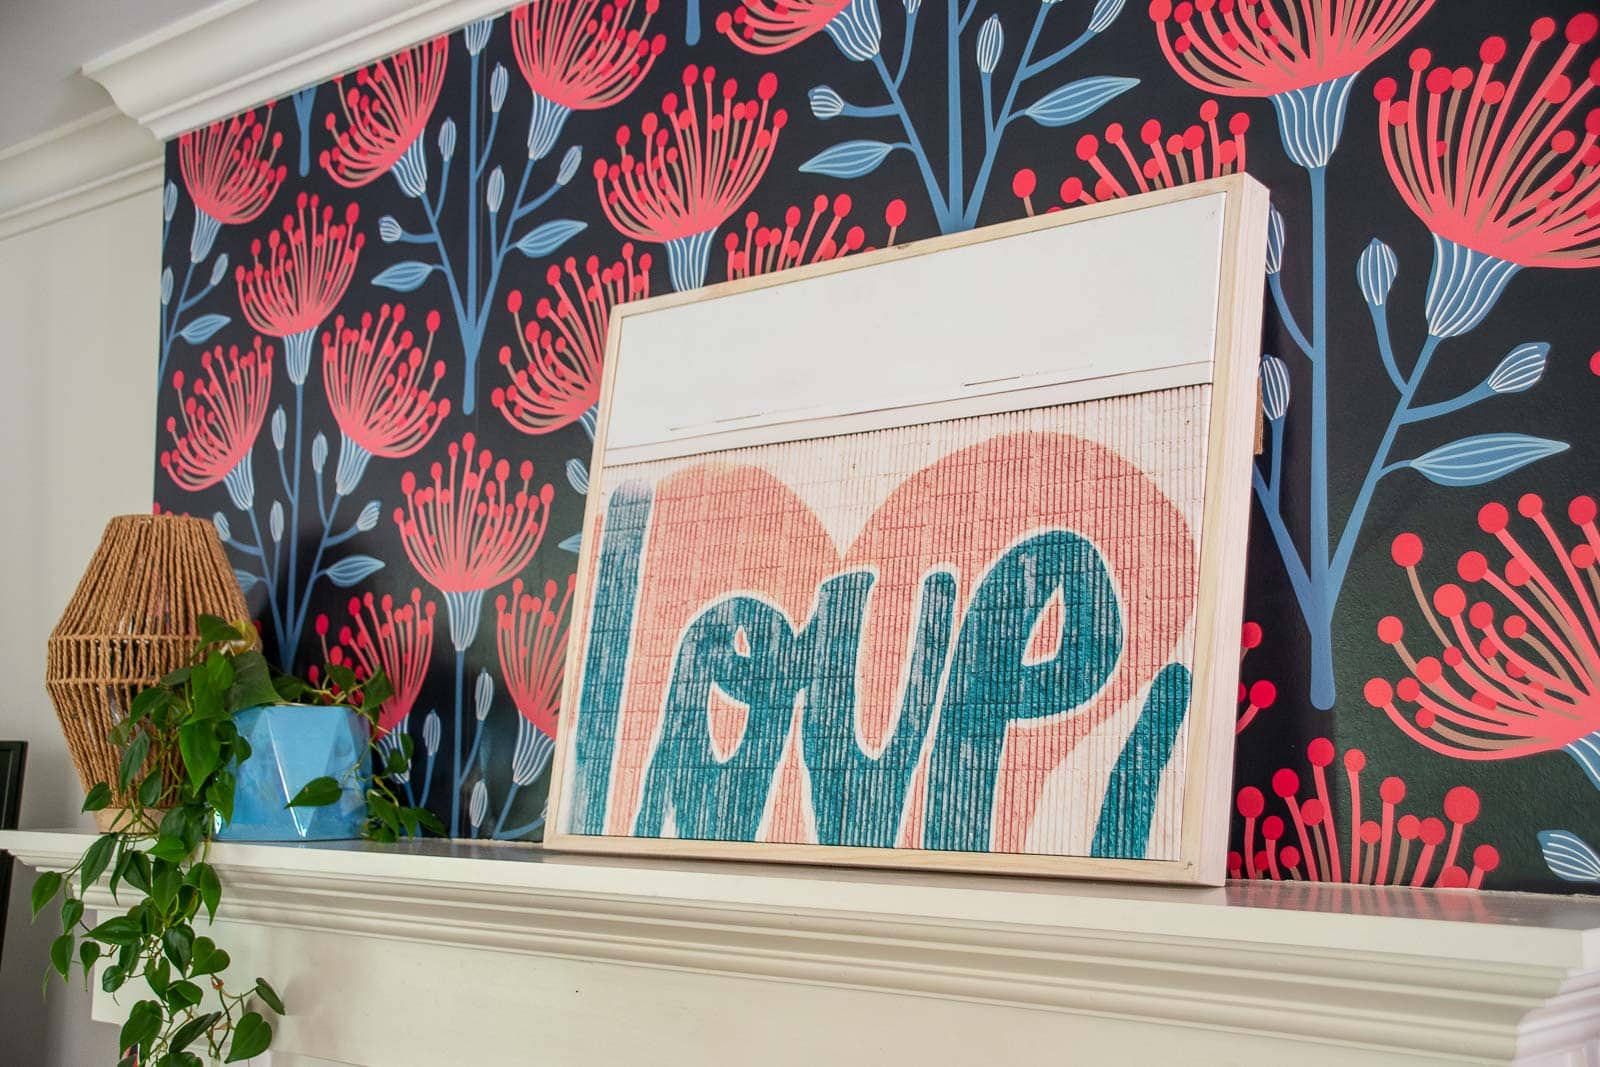
That’s it! Our mantel is fairly small, but this project only took two rolls of paper and it looks SO much different! The perfect way to update a space without blowing your budget and, because the paper is removable, if I want a different design next year… it’s easy to change things up!
I love the way this paper brings out the colors in both the upholstered chairs and the rug below. Another feature of Spoonflower that’s worth mentioning is that sometimes you can collaborate with individual artists to alter the scale or colors of existing patterns. I have always found exactly what I’m looking for amongst their thousands of designs, but I always like to mention this feature since it’s a great way to take advantage of the wonderful talented artists sharing their designs.


That pattern is fantastic!!
Thanks so much!! I love it even more in person!!!
I love thiS idea. Wallpapering a smaller area of my house with a pop of color or pattern. The fact that it is removable makes me want it wven more Appealing. I have SCRAPED wnough wallpaper for more than one lifetime. I love that this is an option. Thanks for sharing this! (I’m sorry if this all shows up in caps, it isn’t letting me change tHe sizing.
It’s so true! 🙂 🙂
What cute paper! Love it! Excellent job!
Thank you so much!!! xx
Stunning!!! I love this pattern and what a perfect pick for your beautiful home. You are giving me the COURAGE to try this in my home.
I LOVE hearing this!! Thanks so much!! I’m always amazed what a big impact this little projects can bring!
It’s amazing Charlotte!!
I love The character that this wallpAper brings tO the space. And the point of being removable it’s more than interesting. 😘
Exactly!!! I can change it up anytime!!
Now I want to wallpaper all the nooks and crannies at my house. It faBUlous!
I know! All of a sudden I notice all these little niches!! 🙂
Love this so much!!
I love it.
Thank you so much!!! Me too!!!
i really want to wallpaper my bathroom. i’ve done a small closet in my home with removable wallpaper, tricky but manageable. What do you think about, an inexperienced wallpaperer, using the peel and stick removable vs. prepasted removable?
I prefer prepasted to peel and stick! It’s much easier to move around and line up compared to peel and stick.
I have the same frame with little edges on the sides for my mantle. How did you cut the paper to get into those spaces & still have it look so flawless?
I allow for lots of excess and then trim once the paper is all smoothed in place!