
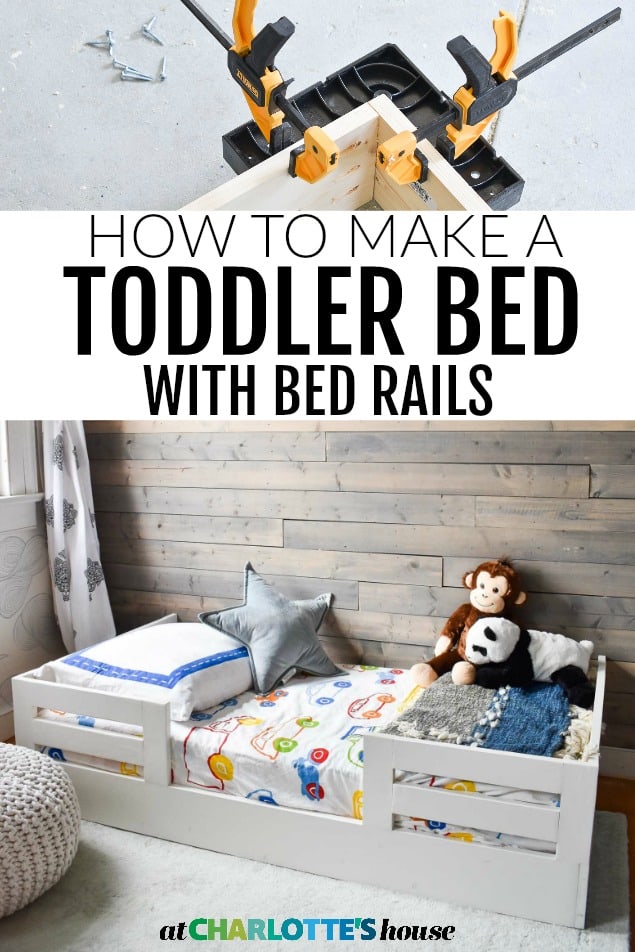
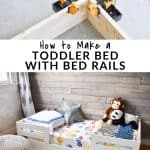
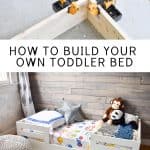
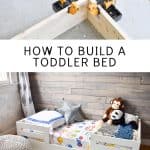
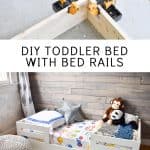
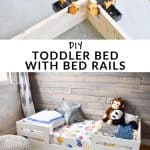
How to Build a Toddler Bed with Bed Rails
Psssst… this post *might* contain affiliate links: see my disclosure here.
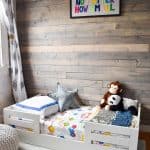
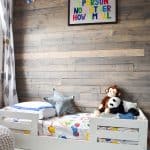
DIY Platform Toddler Bed with Bed Rails
Sometimes I have a schedule and plan ahead, and sometimes… I don’t. Last weekend, we decided to have a swing at potty training with Arthur. After 5 kids, the one thing I’m not surprised about when it comes to potty training, is the ripple effect of other behaviors. For Arthur, that meant he started climbing out of his crib for naps and bedtime instantly. After a week of this, I woke up on Friday and decided it was time to build him a new toddler bed. Wanna see how?
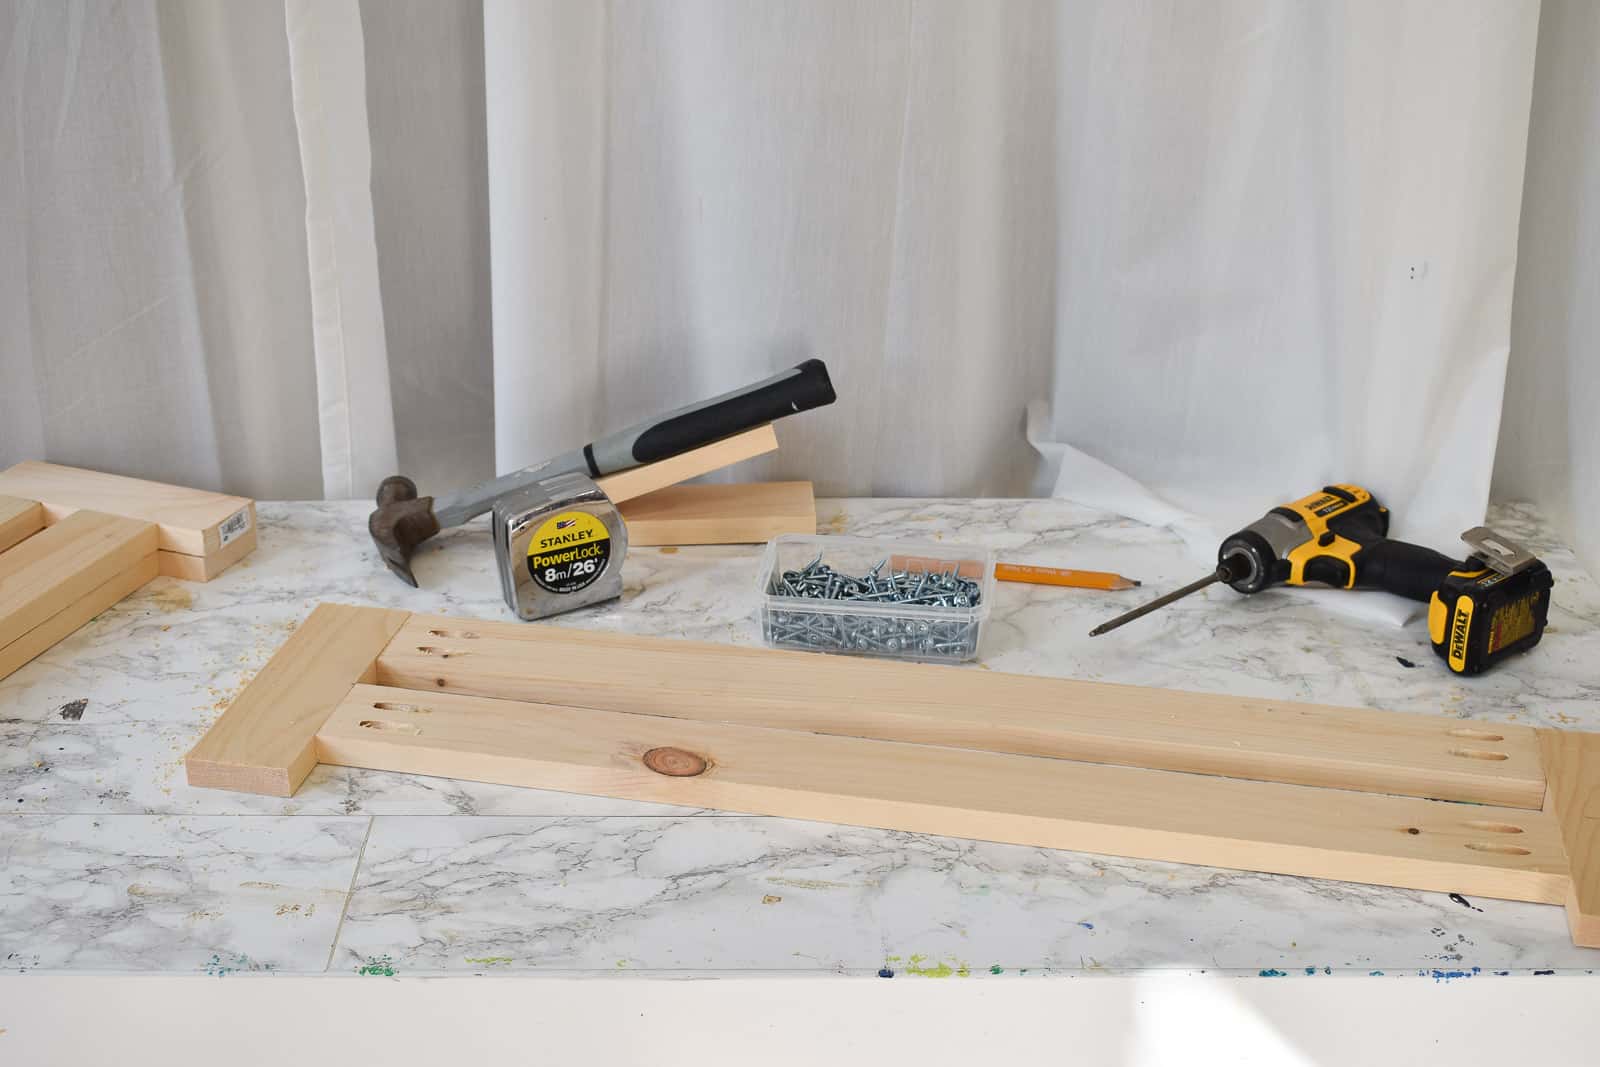
Step 1. Lumber
I’m using a combination of common pine, 2×4 boards and a single sheet of plywood I had cut down to size. I’m using the dimensions of his crib mattress which was a standard 52 x 28 inches.
Shop my favorites!
Cut list:
- 1×6: 54″ (2), 28.5″ (2)*
- 1×3: 8.5″ (8), 13″ (4), 23.5″ (4)
- 2×4: 28.5″ (5)
- Plywood: 52″ x 28″
* This is to make it the correct way with the longer front piece overlapping the shorter end piece at the corners so the front of the bed is a smooth board… (see my mistake further below…)
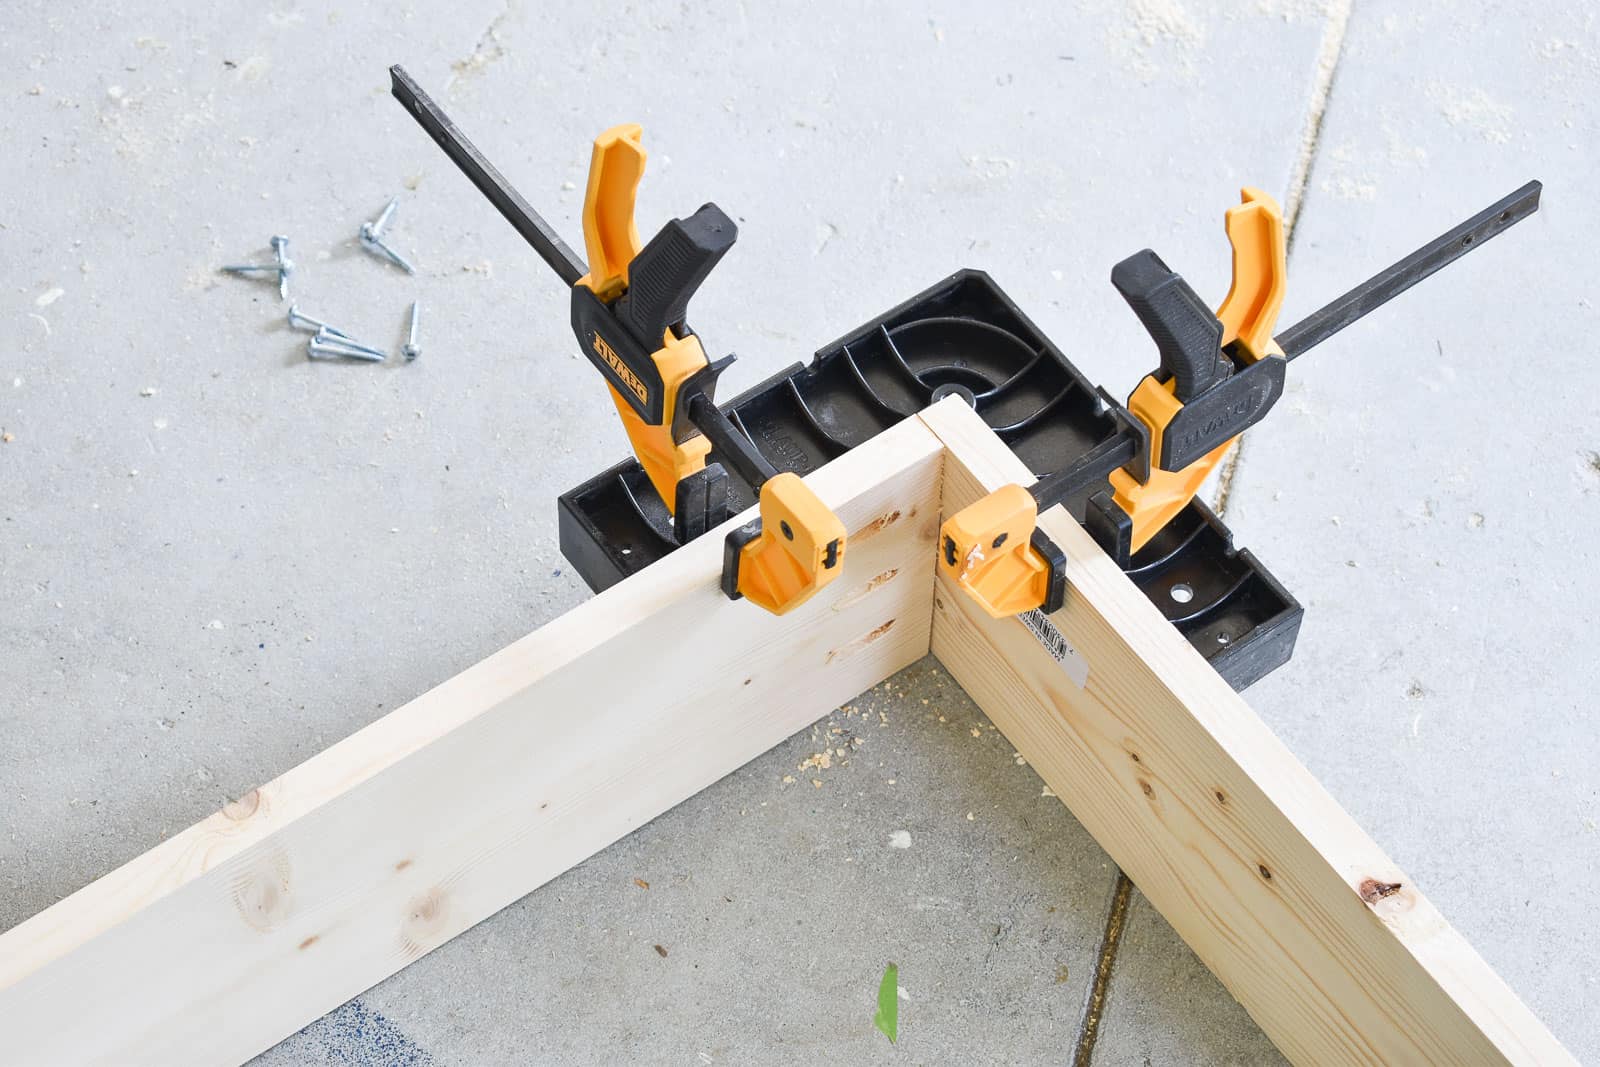
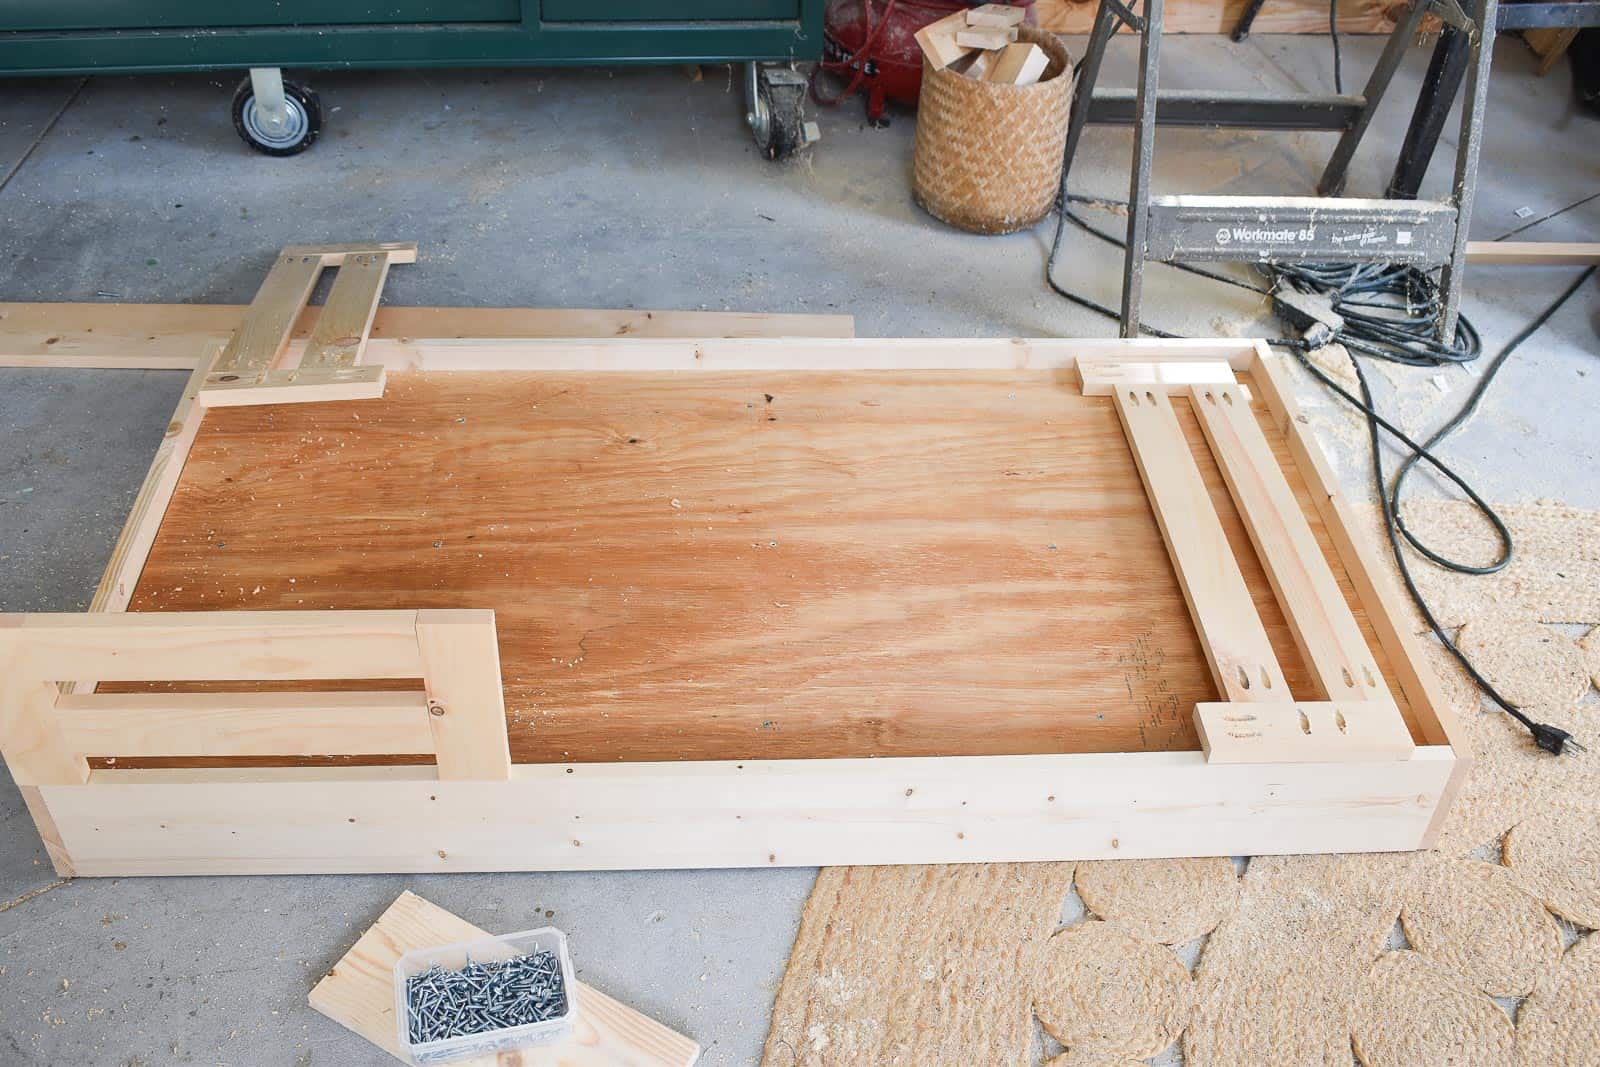
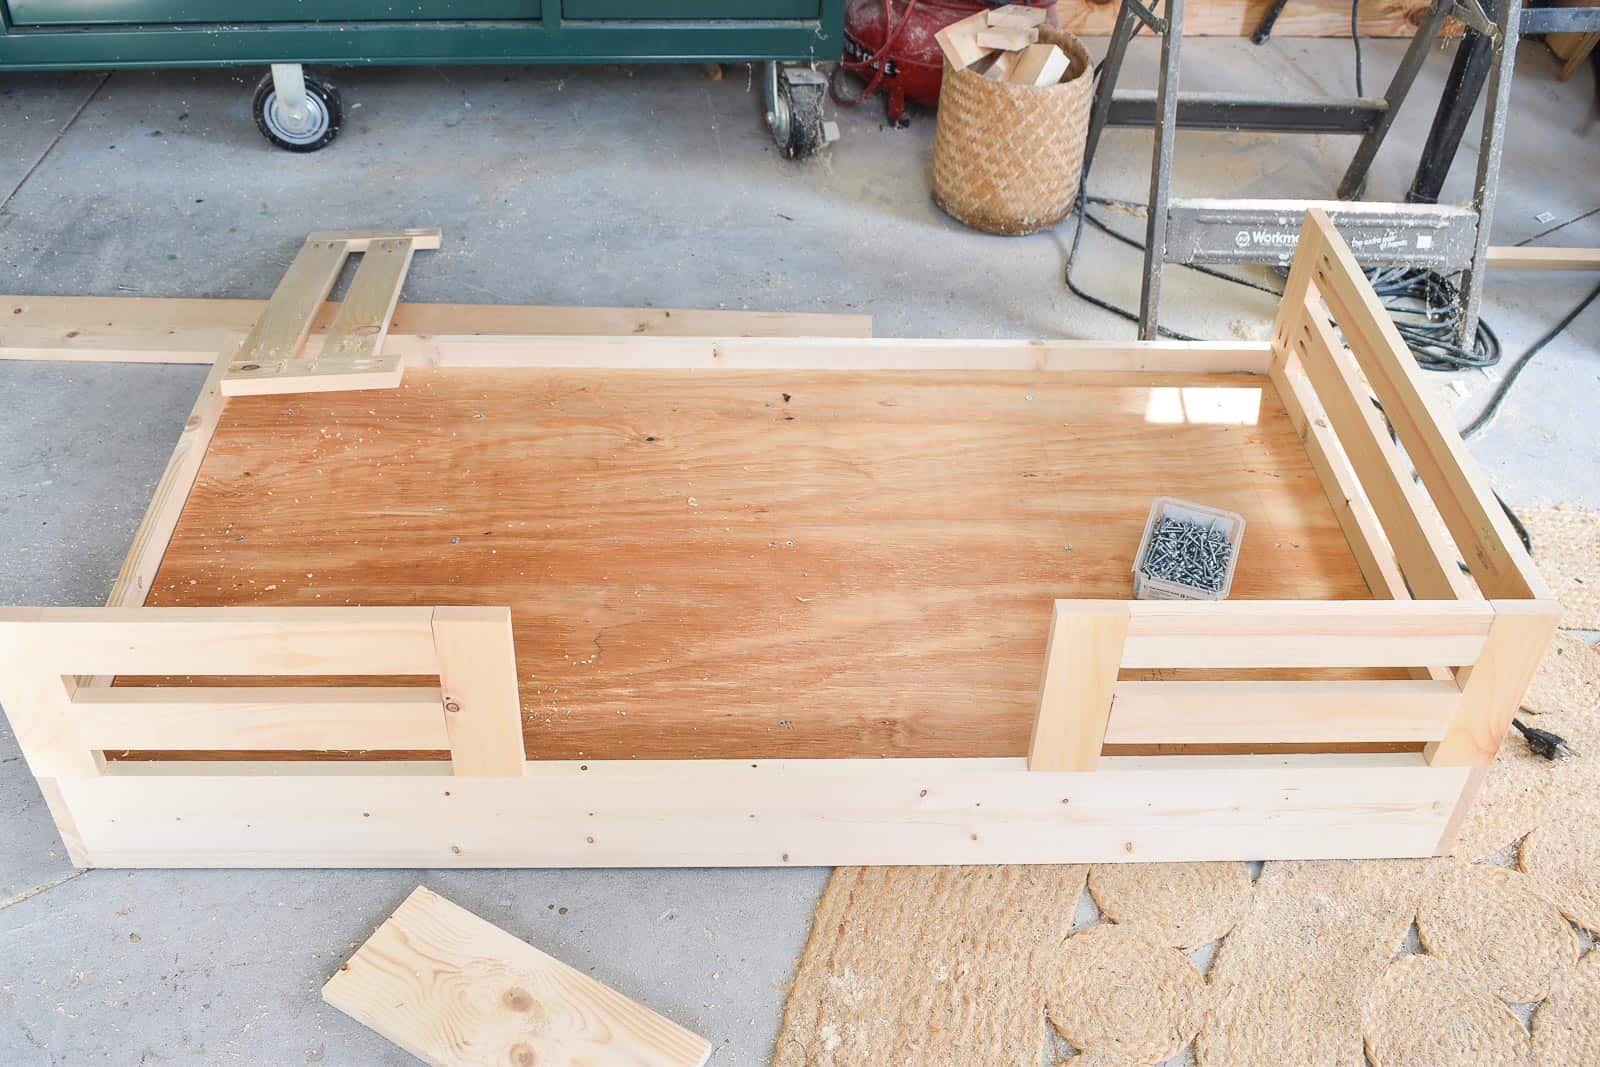
Step 2. Make the Platform base
The base of the bed is a frame made out of the 1x6s and cross beam 2x4s for support. Using pocket holes, I attached the two ends of the bed to the sidepieces to make the frame. I made the mistake of cutting the longer piece too short so it sits within the end pieces leaving that corner seam exposed. (Ideally, that side piece would be longer and overlap the smaller end pieces…)
Next I used pocket holes to attach five 2x4s inside the frame as the support ribs. I made sure that two were close to the ends, and then the center three were evenly spaced.
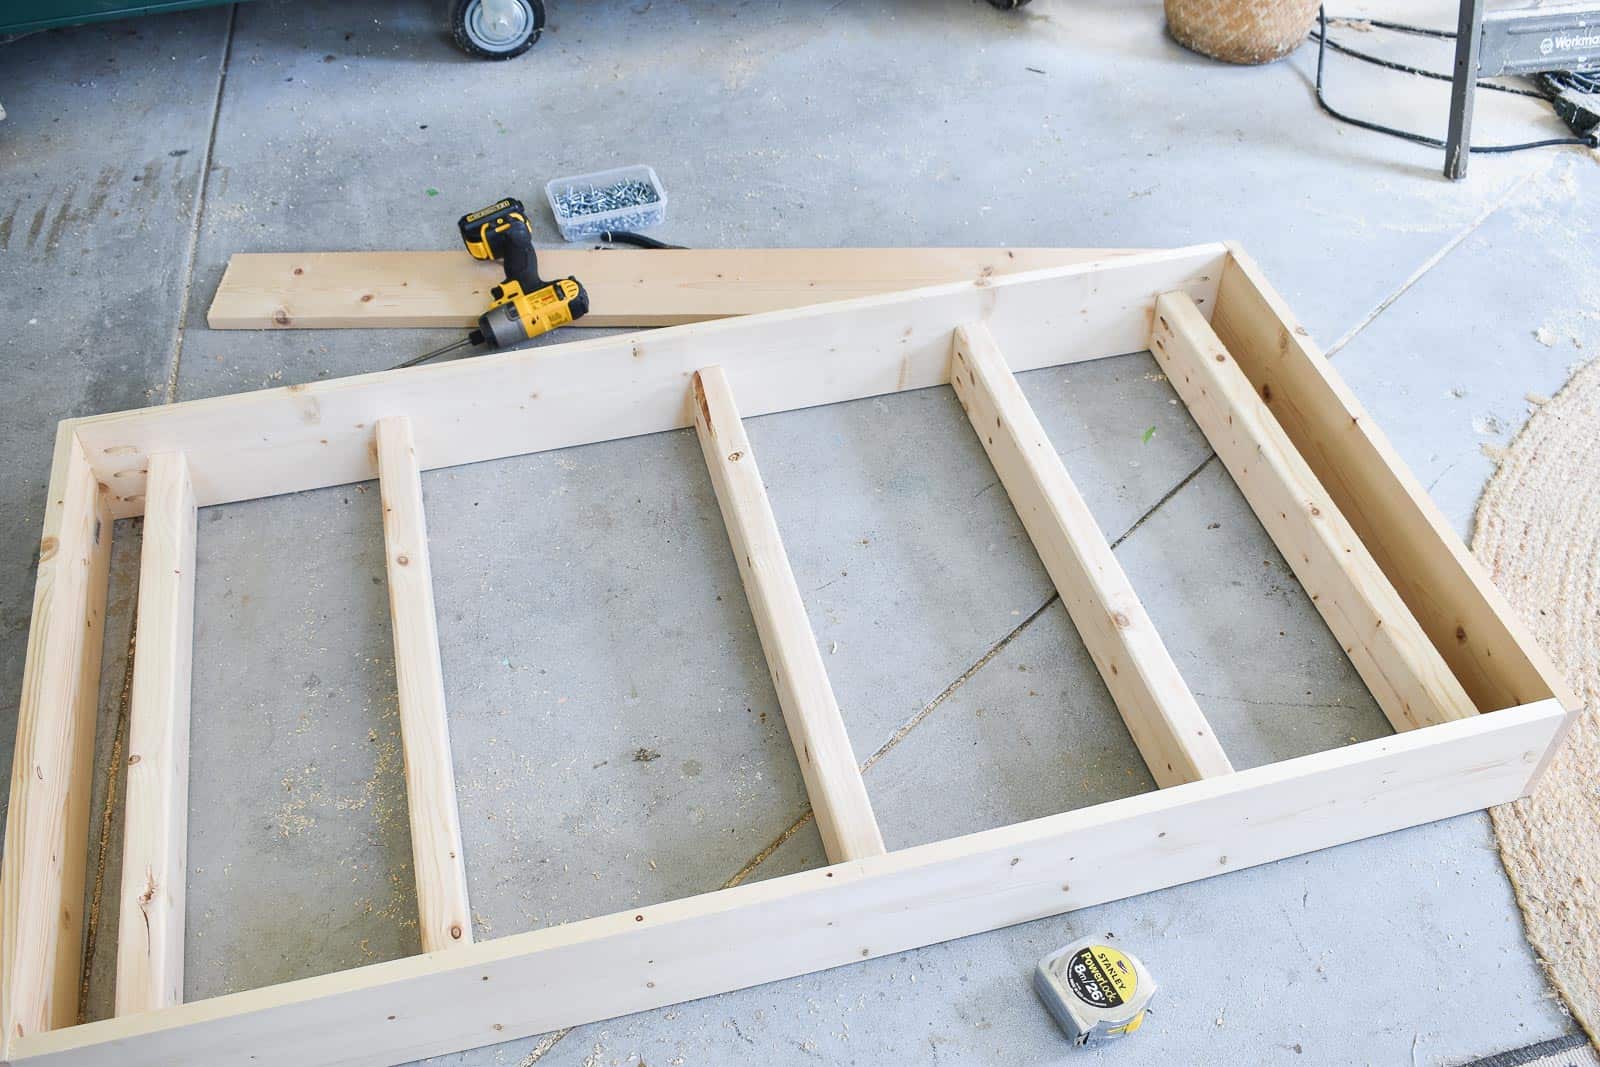
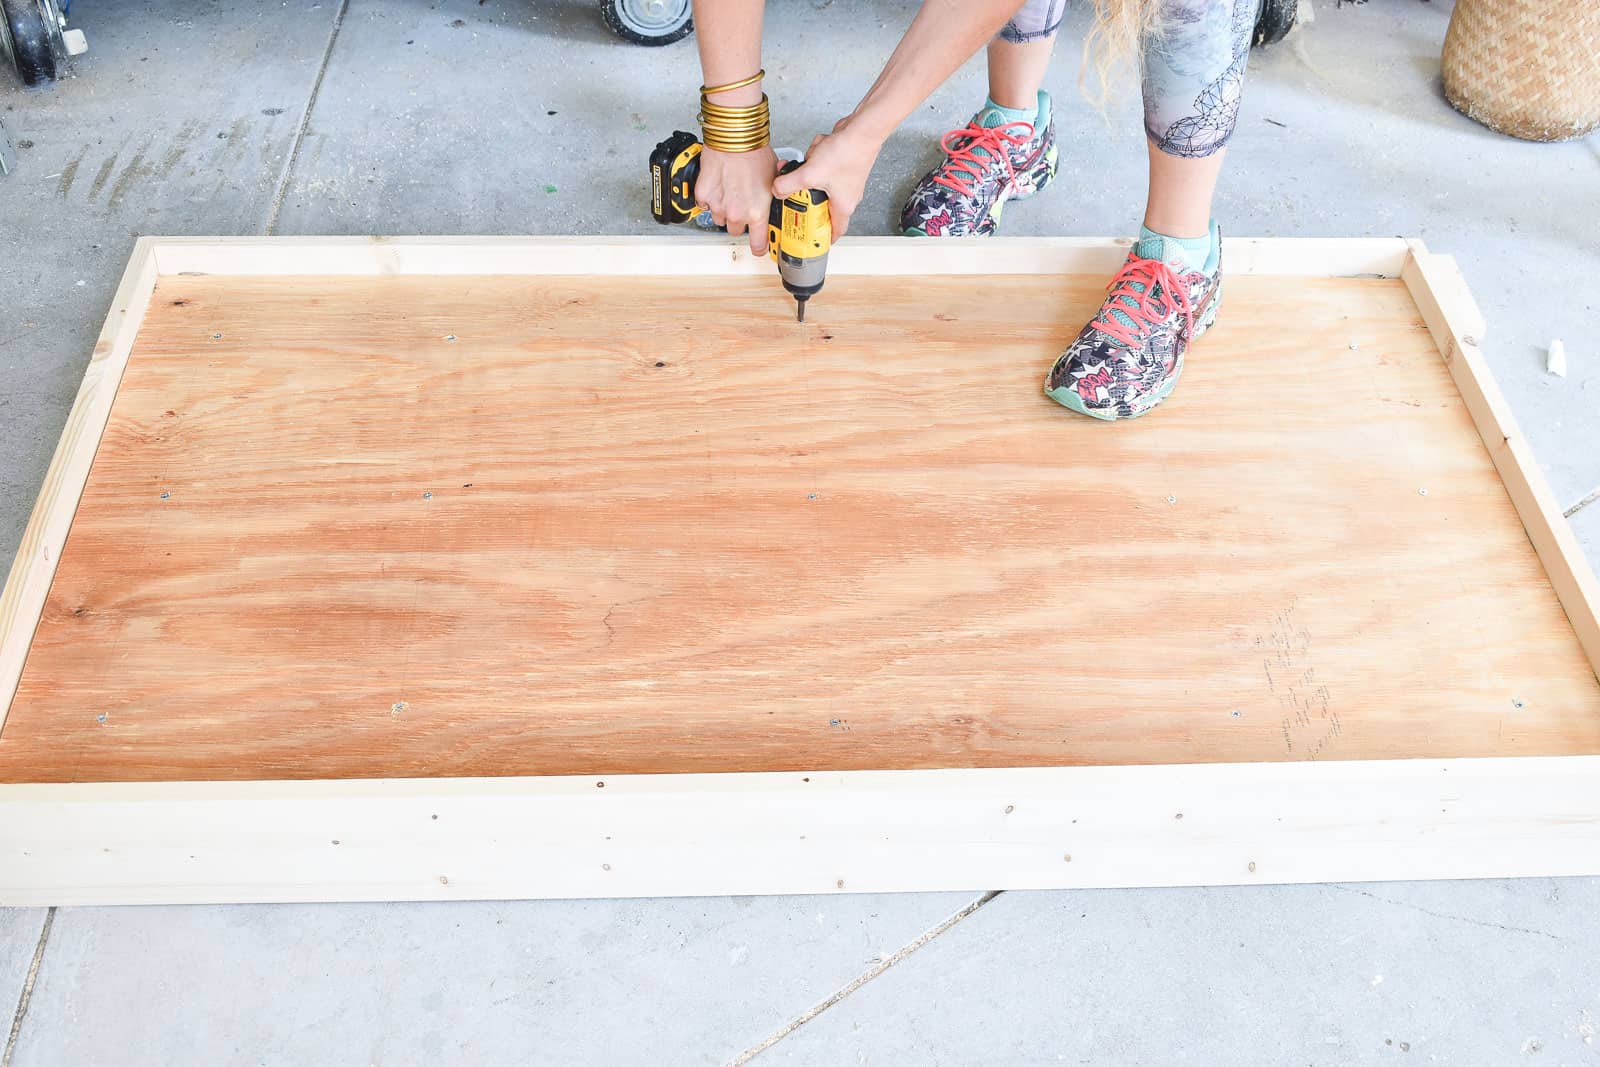
The final piece of the platform frame was the plywood. Thankfully this fit perfectly so all I had to do was screw it into the 2x4s to hold it in place. Because of the lumber I chose, there should be a little space between the plywood and the top of the frame for the mattress to sit in.
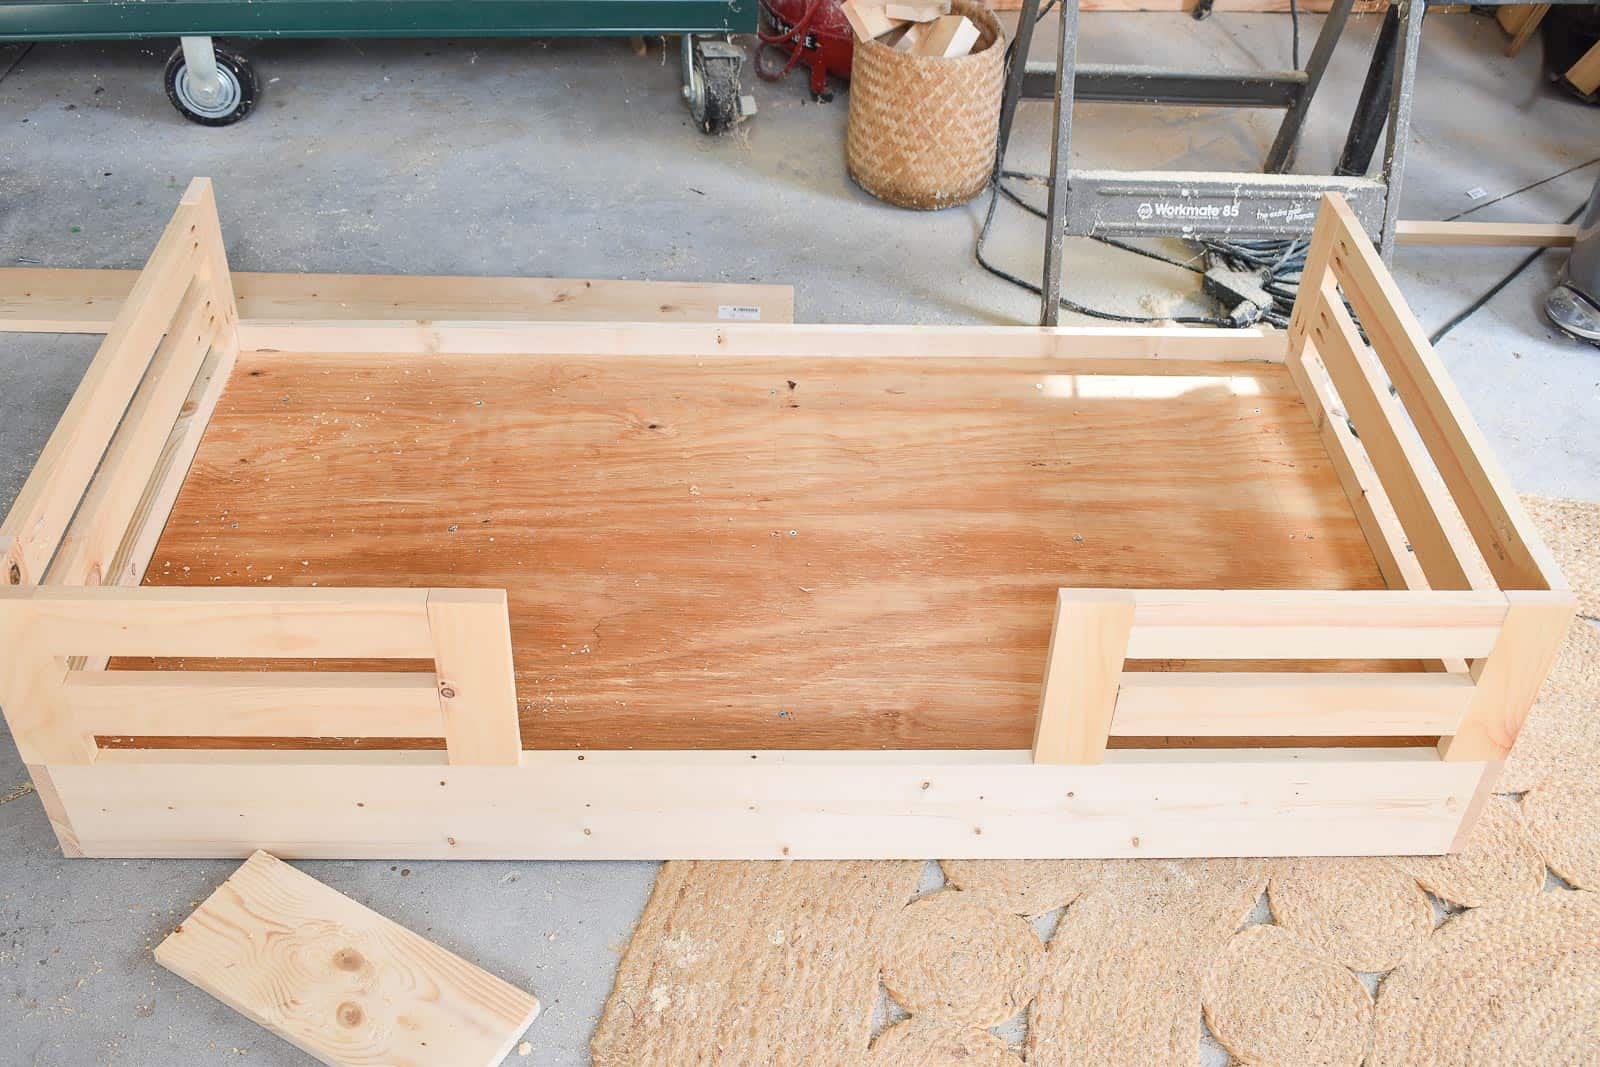
Step 3. Build the rails
I’m using 1x3s and pocket holes for the bed rails which means they are PLENTY sturdy while Arthur is sleeping. If a larger child were to lie in the bed and actively push against those bed rails, they may not hold up to that kind of force, fyi.
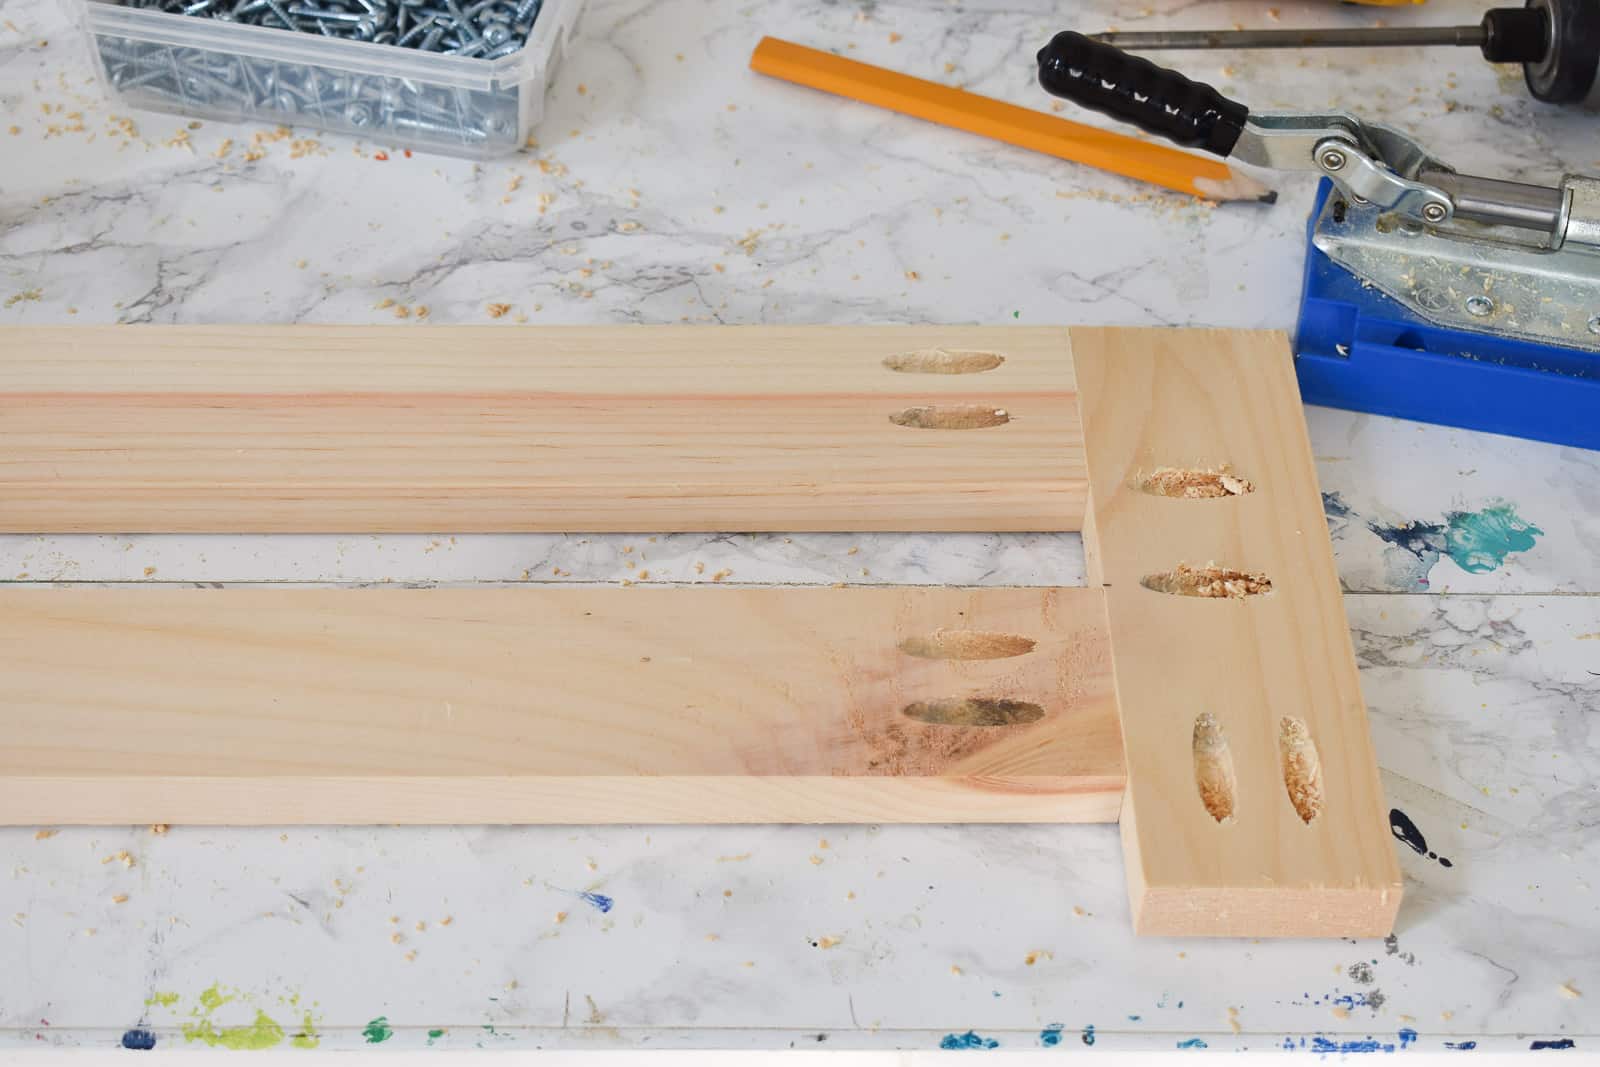
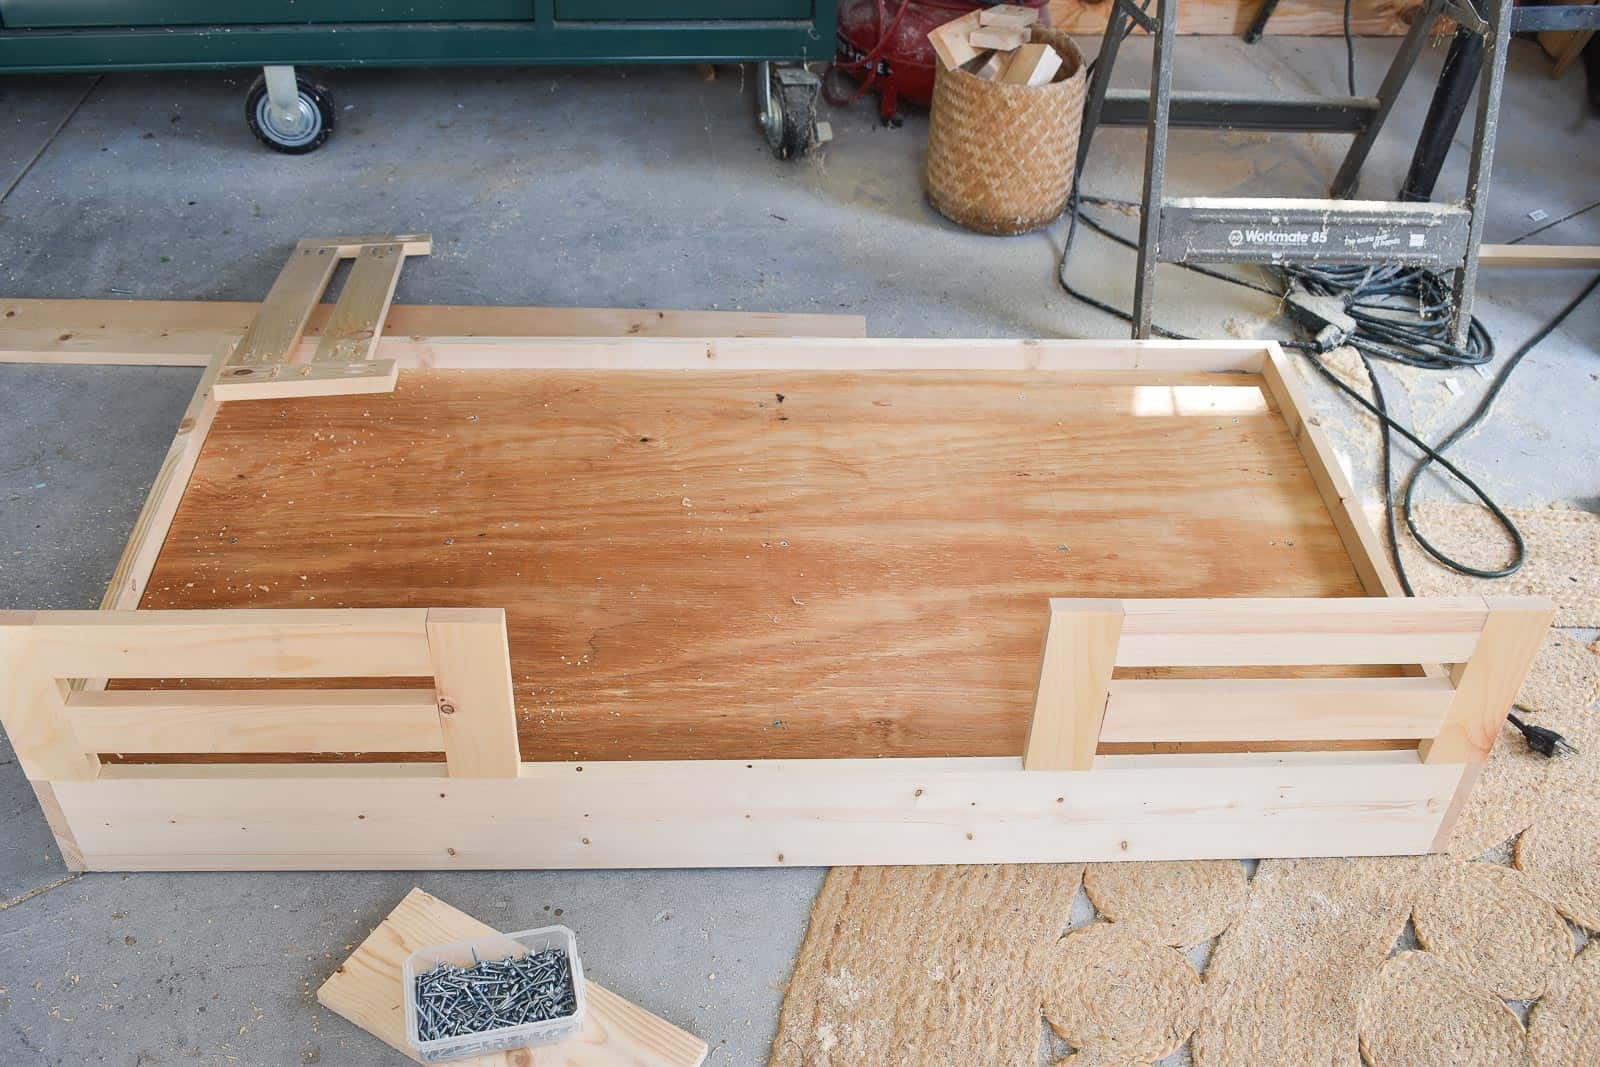
I built 4 bed rails: two longer ones for the ends, and two shorter ones for the front. One side of the bed sits against the wall so I didn’t bother with rails. If we want to turn the bed around, he can have it with a totally open side in the future.
These bedrails are 8 1/2 inches high with two horizontal slats about 1 inch apart. I used pocket holes to attach the slats to the side pieces as shown.
First, I attached the two smaller rails to the front corners of the bed. Then I attached the longer end pieces. Lastly, I connected the end pieces to the each front pieces at the corner with pocket holes. Connecting them at the corner gives them another point of security to prevent the Kreg screws from splitting the thin lumber if too much pressure is applied against the bed rails.
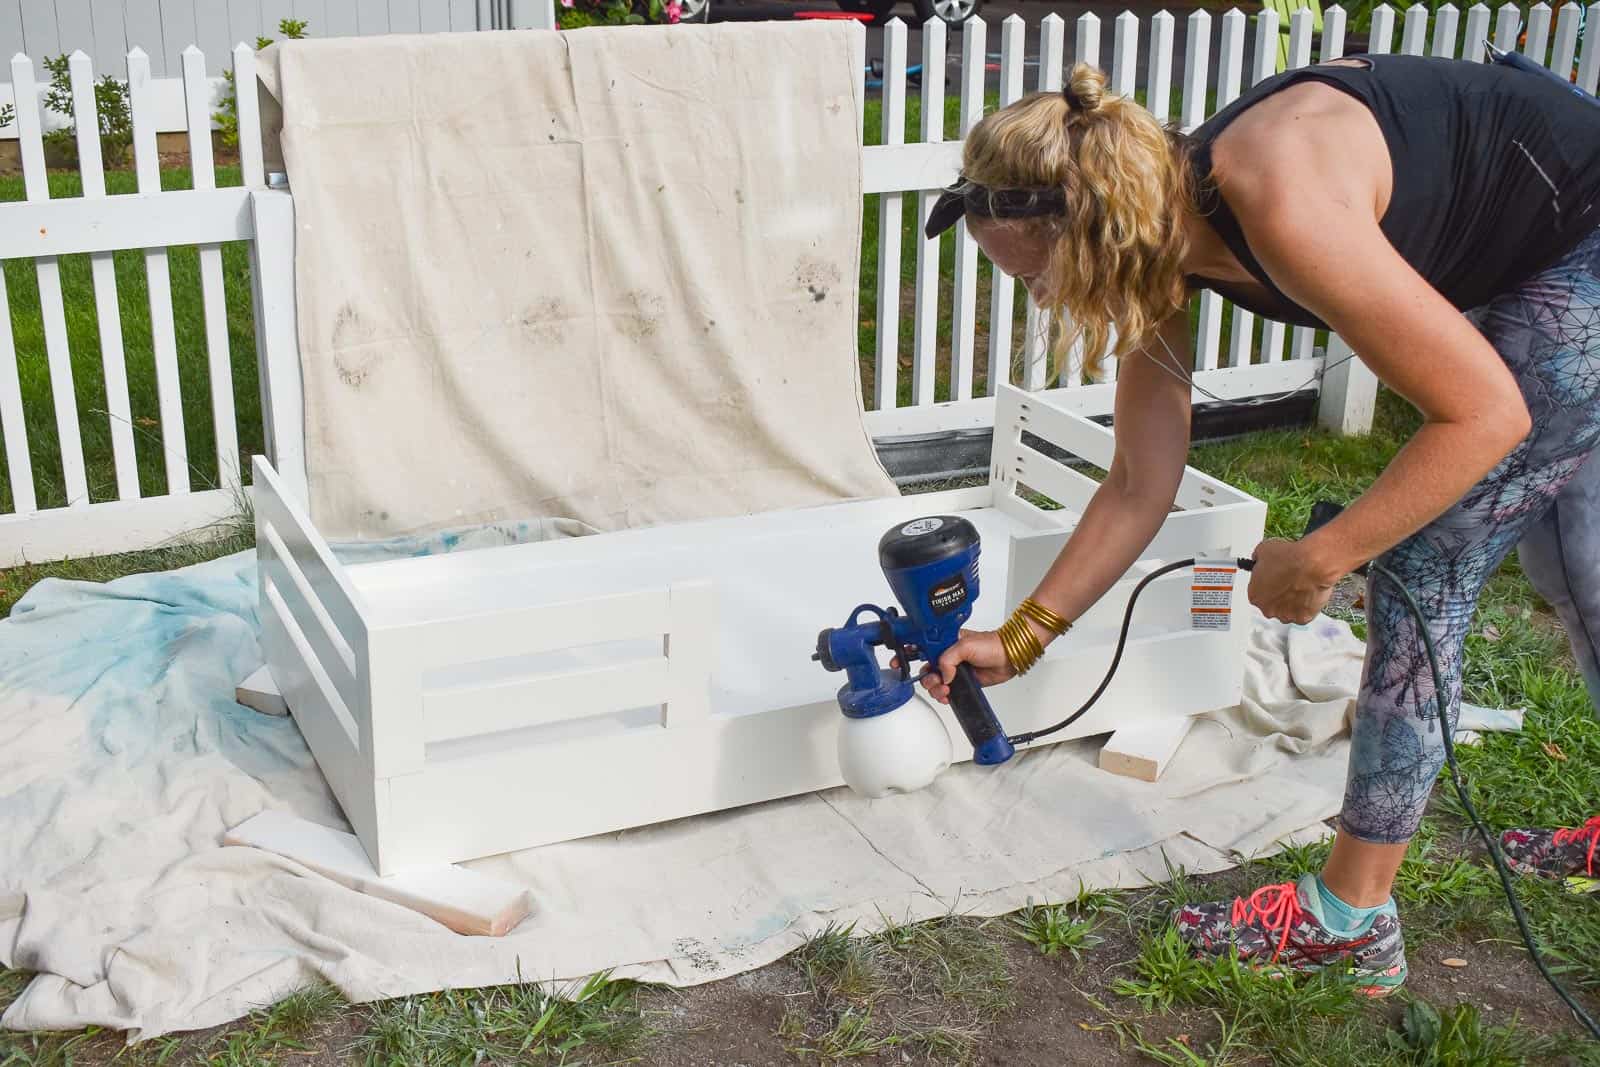
Step 4. Finishing.
I sanded the bed down and gave it a coat of paint. I forgot to spackle over any knots in the wood, so I’ll have to keep an eye out for any bleed through. I also didn’t bother to fill the Kreg holes from the back. The mattress covers the bottom pocket holes, but you can see the other ones when lying inside the bed. (Arthur doesn’t mind.)
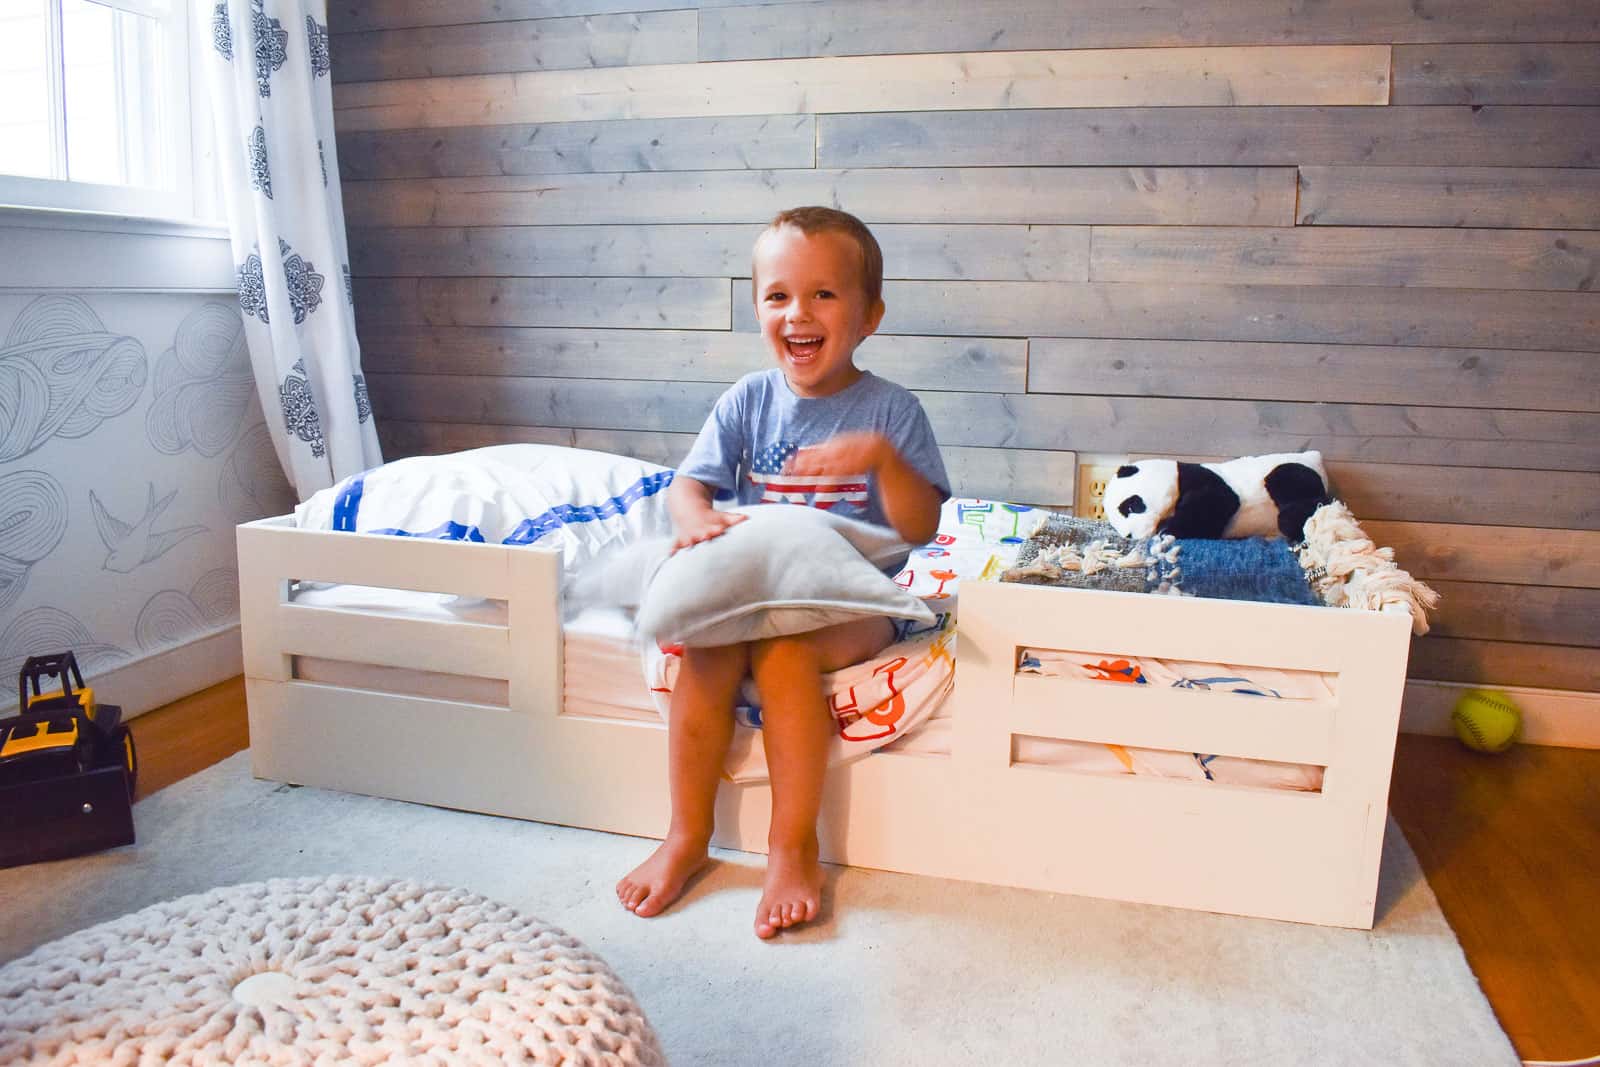
To say he is thrilled is an understatement. He didn’t get out of his bed ONCE the first night he slept in it. (We were greeted by him in our bed verrrrry early the next day, but that’s a different problem to solve!)


Your MEASUREMENTS are off. The long pieces do no fit the short ends of the bed flush.
I’m so sorry about that.
Do you mind letting me know How far off the measurements were? I am planning on building this soon
I would suggest using your toddler mattress as the guide and planning each step with those measurements in mind!
Thank you so much for this idea. Now I have direction! Cute bed!
You’re very welcome! Good luck!
LOVE IT! I WILL TRY THIS TOMORROW. THANKS FOR SHARING.
Good luck! Thanks!
Is there a list of all the supplies you used for this? I can only find thw lumber and measurements for that. It wOuld be helpful, i would likw to build this for my soms room but i dont know what size screws or how mAny
Hi Lindsay! I’m sorry I don’t… I used 1 1/4″ Kreg screws for this one because of the 3/4 width of the boards, but not sure how many. 4 per board…
What keeps the railing to the base..and how sturdy is it.Kind regards.
Hi there! It’s connected with pocked holes. It’s plenty sturdy enough to keep a child from rolling out of bed. I wouldn’t trust it for a child to hang off or anything.
FIll the pocket holes with wood! They make wood pieces sized for thAt. Glue them in, sand them, paint over them, and you will not be able to tell the holes are there! Just learned that on this project. Thank you so much though for the Idea, i used this on a twin Size bed! TodDler started climbing out of his crib so had to Adapt. This was the best Idea i have found!
Yes!! Would be totally easy!! I got lazy since I knew he wouldn’t be using the toddler bed for that long, but… if I’d made this for our first child I definitely would have filled the pocket holes! 🙂
you’re amazing! can’t wait to try this for my son ronan
Good luck!
This is awesome! RoUghly how much did you spend on material?
Thanks! Not much at all! Plywood was maybe $30 for the sheet (I only used 1/2) and then the lumber was maybe another $15? I was able to use up some scrap wood even!
The base sheet must have holes for ventilation of mattress. You simply cannot not have them. Without ventilation moisture will build up inside the mattress and it will lead to mold.
We never had that problem… not sure where moisture would come from, but it can get out the other three sides.
Did your mattress need a bit extra space to allow for bedding ? A standard crib mattress is 52″ x 28″ which is your base dimensions , was it tight to tuck in the bedding?
Nope! We used a thin jersey fitted sheet so it easily wrapped around the mattress and still fit. Would be easy to add a bit more space to allow for bedding tho!