
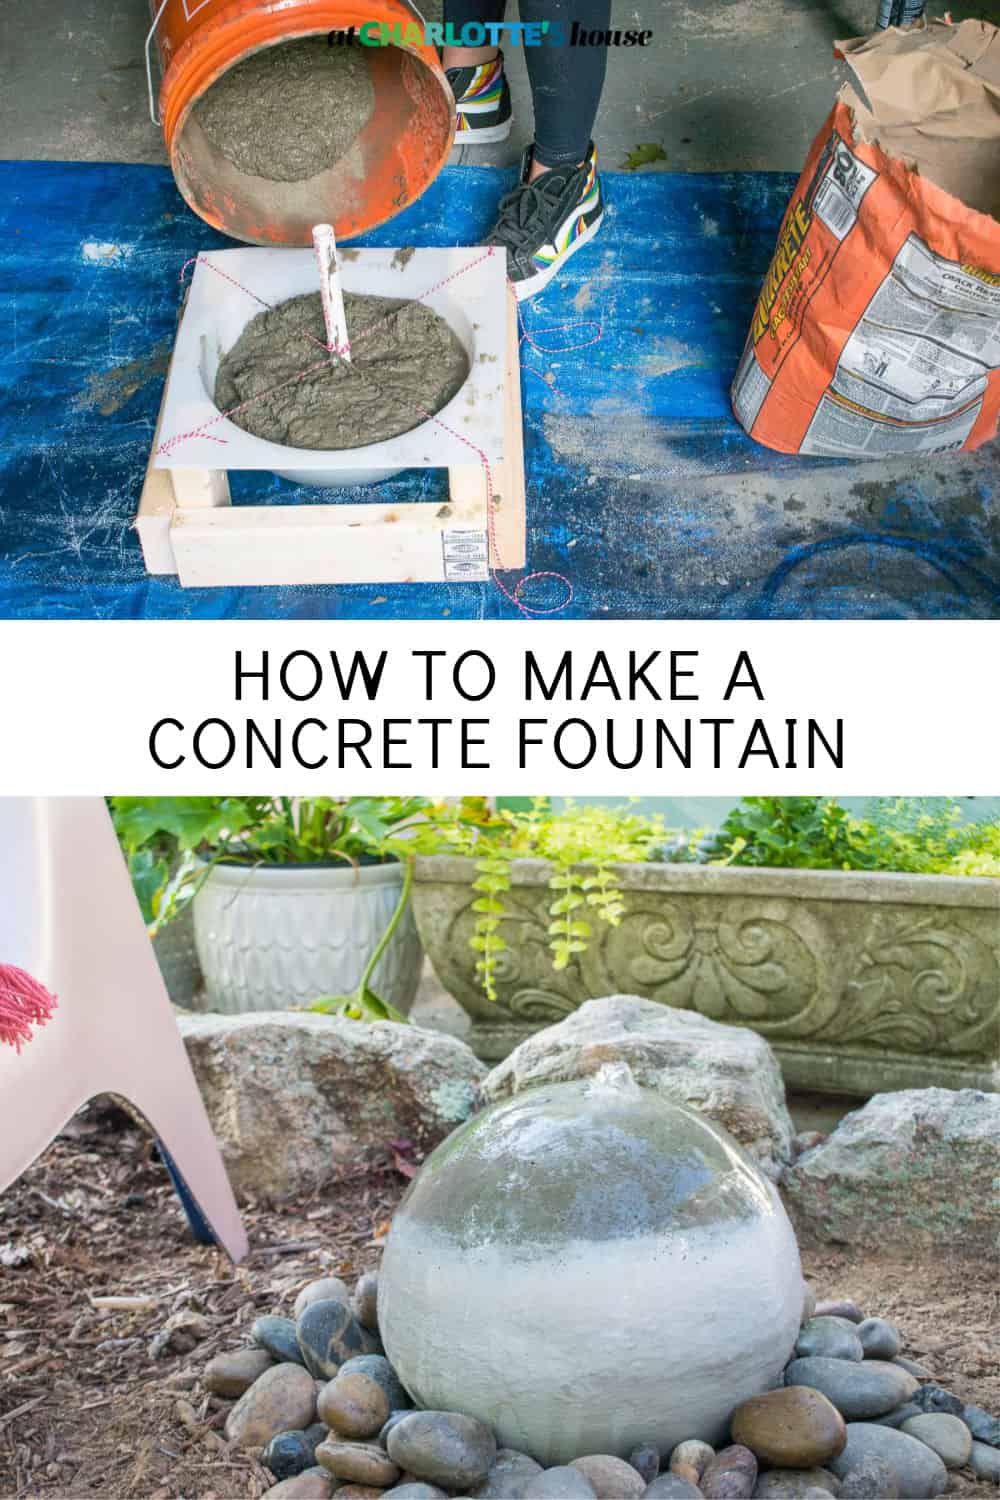
How to Make a Concrete Fountain Orb
Psssst… this post *might* contain affiliate links: see my disclosure here.
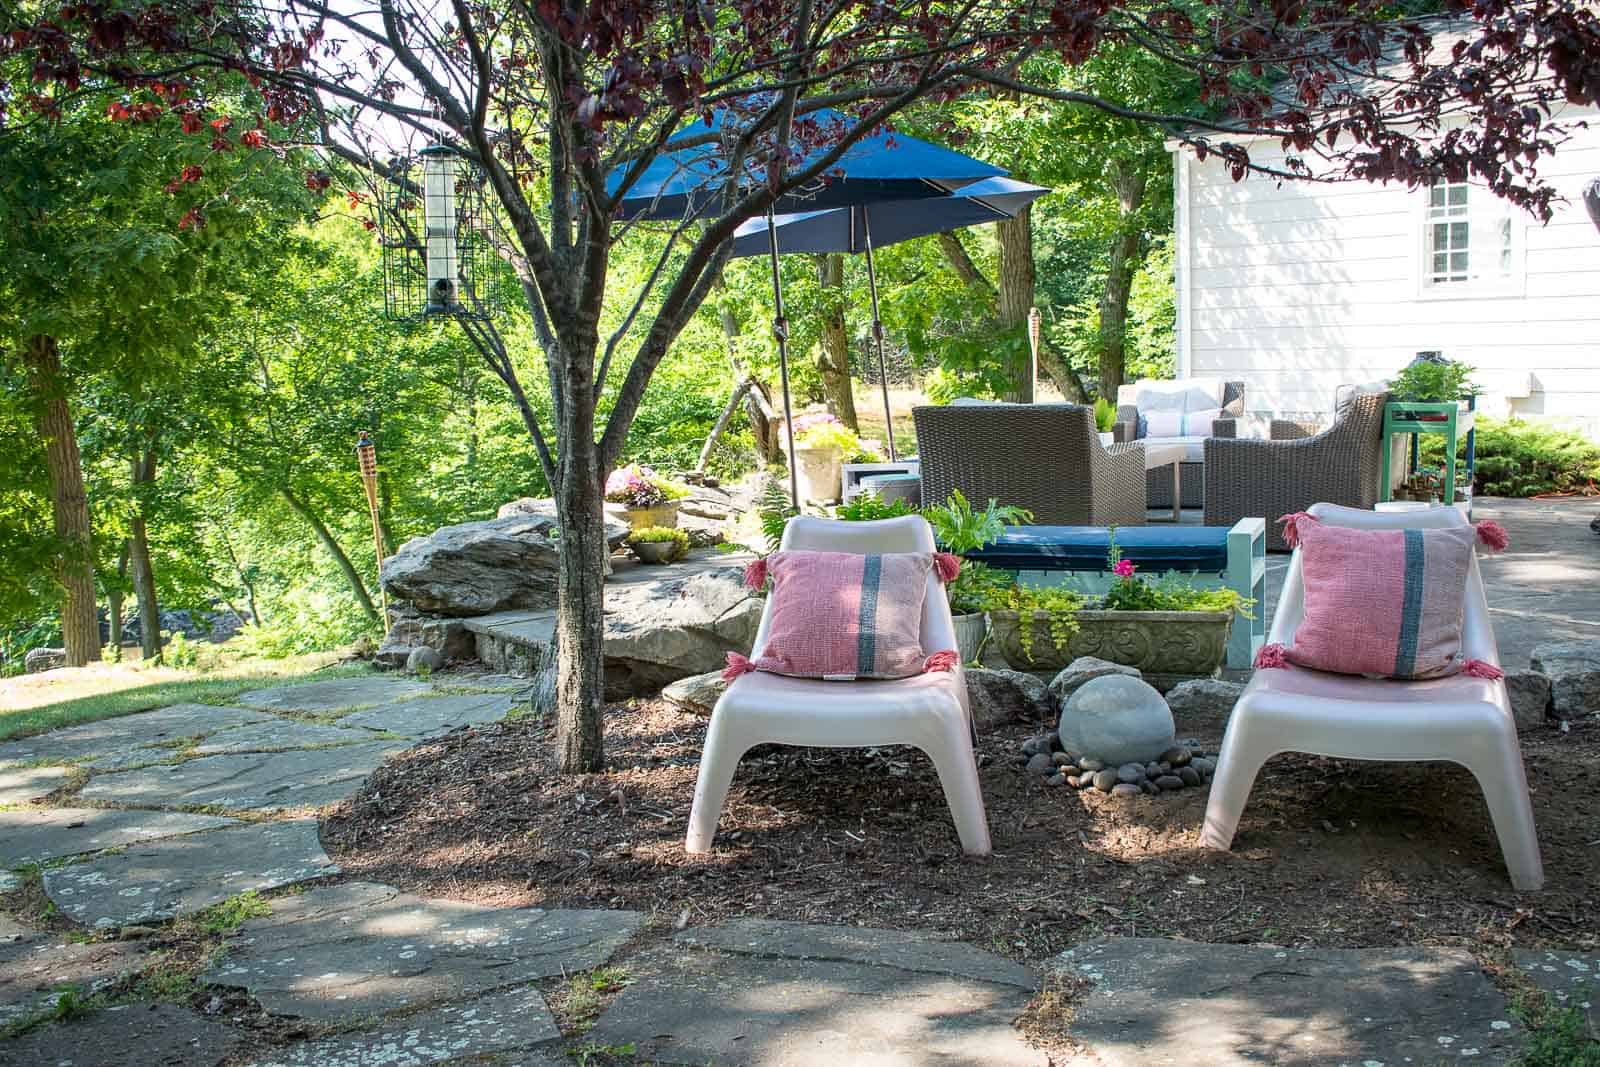
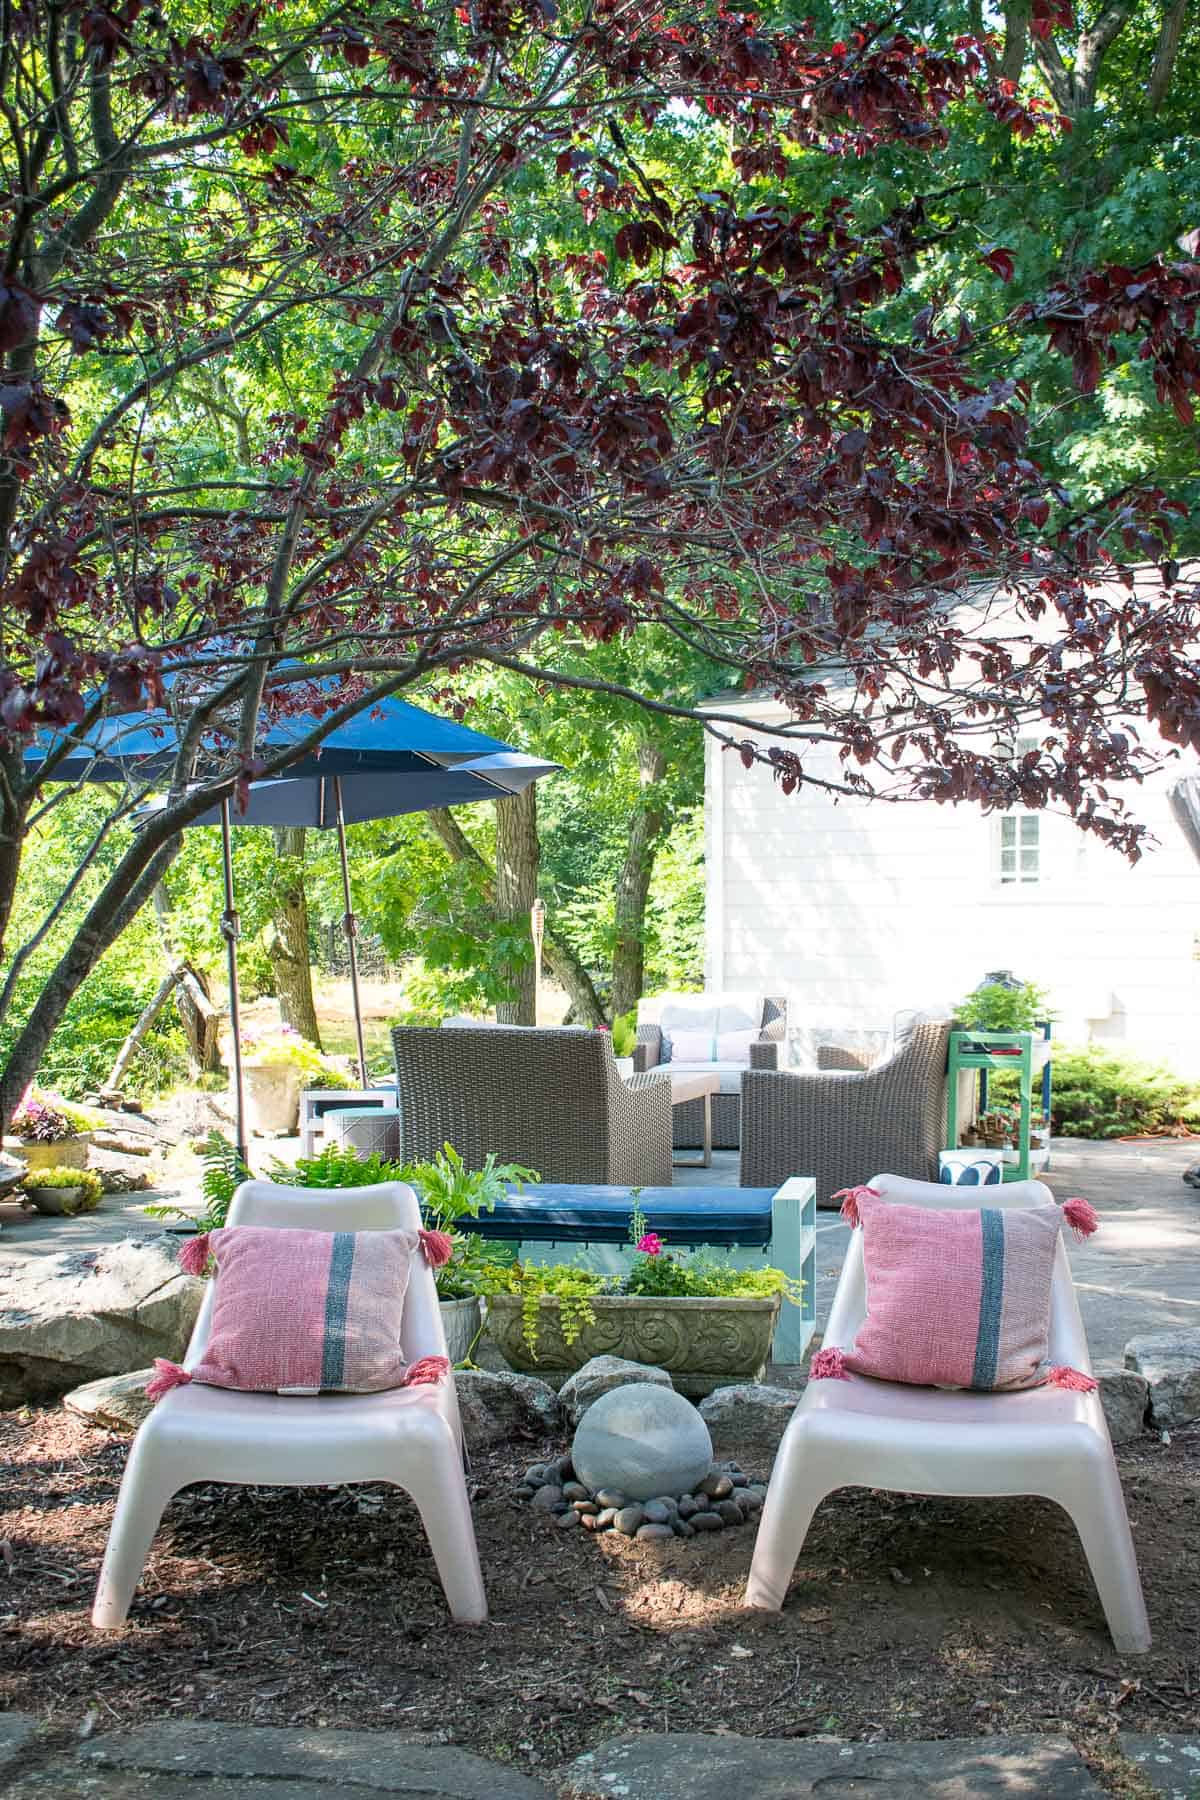
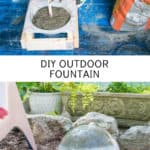
DIY Concrete Garden Fountain
I made a concrete fountain for under $100 and I love how it looks in our garden!

So…. I made a fountain. An actual working concrete fountain! I’m VERY tempted to make it again to iron out some kinks, but my method worked and I was too excited not to share right away! Take a peek at the materials list… I’ve done something similar before using a thrifted globe (see here), but I wanted to make a fountain tutorial that all of you could easily replicate!
Shop my favorites!
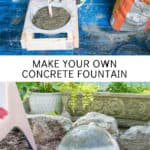
Fountain Materials
- Concrete Mold ($28)
- PVC pipe ($3) and Plastic Tubing ($5)… it doesn’t matter what size you get as long as the tubing fits into the PVC pipe
- 2×4 lumber/ screws ($3)
- Silicon ($5)
- Fountain Pump ($35) (Note… I had a solar one like this on hand, but any fountain pump should work)
- Bucket ($3) (For mixing concrete and then for holding the water underneath the fountain)
- Quikrete ($5)
- Construction Adhesive ($8)
- Concrete Patch ($6)
- Rebar ($5)
- Hardware Cloth ($8)
- Decorative Rocks ($12)
- Twine
- Wooden dowel
- Dremel for carving (optional)
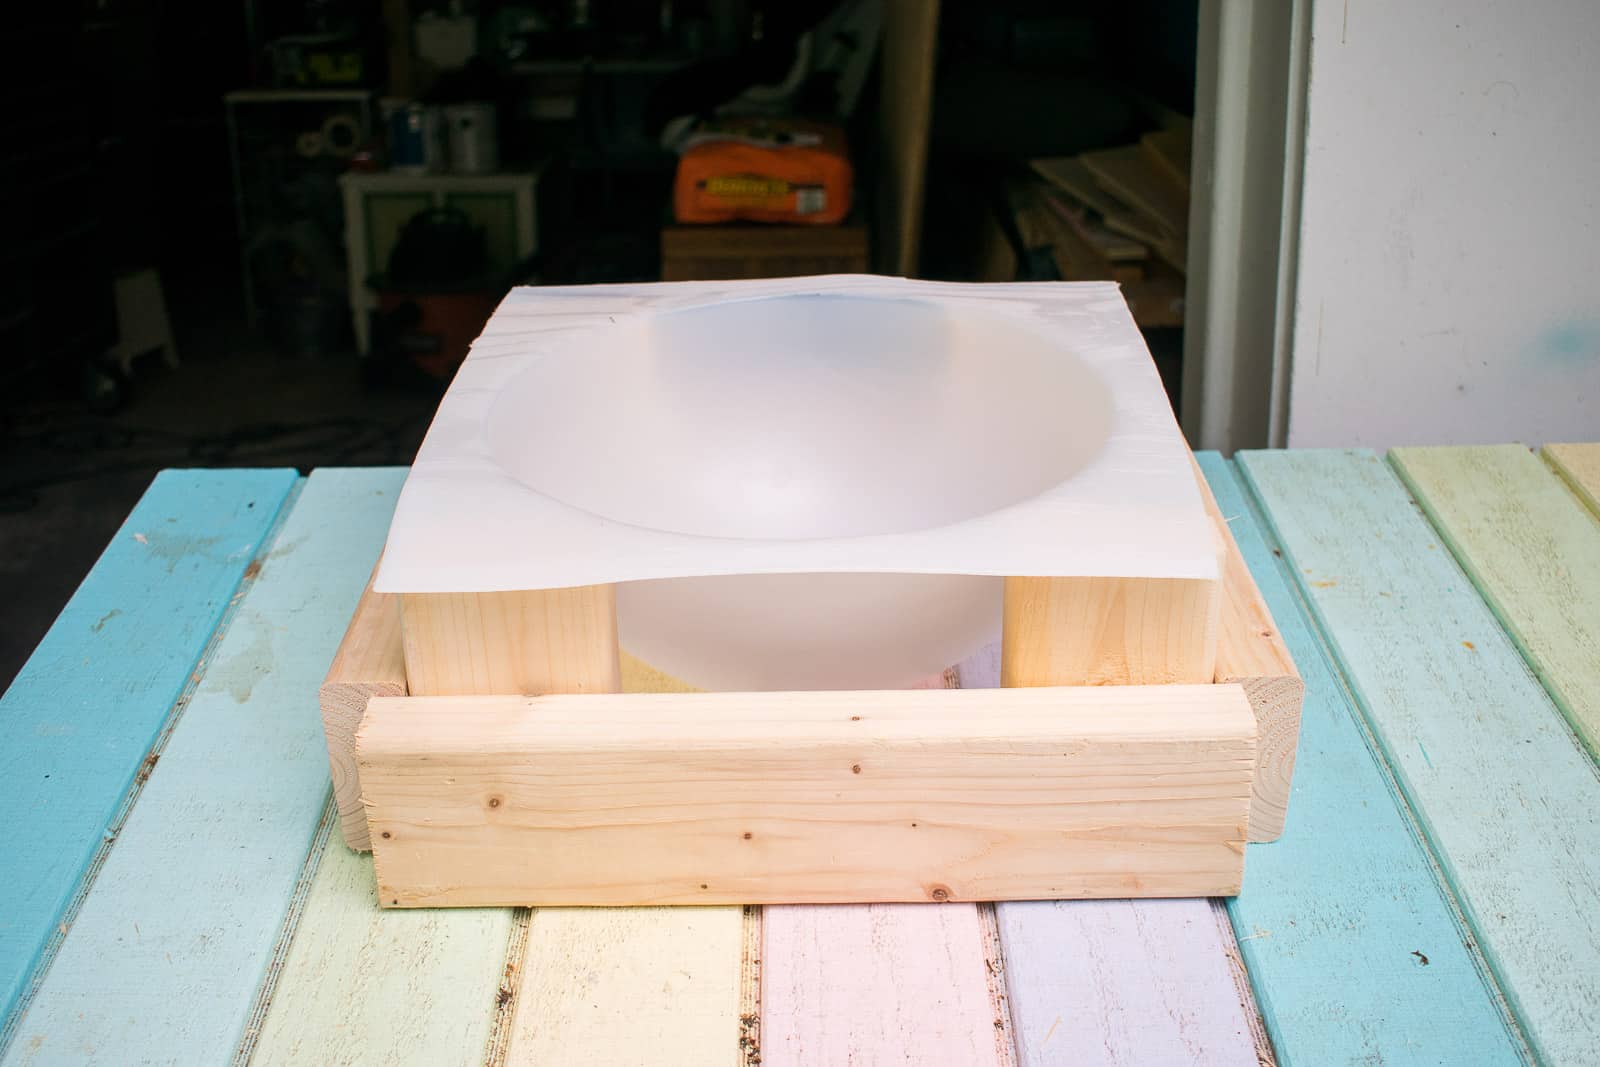
Step 1. Make a Base for the Mold
Because this mold is round, it needed a frame to keep it stable when filled with concrete. I reached for some 2×4 scraps and made a simple square stand. Nothing fancy… I screwed two pieces of 2×4 the same height as the mold onto cross beams. And then I screwed two more 2x4s in place to make it a stand.
Step 2. Secure the PVC Pipe
One of the tricky things about this project is that there needs to be tube *through* the concrete sphere in order for the water to pump up and over the fountain. But because I’m working with two halves, I needed to ensure that the tubes on each hemisphere would line up! I drilled small holes in each corner of the mold and tied a length of twine diagonally across the mold. I wrapped it around the PVC pipe a few times before securing at the opposite corner.
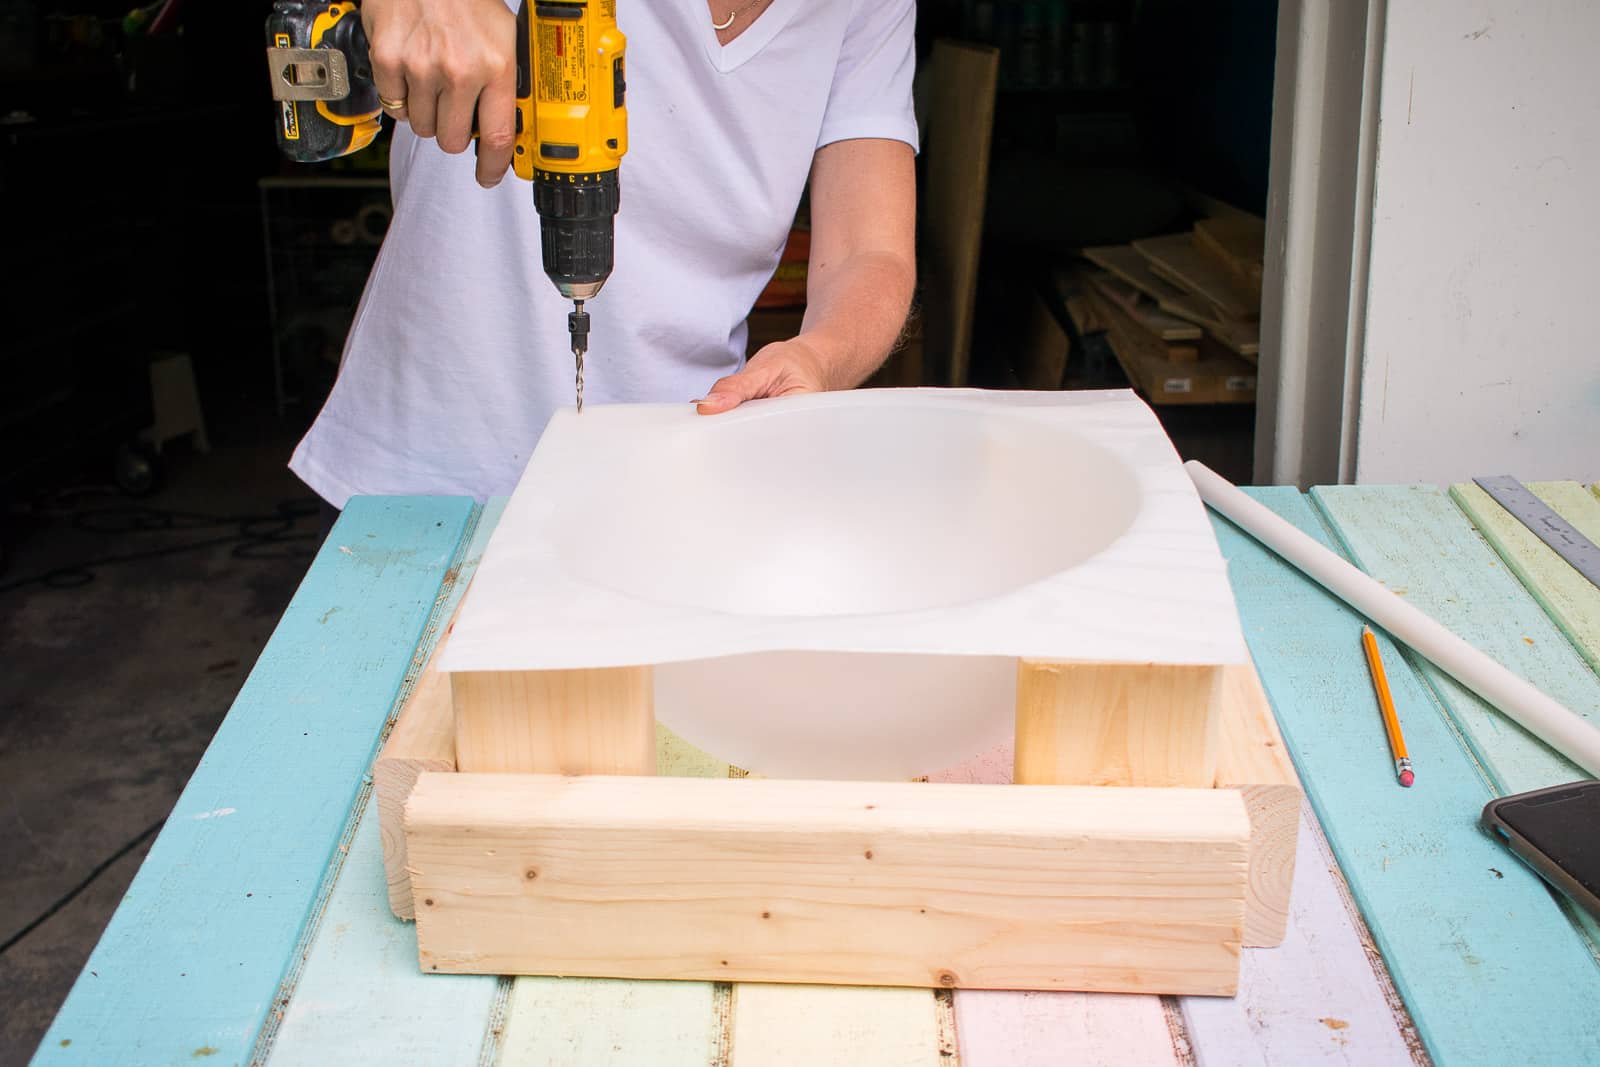
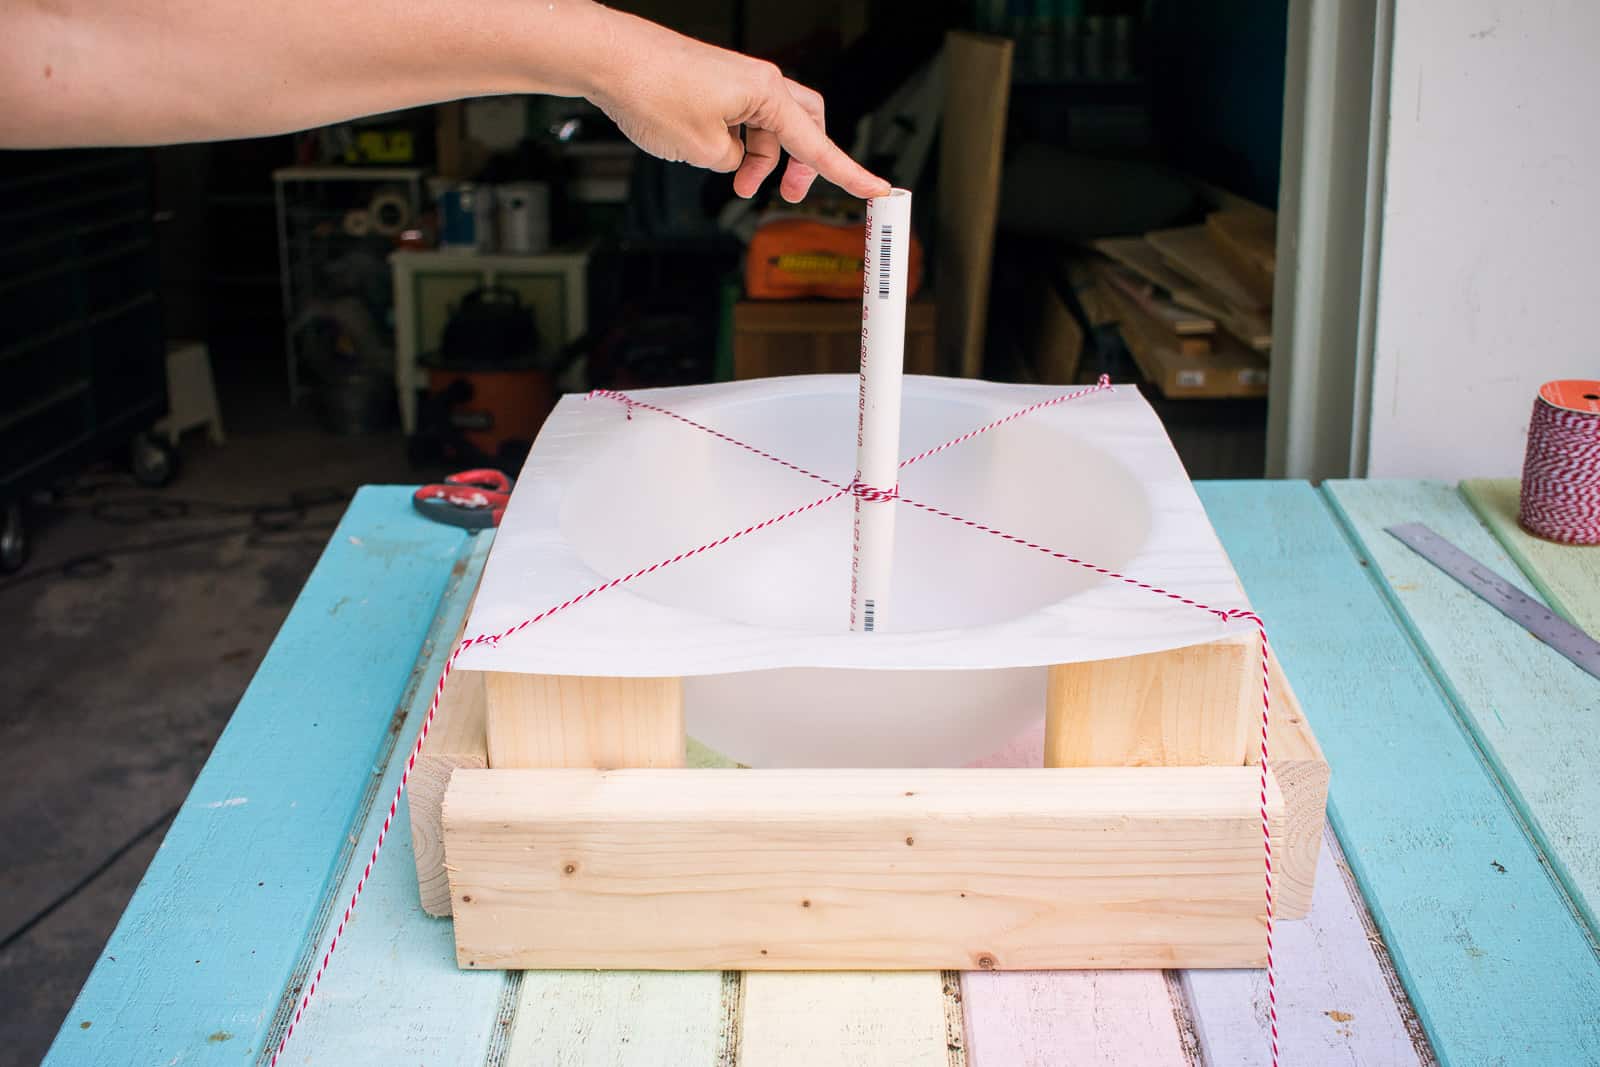
I measured halfway across the mold in both directions before securing the PVC pipe in place with silicon. I’m sure there’s a precise way to do this, but I eyeballed to make sure it was straight. (I also tried to measure the outside of the mold to find the centerpoint but I don’t know that I trust my measurements.

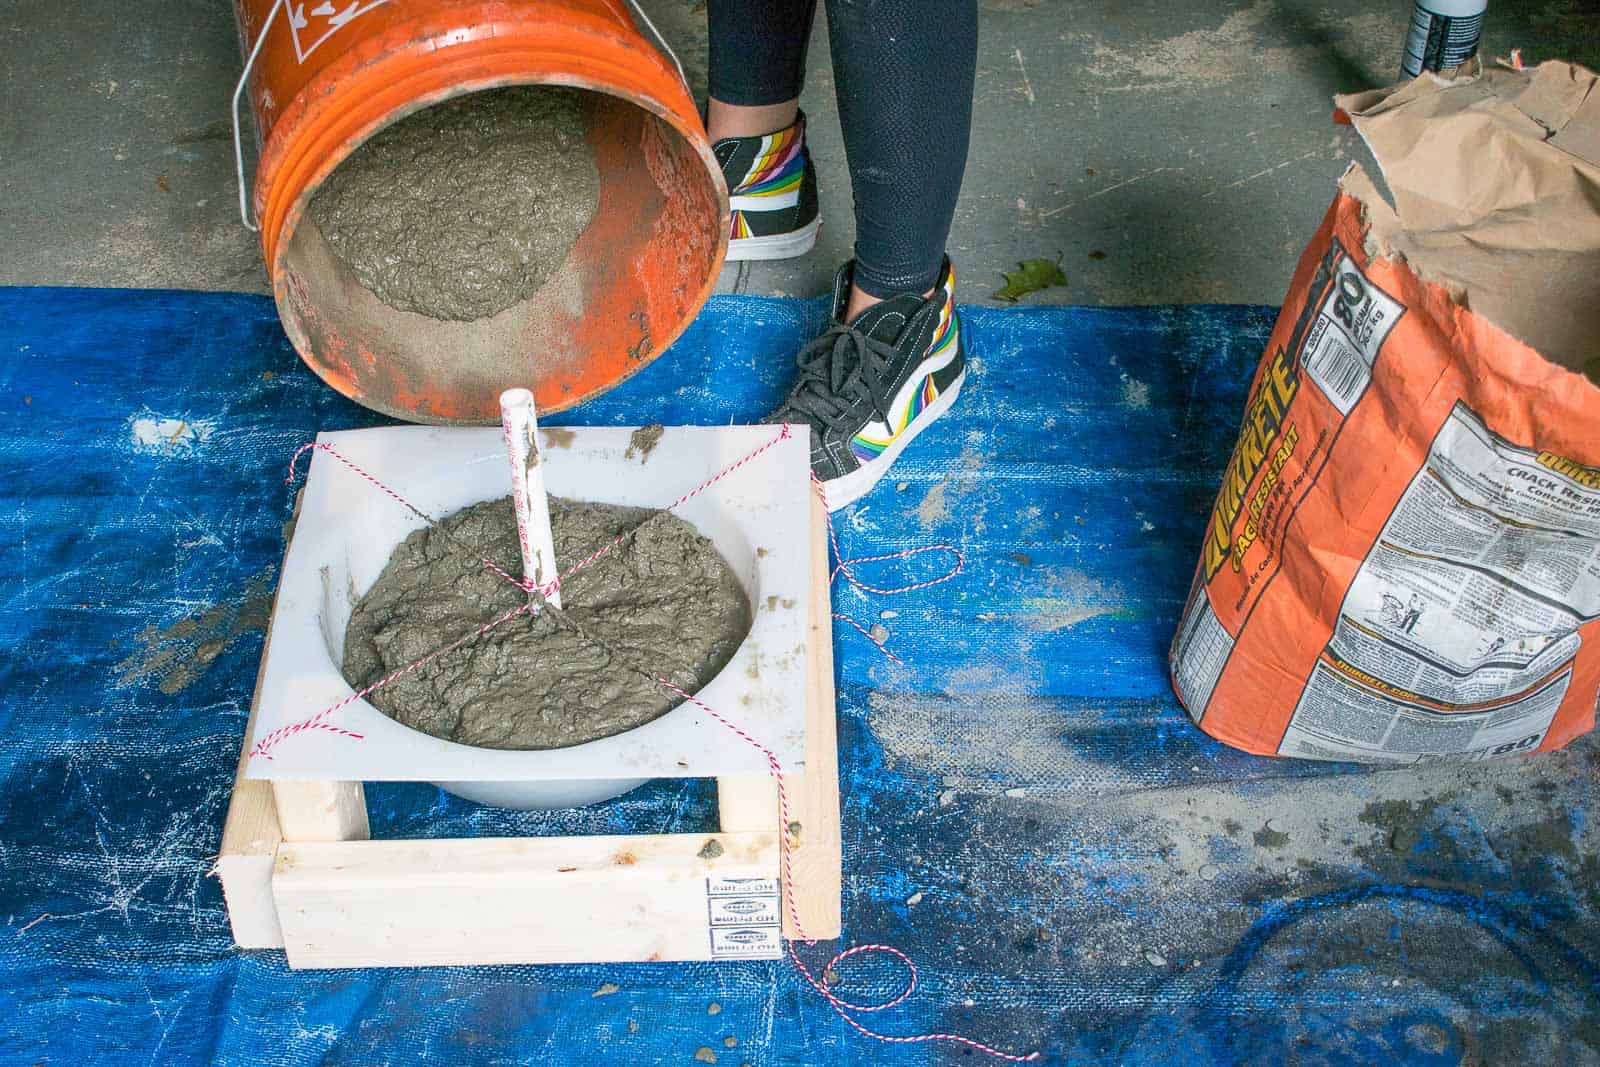
Step 3. Mix and Pour Concrete
I picked up an 80 lb bag of Quikrete…. At first I was thrown because of the pebbles as I was worried I would have a rocky finish But nope. Smooth as can be. I also sprayed some cooking spray onto the mold first because… I dunno. Figured it couldn’t hurt! I filled the bucket with concrete and added water until the mixture was the consistency of… thick oatmeal? It shouldn’t be watery, but it shouldn’t be crumbly…

Step 4. Release and repeat
Because the fountain requires TWO halves of a sphere… release the first mold and repeat. The concrete came away from the mold really easily both times.

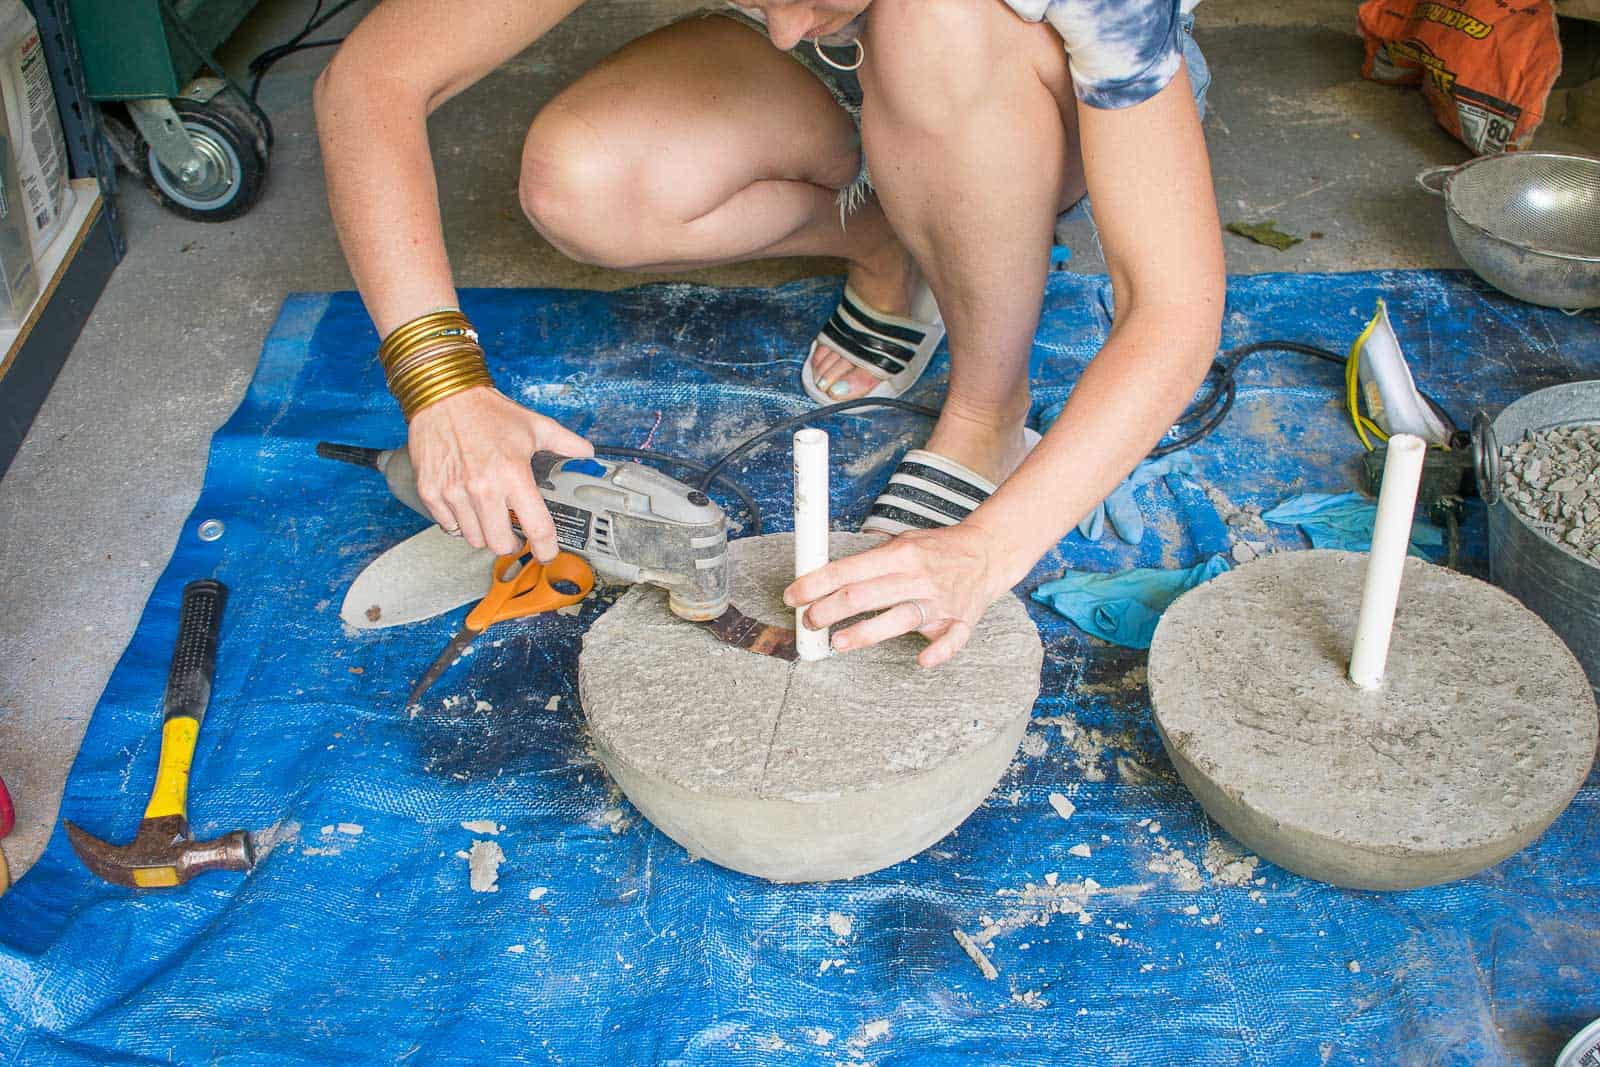
Step 5. Attach the two halves
With a Dremel or a hack saw, cut the PVC pipe as close to the concrete as possible on both sides. Before gluing together, place the two halves together and make sure the PVC pipes line up… being able to see daylight is good!
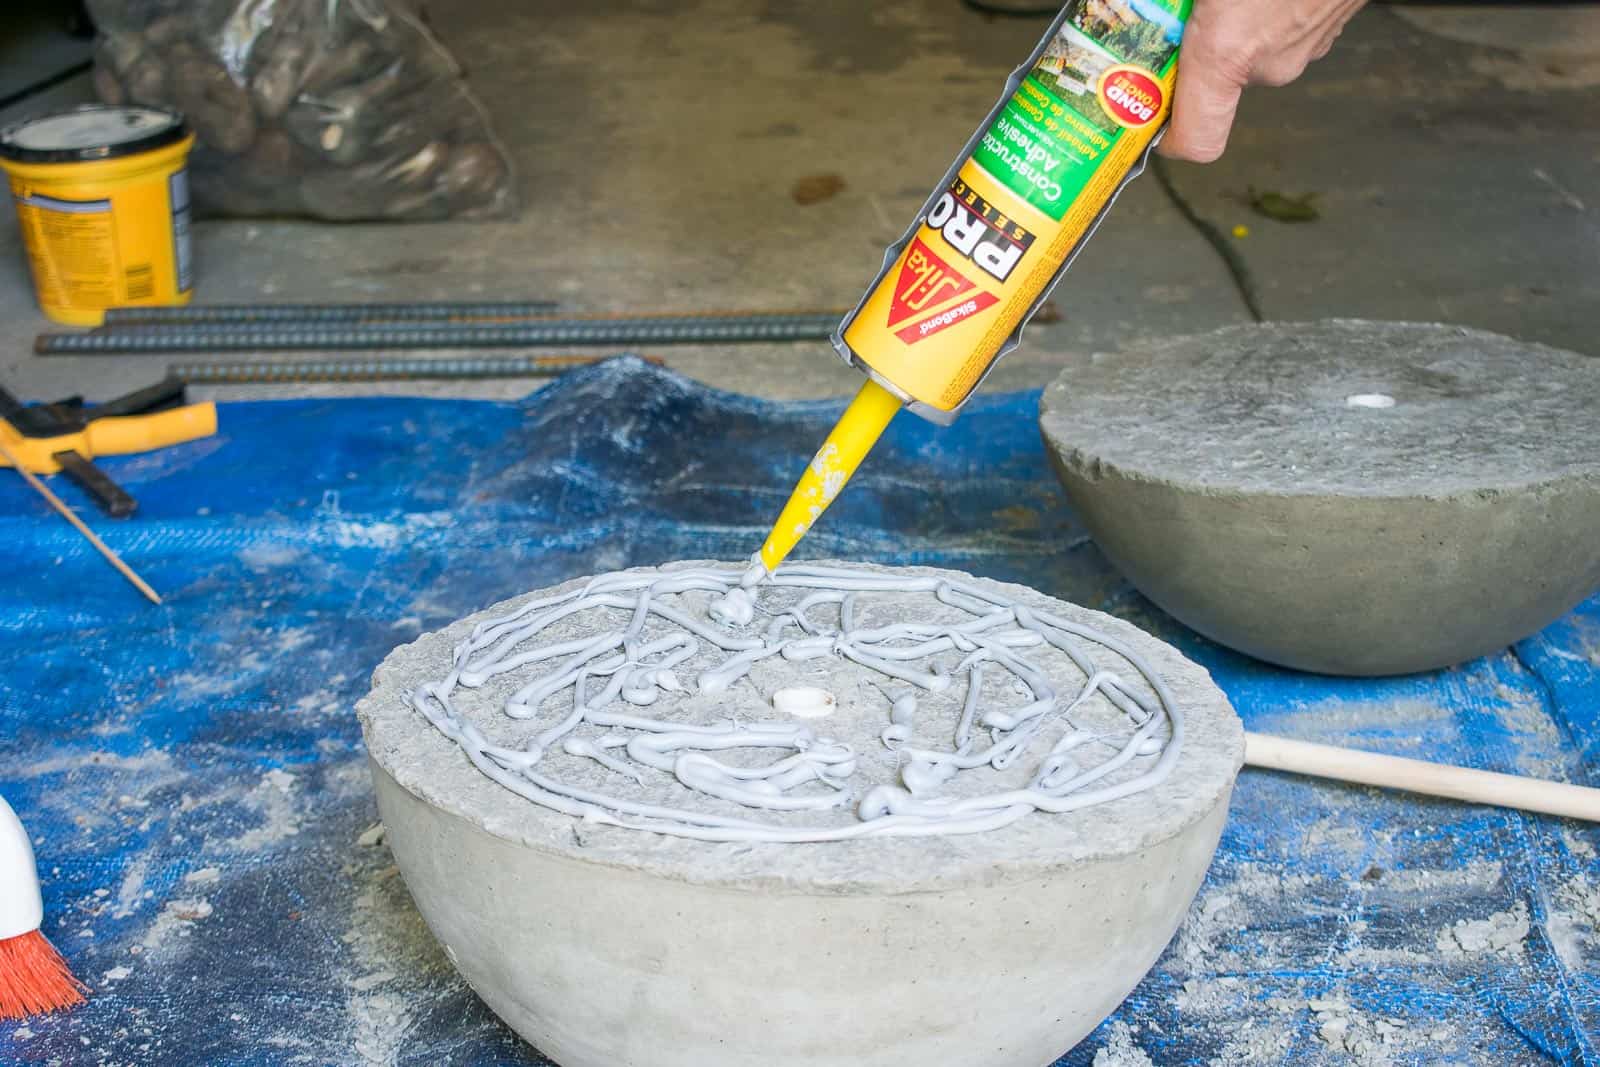
With half the sphere on the ground, squeeze construction adhesive onto the flat surface. I used a dowel through the middle to make sure the two halves lined up.
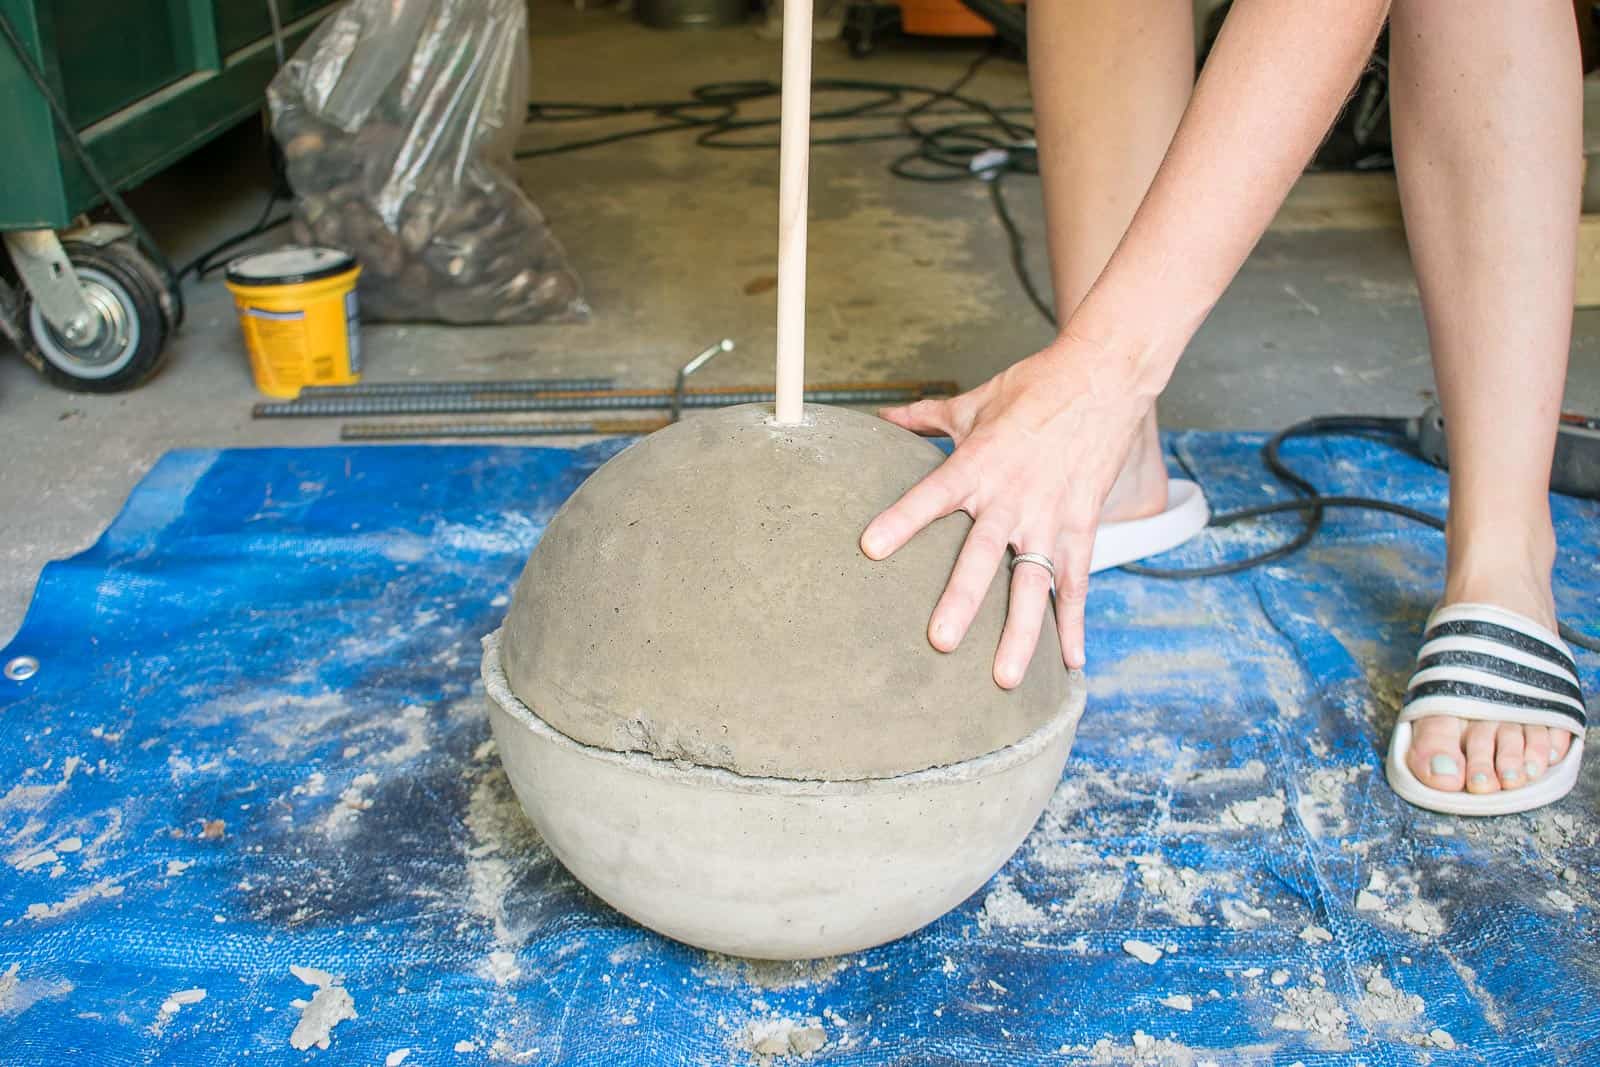
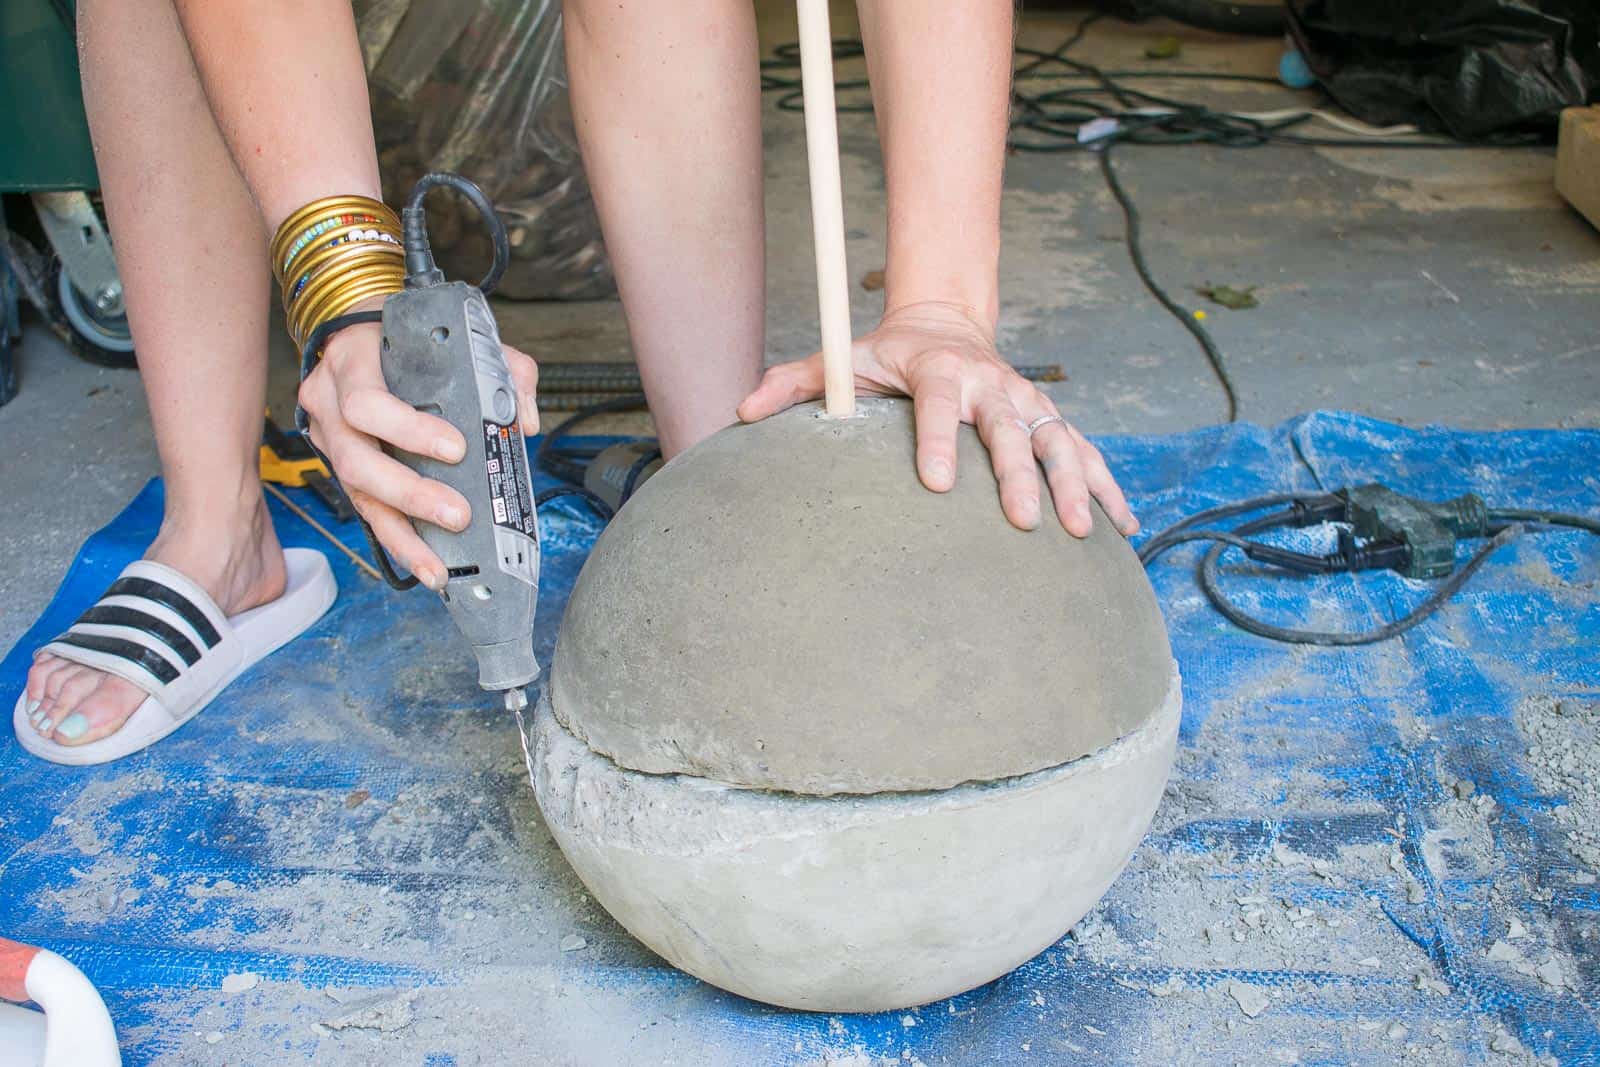
Step 6. Smooth out the Midline
I used my Dremel carving tool to edge away a bit of the midline where the two halves didn’t line up perfectly. I suspect this step would have been unnecessary if I hadn’t run out of concrete for the second mold. Lesson learned!
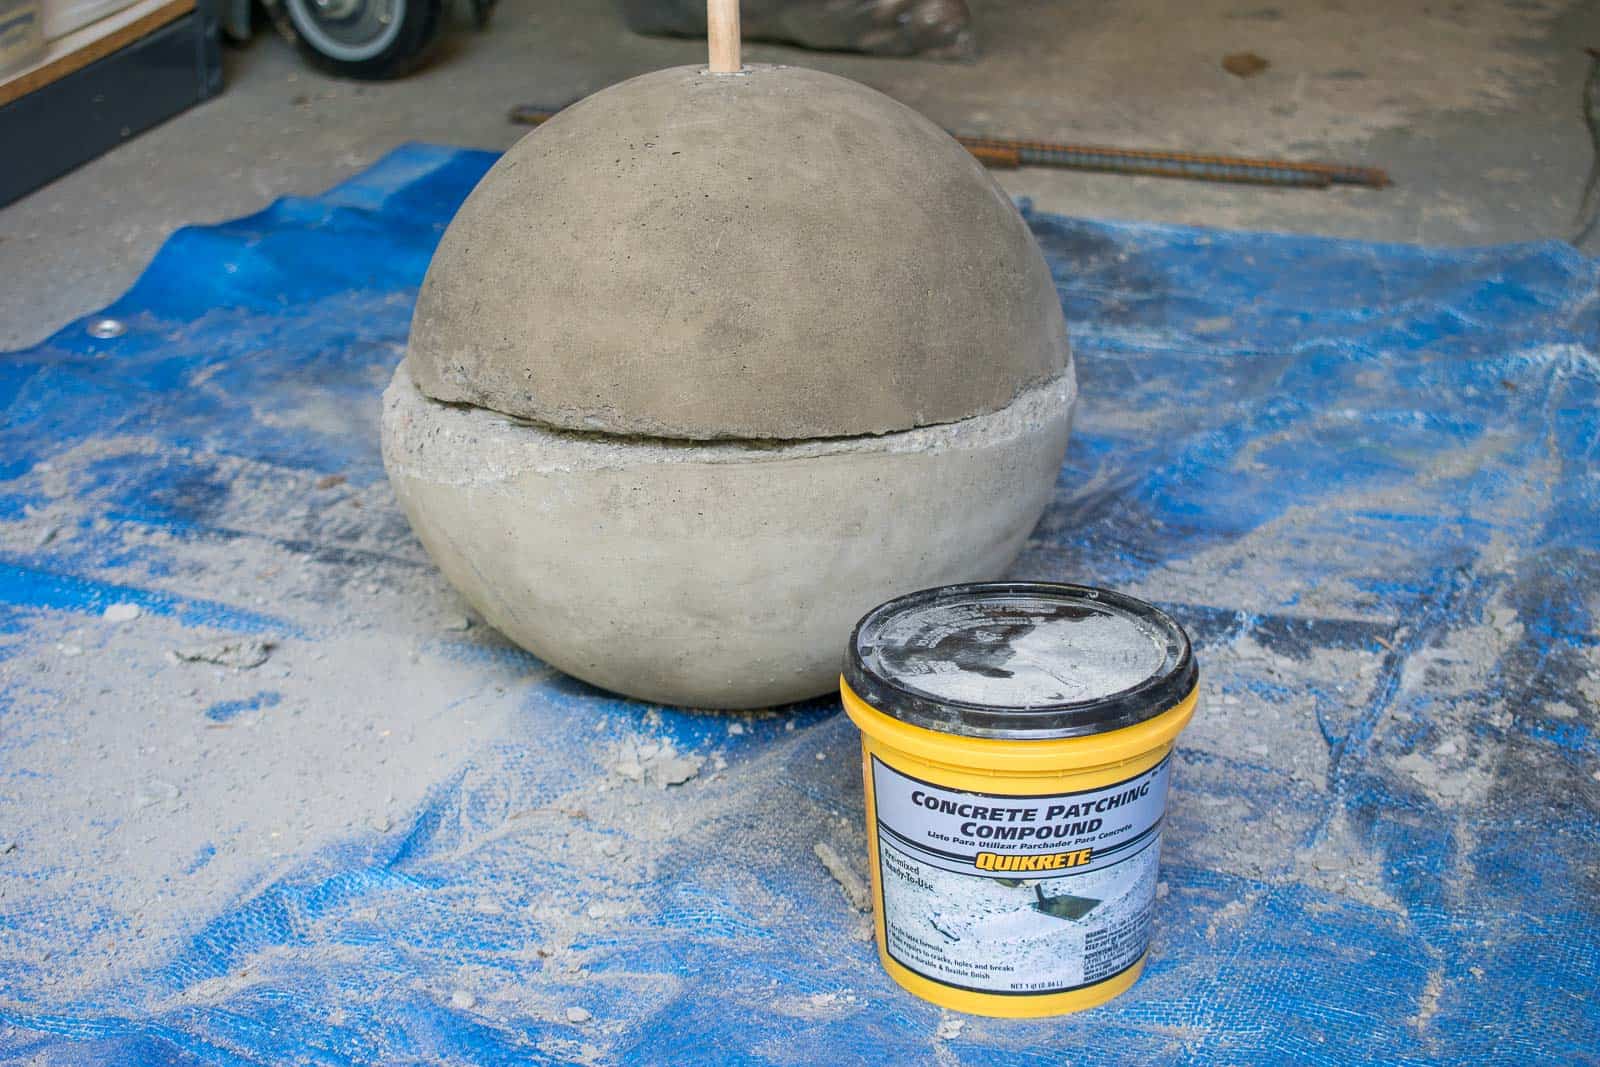
Step 7. Patch the midline
My two halves didn’t line up perfectly for two reasons. One… I ran out of concrete for the second mold because I erroneously sifted out all the pebbles for my first mold. (Don’t do that…. ) Two… I was impatient and unmolded the second 1/2 of the fountain too early so a few places on the corner crumbled away. (Don’t do that either…) Regardless…. even if your two halves line up perfectly, there will still be a seam. To clean up these seam, I used a Quikrete patch kit. Basically, it’s premixed concrete that I smoothed in place on the midline of my sphere.
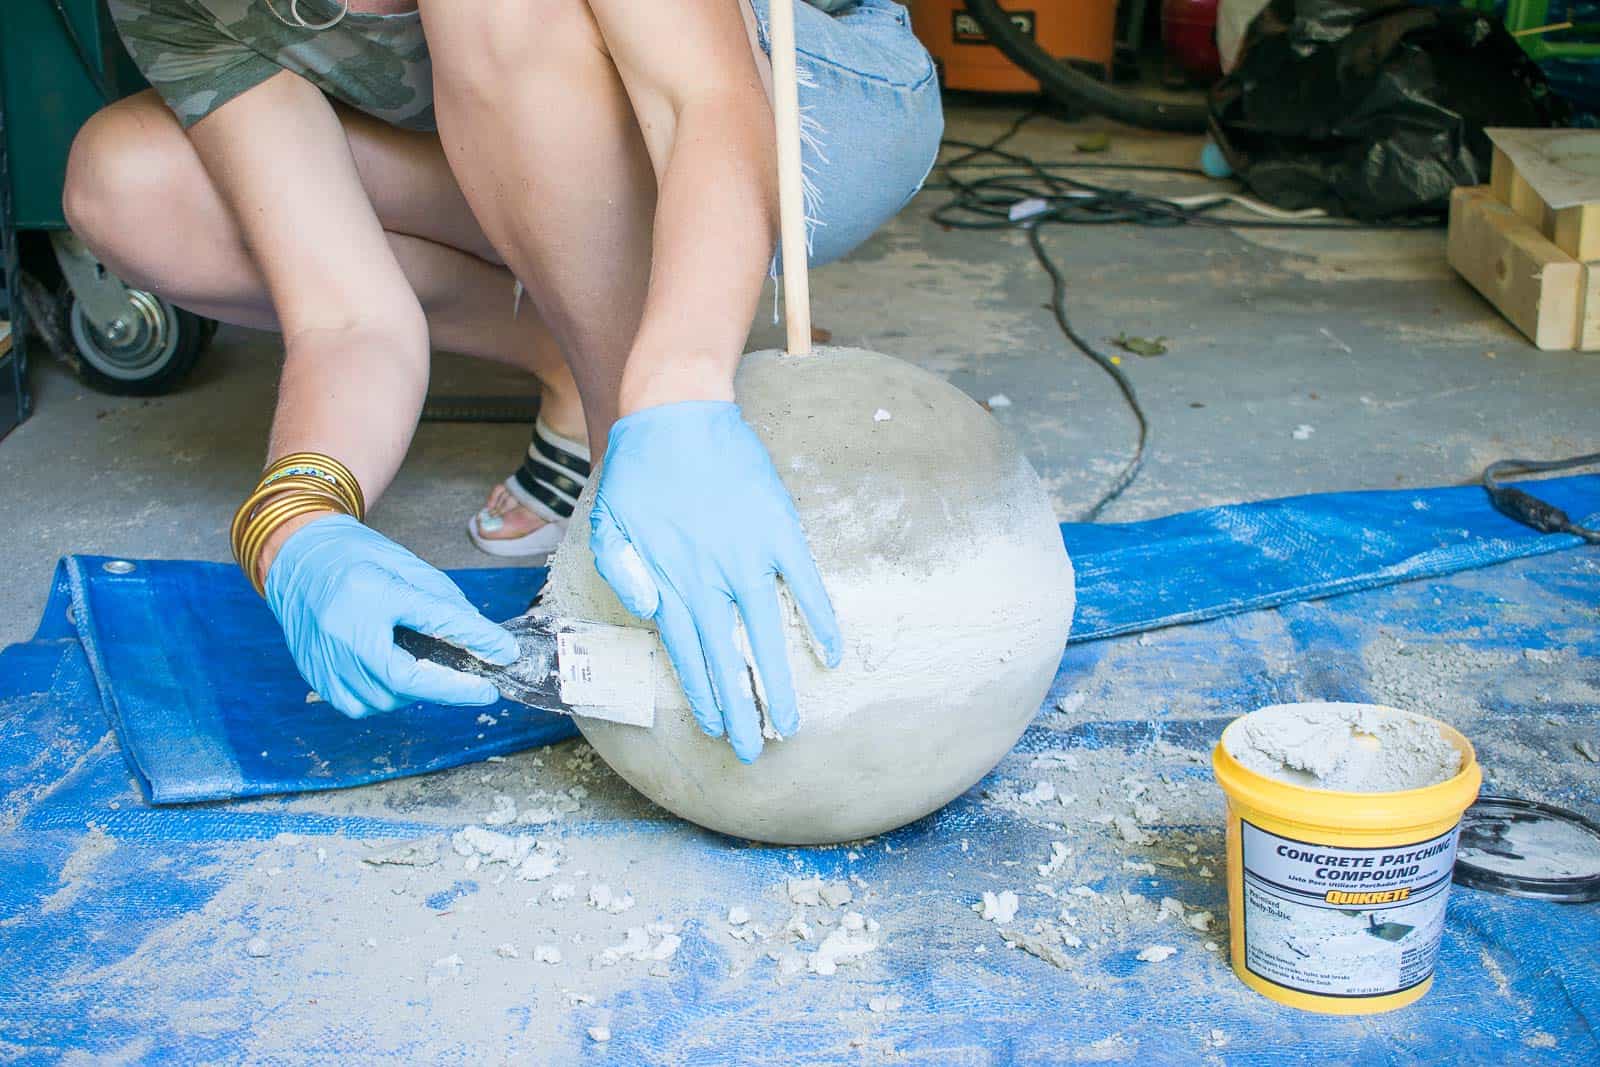
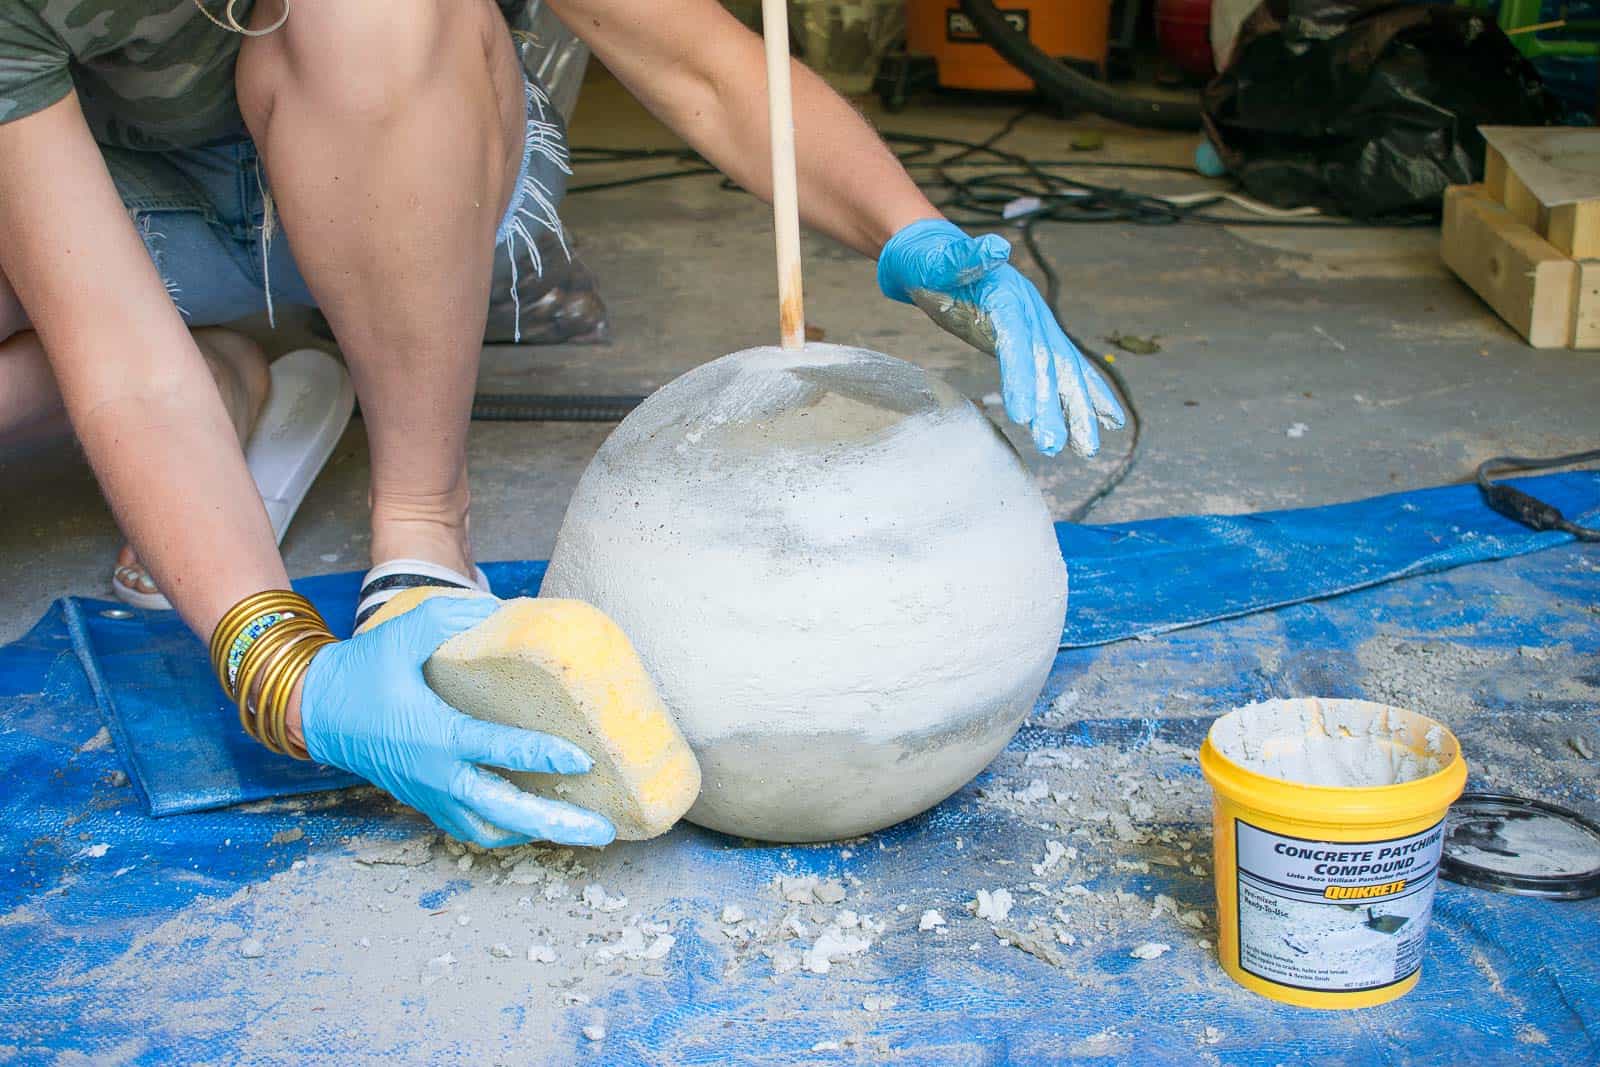
I used a combination of my hands a damp sponge to help smooth out the patch as best I could. There are concrete sanders that could work too, but I didn’t have one.
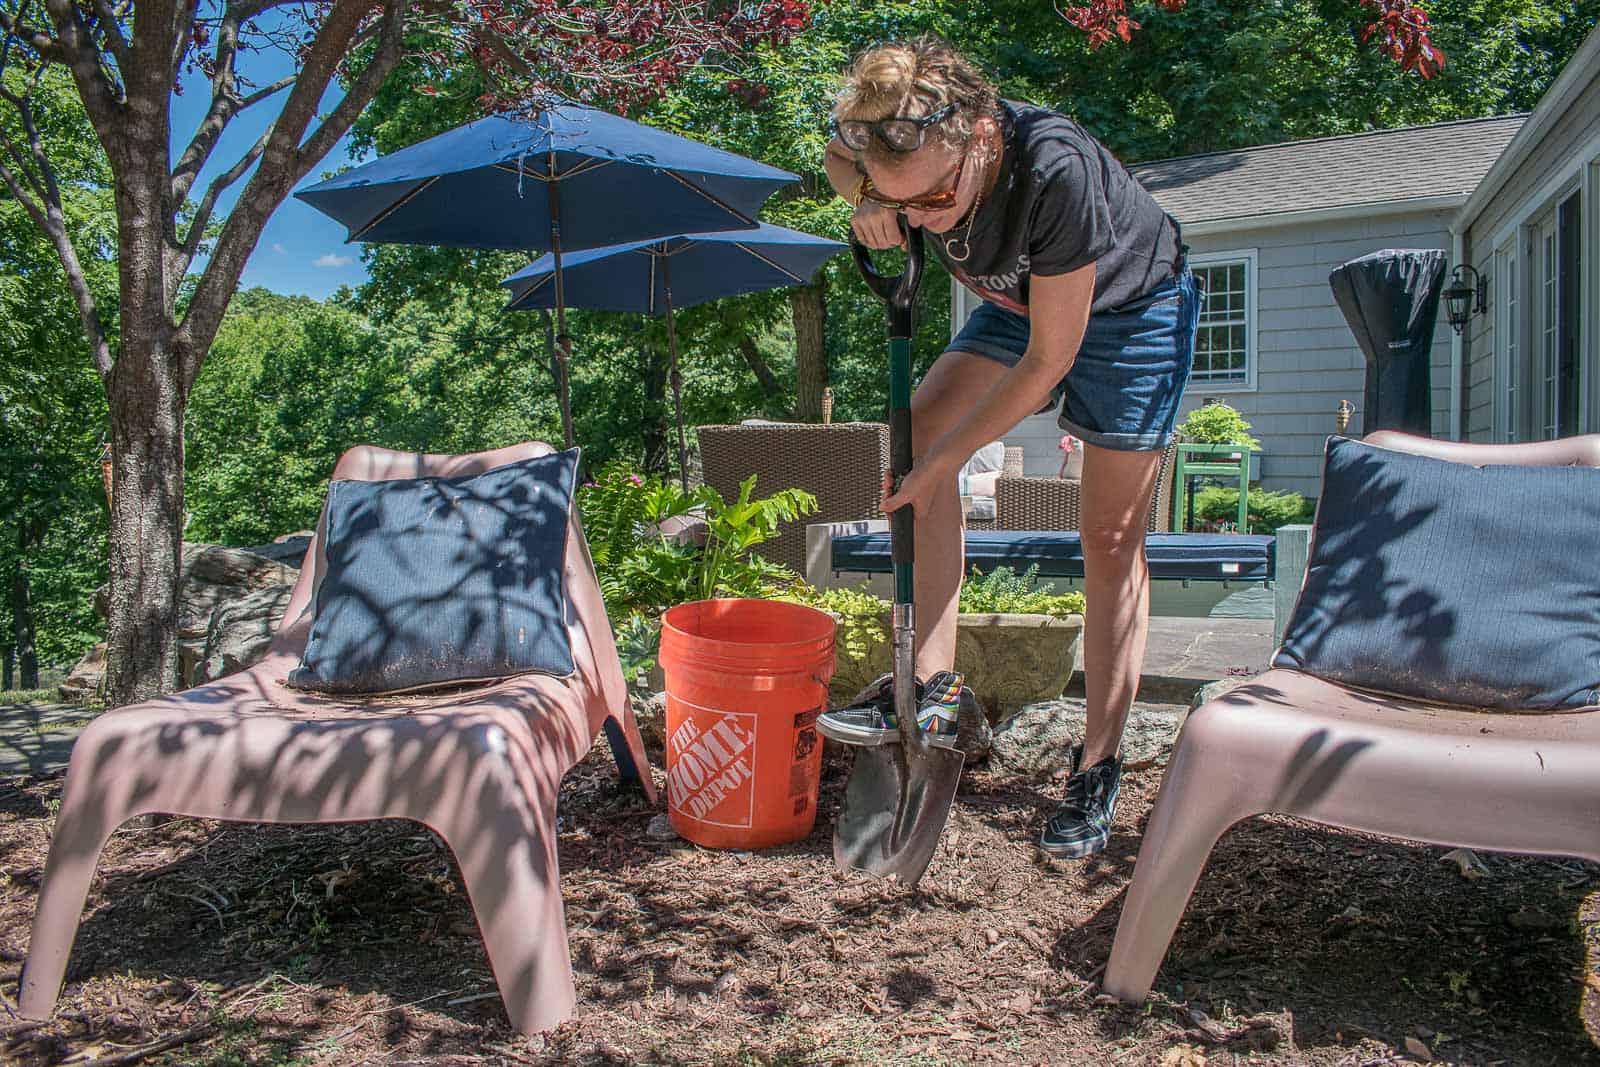
Step 8. Build the Fountain
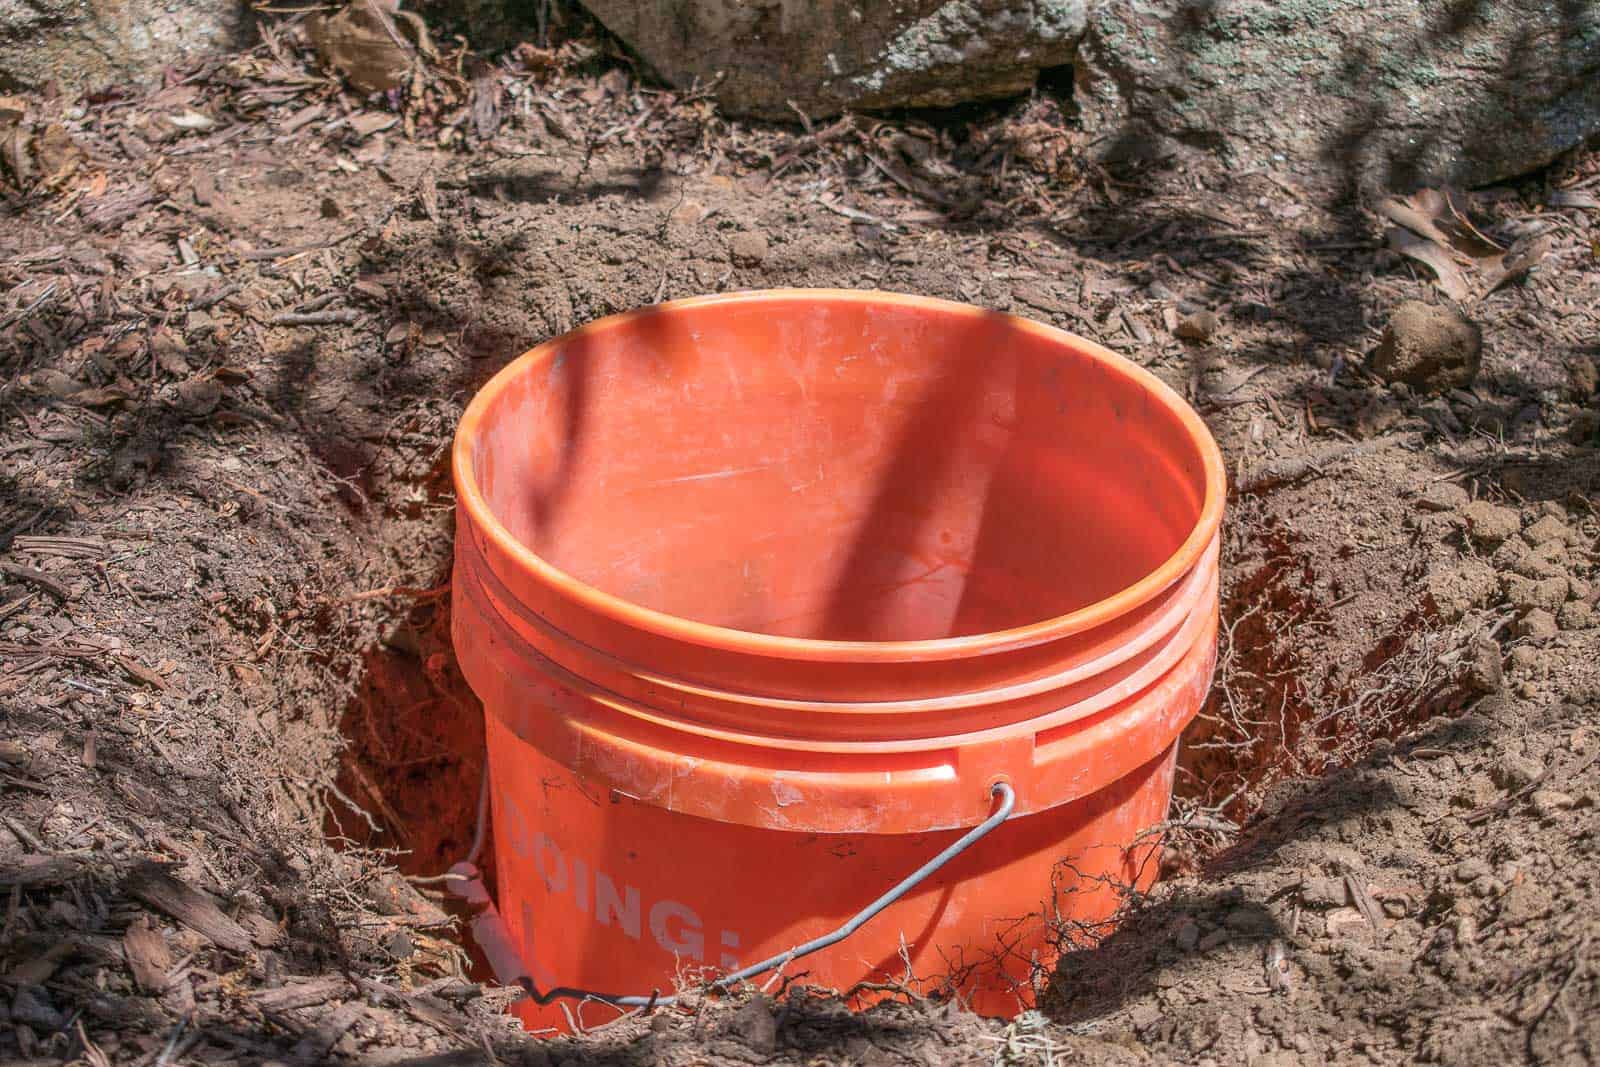
Time to make that concrete sphere into a fountain. First thing is to dig a hole big enough for a bucket. Dig a hole as big as you can… the more water your container holds, the harder it will be for it to dry up on you. I like to leave about an inch of the bucket above the ground to prevent too much dirt and debris from falling into the bucket. That can clog the pump. Place the rubber tubing onto the fountain pump and submerge it into the bucket with enough tubing to reach out of the bucket and up through the fountain. (Note… my tubing fit the fountain pump perfectly, but you might want to bring your pump with you to the store before you buy the tubing. It should be a tight squeeze to get the fountain pump into the tubing.)
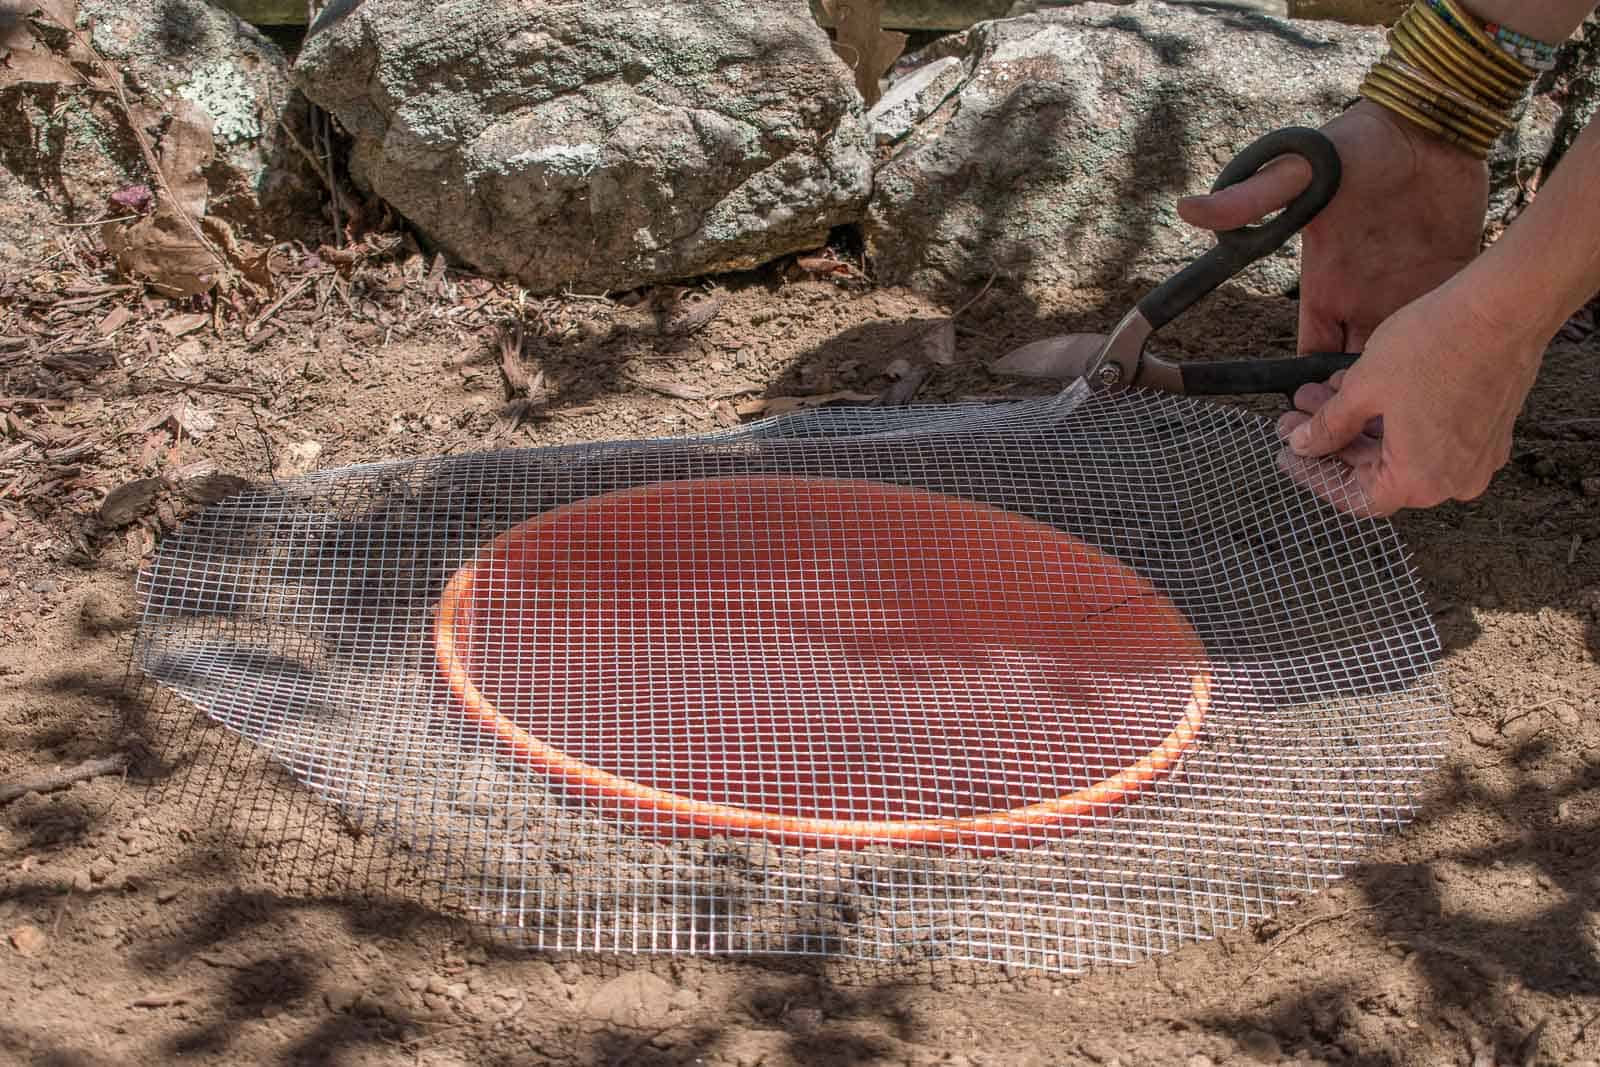
I’m using hardware mesh to support the river rocks, but it’s not strong enough to hold the whole fountain. Cut the hardware mesh into a circle a few inches wider than the bucket. Cut a small hole in the mesh to allow the tubing to pass through.
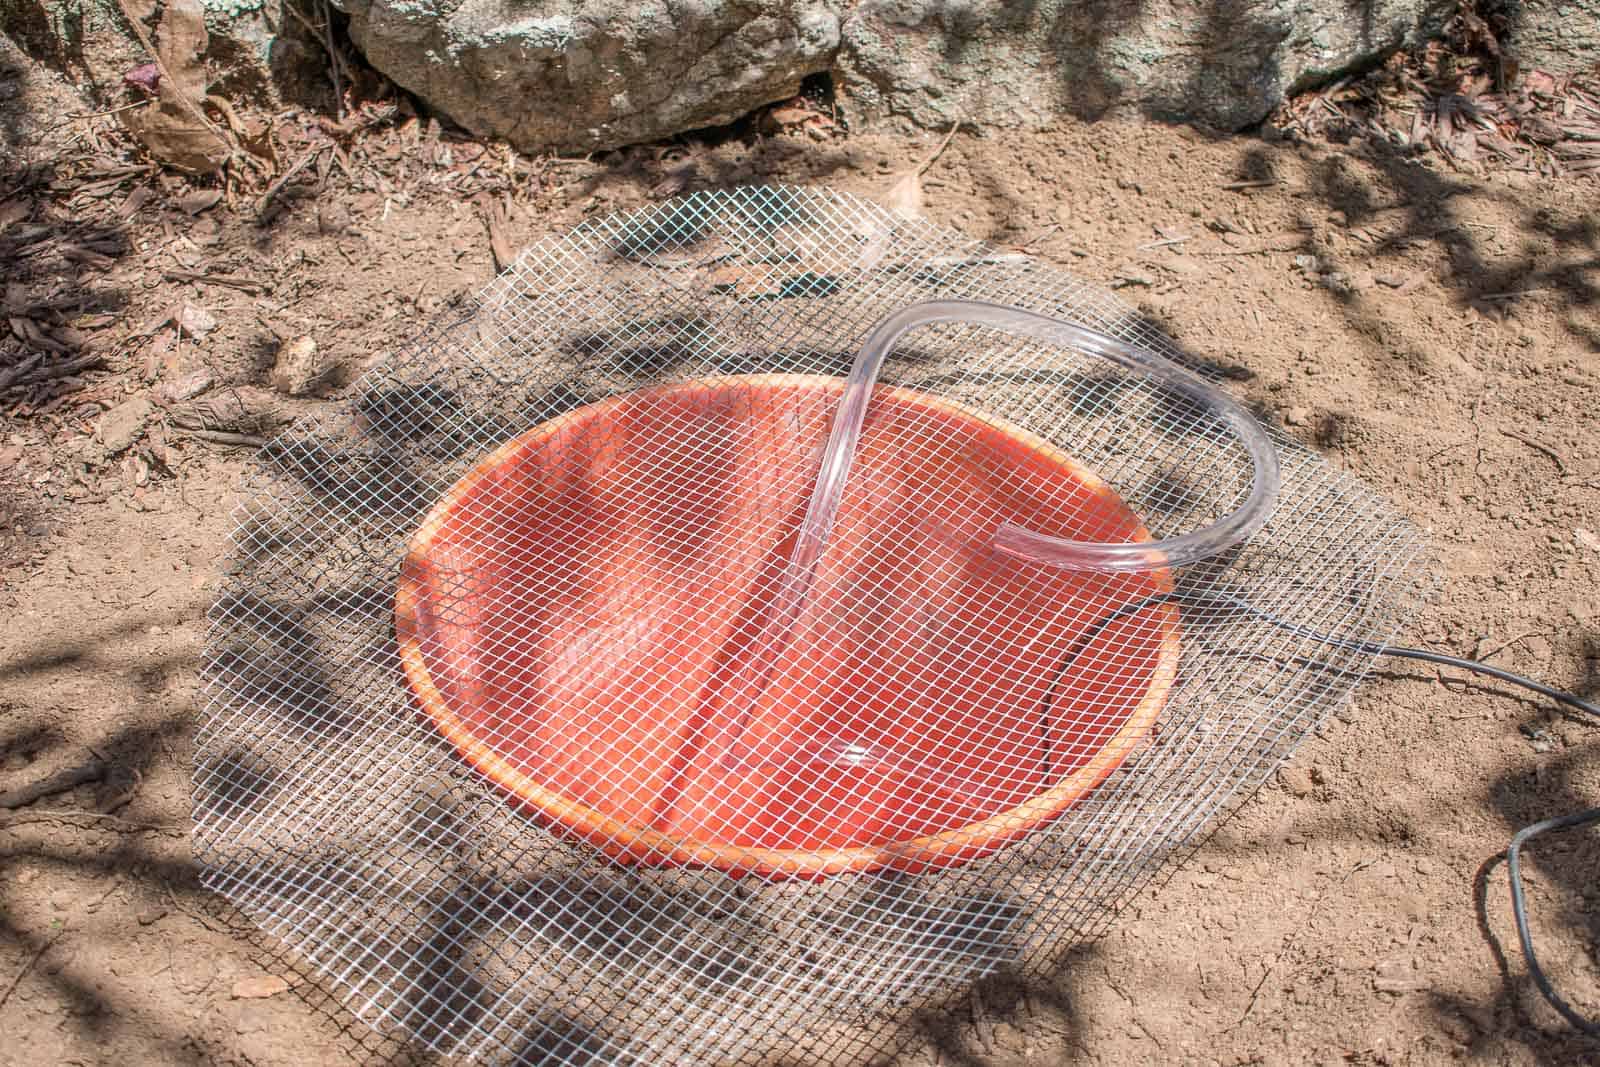
Place two pieces of rebar on either side of the bucket to bear the weight of the fountain. A second set of hands is helpful here since you need to run the tube through the sphere before you set it in place on the rebar… the fountain is heavy.

Step 9. Cover the Mesh
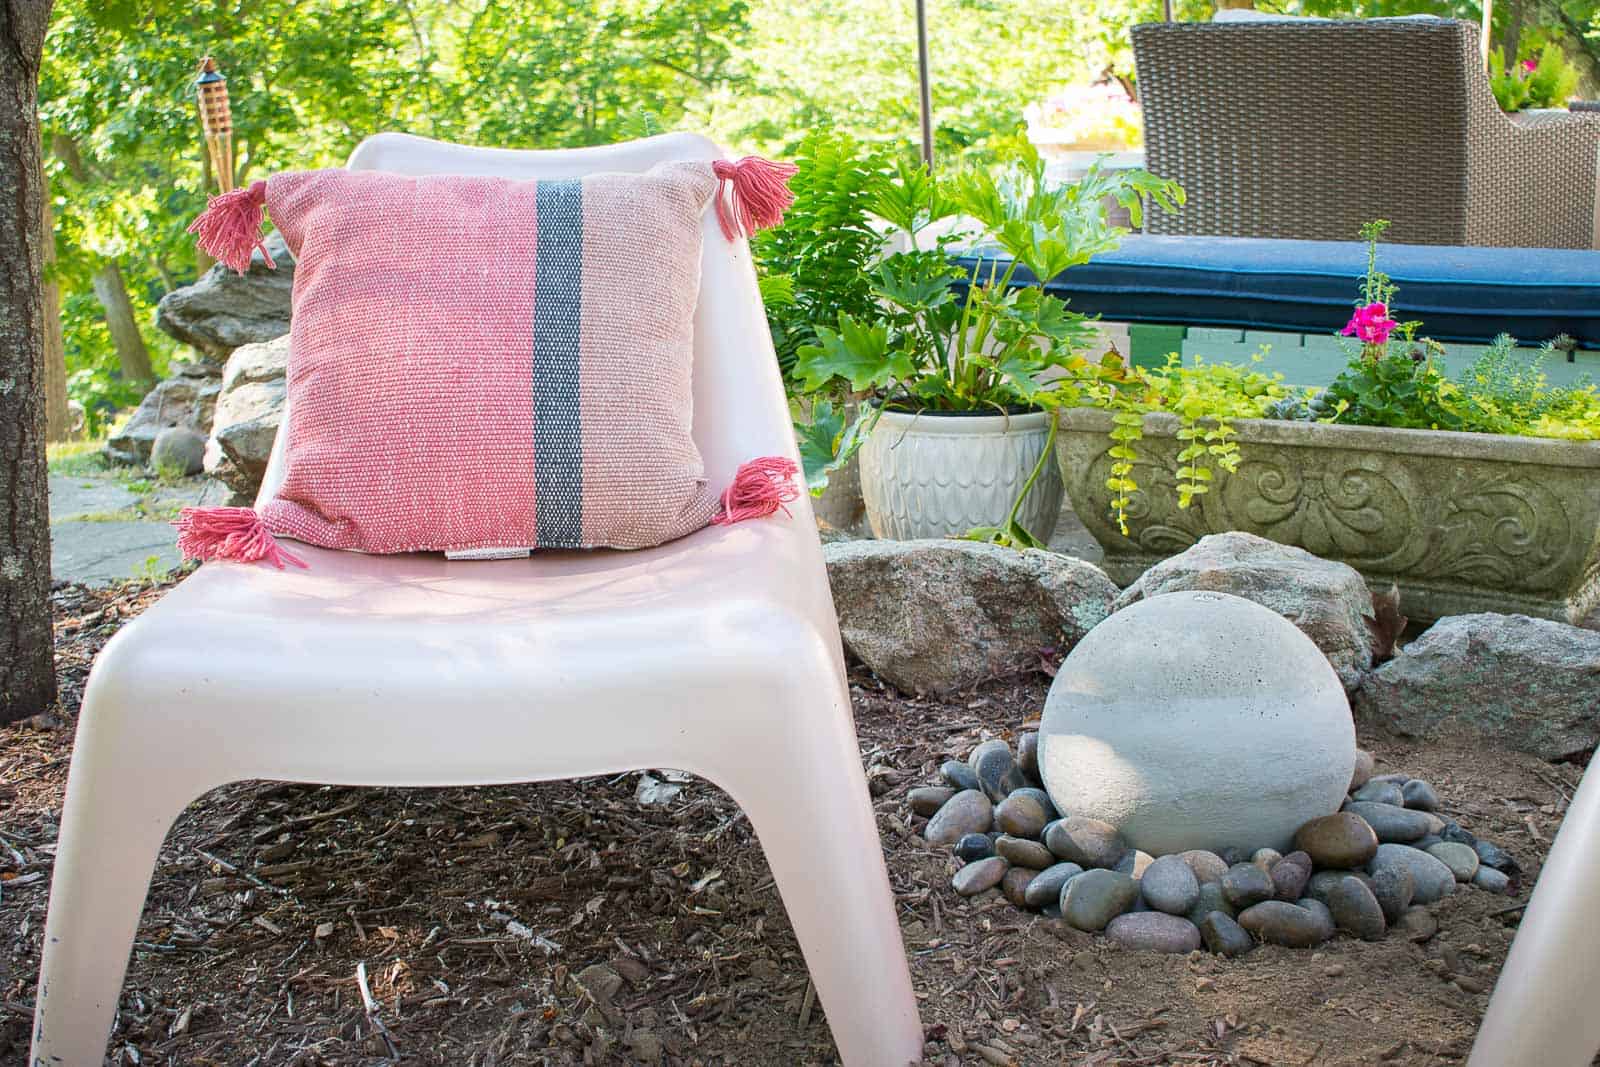
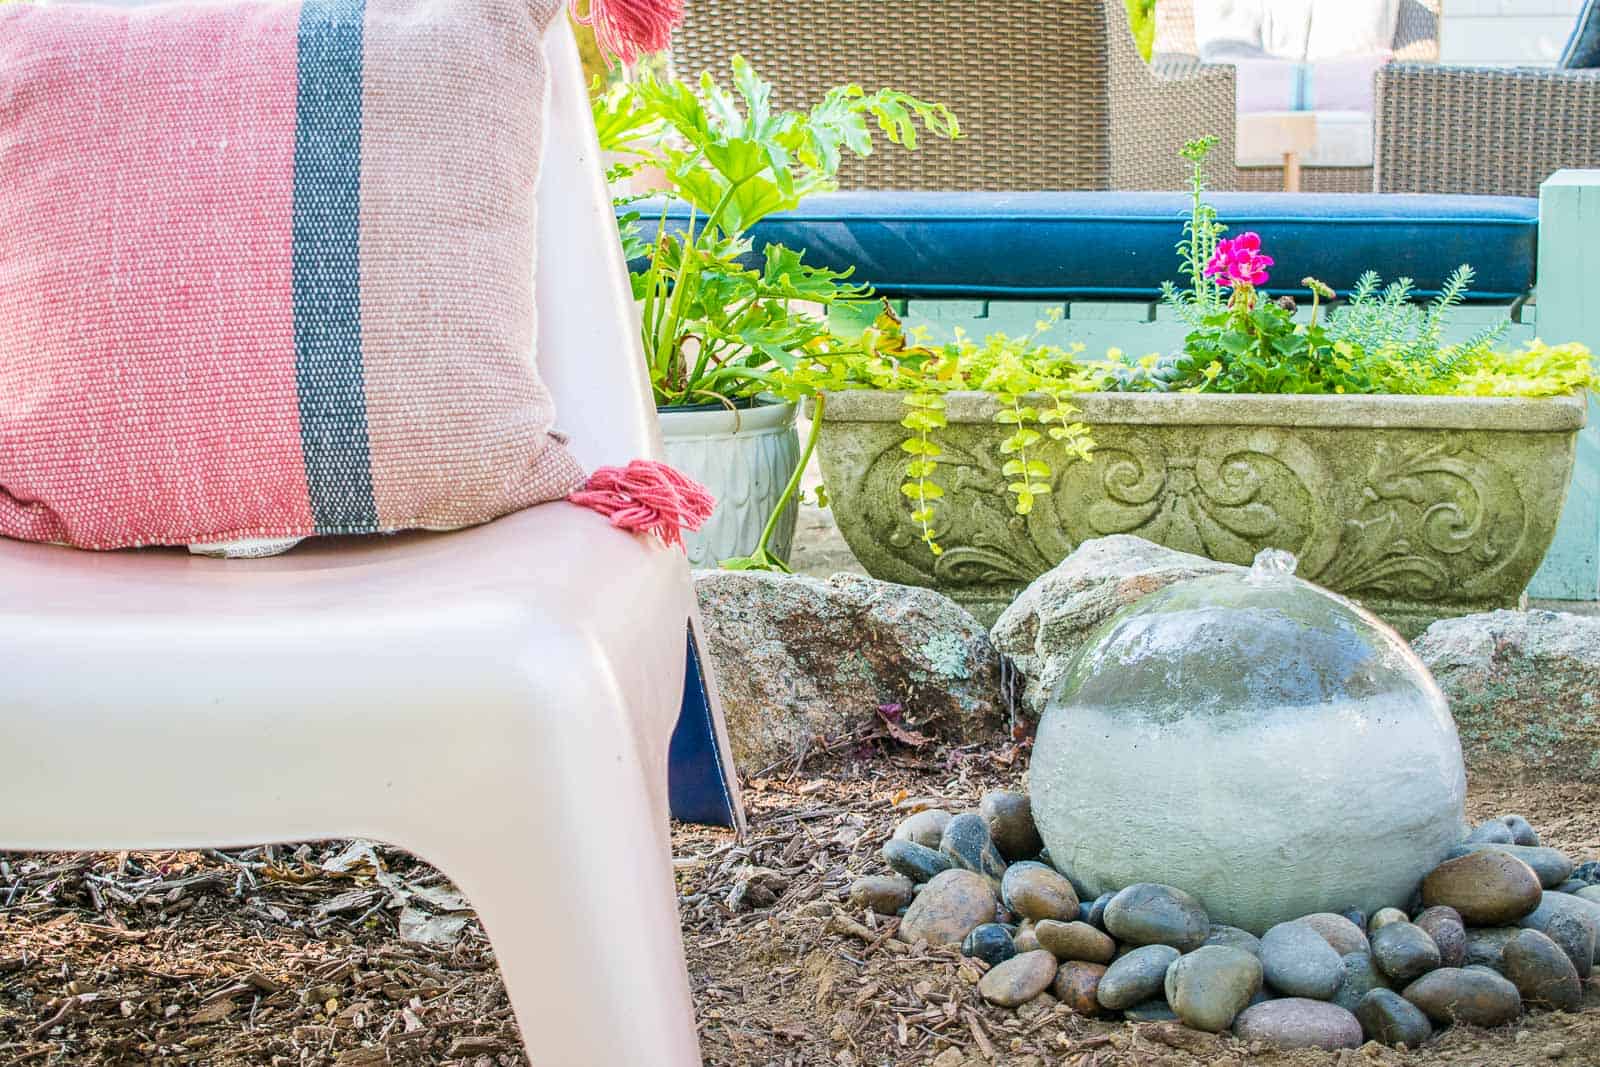
Use the river rocks to cover the hardware mesh. This is purely aesthetic so find pebbles or rocks that you like. You need something that will allow the water to pass through into the bucket below therefore circulating the water.
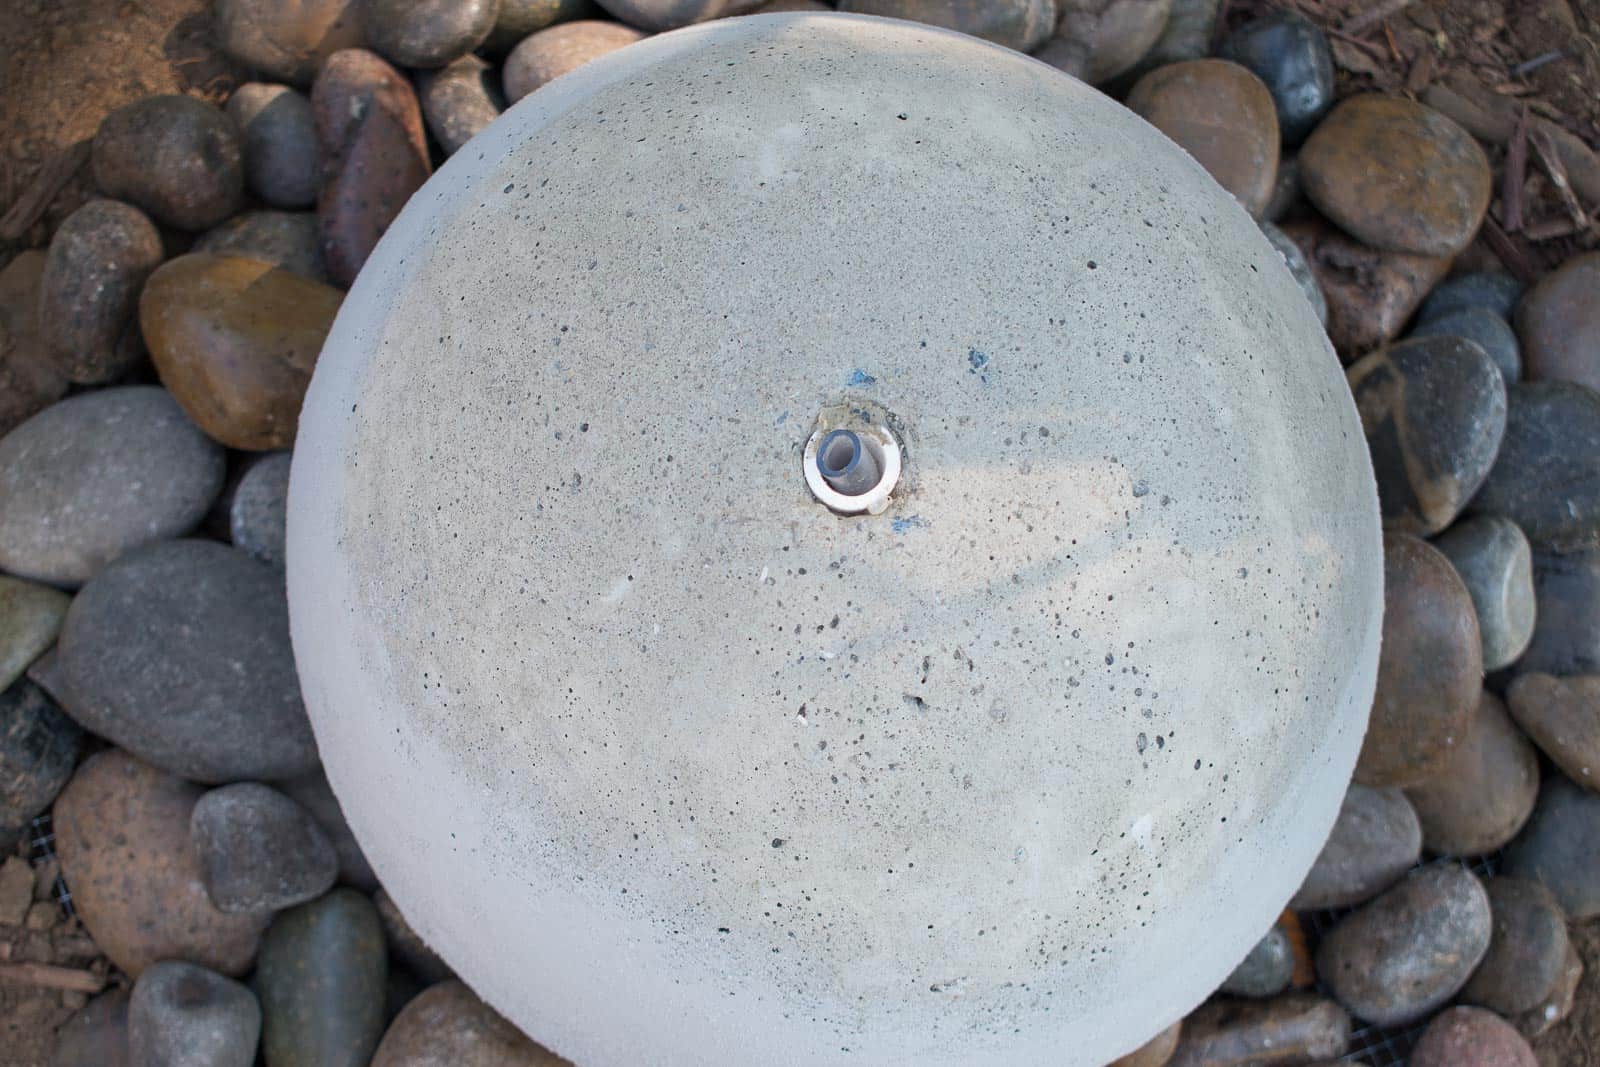
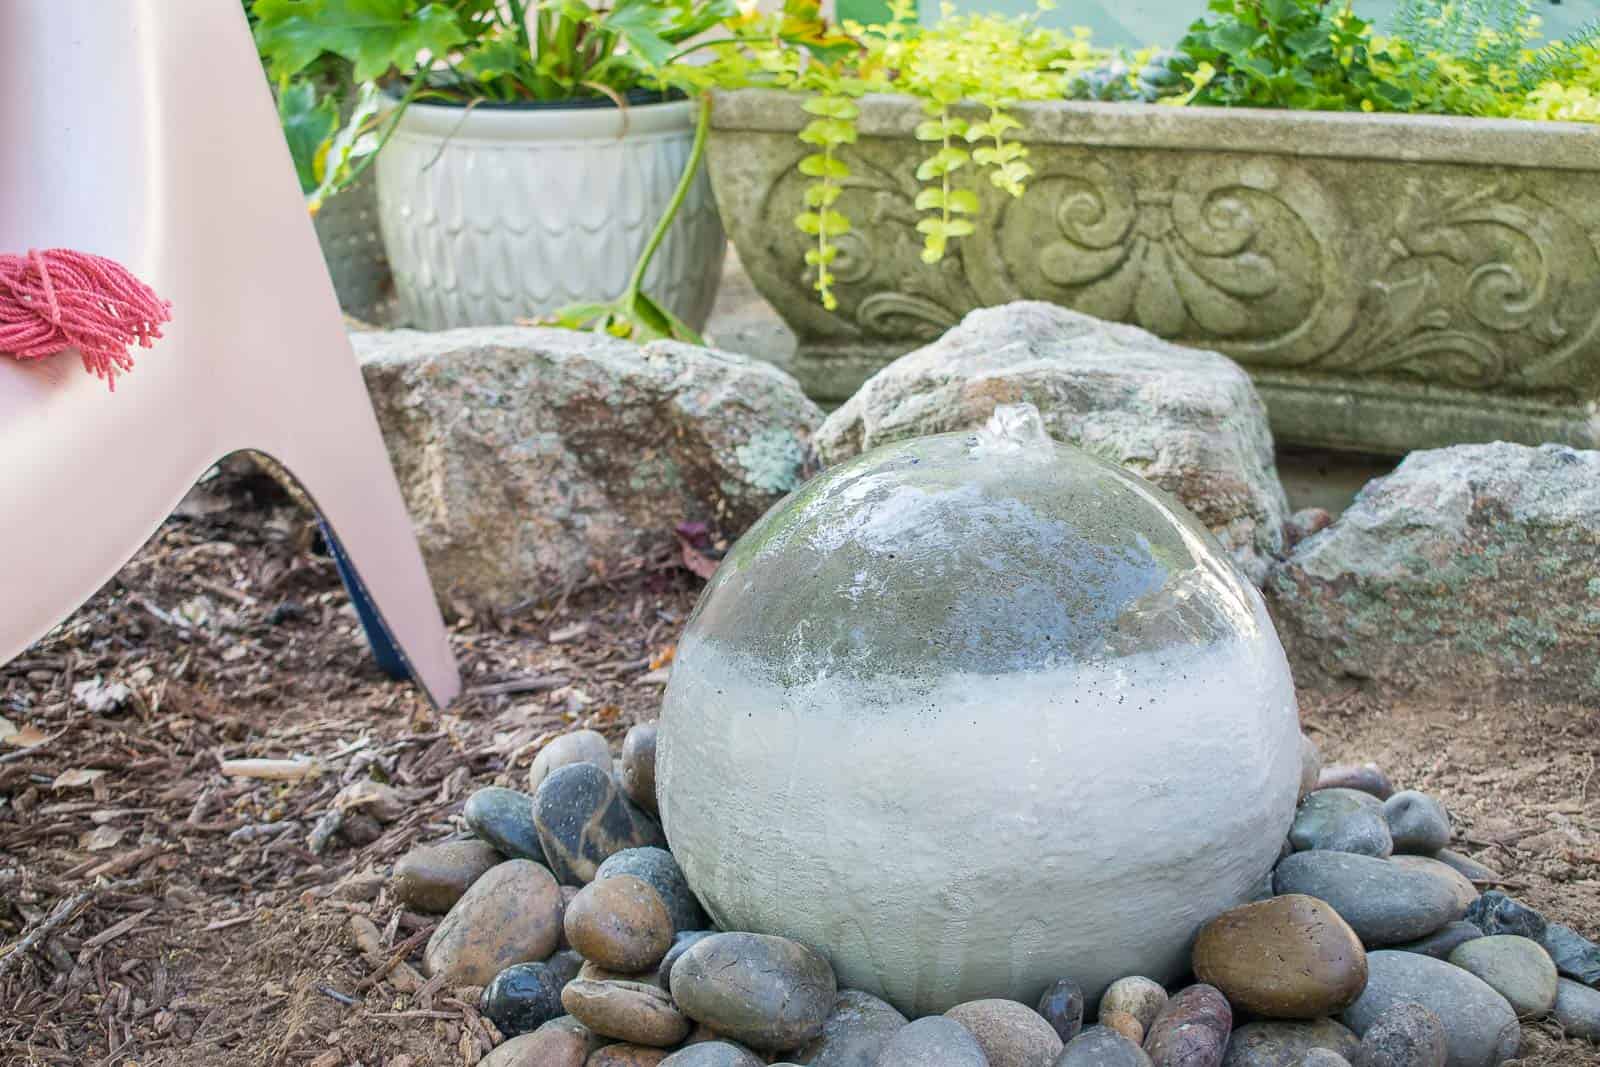
I’m curious how my concrete fountain will look as it weathers a little bit. Right now, the top of the fountain dries to about the same color as the patch, but when it’s wet it’s a bit darker. I don’t mind the look, but I totally get that a uniform color might be preferred. I might go over the whole fountain with a thin coat of the concrete patch to even out the color down the line, but I’m going to let it sit for a few weeks to see what happens!


Your DIYs are always so genius! I love it!
Thank you Ashley! Hope you’re having a nice summer! xx
I mean that’s just impressive! That concrete orb is awesome and the photos really help give an understanding of each step. The final colors are so cool too!
Thanks so much!
I have been anxiously awaiting this tutorial! hooray!
Yay! Thanks so much for reading!
Very good job!! I’m so happy that I can point to you and say “She did it” to rationalize away what I am about to do
Haha! Love this! Thanks and good luck!