How to Make a Stamp to Print Your Own Fabric
Psssst… this post *might* contain affiliate links: see my disclosure here.
DIY Fabric Stamp
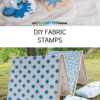
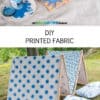
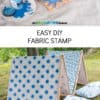
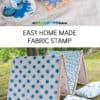
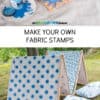
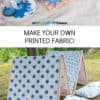
My kids and I made these fun DIY fabric stamps and made our own patterned fabric!
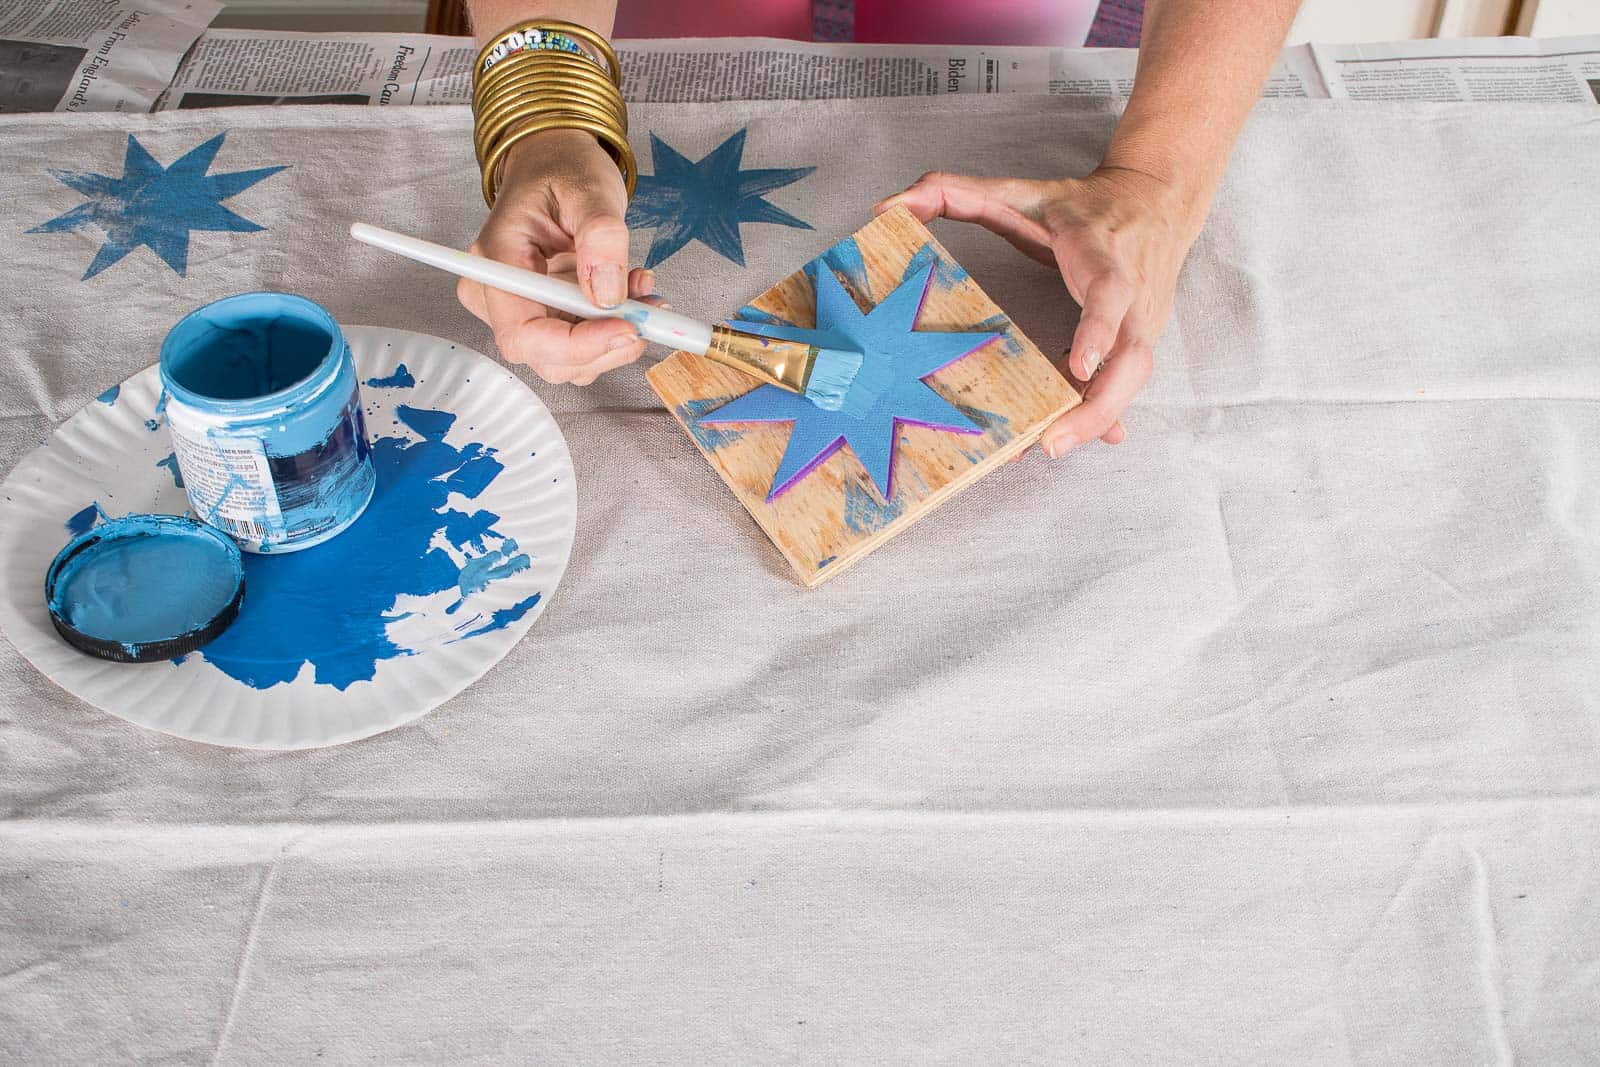
For our latest Home Depot Kids workshop project, we wanted to make our own fabric using painter’s canvas drop cloths… but they were a little dull off the shelf. Turns out making our own custom stamps was really REALLY easy!
Shop my favorites!
Step 1. Design your Patterns
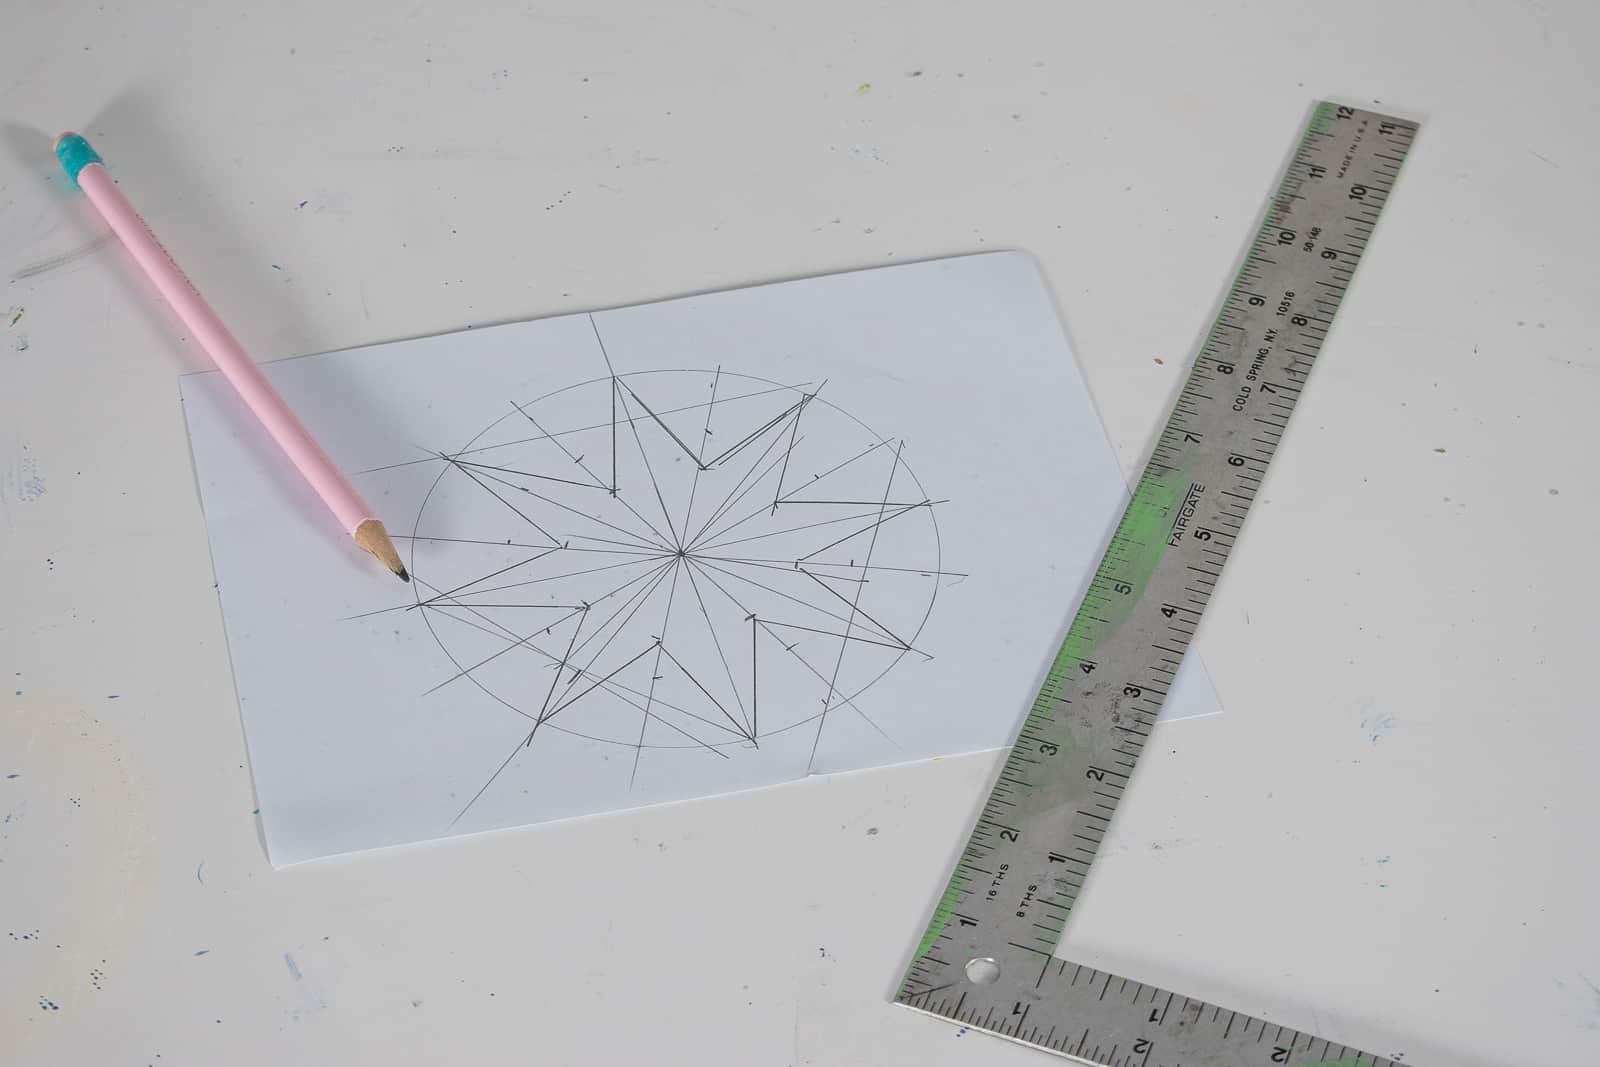
I recruited the kids to draw some stamp ideas. Geometric patterns work well as do larger shapes! Both Louisa and Arthur liked the idea of polka dots and I wanted to try a star.
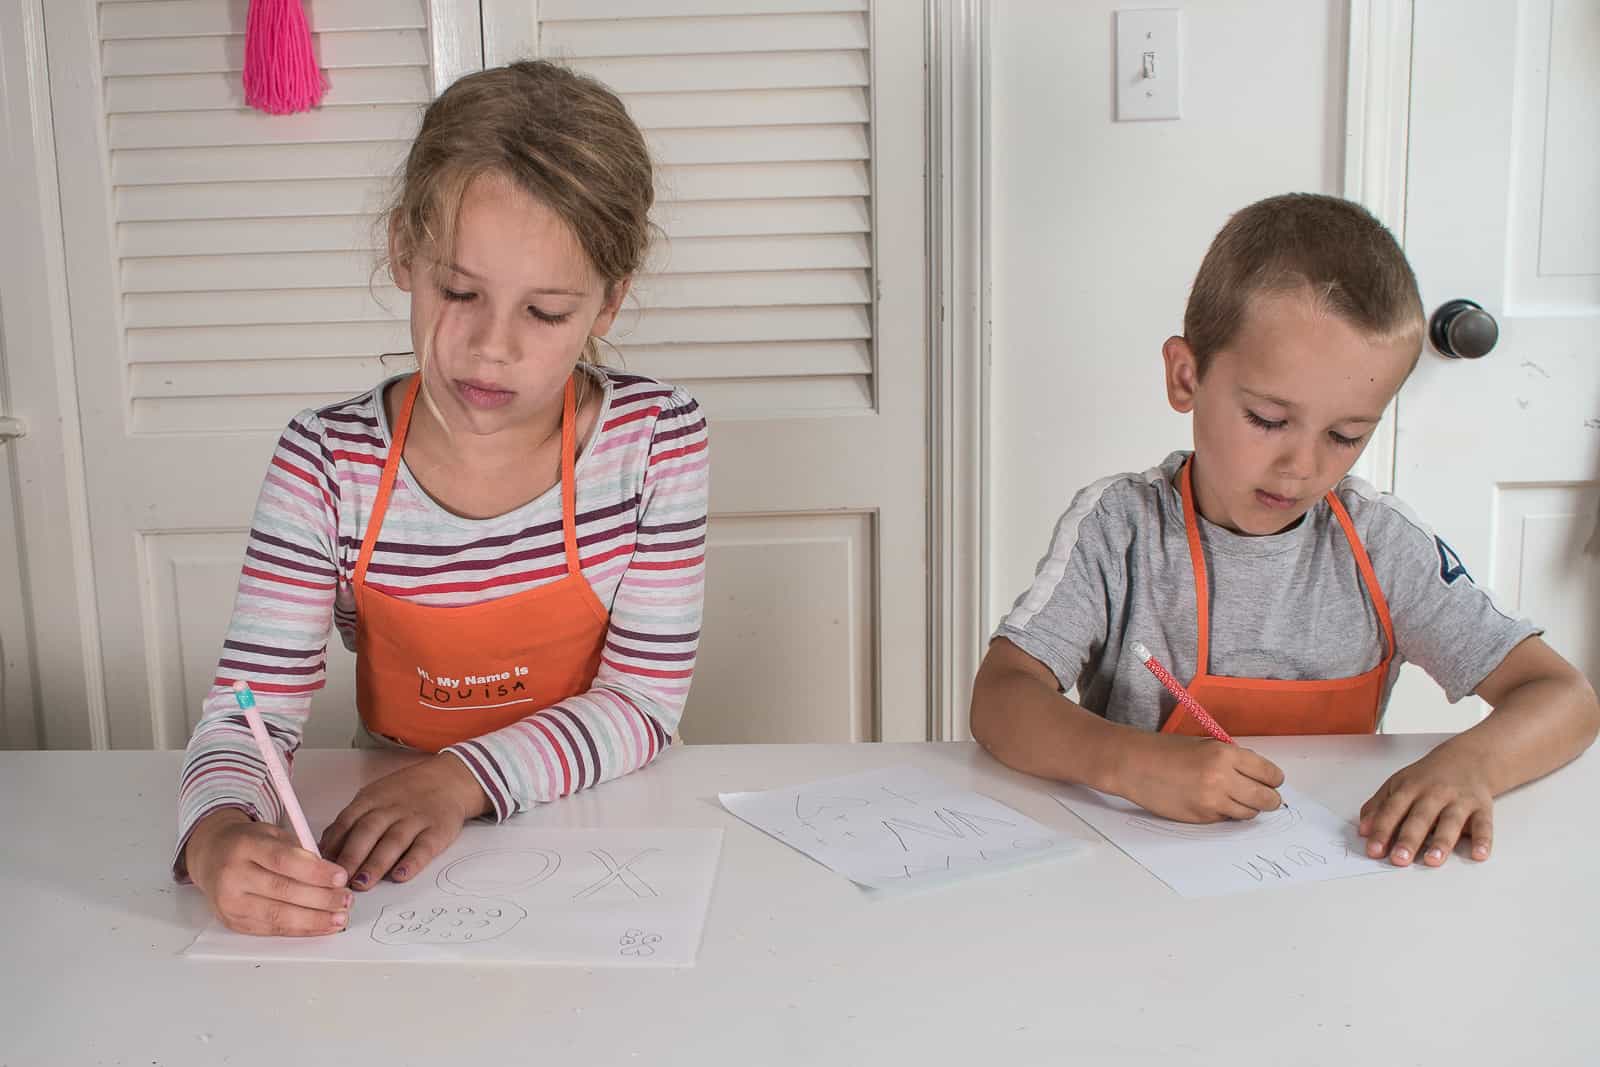
Step 2. Cut out your Pattern
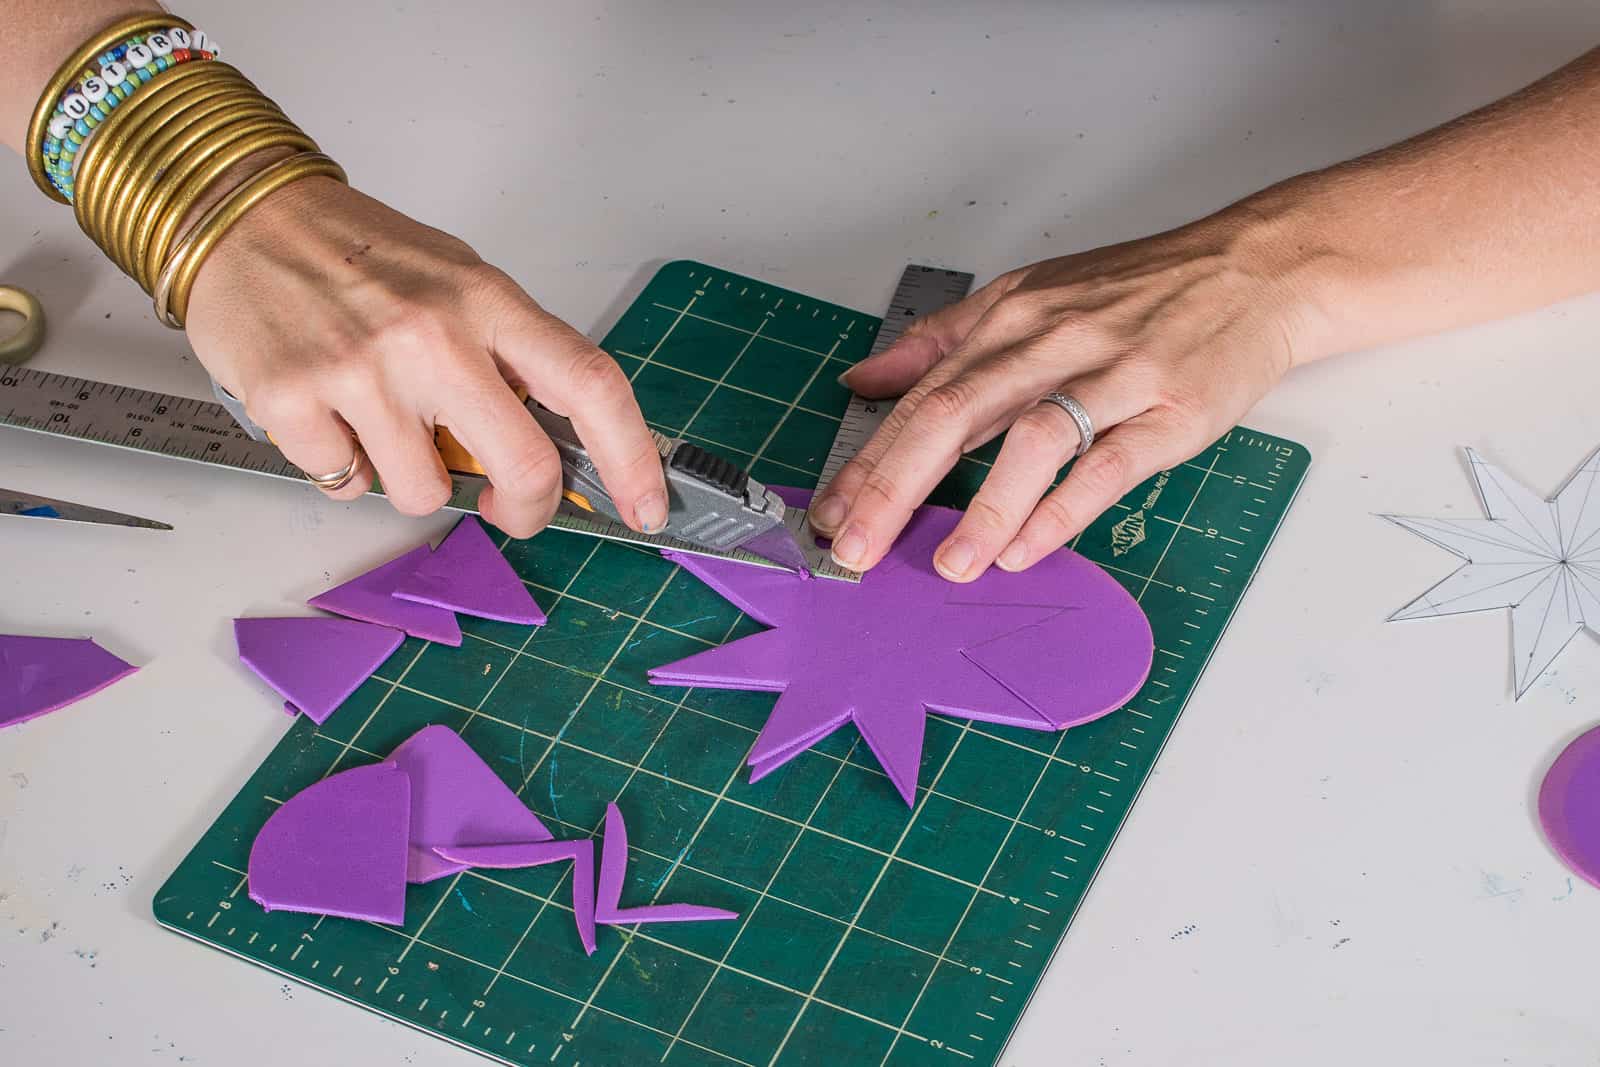
We’re using craft foam for the stamp itself. I thought about other options (a potato, styrofoam, felt…) but ultimately went with craft foam because it’s readily available at the craft store and totally affordable. Also, we already had it so I didn’t have to make a special trip! Louisa used scissors and I used a sharp utility knife to cut the craft foam.
Note: Plan to cut out your pattern two or three times. We found that our stamps worked best when we had double or triple layers of foam.
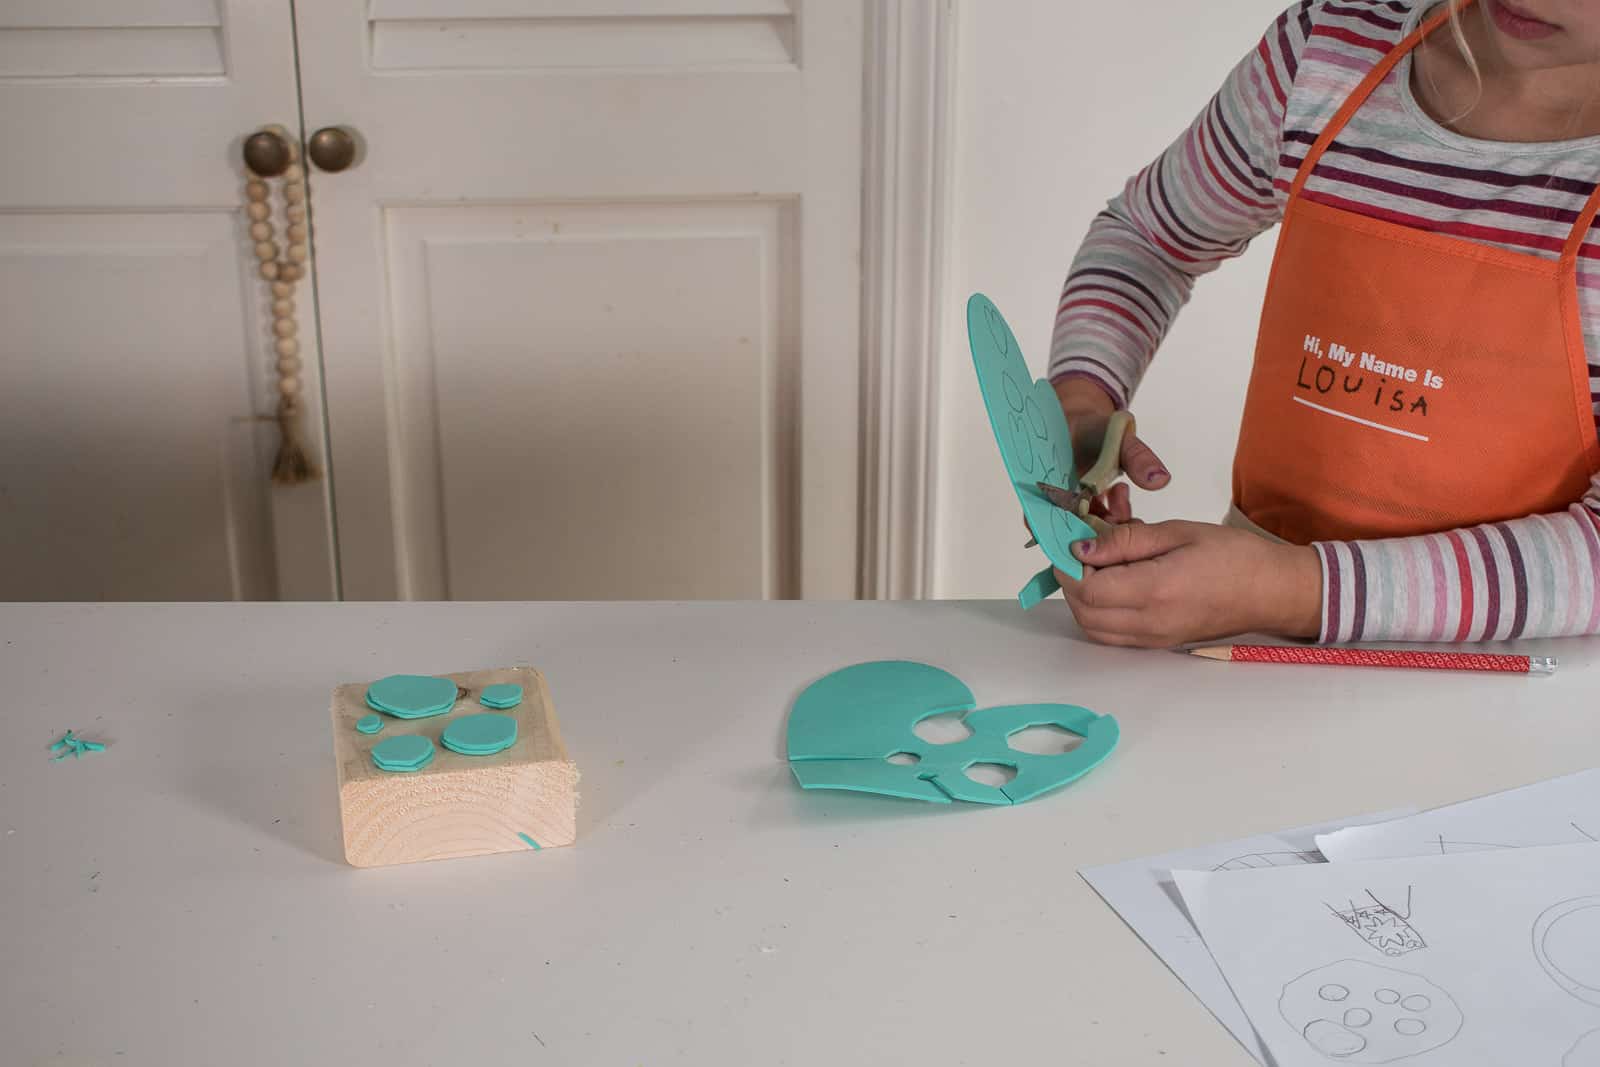
Step 3. Make the stamp
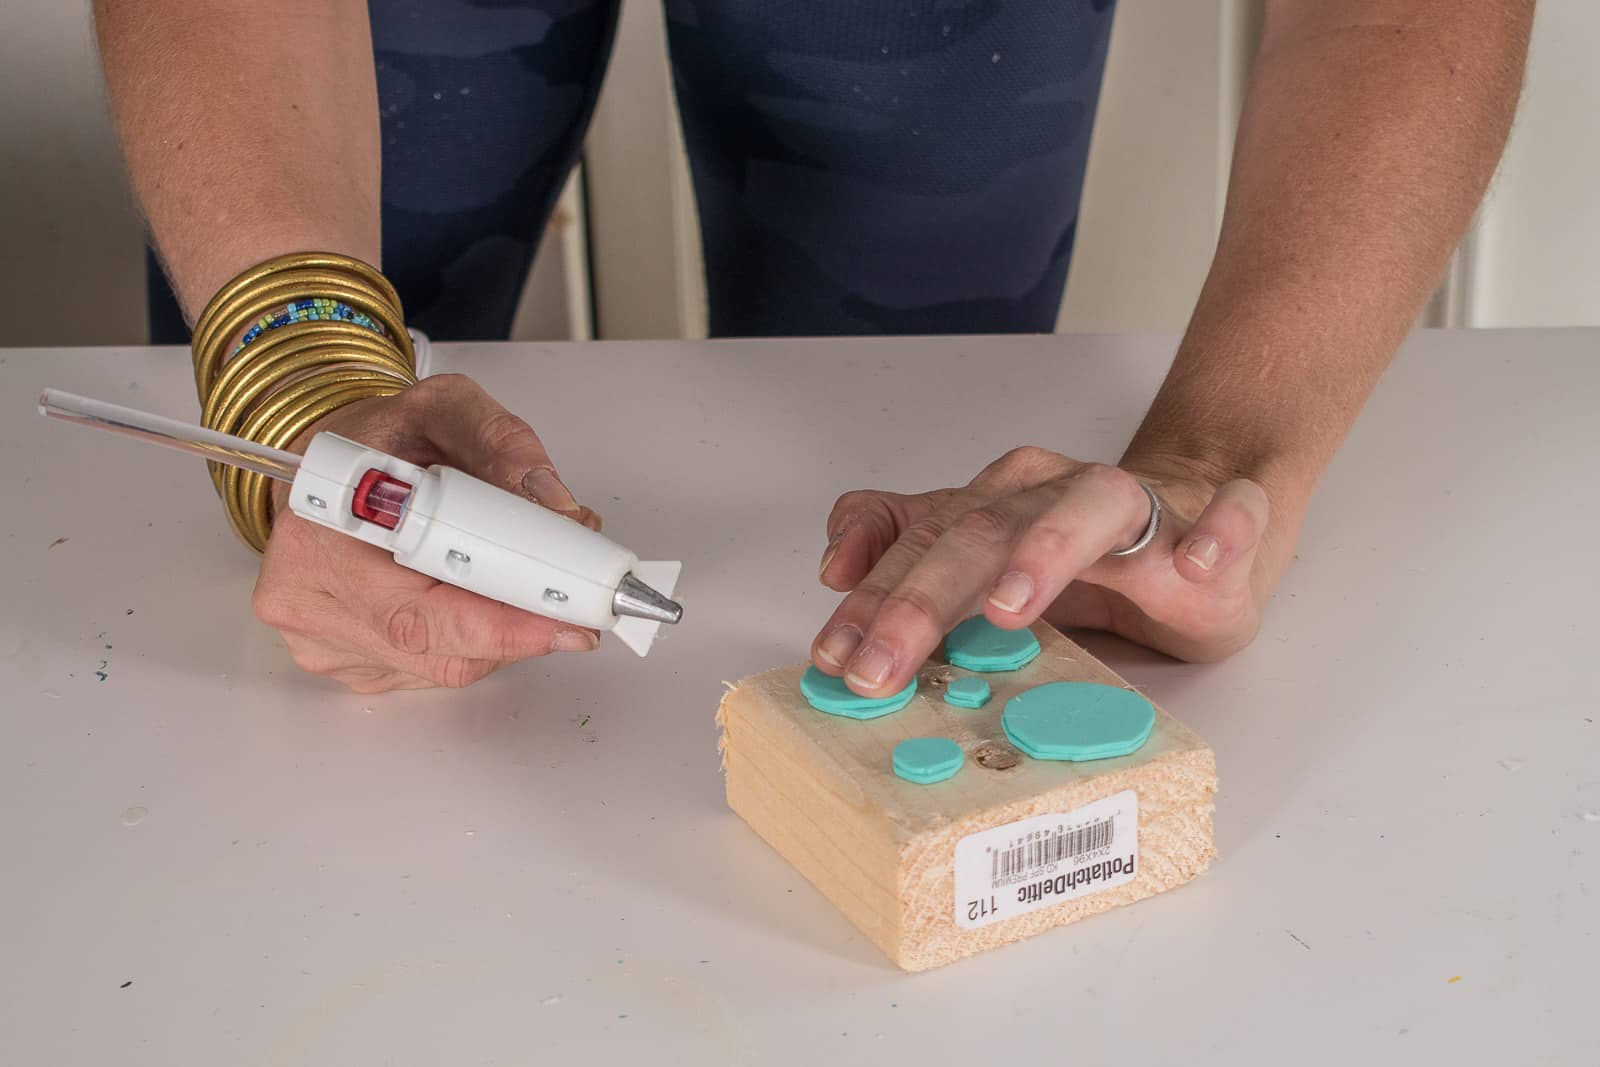
To make the stamp, I use a hot glue gun to stick the foam onto a piece of scrap wood. Add the second layer. My stamps had two layers, and for the one where we dipped it in a plate, it could have used a third layer.
Step 3. Add Paint and Start Stamping
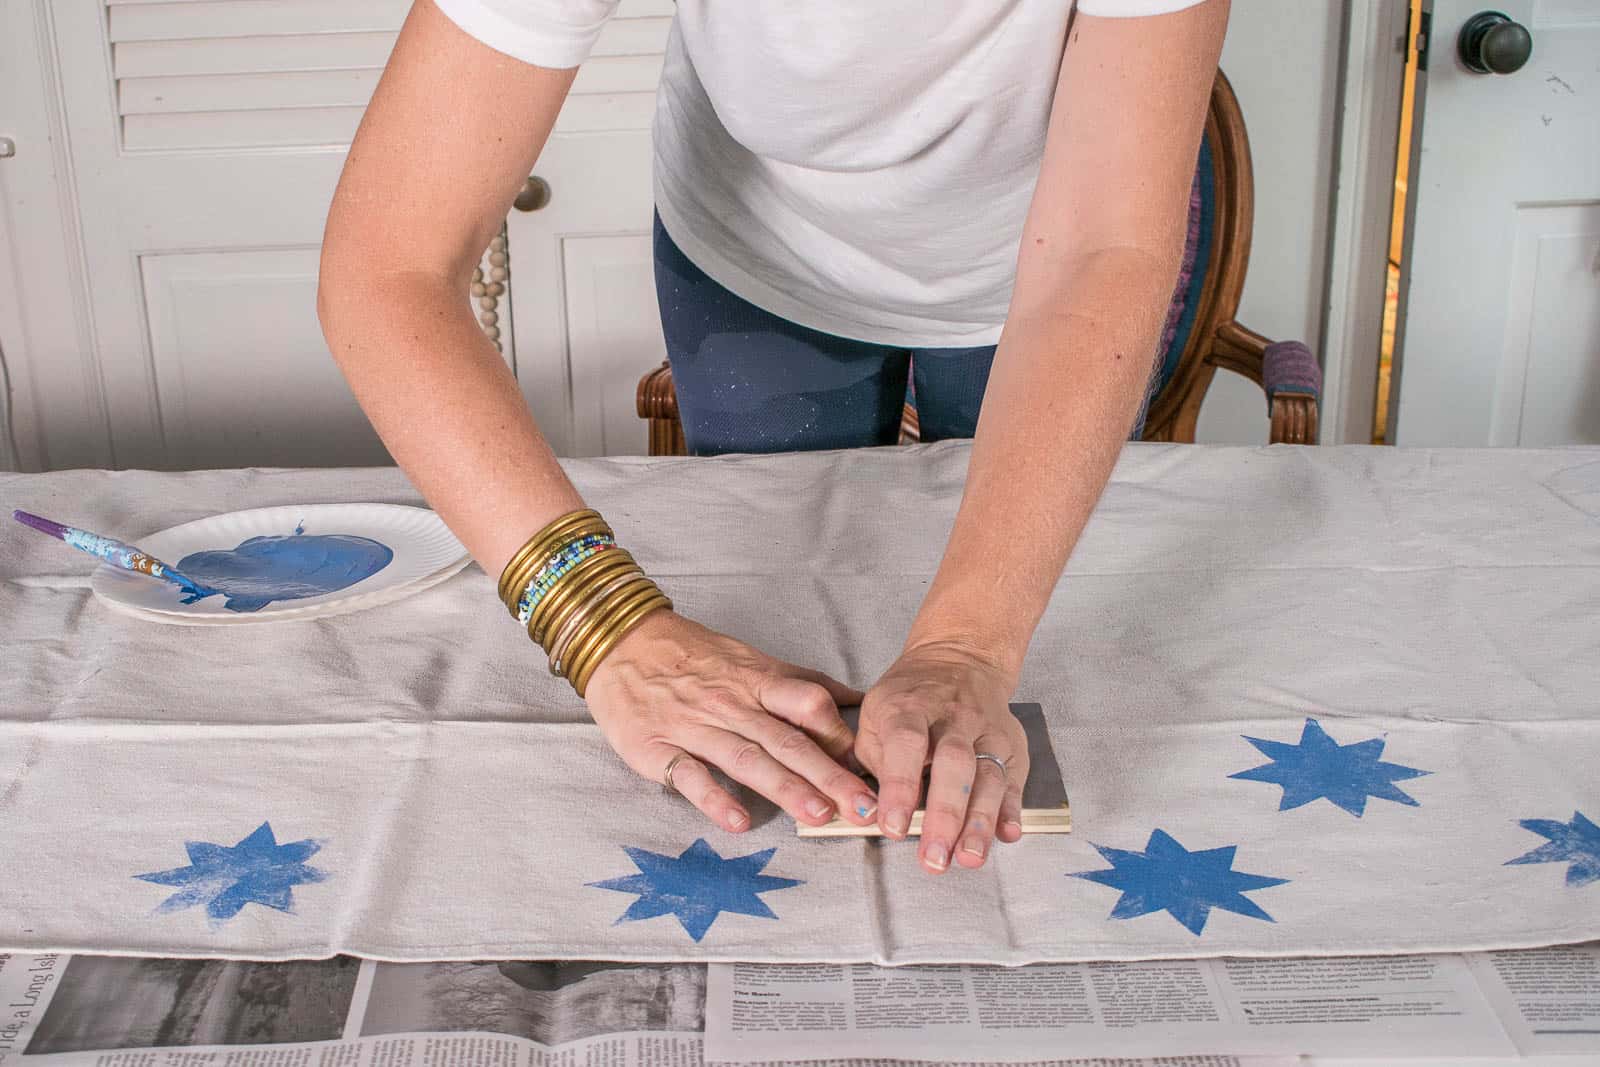
I had two techniques for loading the stamp with paint: one was to squirt a very thin layer of paint onto a paper plate and then dab the stamp in the paint. The other was to use a brush to paint the paint onto the stamp. The paper plate technique is definitely faster, but the paint brush technique was a bit more reliable with fewer paint smudges. Note that I’m using plain ol’ latex paint. It definitely dries a little bit stiff on the heavy canvas but we were planning to use this fabric for some fun outdoor projects. For softer paint, you can either use fabric paint or add some fabric medium to regular paint.

To stamp the fabric, make sure your place the stamp straight down onto the fabric. If you move it around at all on the fabric, the stamp won’t be nearly as crisp.
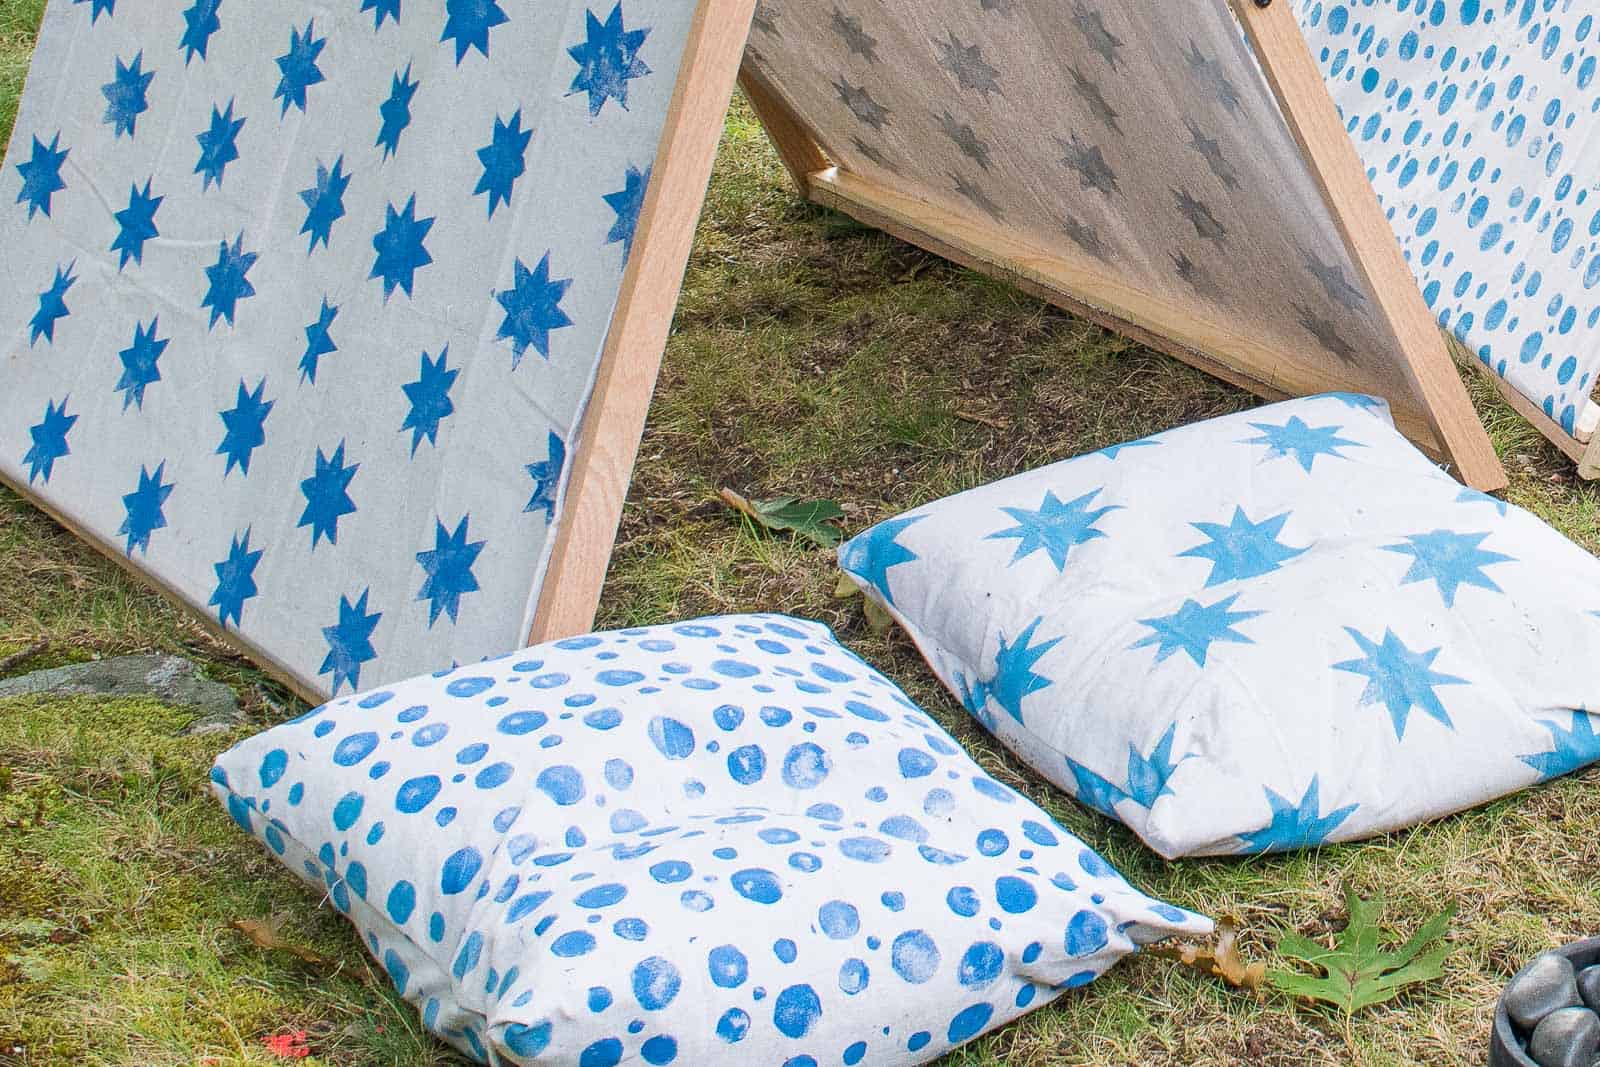
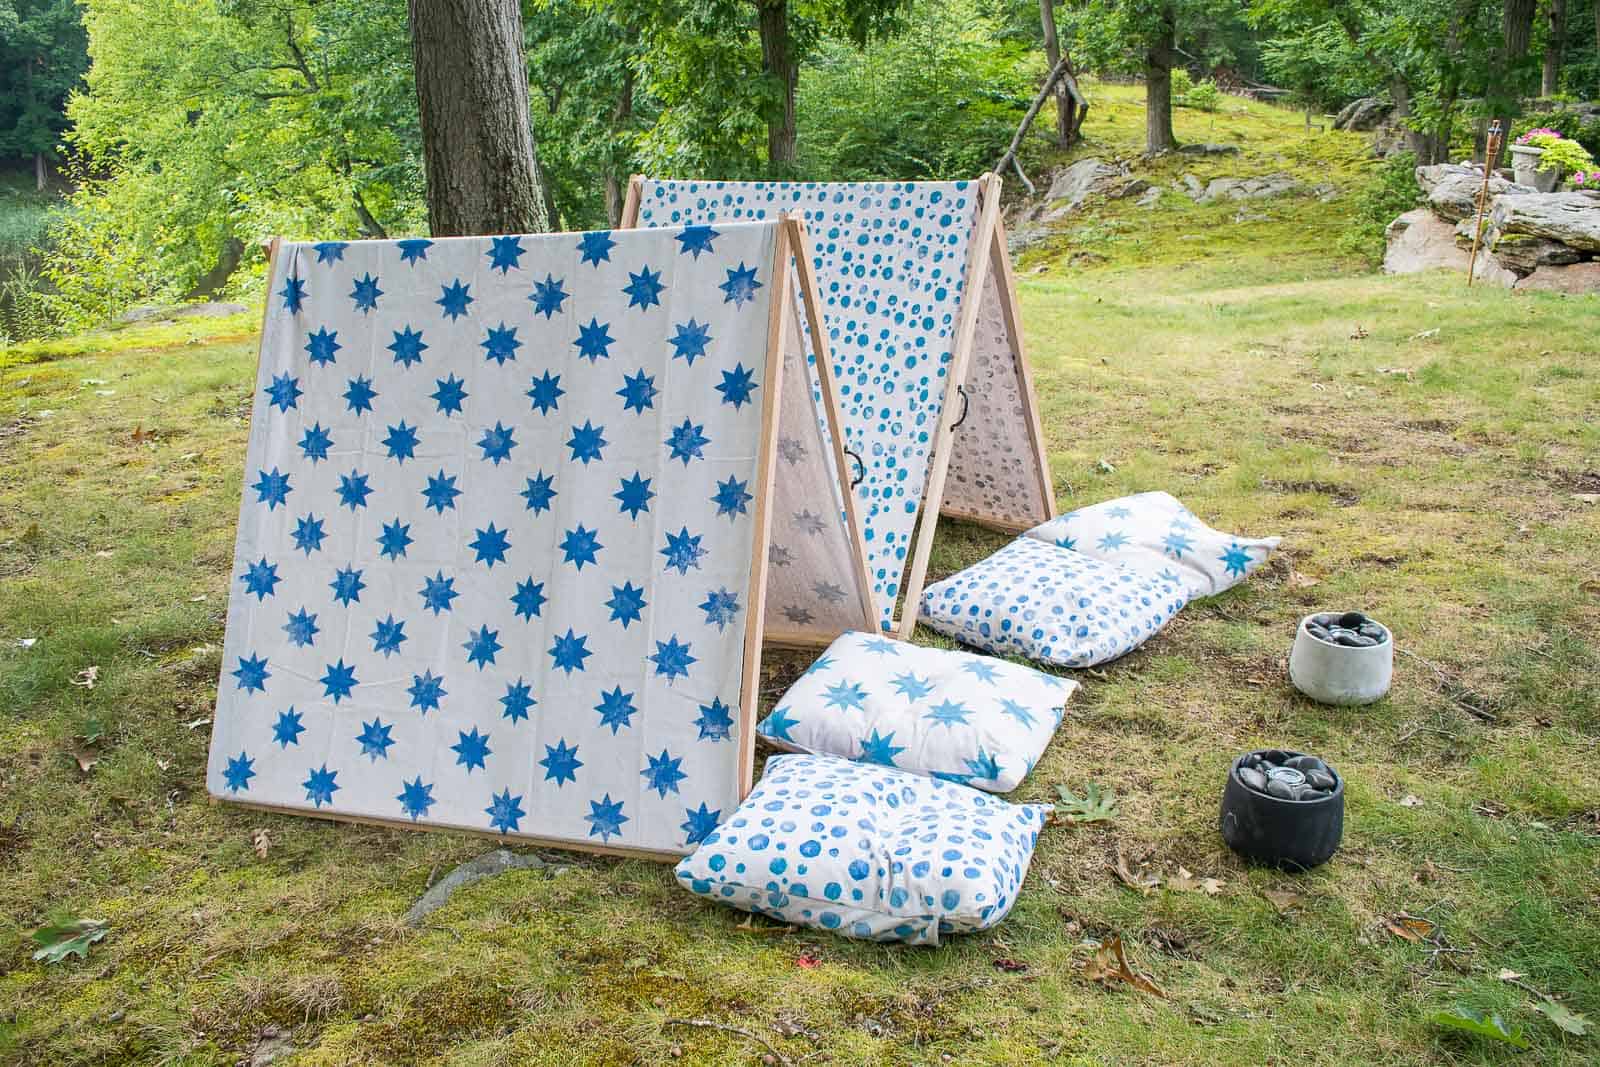
We used our newly stamped fabric to make these cute little tents and some outdoor cushions… keep your eye out for more on those later! *wink wink*




so fun!
never dull around here, and I love it♡
🙂 Thank you!!
I would like to learn ways of making cut-out stamps for printing on fabrics
You’ve reached the right place!
Hi. I’m a quilter and always looking for new ideas. I just have one question regarding your stamps. How do completely clean the stamp from the paint?
I look forward to hearing from you soon and I thank you for your time.
Sincerely,
Margarita
For these… you can just rinse with cold water until the paint is gone!
Hi am David from Uganda I think you may clean up using chemicals such as thinner after using the Ruber
Thank you! Good idea!