
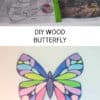
$5 Wooden Butterfly Wall Art
Psssst… this post *might* contain affiliate links: see my disclosure here.
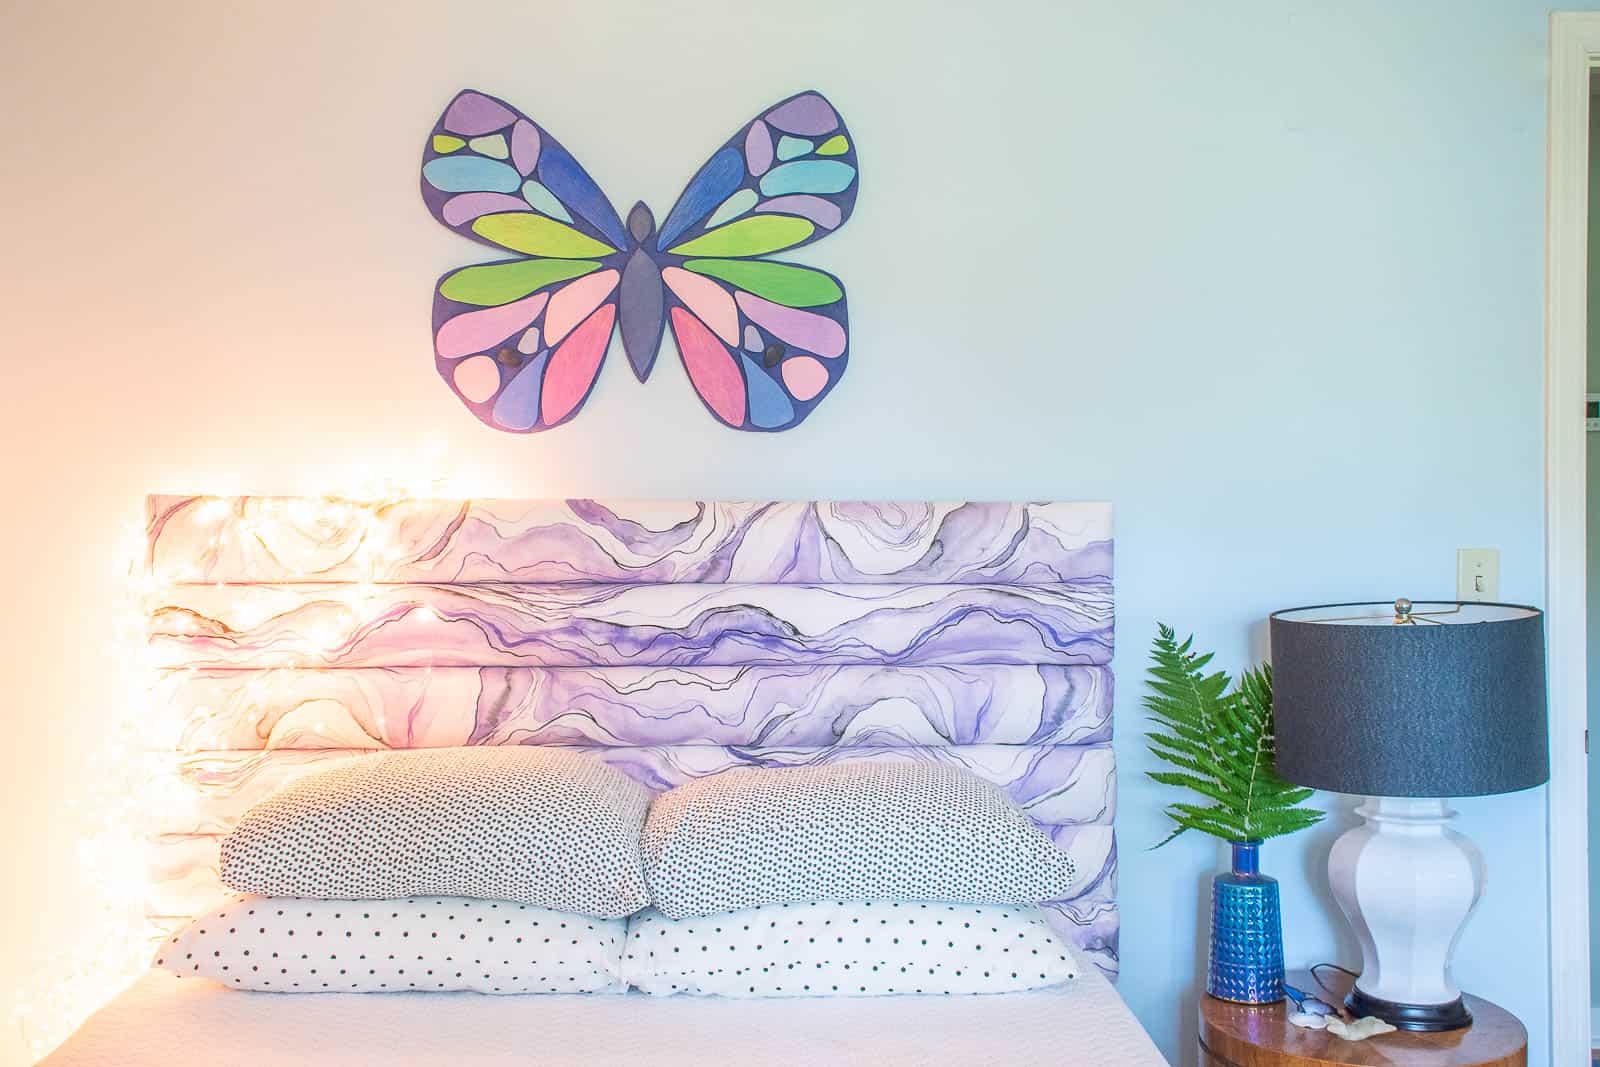
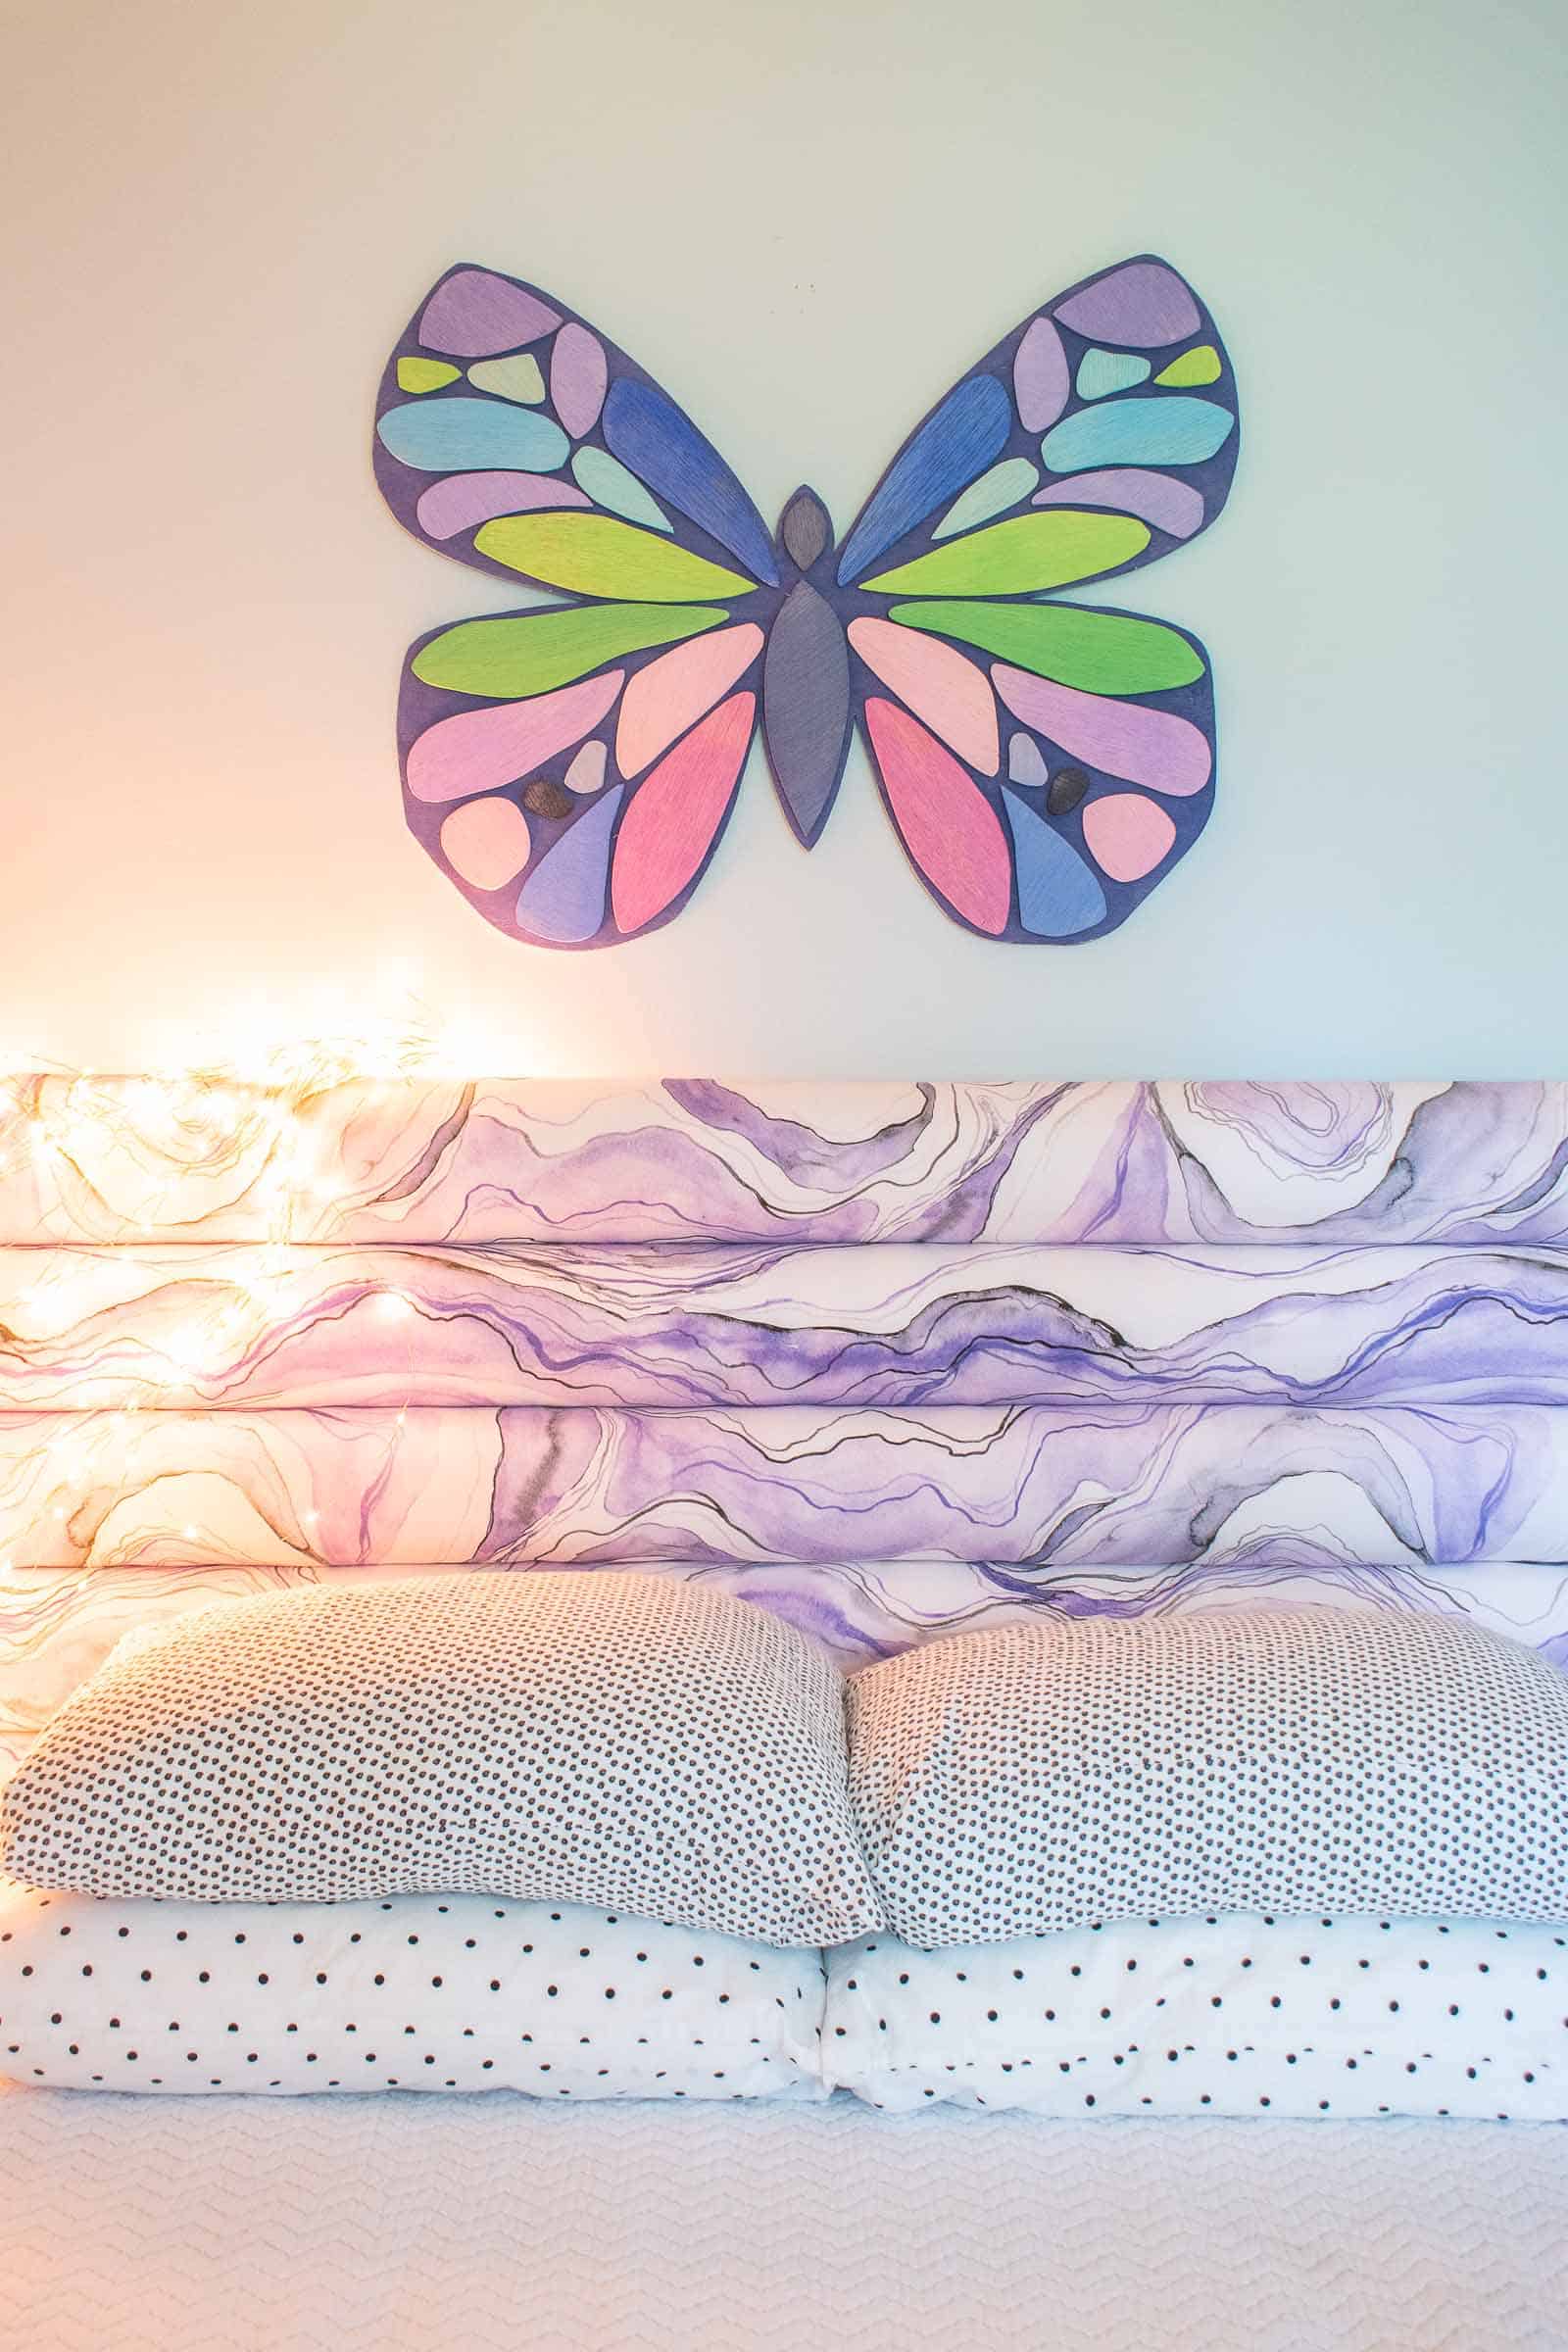
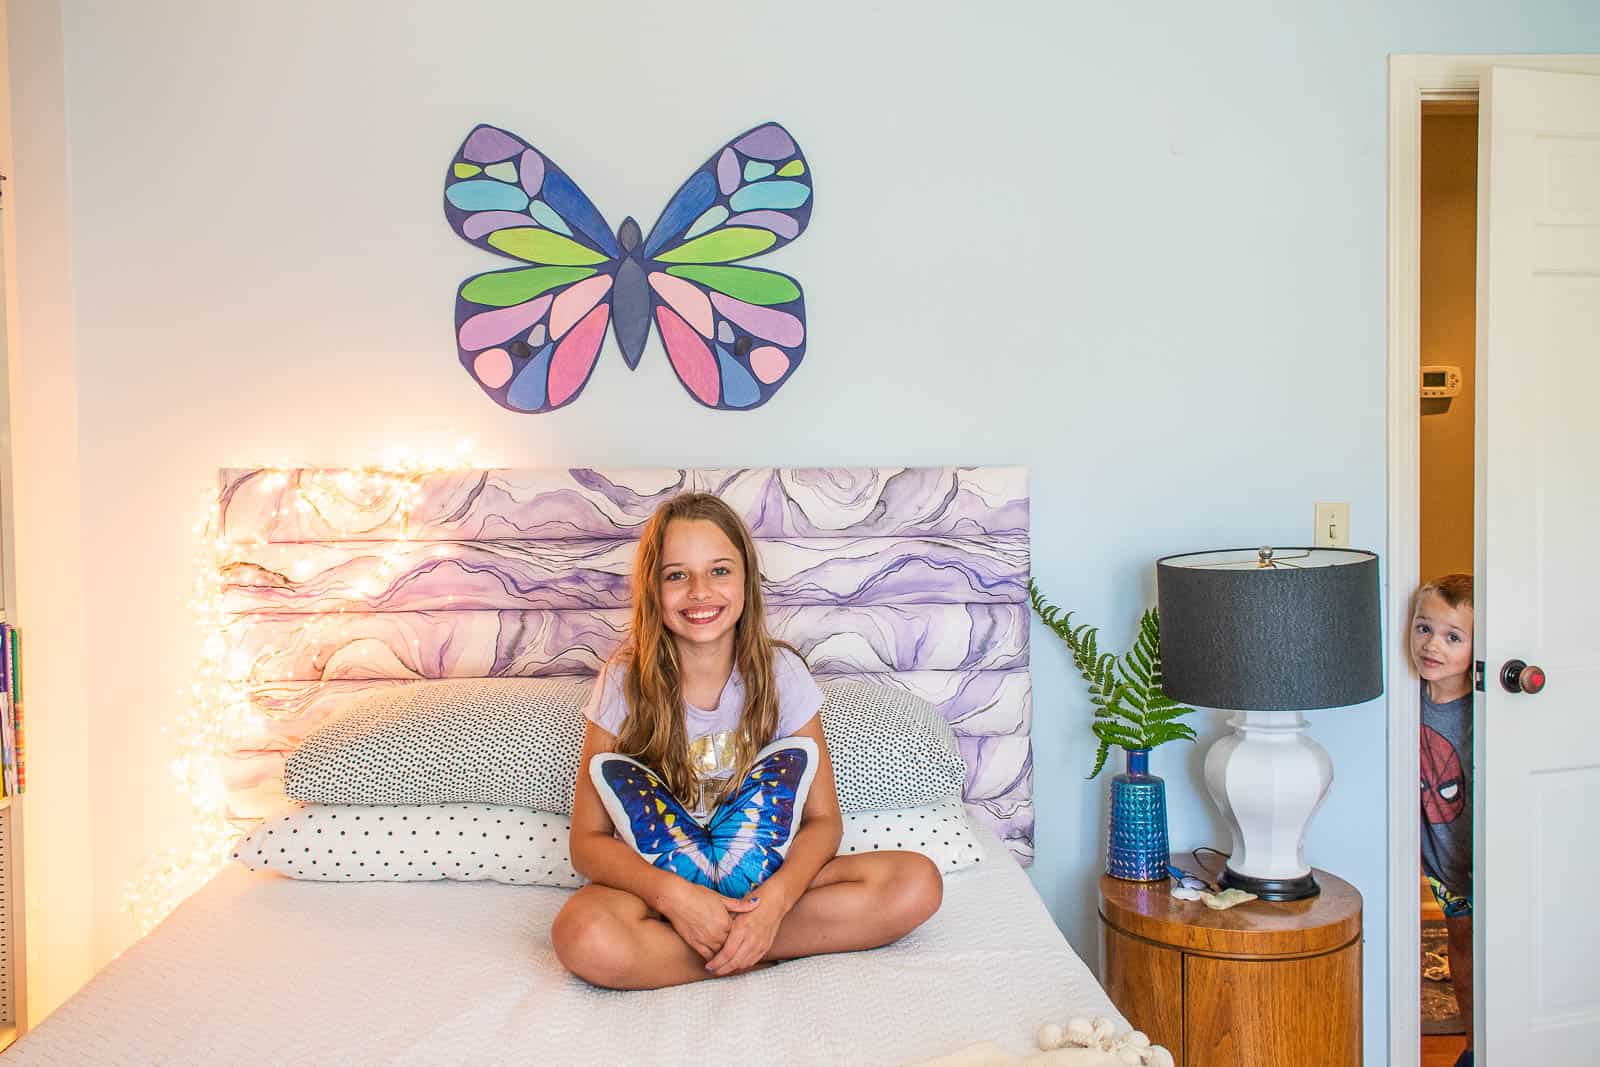
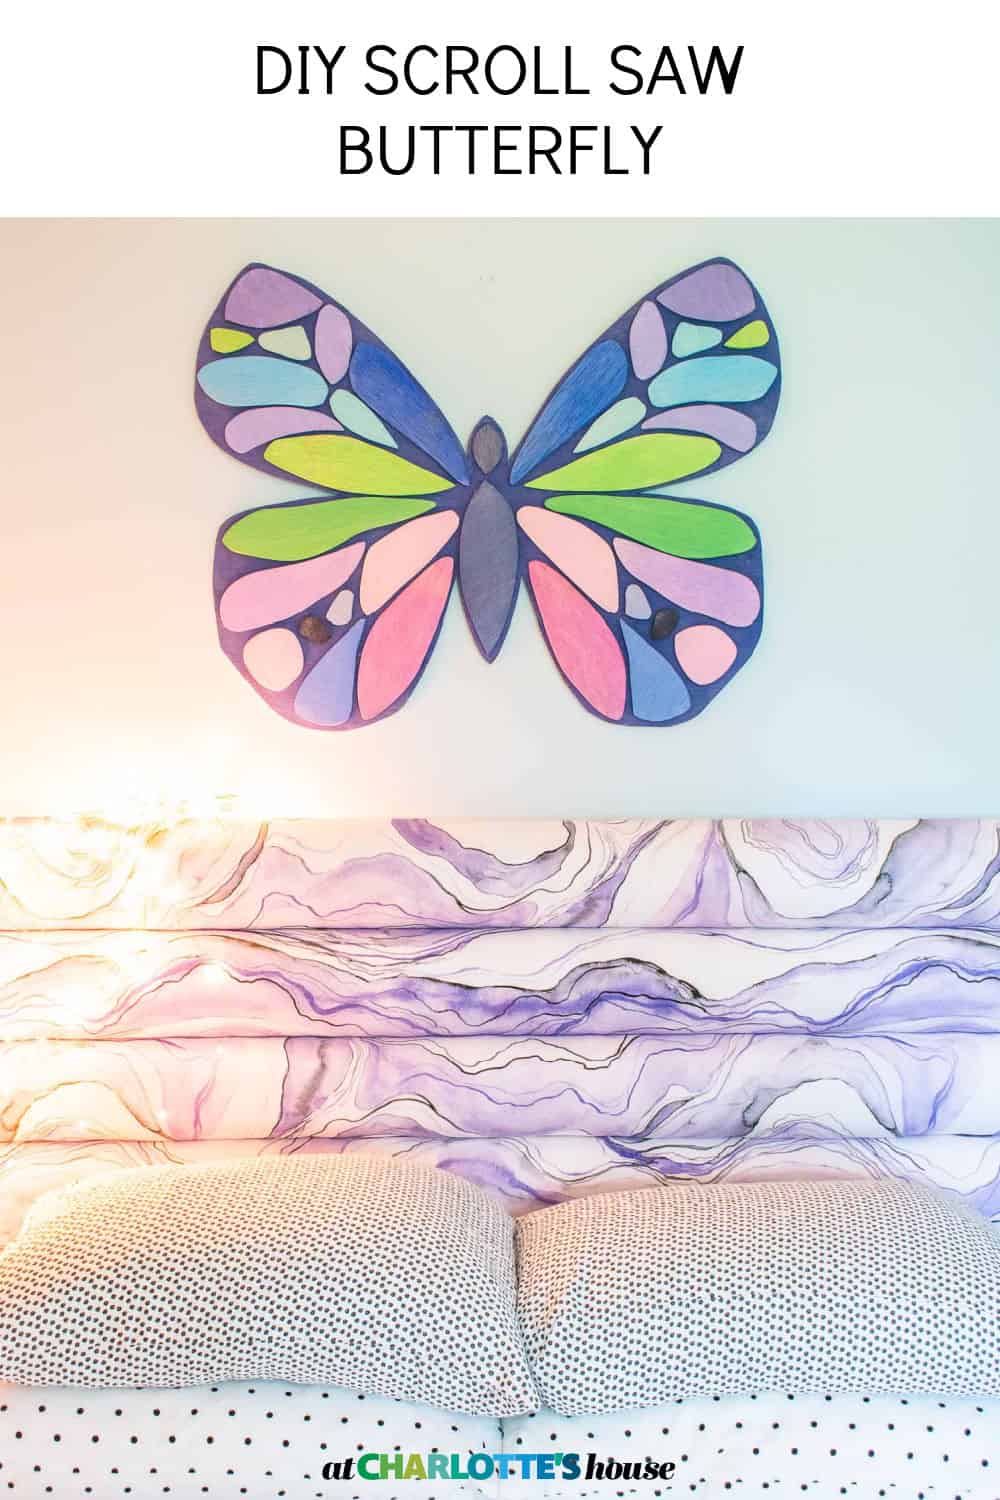
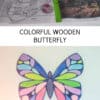
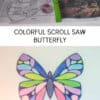
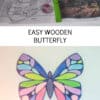
Colorful Wooden Scroll Saw Butterfly
I used my scroll saw and one lightweight 2×4 project board for this colorful wooden butterfly art and it’s a cheerful decoration on my daughter’s wall now.
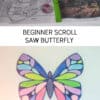
This butterfly was a fun project that cost me $5 and gave me a chance to practice using my scroll saw. I was able to cut out the larger pieces with my jig saw and then the scroll saw was helpful for the smaller pieces. (If you don’t have a jig saw/ scrolls saw… make a cardboard butterfly!) I’ll leave a full materials/ tools list at the end of the post. Link to her DIY headboard here.
Shop my favorites!
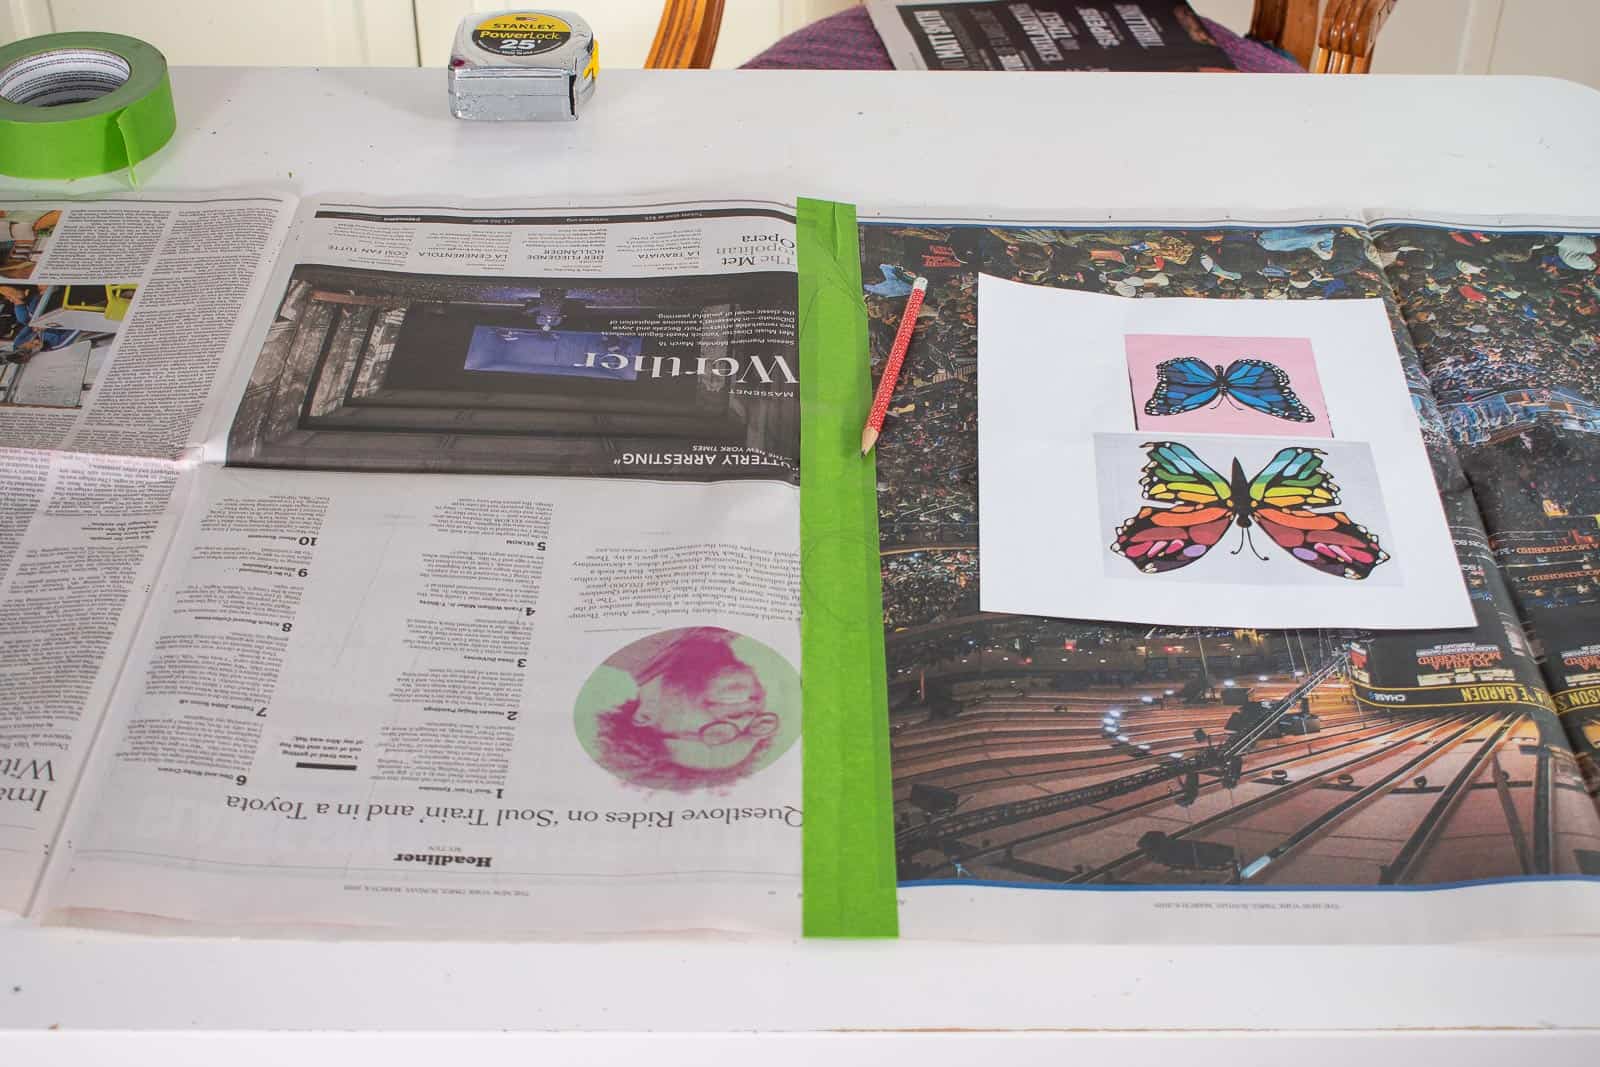
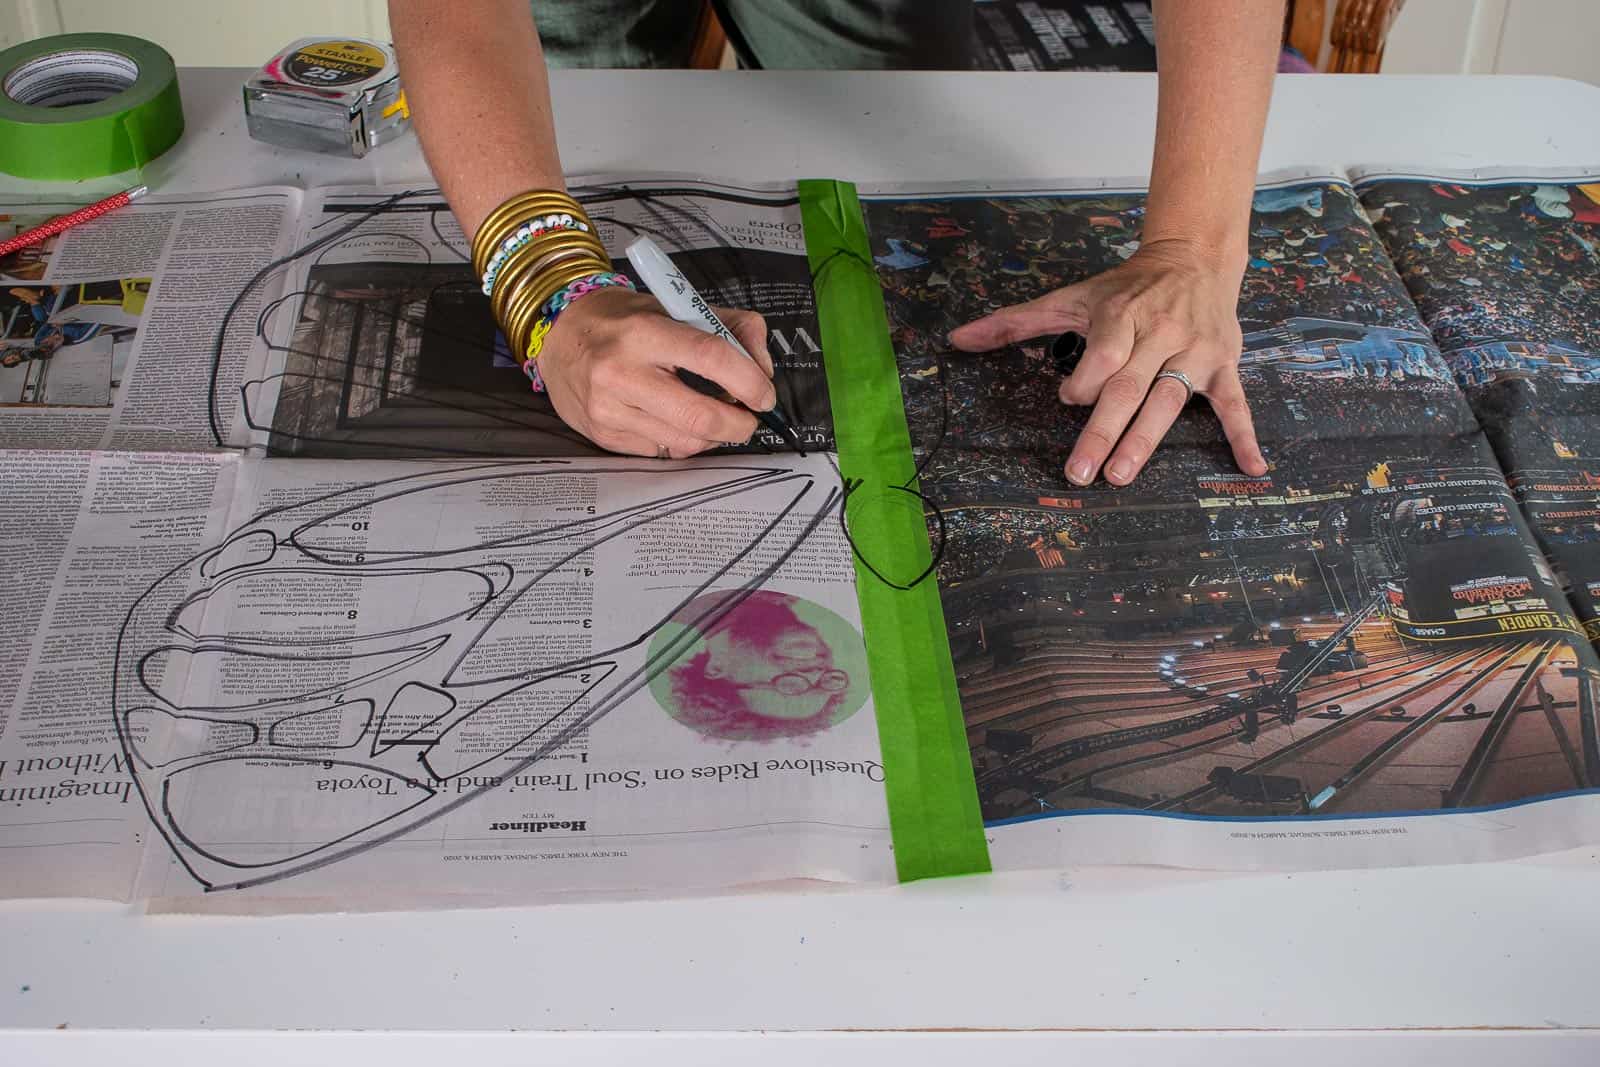
Step 1. Draw Butterfly Template onto Newspaper
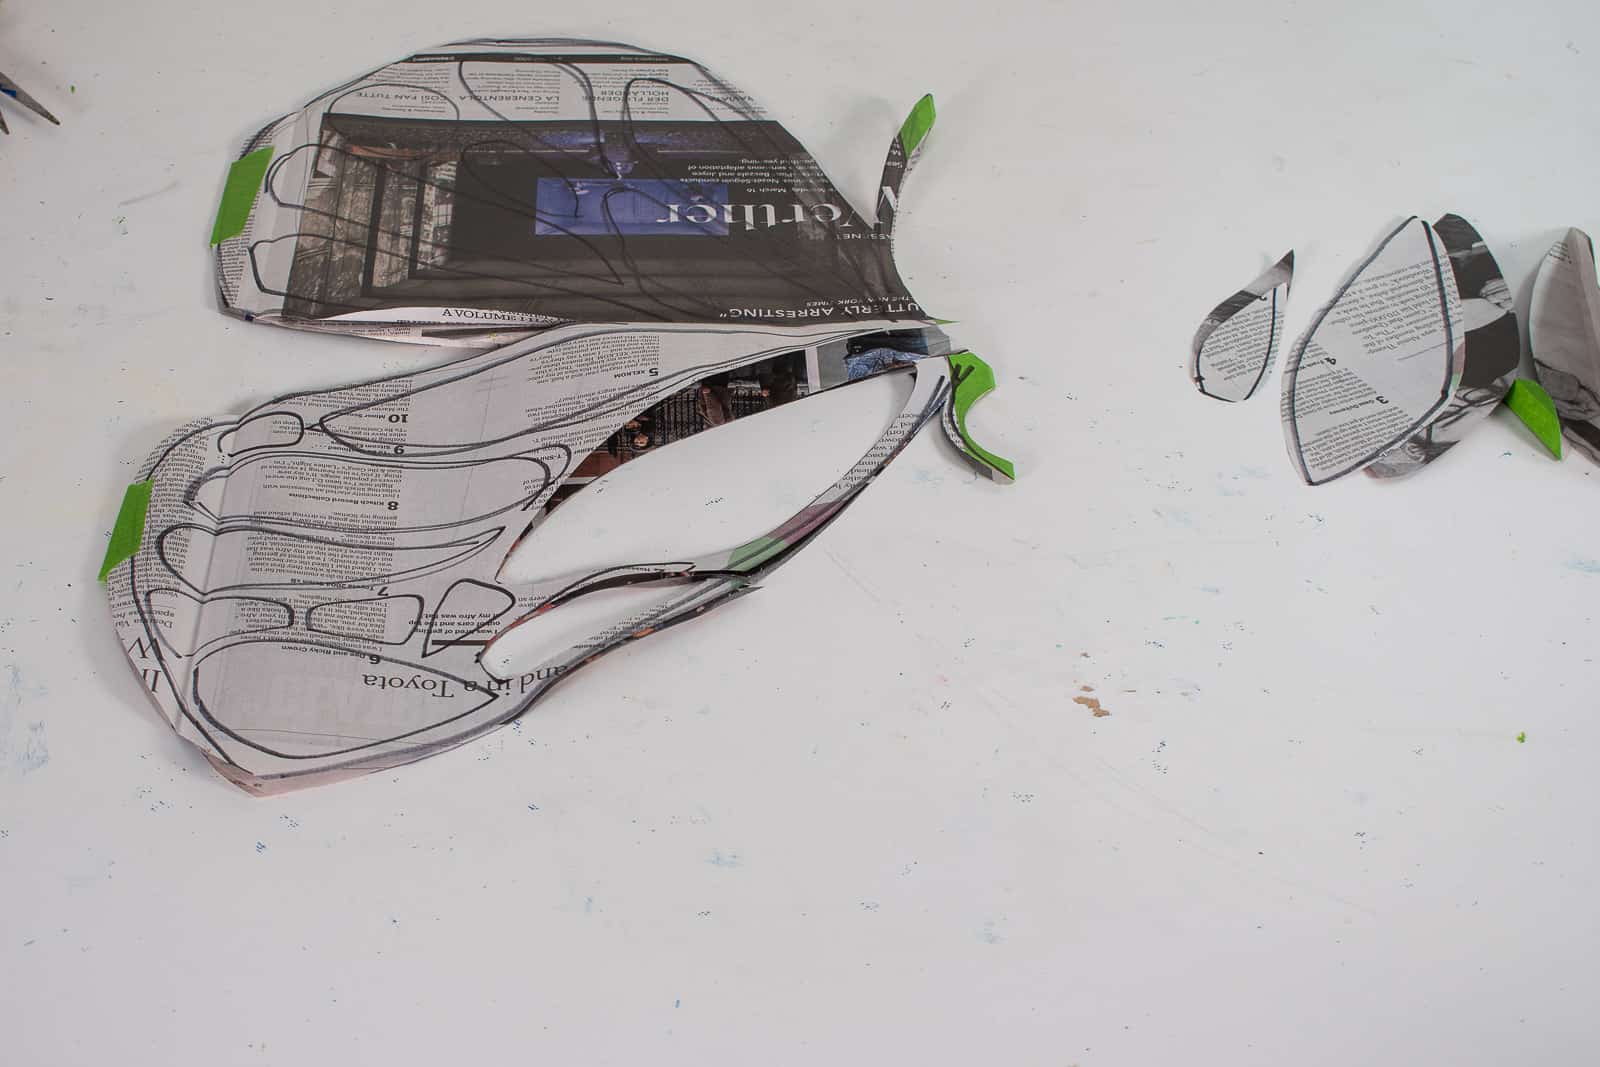
I printed out a few butterfly drawings as inspiration and then sketched out my basic shape on a folded piece of newspaper to keep it symmetrical. I tried to vary the sizes of each piece but kept in mind that I would have to cut each one out so nothing *too* small. Once I was happy with the design, I traced over each line with a thick Sharpie marker so I could see where to cut.
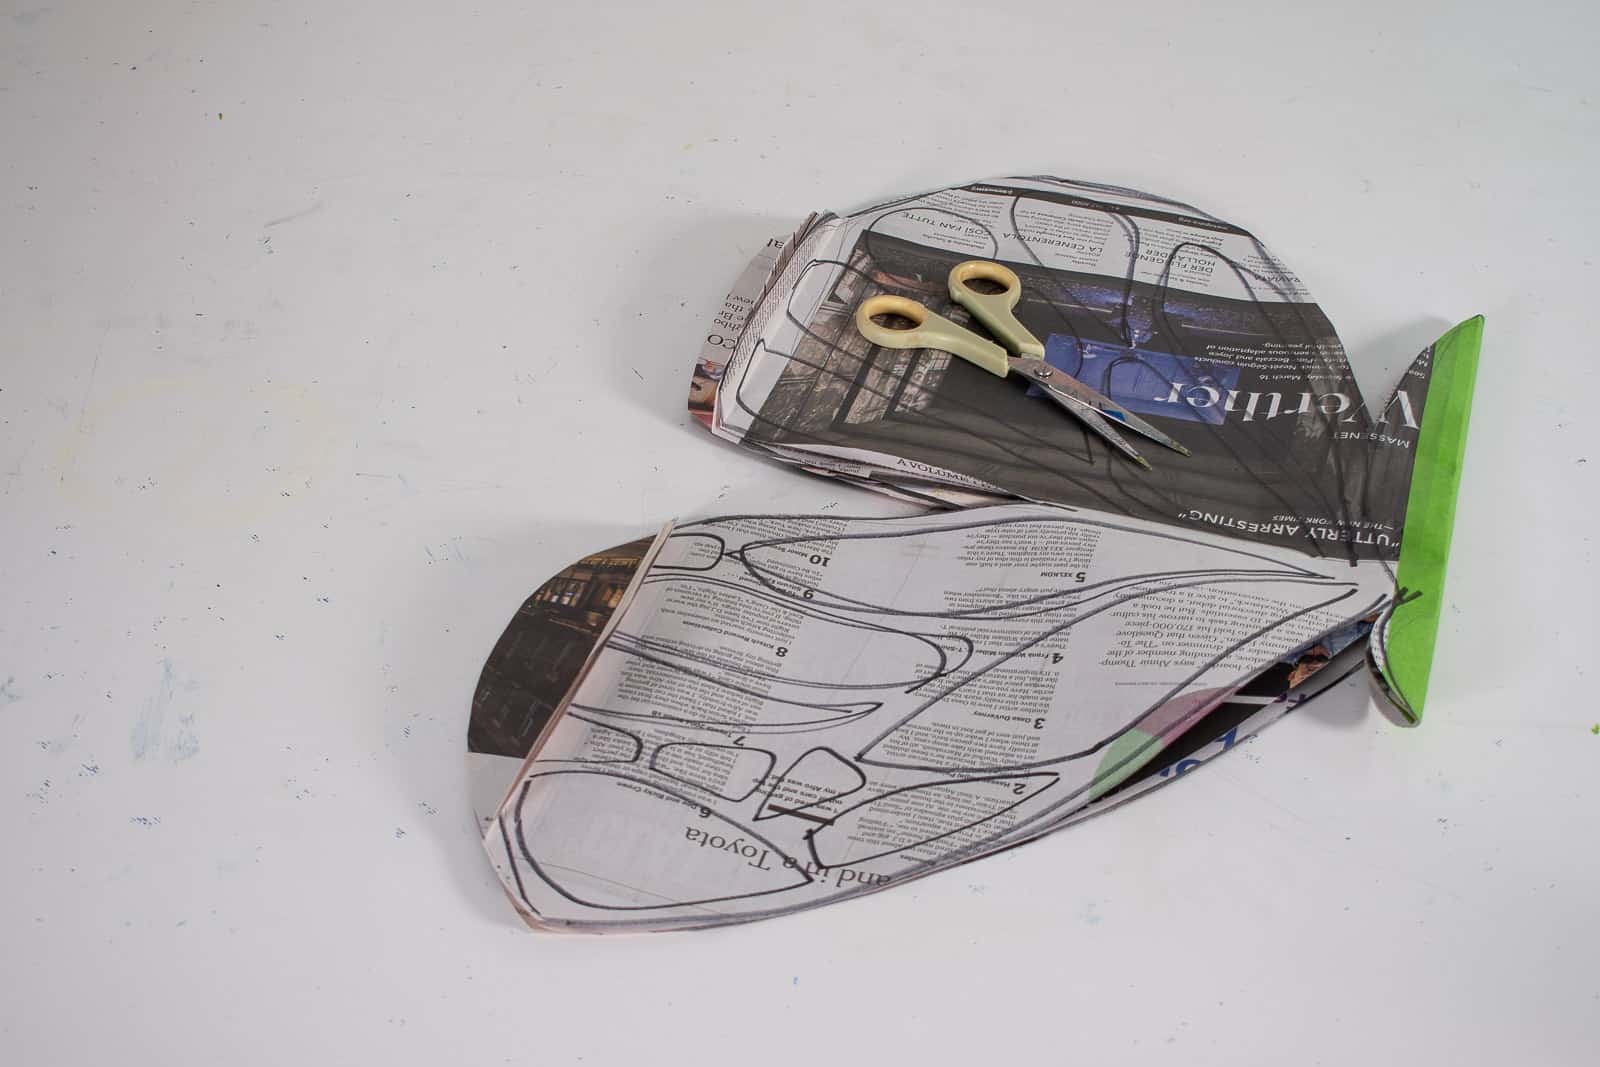
Step 2. Cut out and Label Butterfly Pieces
Before cutting, I made sure to number each shape and then I took a picture (important!). Then I kept the butterfly folded in half and cut out each shape. Reminder that when you cut out your shapes, there will be two pieces because the newspaper is folded so label both pieces with the same number so that you can easily reassemble.
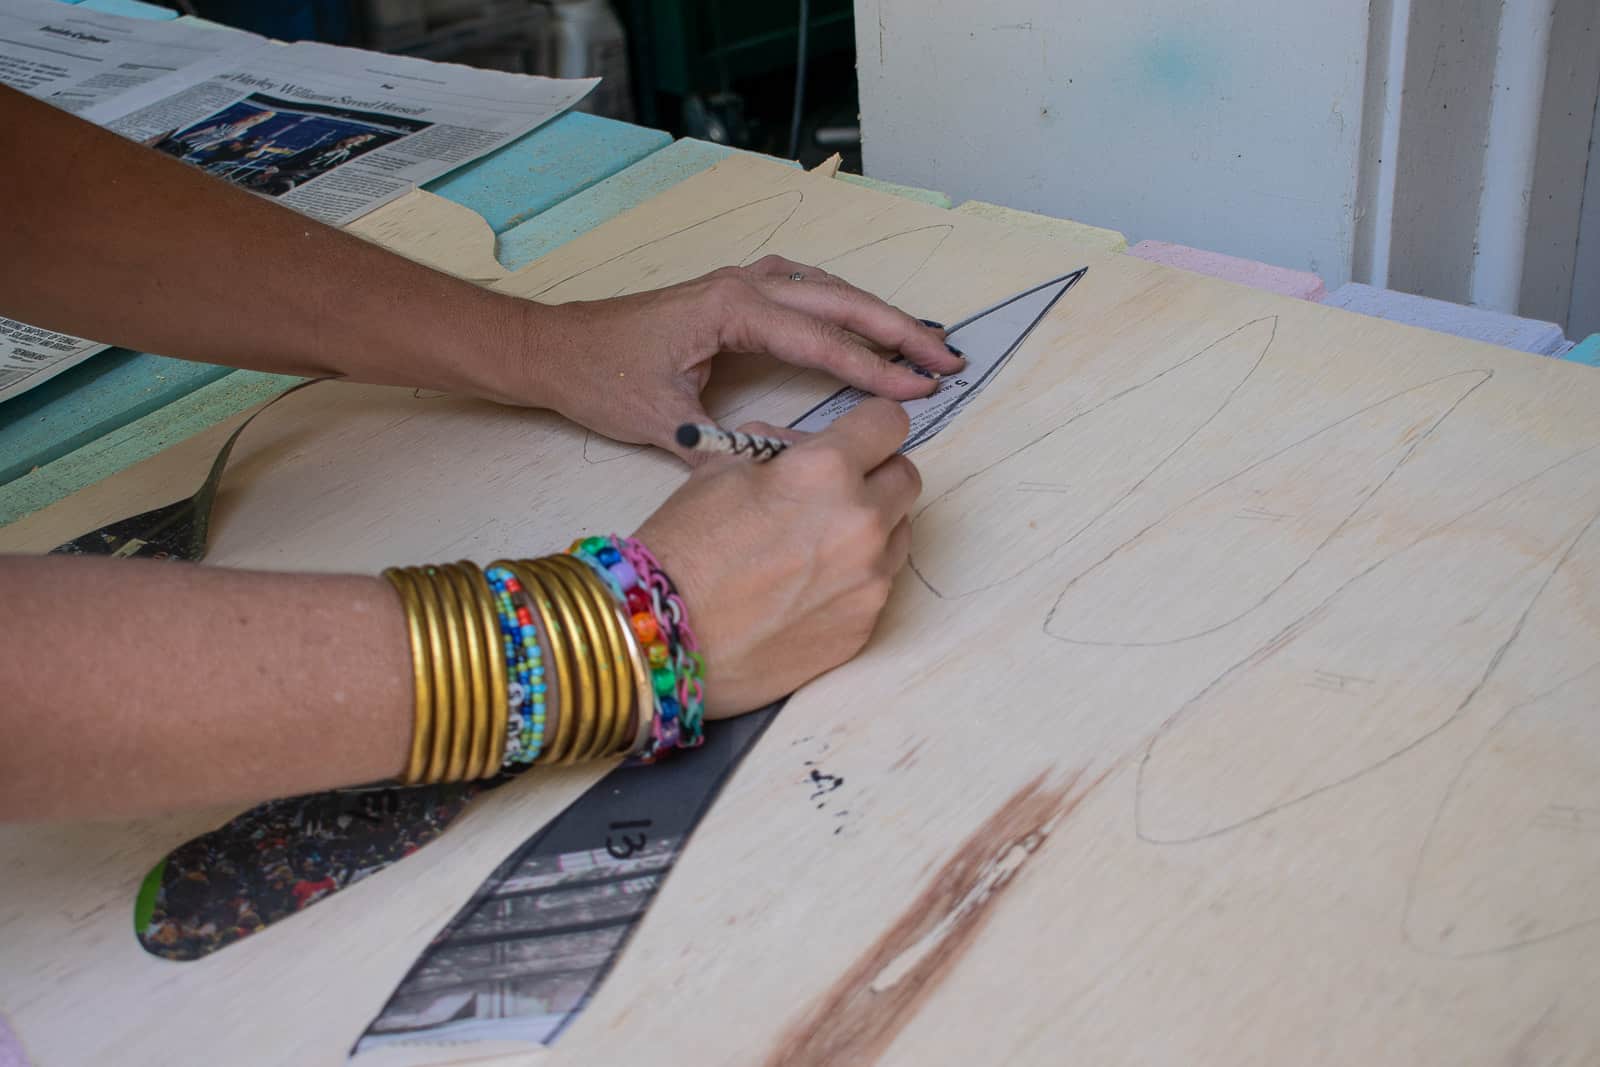
Step 3. Trace Pieces onto Project Board
I’m using a 2×4 project board from the Home Depot. In the trim and custom lumber aisle, there is a section of smaller precut 2×4 pieces of plywood and these are much easer to maneuver than a full size piece of plywood. I believe I’m using underlayment so it has a nice grain, is super light and costs like $5 a sheet! I bought two sheets, but I only needed one!
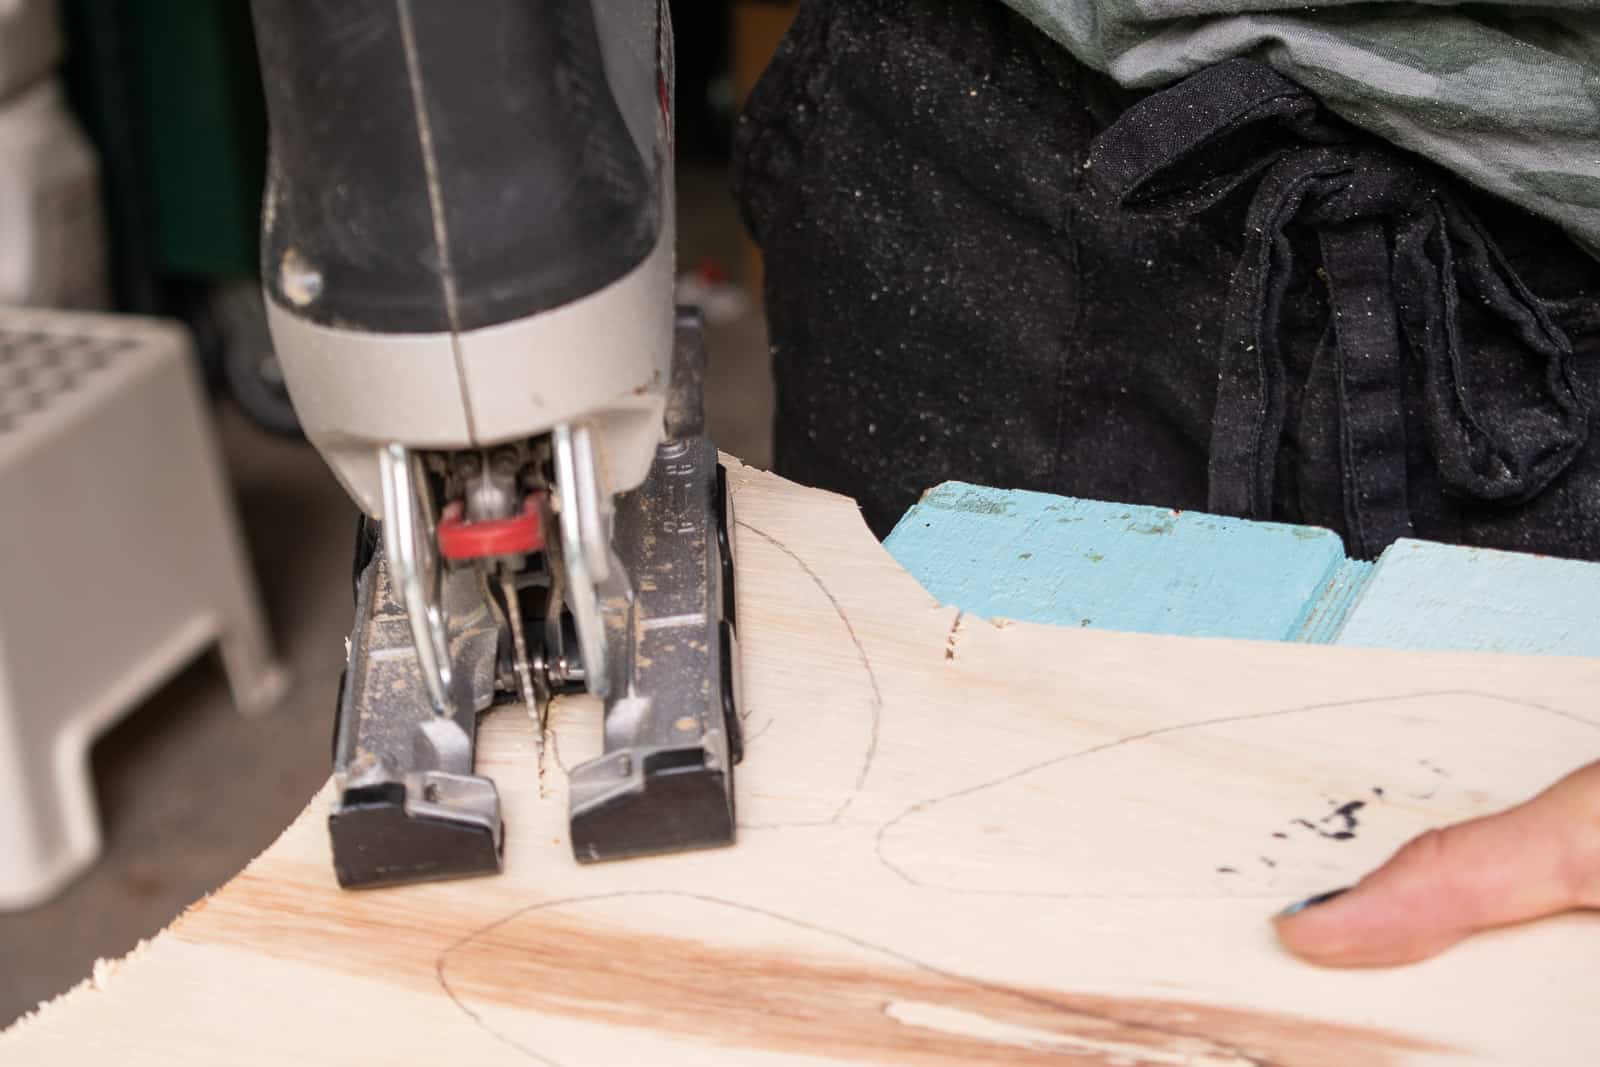
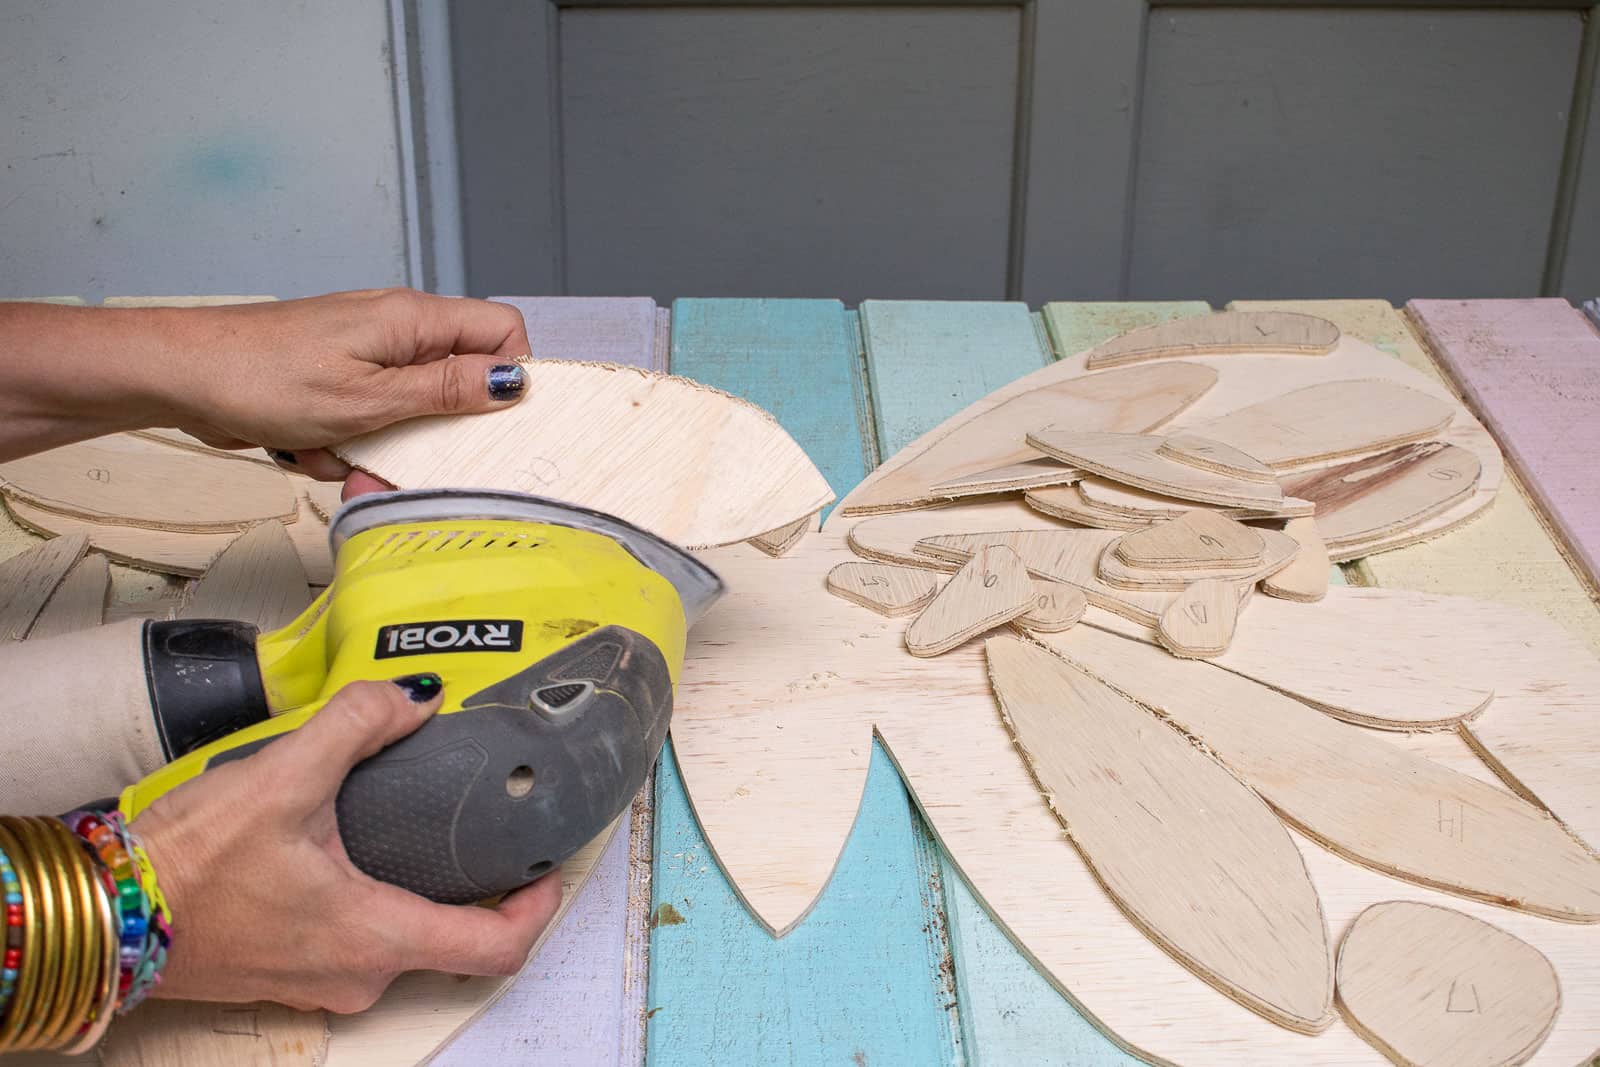
Step 4. Cut Out Pieces from Wood
I used my jig saw to cut out all the big pieces. For smaller pieces a jigsaw won’t work/ wont’ be safe without gluing it onto a larger board or something. I took my Ryobi Scroll Saw for a spin for the smaller pieces and was pleasantly surprised with how easy it was to use! I’m NO scroll saw expert, but I put it in the same category as the jigsaw… a nice not-intimidating saw to use if you’re looking to get into power tools. A scroll saw is typically used for more decorative smaller projects so I find a jig saw to be overall more useful but I love having them both!
Step 5. Sand
A different blade on my jig saw might have helped, but there was a bit of tear out when I cut out these shapes which I think is inevitable with the underlayment because it’s such a soft wood. I sanded all the edges with my palm sander, but a sanding block would have worked just as well!
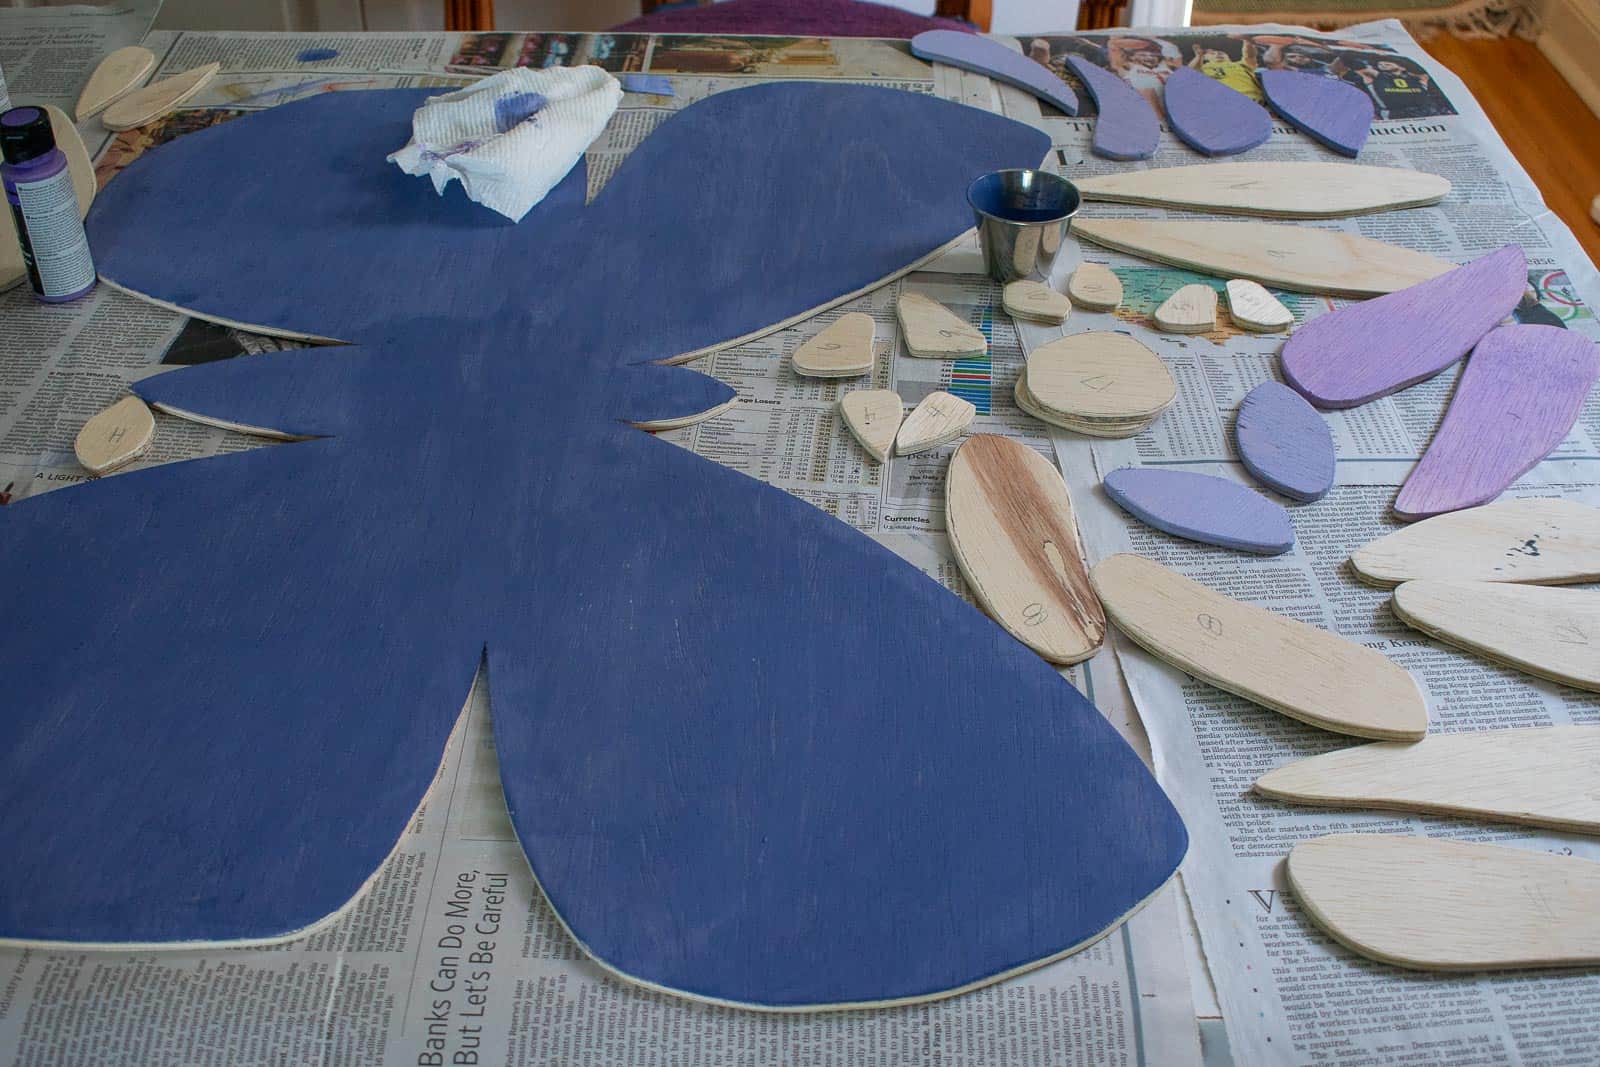
Step 6. Paint
Whenever I’m dealing with wood, I like the idea of preserving a bit of the “wood” quality… i.e. the wood grain. I used regular old acrylic craft paint but watered it down a bit so it ended up penetrating the wood a bit and feels more like a stain. I’m *not* sure how this would hold up to any sort of wear and tear or weather, but obviously for an art project like this it works just fine! I went back and painted the edges of the butterfly with a contrasting color and kind of wish I’d done the same thing on all of the shapes. It would have made the painting much slower so as not to drip over the edges, but maybe I’ll try that next time I do a project like this.

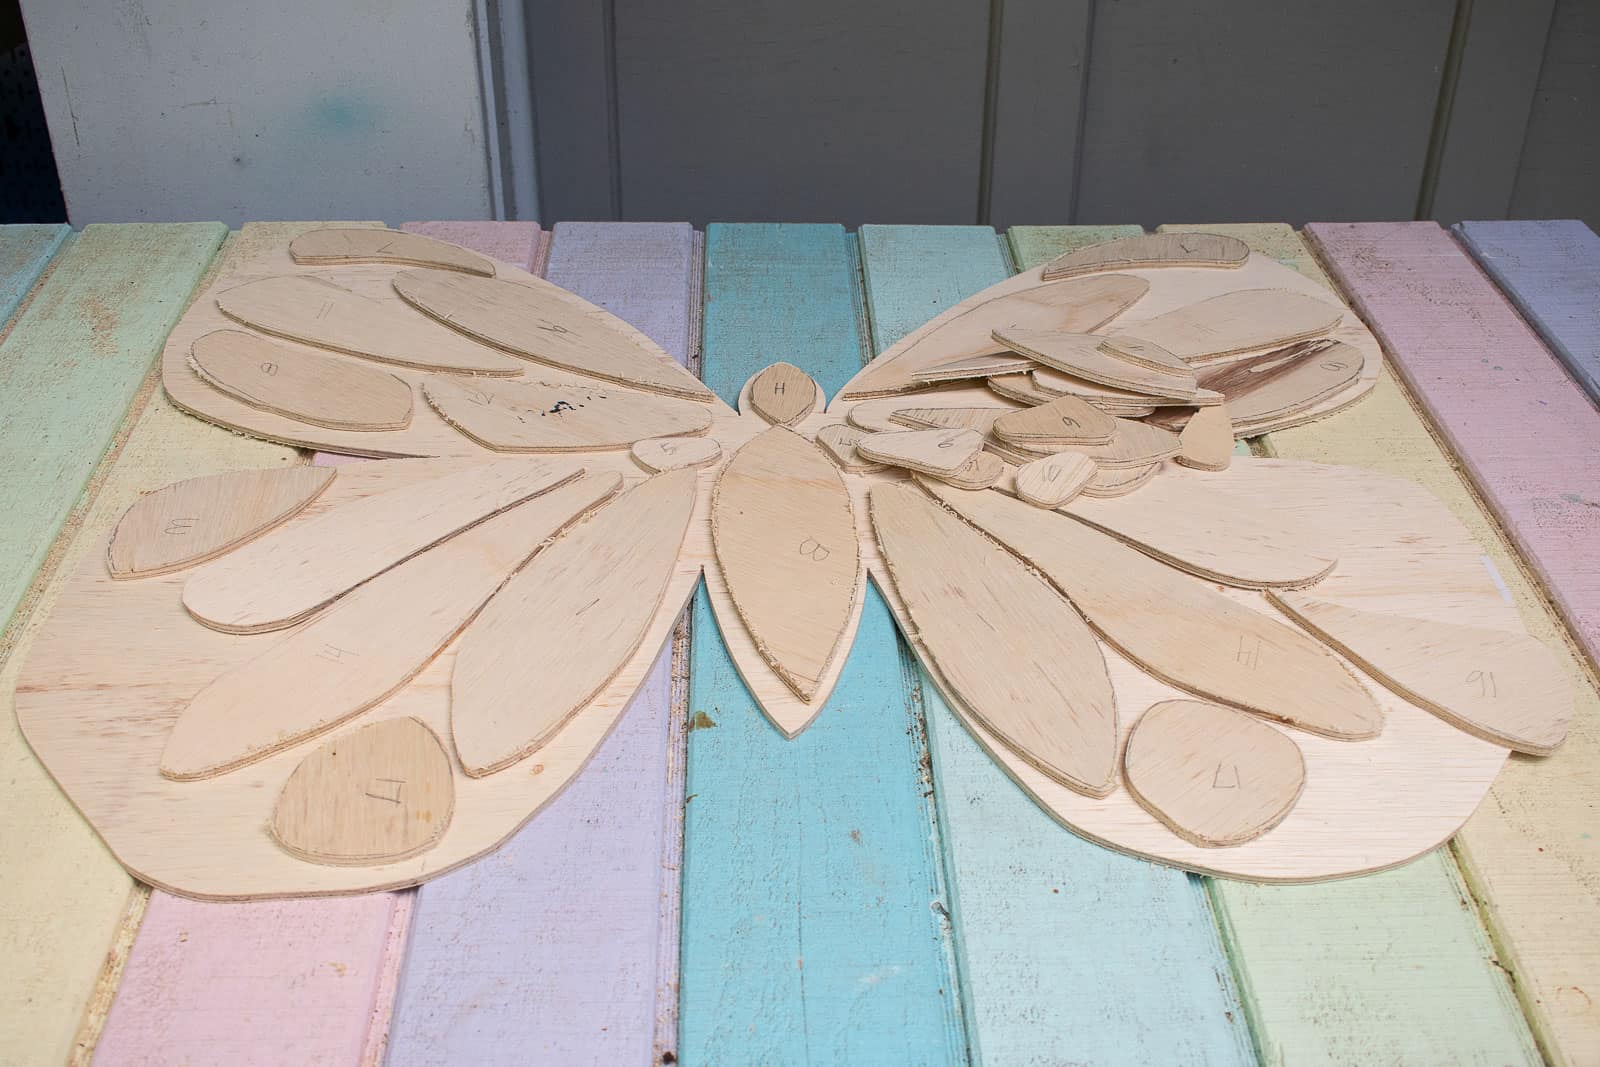
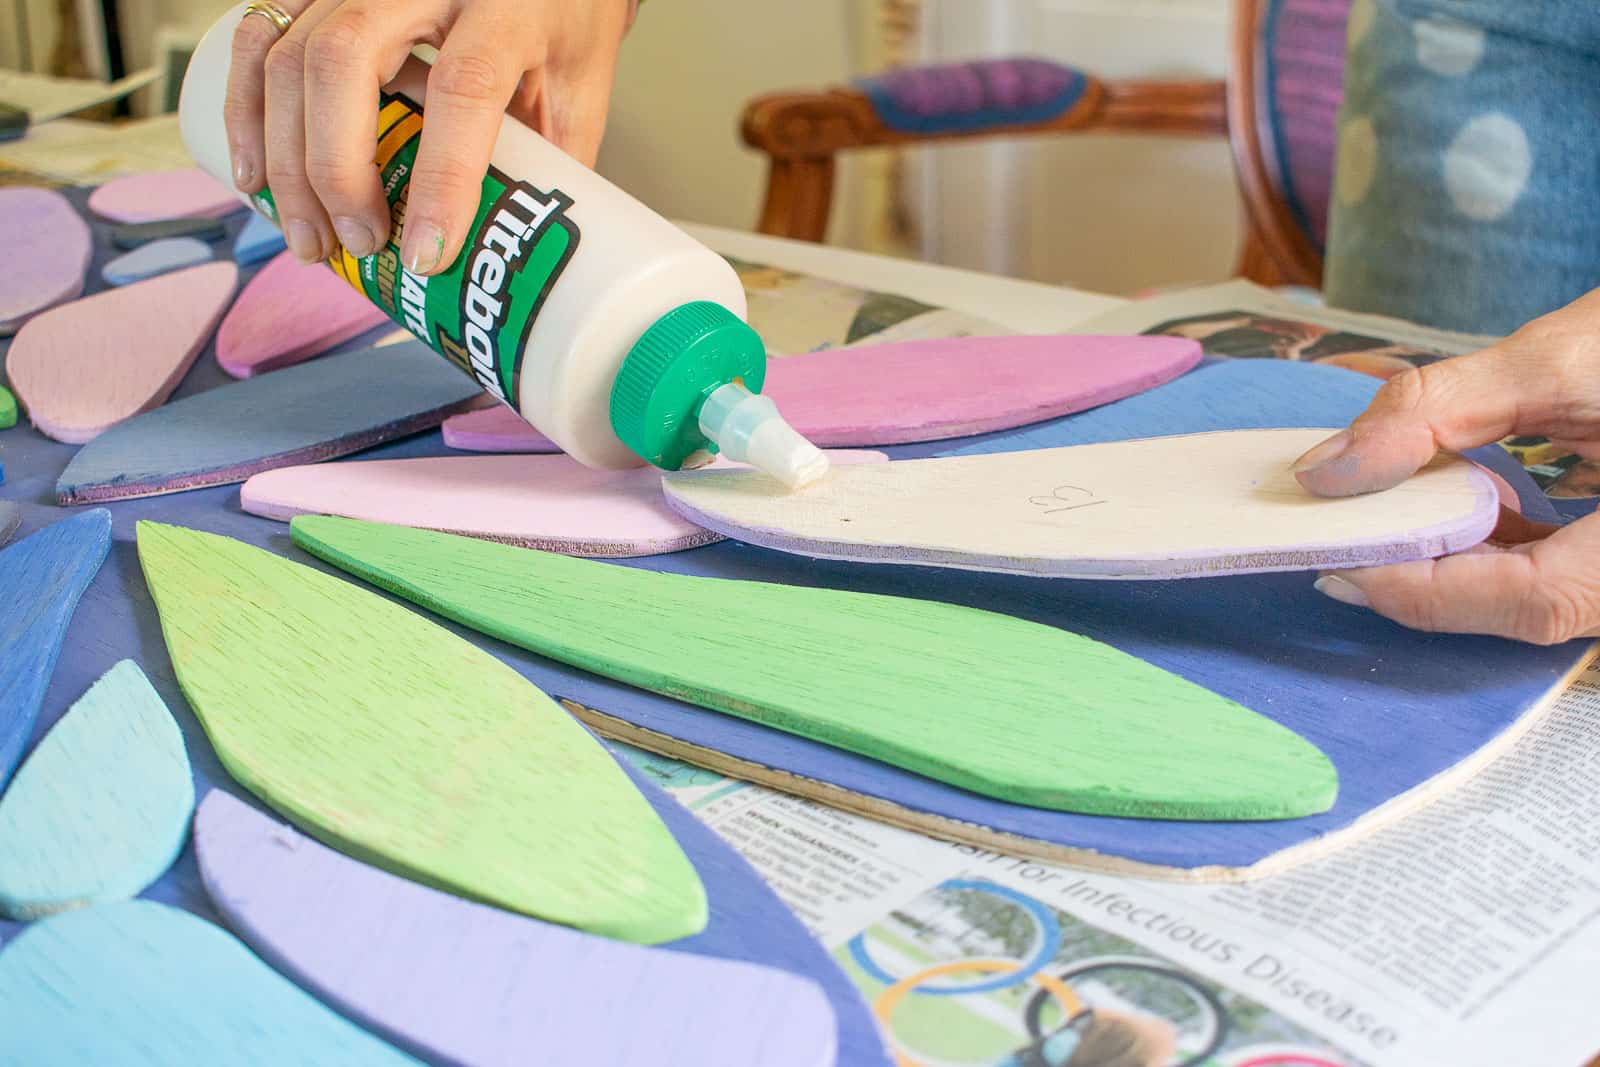
Step 7. Glue
I laid out all the pieces and then carefully used wood glue to stick them in place. Make sure you clean up any glue that squeezes out from the sides so you don’t get discoloration.
Step 8. Attach Hanging Hardware
To hang the butterfly, I screwed two D-rings into the back of the wood. Make sure the screws are short enough that they don’t pop out the front of the butterfly. My screws were long enough that I had to make sure I was screwing them in where there was a shape glued on so that the screw had two layers of wood. Make sure that your D Rings are lined up straight so when you go to hang the butterfly it’s not crooked… unless you want it on an angle which would work too!

The most time consuming aspect of this project was obviously cutting out the pieces but it’s not hard at all. The same concept could be applied to all sorts of things… folks on my Instagram post suggested a peacock which would be so fun! I was also tempted to let the kids paint each of the pieces as a fun collaborative project but then decided to do it myself but wanted to mention since this could be a great distance learning project if you could send out individual pieces and have everyone paint theirs and return!
Materials/ Tools*
- Jig Saw
- Scroll Saw
- 2 ft. x 4 ft. Project Board (similar to this)
- Craft Paint
- D rings
- Newspaper, scissors, pencil/ pen,
- paintbrush
*Affiliate links


Don’t Miss Out
Become An Insider!
Signup for exclusive tips, and tricks from Charlotte’s House!
Let’s chat!
I love comments from you, so feel free to leave your thoughts and ideas below! And don’t forget to follow me on Instagram for even more!